Your Forearm Tattoo: A Pro’s Guide to Nailing the Perfect Piece
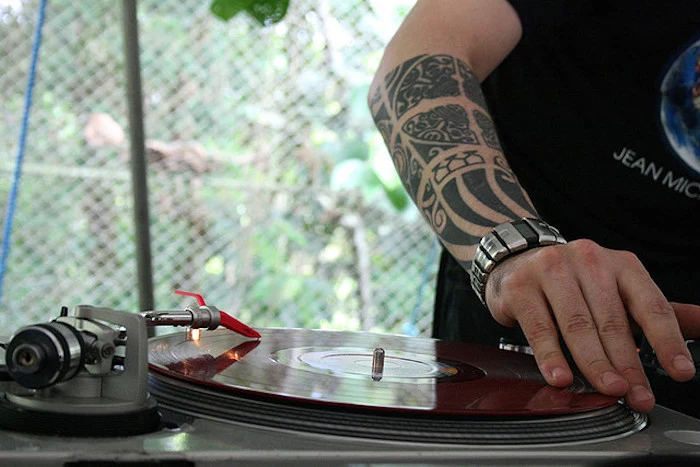
Look, I’ve been slinging ink for a long time, and I’ve put tattoos on just about every part of the body you can imagine. But if there’s one spot people ask for more than any other (besides maybe the classic bicep), it’s the forearm. And it’s easy to see why, right? It’s right there. You get to look at it all day, and it’s a statement piece you can share with the world.
In this article
But that visibility is a double-edged sword. It’s a walking billboard for your story, and frankly, for my work. That’s why I treat every single forearm tattoo with a ton of respect and some serious planning. A killer forearm piece isn’t just about slapping on a cool image; it’s about making it a part of you.
It’s about understanding how the design will move with your muscles, how it will look from different angles, and how it’s going to hold up over the next few decades. Before a needle ever gets near the skin, we have a real conversation. This is a commitment, and my job is to make sure your art stands the test of time.
The Forearm Isn’t a Flat Canvas
So many clients walk in thinking their forearm is like a blank sheet of paper. But as an artist, I see a dynamic, 3D landscape with totally different zones, skin textures, and pain points. Getting this right is the secret sauce between a tattoo that looks like a sticker and one that feels like it grew right there.
Go ahead and try this right now: hold your arm out, make a fist, then relax and turn your wrist over. See how that whole canvas shifts and changes shape? That’s what we’re designing for!
Here’s a quick breakdown of the different neighborhoods on your arm:
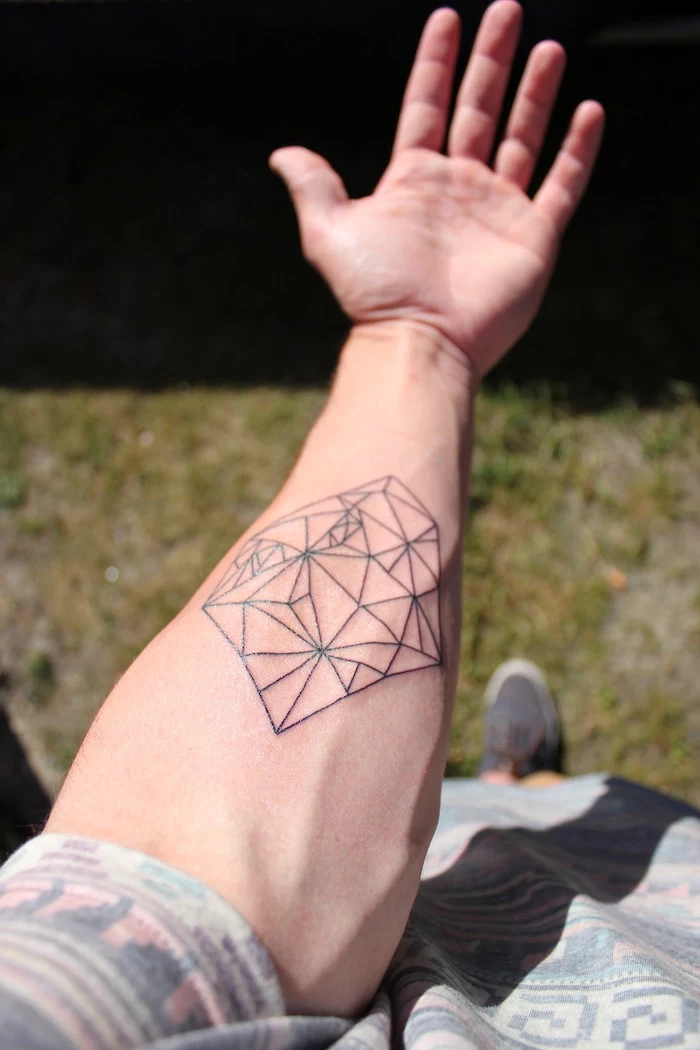
- The Inner Forearm: This is prime real estate. The skin is softer, smoother, and for most people, way less painful (maybe a 5-6 out of 10 on the pain scale). It’s perfect for detailed work and fine lines. The challenge? The skin is delicate. An inexperienced hand can go too deep and cause a “blowout,” which looks like the ink has bled under your skin—think a leaky fountain pen on cheap paper. It creates a fuzzy, bruised-looking mess around what should be a crisp line.
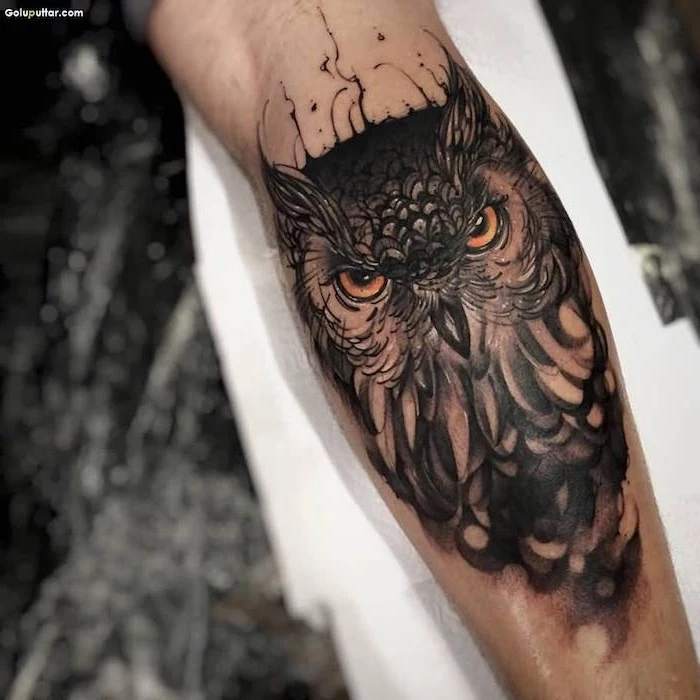
- The Outer Forearm (The Top): This spot can take a beating. The skin is thicker from seeing more sun and general life. It’s an awesome placement for bold designs with heavy blacks or packed-in color because the skin can handle the work. Pain-wise, it’s usually pretty chill, maybe a 3-4 for most folks. The big catch is the sun. This area sees the most UV rays, and the sun is the number one killer of tattoos. If you get work here, you’re signing up for a lifelong relationship with sunscreen.
- The Sides: These spots are fantastic for designs that wrap and flow. The key is planning for the distortion when your arm turns. We have to design with the movement, following the long muscles to make it look alive, not warped. A word or a face needs meticulous placement here.
- The High-Stakes Zones (Wrist & Elbow Ditch): Okay, these are expert-level spots. The wrist has super thin skin right over bones and tendons, making it prone to fading and blowouts. The elbow ditch (that little pit on the inside of your elbow) is fleshy but constantly folding, which can make healing a nightmare. Pain can easily jump to an 8 or 9 in these areas. I’m always upfront with clients: tattoos in joints will almost certainly need more touch-ups down the road. It’s just a fact of life.
A Quick Word on Skin Tone (This is Important)
Let’s talk about something that doesn’t get discussed enough: how tattoos look and heal on different skin tones. Melanin is a beautiful, natural pigment, but it does affect how ink settles and appears. This isn’t a limitation; it’s a consideration, just like the shape of your arm.
For clients with darker skin, the key is contrast. Bold, black lines and well-planned negative space (using your skin as part of the design) look incredible. Designs with a lot of subtle, low-contrast colors like light blues, yellows, or pale greens can get lost and look muddy once healed. Deep reds, rich emerald greens, and of course, solid black, tend to hold their vibrancy beautifully.
The most important thing? Find an artist whose portfolio shows amazing healed work on a variety of skin tones, including ones similar to yours. A skilled pro knows how to adjust their technique to ensure the ink is packed solidly and the design is built for clarity and longevity, no matter the canvas.
Finding Your Artist and Nailing the Design
When you’re ready to get serious, please don’t just walk into the nearest shop. Your first step is research. And I mean real research.
A great place to start is Instagram. Search hashtags like
[yourcity]tattoo or
[yourcity]realismtattoo. But here’s the pro tip: don’t just scroll their perfectly lit main feed. Click on their “Tagged Photos.” This is where you see the work out in the wild, on real people, often healed and without fancy filters. That’s where you see an artist’s true skill.
Once you find someone whose style you love, you’ll have a consultation. This is where we move from “I want this picture I found online” to creating a custom piece. We’ll talk about the story, the mood, and the sizing. I’ll print the design in a few different sizes so we can see what actually fits your arm gracefully. A tattoo that’s too small looks lost, and one that’s too big feels cramped. It’s a real Goldilocks situation.
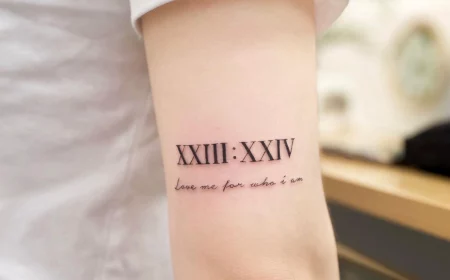
Then comes the stencil. We’ll stick it on, and you’ll move around, check it in the mirror, and live with it for a few minutes. I once spent a half-hour with a client just nudging a quote a few millimeters at a time. That tiny adjustment made the difference between a powerful statement and a jumbled mess when he bent his arm. That’s the unseen work that makes a tattoo great.
The Day of Your Appointment: What to Actually Expect
Alright, you’re booked. The day is here. Let’s demystify the process so you can walk in feeling confident, not anxious.
First, a little checklist for success:
- Get a good night’s sleep. Seriously.
- Eat a solid meal about 1-2 hours before your appointment. Low blood sugar is your enemy.
- Bring a bottle of water and maybe a sugary snack or drink.
- Don’t forget your photo ID! This is a legal requirement.
- Wear comfortable clothes that give easy access to your arm. A tank top or a loose t-shirt is perfect.
When you arrive, we’ll confirm the design and placement one last time. I’ll clean and shave the area, apply the stencil for your final approval, and then we get to the good part. My station will be spotless, and all needles are sterile, single-use, and opened right in front of you. Heads up: if you ever walk into a shop where this isn’t the standard practice, walk right back out.
And now for the question everyone is afraid to ask: tipping. Yes, you should absolutely tip your artist! We’re service professionals providing a highly skilled, custom service. A tip of 15-20% is a standard and wonderful way to show you appreciate the art, skill, and hours of work that went into your piece. It’s never expected, but it is always deeply appreciated.
The Aftercare Bible: Don’t Mess This Part Up
Once you walk out the door, the tattoo is your responsibility. The first two weeks are critical. I’m a huge fan of using a clear, breathable medical bandage, often called “second skin.” You just leave it on for 3-5 days. It keeps the tattoo clean and lets it heal in its own juices, which sounds gross but works miracles.
After you remove it, you’ll need a simple routine. To make it easy, here’s your healing shopping list, which you can get for under $20 at any Target or drugstore:
- Unscented antibacterial soap: The classic Dial Gold is perfect. A bar costs about $5.
- Unscented, non-petroleum lotion: Brands like Aveeno, Lubriderm, or Cetaphil are great. A bottle is usually around $10-$15.
Twice a day, you’ll gently wash the tattoo with the soap, pat it dry with a clean paper towel (don’t use a bath towel, they harbor bacteria), and apply a very thin layer of lotion. For two to three weeks, that means no swimming, no hot tubs, no baths, and no sun. Period.
The Long Game: Keeping Your Ink Fresh for Decades
Let’s be real about cost. A good, experienced artist in a major city will typically charge between $150 and $300 per hour. So, for a detailed black-and-grey piece that fills most of your inner forearm, you might be looking at 4-6 hours of work. That’s a real investment, anywhere from $600 to $1,800 or more. Remember the old saying: “Good tattoos aren’t cheap, and cheap tattoos aren’t good.”
You also have to consider the social aspect. While tattoos are way more accepted now, some corporate or government jobs still have strict policies. You need to be honest with yourself: are you prepared to wear long sleeves every day if you have to? It’s a reality check I have with every young person getting their first highly visible tattoo.
But the single most important thing you can do for the life of your tattoo is protect it from the sun. UV rays absolutely destroy ink. They break down the pigments, turning crisp black lines into a fuzzy, greenish-gray blur over the years. The solution is simple: get in the habit of using a high-SPF sunscreen on your tattoo every single day it’s exposed. It’s a five-second habit that will protect your investment for a lifetime.
A well-done forearm tattoo is a collaboration. It’s a piece of your identity. Find an artist you click with, be part of the process, and take care of the art once it’s yours. You won’t regret it.
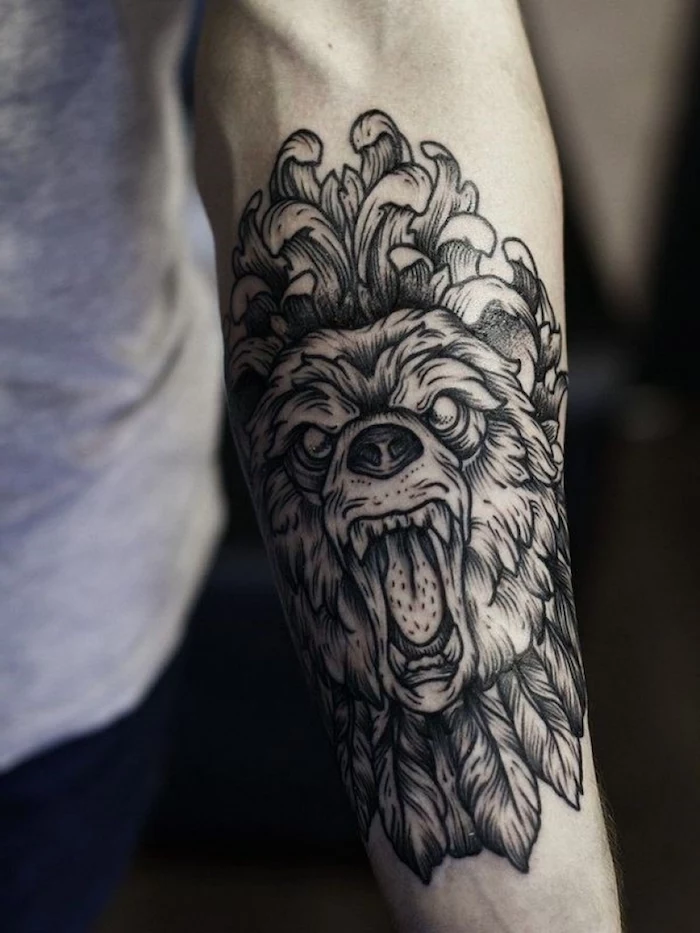
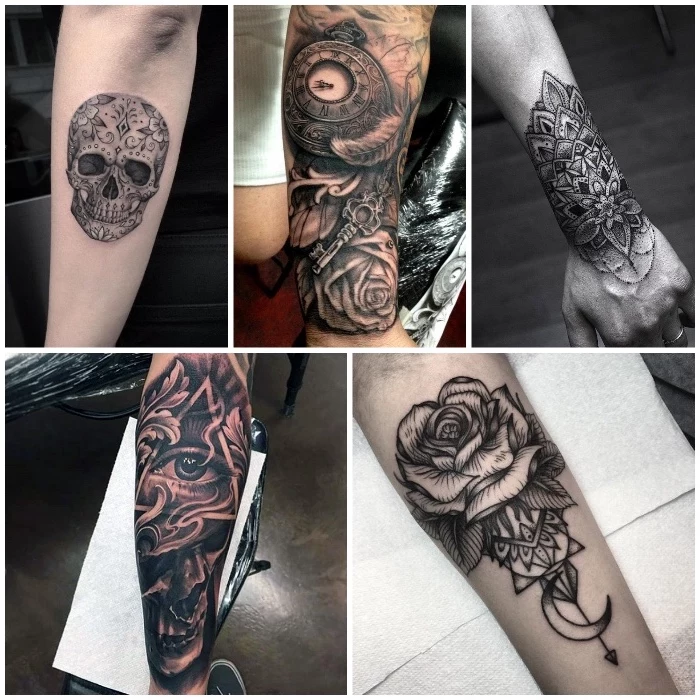
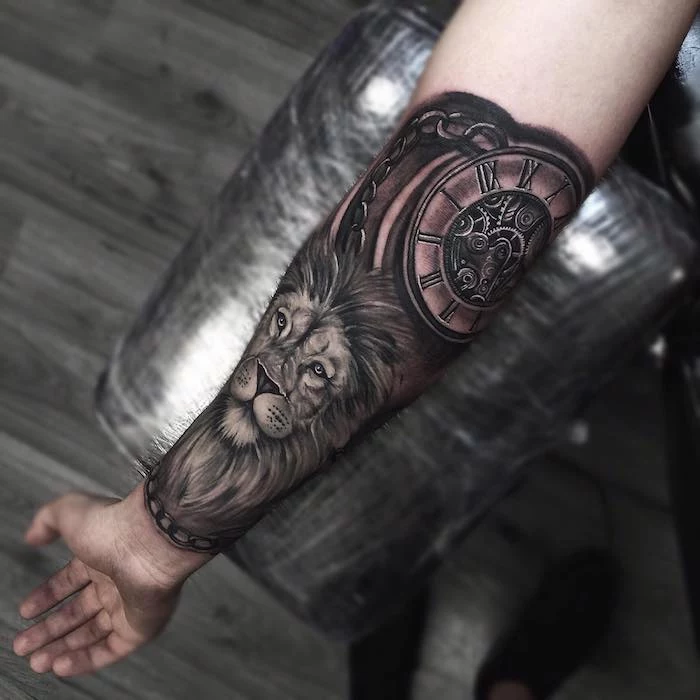
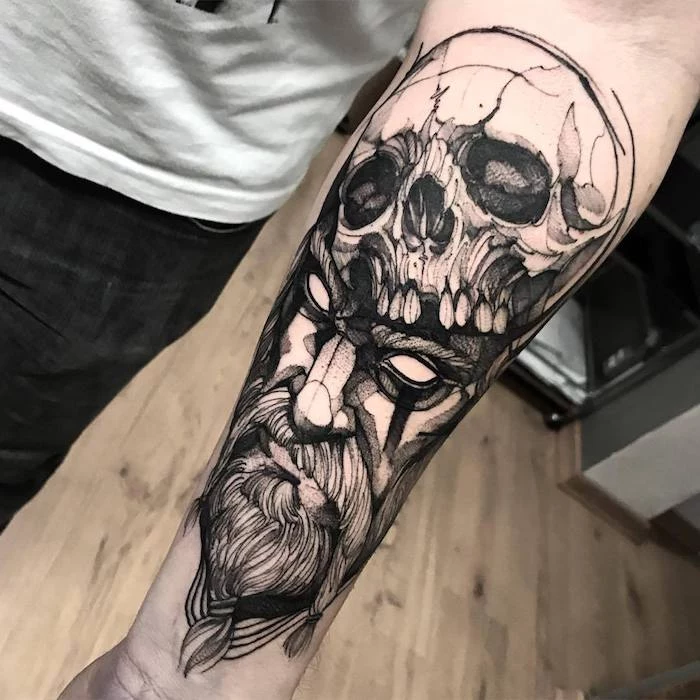
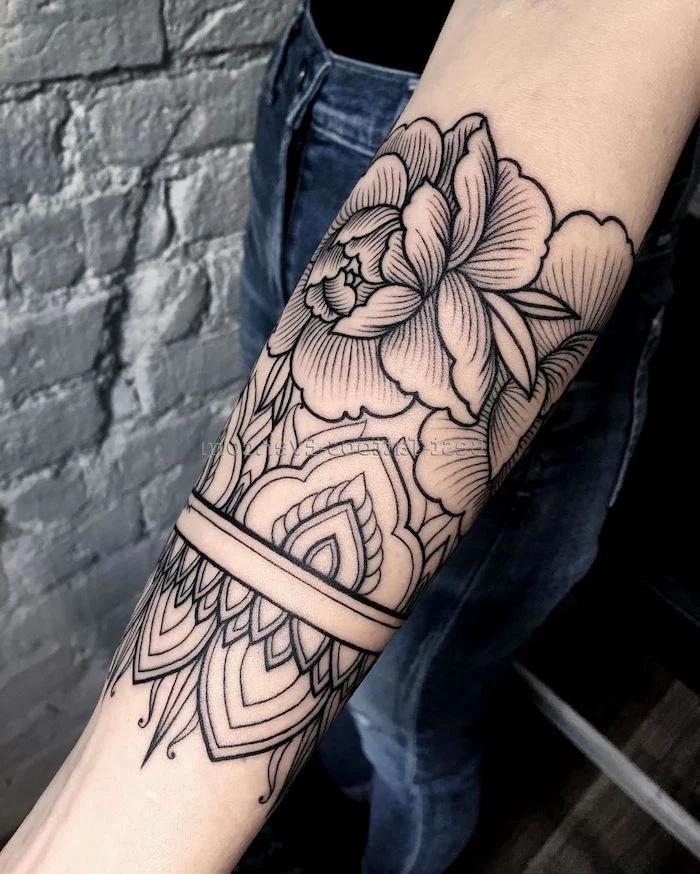
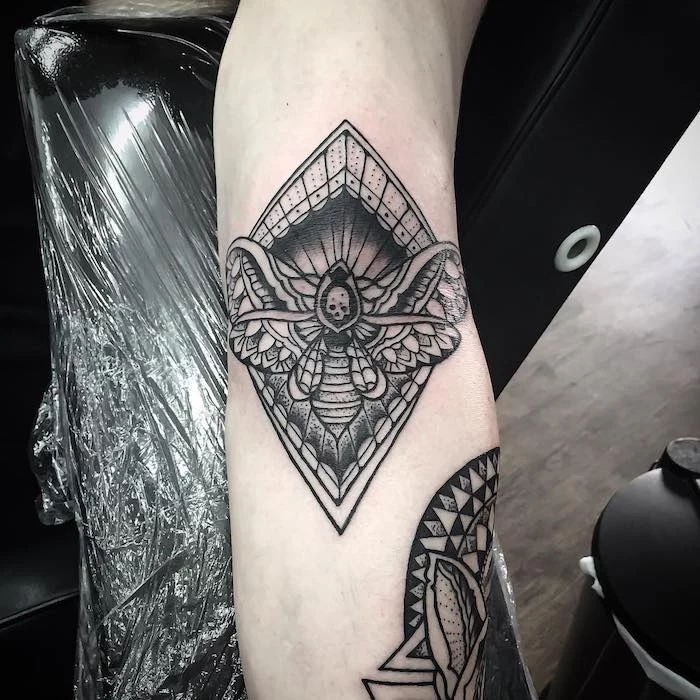
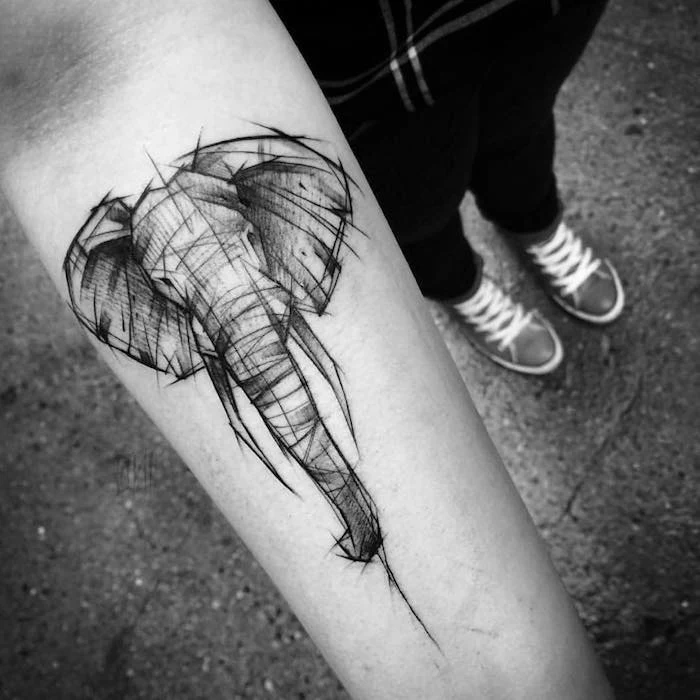
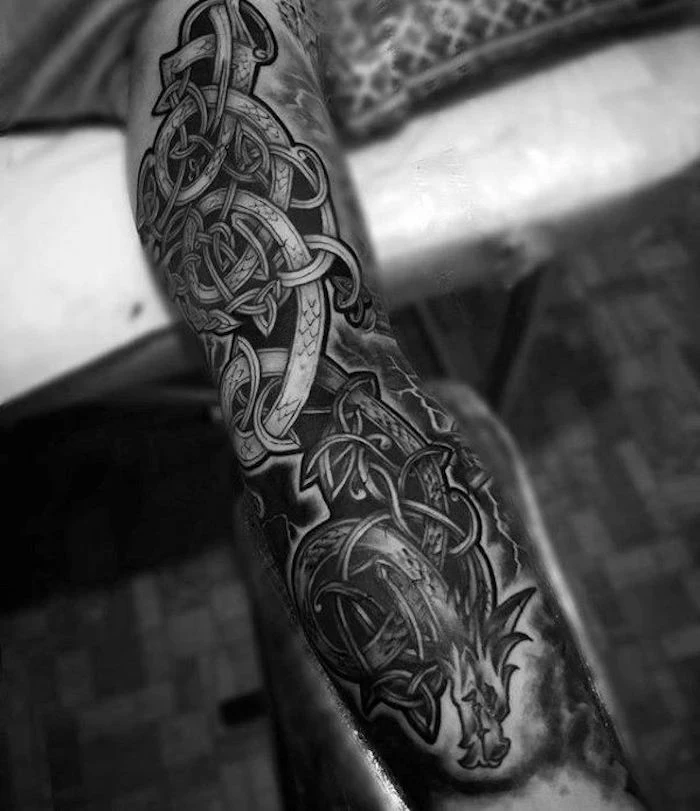
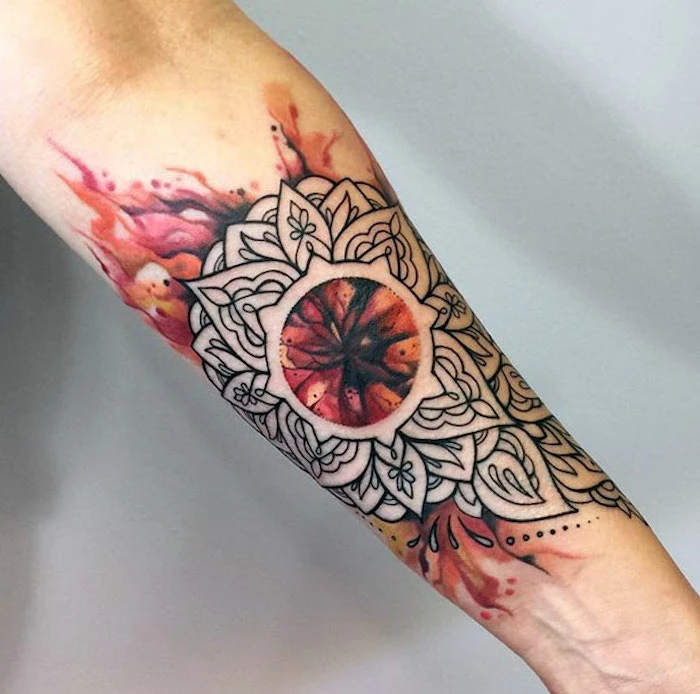
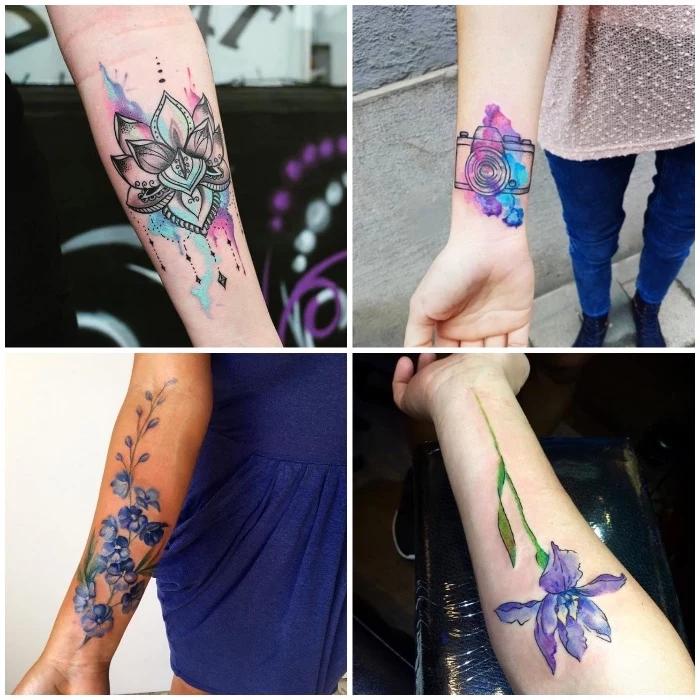
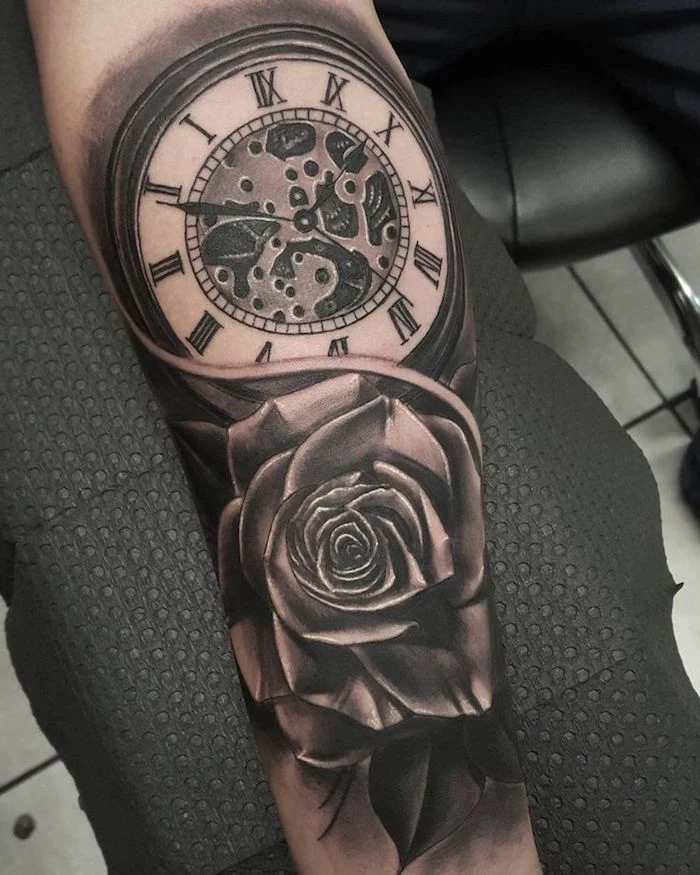
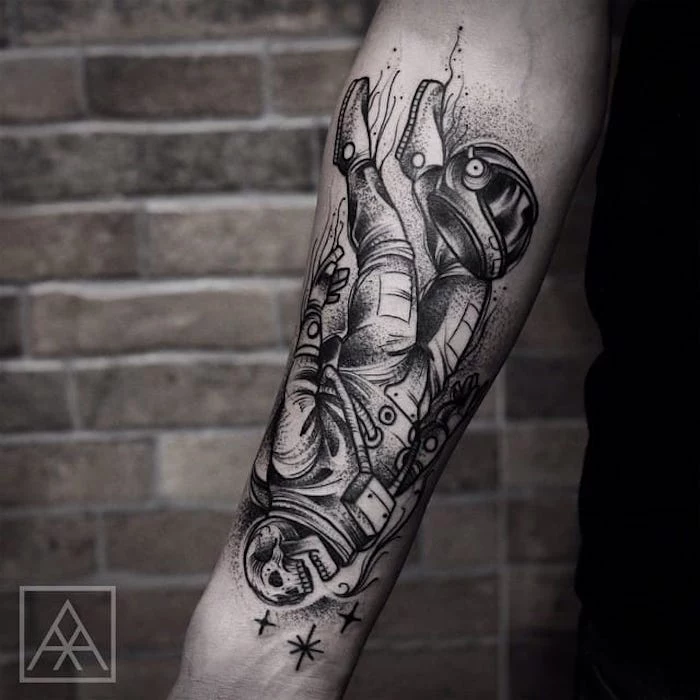
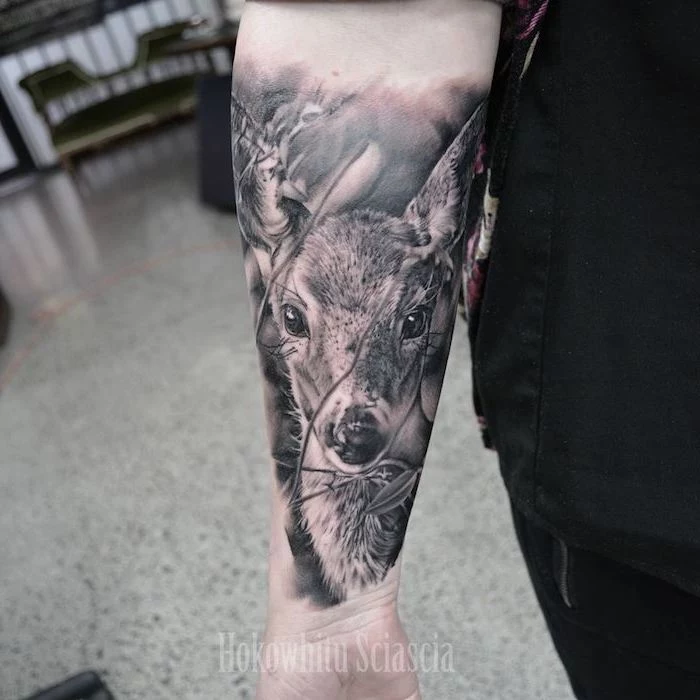
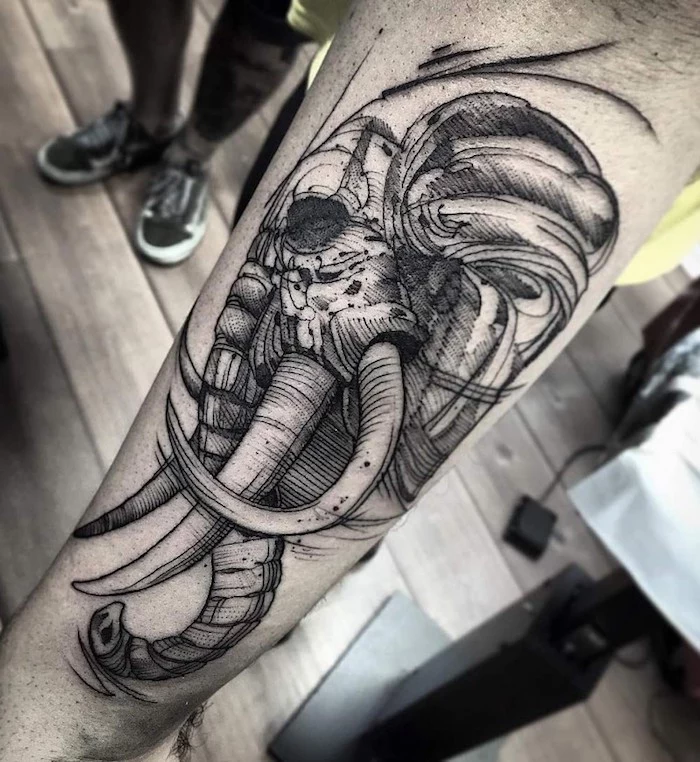
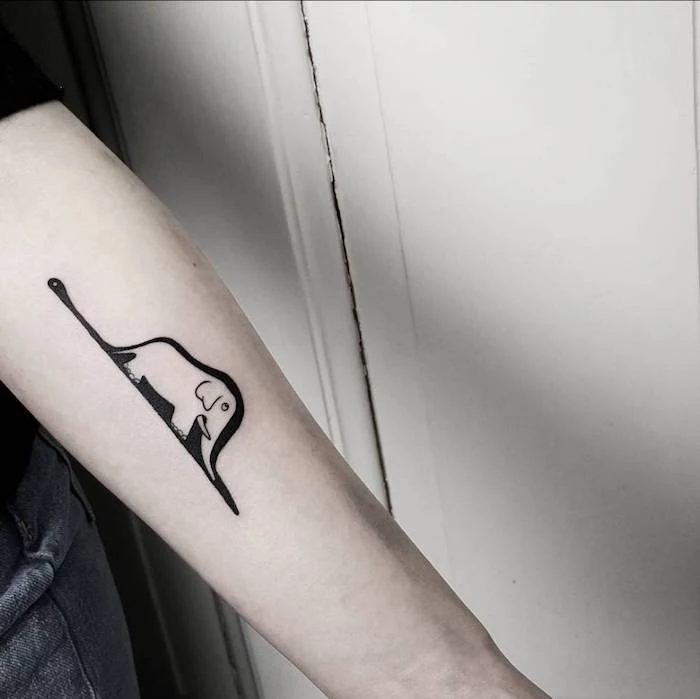
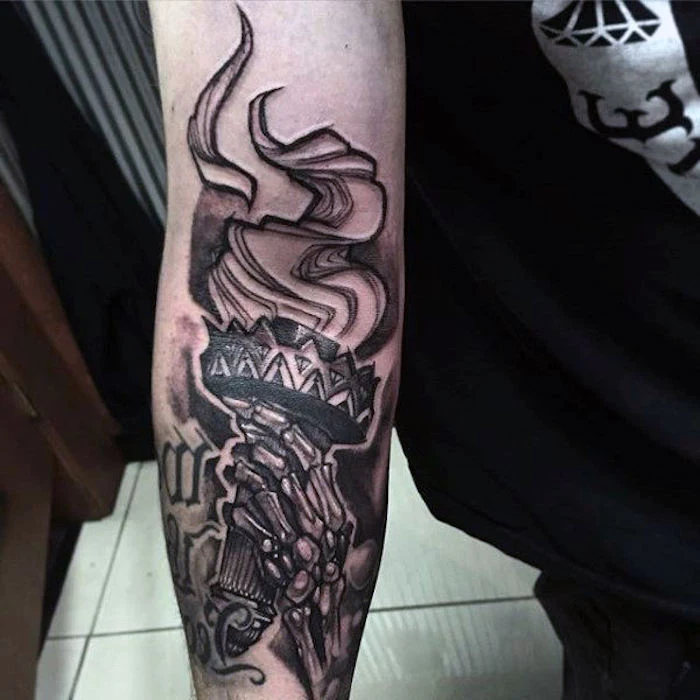
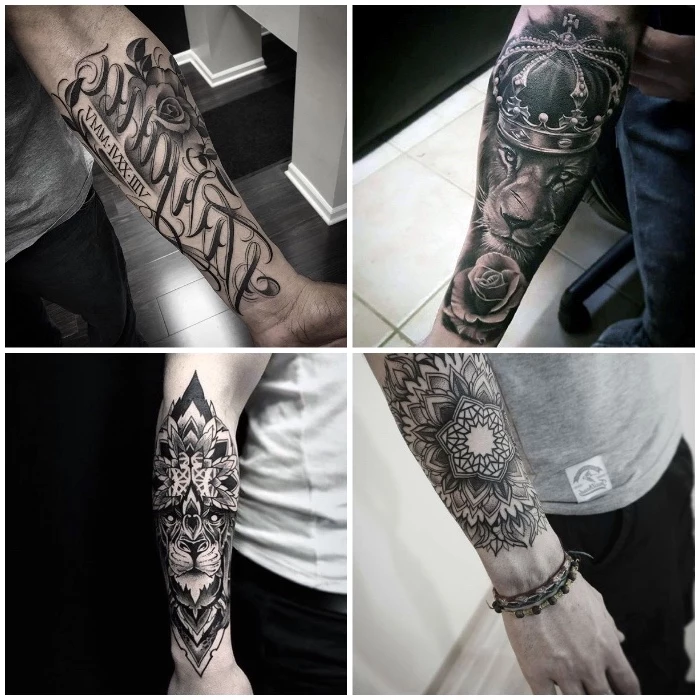
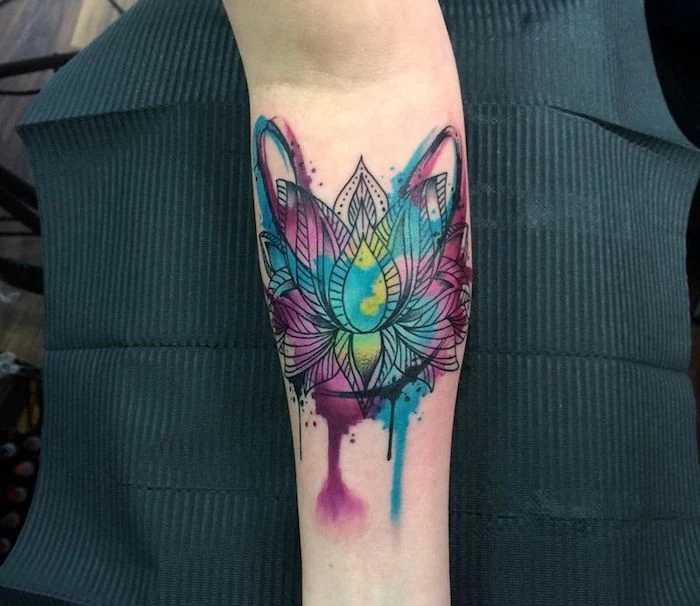
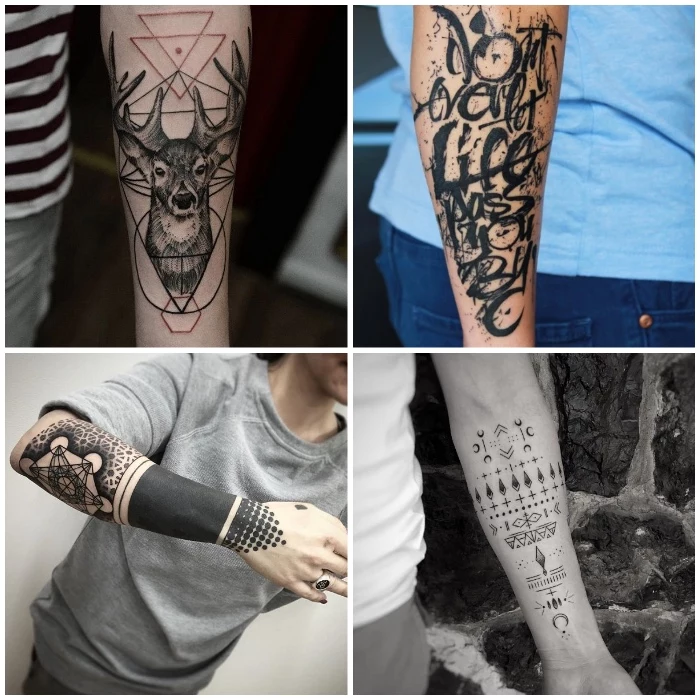
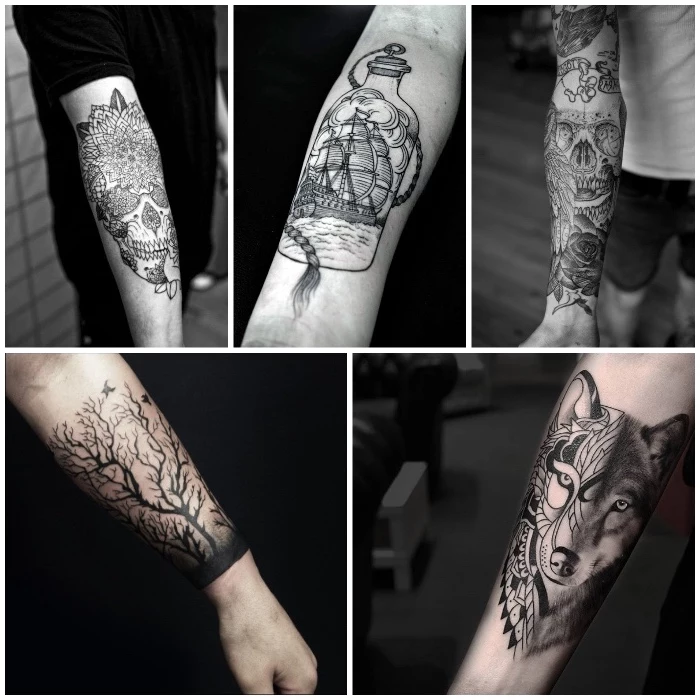
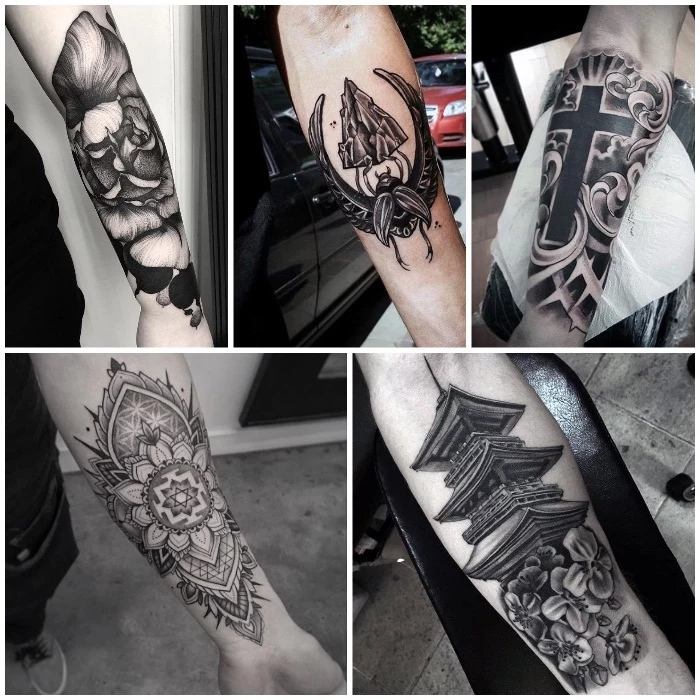
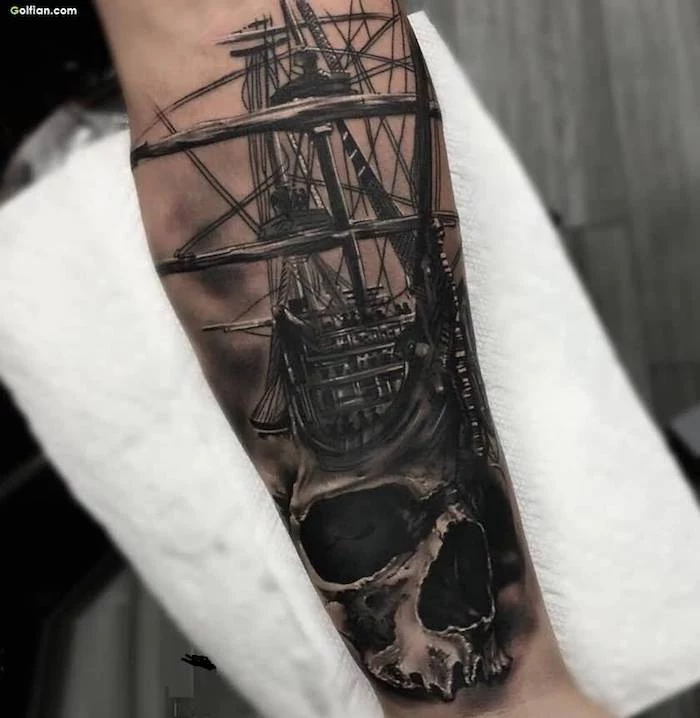
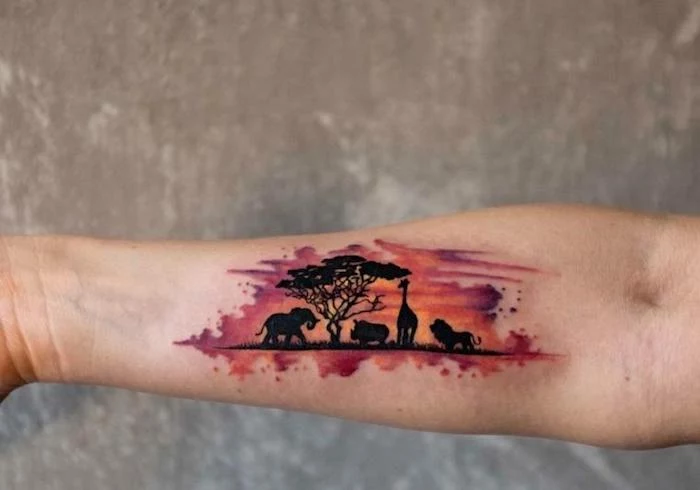
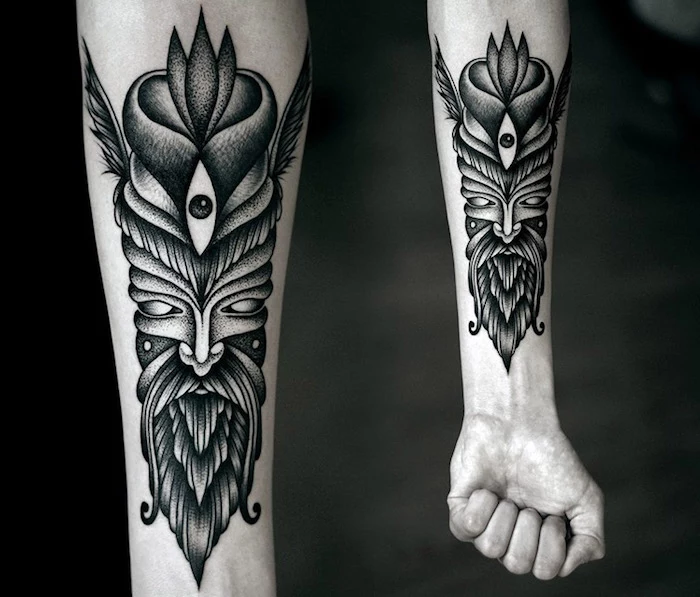
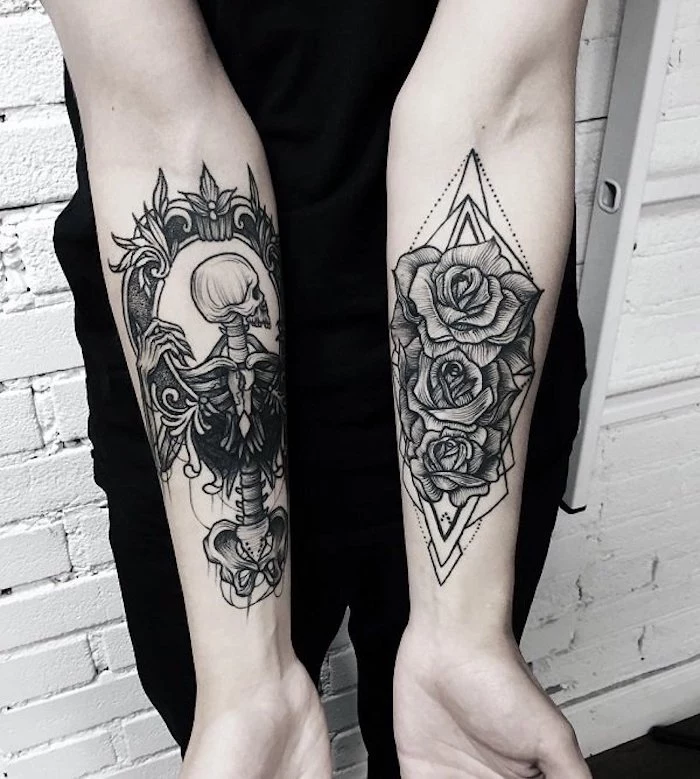
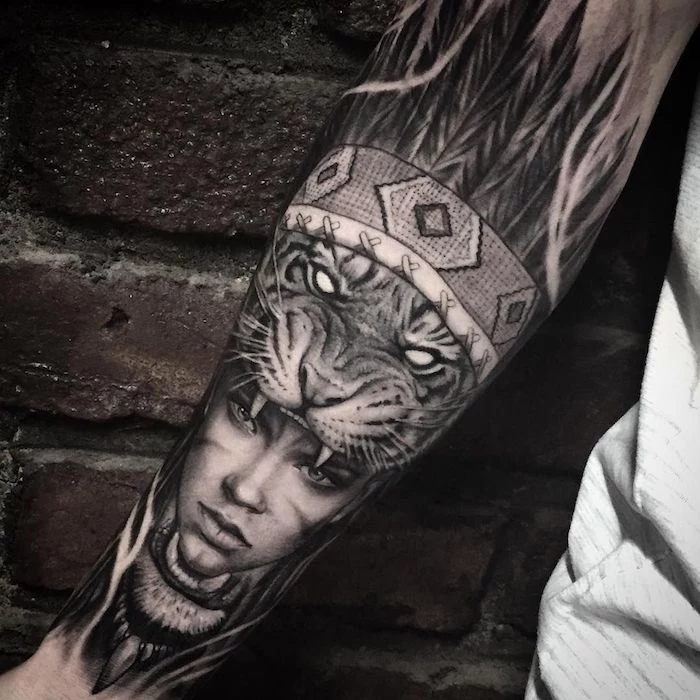
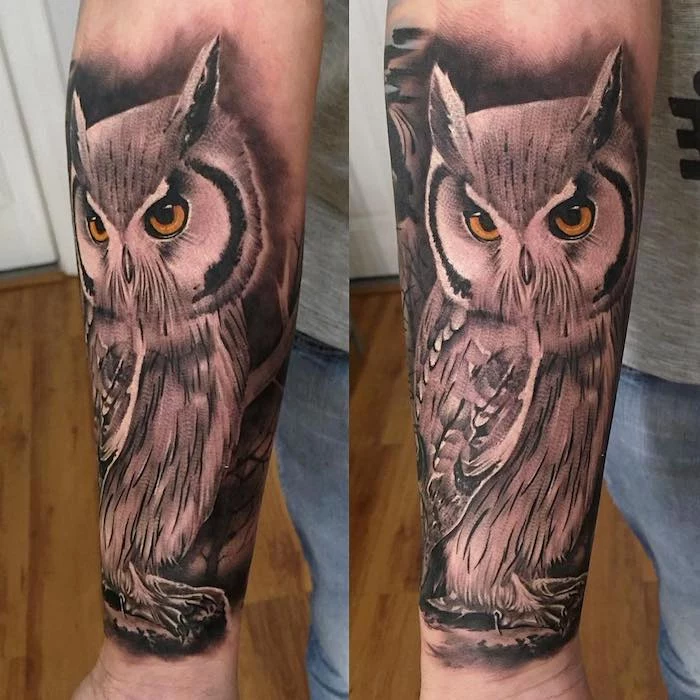
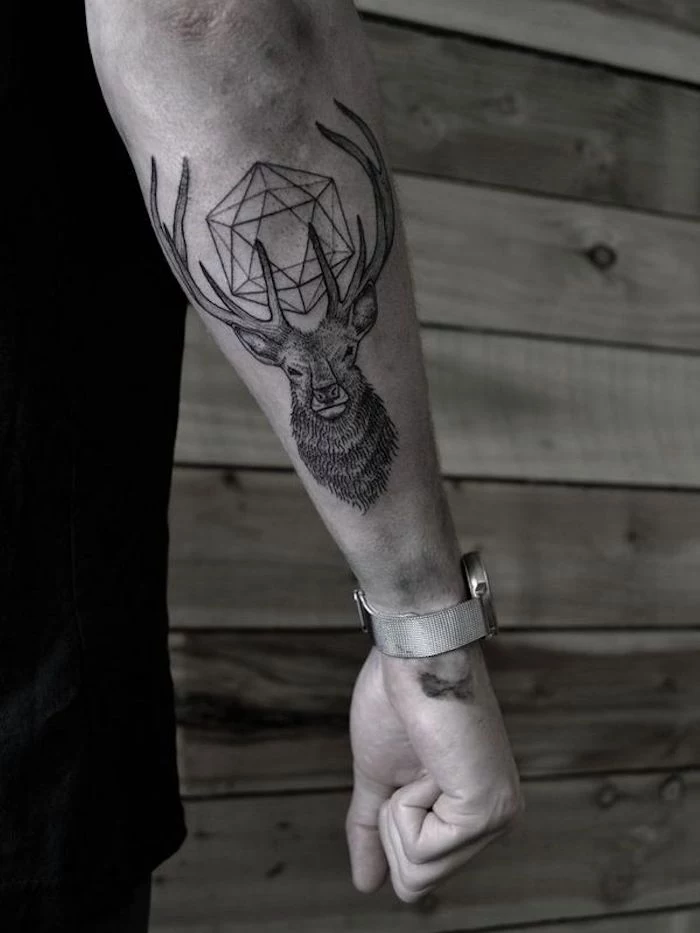
Inspiration Gallery
Your consultation isn’t just a booking formality; it’s the most critical phase of the process. This is where you and the artist align your visions. Use this time to discuss not just the ‘what’ but the ‘how’—how the design will wrap, how it will flow with your arm’s movement, and how it will age. A good artist will listen but also offer crucial feedback. If they just say ‘yes’ to everything without question, consider it a red flag.
- Hydrate well for 24 hours beforehand. Well-hydrated skin takes ink better.
- Eat a solid meal about an hour before your appointment to keep your blood sugar stable.
- Avoid alcohol and blood thinners (like aspirin) for at least a day prior.
- Get a good night’s sleep. You’ll handle the pain much better when you’re rested.

The single biggest trap: Falling in love with a tattoo you saw on Pinterest and asking an artist to copy it exactly. A true artist has their own style and ethical code; they won’t plagiarize another’s work. More importantly, that design was made for someone else’s arm, not yours. Use it as inspiration, but let your artist create a unique piece that fits your anatomy and story.
UV radiation is the number one cause of premature tattoo fading. Just 15-20 minutes of unprotected peak sun exposure can, over time, degrade ink particles, especially lighter colors like yellow, white, and orange.
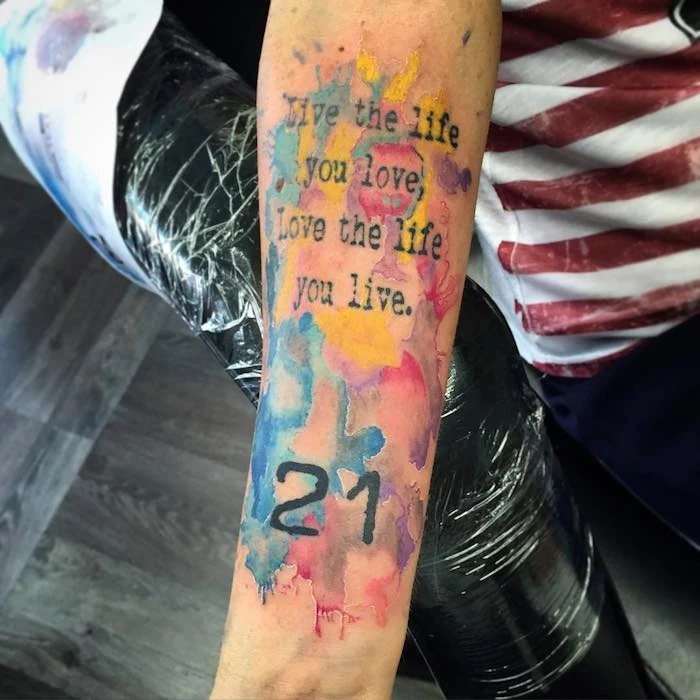
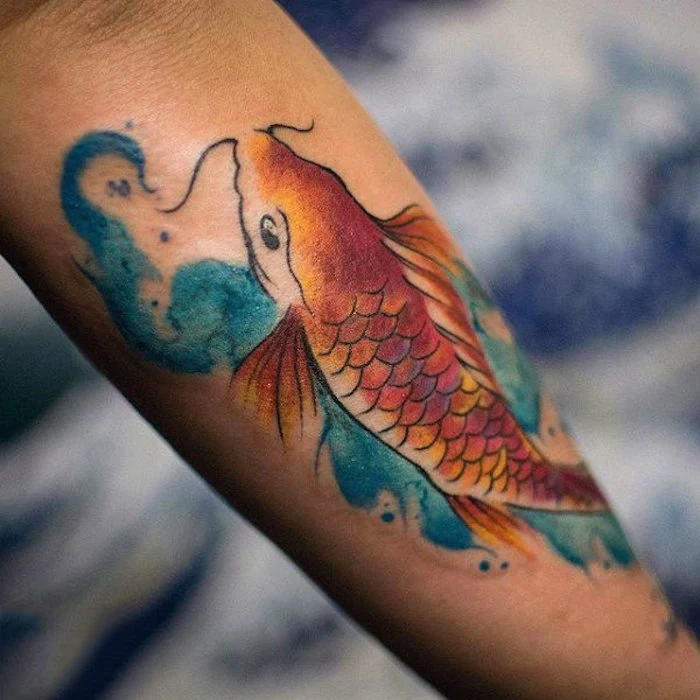
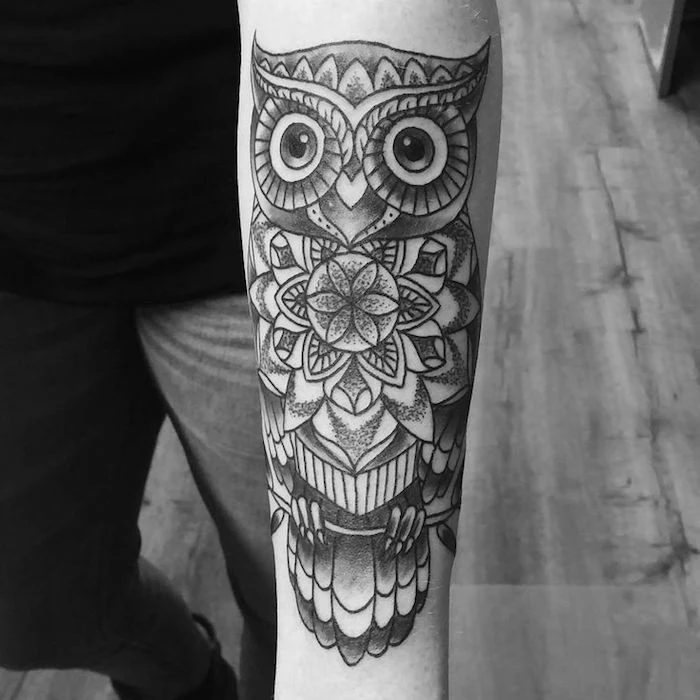
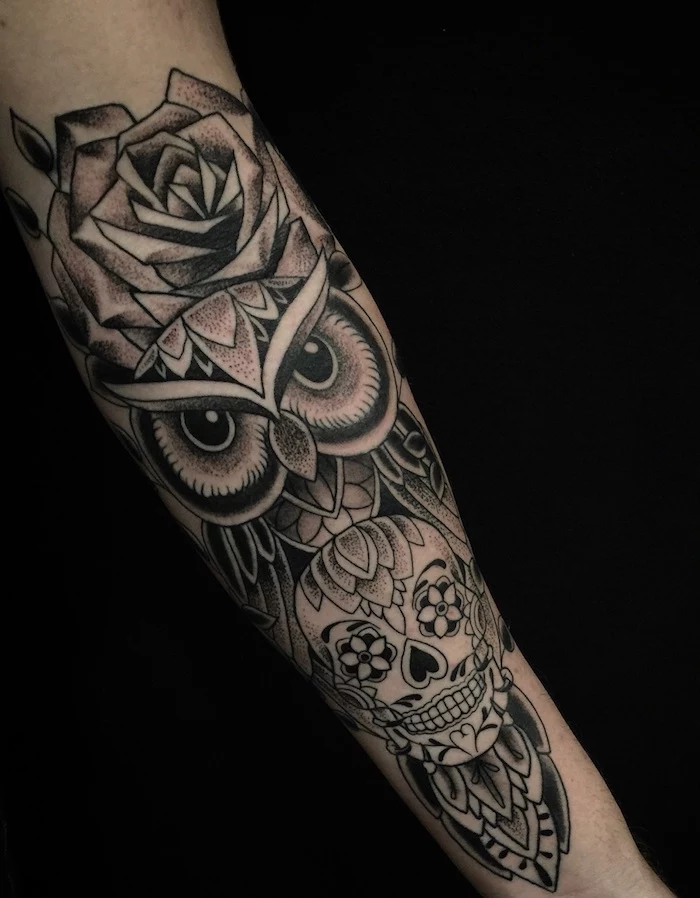
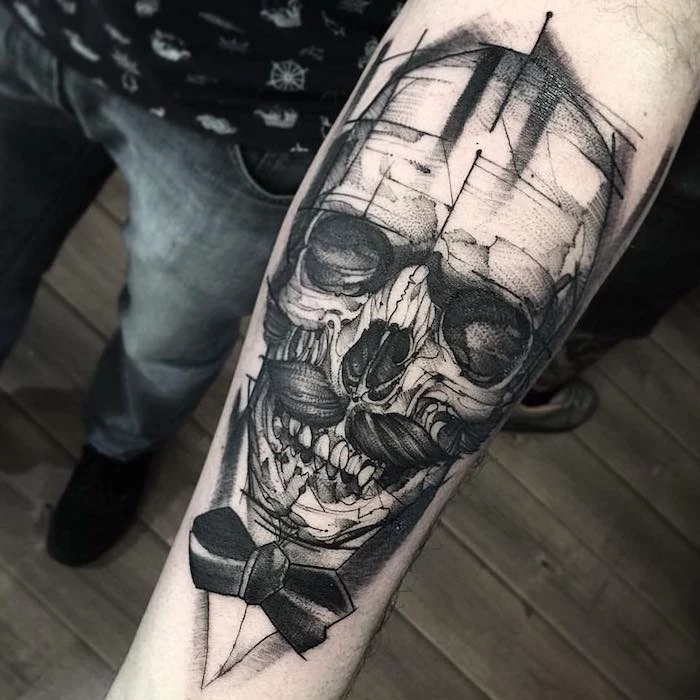
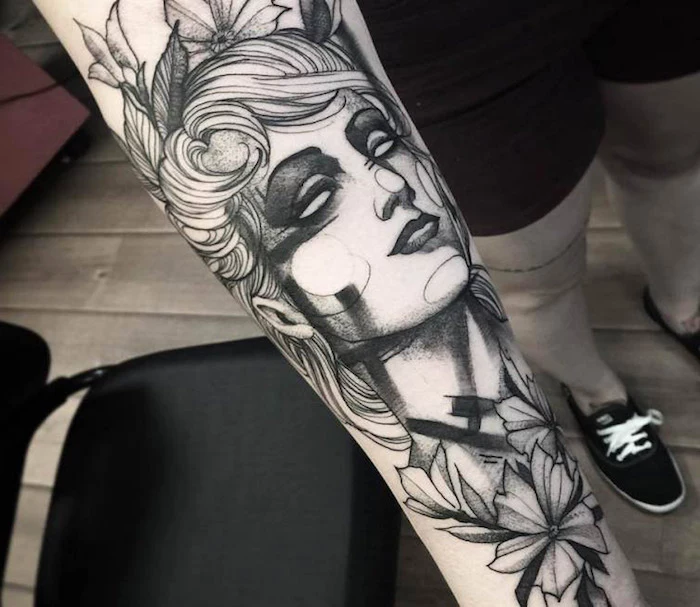
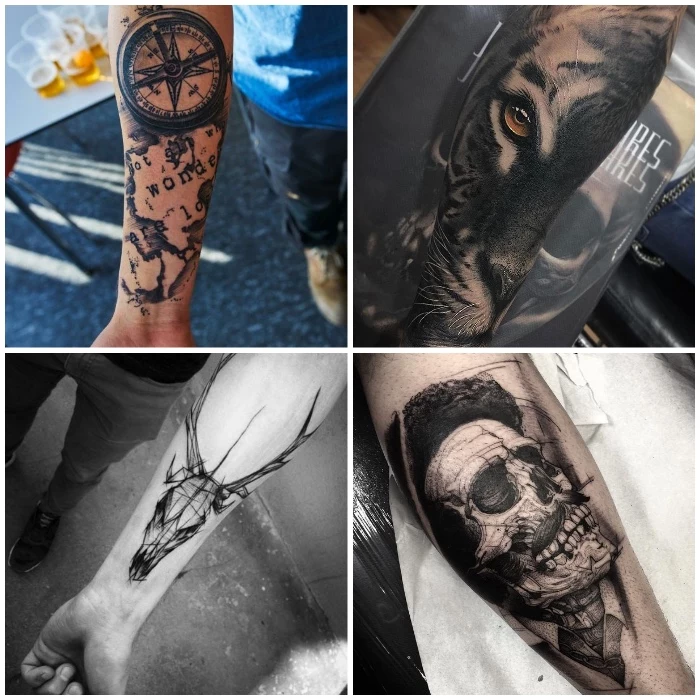
The timeless debate: black and grey or full color? Neither is ‘better,’ but they offer different vibes and have different requirements for your forearm.
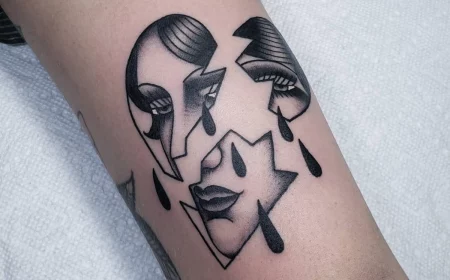
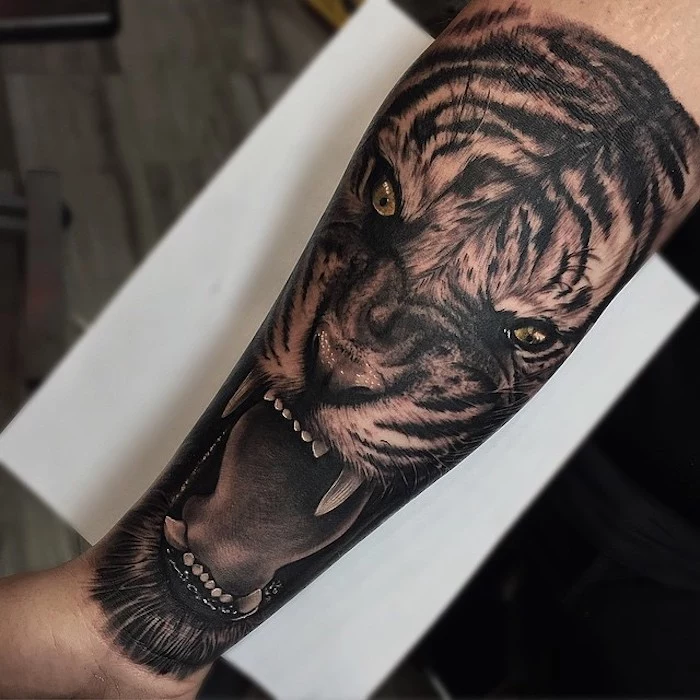
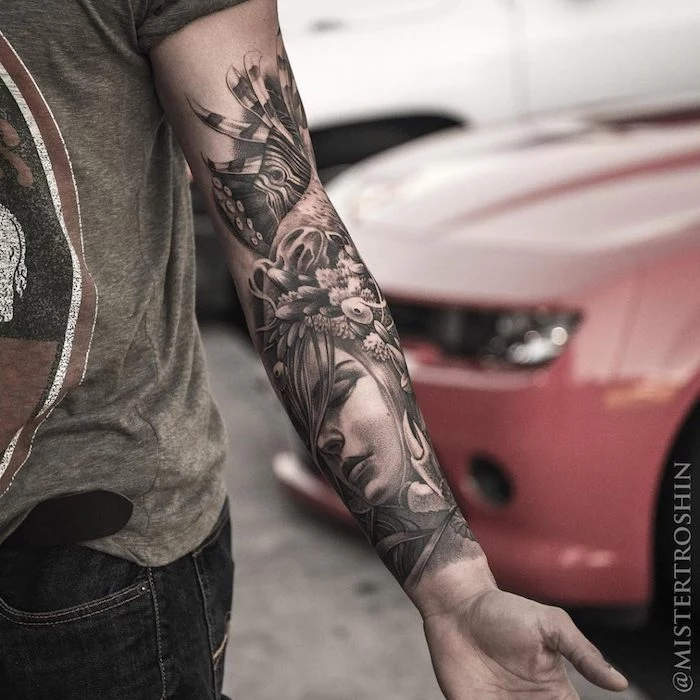
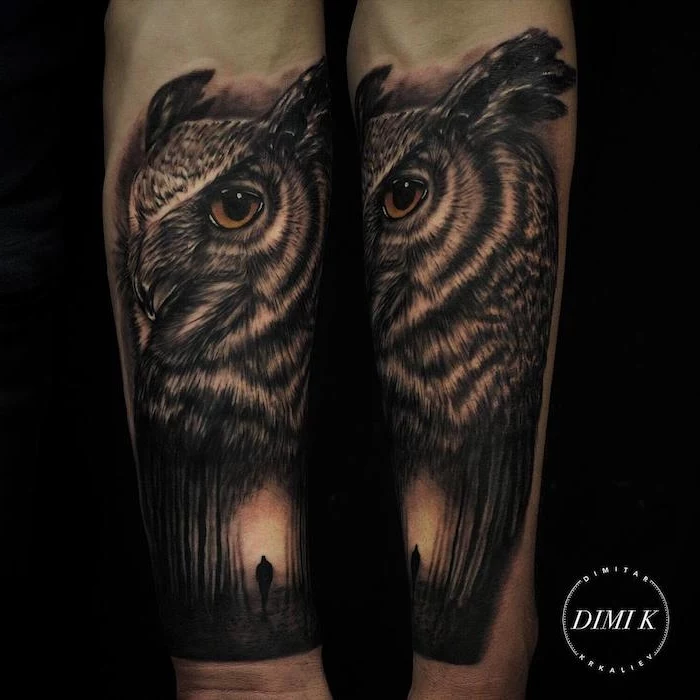
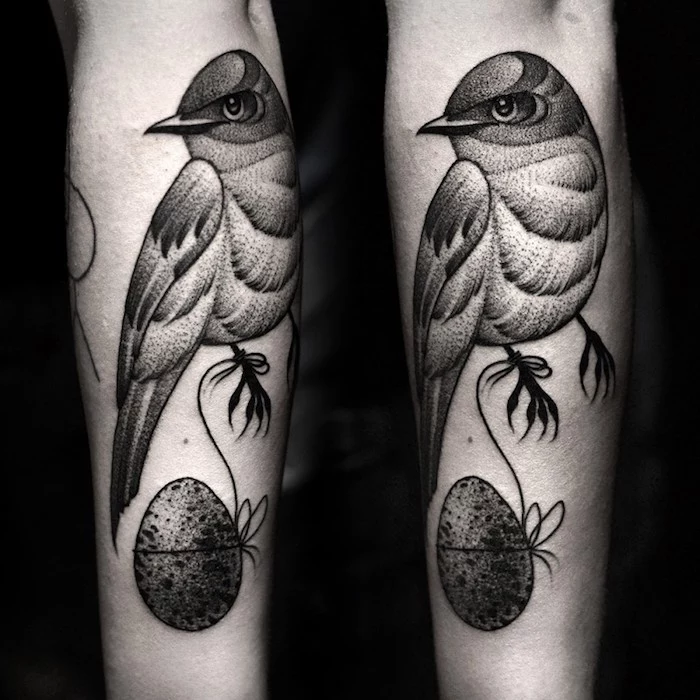
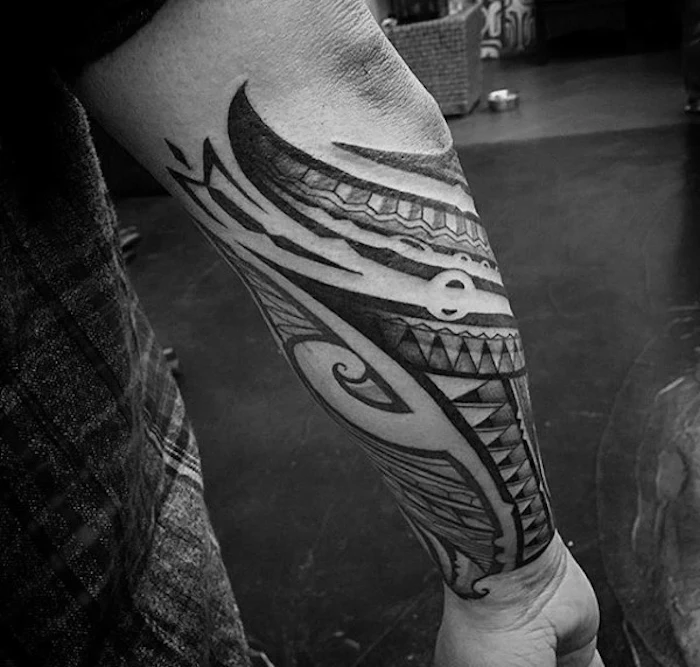
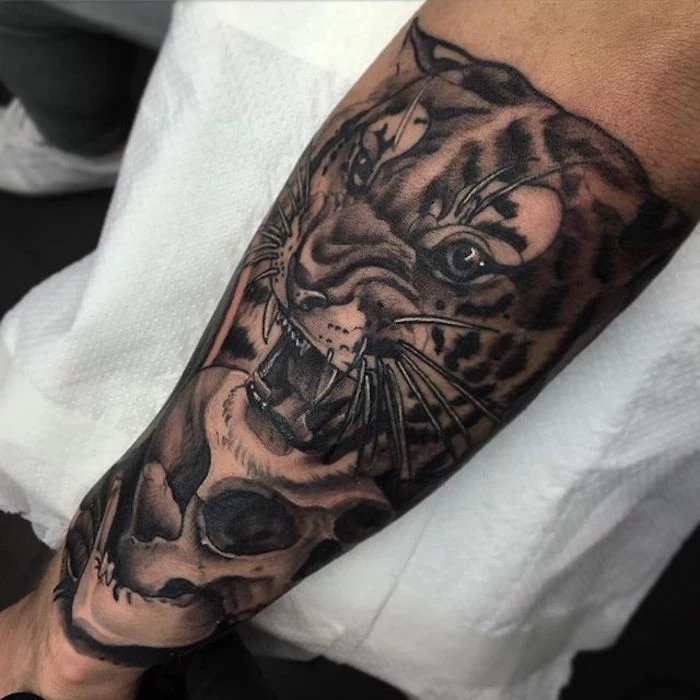
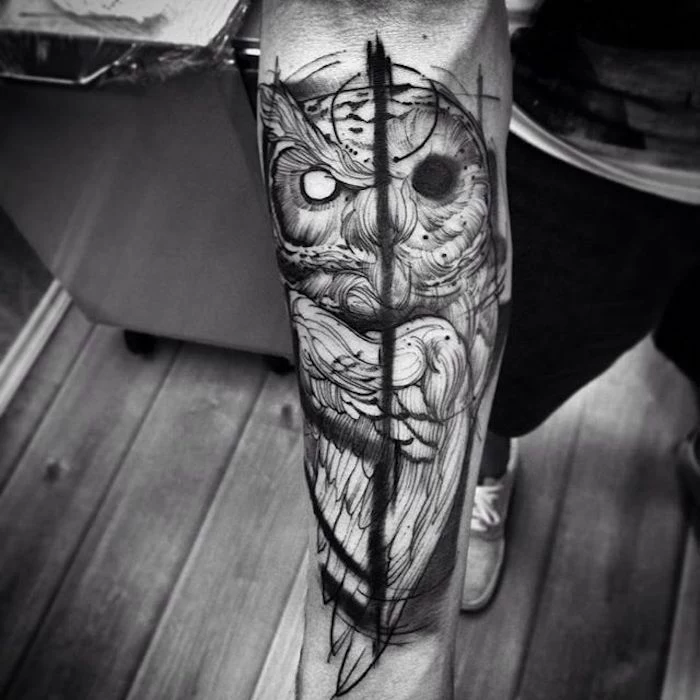
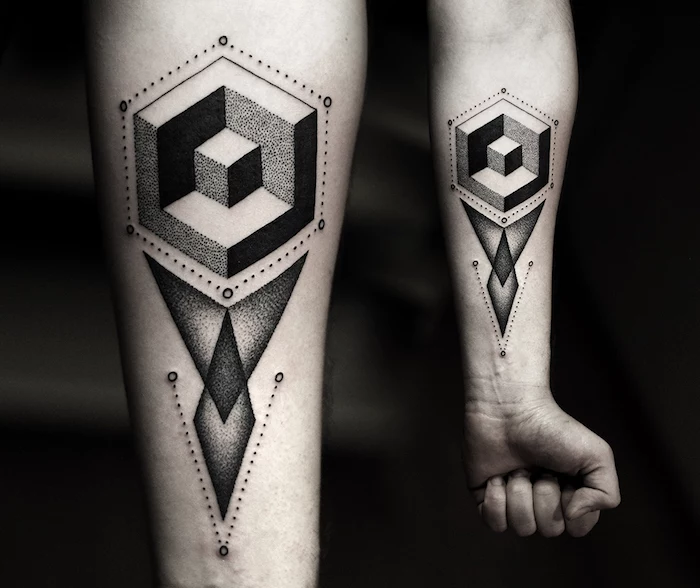
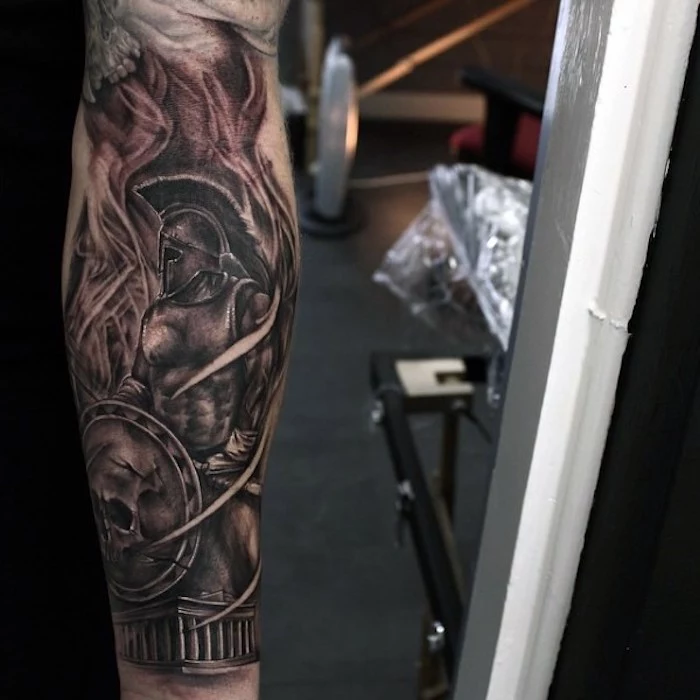
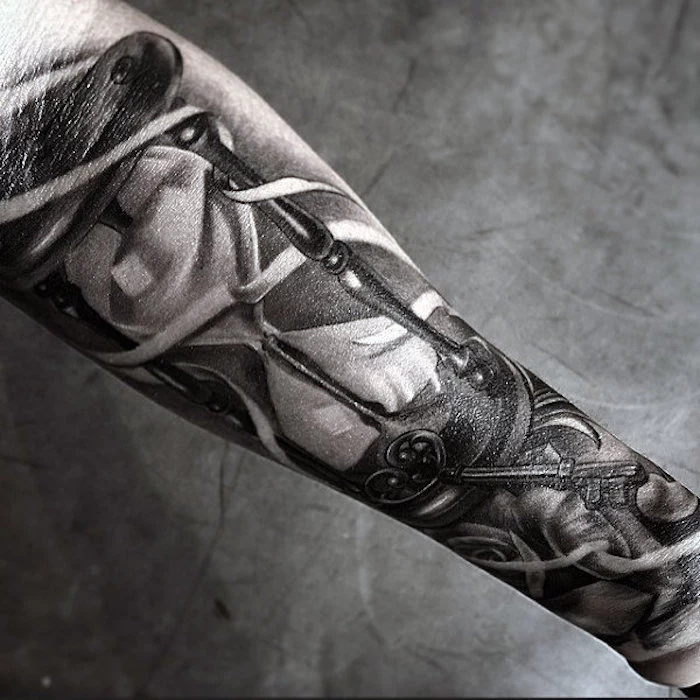
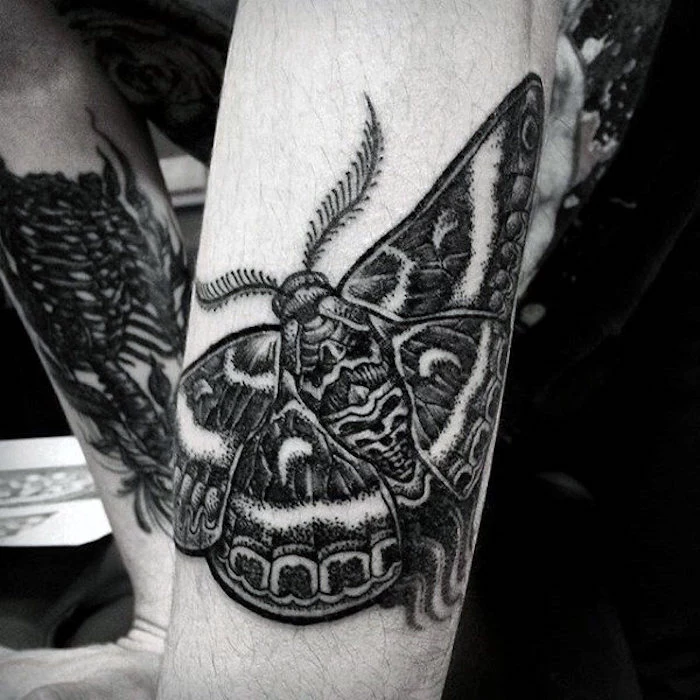
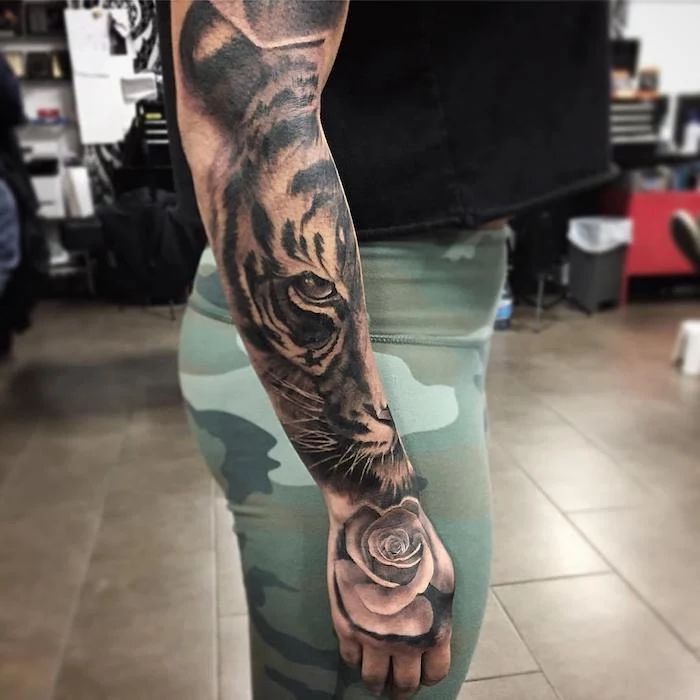
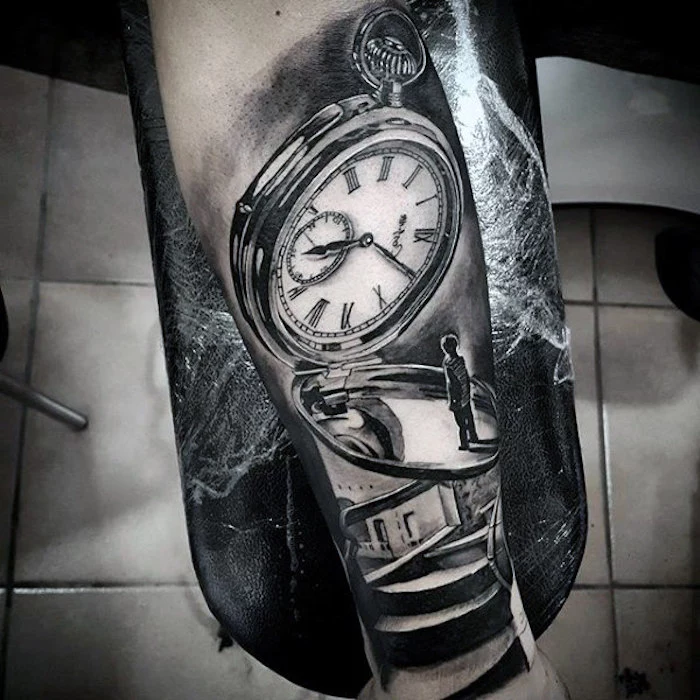
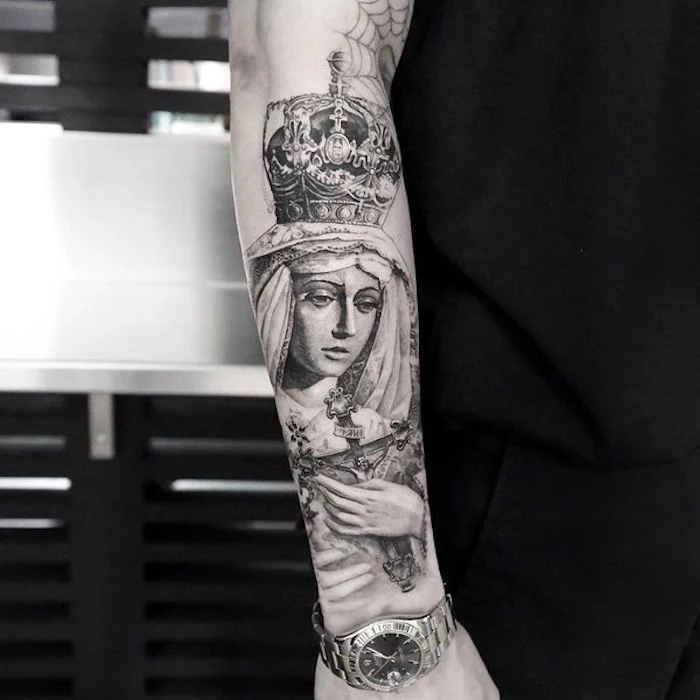
- Black & Grey: Tends to age gracefully, offers incredible depth and realism, and often has a more classic, subtle feel. It relies on shading and contrast, making it perfect for portraits or detailed illustrative work.
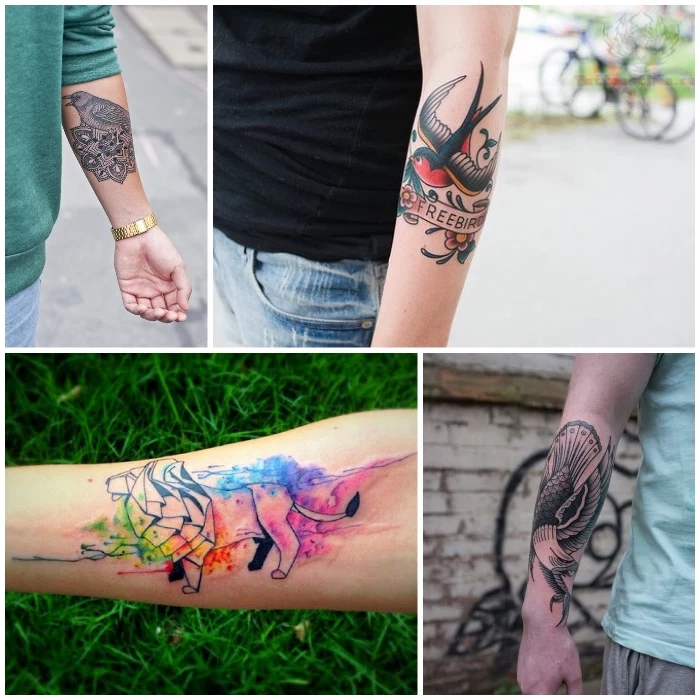
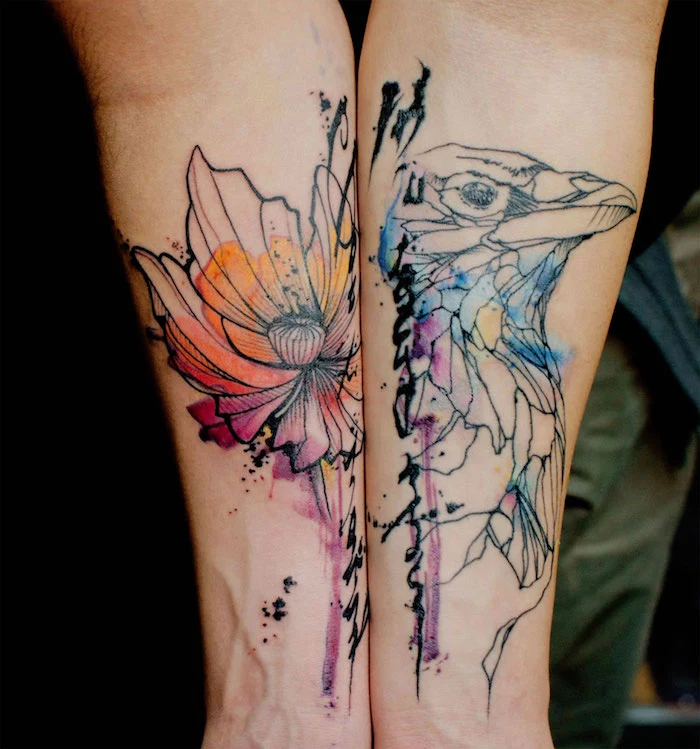
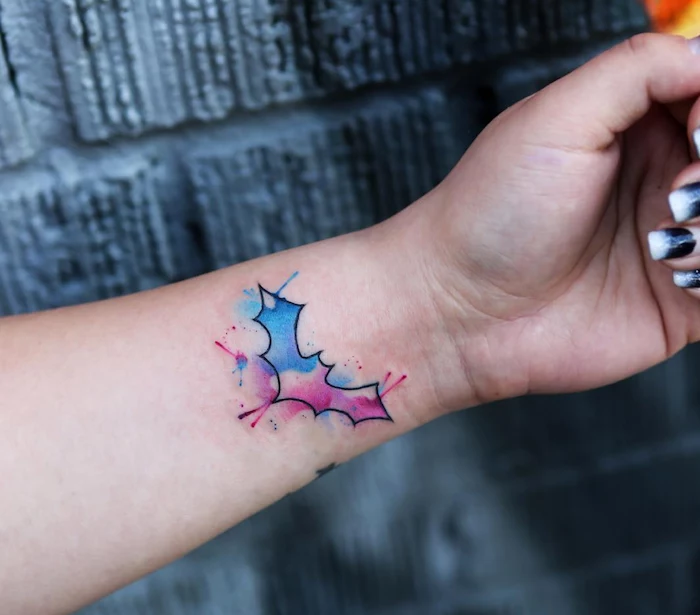
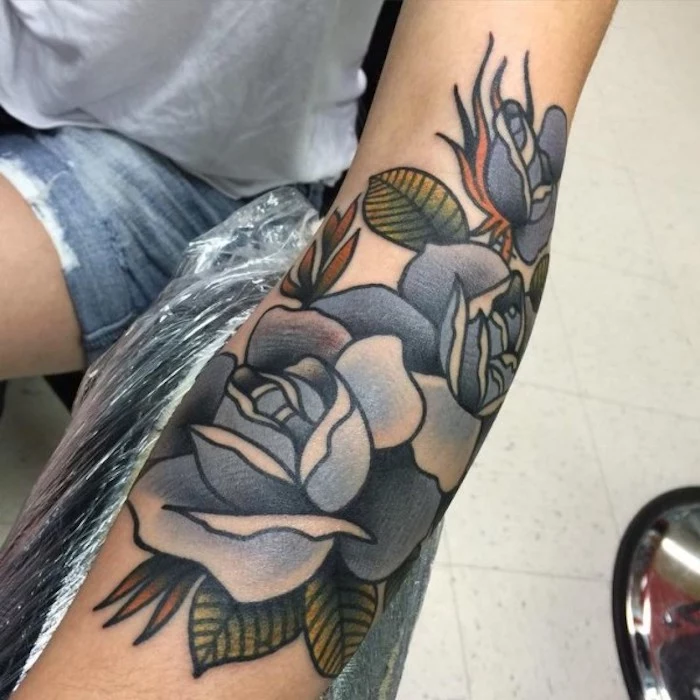
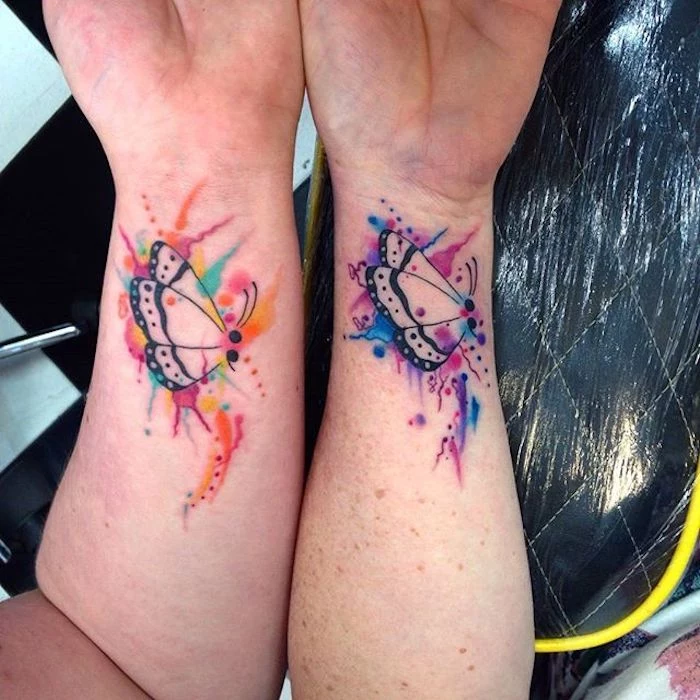
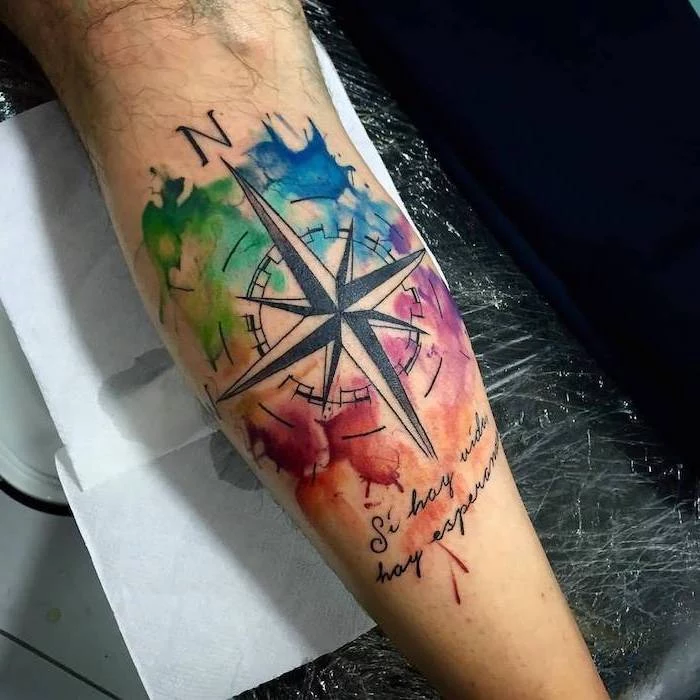
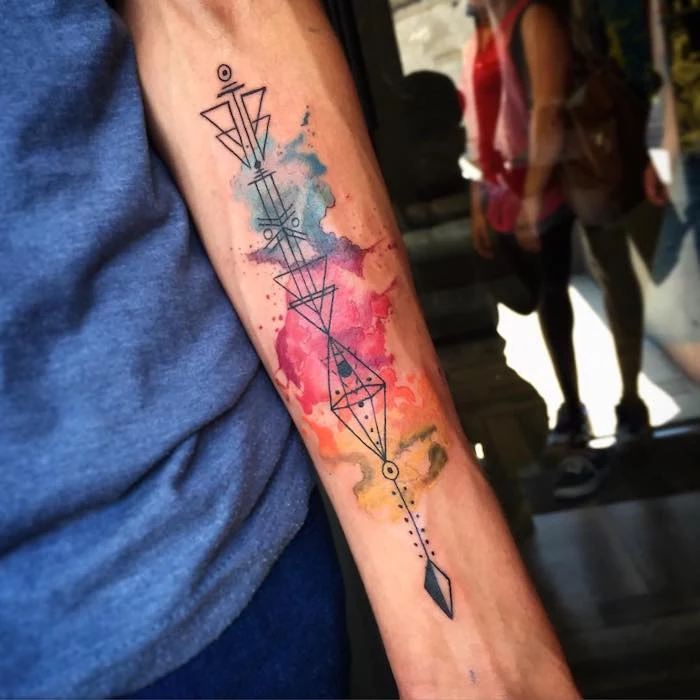
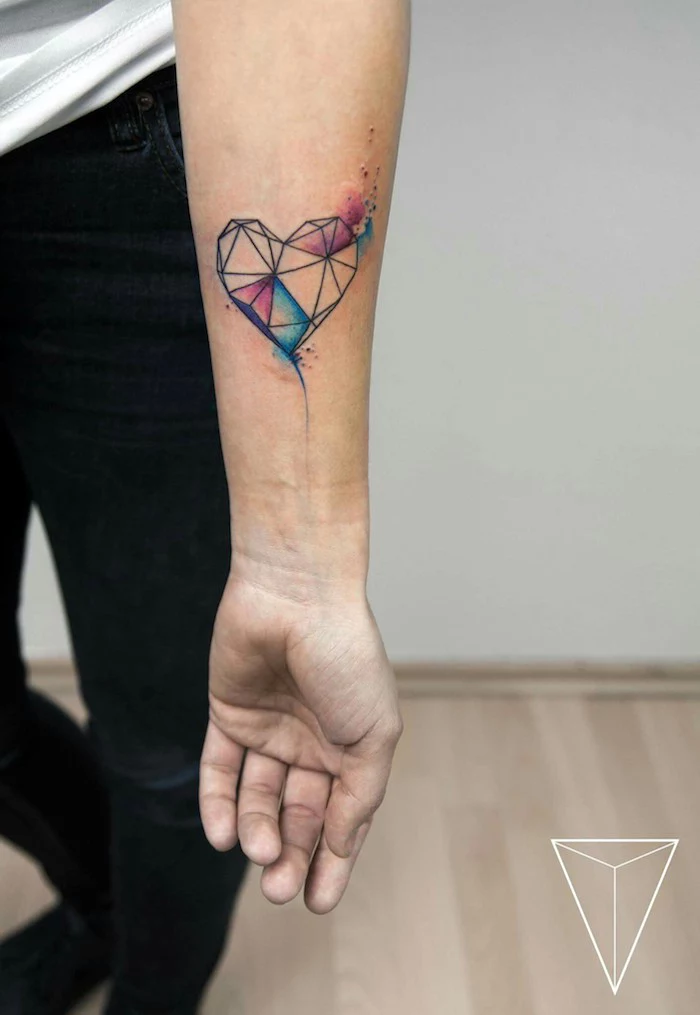
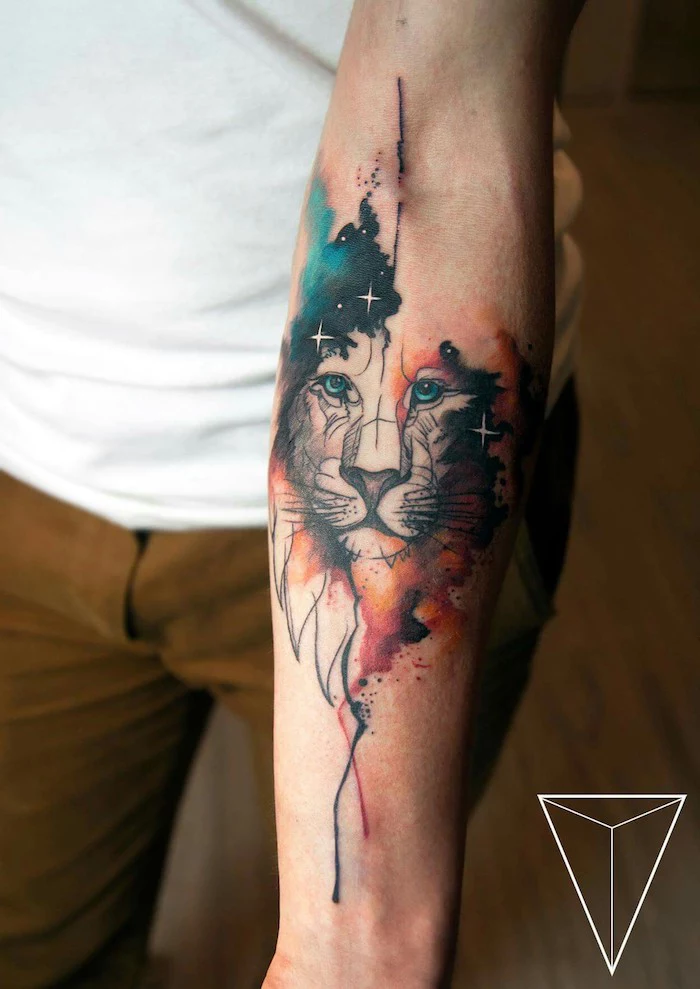
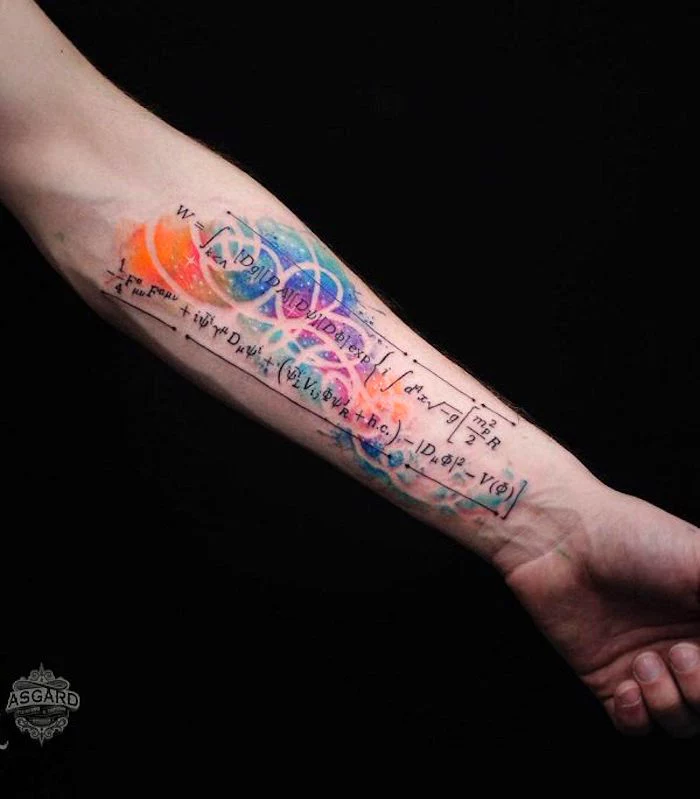
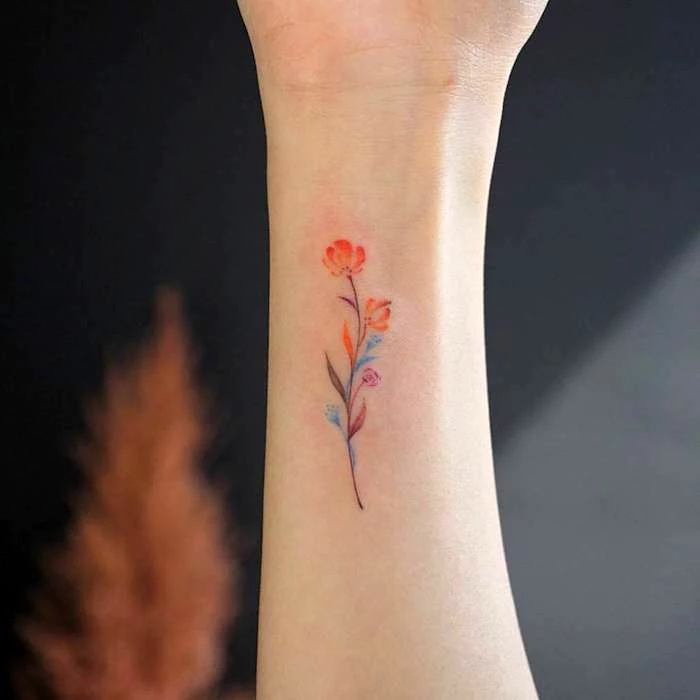
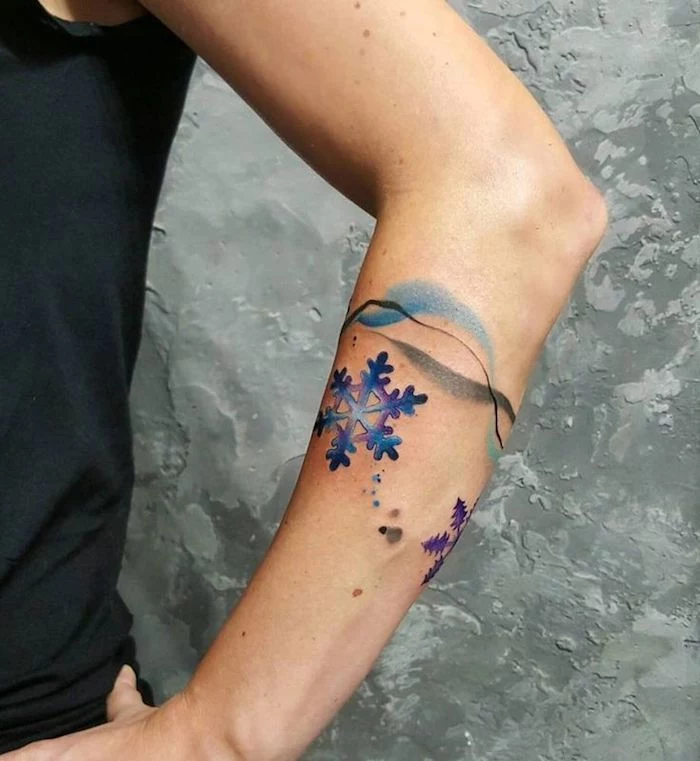
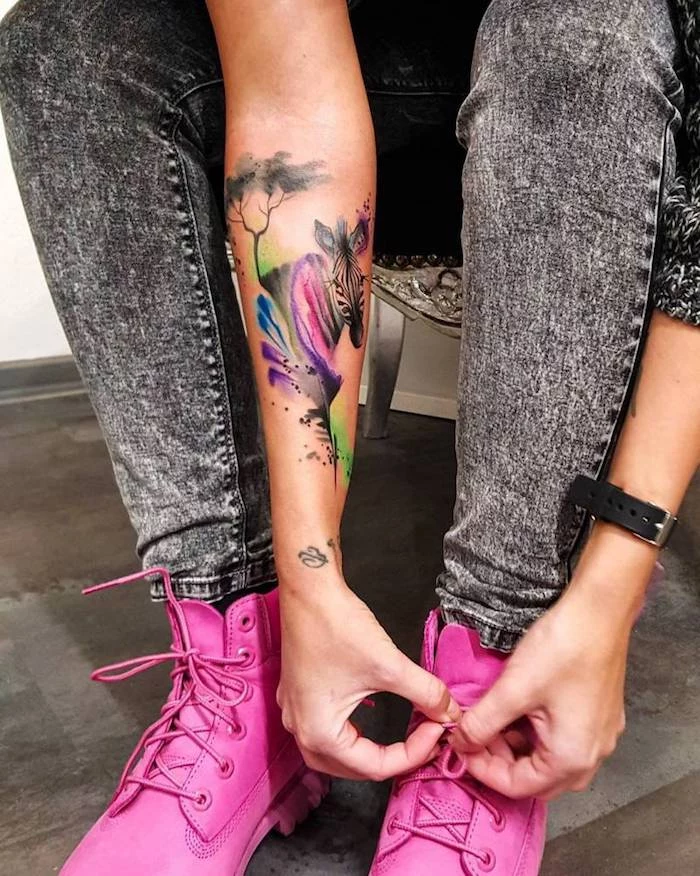
- Color: Delivers a powerful, vibrant punch. Ideal for Neo-Traditional, Watercolor, or Japanese styles. Be prepared for longer sessions and know that lighter colors may require more diligent sun protection to stay bright.
Wondering why a quality forearm piece can cost a pretty penny?
You’re not just paying for the hour the needle is on your skin. You’re investing in the artist’s years of training, the high-quality, sterile equipment (needles, single-use grips), premium inks that won’t fade into a muddy mess, and the time spent designing a custom piece just for you. It’s the difference between a fast-food burger and a gourmet meal prepared by a chef.

Classic Healing: The artist applies an ointment like A+D or Aquaphor and wraps your arm in plastic wrap. You’ll wash it a few hours later and continue a routine of washing and moisturizing for weeks.
Modern Healing: Use of a transparent, medical-grade adhesive film like Saniderm or Dermalize Pro. You leave it on for several days, creating a sterile barrier that lets the skin heal in its own fluids.
The modern method is often preferred for its convenience and reduced risk of infection, but always follow your specific artist’s instructions.
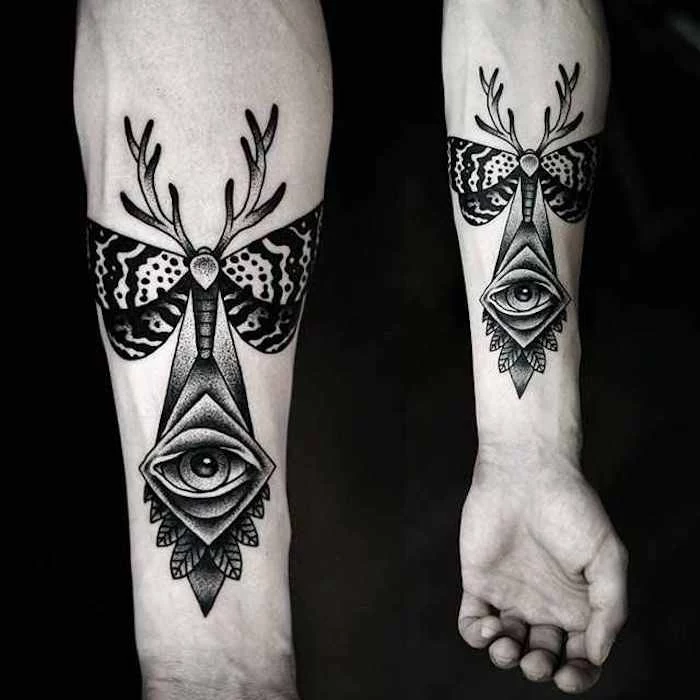
A study published in ‘Symmetry’ journal confirmed that the human eye is exceptionally skilled at detecting tiny asymmetries, especially on the human body.
This is why tattoo placement is an art in itself. A design that looks centered on a flat drawing can appear lopsided once placed on the curve of your forearm. A great artist will use a stencil and have you move your arm, twist it, and relax it to find the ‘true’ center that accounts for muscle and bone structure.
- Lines stay crisp and defined, not fuzzy.
- Blacks remain deep and saturated, not patchy.
- Colors pop with vibrancy instead of looking washed out.
The secret? A drama-free healing process. Listening to your aftercare instructions isn’t just about avoiding infection; it’s about preserving the integrity of the art you just invested in.
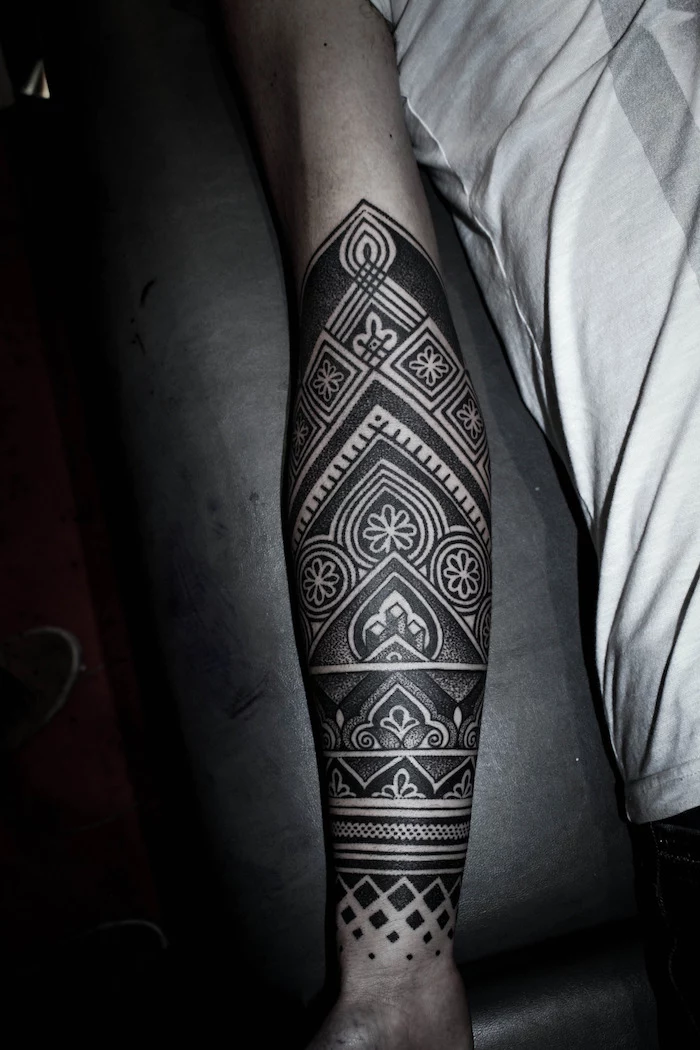
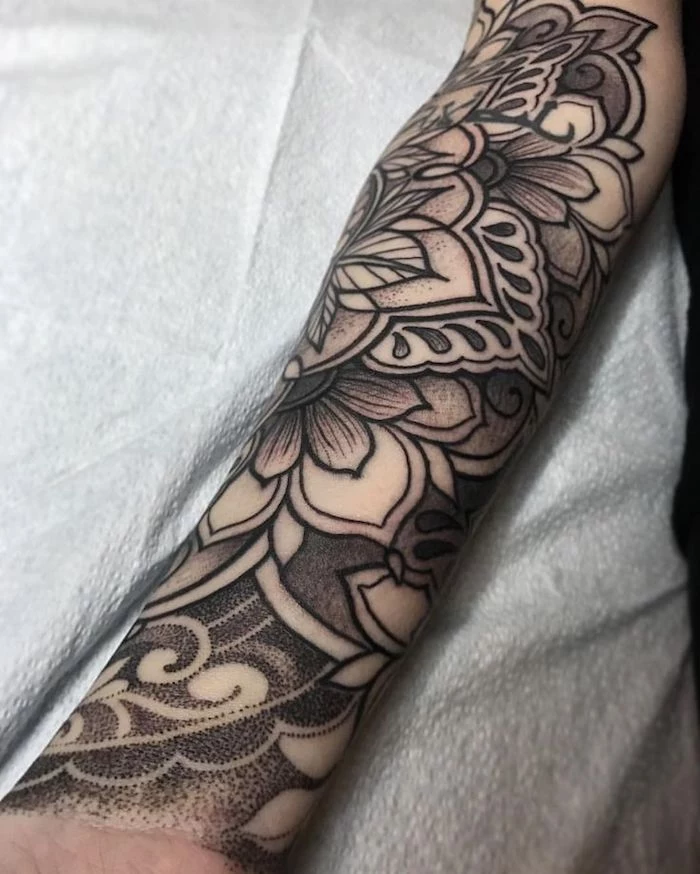
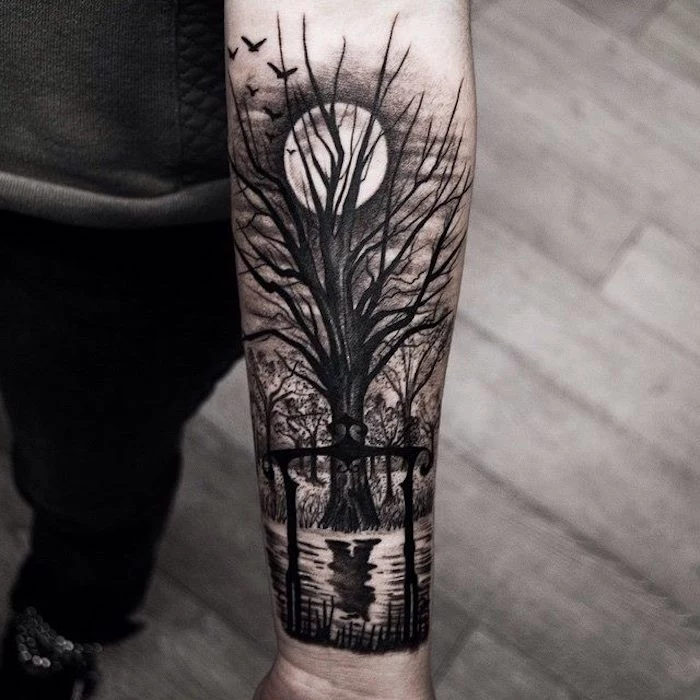
If you love designs that flow naturally with the body, look to Japanese tattooing (Irezumi). For centuries, these masters have designed pieces that follow the ‘kikubori’—the natural shape and grain of the muscle. A dragon’s tail might curl perfectly around the wrist bone, or waves might crash along the line of the brachioradialis. It’s a masterclass in making the art and the body one single entity.
Pro Tip: Don’t just show up with one picture on your phone. To help your artist truly understand your vision, create a small, curated mood board. Include:
- 2-3 examples of the *subject matter* you like.
- 2-3 examples of the *style* you’re drawn to (realism, fineline, etc.).
- 1-2 examples of tattoos by your chosen artist that you love. This shows them what attracted you to their specific work.
A hard truth about ink: Bargain hunting for a tattoo is the worst decision you can make. A cheap tattoo often means an inexperienced artist, rushed work, or unhygienic practices. The cost of a cover-up or laser removal will always be far greater—financially and emotionally—than investing in a quality piece from a reputable artist from the start.
The lotion you use during healing matters. You want something that moisturizes without clogging pores or pulling out ink.
- Hustle Butter Deluxe: A popular vegan option, rich in shea, mango, and aloe butters. It’s designed specifically for tattoos, both during and after the process.
- Aquaphor Healing Ointment: A classic, pharmacy-grade choice. It’s thick, so use a very thin layer to avoid suffocating the healing skin.
- Lubriderm or Cetaphil: Unscented, basic moisturizers are perfect once the initial scabbing phase is over.

Worried your hairy arms will obscure your new masterpiece?
Don’t be. Your artist will shave the area before they begin. After the tattoo is fully healed, your hair will grow back. While very dense, dark hair might slightly soften the look of the tattoo, it doesn’t ruin it. The design simply becomes a part of your natural arm. Think of it like a pattern on a textured surface—it’s still clearly visible.
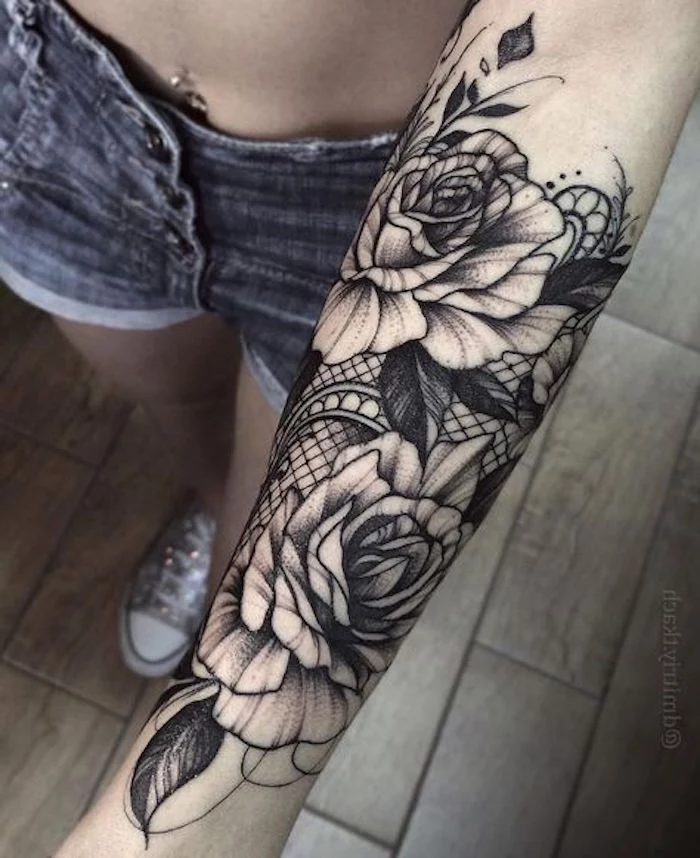
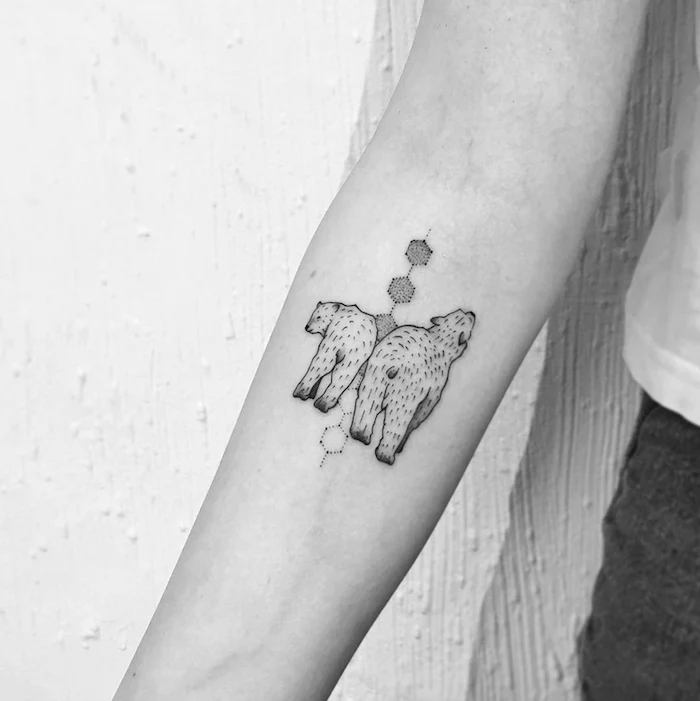
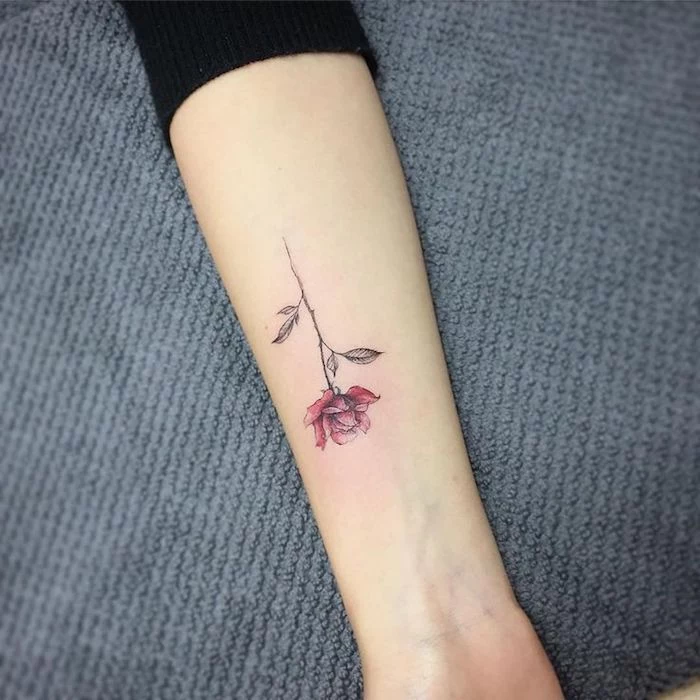
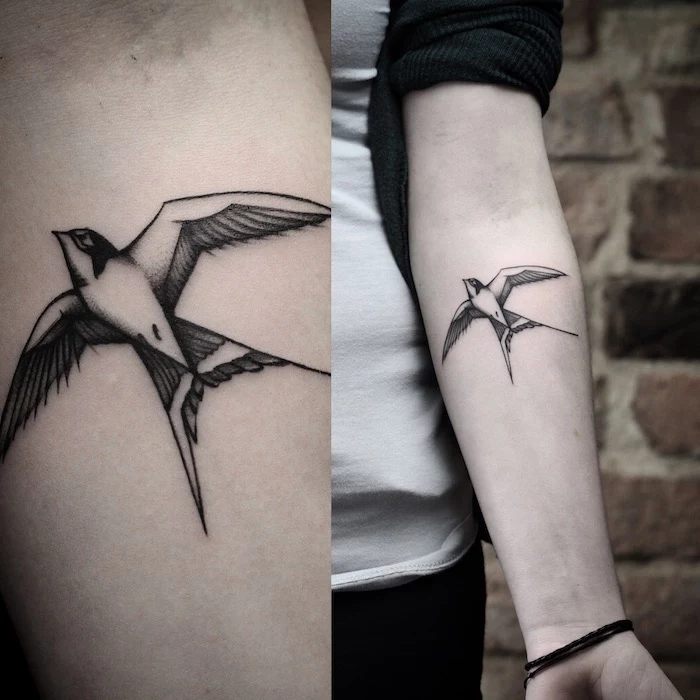
Inner Forearm Piece: This is a more personal placement. It’s facing you, so you’ll see it constantly. It’s also more easily concealed by turning your arm or with long sleeves, offering a bit more discretion.
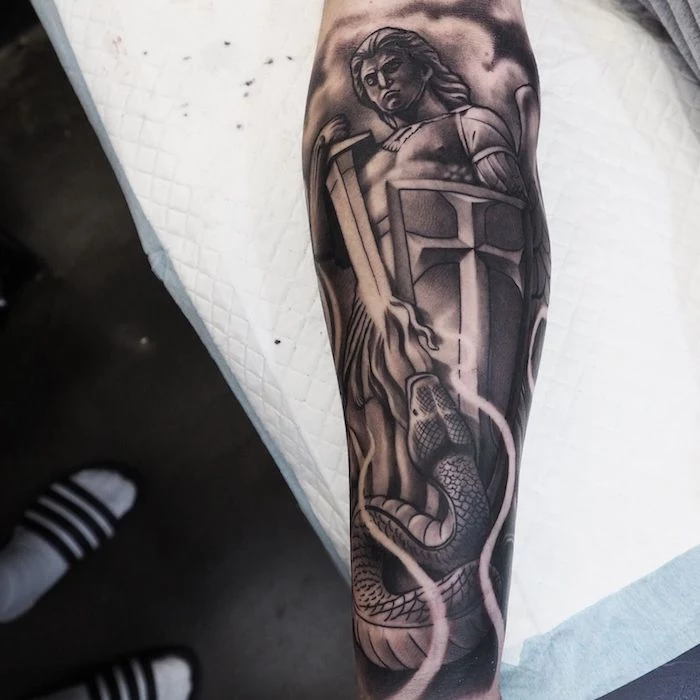
Outer Forearm Piece: This is a statement to the world. It’s the part of your arm others see most often. It’s the perfect spot for a bold design meant to be seen and to start conversations.
Consider which audience—yourself or the world—is the primary one for your piece.

Over a 30-year period, the skin loses about 20% of its dermal thickness and elasticity.
What does this mean for your forearm tattoo? Lines will naturally soften and spread slightly over decades. This is why artists often advise against designs with tiny, intricate details clustered together. A design with strong structure and some ‘breathing room’ will look much clearer and more legible 20 years from now.
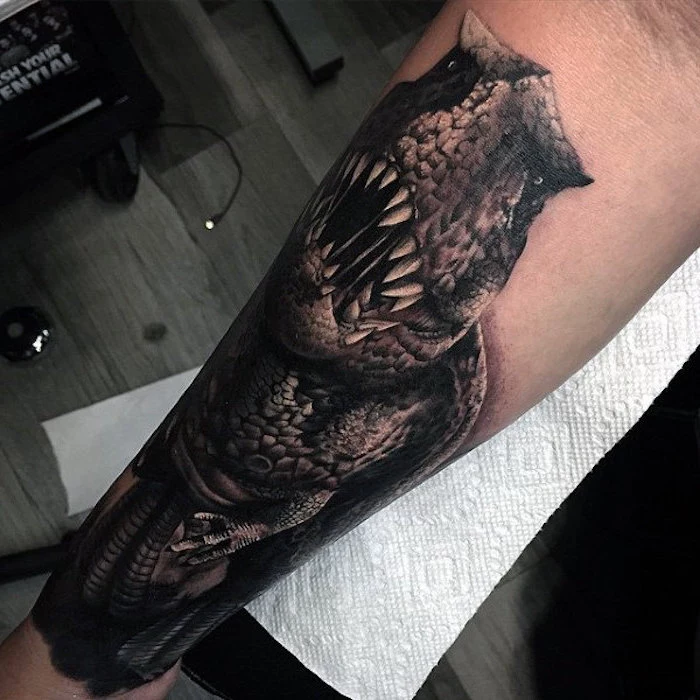
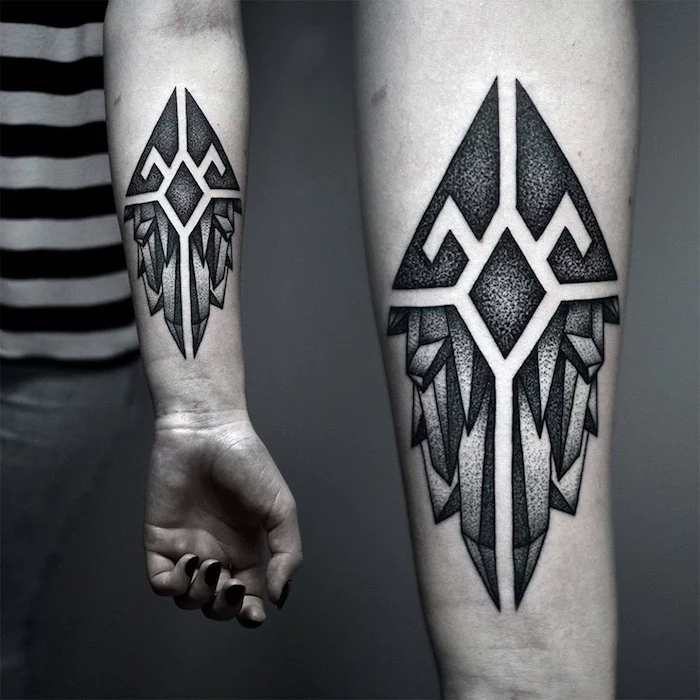
- It’s immediately recognizable from across a room.
- It avoids the ‘muddy’ look as it ages.
- It has a timeless, powerful aesthetic.
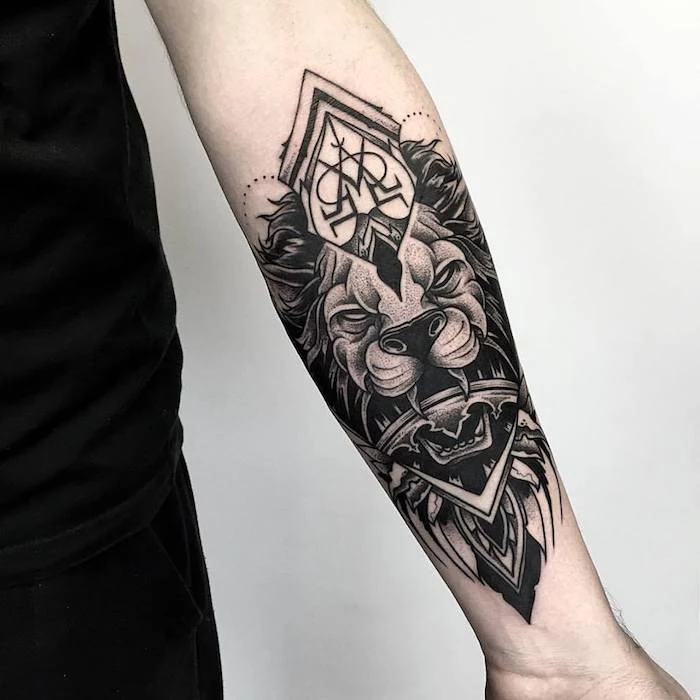
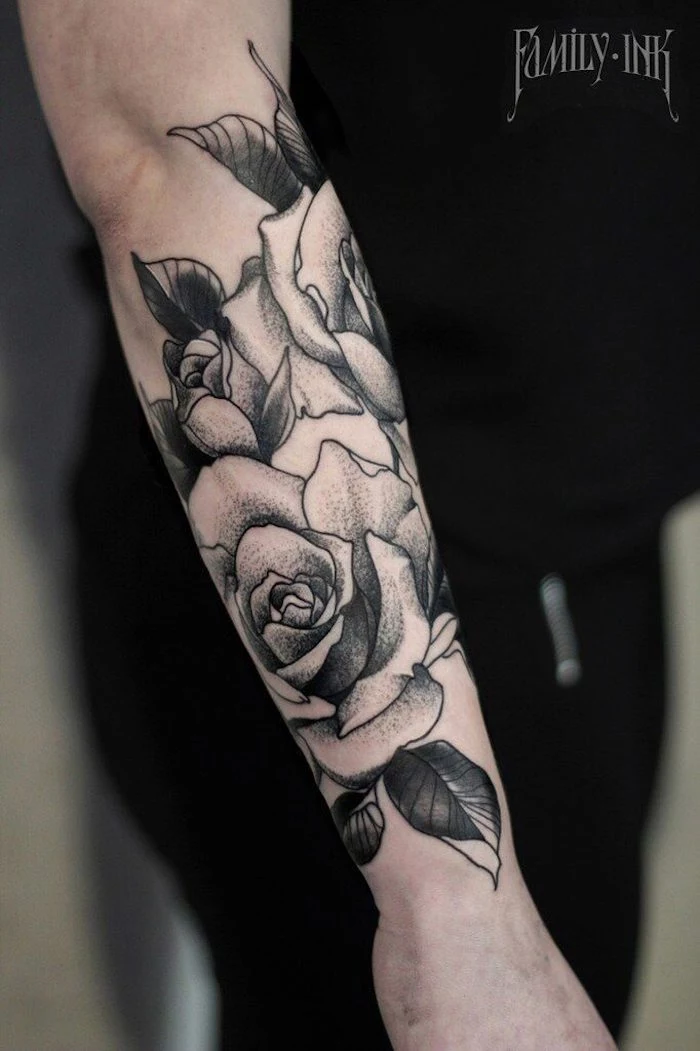
The secret? The ‘bold will hold’ principle. Tattoos built on a foundation of strong, clean black outlines have a structural integrity that lasts for decades, even as skin changes and ink settles.
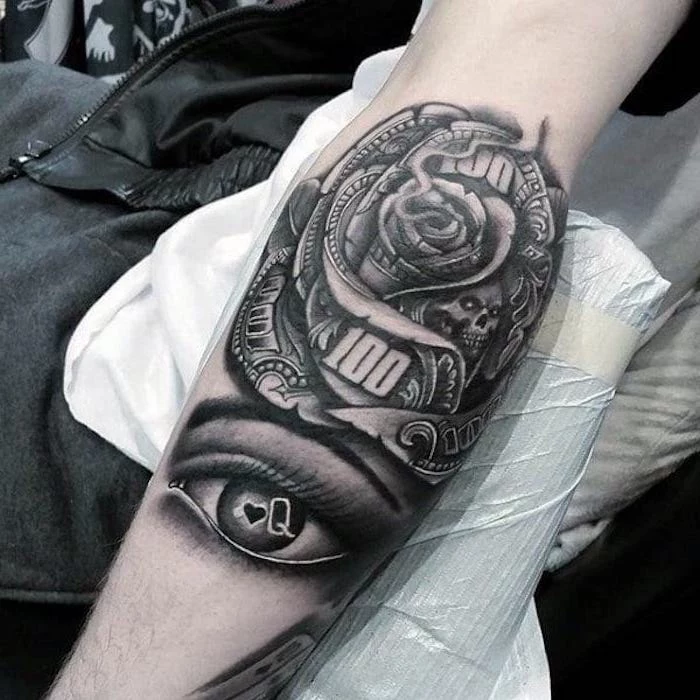
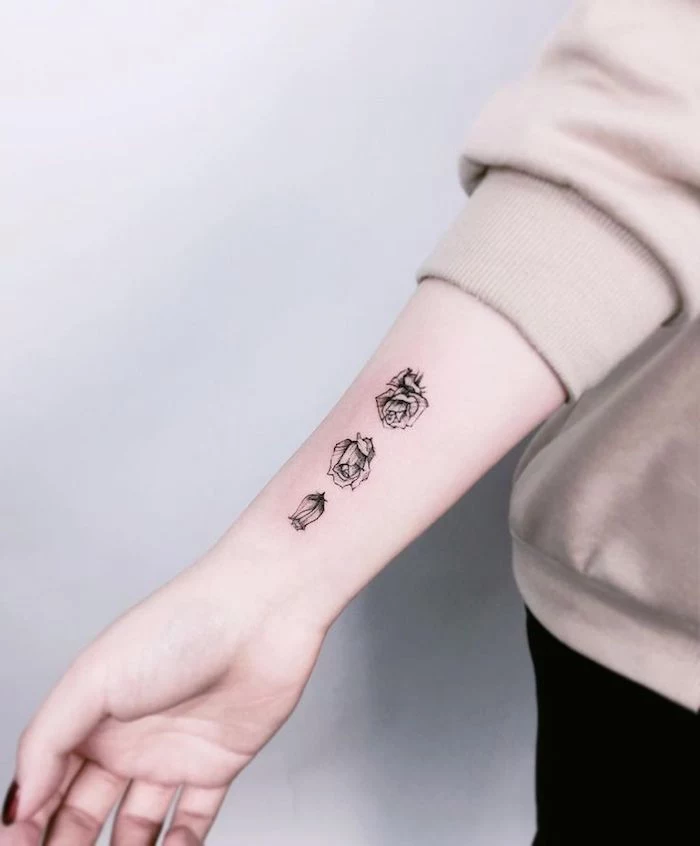
The trend of hyper-detailed micro-realism is huge, but the forearm presents a challenge. The constant movement and sun exposure in this area can be tough on delicate, single-needle work. If you opt for this style, be extra vigilant with sunscreen and choose an artist who is a proven specialist in micro-realism, as they’ll know how to pack the ink for maximum longevity.
- Soaking: Avoid baths, swimming pools, and hot tubs for at least 2-3 weeks. Quick showers are fine.
- Picking: Never pick or scratch the scabs and flakes. Let them fall off naturally to prevent pulling ink out.
- Sun: Keep your fresh tattoo completely out of direct sunlight during the entire healing process.
- Over-moisturizing: A thin, breathable layer of lotion is all you need. A thick, goopy mess can suffocate the skin.
Let’s be real about healing: Around days 4-7, your new tattoo will start to flake and ITCH. This itch can be intense, like a healing sunburn. It’s a sign that your body is repairing itself. Whatever you do, do not scratch it. A gentle slap or applying a thin layer of moisturizer can help, but you must resist the urge to scratch to avoid damaging the fresh ink.
A 2019 study in the ‘Journal of Social Psychology’ found that individuals with tattoos often report higher levels of self-esteem and a stronger sense of body ownership.
Once healed, your job is to be your tattoo’s caretaker for life. The two most important things are simple.
- Moisturize: Healthy, hydrated skin is like a clean window—it makes the art behind it look brighter. Use a daily lotion.
- Sunscreen: This is non-negotiable. Use a broad-spectrum sunscreen with at least SPF 30, like EltaMD UV Clear or Neutrogena Ultra Sheer, every single day on your forearm to prevent fading.
How do you find an artist who truly gets forearm tattoos?
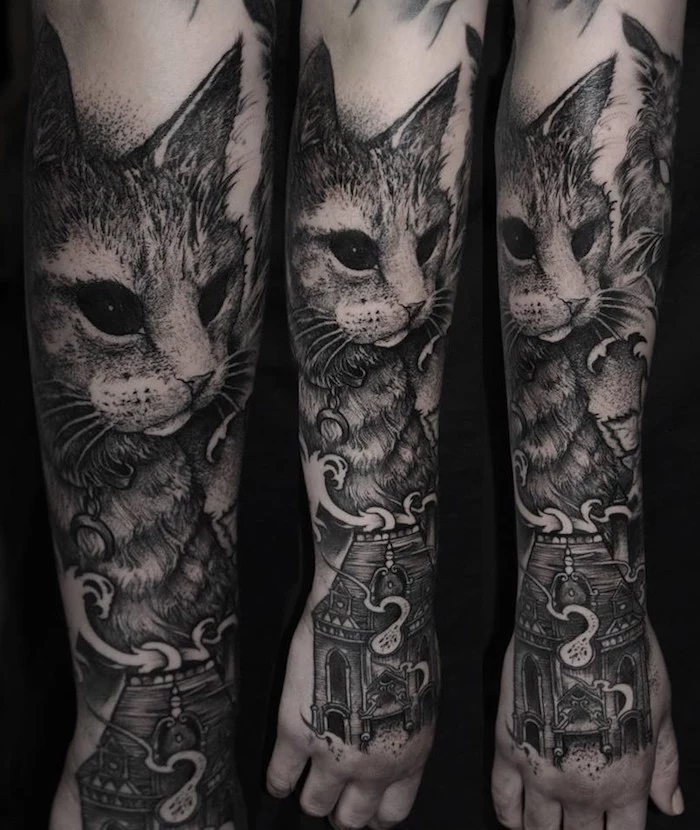
Scrutinize their portfolio. Don’t just look for pretty pictures; look for photos of *healed* forearm tattoos. Do the lines look solid? Does the design flow with the arm’s shape, or does it look like a flat sticker? Look for videos where they show the tattoo from multiple angles. A great forearm piece looks good from the side, top, and bottom—not just straight-on.
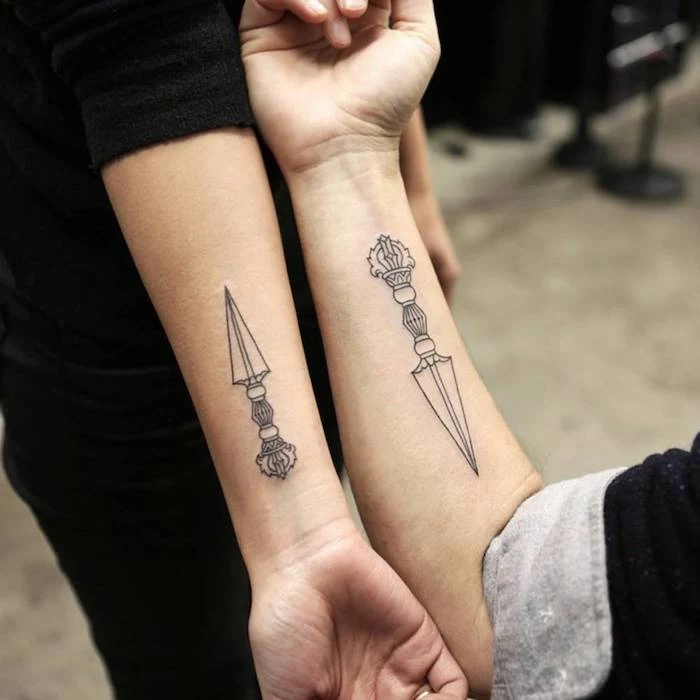
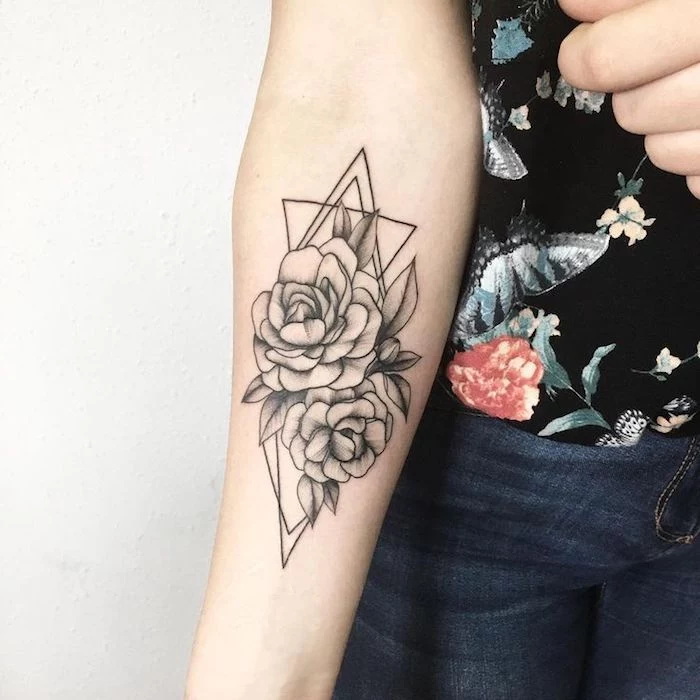
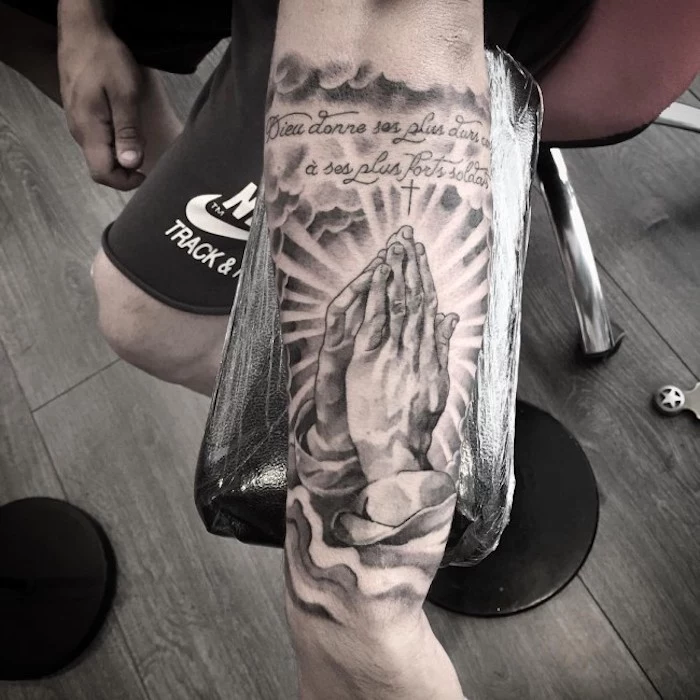
A Single Piece: This is a self-contained statement. It needs to have a clear focal point and defined borders. It’s a perfect option if you want one meaningful tattoo without committing to a larger project.
The First Piece of a Sleeve: This requires more foresight. It needs to be placed with future additions in mind, leaving space and creating a flow that other elements can connect to later. Discuss your long-term goals with your artist from the very beginning.