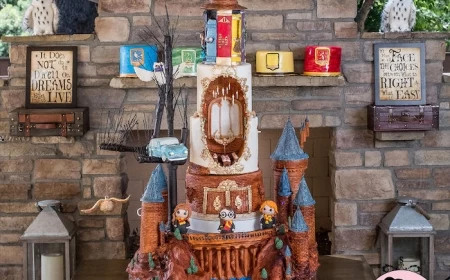
How to Make a Flawless Minnie Mouse Cake (That Won’t Fall Apart)
Over the years running a custom cake bakery, I’ve seen countless trends pop up and fade away. But some designs are just timeless, and a Minnie Mouse cake is definitely one of them. I’ve probably made more of these cakes than I can even count, from simple birthday cakes to towering centerpieces for huge parties.
In this article
And honestly? The pure joy on a kid’s face when they see it is why so many of us do what we do. But I also know that feeling of quiet panic when a home baker decides to tackle this project. Character cakes look fun and simple, but they’re a true test of your baking fundamentals.
My goal here isn’t just to show you a pretty cake. It’s to walk you through the process just like I would with a new baker in my shop. We’re going to focus on what really matters: building a stable structure that won’t collapse in the car, getting that perfectly smooth finish, and making decorations that won’t droop. A great cake has to survive the journey and stand proud until it’s time for that first slice.
First Things First: This is a Multi-Day Project
Heads up! The number one mistake people make is trying to do this all in one day. You’ll burn yourself out and the cake will suffer. The pros always spread the work out. Here’s a realistic timeline:
- Day 1: The Prep Work. Today is all about baking your cakes and letting them cool completely. This is also the perfect day to make your gumpaste ears and bow. They need at least 24-48 hours to dry rock-solid, so getting them done now is non-negotiable.
- Day 2: Building & Coating. Now you’ll level, fill, and stack your cooled cakes. Then, you’ll apply the all-important crumb coat and let it chill until firm. Later, you’ll apply the final coat of buttercream or ganache and get it perfectly smooth. Let this chill overnight if you can.
- Day 3: The Fun Part! Today is for decorating. You’ll cover the cake in fondant (if you’re using it) and add all the finishing touches like polka dots and, finally, the ears and bow you made on day one.
The Secret to a Sturdy Cake: It’s All About Structure
Before you even think about pink bows and polka dots, we need to talk about structure. I learned this the hard way a long time ago with a top-heavy cake that looked perfect leaving my shop… but didn’t survive a sharp turn in the car. It was a heartbreaking lesson I only needed to learn once. Now, stability is my religion.
Choose a Hardy Cake Recipe
Not all cakes are created equal. A light, airy sponge cake is delicious, but it will absolutely collapse under the weight of fondant and decorations. You need something sturdier, like a dense butter cake or a rich chocolate mud cake. These have the tight crumb and structure to handle the job. A reliable pound cake recipe is a fantastic and accessible choice for home bakers.
Give It a Solid Foundation
Every decorated cake needs a proper cake board. For a single-tier cake, grab a board that’s at least two inches wider than the cake. This gives you a little ledge to hold onto. If you’re getting ambitious with tiers, every single tier needs its own cardboard cake circle underneath it. This is how the weight gets transferred to the support dowels, not to the poor cake below.
You can find these boards at craft stores like Michael’s, any baking supply shop, or online. A pack usually costs under $10.
Getting That Flawless, Professional Finish
A super smooth finish is what separates a homemade cake from a pro-level cake. This doesn’t happen by accident; it’s a process. Rushing this part is where most beginners go wrong.
The Crumb Coat is Your Best Friend
Seriously, don’t skip this. A crumb coat is just a thin layer of buttercream or ganache you spread all over the cake to trap any loose crumbs. Once it’s on, pop the cake in the fridge for about 30 minutes until it’s firm. This simple step is the key to preventing annoying crumbs from ruining your beautiful final coat of icing.
The Great Debate: Buttercream vs. Ganache
What you put under your fondant matters. Your choice depends on your budget, climate, and taste.
Buttercream is the classic choice. It’s easy to make, relatively cheap, and ‘crusts’ over to create a firm surface. The downside? It can be very sweet and doesn’t hold up well in the heat. A hot car ride can turn a sharp-edged cake into a melty mess.
Chocolate Ganache, on the other hand, is my go-to for a bulletproof finish. It’s a simple mix of chocolate and heavy cream that sets into a hard shell around your cake. It gives you incredibly sharp edges and is much more stable in warm weather. To be frank, it will cost you more—good chocolate isn’t cheap—but the peace of mind is often worth it. For a sturdy shell, a 2-to-1 ratio of dark chocolate to cream is the gold standard.
Whichever you choose, use a turntable and a bench scraper to get those sides perfectly straight. Quick tip: If you don’t have those, a Lazy Susan from your cupboard and a clean, tall metal ruler can work in a pinch!
Working with Fondant (Without Tearing Your Hair Out)
Fondant can be tricky, but you can master it. Knead it well with a little bit of shortening on your hands to make it pliable. Roll it out on a surface lightly dusted with cornstarch, aiming for an even thickness of about 1/8th of an inch. A common mistake is rolling it too thin—this makes it tear easily and shows every single bump underneath. It’s better to be a little too thick than too thin.
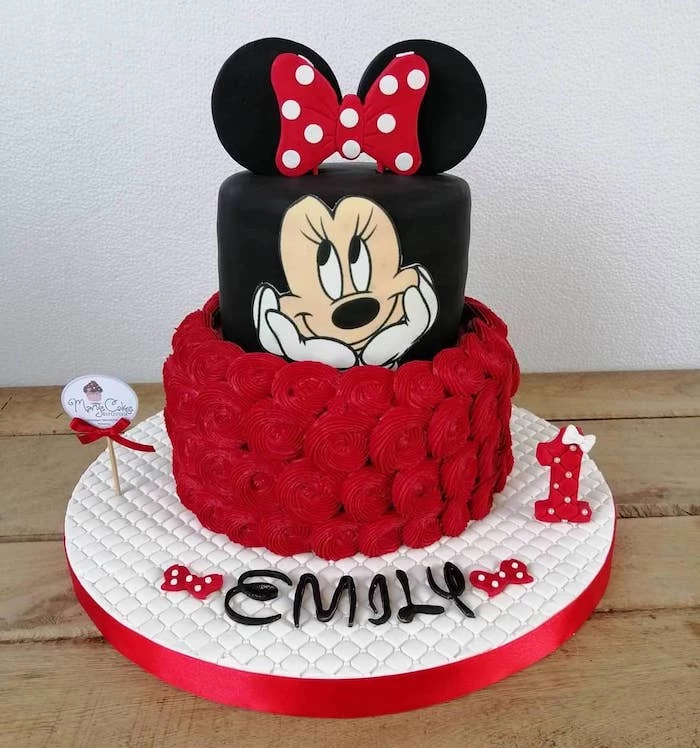
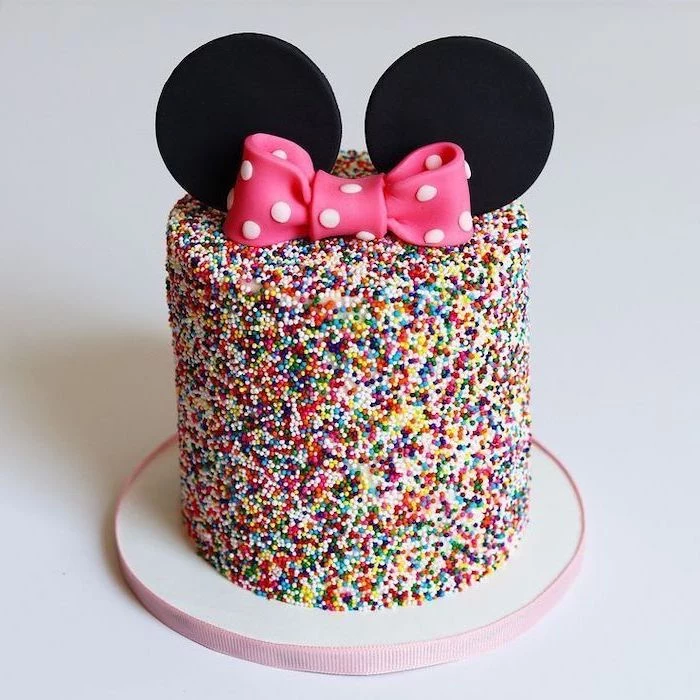
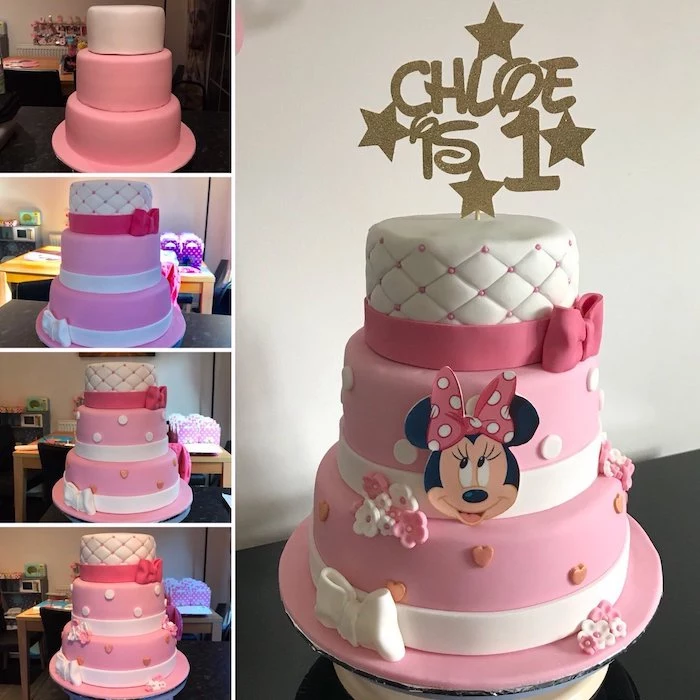
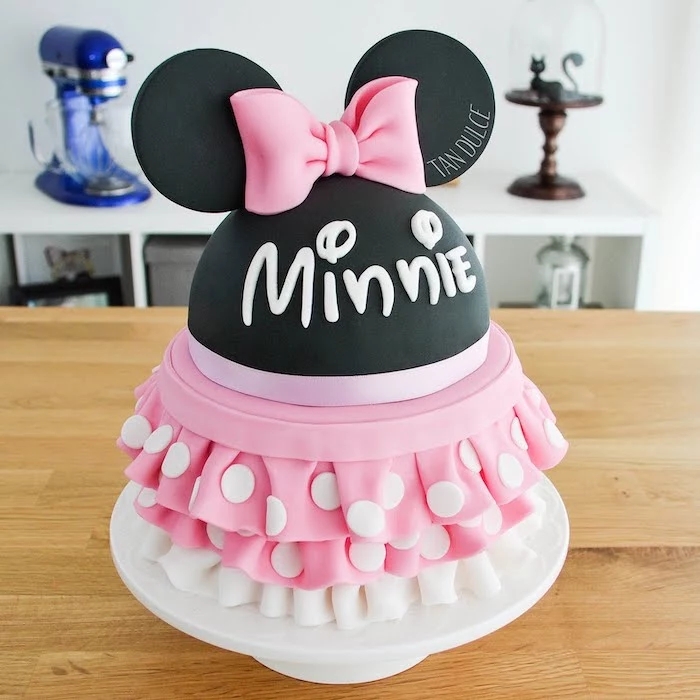
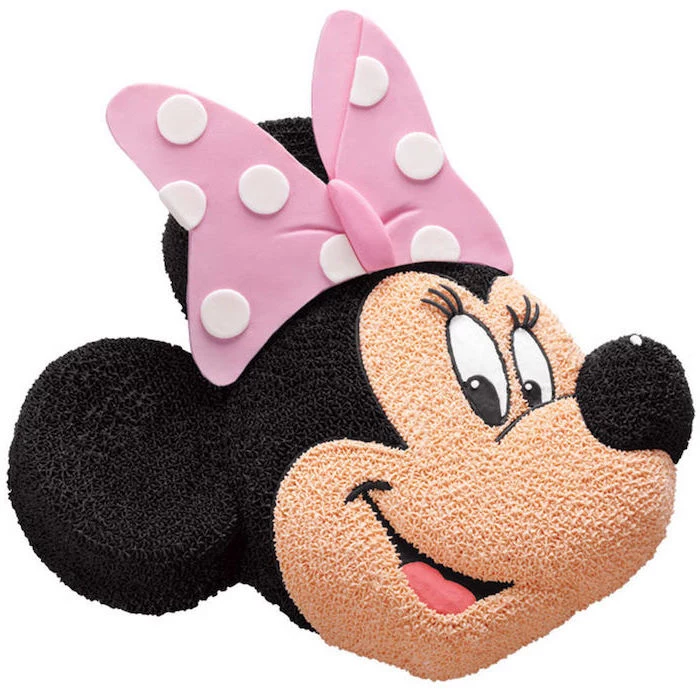
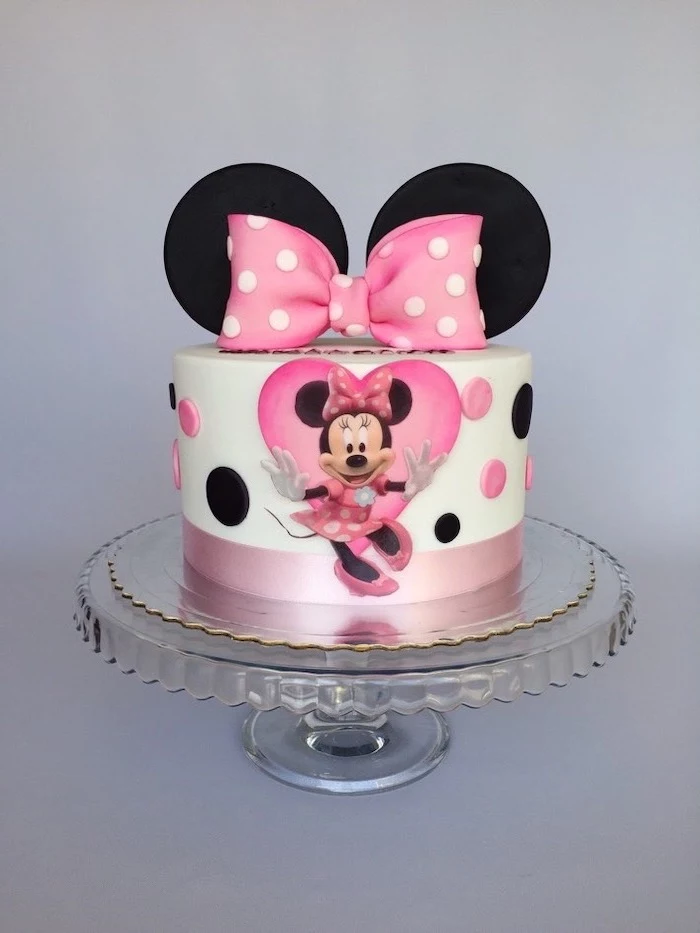
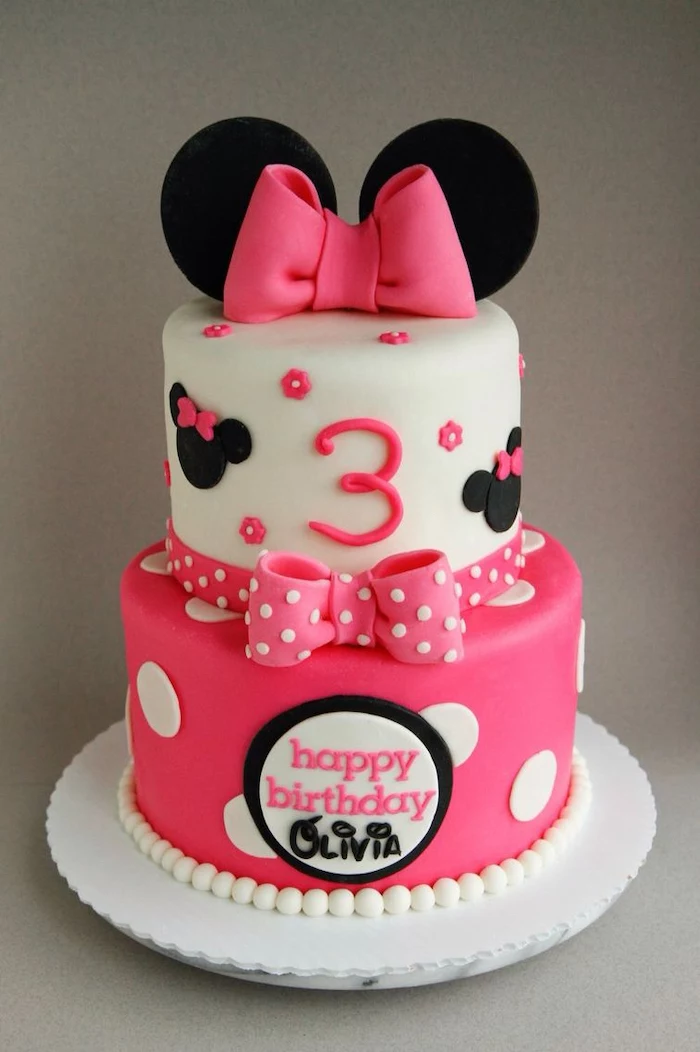
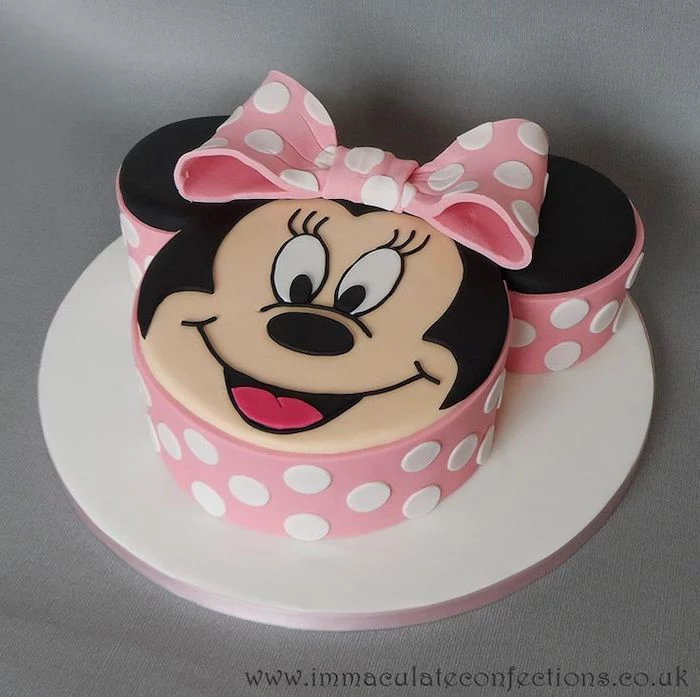
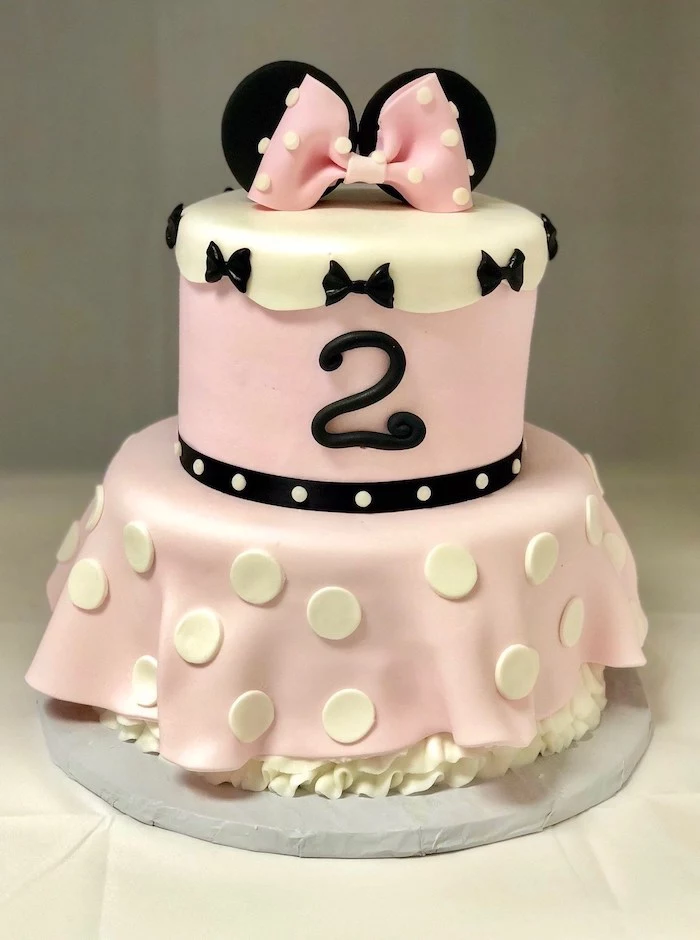
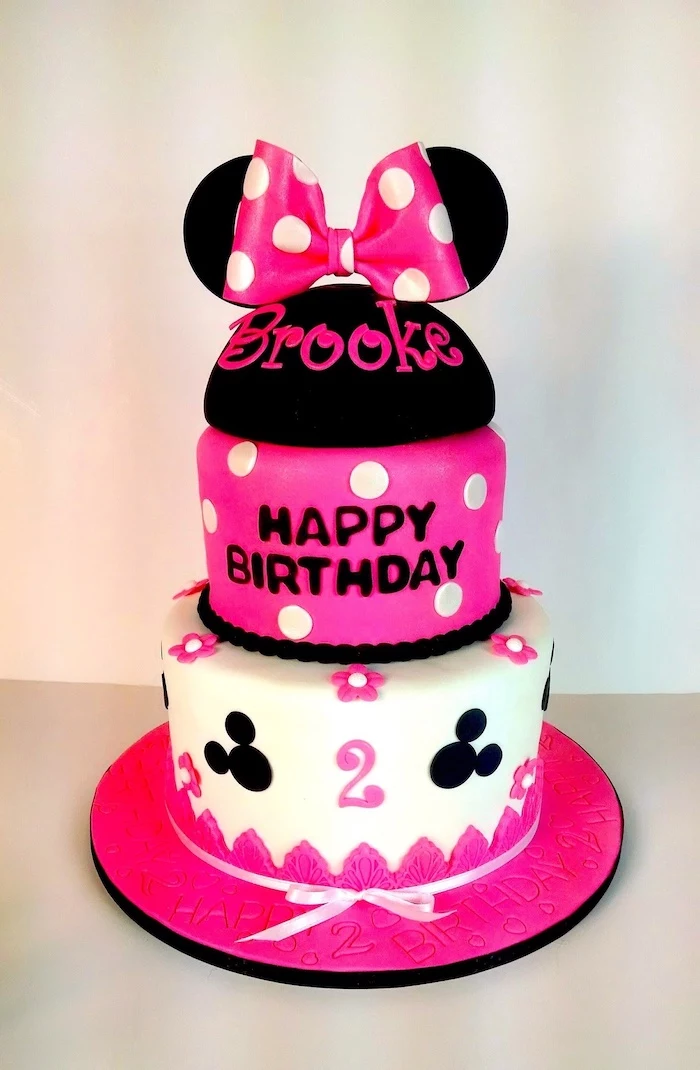
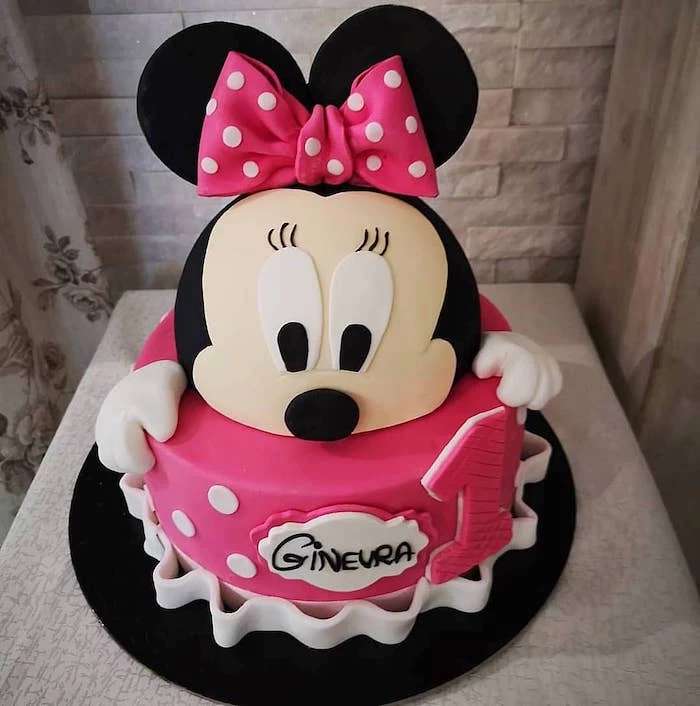
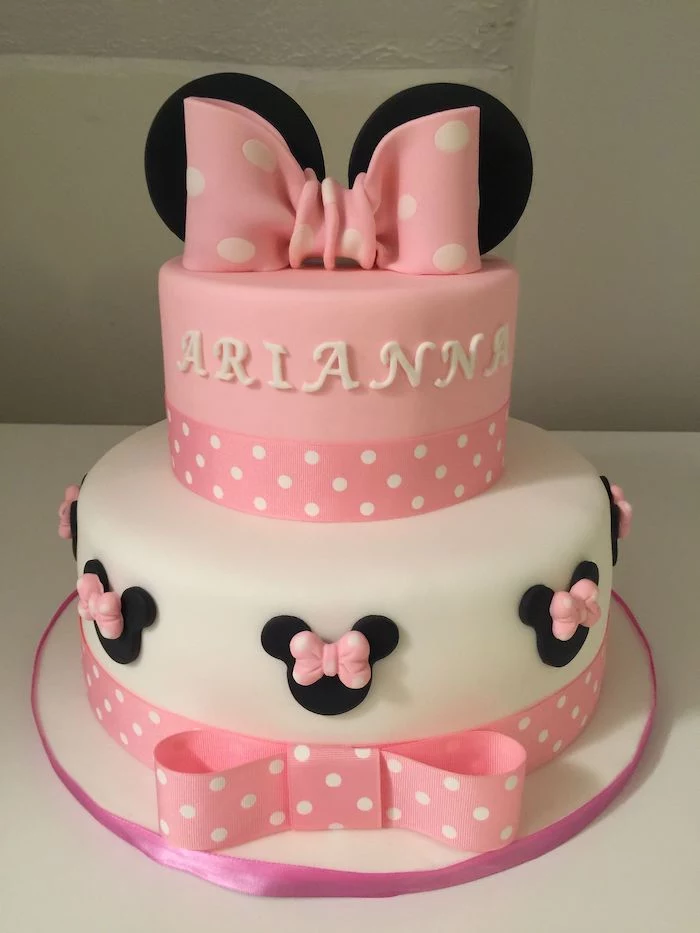
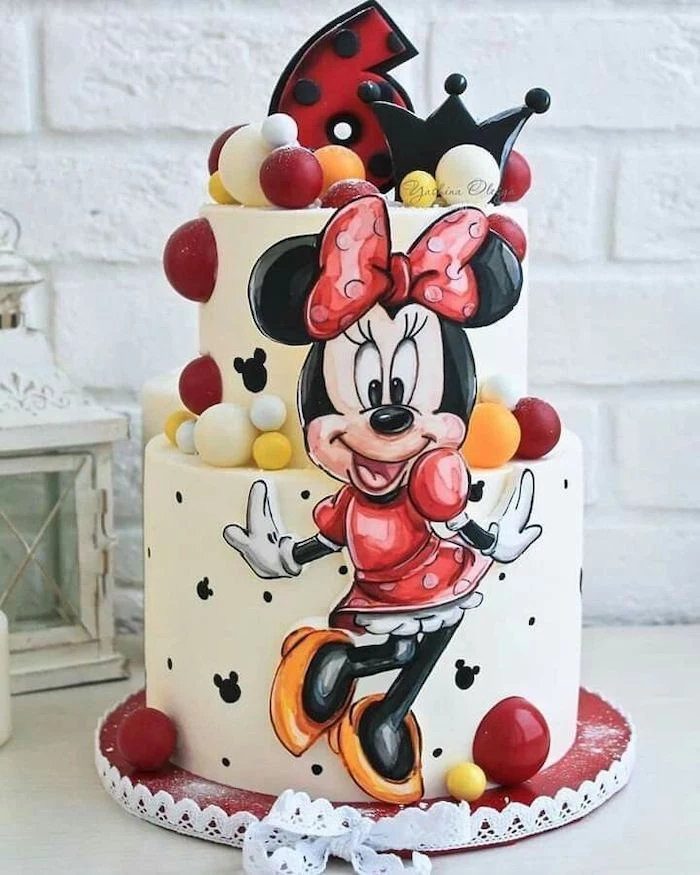
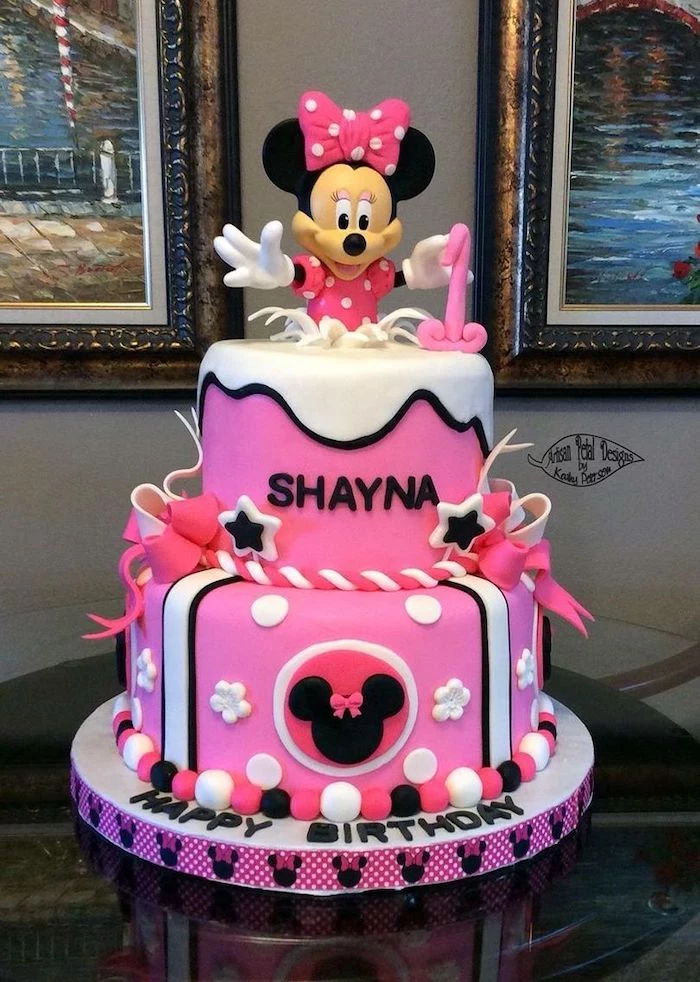
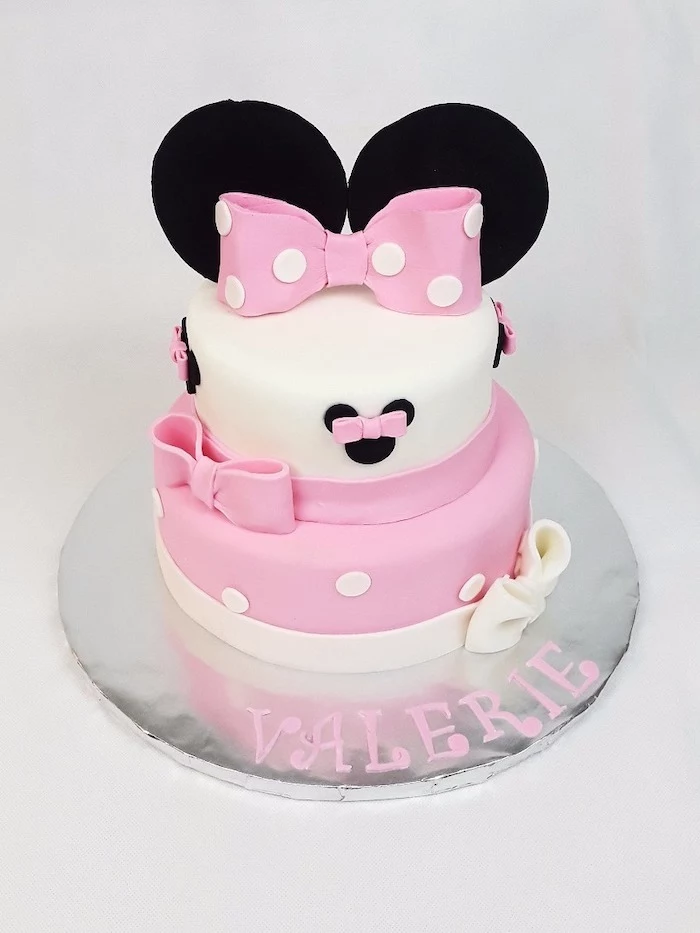
Creating Those Iconic Minnie Details
The details make the character. For Minnie, it’s all about the ears and the bow. And the secret? Make them way ahead of time.
Perfect Ears, Every Time
Droopy ears are a tragedy. To avoid this, you need to use gumpaste, or fondant with a little tylose powder mixed in (about 1 teaspoon of tylose per pound of fondant). You can get tylose powder online or at specialty cake shops for around $5-$8 a jar, and it lasts forever. Gumpaste dries rock-hard and is super light.
Roll it out, cut two perfect circles, and immediately insert a wooden skewer or a lollipop stick into the base of each one. Let them dry on a flat surface for at least 24 hours, but honestly, 48 hours is even better. You want them to be so hard you could knock on them. No exceptions!
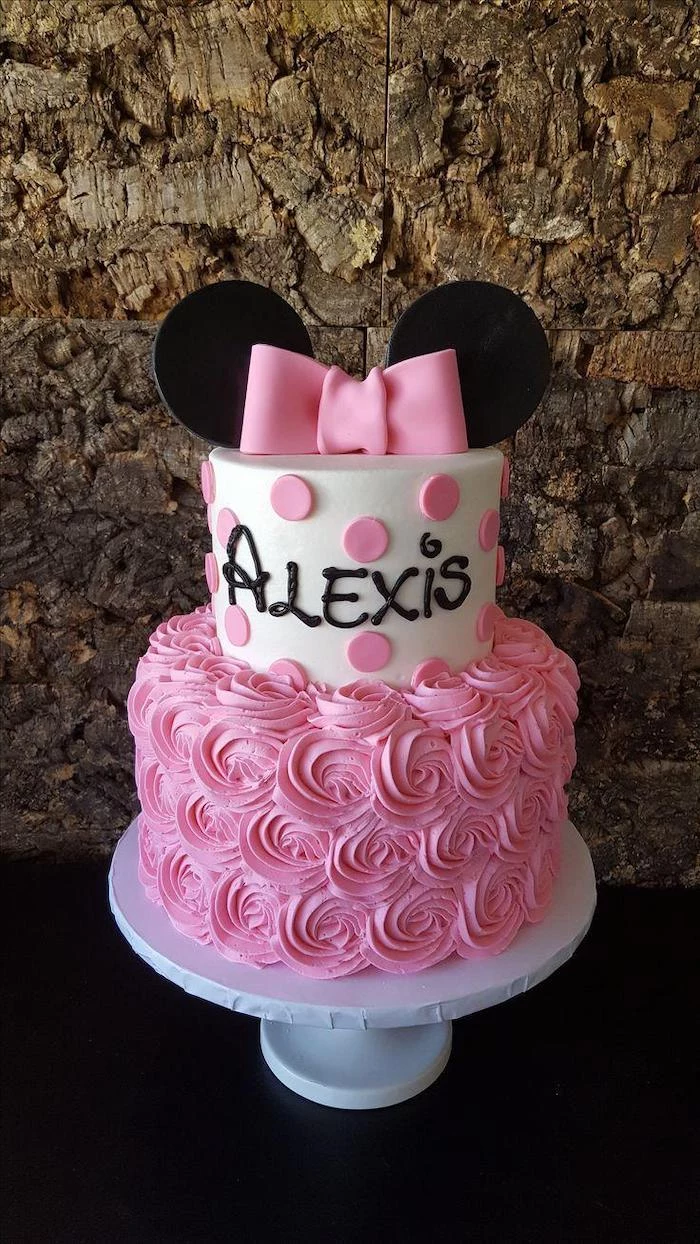
The Signature Bow
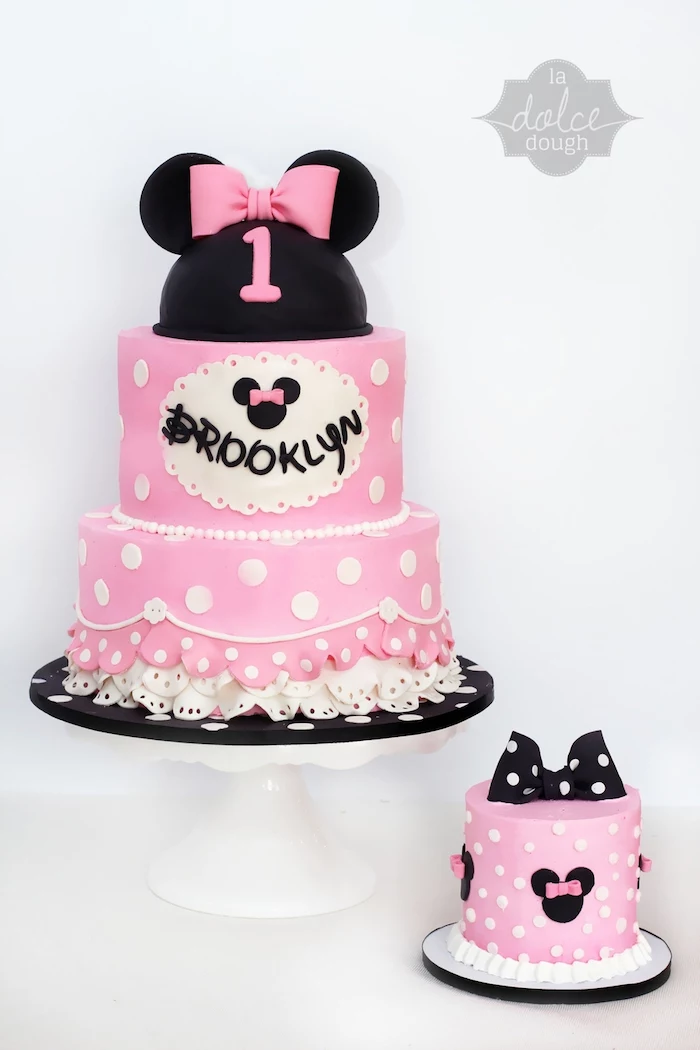
A flat, lifeless bow is just sad. To get that classic puffy shape, roll out your pink or red gumpaste and cut a rectangle. Fold the ends into the middle to make two loops, and stuff a wadded-up paper towel inside each loop to hold its shape. Wrap a small piece around the center to create the knot, and just like the ears, let it dry for 1-2 days until it’s completely rigid.
Assembly Time: Putting It All Together
Okay, your cake is covered and your pieces are dry. Now what? To attach the bow, use a little dab of royal icing or some melted chocolate as glue. For the ears, the trick is to pipe a small, thick rosette of buttercream exactly where you plan to insert them. Then, gently but firmly push the skewer through the fondant and into the cake. The buttercream rosette acts as a buffer, hiding any tiny cracks that might form in the fondant.
Easier Option: The Buttercream Transfer
Not ready to tackle fondant? No problem. The buttercream transfer method is a fantastic way to get a clean character design.
- Find a simple Minnie Mouse coloring page online, print it, and tape it to a cutting board.
- Place a sheet of wax paper over the top and tape that down, too.
- Using a small piping tip, trace the outline of Minnie with black buttercream. A quick tip for rich colors: To get a deep black without a bitter taste, start with chocolate buttercream as your base before adding black gel coloring. You’ll use way less color and it’ll taste a million times better!
- Once outlined, fill in the different areas—like the bow and face—with the right colors, spreading it smoothly with a small spatula. Make sure the buttercream is nice and thick.
- Freeze the whole thing—board and all—for at least an hour until it’s frozen solid. Then, you can carefully peel it off the wax paper and press it directly onto your chilled, frosted cake. It’s like a perfect, edible sticker!
- Fondant & Gumpaste: You can find these at craft stores or online. Expect to pay between $15 and $25 depending on the brand and quantity.
- Cake Boards & Dowels: A small pack of boards and a bag of dowels should be under $10 total.
- Good Quality Gel Colors: Don’t use the liquid stuff from the grocery store! A small pot of professional gel color (like Americolor or Chefmaster) costs about $3-$5 each but is super concentrated and will last you ages.
- Tylose Powder: A small container is usually $5-$8 and is essential if you want to make your own gumpaste from fondant.
Your Shopping List & Budget
Here’s a rough idea of what you’ll need to buy and what it might cost:
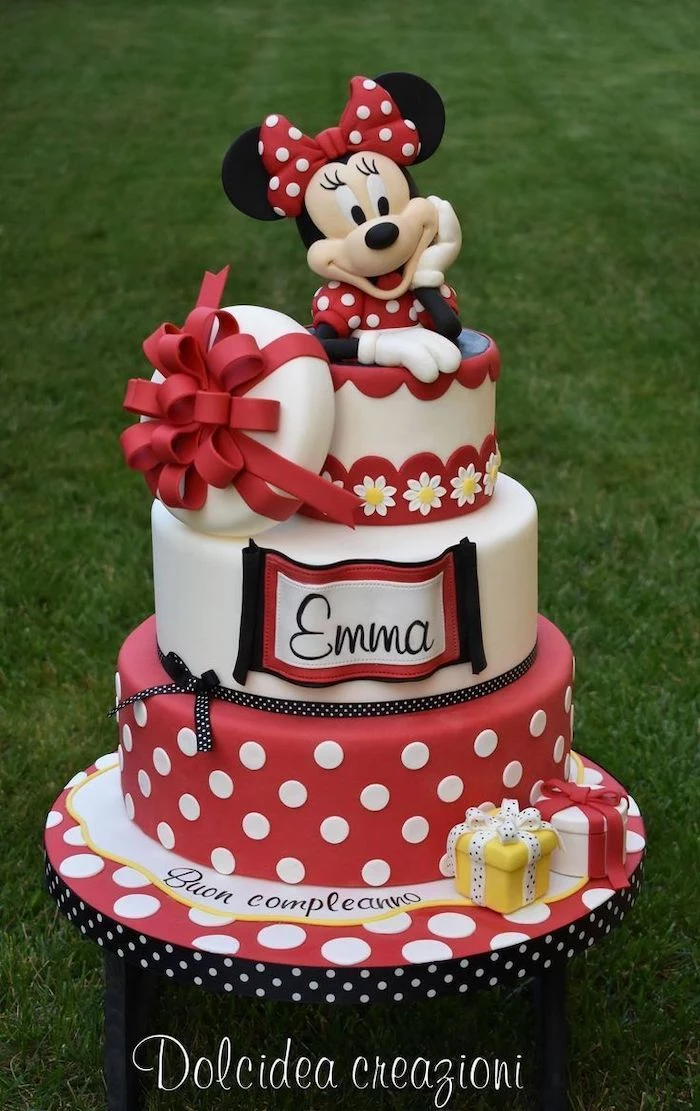
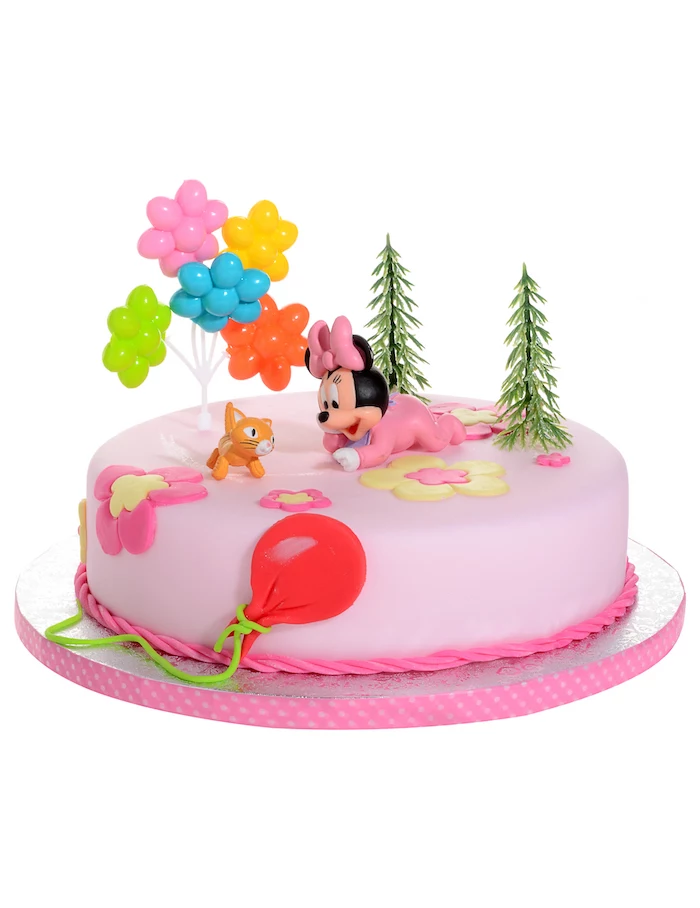
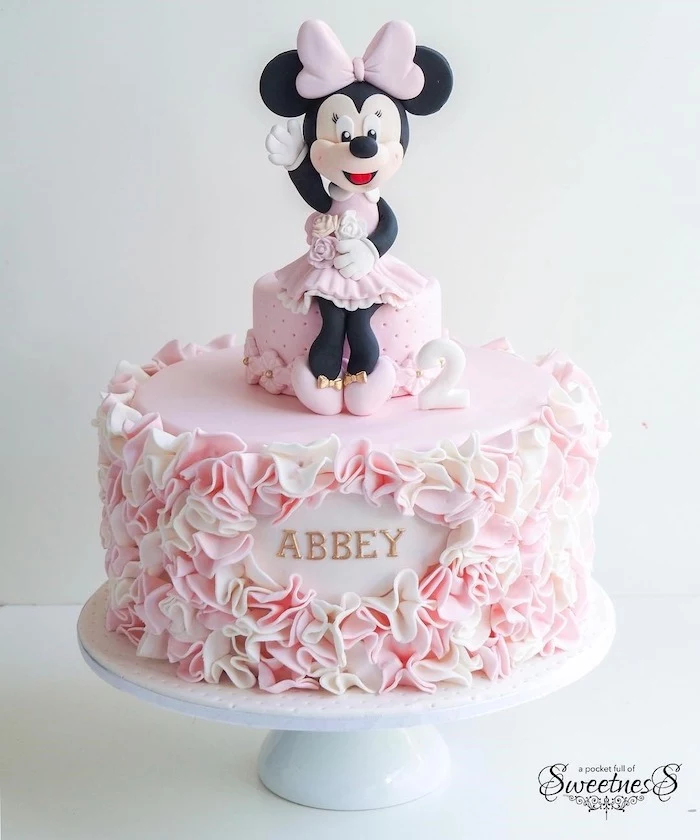
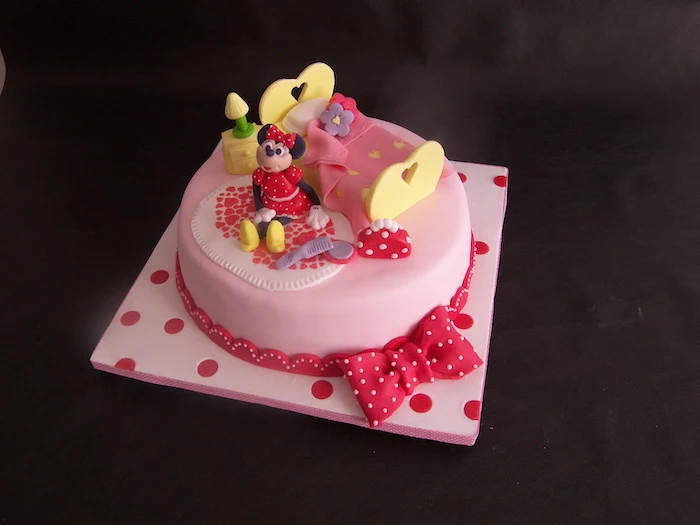
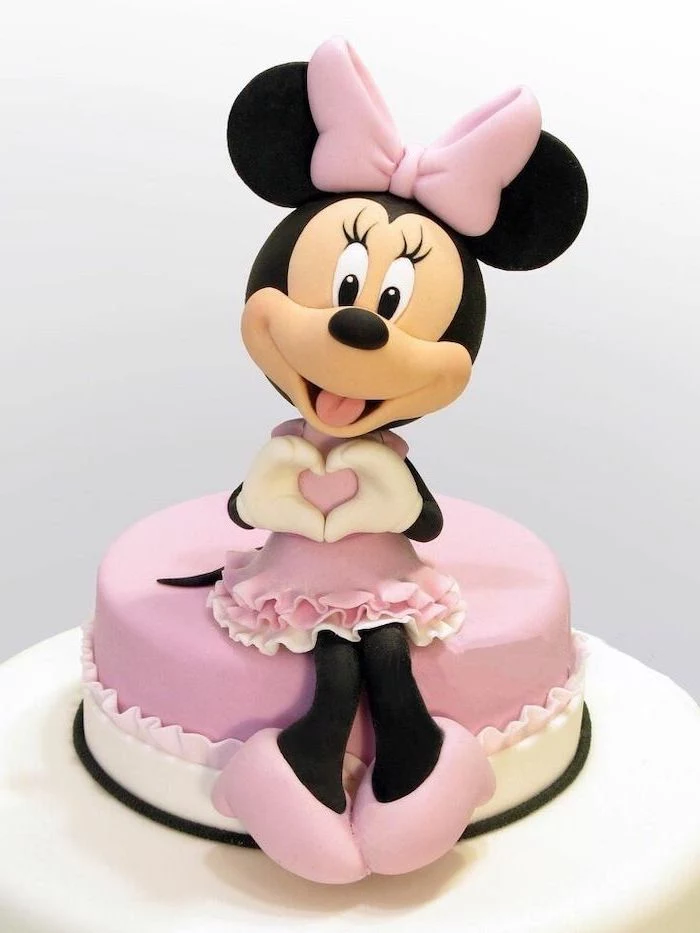
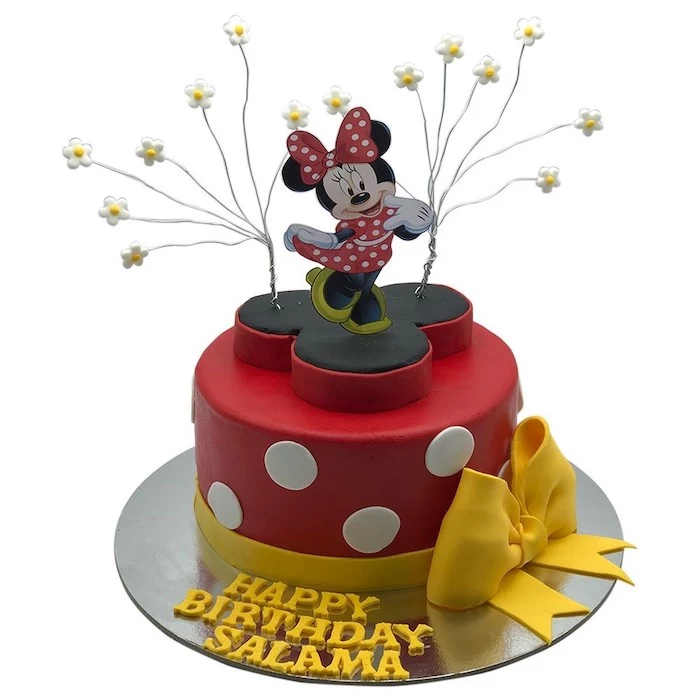
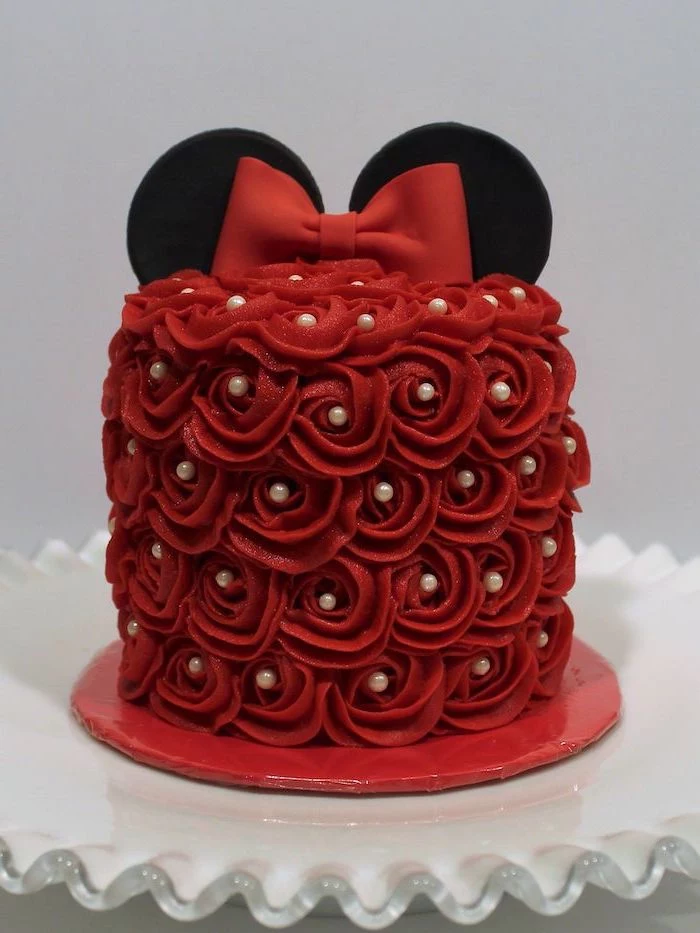
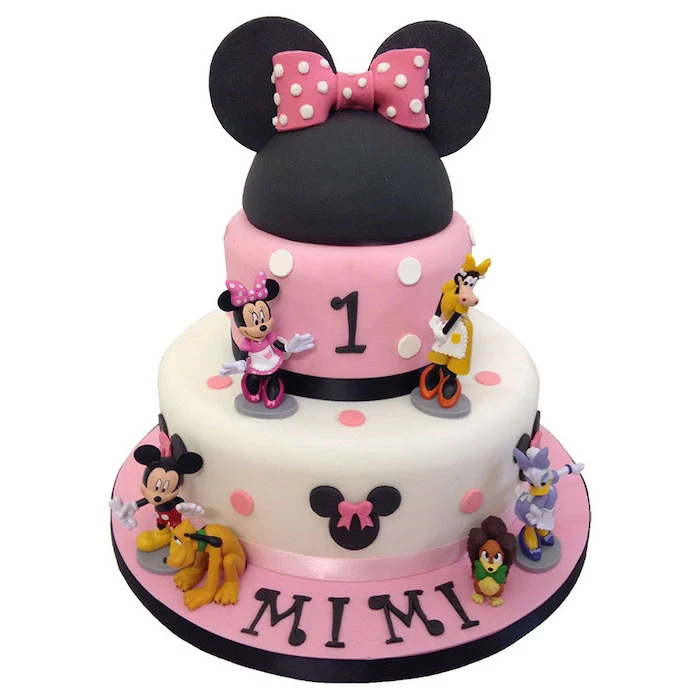
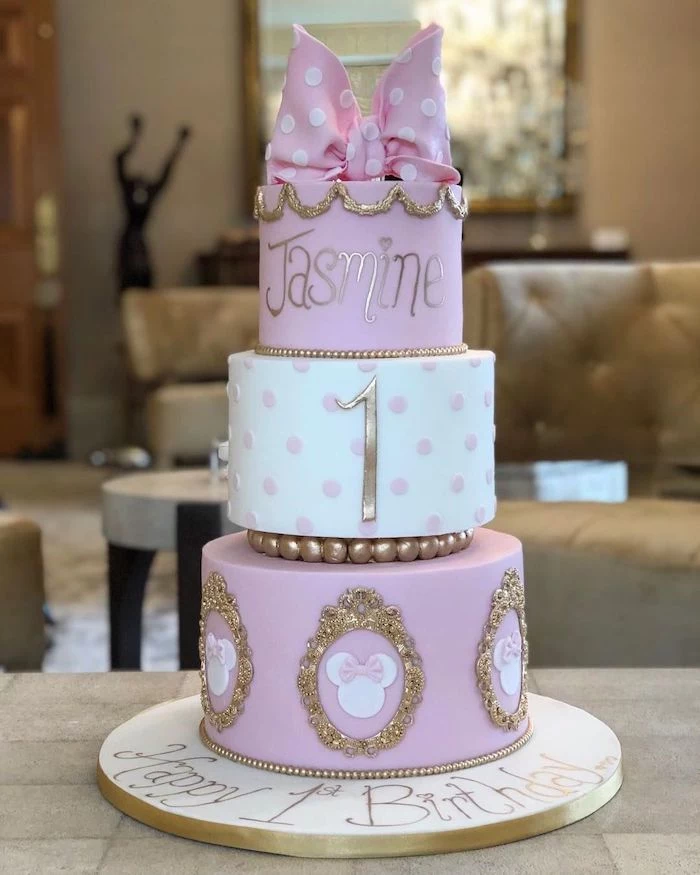
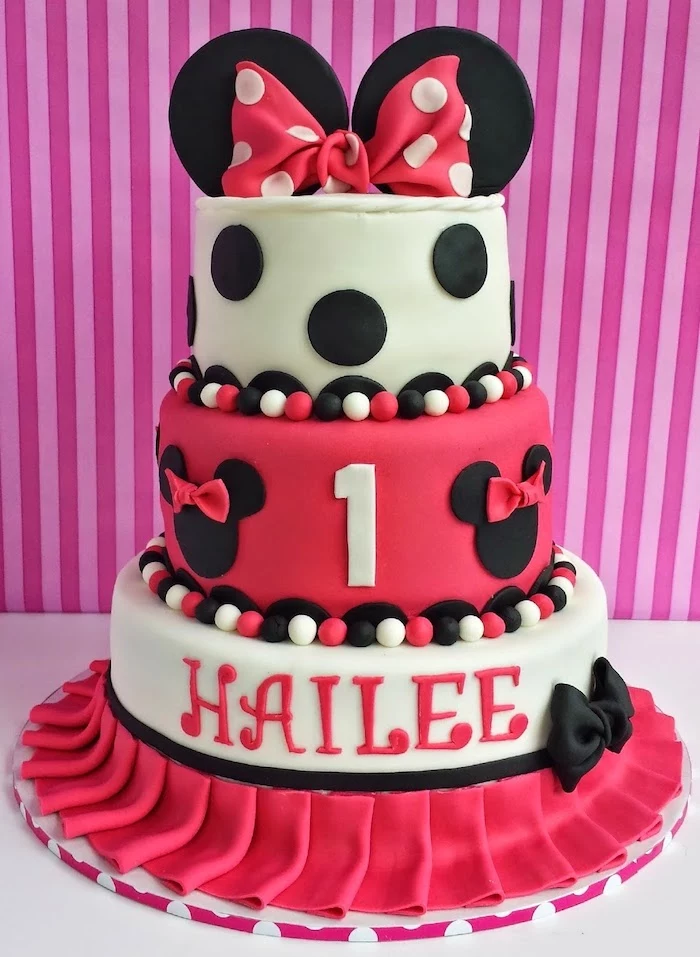
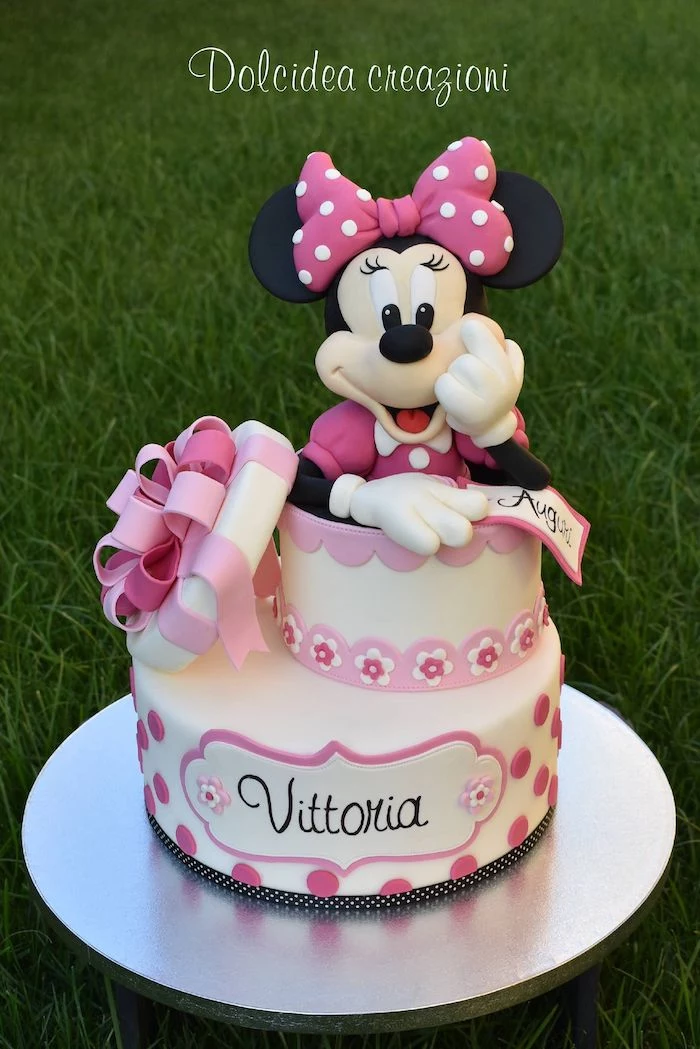
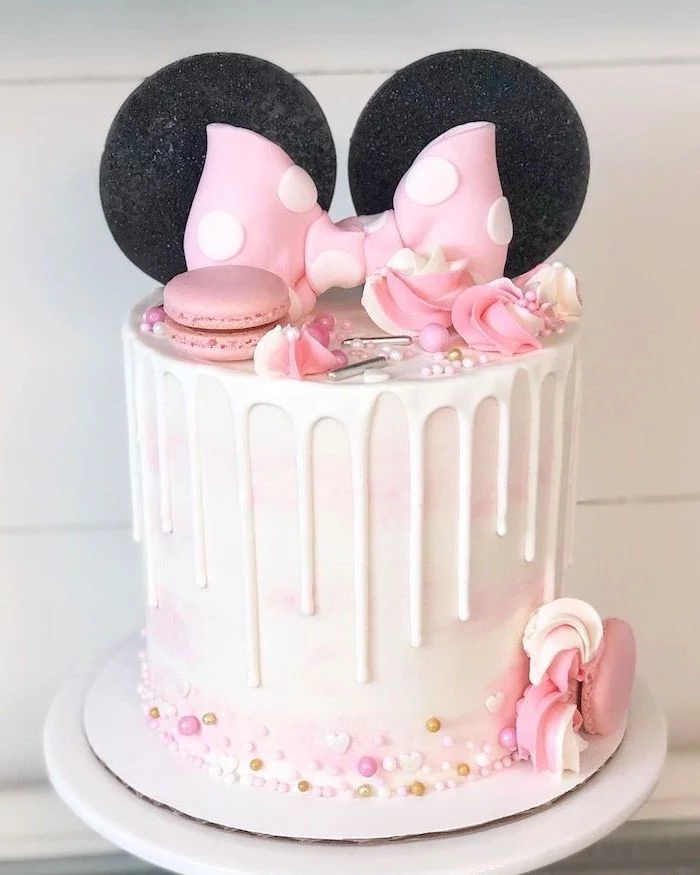
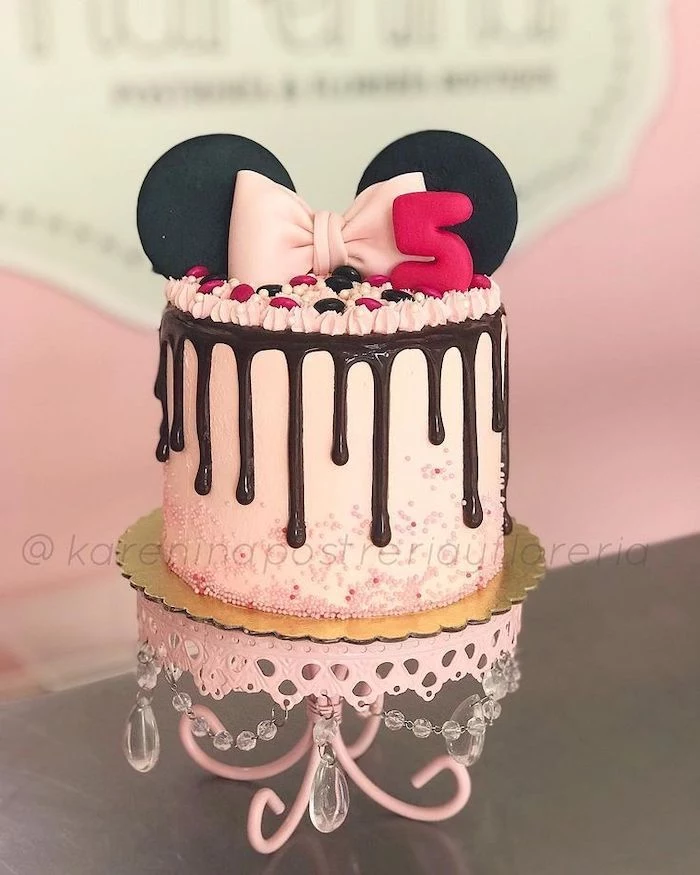
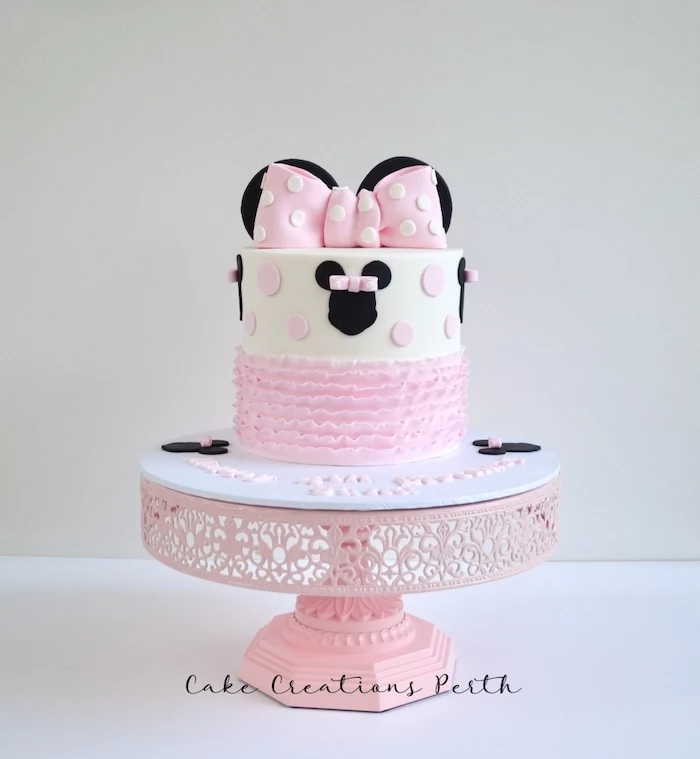
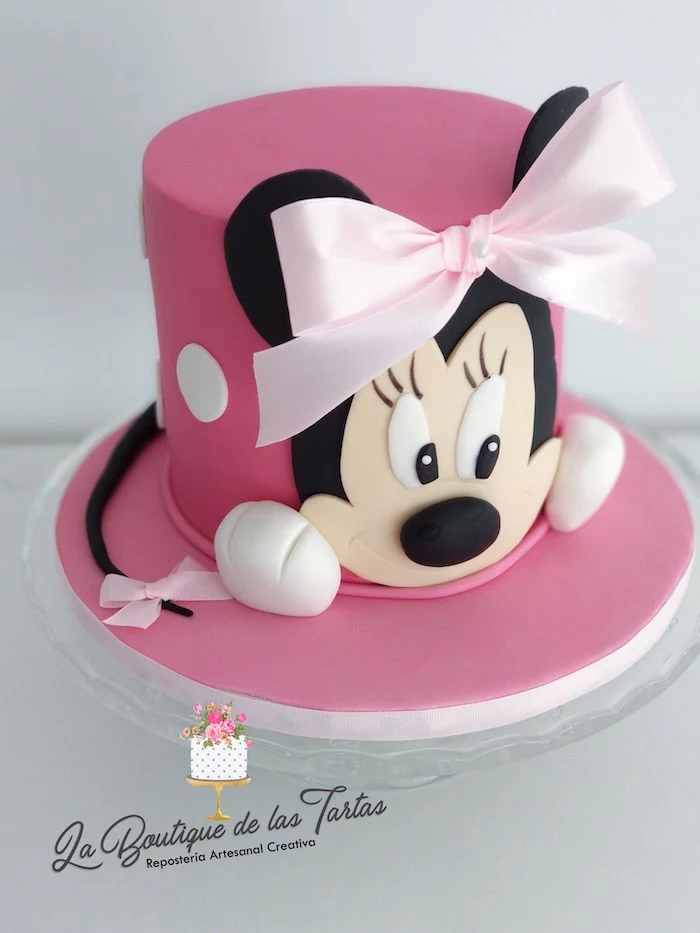
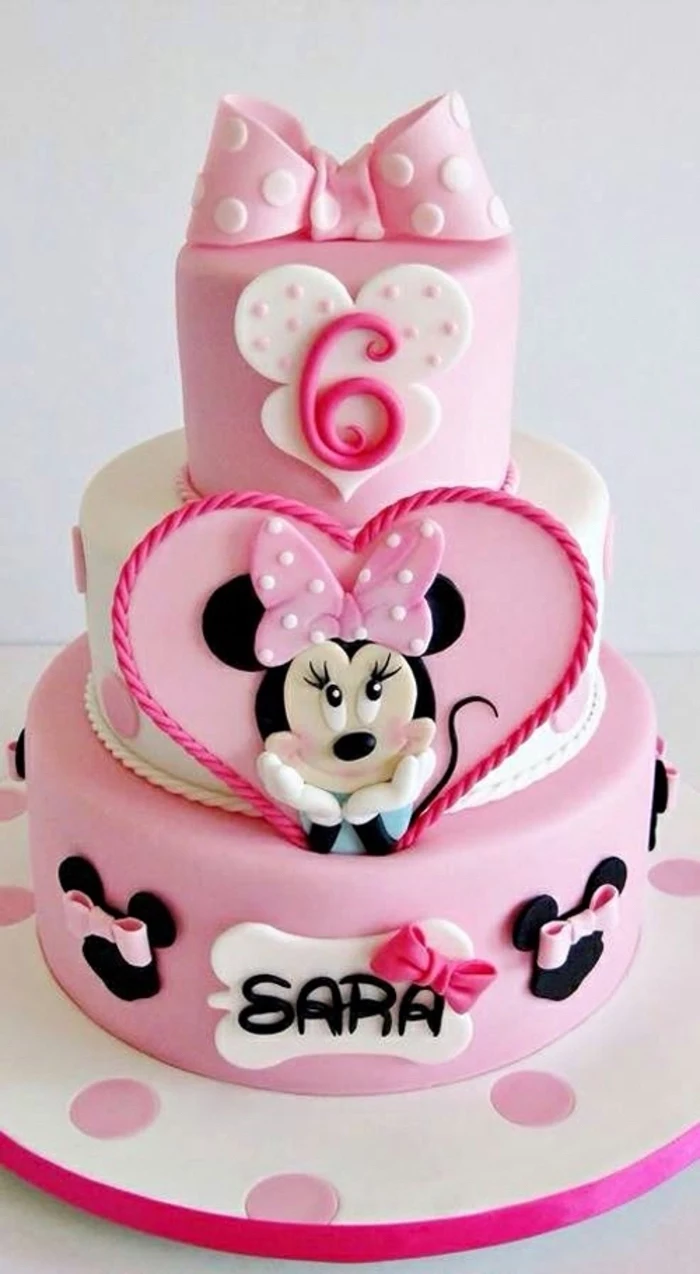
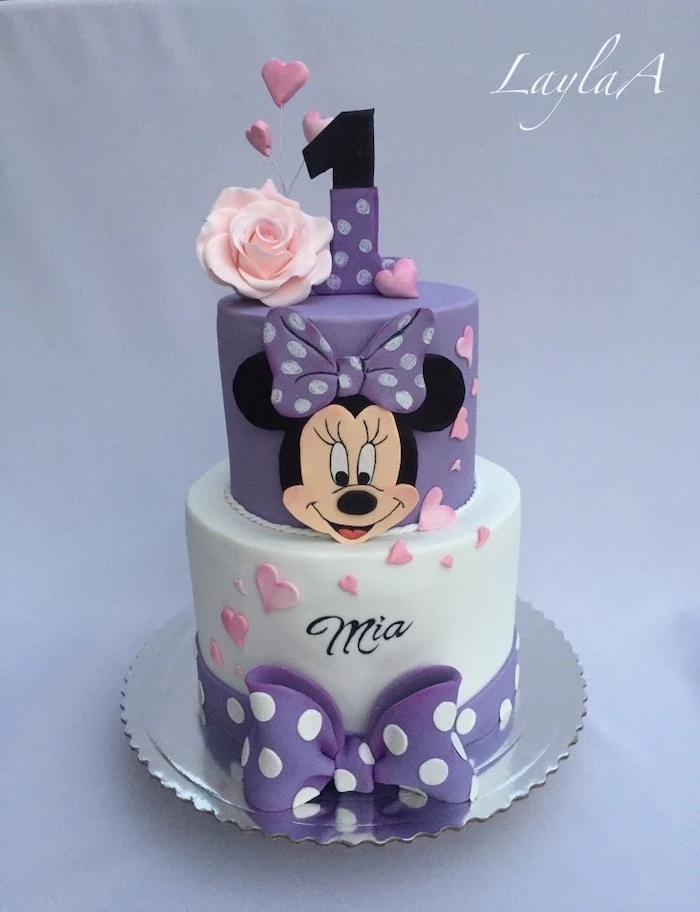
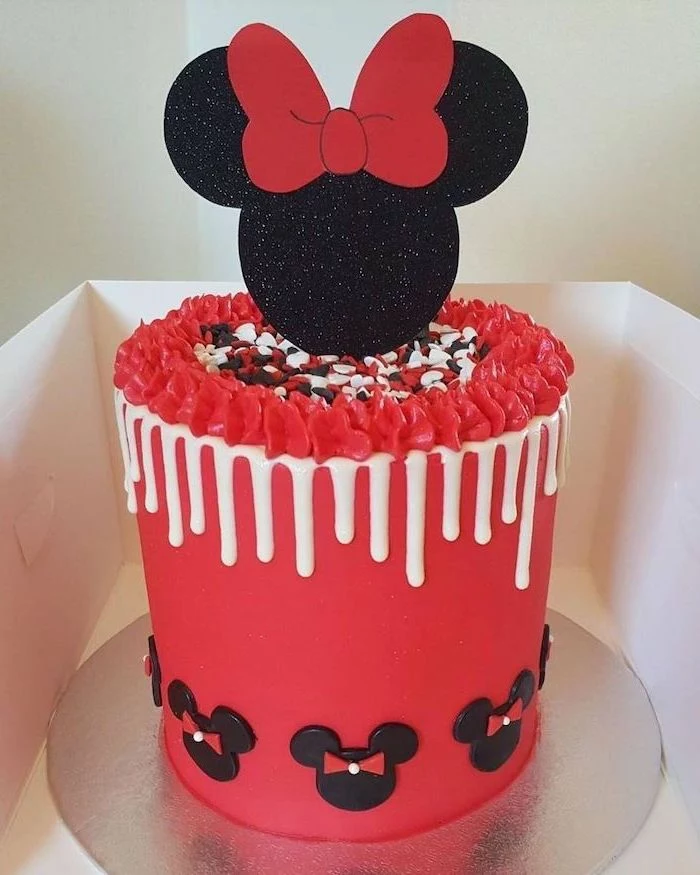
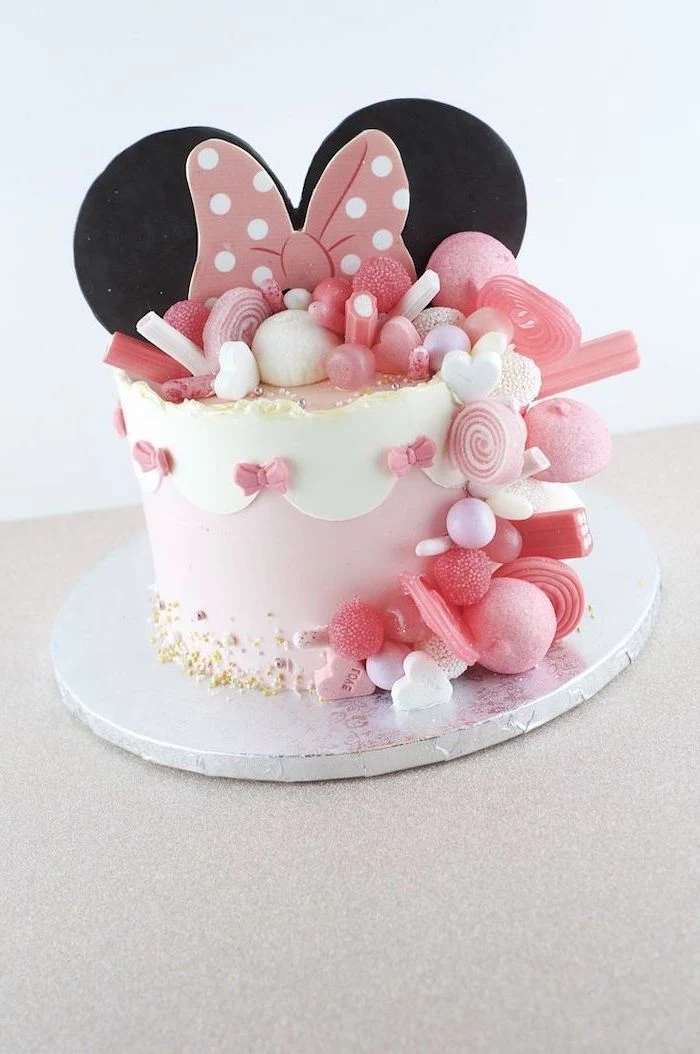
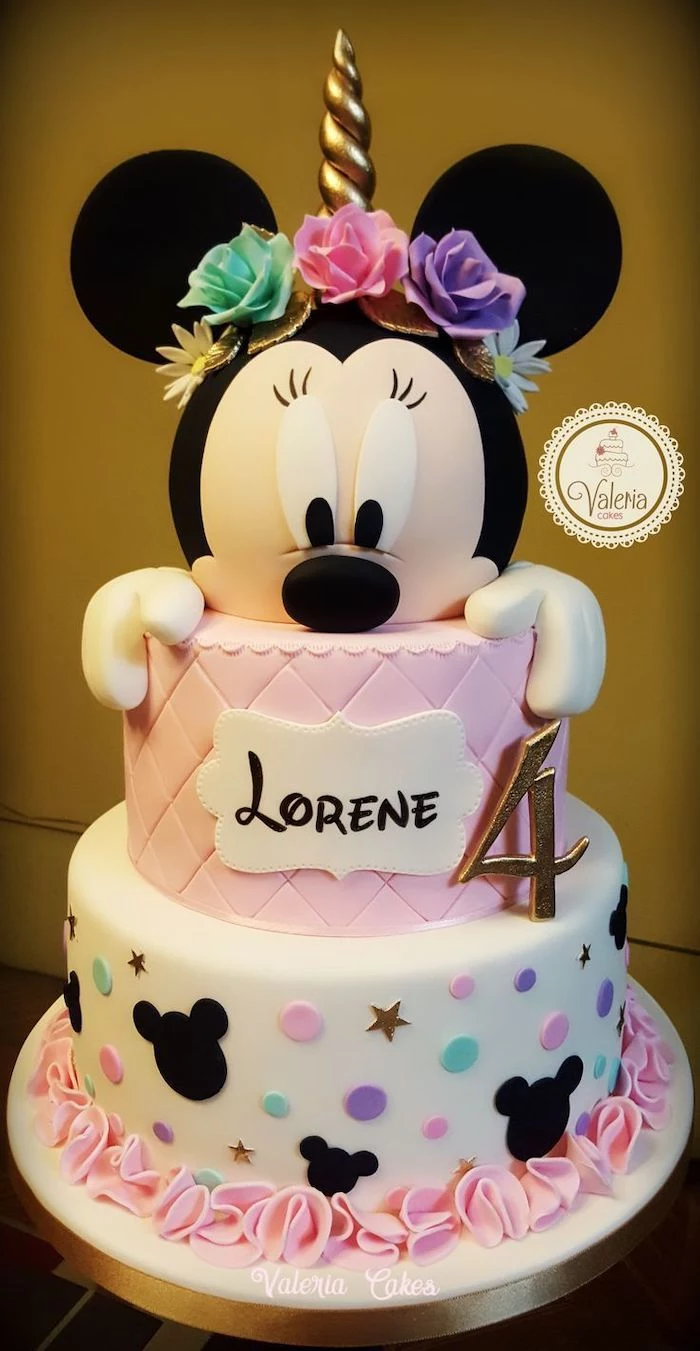
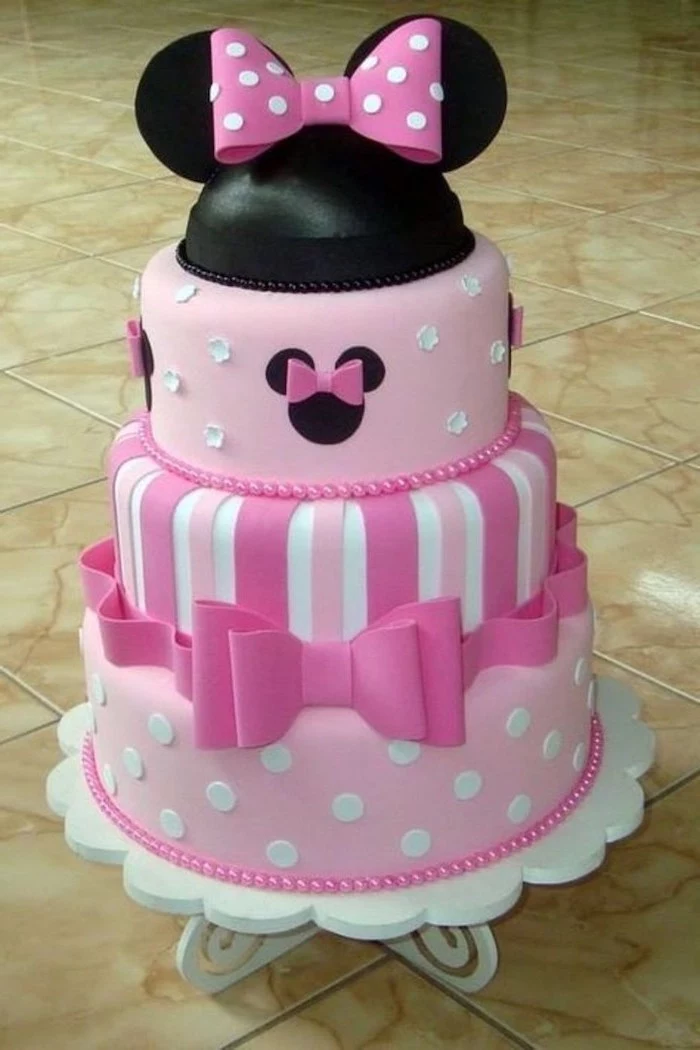
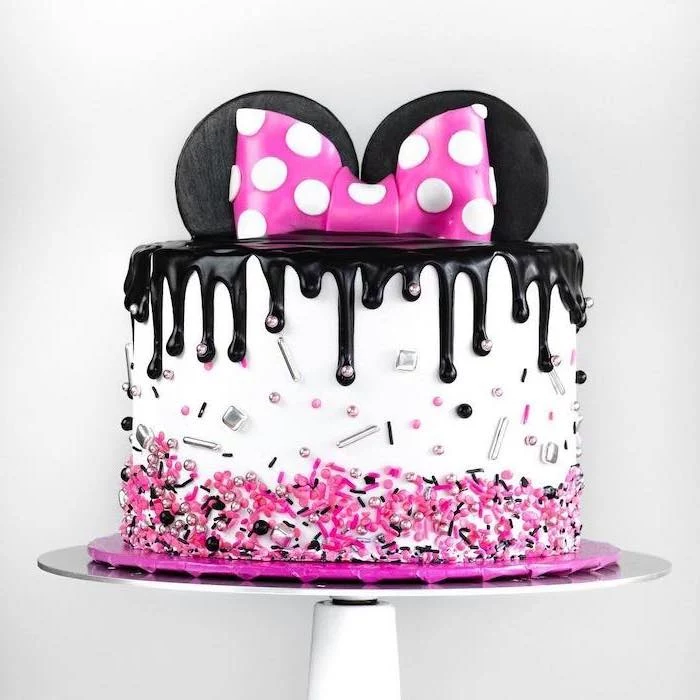
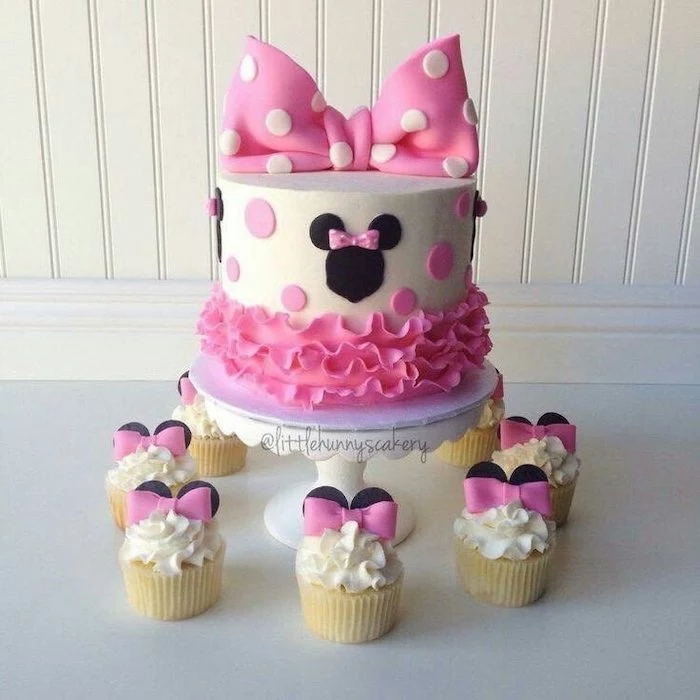
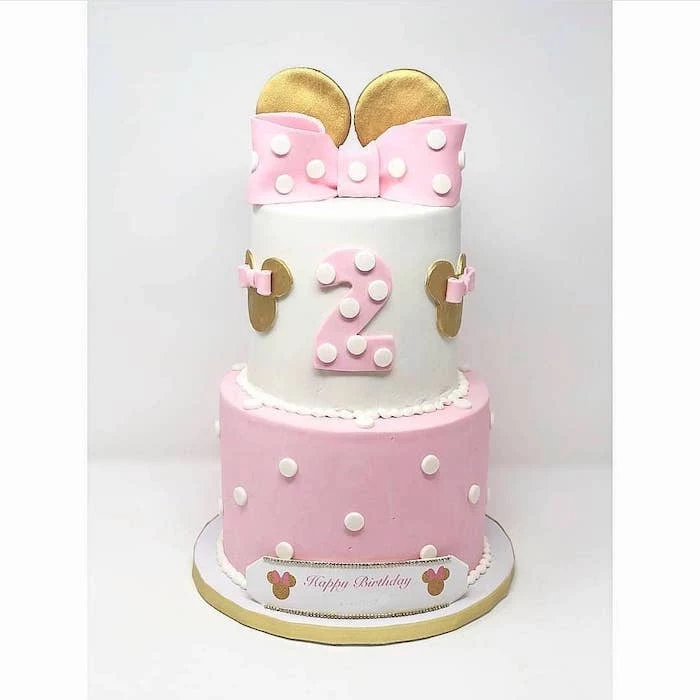
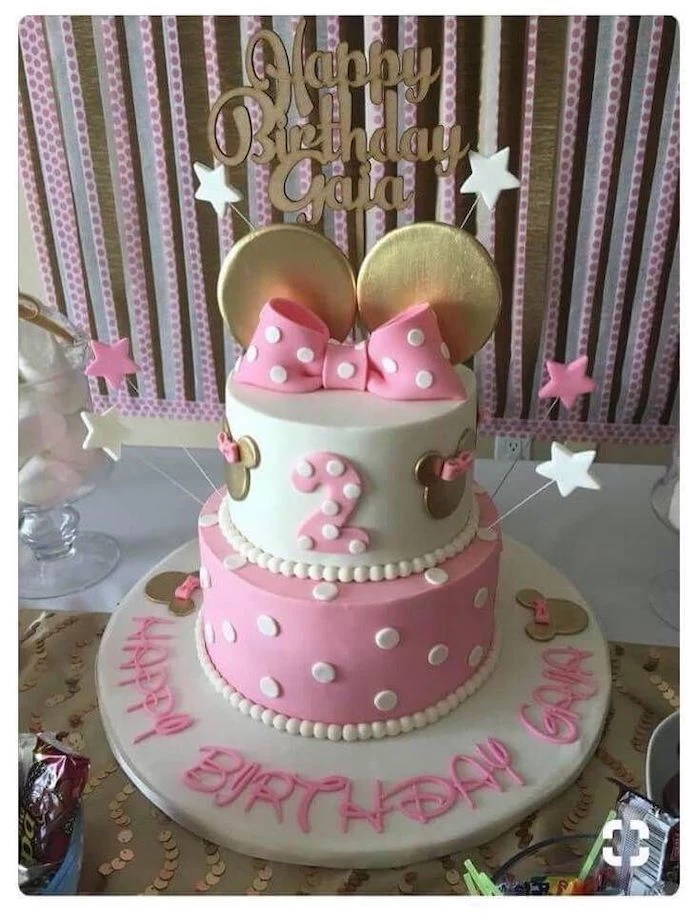
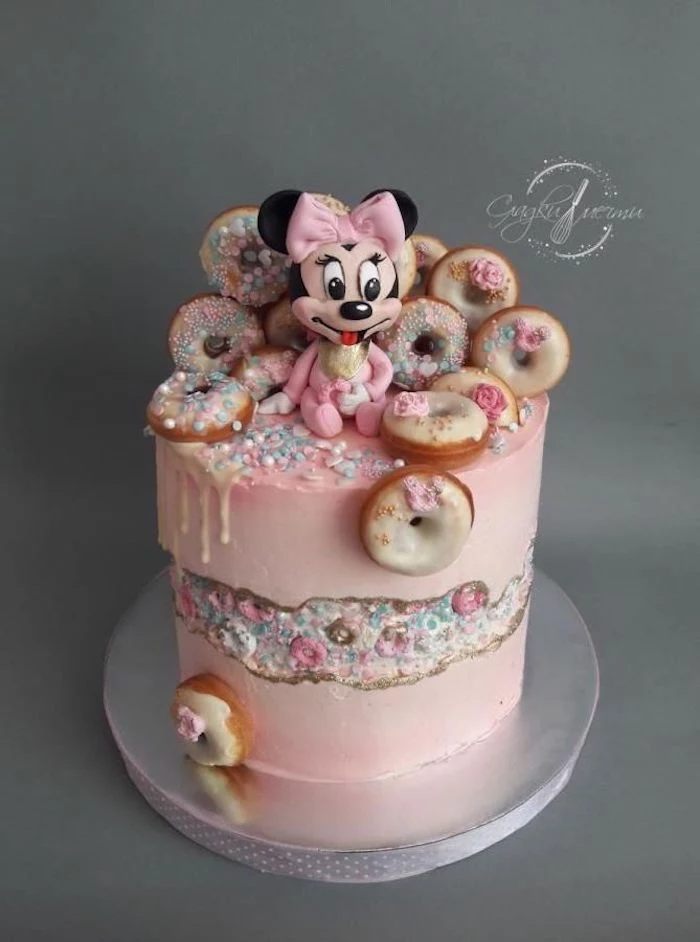
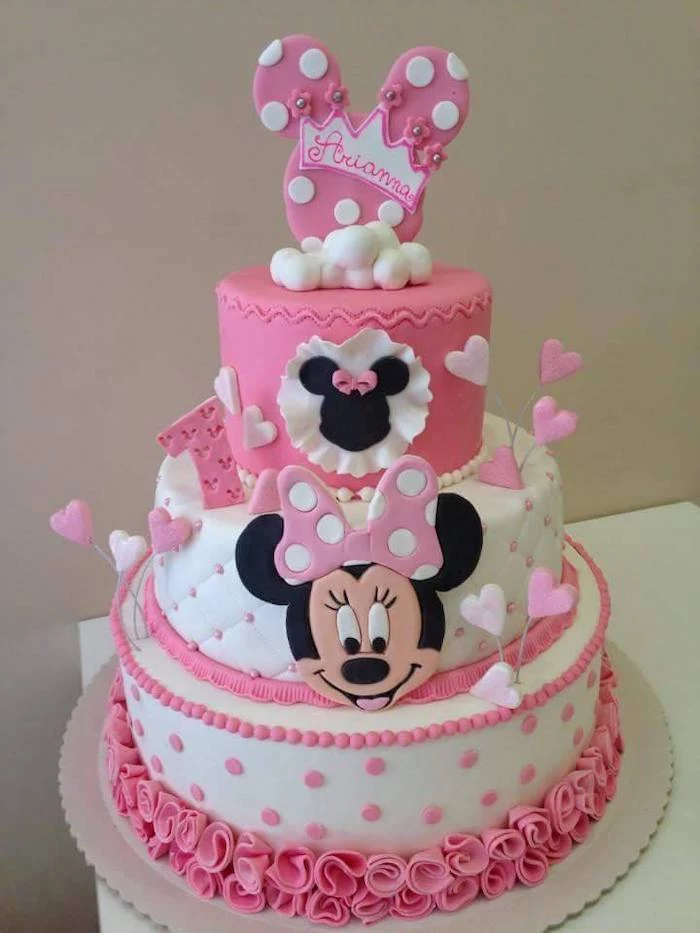
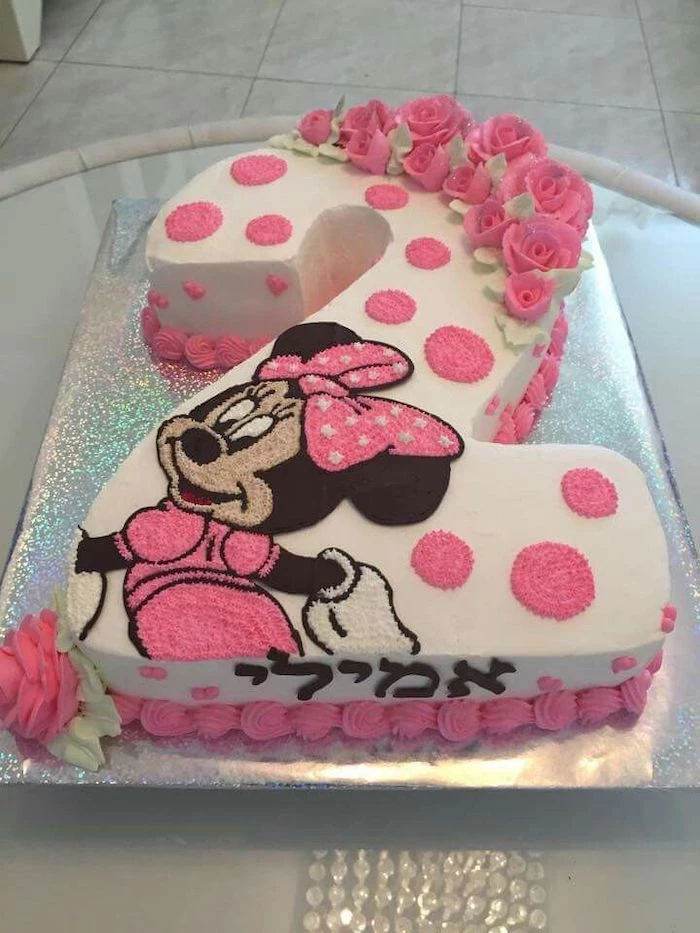
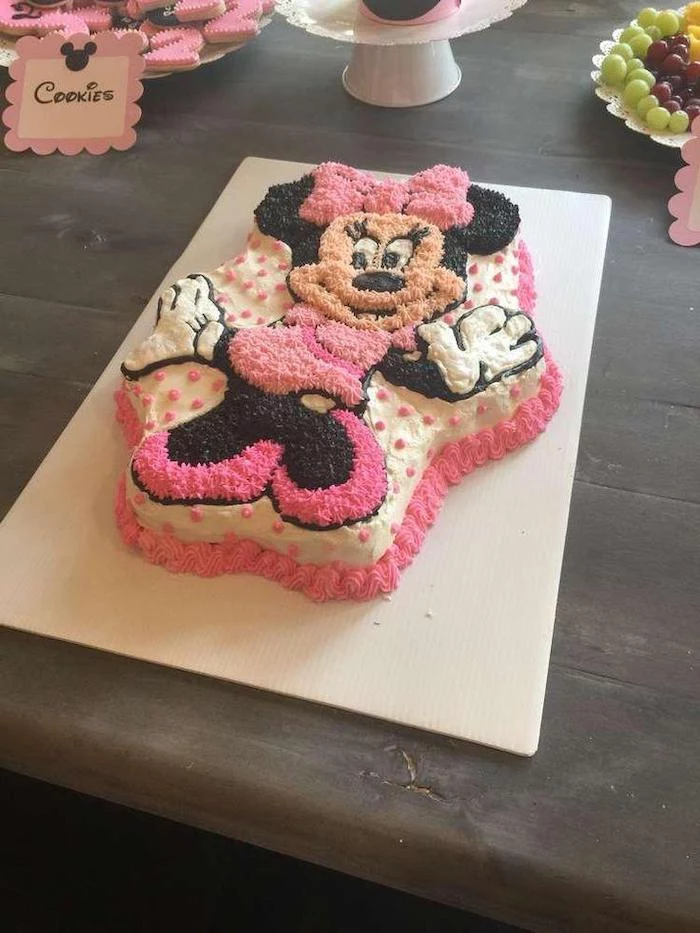
Inspiration Gallery
Beyond a classic vanilla, consider a flavor pairing that tells a story. A rich chocolate fudge cake with a fresh strawberry or raspberry filling offers a delightful contrast, echoing Minnie’s black and red colors. For a kid-friendly favorite, a cookies-and-cream filling using crushed Oreos is a guaranteed crowd-pleaser.
- A non-stick silicone mat for rolling out fondant without sticking.
- A set of fondant smoothers to achieve that flawless, air-bubble-free finish.
- A simple pizza cutter or pastry wheel for cutting clean, straight stripes and edges.
The secret to true black and vibrant red: Don’t rely on standard liquid food coloring. To achieve deep, saturated colors without affecting your frosting’s consistency or taste, you need to use high-quality gel pastes. Brands like Americolor (Super Black and Super Red) or Chefmaster are the go-to choices for professionals.
Did you know? According to Character Encyclopedia, Minnie Mouse has a global recognition rate of over 95% among children and adults, making her one of the most consistently beloved characters for party themes.
Getting a true, deep black fondant can be a challenge. Instead of endlessly kneading in black food coloring, which can make the fondant bitter and sticky, try one of these pro tricks:
- Start with a chocolate-flavored brown fondant. It requires far less black gel to reach a deep shade.
- For a small batch, knead in a tiny amount of activated charcoal powder (food-grade, of course).
- Buy it pre-made! Brands like Satin Ice offer an excellent pre-colored black fondant that saves time and mess.
Help, my fondant is cracking as I’m covering the cake!
This usually happens when the fondant starts to dry out or is rolled too thin. Knead a small amount of vegetable shortening (like Crisco) into the fondant to restore its elasticity. Work quickly and, if you see small ‘elephant skin’ cracks, gently rub them with the pad of your finger in a circular motion to smooth them out before they get bigger.
Gumpaste: Ideal for the ears and bow. It dries rock-hard, ensuring your decorations are sturdy and won’t wilt. It’s edible but not very tasty.
Fondant with Tylose Powder: A good alternative. Adding Tylose or CMC powder to regular fondant helps it dry much harder, creating a similar effect to gumpaste while maintaining a better flavor.
For no-fail ears, pure gumpaste is the winner.
Sugar structures can absorb ambient humidity, causing them to soften even after they feel hard to the touch.
This is why making the gumpaste ears and bow 2-3 days in advance is critical. Letting them dry in a cool, low-humidity room (not the fridge) allows them to fully cure. When you insert the dried skewers into the cake, they will stand tall and proud without any risk of drooping during the party.

- Perfectly smooth application over buttercream.
- Stunning shine that catches the light.
- A professional finish that seals in moisture.
The secret? A light touch of steam. Once your fondant-covered cake is finished, a very quick pass with a cake steamer (or a regular iron held a safe distance away, releasing steam) will melt the thin top layer of confectioner’s sugar, creating a beautiful, subtle gloss.
For perfectly uniform polka dots, there’s no need for a special cutter. Simply dip the wide end of a standard metal piping tip (like a Wilton 1A) into a little cornstarch, then press it into your thinly rolled white fondant to punch out flawless circles.

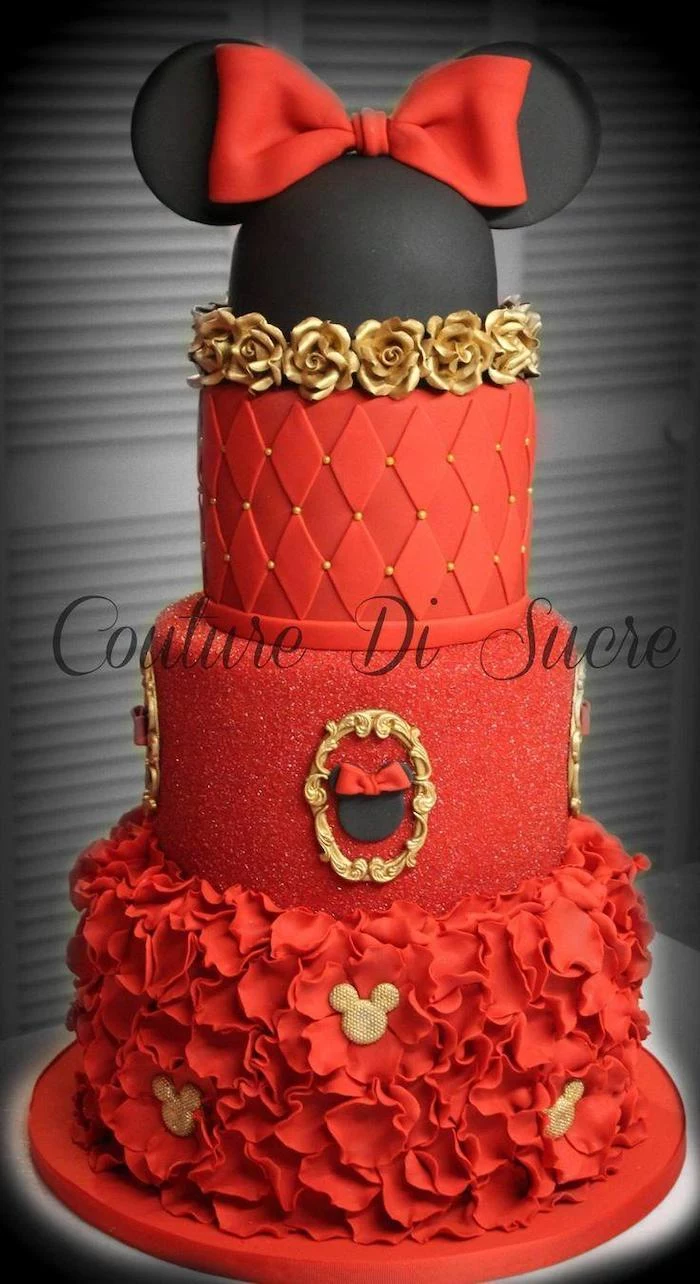
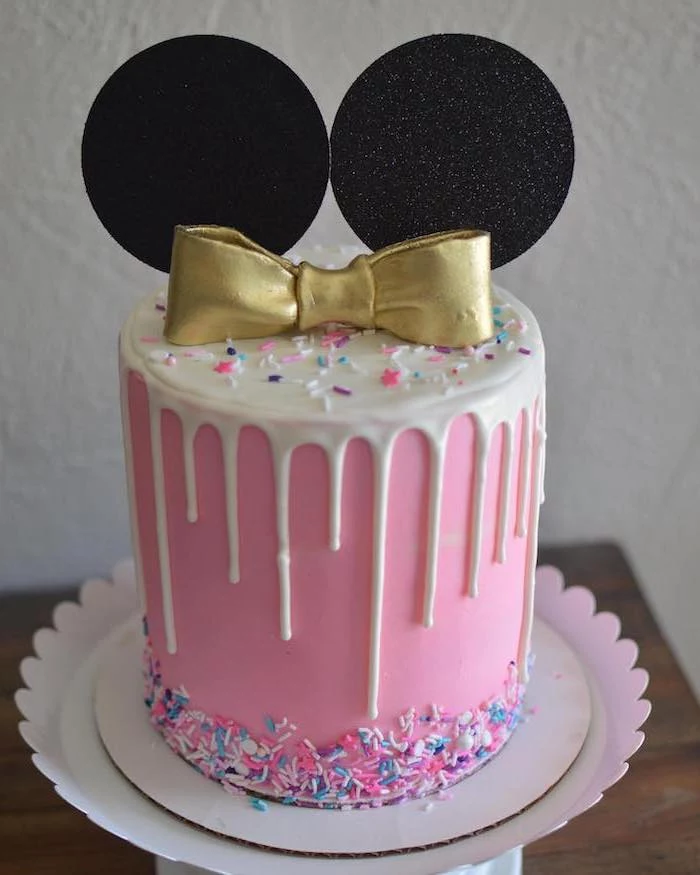
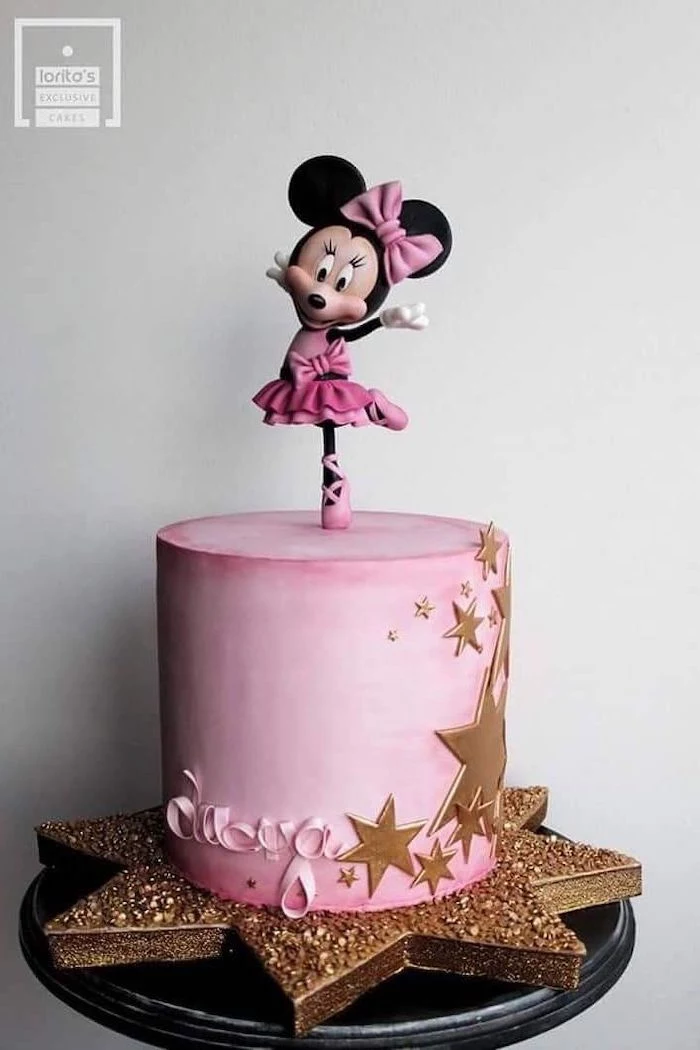
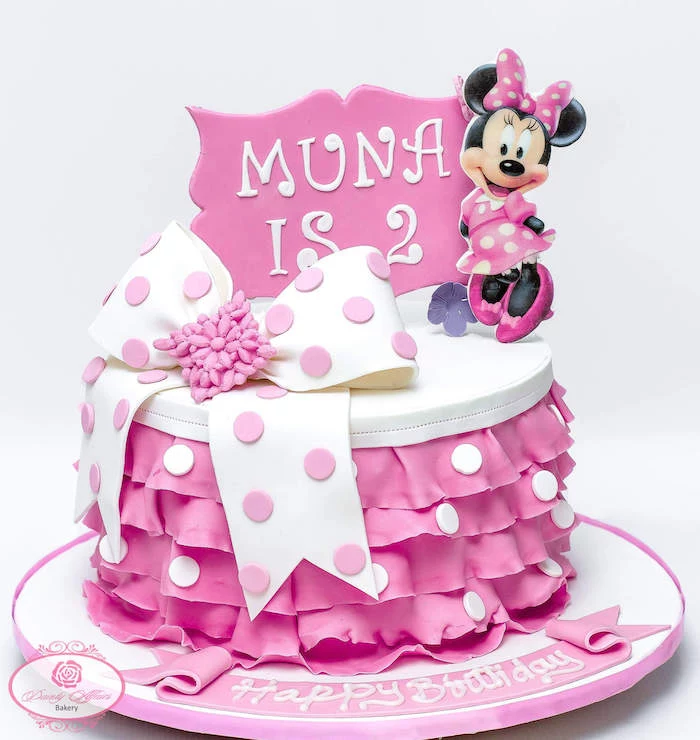
A different kind of bow: For a unique twist, move beyond the classic red. A shimmering pink bow made with luster dust, a glamorous gold bow painted with edible art paint, or even a rainbow-striped bow can give your Minnie cake a modern and personalized feel that perfectly matches your party’s specific color scheme.

Is a cardboard cake circle from the craft store enough?
For a single-tier cake, maybe. But for any stacked or heavy cake, invest in a proper cake drum. These are about 1/2-inch thick and won’t bend under the weight. This solid foundation is your first line of defense against cracks and instability, especially during transport.
A single 8-inch cake layer covered in fondant can weigh up to 30% more than its unfrosted counterpart.
This extra weight is why a sturdy cake structure is non-negotiable. Using dense, stable cake recipes (like a chocolate mud cake or a firm butter cake) instead of a light, airy sponge is key. They provide the necessary foundation to support the fondant and decorations without compressing.
If fondant isn’t your thing, you can still achieve a beautiful finish with the right buttercream. Each type has its own strengths:
- American Buttercream: Sweet, simple, and great for creating a more rustic, textured look.
- Swiss or Italian Meringue Buttercream: Silky smooth and less sweet, these are perfect for achieving very sharp, clean edges that can rival the look of fondant.
Think like a pro when transporting your cake: The footwell or trunk of your car are the flattest, most stable surfaces. Never place a cake on a slanted car seat. For extra security, place the cake box on a non-slip silicone mat to prevent it from sliding during turns or stops. And always drive like you have a VIP on board!
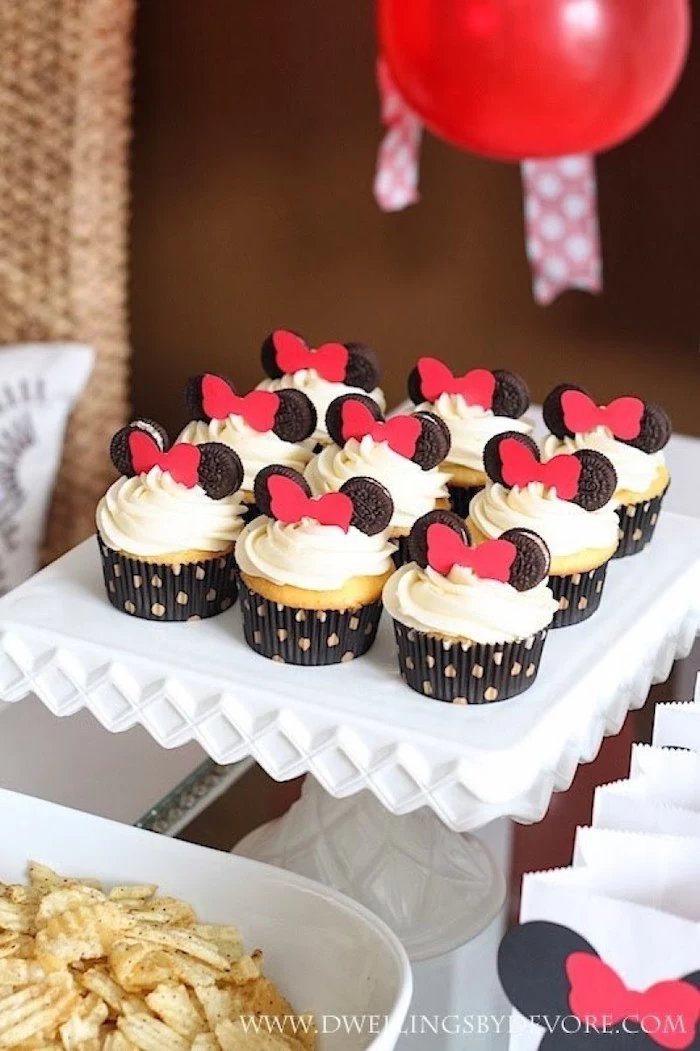
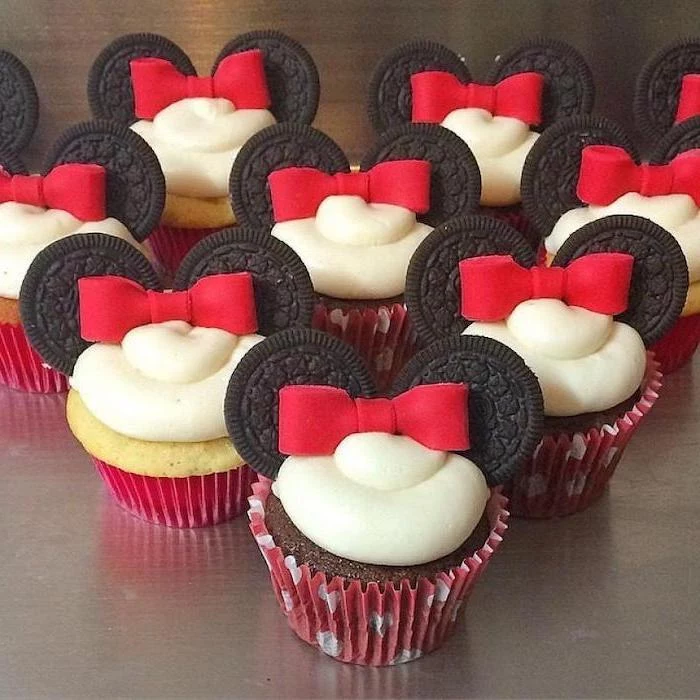
Oreo Ears: The simplest and tastiest alternative for cupcakes or even a small single-tier cake. Just pop two regular-sized Oreo cookies into the frosting right before serving.
Candy Melts: Melt black candy melts (like those from Wilton), pipe circles onto parchment paper, let them harden, and you have sturdy, uniform ears.
This is a great budget-friendly option that avoids the need for gumpaste.
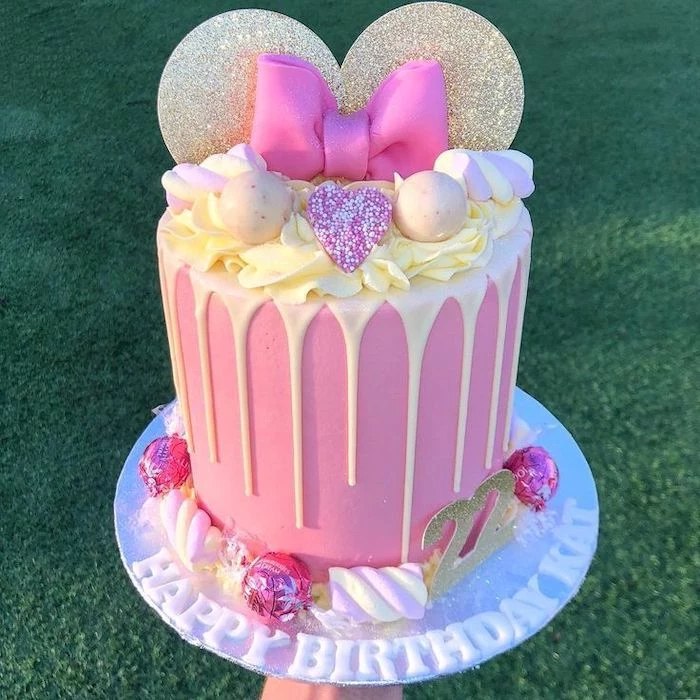
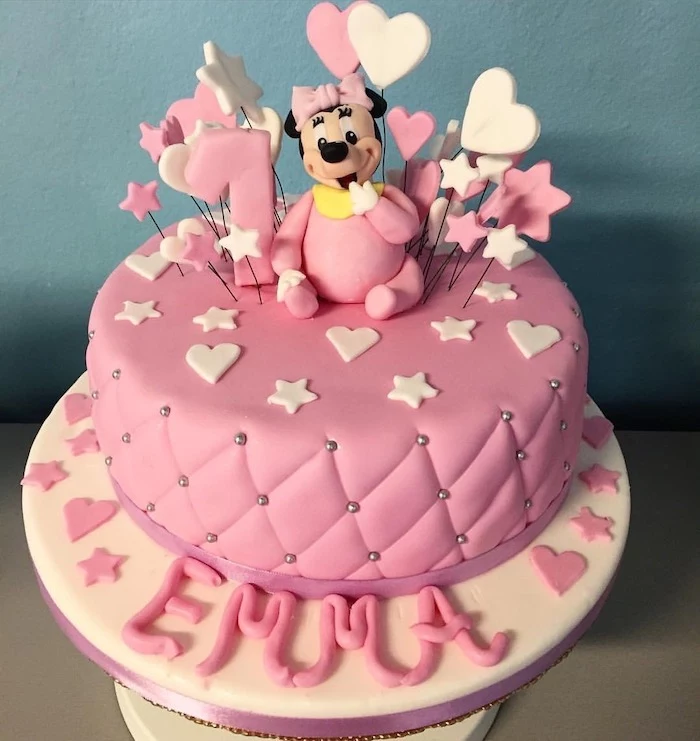
Give your Minnie a modern, chic makeover! Instead of the classic red and black, try a palette of soft pastel pink, cream, and a touch of metallic rose gold. This sophisticated color scheme is perfect for a stylish first birthday or a baby shower, proving that this timeless character can fit any aesthetic.
- Crisp, sharp lettering and details.
- A clean, hand-painted look for eyelashes or patterns.
- No smudging or bleeding of colors.
The method? Edible art paints. Products from brands like Sweet Sticks are designed to be used directly on fondant or chilled buttercream. Use a fine-tipped food-safe brush for ultimate precision.
Leftover fondant or gumpaste dries out quickly when exposed to air. To save it for another day, wrap it very tightly in plastic wrap, pressing out all the air. Then, place the wrapped bundle inside a zip-top bag or airtight container and store it in a cool, dark cupboard—never in the refrigerator, which will make it sweat and get sticky.
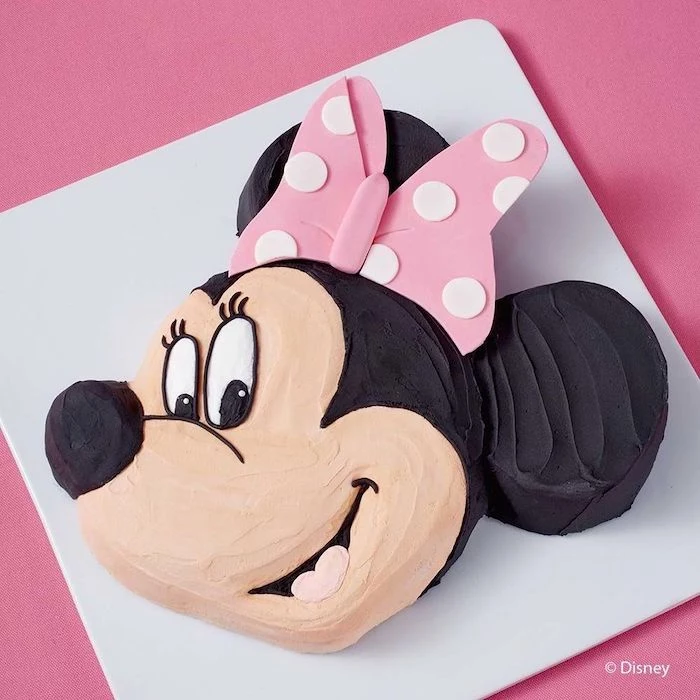
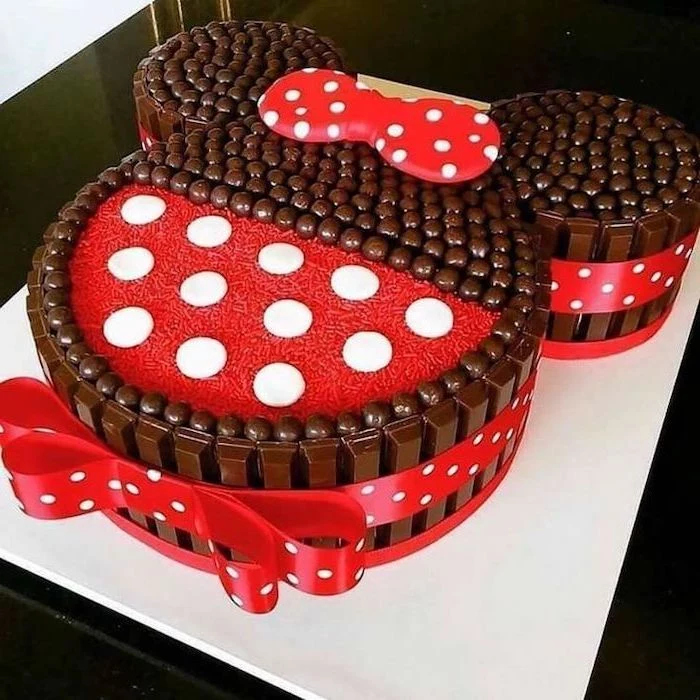
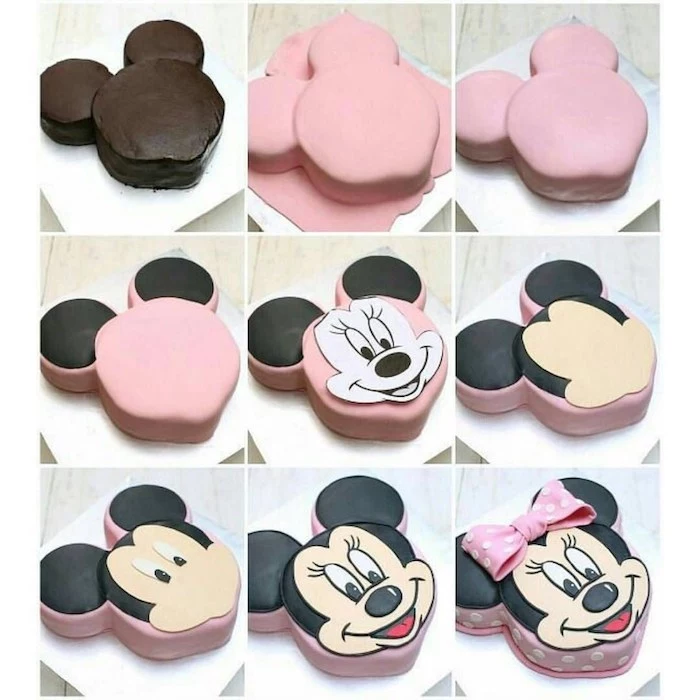
The secret to a perfect Minnie silhouette cake: Use two different-sized round cake pans. Bake your main cake in an 8-inch round pan for the face, and two smaller cakes in 4-inch or 6-inch round pans for the ears. Arranging them on the cake board before frosting creates that iconic shape instantly.
The ‘crumb coat’ is a baker’s best friend. This thin layer of frosting traps all the loose crumbs, ensuring your final coat is perfectly smooth and pristine.
After applying your crumb coat, chill the cake in the refrigerator for at least 30 minutes, or until it’s firm to the touch. This step is the single most important secret to avoiding a lumpy, crumb-filled final finish.

Edible Luster Dust: This fine powder provides a shimmery, pearlescent finish. Mix it with a few drops of clear alcohol (like vodka or lemon extract) to create a paint perfect for giving the bow a magical sparkle.
Edible Glitter: For a bolder, more festive look, use true edible glitter (not just non-toxic craft glitter). A light sprinkle over the bow or around the base of the cake adds instant celebration.
My red decorations are bleeding onto my white fondant! How do I stop it?
This is a common issue caused by moisture. To prevent it, ensure your cake is well-chilled and the environment isn’t too humid. Attach red elements like polka dots with only a tiny dab of water or edible glue. For a red bow on top, place a small, hidden piece of white fondant or parchment paper underneath it to act as a barrier.
Dowels are the internal skeleton of a tiered cake. Without them, the weight of the top tiers will collapse the bottom one. Use plastic or wooden dowels cut precisely to the height of your lower tier. Insert several into the cake to create a sturdy platform on which the next tier’s cake board will rest. This is the professional secret to gravity-defying cakes.
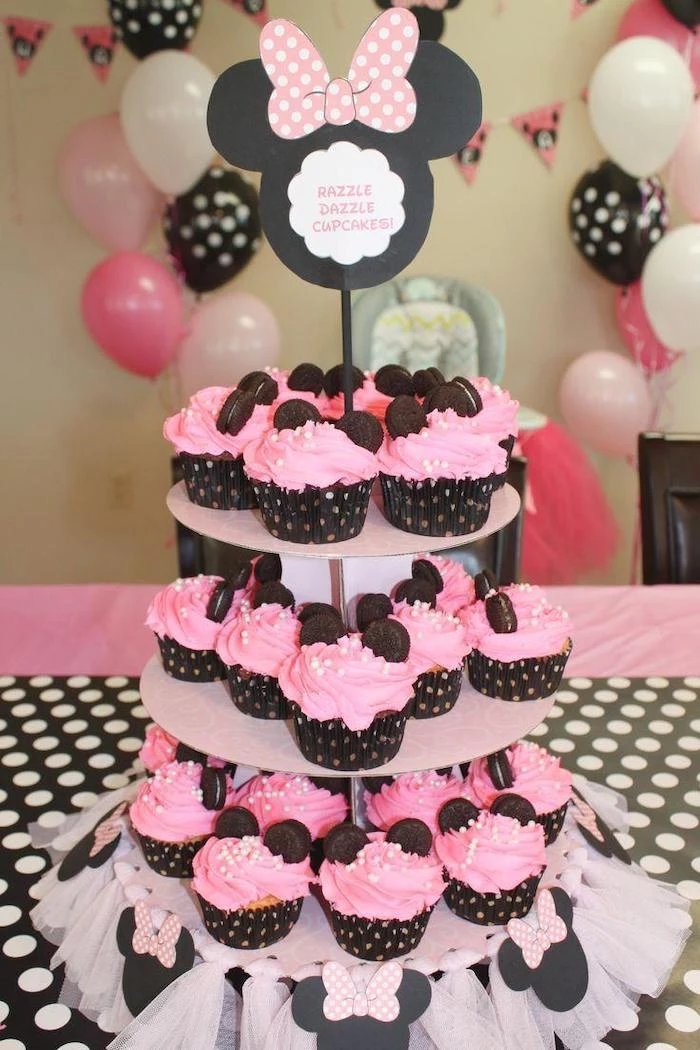
Create a stunning centerpiece by surrounding your main Minnie cake with matching cupcakes. Use a simple swirl of buttercream, add two mini Oreo cookies for ears, and finish with a tiny fondant bow. It’s an easy way to serve a large crowd while reinforcing the theme beautifully.