The No-Stress Guide to Nailing That Famous Mouse Cake
So, you want to make that cake. You know the one—the classic cartoon mouse with the big round ears that makes every kid’s face light up. I’ve been in the baking game for a long time, and I can tell you that some character requests are just timeless. This one is at the top of the list.
In this article
- First Things First: Your Shopping & Prep List
- Your 3-Day Game Plan to Avoid Last-Minute Panic
- The Foundation: It All Starts with the Right Cake
- Building Your Canvas: Stacking, Doweling, and Crumb Coating
- Getting That Iconic Look: Fondant, Buttercream, and Bold Colors
- Oh No! Common Cake Disasters & How to Fix Them
- Final Touches: Adapting to the Situation
- Inspiration Gallery
But let’s be real. A great character cake is as much about basic engineering as it is about artistic flair. My first attempt at this very cake, years ago for my nephew, was a total disaster. The ears looked more like sad, droopy pancakes, and the bright red icing bled everywhere. It was a learning moment for sure, and it taught me that the secret isn’t just in the decorating—it’s in the structure.
This guide isn’t just a bunch of pretty pictures. It’s the playbook I’ve refined over years of trial and error. We’re going to walk through everything from building a solid foundation to getting those bold, clean colors without making your frosting taste weird. Ready? Let’s build a cake that not only looks incredible but is also delicious and won’t give you a panic attack.
First Things First: Your Shopping & Prep List
Nothing is worse than starting a project and realizing you’re missing a key tool. Before you even touch a bag of flour, let’s get organized. Think of this as your mission briefing.
For the Cake & Icing:
- A sturdy cake recipe: We’ll get into this more below, but you’ll need ingredients for a dense chocolate mud cake or a firm vanilla cake. Avoid the ‘light and fluffy’ box mixes for this job.
- Buttercream ingredients: Butter, shortening, powdered sugar, vanilla, and a little milk or cream. A mix of butter and high-ratio shortening will give you great taste and stability.
- High-quality gel food coloring: You’ll need Black, Super Red, and Yellow. I swear by brands like AmeriColor or Chefmaster. A small bottle of their “Super Red” costs around $4-$6 and saves you from a bitter, pinkish mess.
For the Structure & Decoration:
- Pre-colored fondant: Do yourself a favor and buy pre-colored red and black fondant. Trying to color it yourself takes forever and can ruin the texture. A 2-pound tub from a brand like Satin Ice or Fondarific will run you about $15-$25 and is worth every single penny.
- Gumpaste or Tylose Powder: For making those iconic ears so they don’t droop. Gumpaste is ready to go, or you can add Tylose powder (about $8 for a small jar that will last forever) to your fondant.
- Dowels: These are non-negotiable for support. Thick plastic bubble tea straws are my secret weapon—they’re food-safe, cheap, and easy to cut.
- Cake boards: You’ll need a sturdy main drum for the base and thin cardboard rounds for each tier of cake.
- Lollipop sticks or thin wooden skewers: To insert into the ears for support.

Essential Tools:
- Baking Strips: These fabric strips you soak in water are a game-changer for getting flat, even cake layers. You can find them at any craft store or online for under $15.
- An offset spatula and a bench scraper: For getting that silky smooth icing finish.
- A small, sharp knife and a pizza cutter: For trimming fondant cleanly.
Your 3-Day Game Plan to Avoid Last-Minute Panic
Trying to do this all in one day is a recipe for tears. Pros don’t do it, and you shouldn’t either. Spread it out!
Day 1: The Prep Work. Bake your cake layers. While they cool, make the ears. Roll out your gumpaste (or fondant with Tylose added), cut two perfect circles, insert the skewers, and lay them flat on parchment paper to dry completely. Let them sit overnight. Once your cakes are totally cool, wrap them tightly in plastic wrap and pop them in the freezer. Seriously, a cold cake is a dream to work with.
Day 2: The Assembly. This is construction day. Level your chilled cakes (you’ll get way fewer crumbs this way). Then, fill, stack, and dowel your cake. Apply the “crumb coat”—that messy first layer of icing—and let it chill in the fridge until firm. This is also a good day to color your buttercream if you’re not using fondant.
Day 3: The Fun Part! Apply your final coat of icing or fondant. Add the details like the yellow “buttons” and, finally, carefully insert the hardened ears. Ta-da! All that’s left is to present it and soak up the compliments.
The Foundation: It All Starts with the Right Cake
I can’t stress this enough: your standard, light-as-air birthday cake recipe will not work here. It will buckle under the weight of the decorations. You need a cake with a tight, sturdy crumb that can be carved and stacked without falling apart. Think more like a dense, delicious brownie than a delicate sponge.
My go-to choices are either a rich chocolate mud cake or a sturdy vanilla bean cake that uses the “reverse creaming” method. That’s a pro technique where you mix the butter into the dry ingredients first, before adding the liquids. This coats the flour in fat and stops it from developing too much gluten, giving you a fine, strong crumb that won’t tear when you work with it.
A quick tip for baking: use those baking strips I mentioned. They insulate the sides of the pan, so the cake bakes evenly instead of doming in the middle. Less dome means less wasted cake you have to slice off. For any cake bigger than 10 inches, a heating core (a little metal cone in the center) helps prevent a gooey, undercooked middle. And remember, once it’s baked, let it cool completely, wrap it, and freeze it. This is the single best trick for making the decorating process 100 times easier.
Building Your Canvas: Stacking, Doweling, and Crumb Coating
Okay, let’s talk structure. A multi-tier cake is a tiny construction project. Each tier needs its own foundation, or the top will literally crush the bottom. I learned that lesson the hard way with a leaning cake at a friend’s party. Never again.
Before you decorate, you MUST do a crumb coat. It’s a thin, sacrificial layer of buttercream you smear all over the cake to trap any loose crumbs. Don’t worry about making it pretty. Its job is to be messy so your final layer can be perfect. Once it’s coated, pop the cake in the fridge for at least 30 minutes until the icing is firm to the touch.
Now, for the dowels. The weight of the top cake needs to be transferred straight down to the cake board at the very bottom. Here’s how to do it perfectly: 1. Assemble your bottom tier on its cake board. 2. Take one bubble tea straw and push it straight down into the cake until you feel it hit the board. 3. Pinch or mark the straw with your thumb right at the surface of the frosting. 4. Pull it out. That’s your guide! Cut the straw at your mark. 5. Now, cut all your other dowels to that exact same length. For an 8-inch cake, a pattern of five dowels (one in the center, four in a square) is perfect.
Getting That Iconic Look: Fondant, Buttercream, and Bold Colors
The magic of this design is in its simple shapes and bold colors. The challenge is getting that super-black and vibrant-red without it tasting like chemicals.
If you’re making buttercream, start with a dark chocolate frosting for your black. It gets you 80% of the way there, so you only need a little bit of black gel color. For red, use a “no-taste” red gel and let it sit. The color deepens over an hour, so don’t keep adding more!
Honestly, though? For a project like this, I go with fondant. But which is better for you?
- Buttercream: It’s cheaper, tastes great to most people, and is easier for beginners. It’s perfect for a softer, more homemade look. The big downside? It’s terrible in the heat and it’s much harder to get those super-sharp, clean lines.
- Fondant: This gives you that flawless, professional, almost cartoon-like finish. It’s incredibly stable, even in warm rooms. The trade-offs are the cost (it’s more expensive) and the taste/texture, which not everyone loves. It also takes a bit more practice to work with.

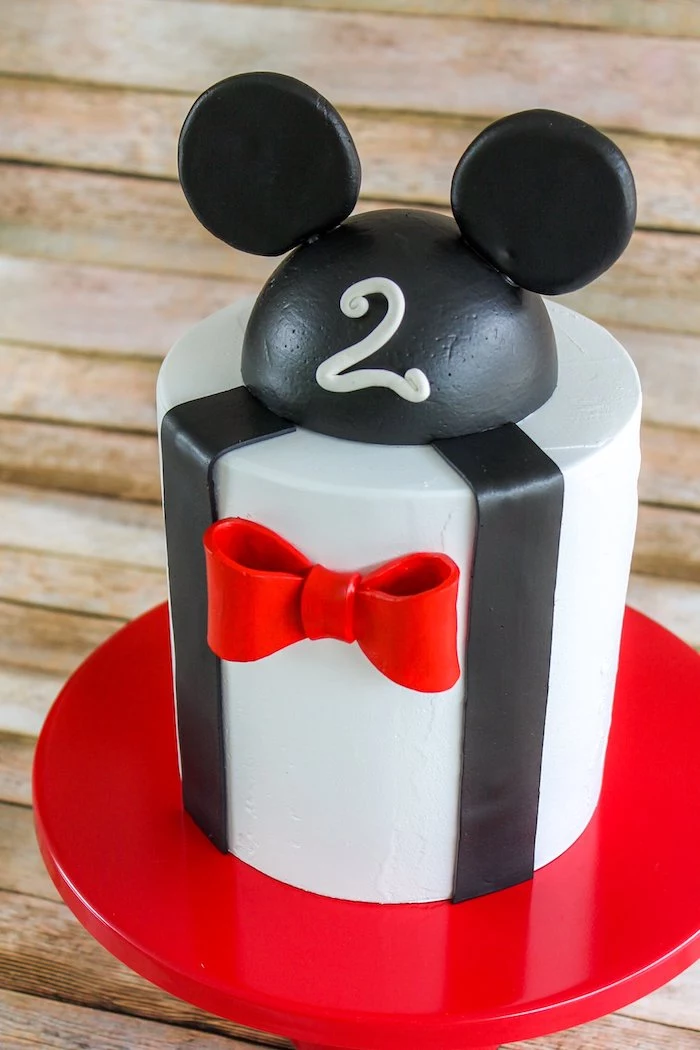
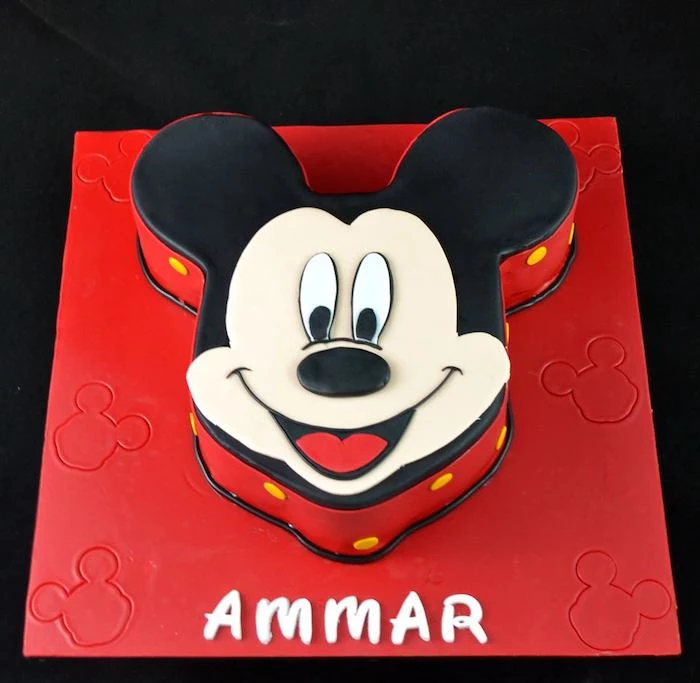
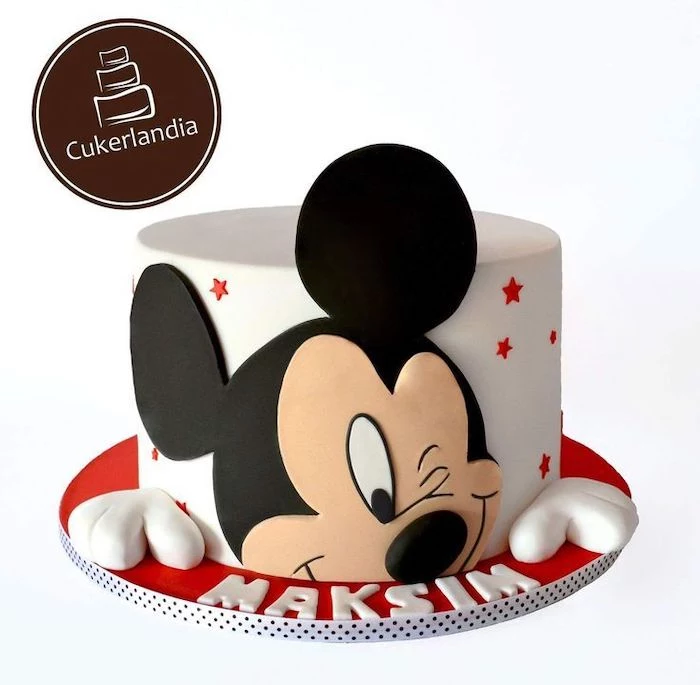
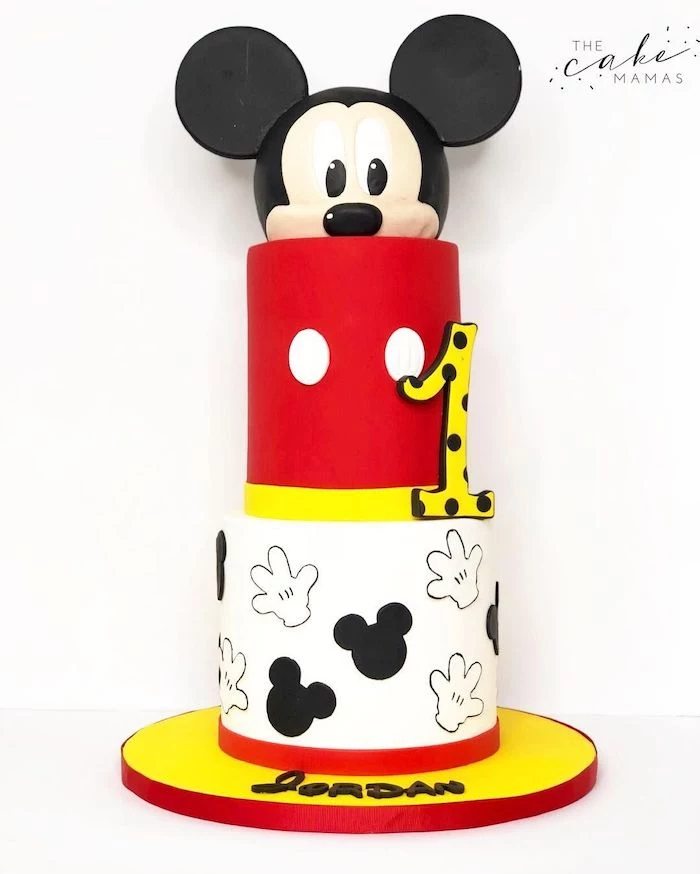
If you go with fondant, try the paneling method for sharp edges. You cut a circle for the top, then measure the cake’s height and circumference to cut a long rectangle that you wrap around the sides. It gives you a much crisper look than draping one giant sheet over the whole thing.
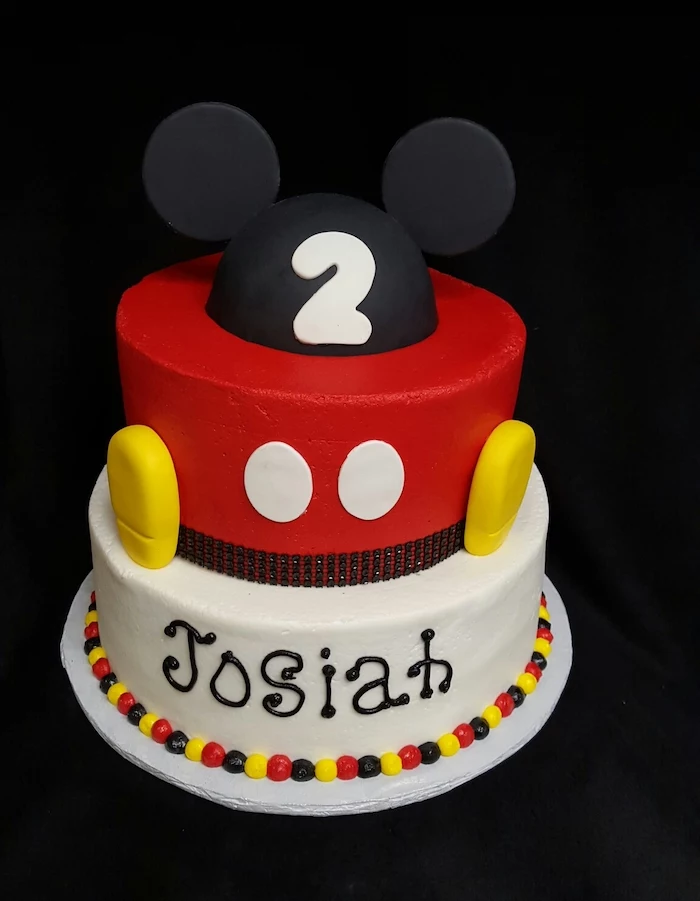
And for the ears, use gumpaste or add about 1 teaspoon of Tylose powder to a pound of black fondant. This makes it dry rock-hard. To attach them after they’ve dried for a day, just gently push their skewers into the top of the chilled, finished cake. For extra security, you can pipe a tiny bit of black royal icing around the base where the ear meets the head. It acts like glue.
Heads up! A quick safety warning: Those skewers in the ears are a hazard. Always, always, always tell the person you’re giving the cake to that the ears have inedible supports inside. I even include a little card explaining what to remove before serving.
Oh No! Common Cake Disasters & How to Fix Them
Things go wrong. It happens to everyone. Here are a couple of common freak-outs and how to handle them.
Problem: My fondant is tearing as I put it on the cake!The Fix: It’s probably a bit too dry, or you rolled it too thin. Knead in a tiny dot of white vegetable shortening to make it more pliable. If it’s still tearing, it might be too thin—aim for about 1/8th of an inch thick.
Problem: Help, my cake is starting to lean!The Fix: A lean means your dowels are likely uneven, or the cake is too warm. Get it into the fridge IMMEDIATELY to firm everything up before it gets worse. If you can, check your dowels—are they all the same height? This is why cutting them all from one guide is so critical.
Final Touches: Adapting to the Situation
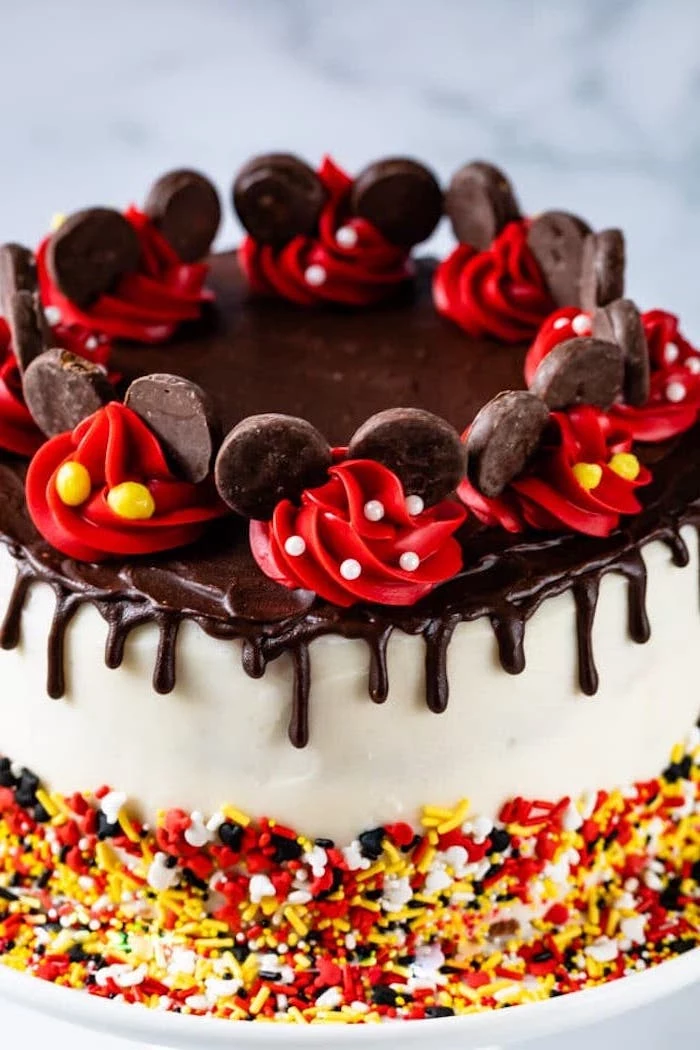
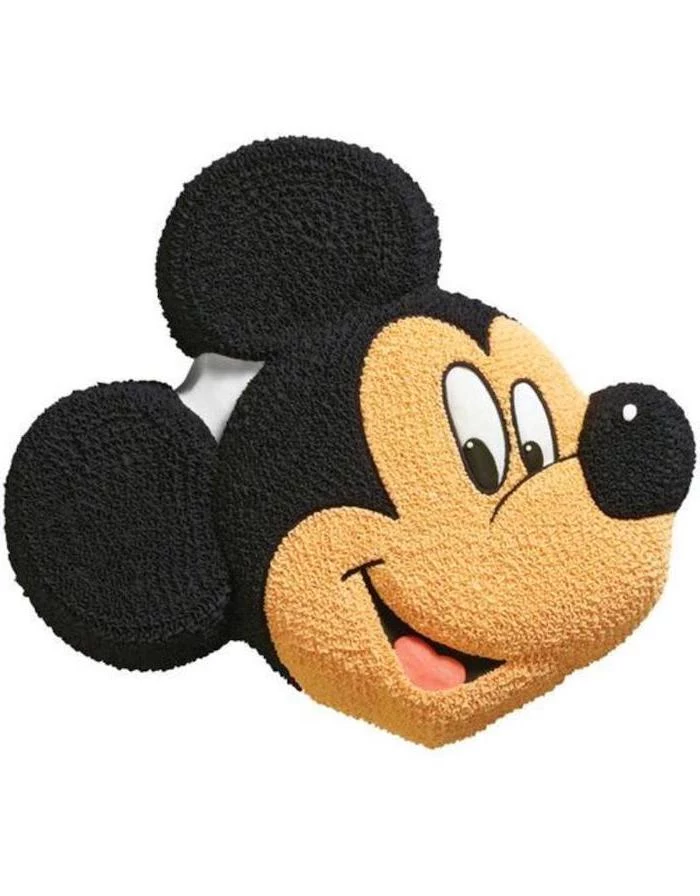
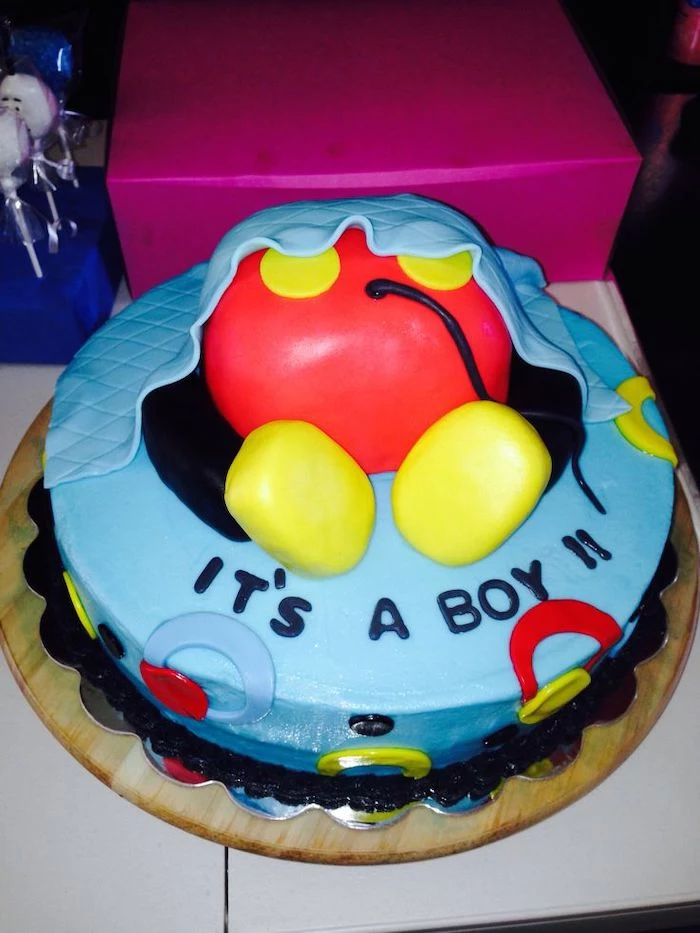
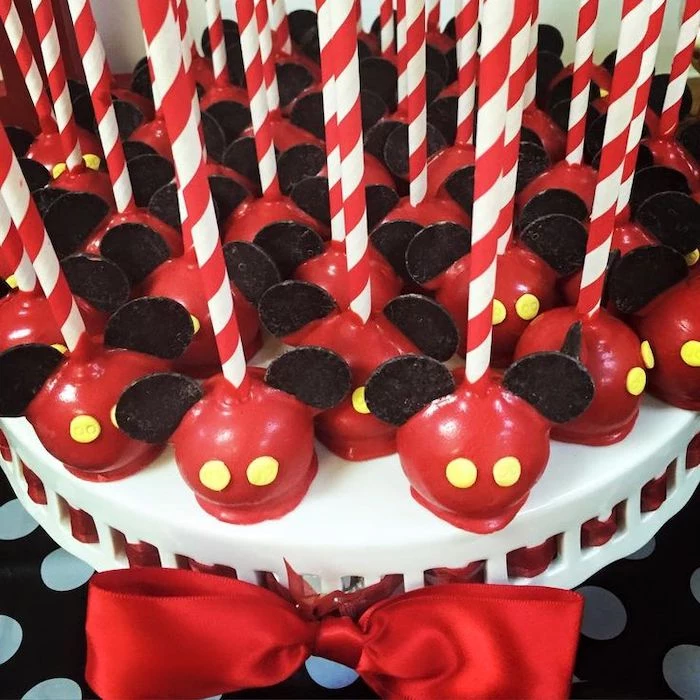
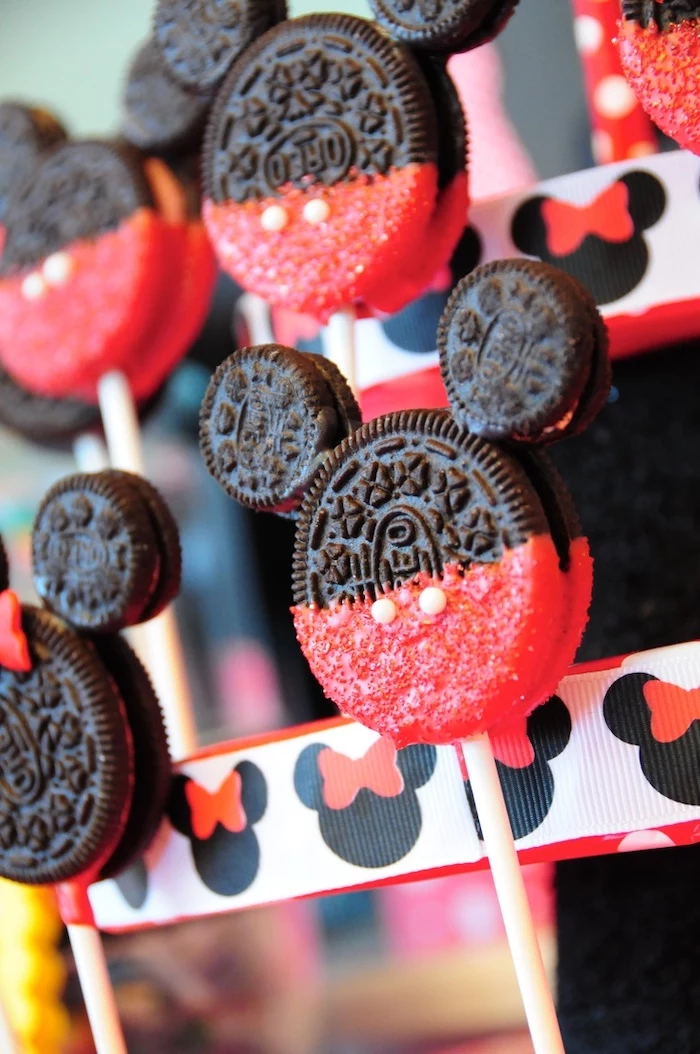
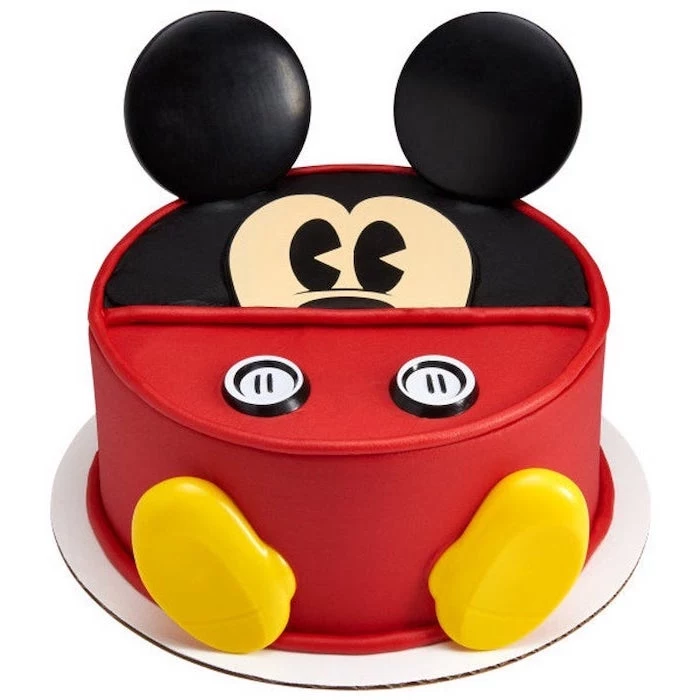
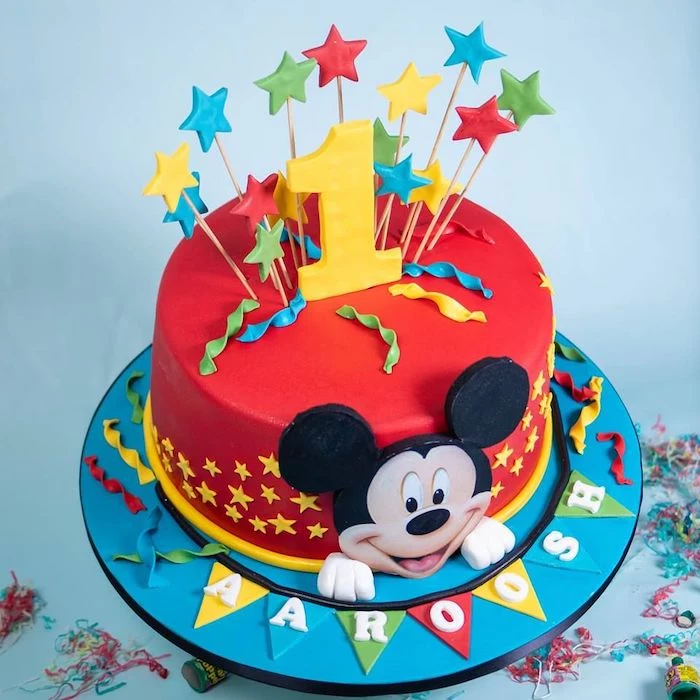
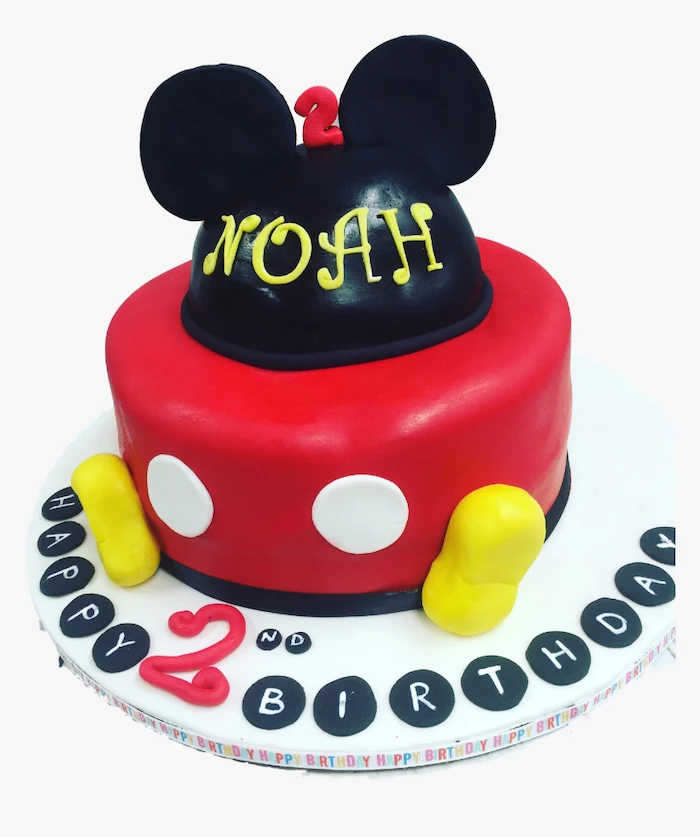
Finally, remember who you’re making this for. Is it a first birthday smash cake? The buttercream method is your best friend. It’s soft, easy, and you can just use two big chocolate cookies (like Oreos without the filling) for instant ears. The entire thing is edible and perfect for little ones.
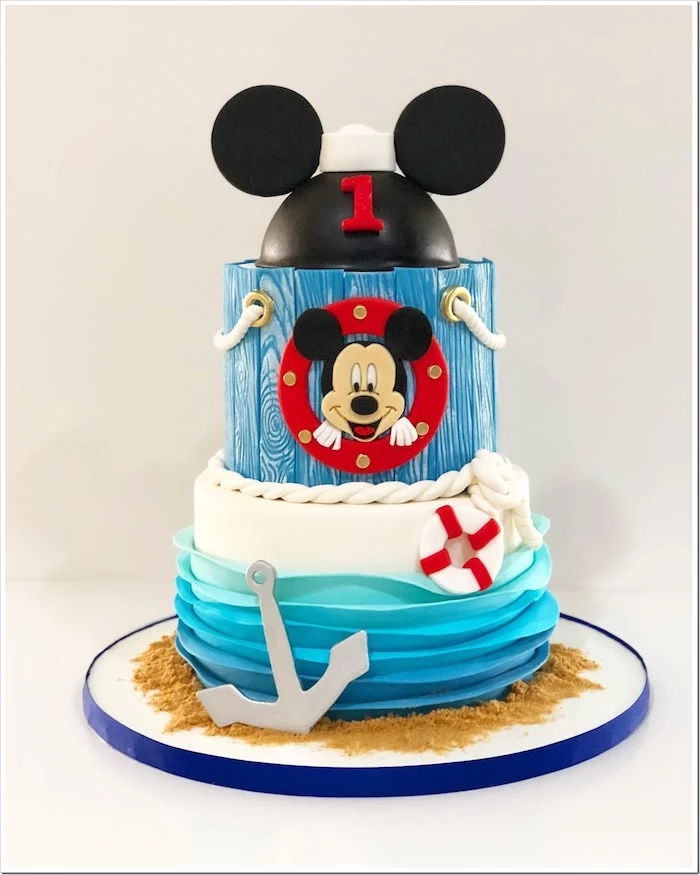
And think about the weather. If you’re serving this cake at an outdoor party in July, fondant is your only safe bet. A beautiful meringue buttercream will turn into a puddle in the heat and humidity. A fondant-covered cake, on the other hand, will keep everything locked in and stable. It’s all about planning ahead for a result that’s as delicious as it is delightful.
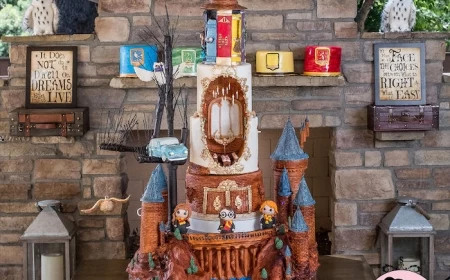
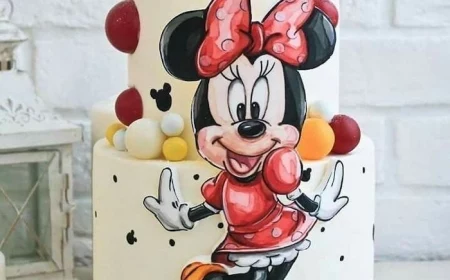
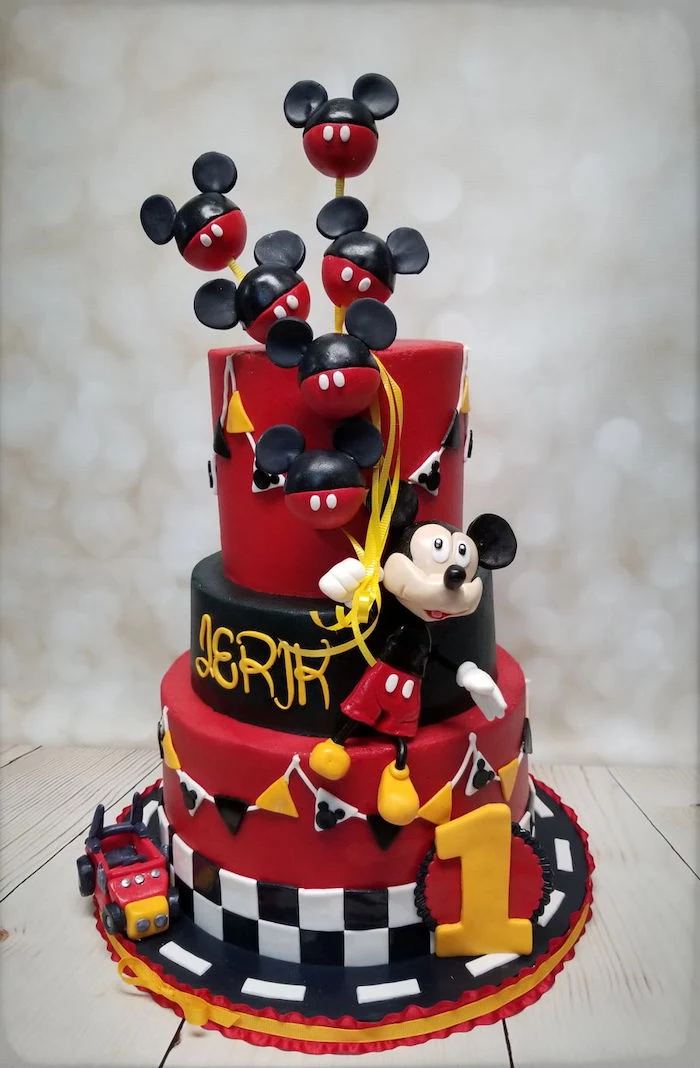
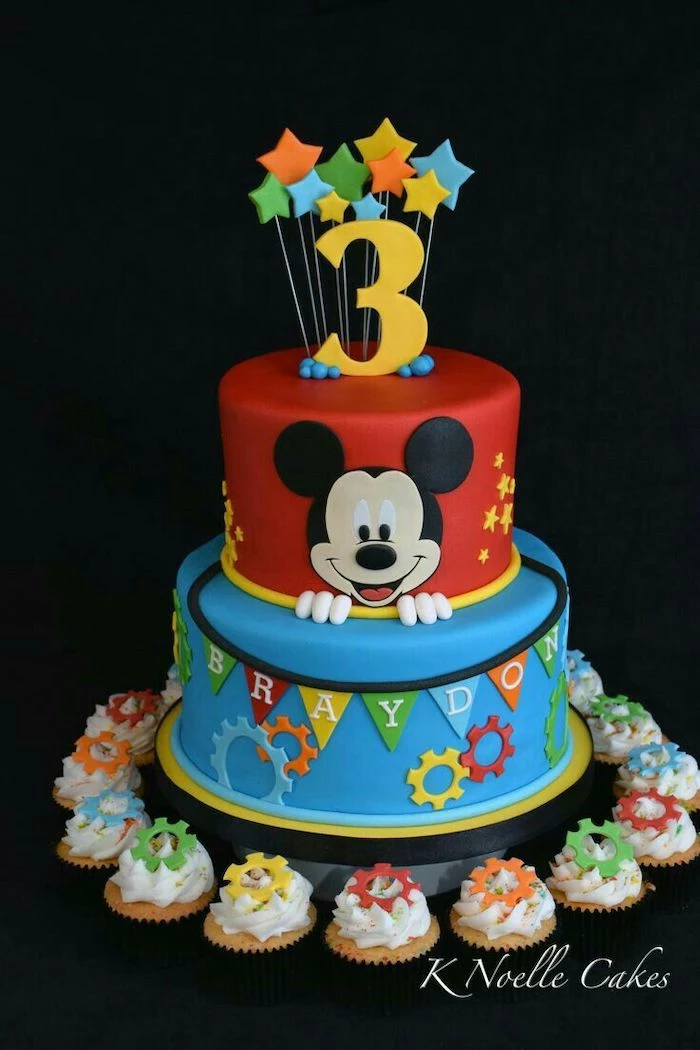
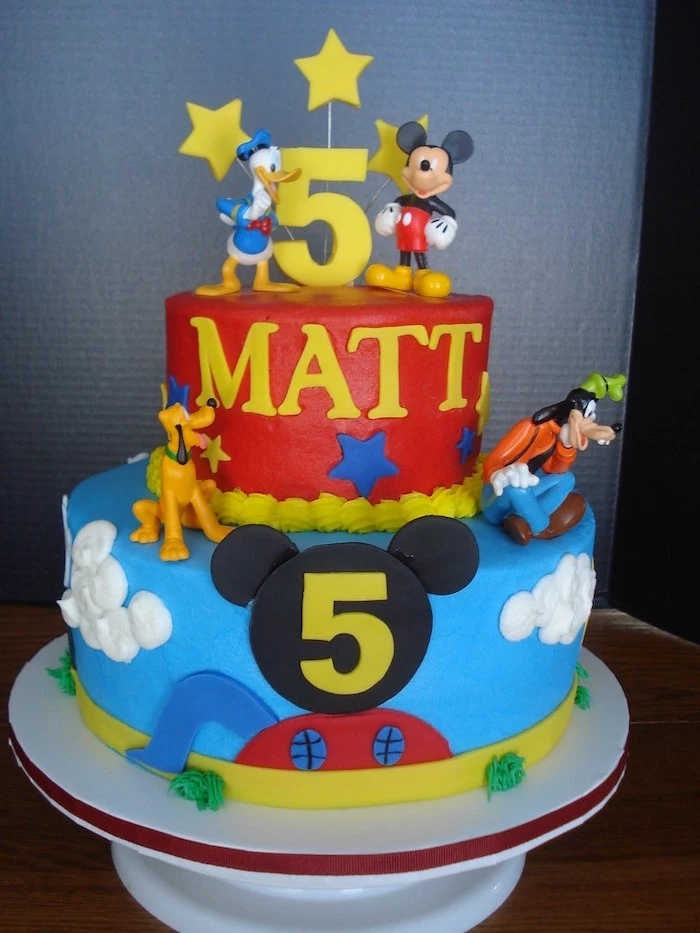
Inspiration Gallery
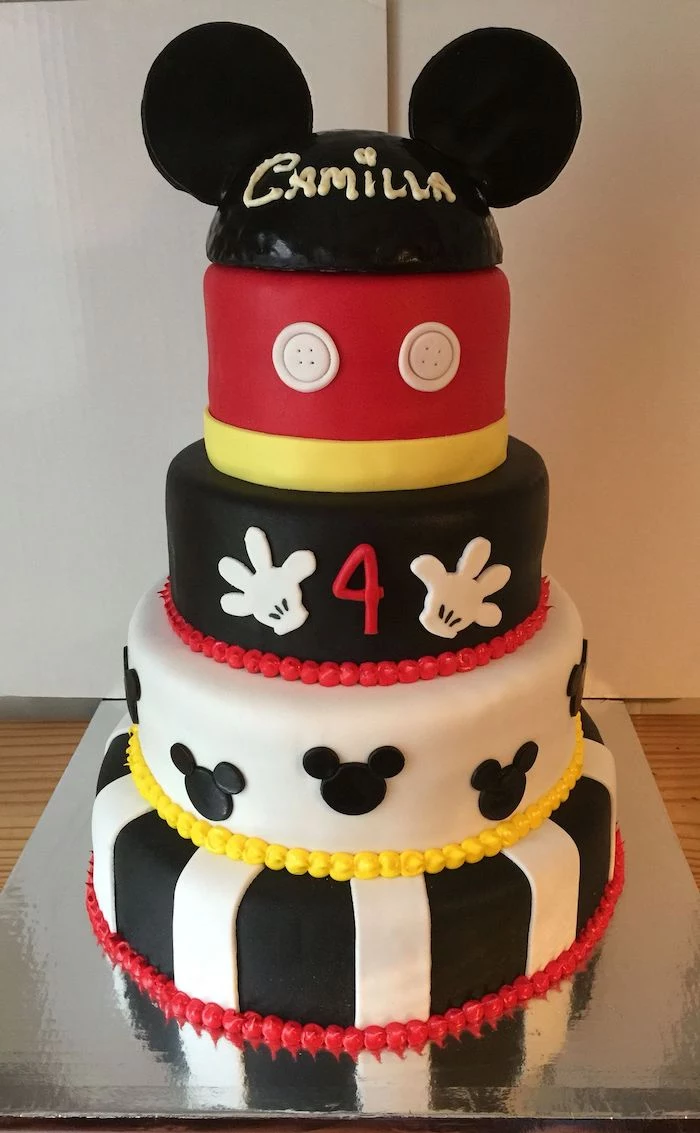
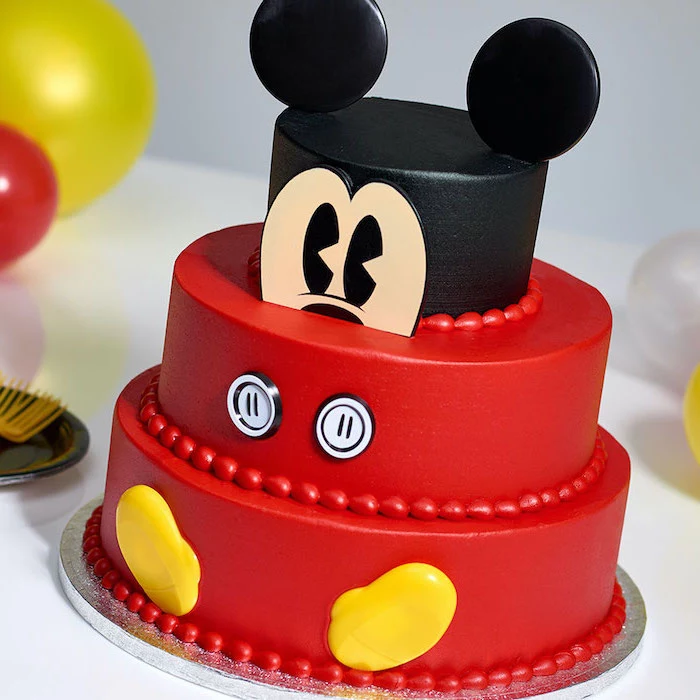
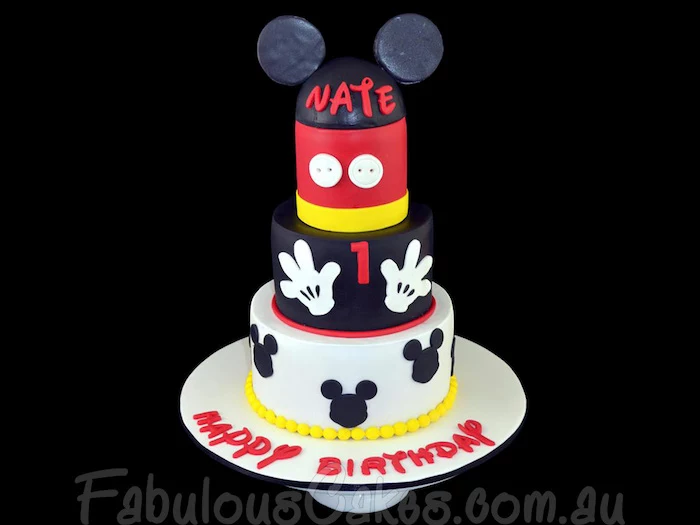
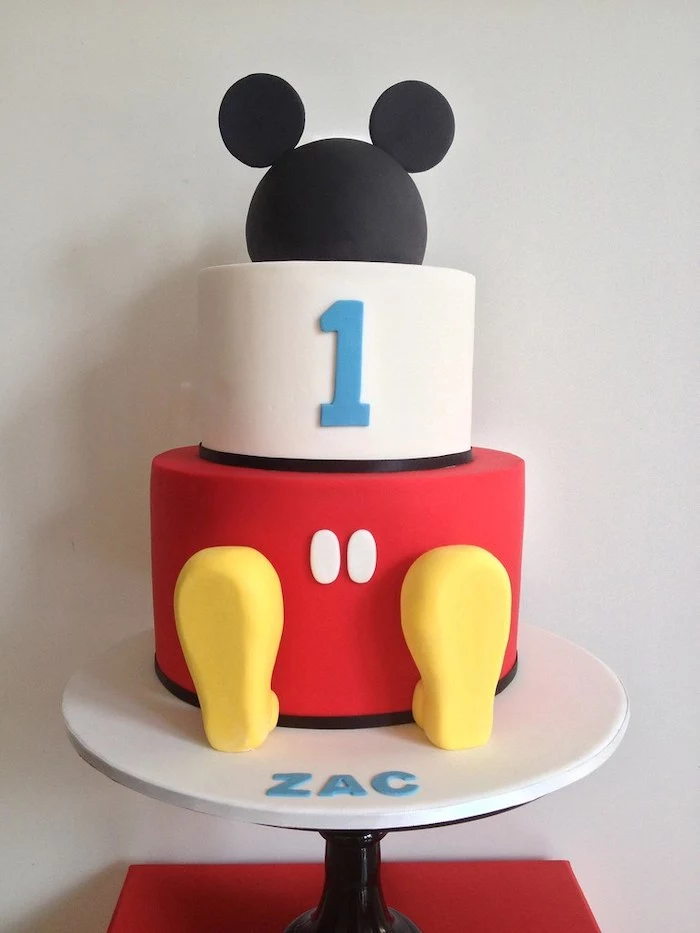
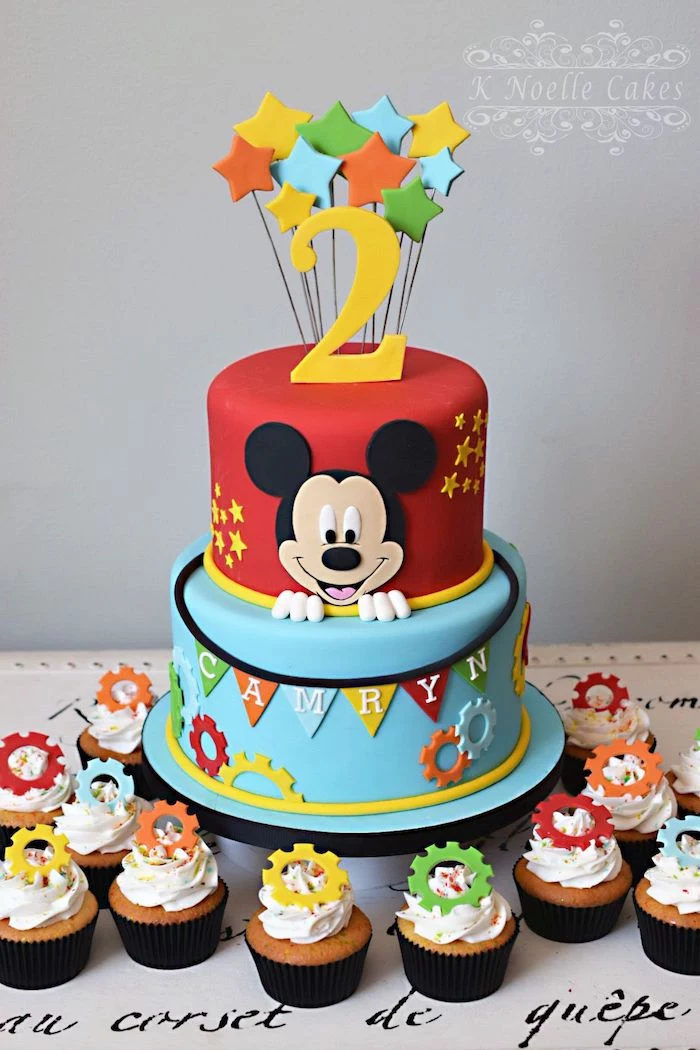
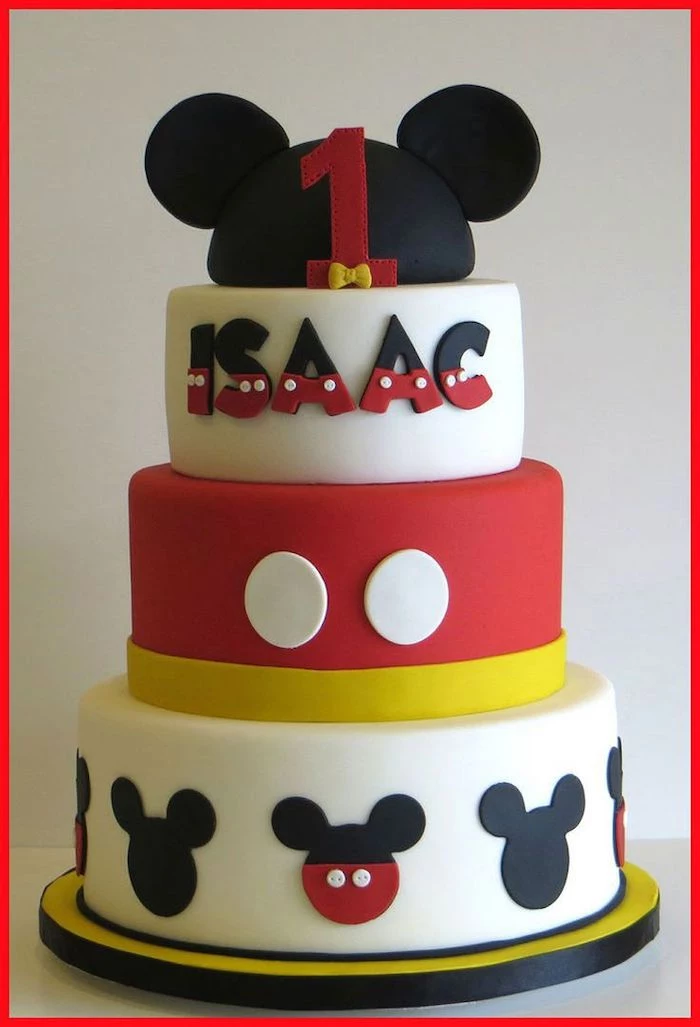
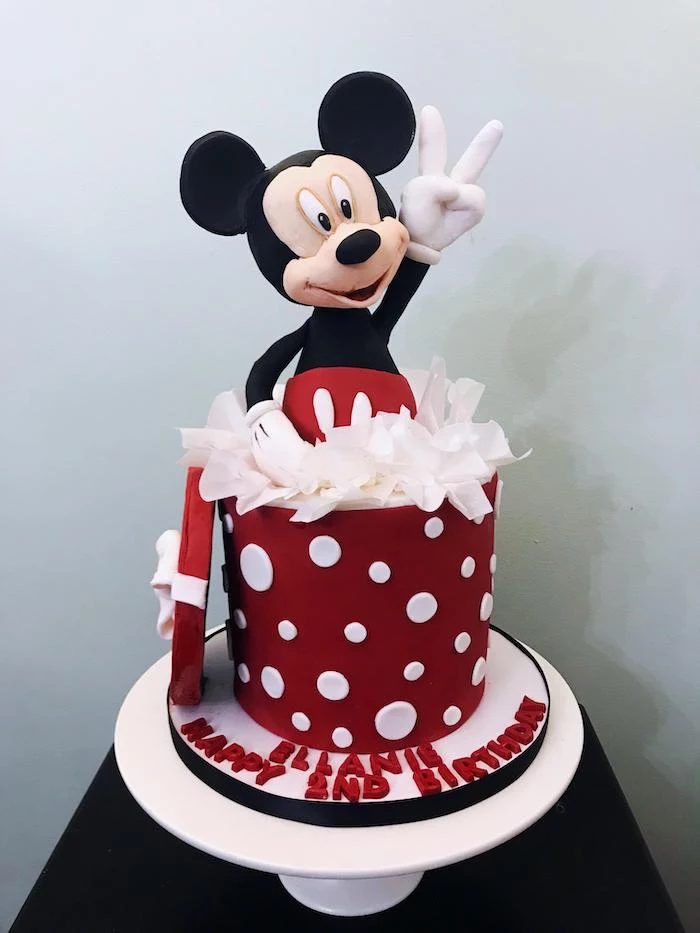
Fondant Finish: Delivers that perfectly smooth, cartoon-like, almost plastic finish. It’s ideal for sharp edges and bold, solid colors. Brands like Satin Ice offer a great texture that’s easy to work with.
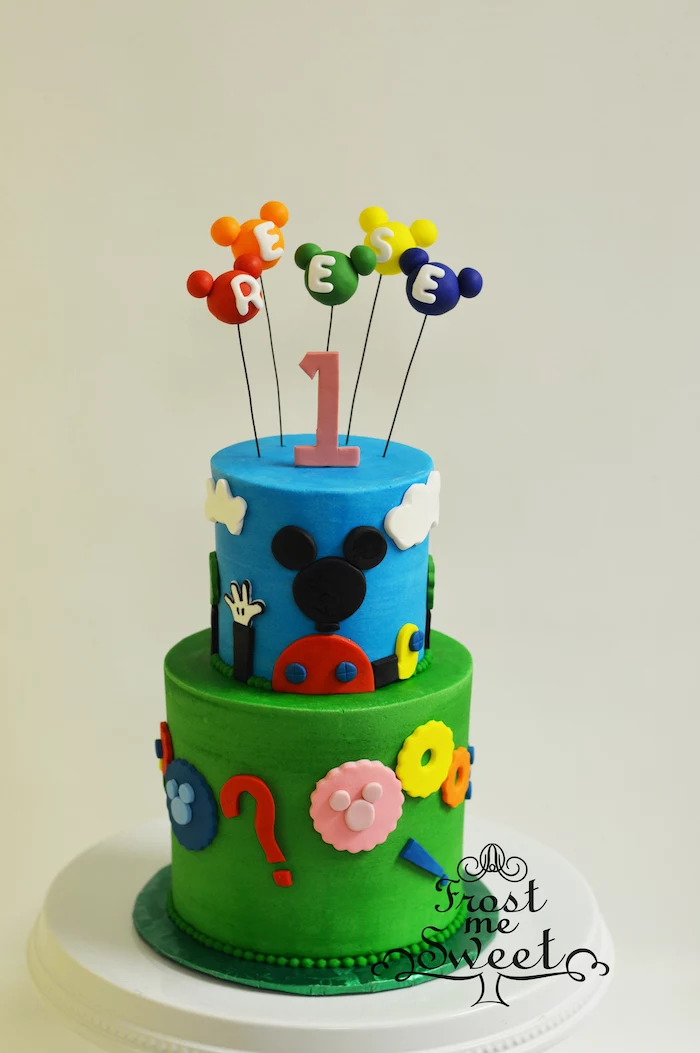
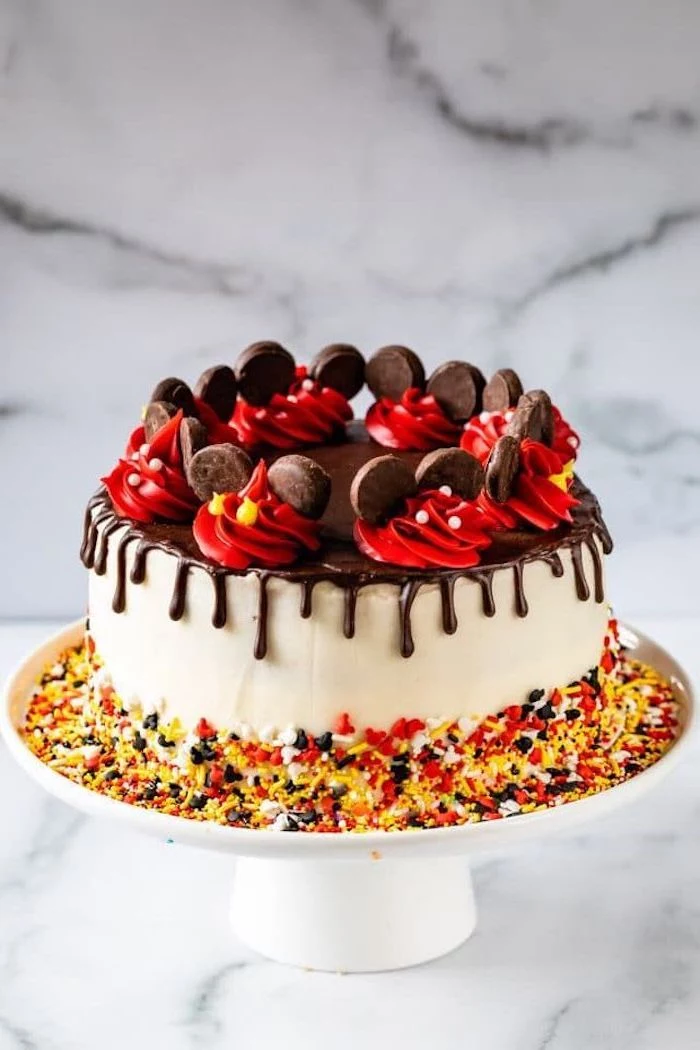
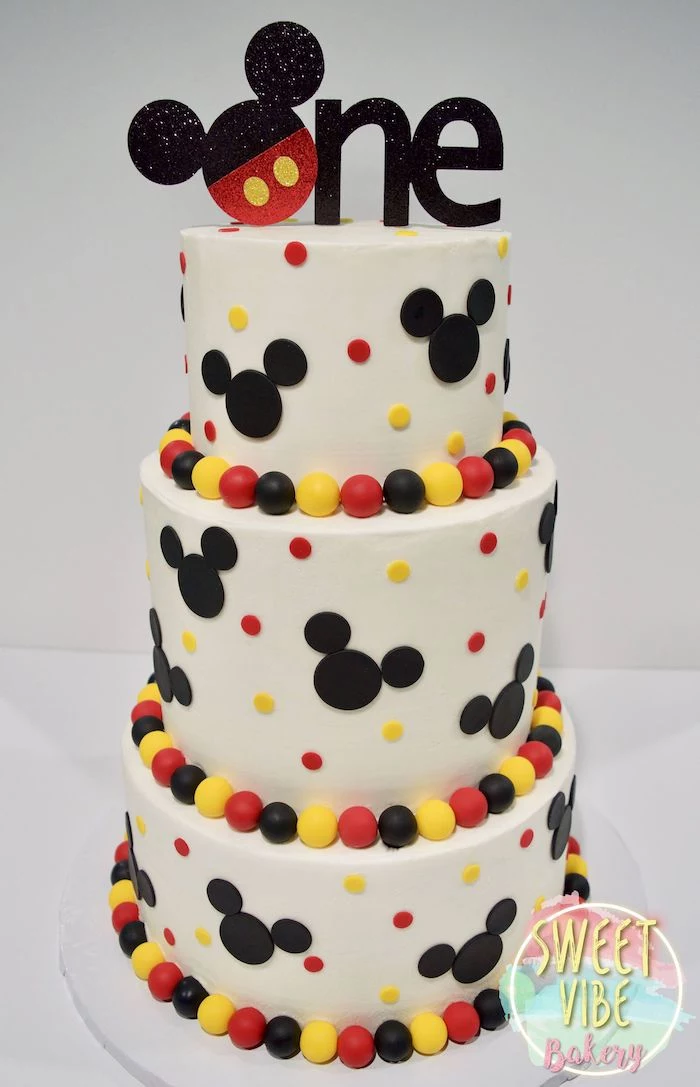
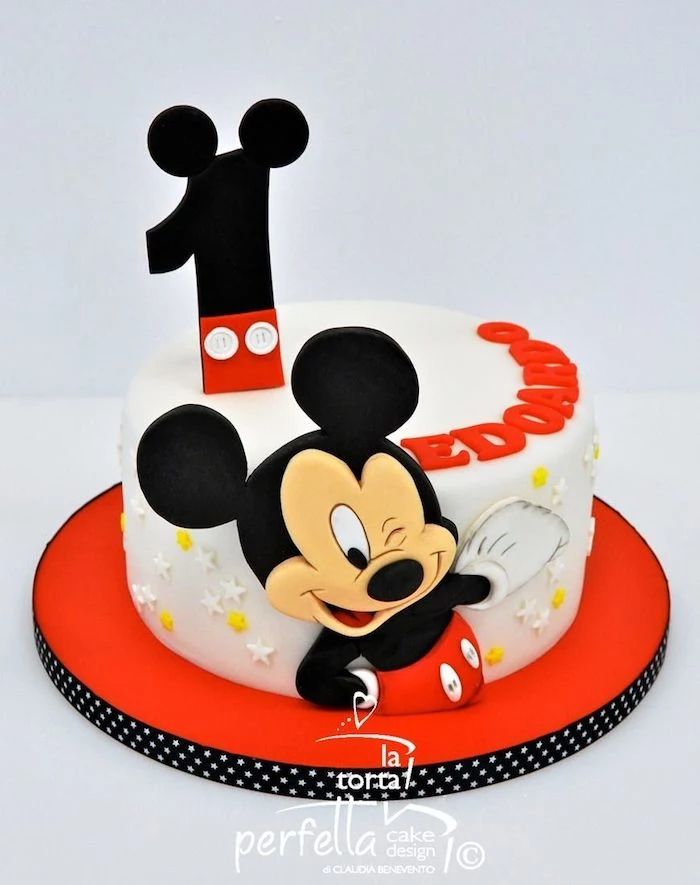
Buttercream Finish: Softer in appearance and generally preferred for taste. It’s perfect for a more rustic or approachable design. You won’t get the same sharp edges, but you can achieve beautiful textures.
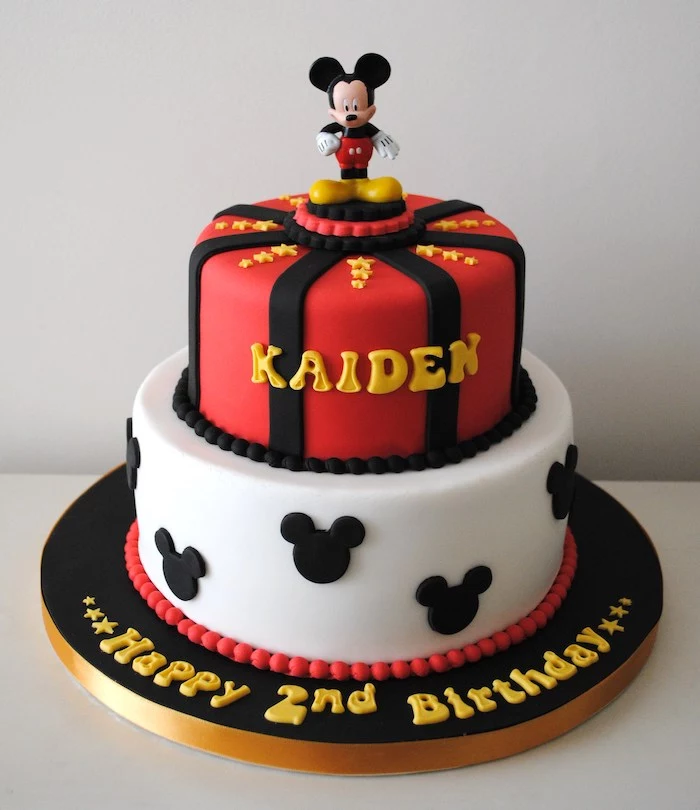
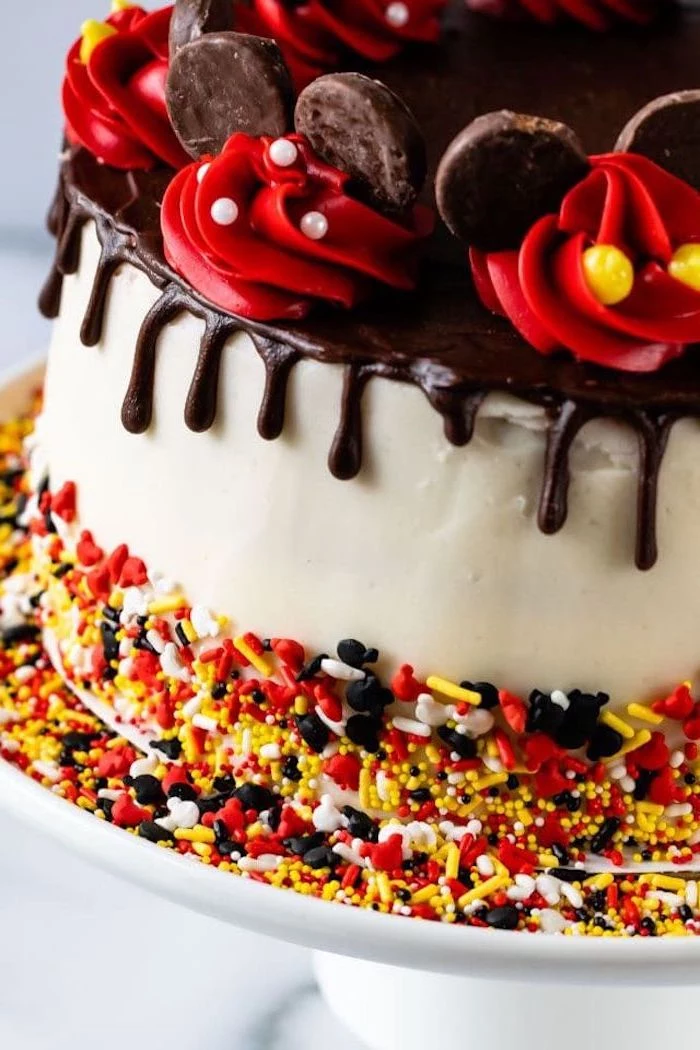
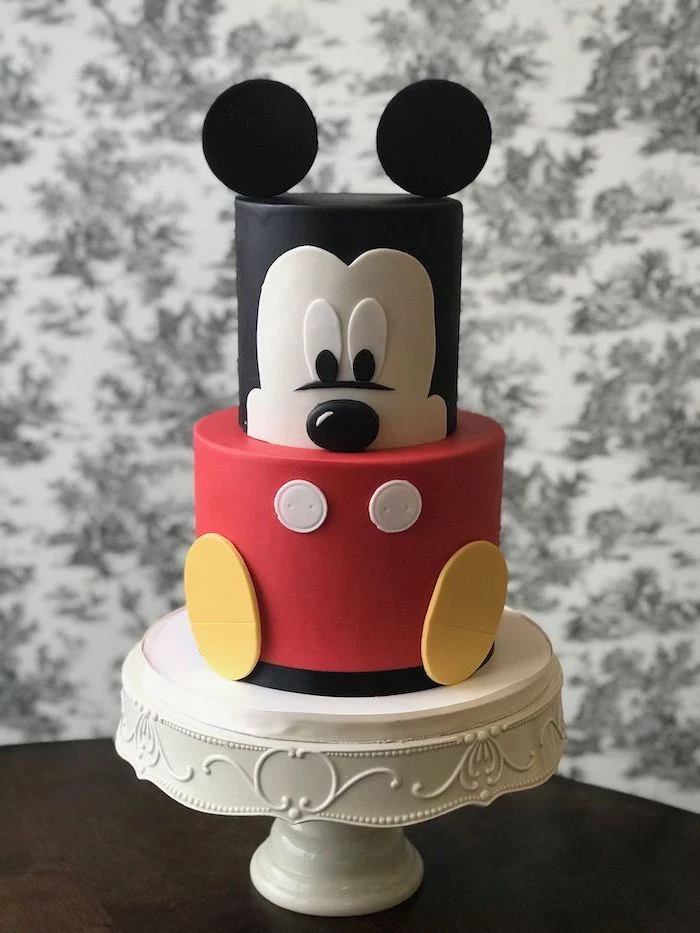
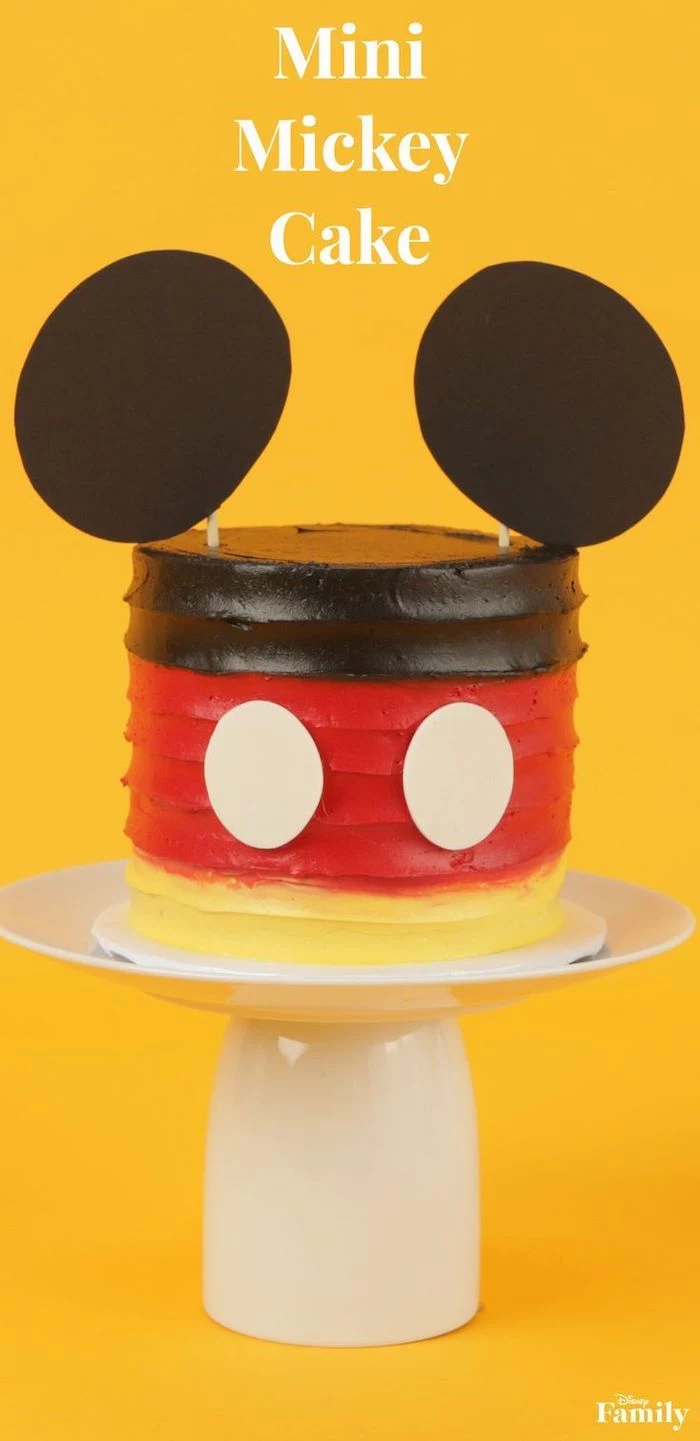
For the best of both worlds, consider a buttercream-iced cake with just the ears, buttons, and other key details made from fondant.
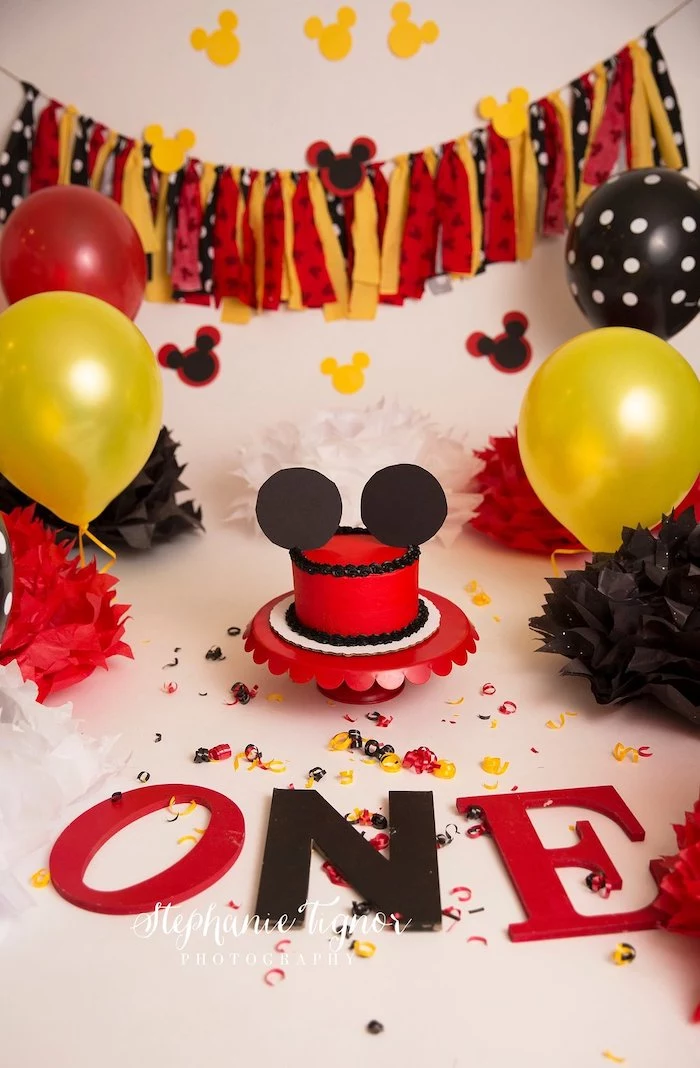
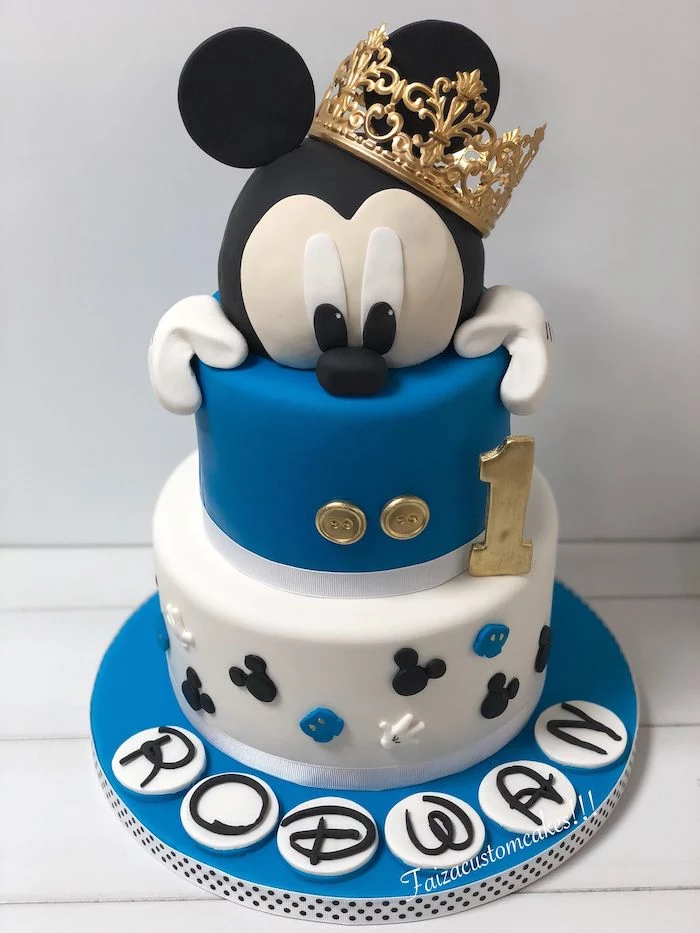
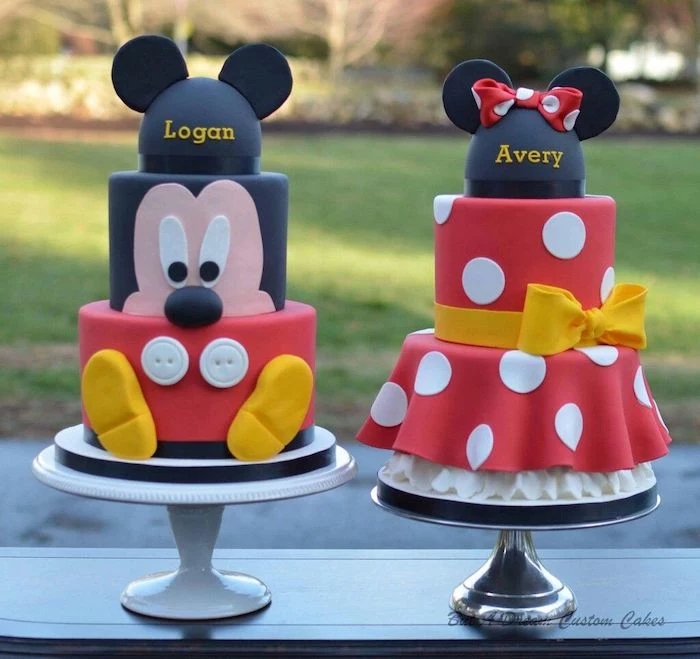
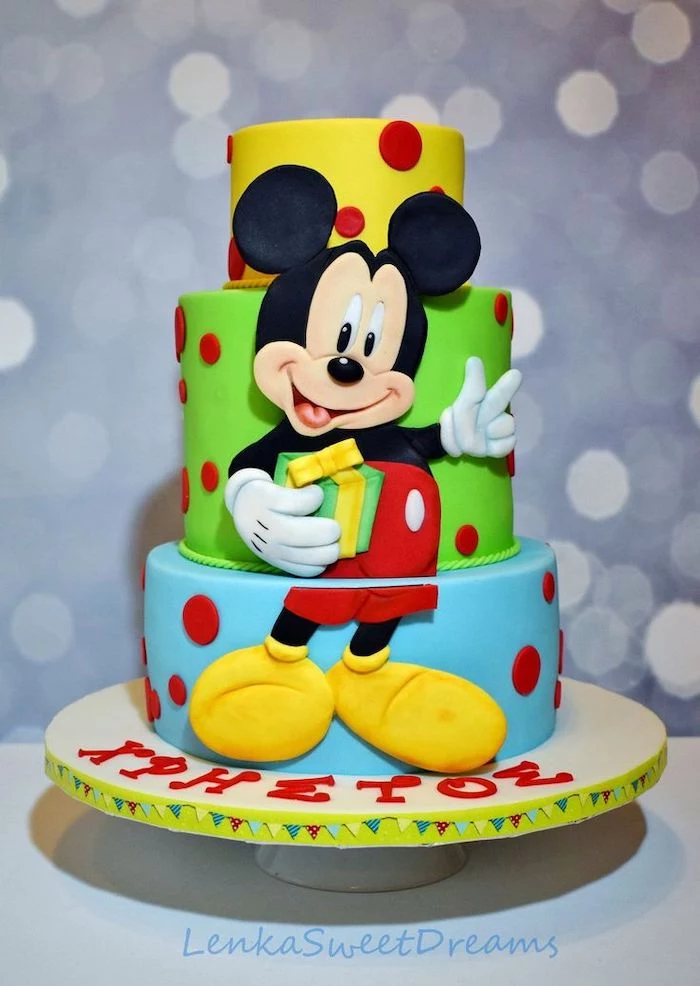
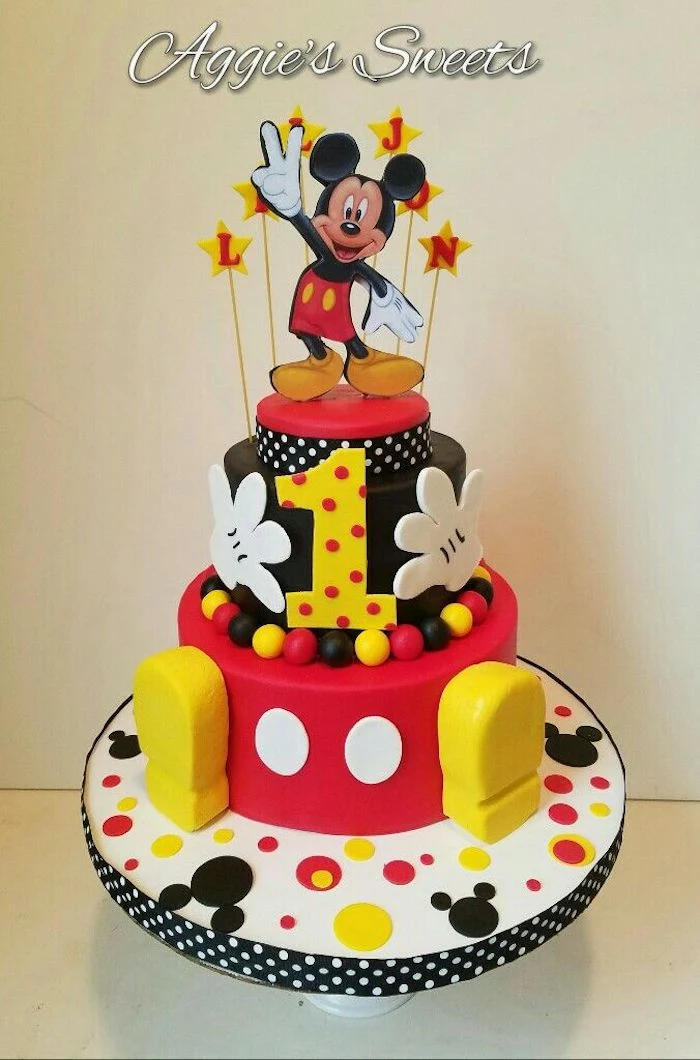
- Create two perfectly round, thick gumpaste ears at least 3-4 days in advance. Insert a food-safe lollipop stick into the base of each before they dry.
- Once the cake is frosted, simply push the sticks into the top of the cake.
- For the classic pants, use two large, slightly flattened ovals of white fondant for the buttons.
The secret? Letting the ears dry completely hard is non-negotiable for avoiding the dreaded droop.
The #1 Mistake: Never, ever store a cake decorated with red or black fondant in a standard kitchen refrigerator for a long period. The humidity and condensation will make the dark colors sweat and bleed, creating a sticky, streaky mess. A cool, air-conditioned room is your best friend.
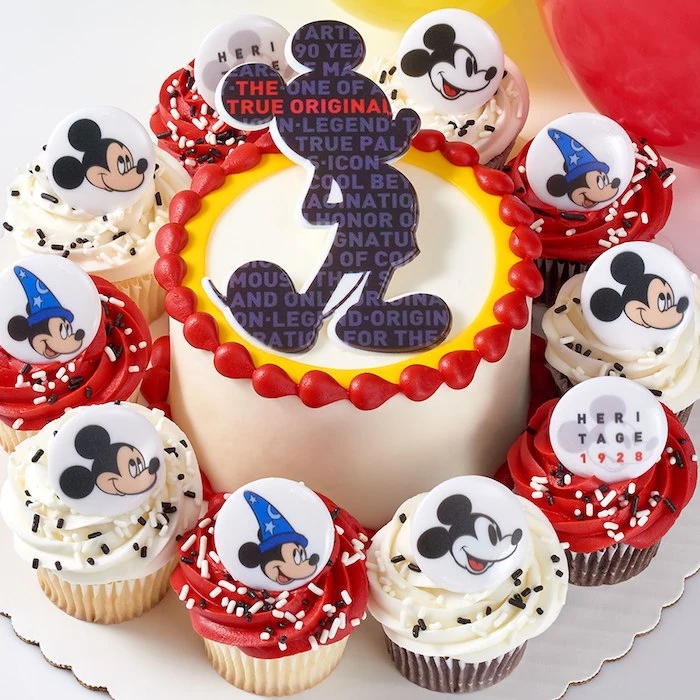
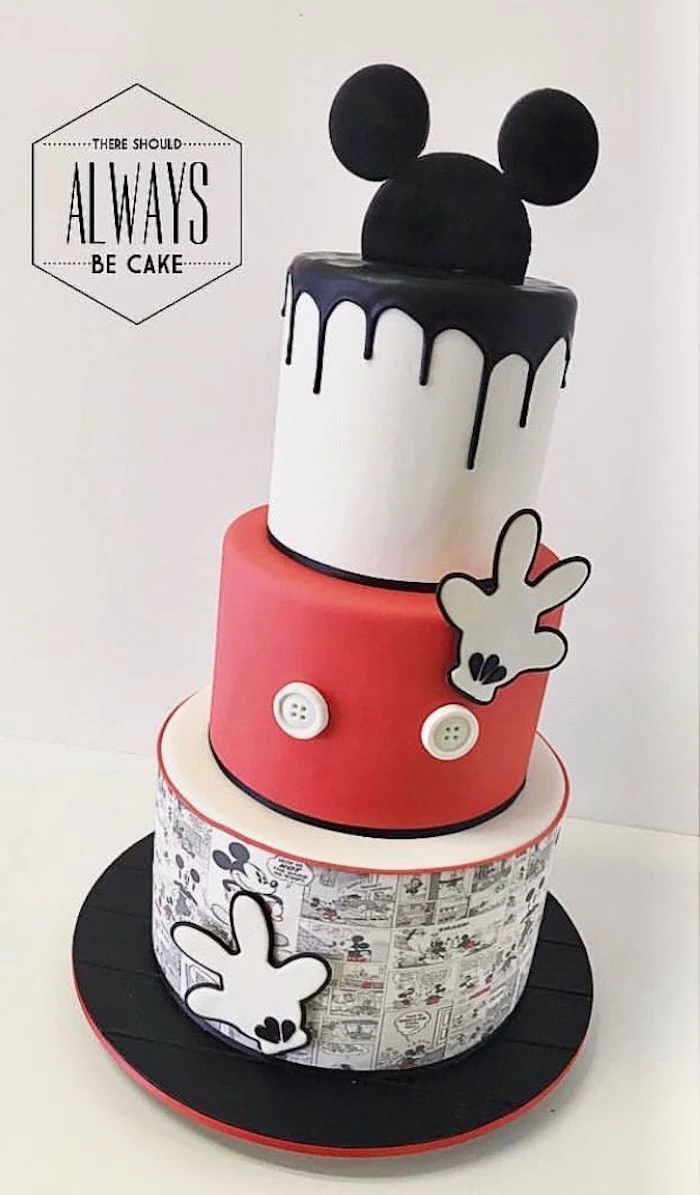
Did you know the character’s iconic white gloves were originally a practical solution for early animators? They made the hands stand out against the body in black-and-white films.
This little piece of history can be a fun inspiration. Why not make the gloves a central, 3D element on your cake board, perhaps holding a birthday message?

My black buttercream tastes awful and bitter. What went wrong?
You likely used too much black food coloring to get from white to black. The secret is to start with a dark base. Make a rich chocolate buttercream using dark cocoa powder first. From there, you’ll only need a few drops of a quality black gel color like Chefmaster or AmeriColor’s Super Black to achieve a true, deep black without ruining the flavor.
To get that famous shade of red without emptying an entire bottle of coloring, try the microwave trick. After mixing in a generous amount of Super Red gel color (it might look more like a dark pink at first), cover the bowl and microwave your buttercream in 10-second bursts, stirring in between. The heat will deepen and activate the color into a vibrant red, saving you coloring and preventing a bitter taste.
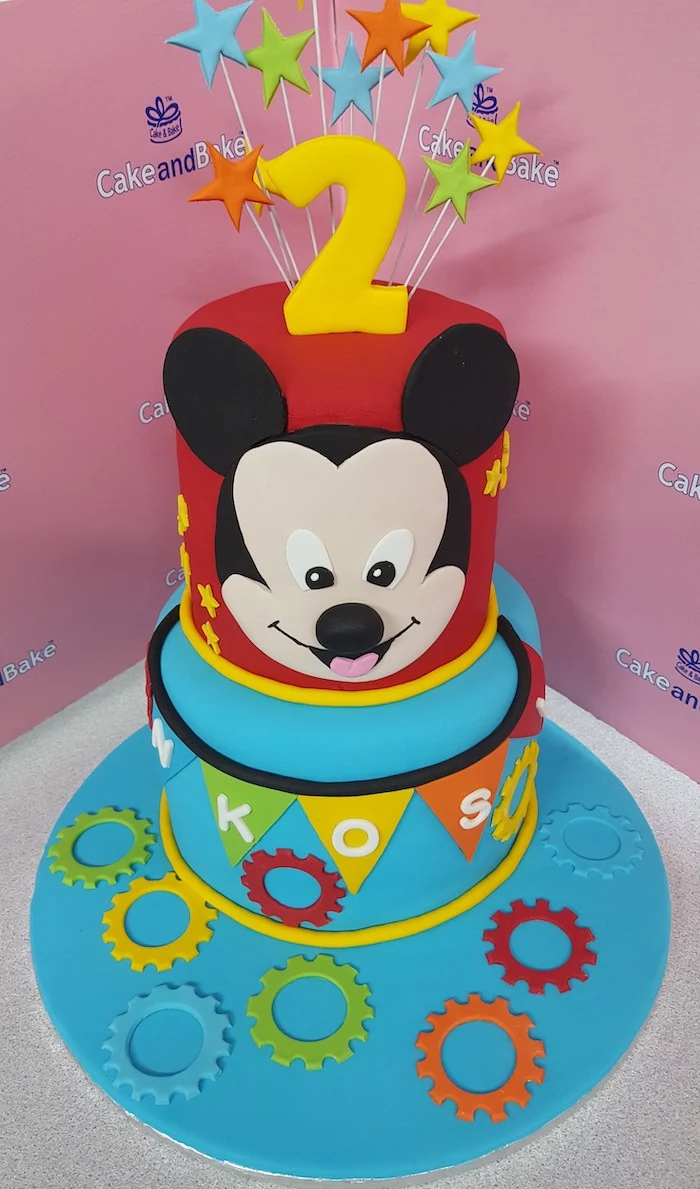
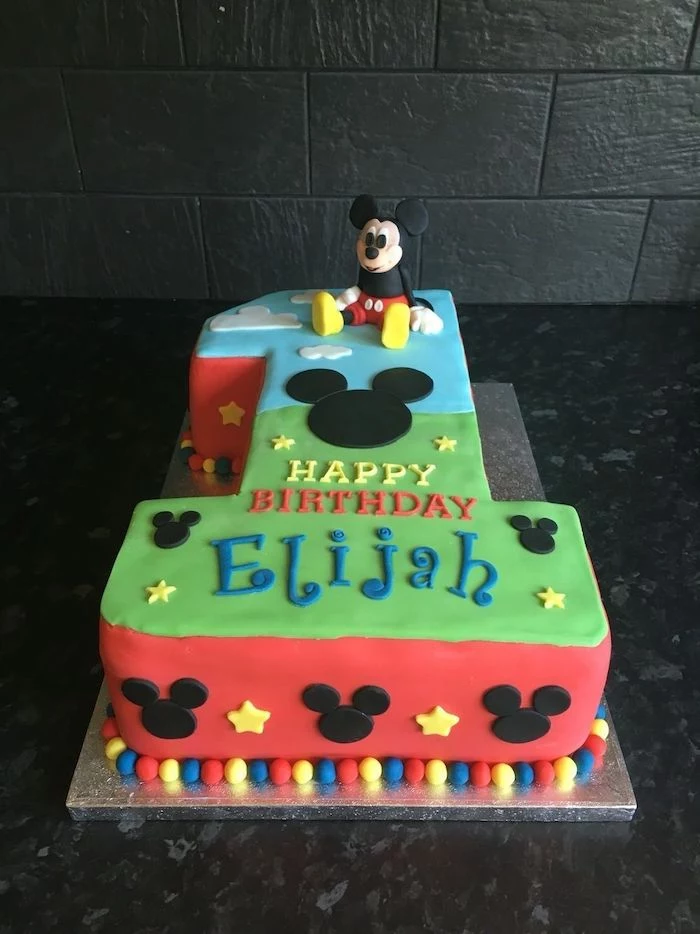
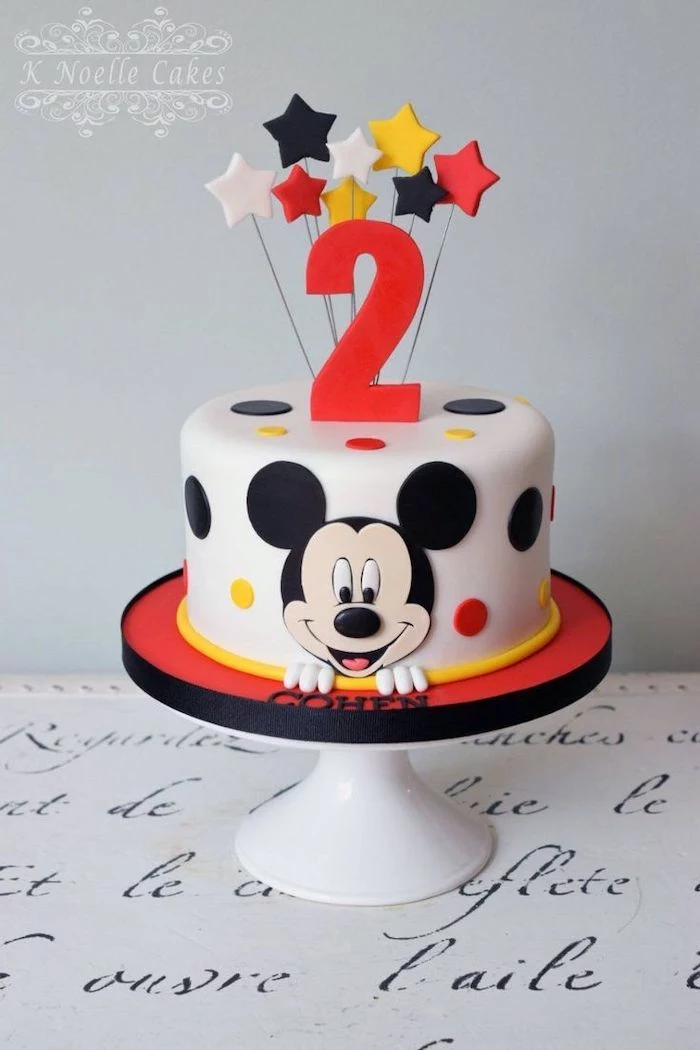
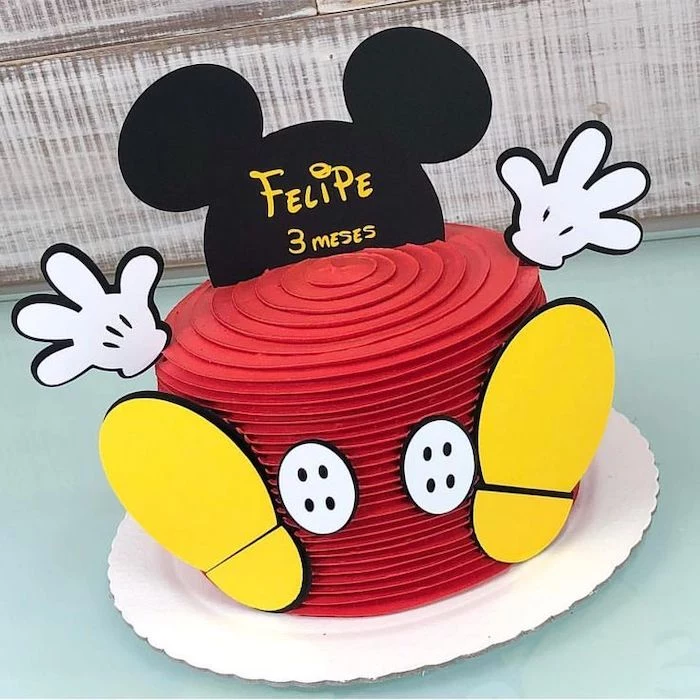
- Roll a thick rope of red fondant and wrap it around the base of the cake for a clean border.
- Use a small circle cutter to make perfect yellow polka dots or buttons.
- Mix leftover black and white fondant to create a grey for a vintage ‘Steamboat Willie’ theme.
The Crumb Coat is Not Optional. It’s the thin layer of buttercream you apply to the cake *before* the final decorative layer. Its job is to trap all the loose crumbs. Chill the cake for about 20 minutes after the crumb coat, and your final layer of fondant or buttercream will be perfectly clean and smooth.

According to a survey by the International Food Information Council, ‘nostalgia’ is a key driver for food choices for 55% of consumers.
This cake is pure nostalgia. It’s not just about sugar and flour; it’s about recreating a feeling of childhood joy. Leaning into that emotion is what makes the long process worth it when you see the reaction.
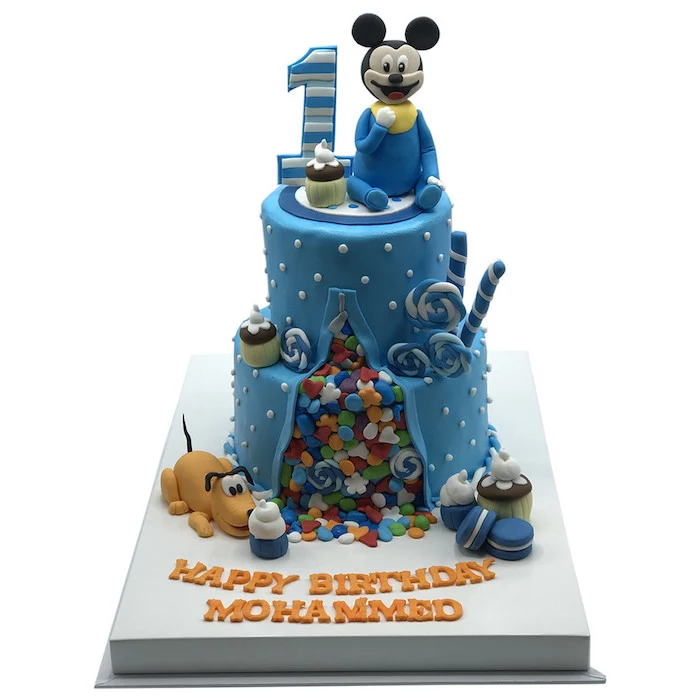
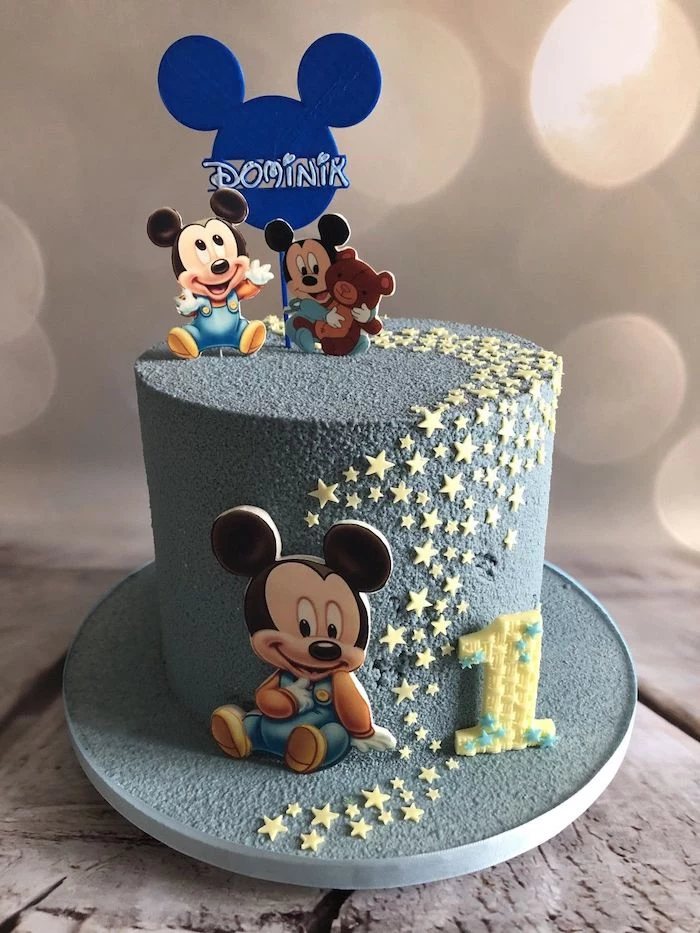
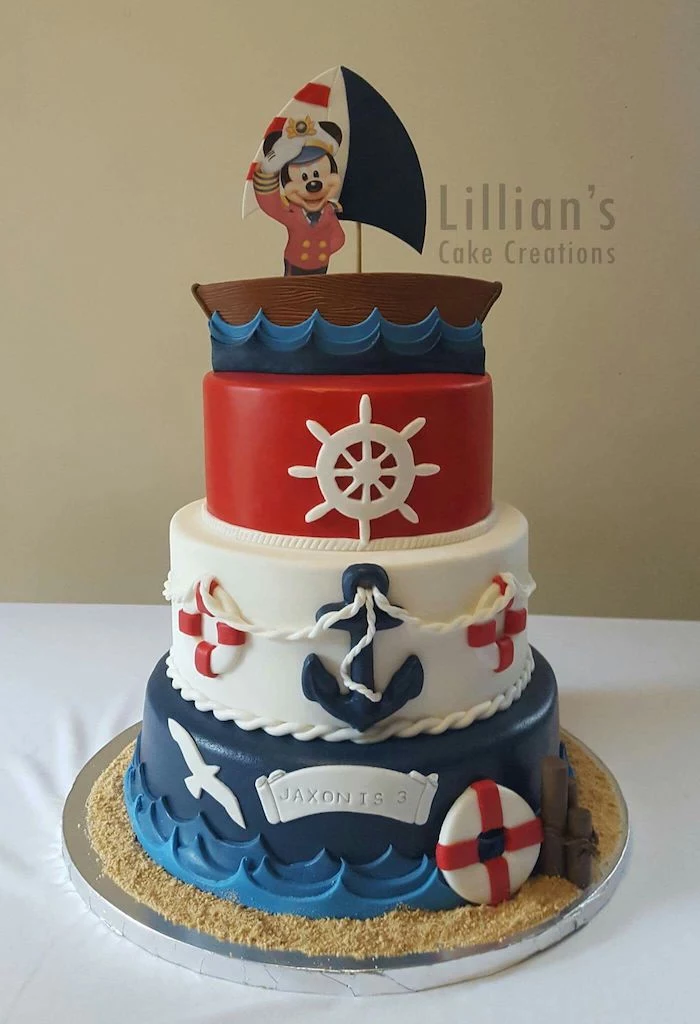
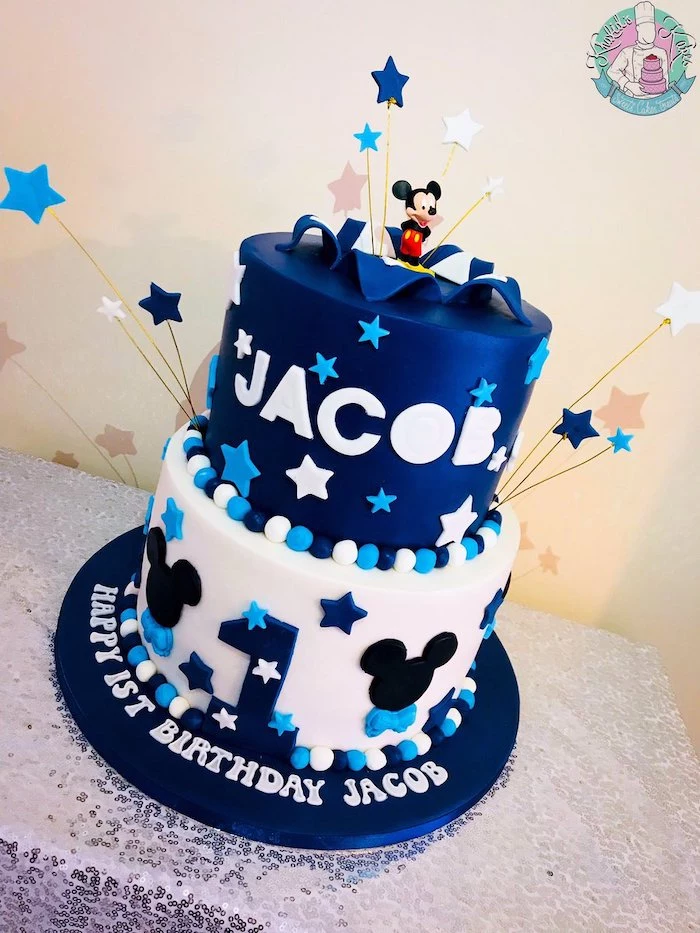
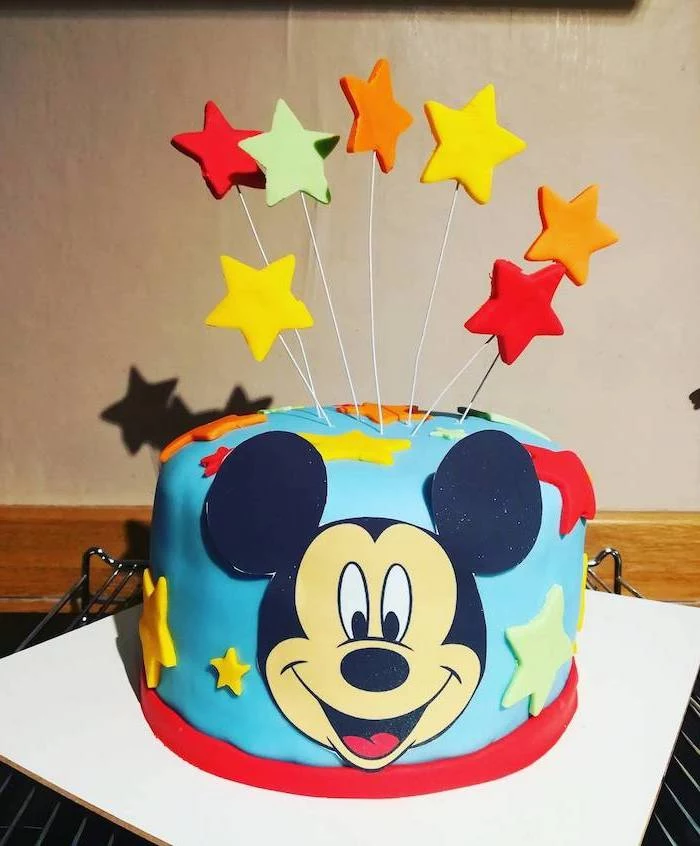
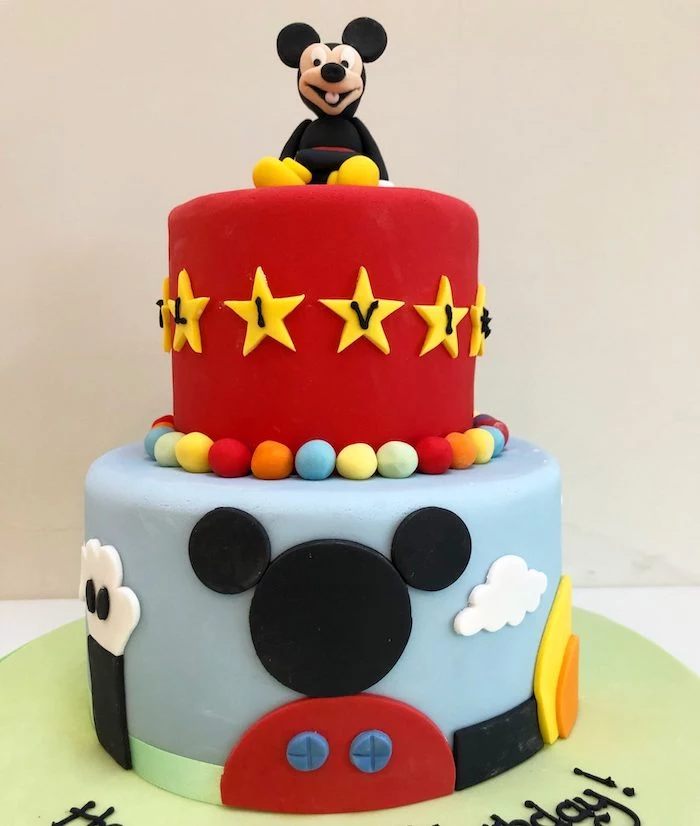
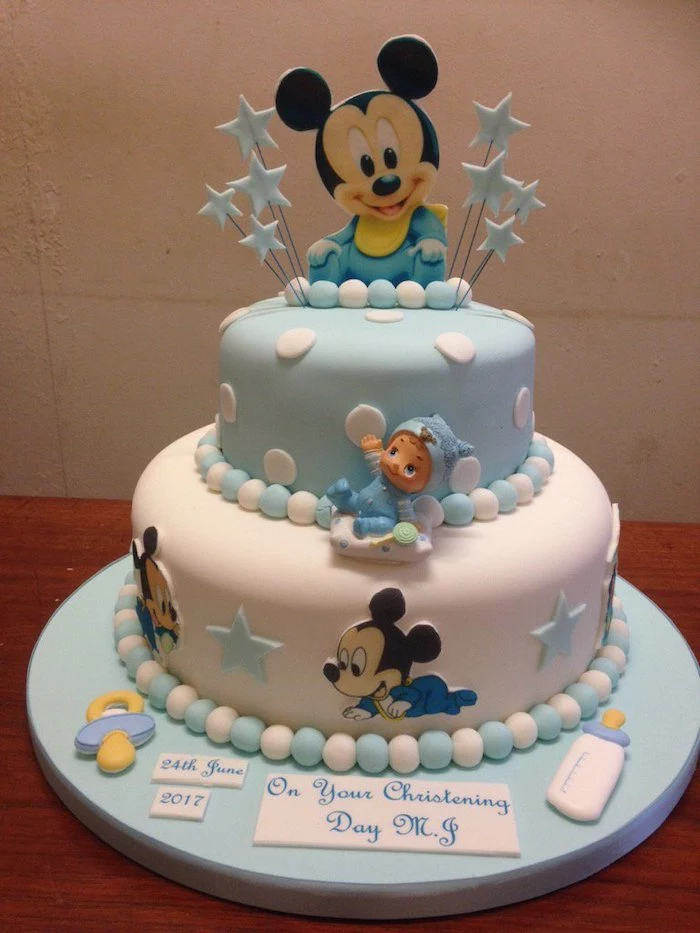
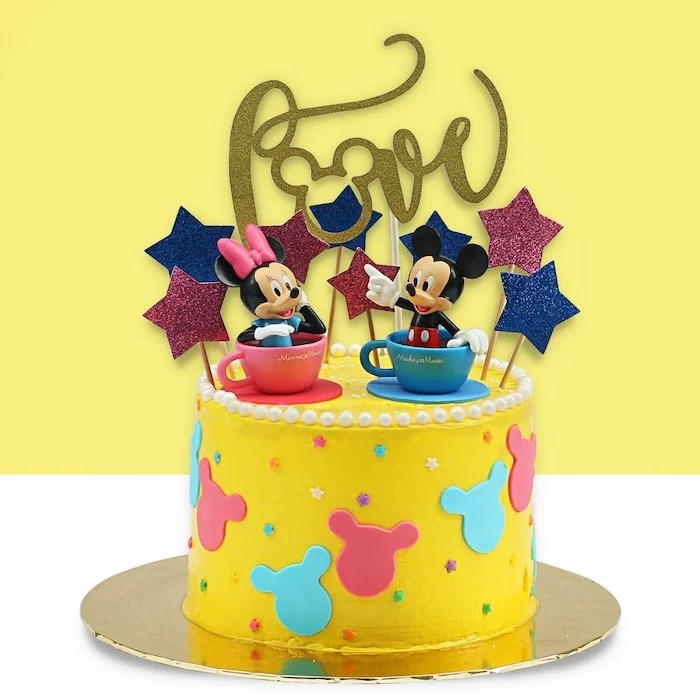
For a modern twist, consider a ‘Pastel Mouse’ theme. Think mint green or baby blue instead of red, and soft grey instead of black. This is a popular choice for baby showers and first birthdays, offering a softer, more contemporary aesthetic while keeping the recognizable silhouette.

Help! My fondant has a dry, wrinkly ‘elephant skin’ texture.
This happens when the fondant is exposed to air for too long or contains too much cornstarch. Knead in a tiny amount of vegetable shortening (like Crisco) to restore its elasticity. Always keep fondant you’re not actively using tightly wrapped in plastic wrap and in an airtight container.
For a multi-tiered cake, support is everything. Cut food-safe dowels or thick boba straws to the exact height of your bottom tier and insert them in a circle where the top tier will sit. This transfers the weight down to the cake board, preventing a catastrophic collapse.
- A perfectly smooth finish on the sides.
- Flawless, sharp 90-degree edges on top.
The secret? The upside-down ganache method. You frost the top of your cake with a firm chocolate ganache, place a larger acrylic disk on top, flip it over, and frost the sides using the disk and a bench scraper as guides. The result is an incredibly sharp, professional finish perfect for applying fondant.
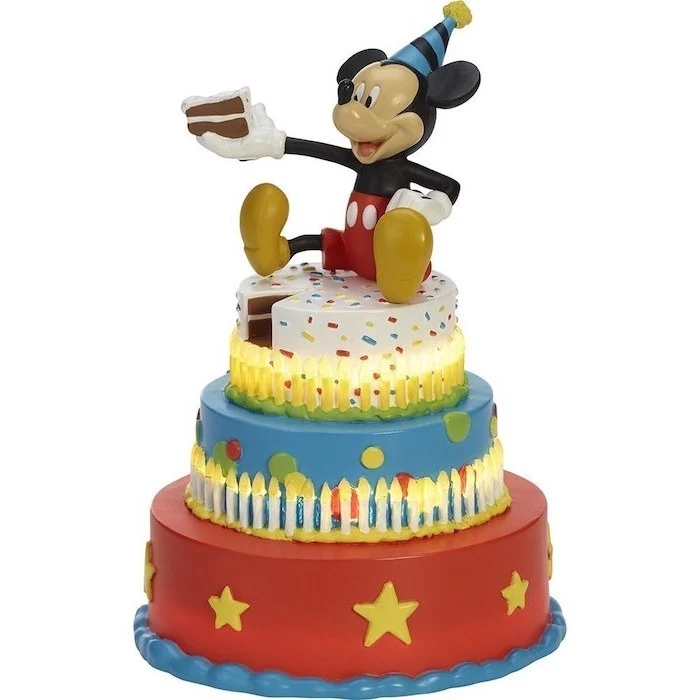
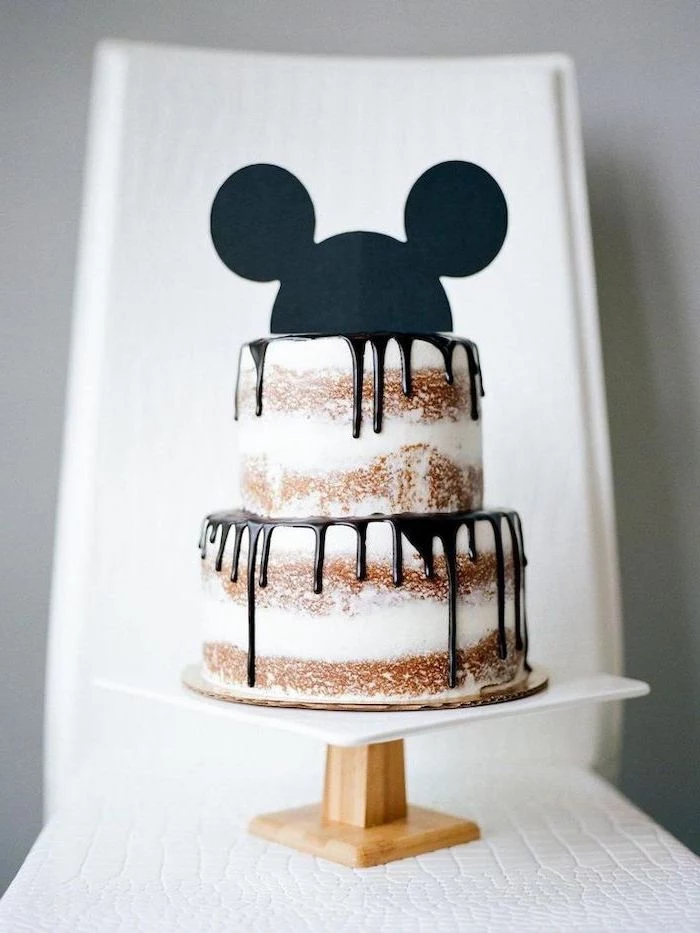
Feeling overwhelmed by fondant? Go for a ‘naked’ look. Use a sturdy chocolate cake, a simple white buttercream filling, and top it with a pair of store-bought character ear headbands (the kind from party stores) and a sprinkle of yellow jimmies. All the character, a fraction of the stress.
Don’t throw away leftover fondant! Knead in about one teaspoon of Tylose Powder (also called CMC powder) per 250g of fondant. This will transform it into a quick gumpaste, perfect for making small, firm decorations like bows or numbers that will air-dry hard.
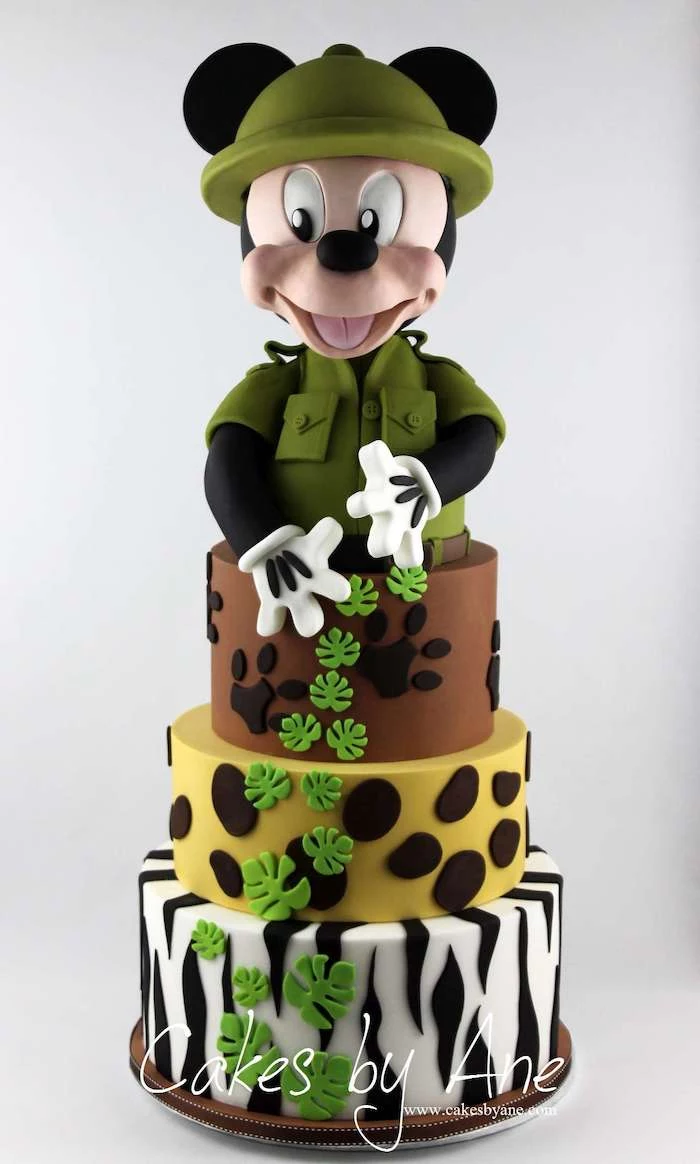
Modeling Chocolate: A mix of chocolate and corn syrup, it handles like a pliable, edible clay. It’s fantastic for sculpting figures or panels because it holds its shape well and blends seamlessly, unlike fondant which can tear.
Gumpaste: A sugar paste that dries rock-hard. It’s inedible but perfect for delicate structural elements like the mouse’s ears or a large bow that needs to hold its shape without drooping.
Use modeling chocolate for taste and ease of sculpting; use gumpaste for strength and rigidity.
A single teaspoon of AmeriColor Super Red is enough to color over two pounds of frosting to a true red.
This highlights the power of professional-grade gel colorings. While they seem more expensive upfront than liquid colors from the supermarket, their concentration means you use far less, achieve better colors, and don’t alter the texture of your frosting.
Transporting the finished cake can be the most stressful part. The safest place is on the floor of your car’s passenger seat or in the trunk, on a non-slip mat. Never on a person’s lap and never on the seat itself, which is sloped and unstable.
How do I even cut a tall, fondant-covered cake at the party?
Forget cutting wedges. For tiered cakes, remove the top tier first. Then, cut the larger bottom tier using the grid method. Slice a long horizontal line about two inches from the edge, then slice that entire long section into 1-inch wide vertical servings. It’s efficient, clean, and yields uniform pieces.
If you have an airbrush kit, it’s a game-changer for this cake. Instead of coloring a whole batch of fondant black, you can cover the cake in grey fondant and use black airbrush color to create a deep, even coating. This also allows for subtle shading to create a more 3D effect.
- Chocolate cake pairs beautifully with raspberry or cherry filling, which complements the red theme.
- A vanilla bean cake with a simple vanilla buttercream lets the visual design be the star.
- For a fun surprise, try a cookies-and-cream filling to echo the black-and-white color scheme.
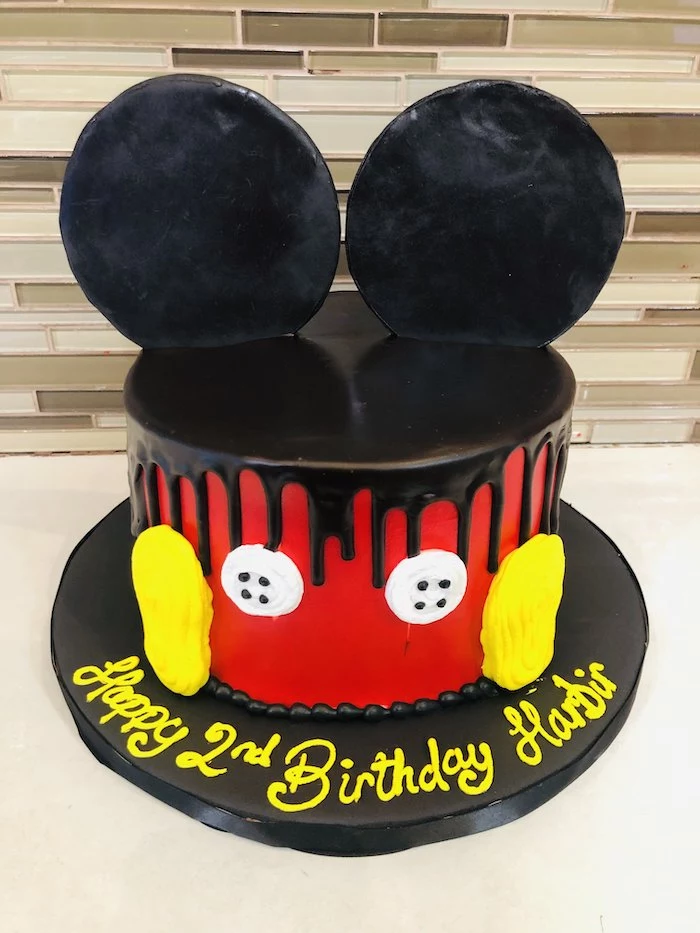
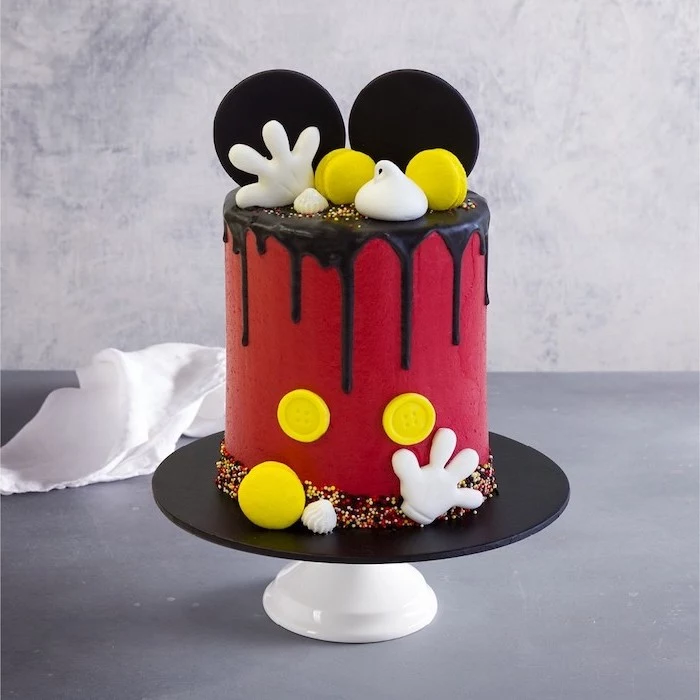
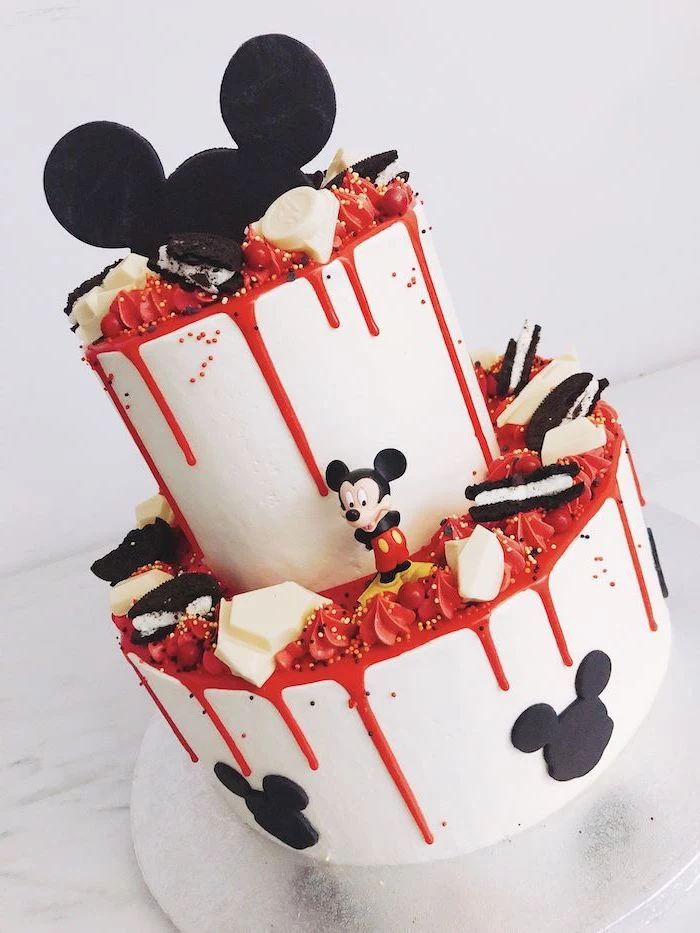
For that trendy ‘drip’ look on a mouse cake, use black or yellow candy melts. Melt them with a little coconut oil or Paramount Crystals until smooth and fluid. Pour it into a squeeze bottle for precise control, and apply it to a well-chilled, buttercream-covered cake so the drips set quickly.
Don’t have the right size circle cutter for the buttons or other details? Don’t panic. Look around your kitchen. The opening of a piping tip, a bottle cap, or the base of a small spice jar can often be the perfect size for making impressions or cutting out small fondant shapes.
A Sturdy Foundation: The cake board is as important as the cake. For a tiered or heavy cake, don’t use the flimsy cardboard rounds from the craft store. Instead, use a 1/2-inch thick MDF or foam-core drum, which won’t bend or flex during transport.