Your Medium-Length Hair Isn’t Boring—You Just Need the Right Playbook
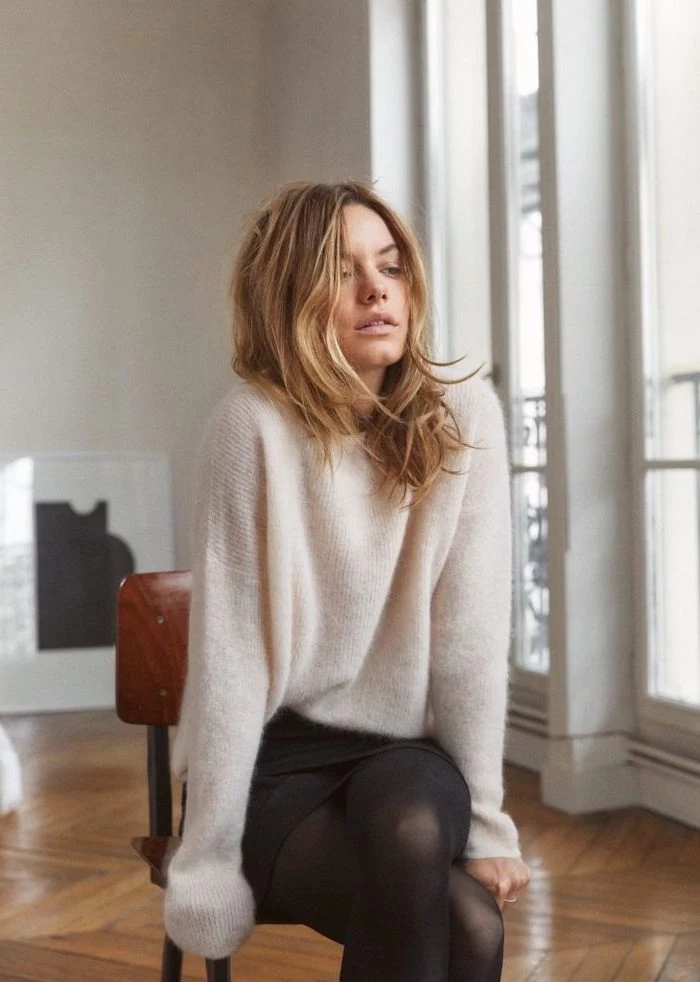
So, you’ve got medium-length hair. That popular, in-between zone that lands somewhere from your chin to your collarbones. It’s supposed to be the best of both worlds, right? Versatile, easy, stylish. But if you’re reading this, you probably know the reality can be a little… different. Sometimes it just hangs there, feeling flat. Or it poofs into a frizzy triangle the second it rains. It’s a common frustration.
In this article
For years, I’ve worked with countless clients and trained new stylists, and this topic comes up constantly. The secret isn’t about finding a perfect photo of some celebrity and saying, “I want that!” To be frank, that look was probably crafted by a team of pros with two hours and an arsenal of high-end products. The real key is understanding the unique fabric you’re working with: your own hair.
My goal here is to pull back the curtain and give you the foundational knowledge we teach in the salon. We’re going to get into the nitty-gritty of why your hair does what it does and how to use pro techniques to make it cooperate, every single day. This is the stuff that turns a haircut you’re fighting with into a style you actually love.
First Things First: Get to Know Your Hair’s Personality
Before you even think about plugging in a flat iron, you have to understand your canvas. This is lesson number one for any aspiring stylist. You can’t build a beautiful, lasting style on a foundation you don’t get.
Texture vs. Density: They’re Not the Same Thing!
People throw around words like ‘thin’ and ‘fine’ like they mean the same thing, but in the hair world, they are completely different. Nailing this difference is your first step to picking the right products and the perfect cut.
Texture is about how thick each individual strand of hair is. You can have fine, medium, or coarse texture. Here’s a super simple test: pinch a single strand between your thumb and forefinger. Can you barely feel it? You’ve likely got fine hair. If it feels more substantial, like a piece of thread, that’s coarse hair. Medium is, you guessed it, somewhere in the middle.

Density, on the other hand, is all about how many of those strands are packed onto your head. You can have low density (what most people call thin hair), medium density, or high density (thick hair). It’s totally possible to have fine-textured hair but high density—think of hair that looks incredibly full and healthy, but the strands themselves are silky and delicate. This type of hair can get oily at the roots fast but look wispy at the ends. Conversely, you can have coarse-textured strands but low density, meaning the hair feels strong but there just isn’t a lot of it.
Why does this matter? Because the approach is totally different. For fine, low-density hair, we need lightweight volumizing products that won’t flatten it, often paired with a blunt cut to make the ends look fuller. For coarse, high-density hair, the goal is often to manage the bulk with smoothing creams and maybe even some special cutting techniques to remove weight without making it look choppy.
What’s Your Hair’s Porosity?
Porosity sounds technical, but it’s just a measure of how well your hair can absorb and hold on to moisture. It’s all about the condition of your hair’s outer layer, the cuticle. When it’s healthy, the cuticle scales lie flat and smooth. When it’s damaged, they’re lifted and rough.
- Low Porosity: The cuticles are sealed tight. This hair is often shiny and looks healthy, but it resists water and products. It takes forever to get wet in the shower and just as long to dry. Products tend to just sit on top. A quick tip: use a clarifying shampoo (you can find one for about $5-$10 at the drugstore) once a week to get rid of buildup. When you condition, leave it on a little longer, maybe under a shower cap to trap some heat and help it sink in.
- High Porosity: The cuticles are wide open. This hair soaks up water instantly but loses it just as fast, leading to frizz and dullness. This is common with hair that’s been chemically treated or seen too much heat. For this type, protein treatments are a game-changer because they help patch up the holes in the cuticle. After washing, sealing your hair with an oil or a silicone serum is a must to lock that moisture in.
Try this right now: Drop a single, clean strand of your hair into a glass of water. If it sinks to the bottom right away, you have high porosity. If it floats on top for a few minutes, that’s low porosity. If it hangs out in the middle for a bit before sinking, you’re looking at medium porosity. Go on, I’ll wait! Let me know what you find in the comments—I’d love to see what kind of hair types are out there.
Pro-Level Techniques You Can Actually Do at Home
In the salon, we live and die by techniques that deliver amazing results efficiently. These aren’t trade secrets; they’re skills anyone can learn with a bit of practice. Let’s get into the ones that will make the biggest difference for your medium-length hair.
The Game-Changing Blow-Dry
Honestly, a great style all comes down to a great blow-dry. It’s the single most important skill you can master. A good blow-dry sets you up with shine, volume, and a style that lasts. A bad one just creates frizz and frustration.
Your Blow-Dry Toolkit:
- Sectioning clips: A pack of 4-6 is usually less than $5 at a beauty supply store or online. Don’t skip these!
- A good brush: You have two main options here. A ceramic round brush is awesome for speed because the barrel heats up, acting like a mini curling iron. They usually run from $15-$30. My personal favorite, though, is a boar bristle round brush. It might cost a little more, maybe $25-$50, but the natural bristles create fantastic tension that smooths the hair cuticle for a super glossy, glass-like finish.
- A quality heat protectant: This is non-negotiable. You can find excellent ones like Tresemmé for around $7, or you can invest in a salon-grade option like Kérastase for closer to $45.
The Technique:
- Start with damp hair, not sopping wet. Let it air-dry (or rough-dry with your hands) until it’s about 70-80% dry. This cuts down on damage and styling time. A proper blow-dry should take about 20-30 minutes, so plan accordingly!
- Section your hair. This is the step everyone skips, and it’s why their arms get tired and the back looks messy. Part your hair into four manageable quadrants and clip three of them out of the way.
- ALWAYS use the concentrator nozzle on your dryer. It focuses the airflow, which is crucial for smoothing. Without it, you’re just blowing air everywhere and creating frizz.
- Point the dryer’s airflow down the hair shaft, from root to tip. This helps the cuticles lie flat, which is the key to shine.
- Create tension. As you pull the brush through a section, keep the hair taut. That tension is what smooths the hair and gives you that polished, salon-finished look.
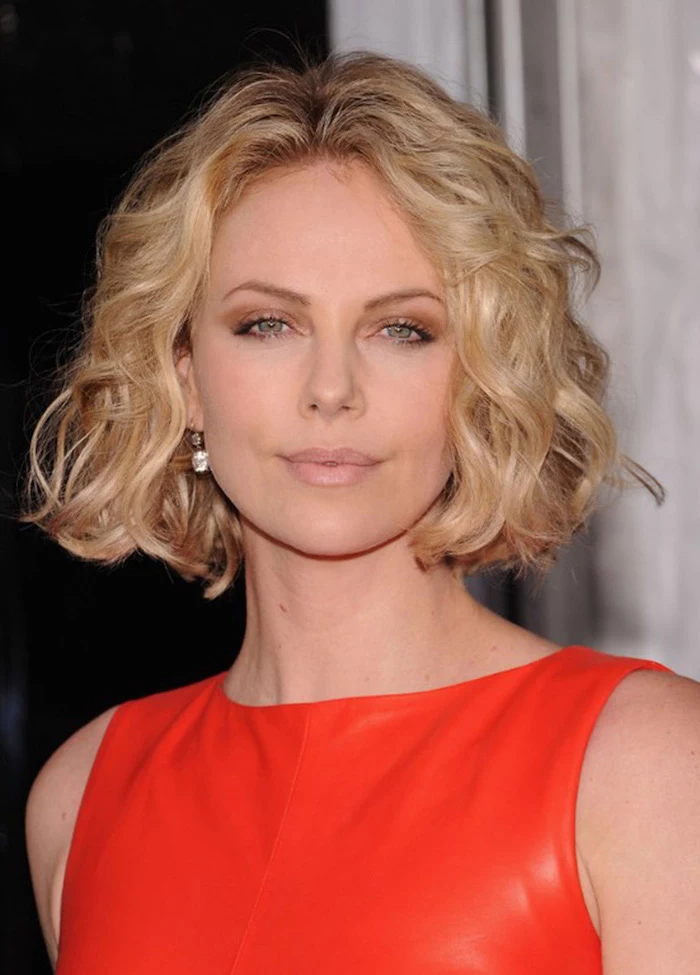
Modern, Lived-In Waves (Not Prom Curls)
Those perfect, uniform ringlets can feel a bit dated. The look most people want now is soft, textured, and effortless. Here’s how to get it.
The Prep: If your hair is silky and fine, curls will slip right out. Give your hair some grit to hold the style by starting with a texturizing spray or a light-hold mousse. Also, for the love of your hair, don’t crank the heat to the max! For fine hair, 300-350°F is plenty. Coarser hair might need up to 400°F, but if you smell burning, it’s too hot.
The Twist-and-Pull Method:
- Take a one-inch section. Clamp your curling iron or wand in the middle of the section.
- Wrap the hair around the barrel, but—and this is important—leave the last inch or two of the ends out. This is what keeps it looking modern and not overdone.
- Hold for just 5-7 seconds. You don’t need to cook it!
- As you release the hair, gently pull the iron straight down. This relaxes the curl into a softer wave.
- Alternate directions. Curl one section away from your face, and the next one toward your face. This creates a more natural, less uniform pattern.
- Let the waves cool down completely before you touch them! Once they’re cool, you can rake your fingers through them to break them up.
For Day 2: Don’t wash it! To refresh these waves, just lightly mist your hair with a spray bottle of water or a bit of sea salt spray and give it a scrunch. You can also touch up a couple of the front pieces with the iron to bring the whole look back to life in under 5 minutes.
How Your Local Weather Affects Your Hair
I started my career in a super dry climate and later moved to the humid Southeast. Let me tell you, it was a crash course in how much your environment matters. Your local climate has a massive say in how your hair behaves.
In humid climates (hello, Florida!), the air is loaded with moisture that your hair wants to soak up, causing it to swell and frizz. The mission here is to seal that cuticle shut. Look for products that contain silicones or say “anti-humectant” on the bottle. The John Frieda Frizz Ease Serum is a drugstore classic for a reason and usually costs less than $10.
In dry climates (hey, Arizona!), the air is thirsty and will literally pull moisture out of your hair, leading to dryness, static, and breakage. Here, your mission is hydration. A weekly deep conditioning mask isn’t an indulgence; it’s a necessity. A great leave-in conditioner is your best friend. “It’s a 10 Miracle Leave-In” is a cult favorite that works wonders, though it’s a bit more of an investment at around $20 for a small bottle.
Quick tip for static: In a pinch, gently run a dryer sheet over your hair. It sounds wild, but it neutralizes the static charge instantly.
Everyday Problems, Practical Fixes
Most days, you don’t have an hour to spare. You need quick, polished looks that you can rely on. Here are a couple of my favorites.
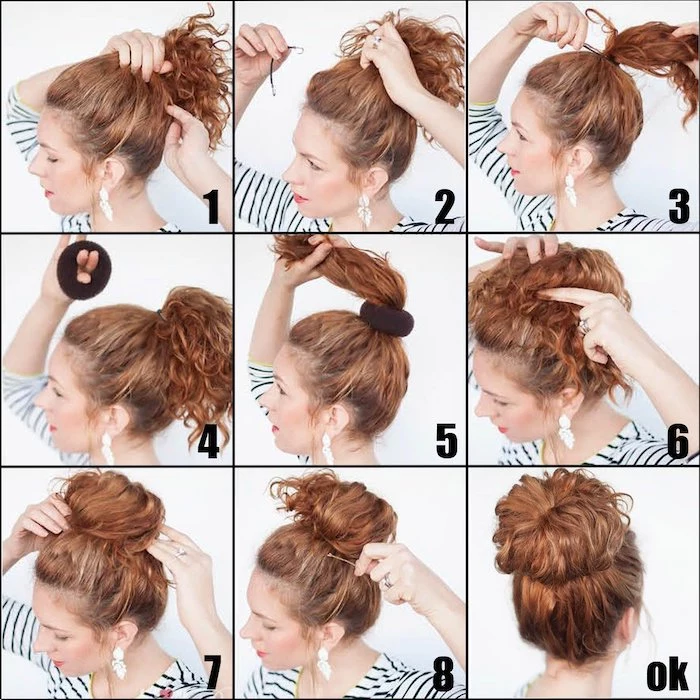
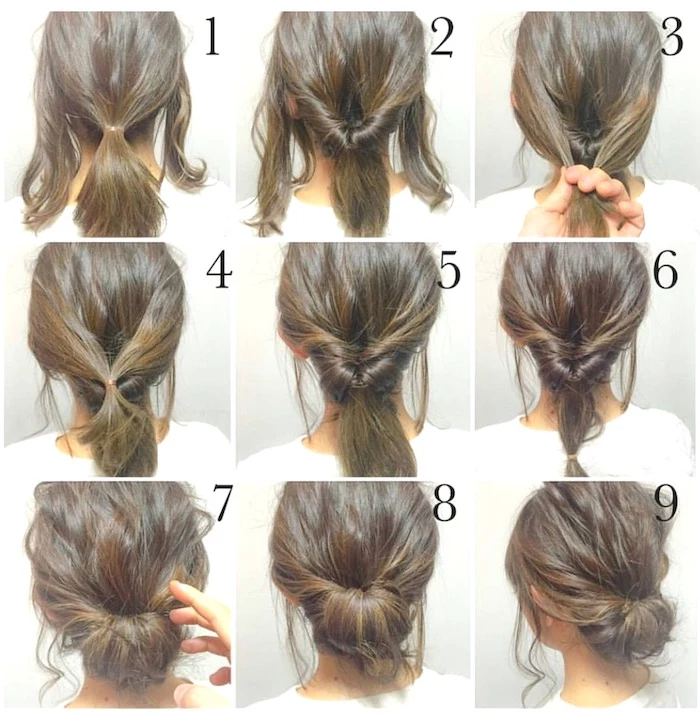
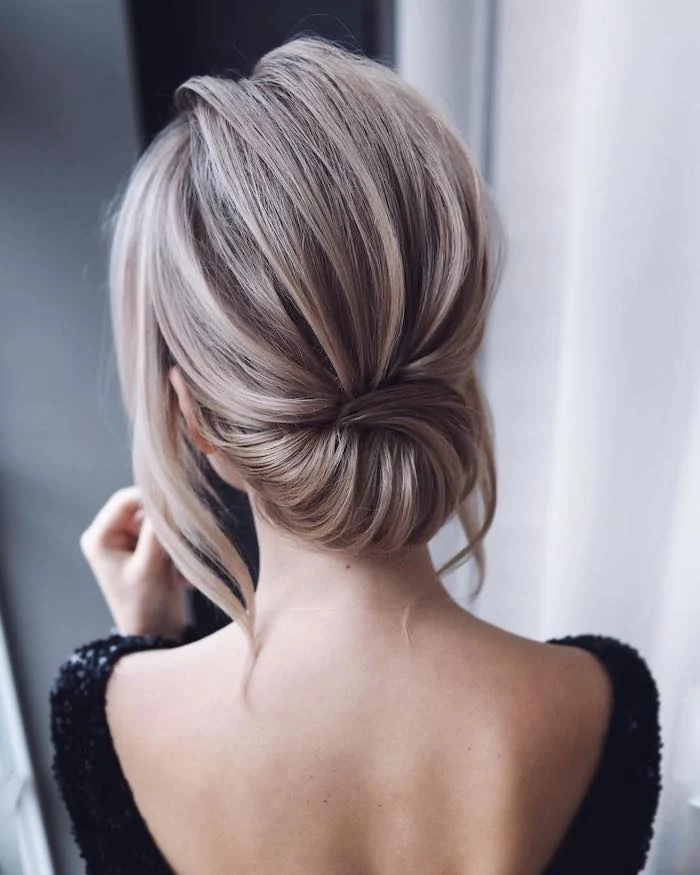
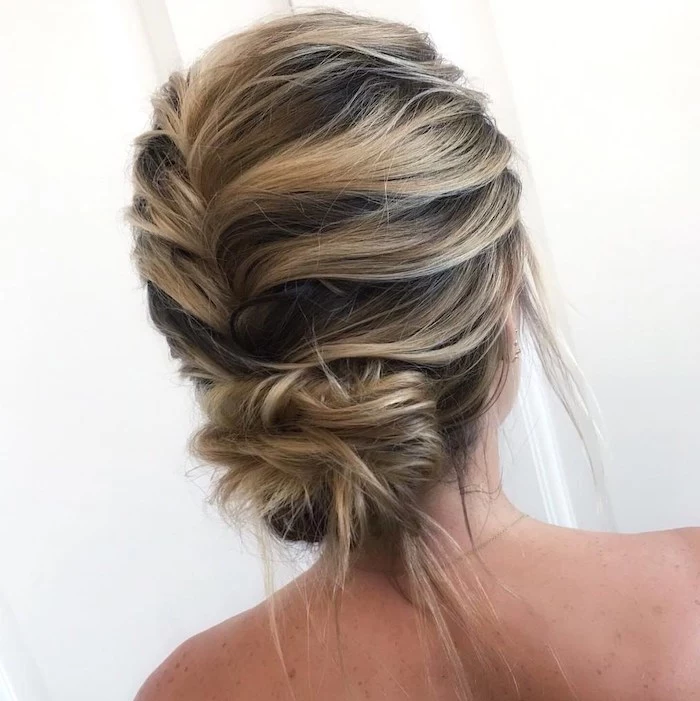
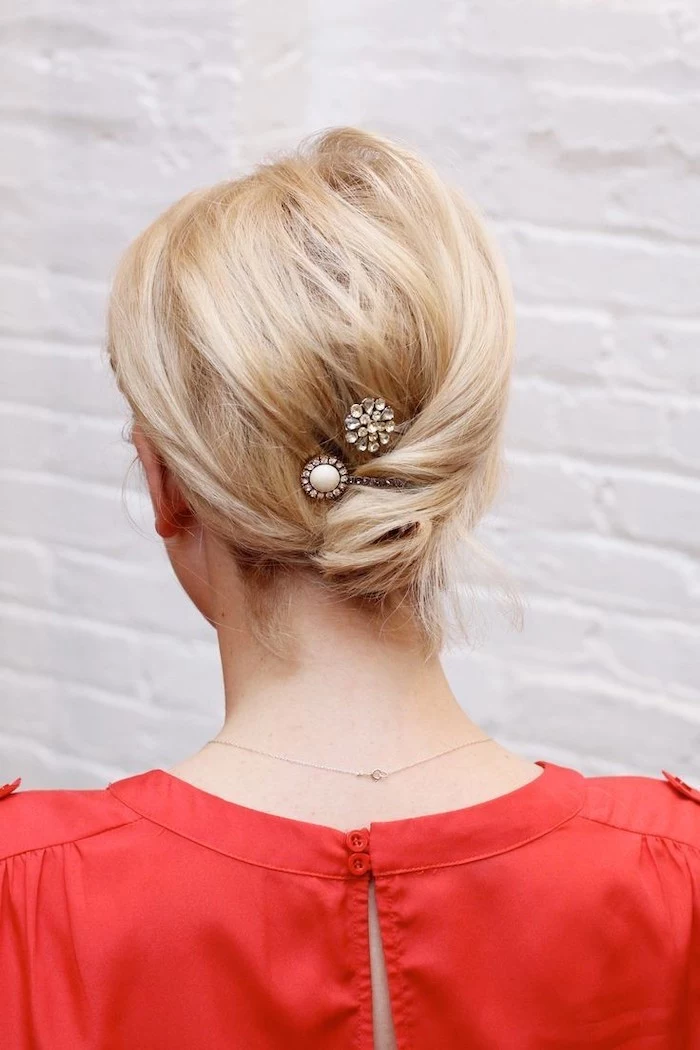
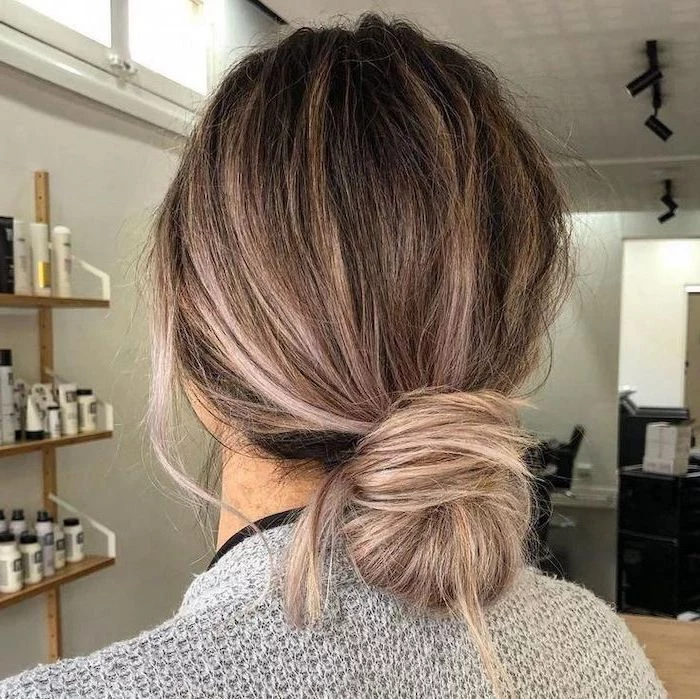
The 5-Minute Polished Chignon
This looks so much fancier than it is. Gather your hair into a low ponytail. Twist the ponytail tightly, then coil it around the base into a bun. Secure it by weaving 3-4 bobby pins (the kind that match your hair color) into the base of the bun, making sure to catch the hair from your scalp. That’s it! A little hairspray and you look like you just came from a board meeting.
The Big Question: Are Layers Good for Fine Hair?
Yes and no. The wrong kind of layers can make fine hair look stringy and even thinner at the ends. This is where you need to have a very specific chat with your stylist.

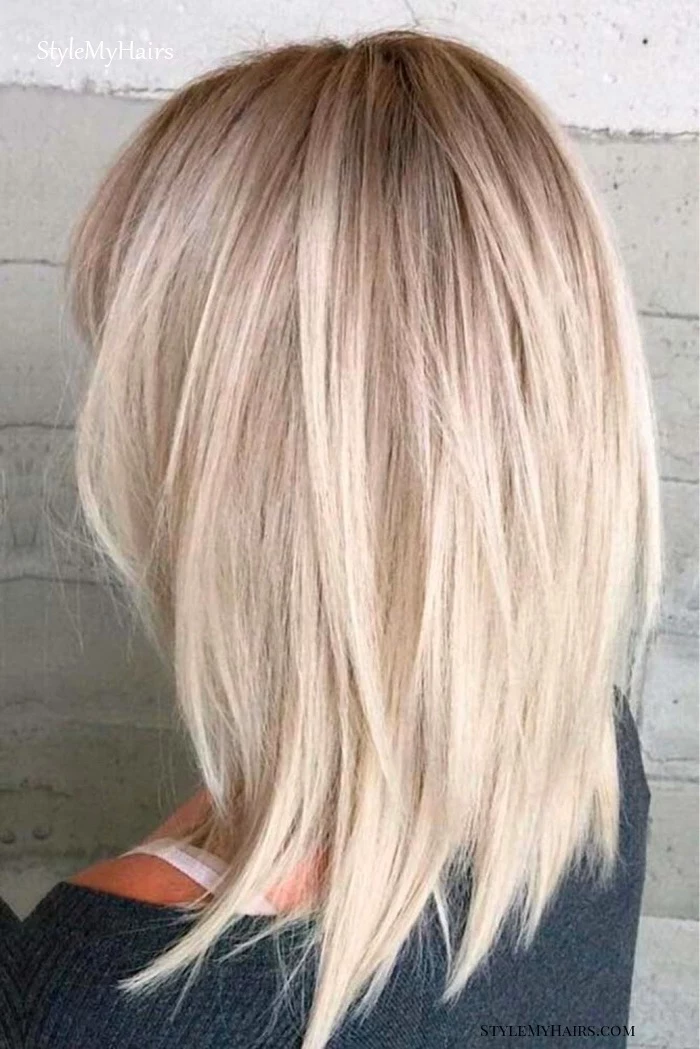
Instead of asking for standard layers, which remove weight all over, ask for ‘ghost layers’ or ‘internal layers’. These are subtle, longer layers cut into the interior of your hair. They remove just enough weight to give your roots some lift and create movement, but they keep the ends looking blunt and full.
Here’s your script: The next time you’re in the chair, say this: “I want to add volume and movement, but I’m really worried about my ends looking thin. Can we try some long, internal layers to add lift while keeping my perimeter looking full and blunt?” Trust me, your stylist will know exactly what you mean.
When All Else Fails: Troubleshooting
“My style just doesn’t last!” I hear this all the time. It usually comes down to a few key things: you’re not using a product to give your hair ‘grip’ (like a mousse or dry shampoo), your heat isn’t quite right, or—and this is the big one—you’re not letting your hair cool down. After you curl a section, don’t just drop it. Hold it in a coiled shape in your palm for a few seconds or pin it to your head until it’s cool to the touch. This one step can literally double the life of your style.
A Note on Safety
I have to say it: your hair’s health is everything. Always, always, always use a heat protectant. And please, leave the chemical stuff—color, perms, relaxers—to the pros. I’ve seen DIY jobs go so wrong, resulting in chemical burns and hair that literally melts off. It is not worth the risk. A licensed stylist is trained to know what your hair can and can’t handle.
Medium-length hair has so much potential. Once you learn to work with its unique personality instead of against it, you’ll find it’s more versatile and fun than you ever thought possible.
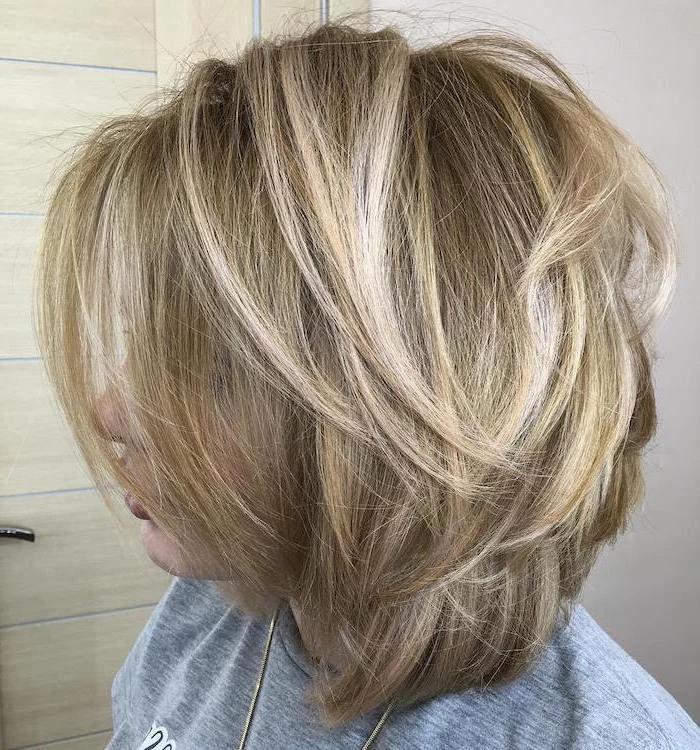
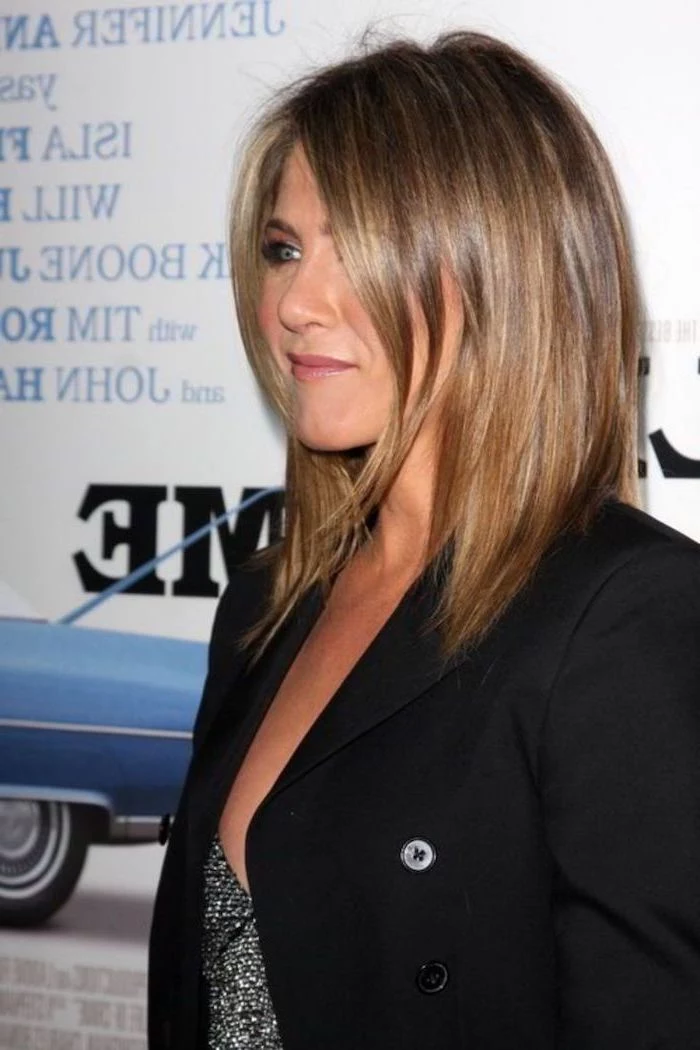
Inspiration Gallery

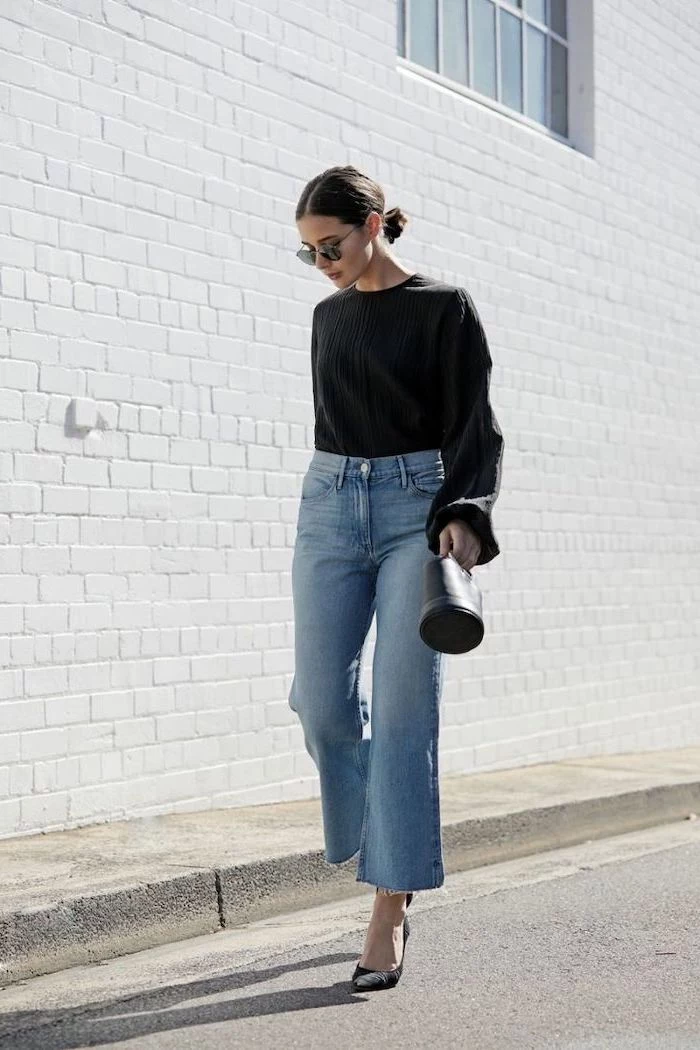
Why does my collarbone-length hair get so frizzy and tangled at the ends?
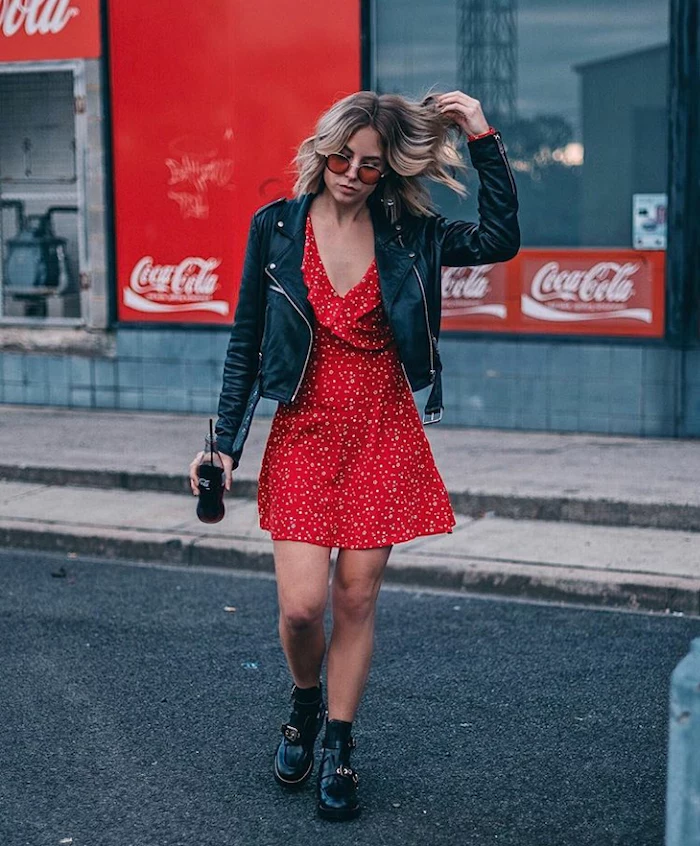
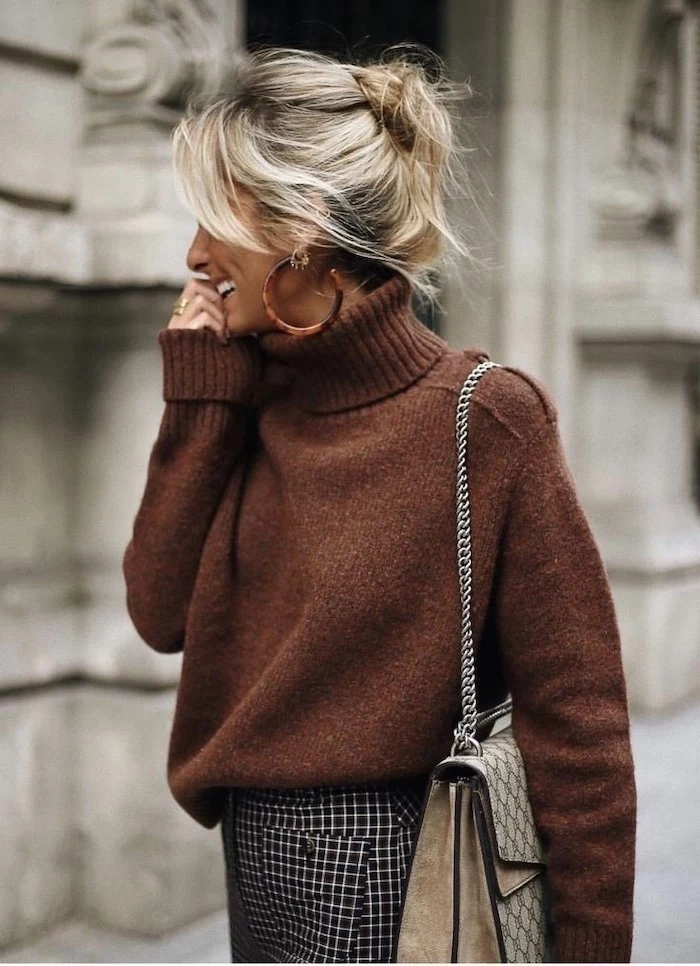
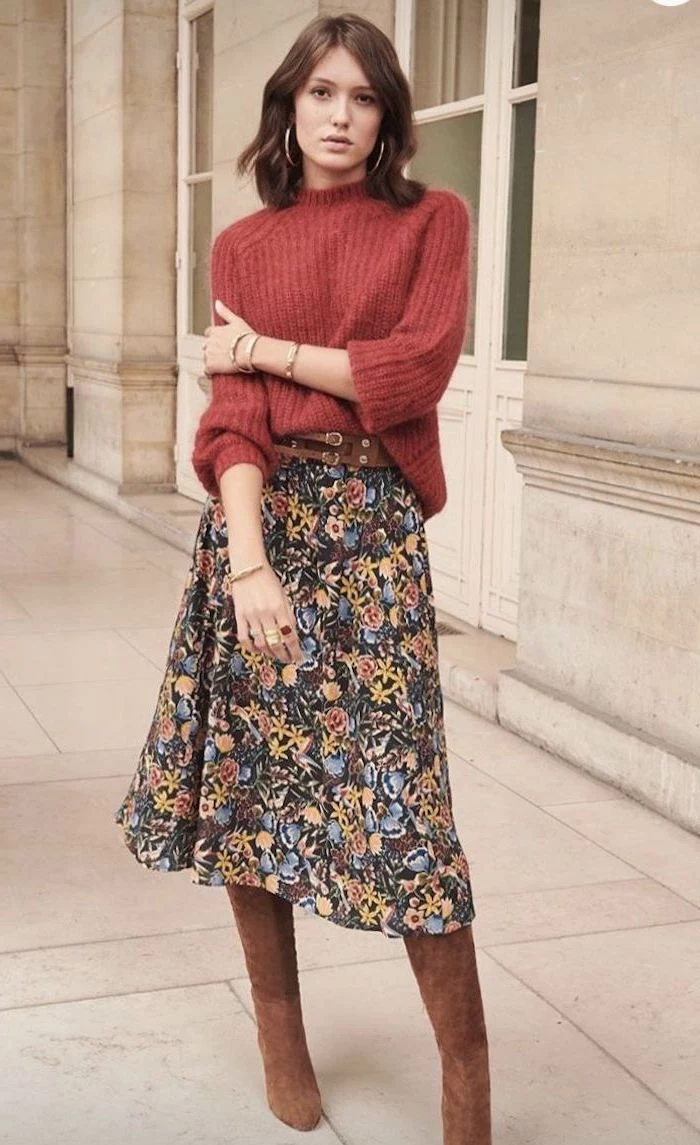
It’s often due to friction. Throughout the day, your hair ends constantly rub against the fabric of your clothes, especially collars made of wool or coarse synthetics. This friction lifts the hair cuticle, causing frizz and tangles. A simple fix is to apply a pea-sized amount of a lightweight finishing serum, like Kérastase Elixir Ultime, just to the last few inches of your hair each morning to create a protective barrier.

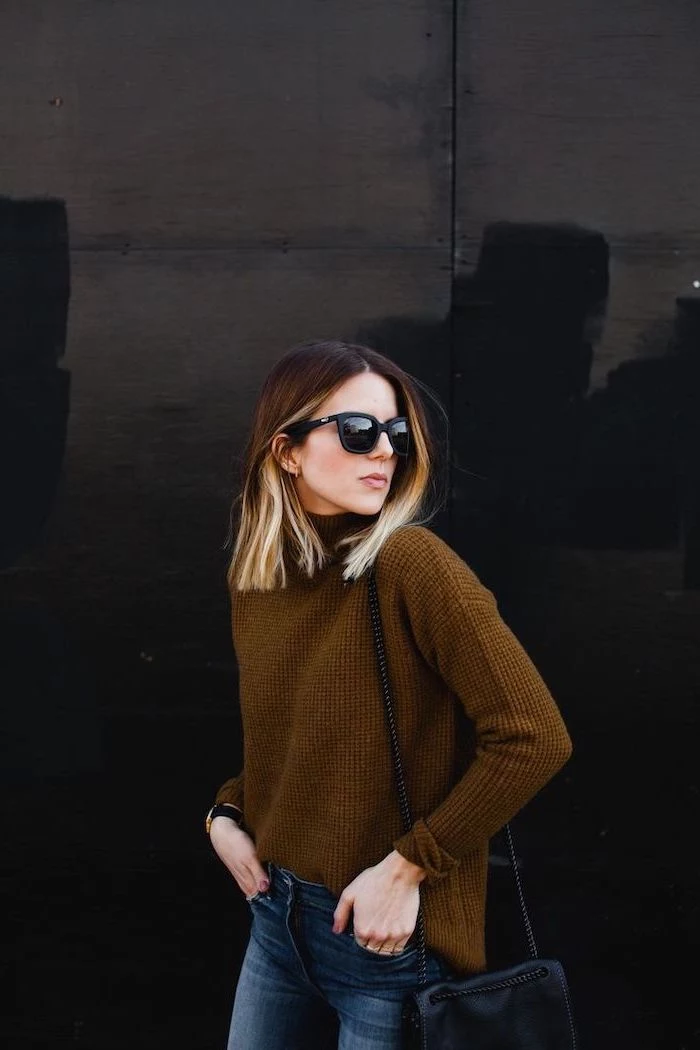
- Boosts root lift without any sticky residue.
- Adds a fine, gritty texture that helps styles hold longer.
- Refreshes second-day hair in an instant.
The secret? A quality dry texturizing spray. Unlike hairspray, it’s designed to build volume and piecey separation. For best results, lift sections of hair and spray Oribe’s Dry Texturizing Spray towards the roots before you even begin styling.

Achieving a salon-worthy blowout at home hinges on your technique. First, use your hands or a paddle brush to rough-dry your hair until it’s about 80% dry—styling from soaking wet takes forever and causes more damage. Always attach the concentrator nozzle to your dryer for precise airflow. Then, work in manageable sections, using a round brush to create tension and smoothness from root to tip.


A crucial detail for medium hair: Ask your stylist for

Flat Iron Waves: Achieved by twisting and gliding a flat iron (like the ghd Platinum+) down the hair shaft. This creates a polished, uniform


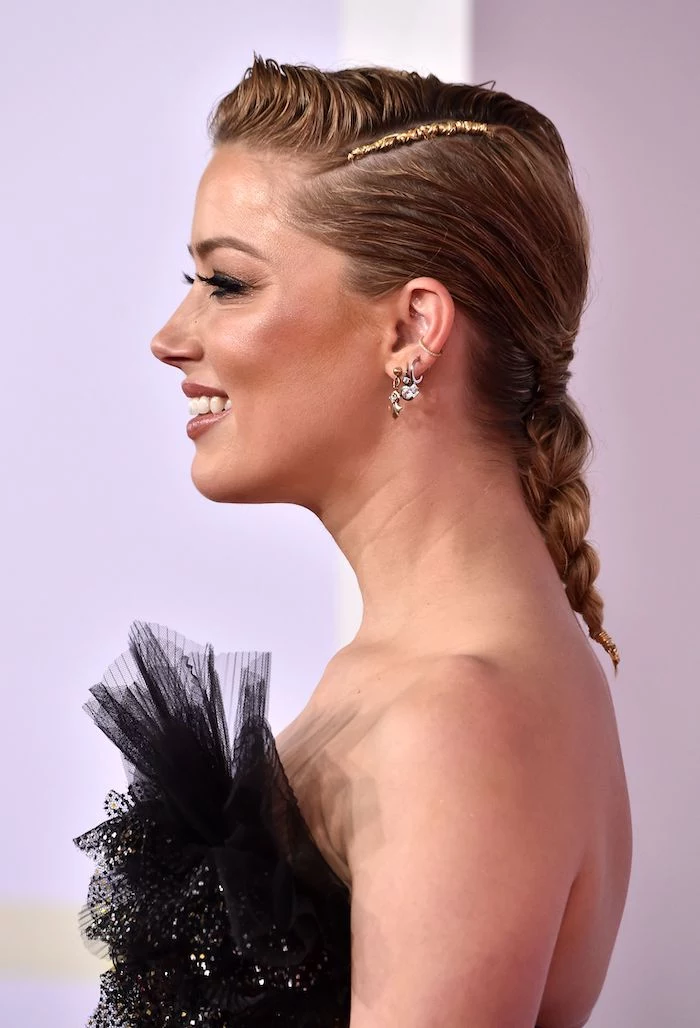
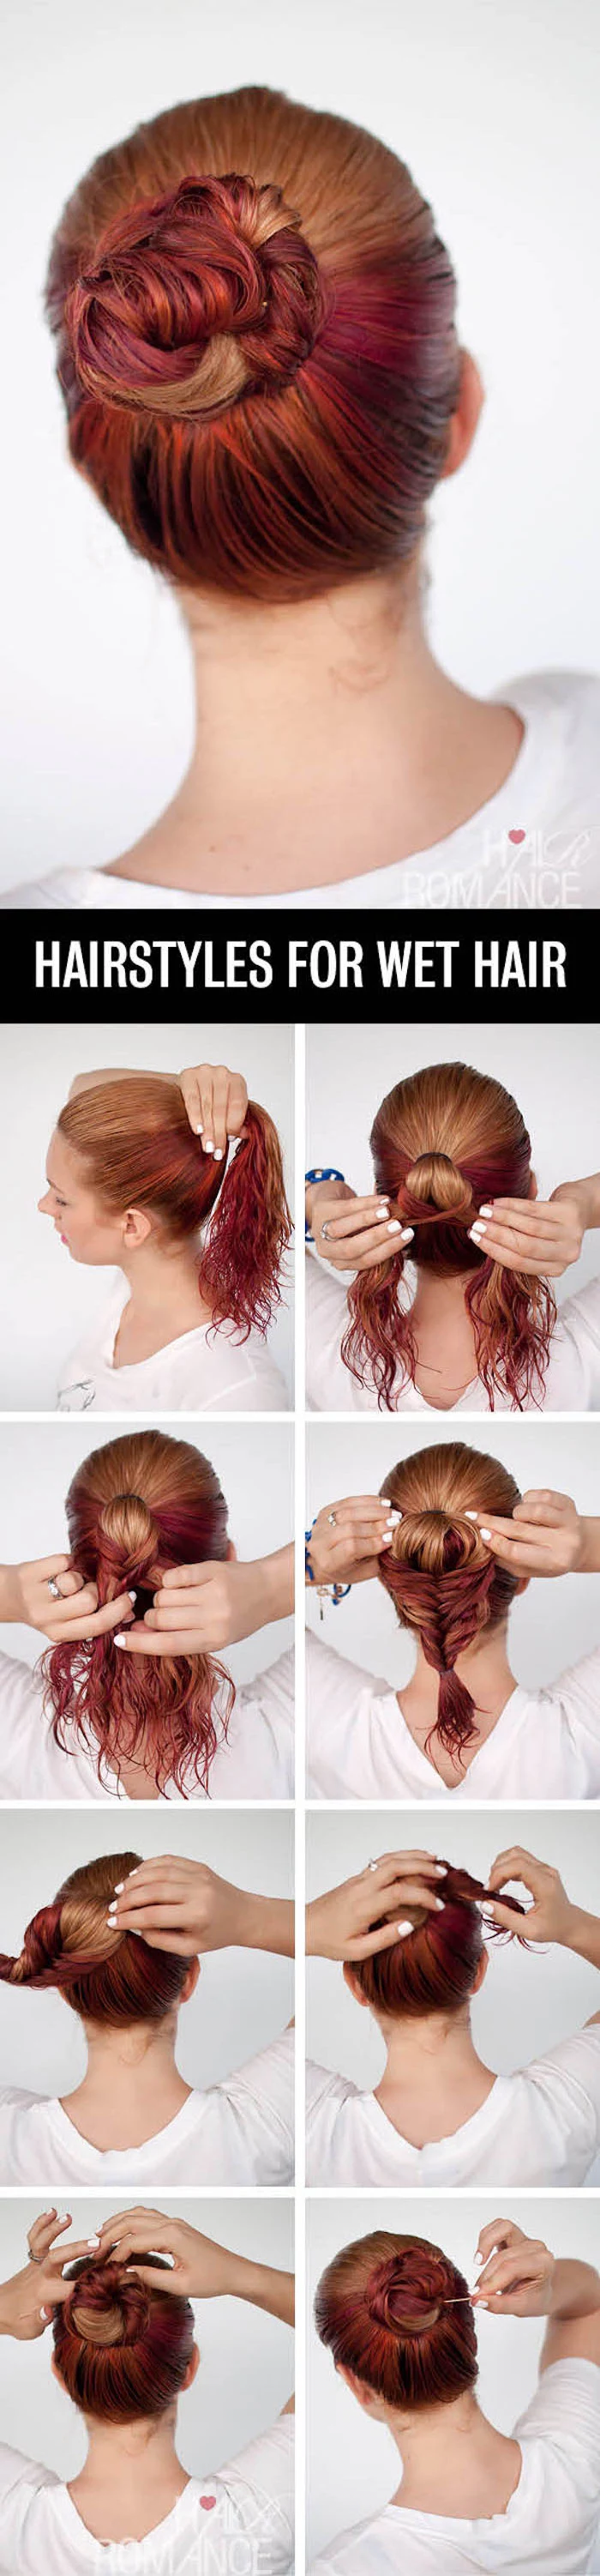
Your nighttime routine can make or break your morning style. To wake up with soft, heatless waves, try this:
- On slightly damp hair, create one or two loose braids.
- Secure the ends with silk scrunchies to prevent creasing and breakage.
- Sleep on a silk or satin pillowcase to minimize friction and frizz overnight.
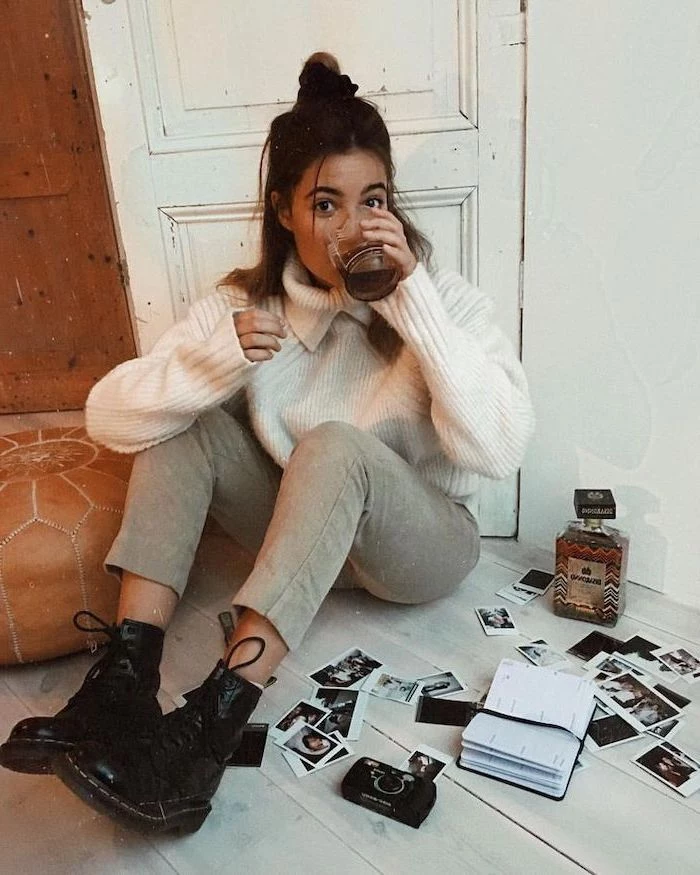
A 2021 Mintel report found that over 60% of women use dry shampoo at least once a week to extend their style.
But using it effectively is key. Don’t just spray and go. The right way is to spray it directly onto the roots from about 6-8 inches away, let it sit for a full minute to absorb oils, and then vigorously massage it into your scalp with your fingertips as if you were shampooing. This distributes the product and eliminates any white residue. Batiste is a classic, but for dark hair, try Klorane’s tinted version.
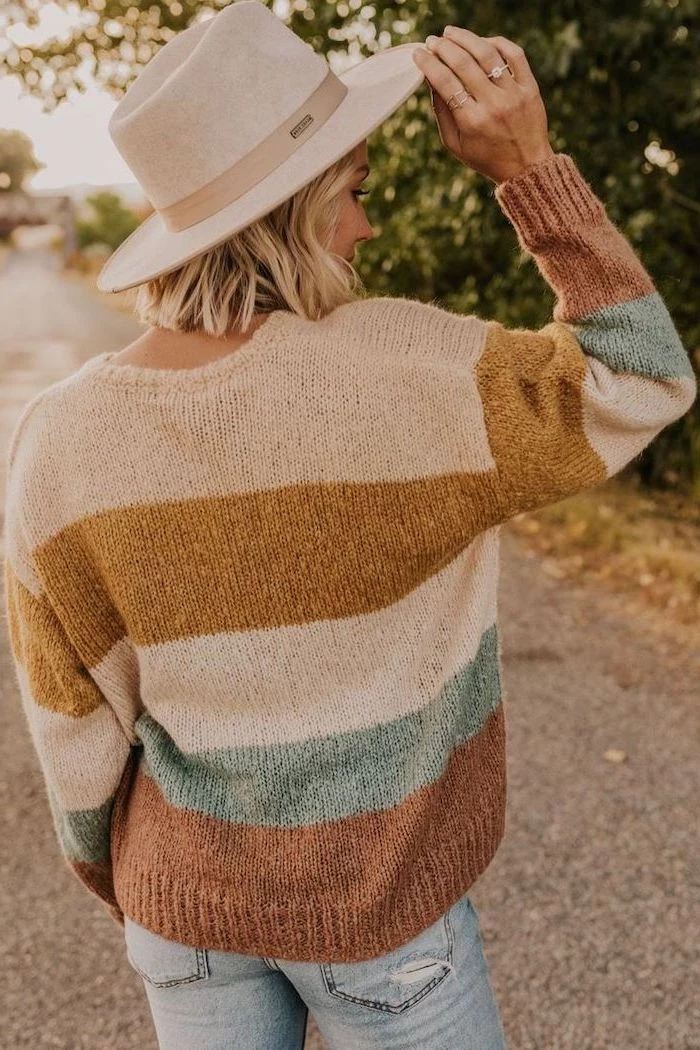


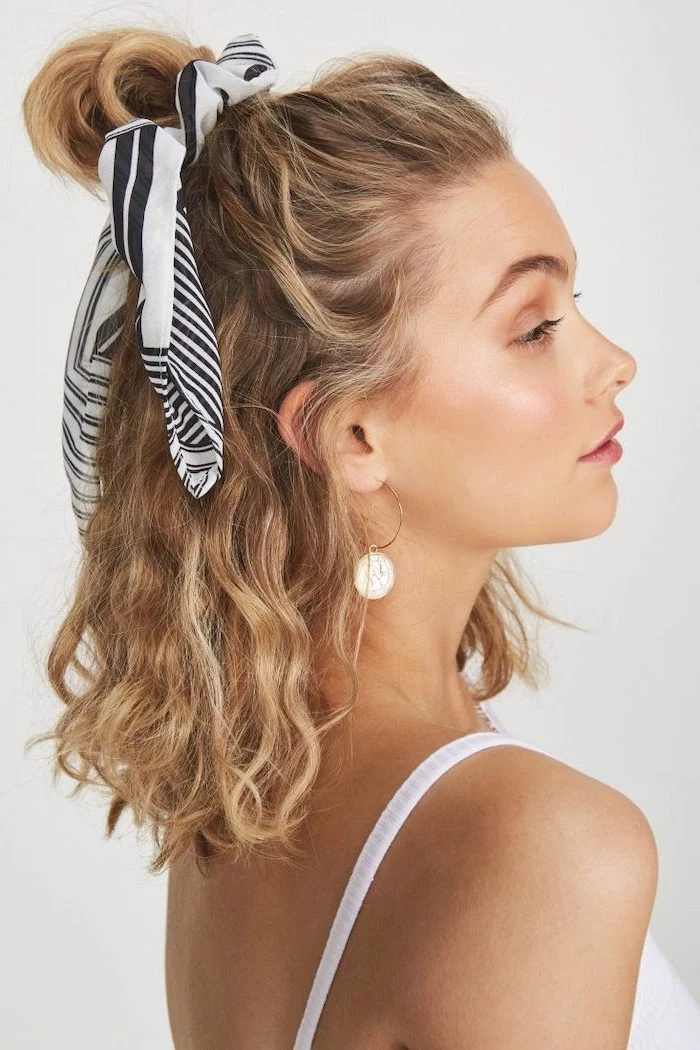
A simple silk scarf can instantly elevate a medium-length style. It’s the perfect accessory to conceal second-day roots or add a pop of color. Try tying one around the base of a low ponytail or use it as a chic headband to push your hair back. It’s a two-minute trick that looks incredibly put-together.


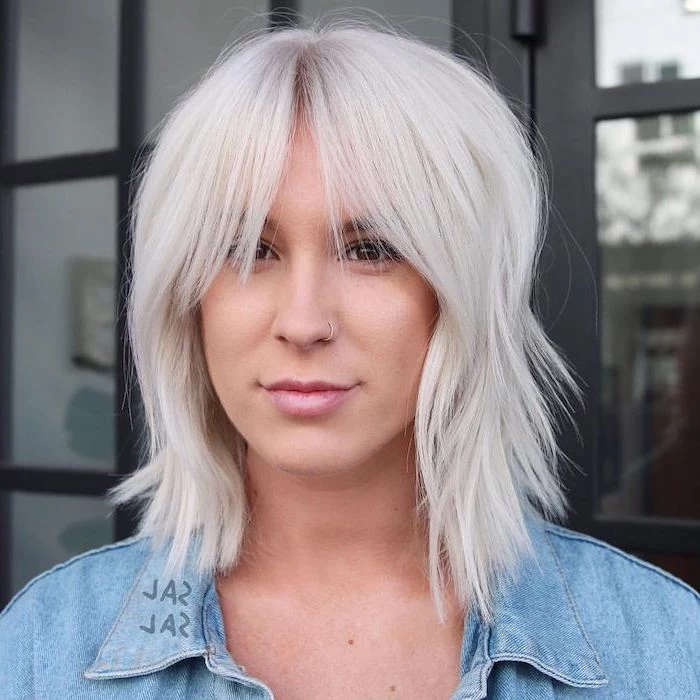
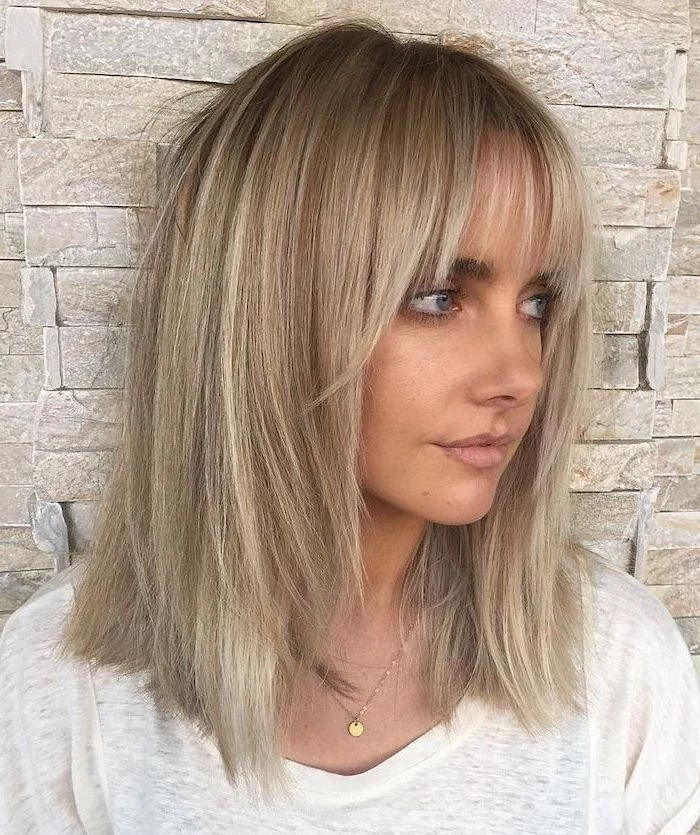
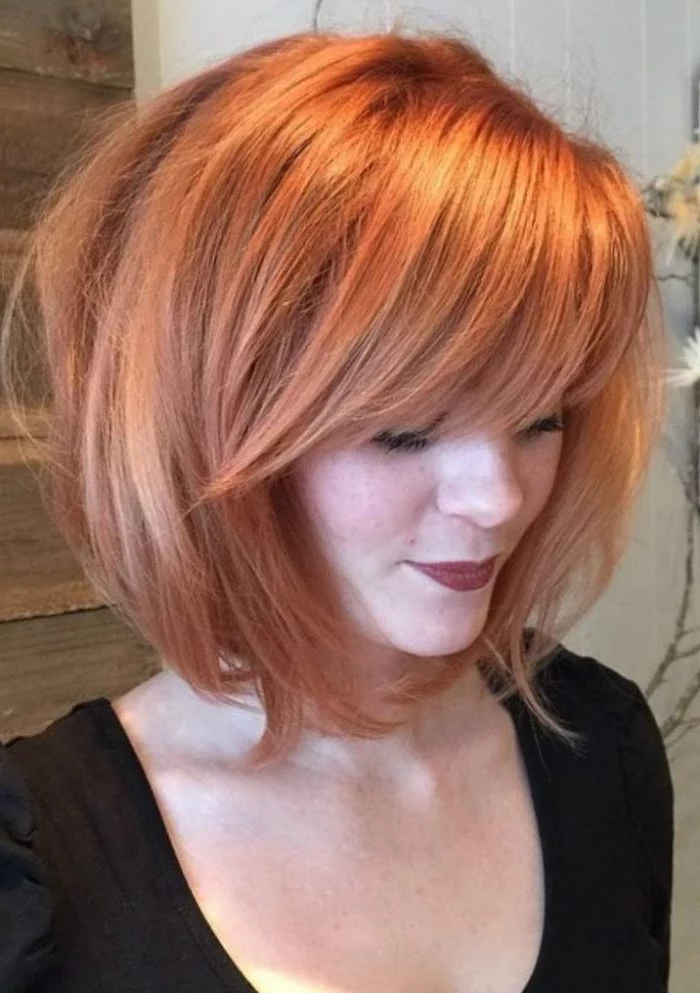
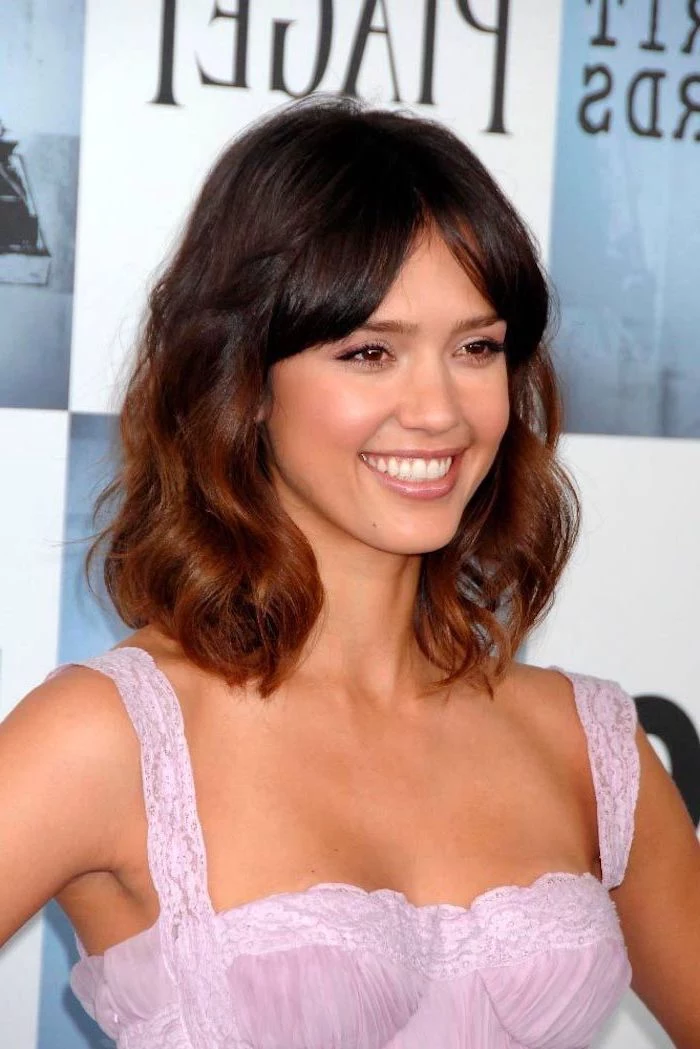
Thinking about curtain bangs?
They are an ideal match for medium-length hair because they blend in seamlessly, avoiding the harsh grow-out phase of other fringe styles. They beautifully frame the face and add a touch of ’70s chic. Styling is a breeze: use a medium round brush and a hairdryer like the Dyson Supersonic to blow them forward and then sweep them away from your face.

- Blow-dry your hair completely upside down to lift the roots away from the scalp.
- Once dry, create a deep side part on the opposite side to where you normally wear it.
- For targeted lift, sprinkle a root-lifting powder, like Big Sexy Hair’s Powder Play, directly onto the scalp and massage it in.
- When conditioning, focus only on the mid-lengths and ends to avoid weighing down the roots.


Styling tools that reach 450°F (232°C) can actually melt the keratin protein in your hair.
This is why most professional stylists, including those at ghd, cap their tools at 365°F (185°C). It’s the optimal temperature for reshaping the hair’s hydrogen bonds for long-lasting style, without causing irreversible heat damage. There’s rarely a need to go hotter.

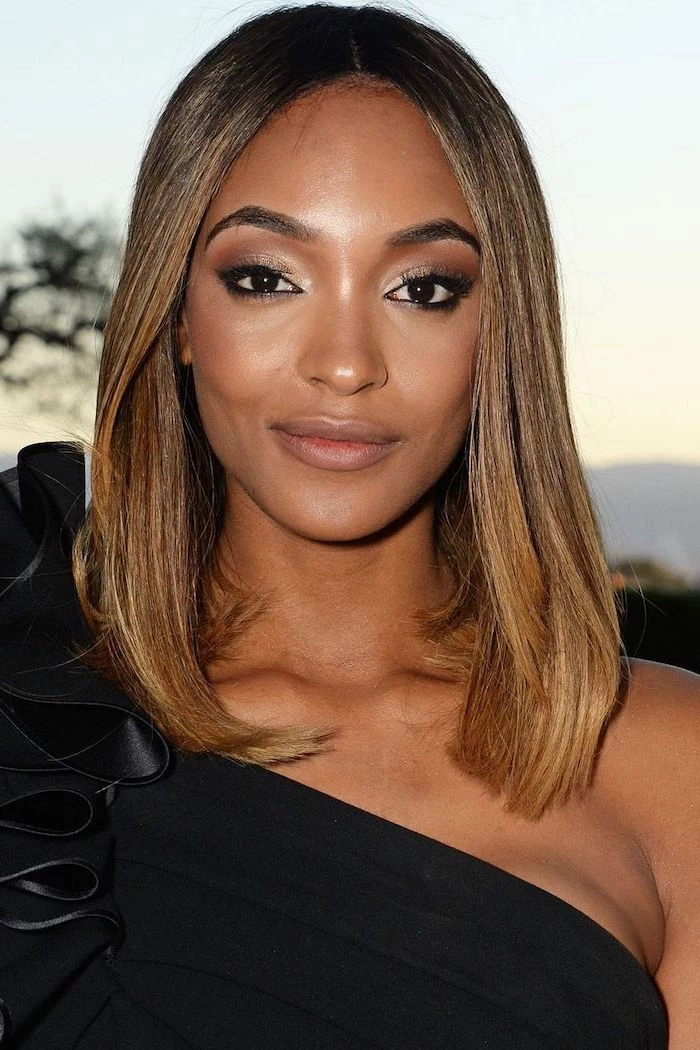
Balayage: A French technique where color is hand-painted onto the hair for a natural, sun-kissed gradient. It grows out softly and is incredibly low-maintenance, making it perfect for a lived-in, medium-length style.
Traditional Foils: Creates a more uniform, defined pattern of highlights from root to tip. It offers a more dramatic lift but requires more frequent touch-ups as roots grow in.


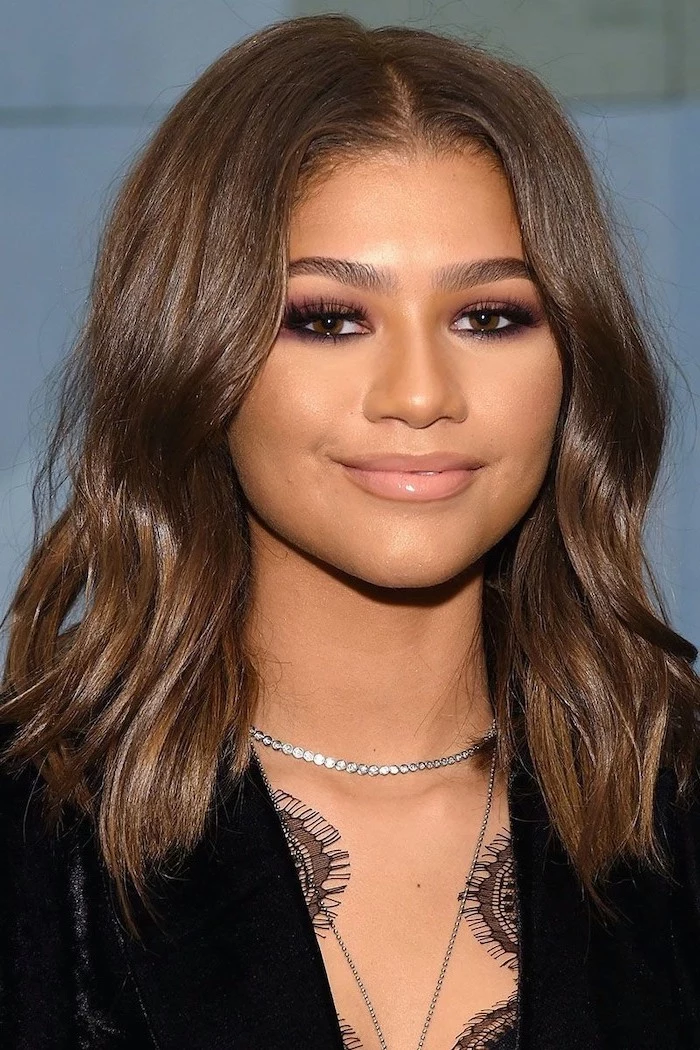
For that ultra-glossy ‘glass hair’ effect, the secret is a finishing spray. After styling, a light mist of a shine-enhancing product like Color Wow’s Extra Mist-ical Shine Spray or Kenra’s Shine Spray will catch the light and give your hair a reflective, liquid-like sheen without feeling heavy or greasy.

Medium-length hair is particularly prone to split ends because the tips constantly brush against your shoulders, jacket collars, and scarves. To combat this:
- Incorporate a weekly bonding treatment, such as Olaplex No. 3, to repair broken disulfide bonds within the hair strand.
- Apply a single drop of hair oil to dry ends every day to seal the cuticle.
- Ask your stylist for a


Important point: The barrel of your round brush matters. A ceramic barrel, found in brushes from brands like Moroccanoil, heats up with your blow-dryer to provide even heat distribution for a faster, smoother finish. A traditional boar bristle brush, on the other hand, is excellent for creating tension and distributing natural oils for incredible shine, making it ideal for finer hair textures.


On average, a single hair strand can support up to 100 grams in weight. Your whole head of hair could theoretically support the weight of two elephants!


Not ready to invest in high-end tools? The Revlon One-Step Hair Dryer and Volumizer is a cult-favorite for a reason. Its unique oval brush design smooths the hair while the rounded edges create volume at the roots and beautifully curled ends. It’s a game-changer for achieving a bouncy, salon-quality blowout on medium-length hair in a single step.


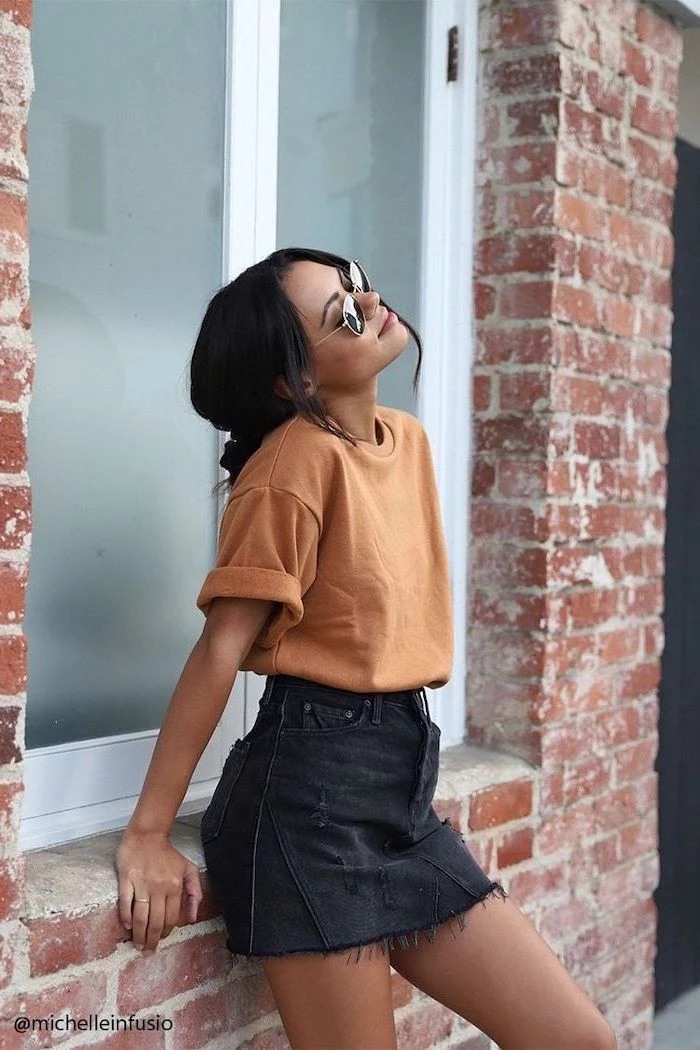
Stuck in that awkward phase while growing out a bob?
This is where medium length’s versatility comes in handy. Instead of fighting uneven lengths, embrace texture. A few spritzes of a sea salt spray, like Bumble and bumble’s classic Surf Spray, will create a cool, intentionally messy look that blends everything together. A well-placed claw clip is also your best friend for a quick, stylish updo that hides the in-between stage.


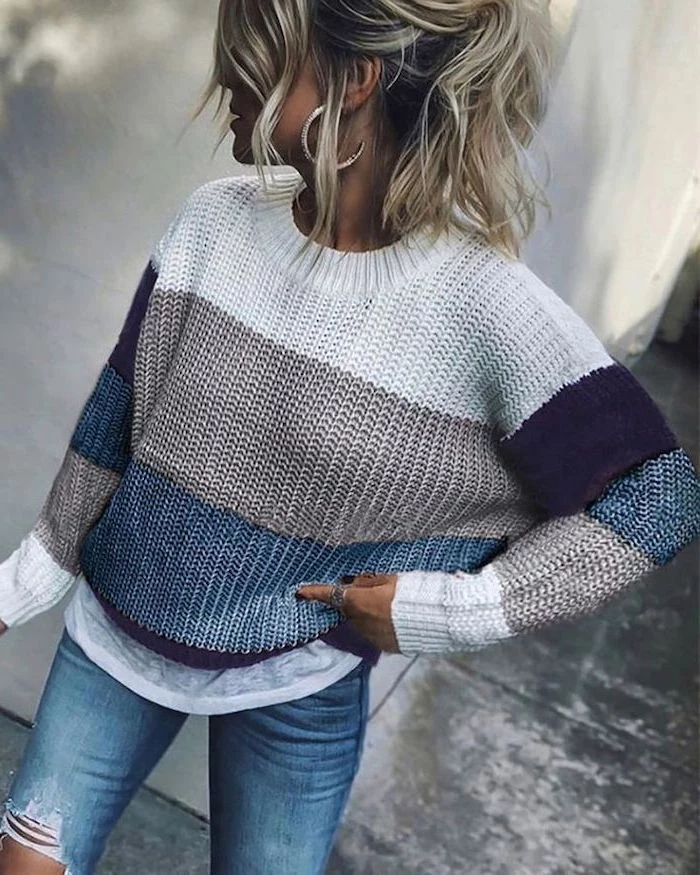
Mousse: Best applied to damp hair from roots to ends. It provides all-over, lightweight volume and structure, making it ideal for fine to medium hair that tends to fall flat. Try Living Proof’s Full Thickening Mousse for a formula that isn’t sticky or crunchy.
Volumizing Spray: More targeted for root-lift. Use it on damp or dry roots for a direct boost right where you need it. It’s perfect for reviving second-day hair that’s lost its oomph.


- Soft, defined waves greet you in the morning.
- You completely avoid damaging heat tools.
The secret? The viral ‘robe belt’ method. It’s surprisingly effective for medium-length hair. On nearly dry hair, part it down the middle, place a bathrobe belt over the top of your head, and wrap sections of hair from each side around the belt away from your face. Secure the ends with a gentle elastic and sleep on it.


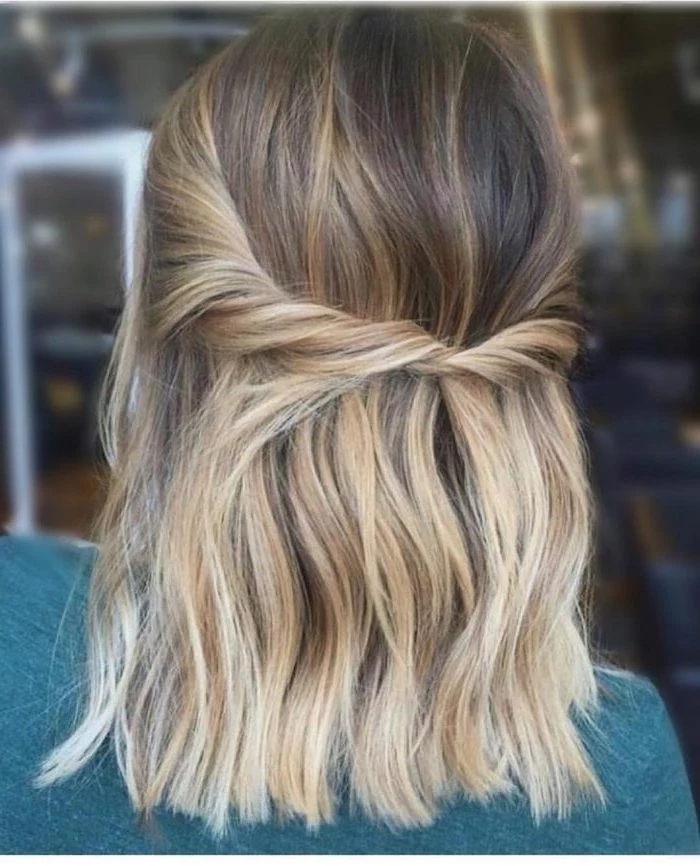
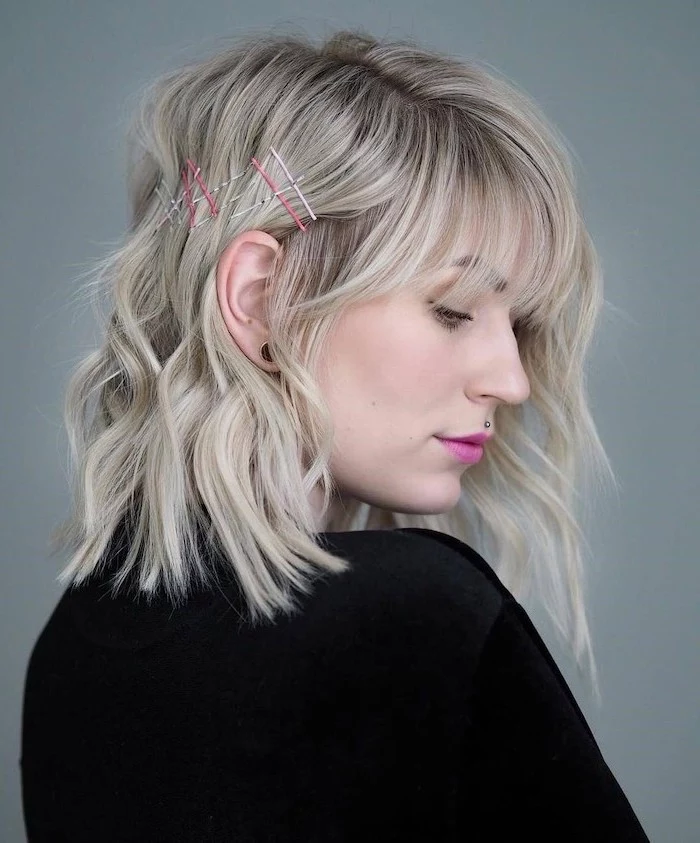
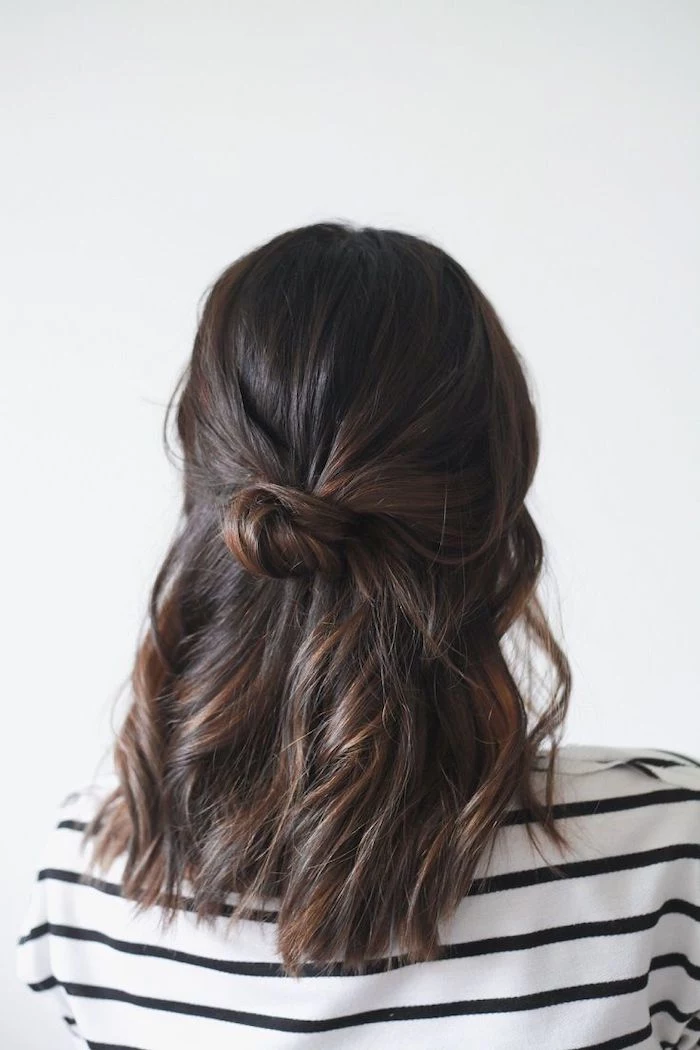
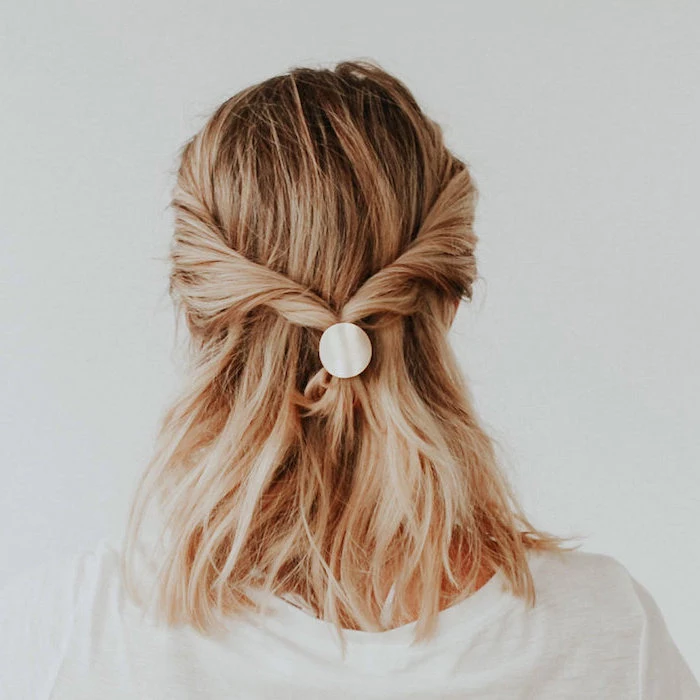
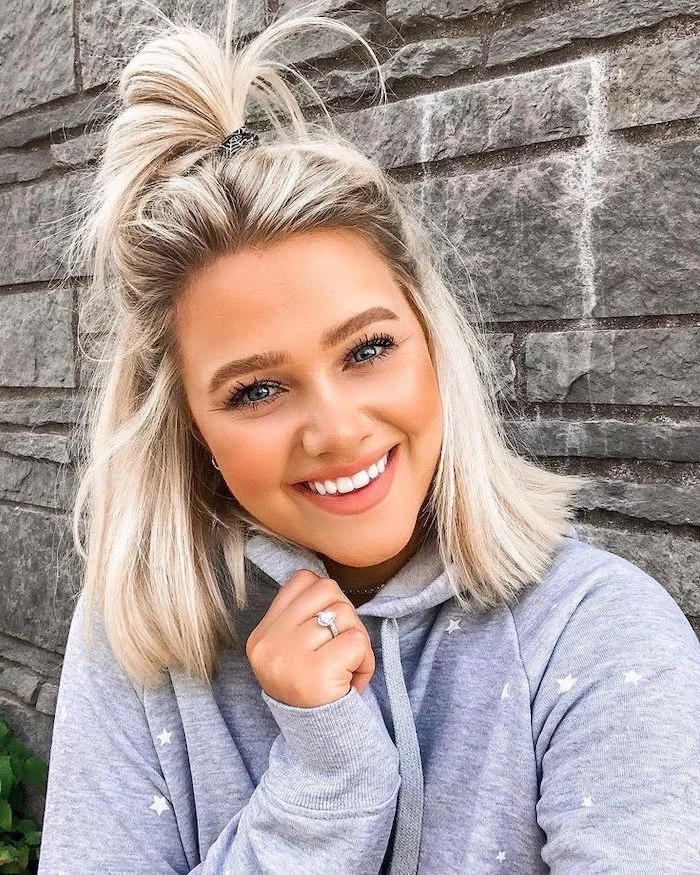
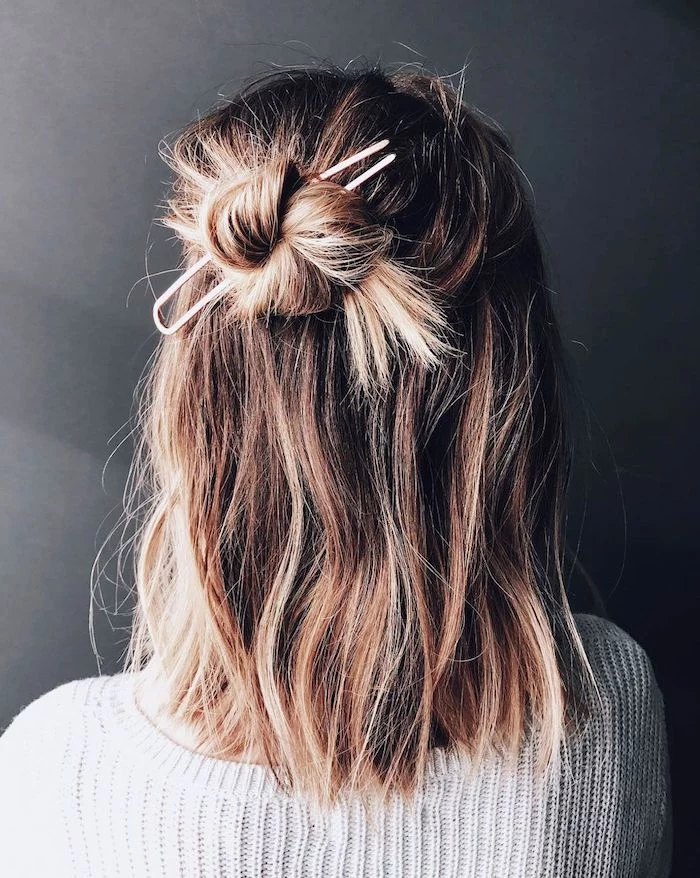
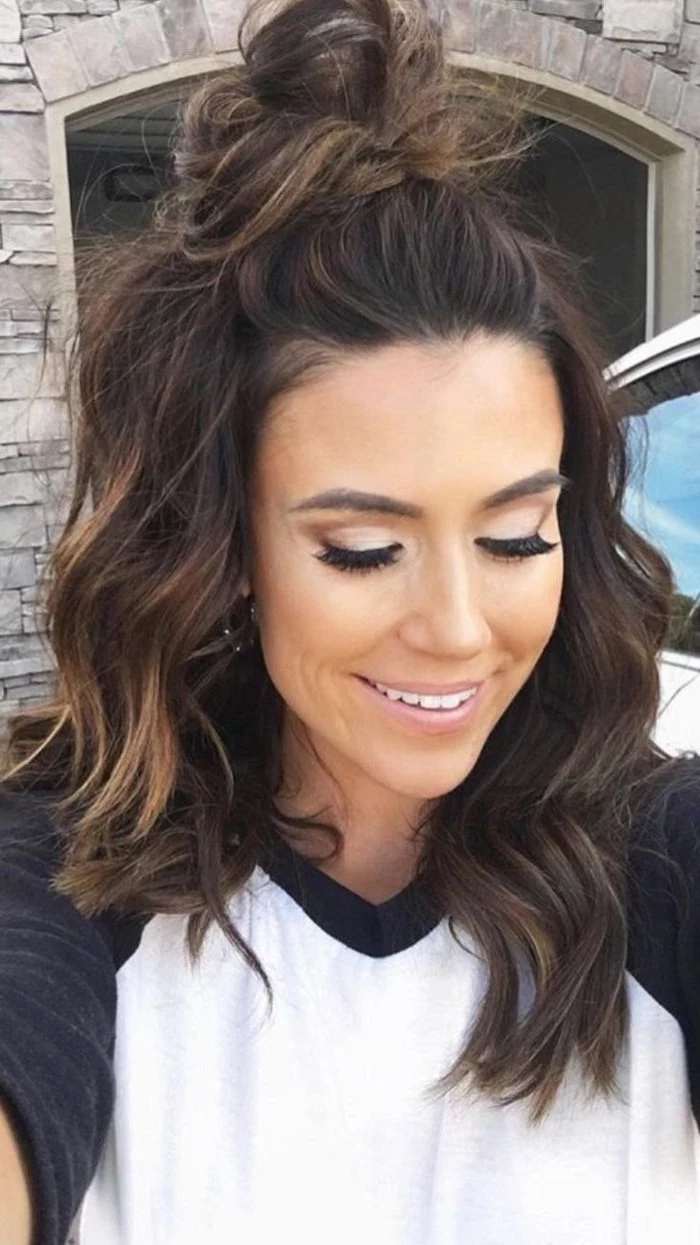
The half-up hairstyle is a classic for medium lengths. To perfect it, start by creating a clean section from the top of your ears to the crown of your head. Before securing, gently backcomb the roots of this top section to create a bit of lift and prevent it from looking flat. Secure with a clear elastic or a stylish barrette, then gently pull out a few face-framing tendrils to soften the overall look.
Your scalp produces about half an ounce of sebum (natural oil) per month.
On medium-length hair, this oil can sometimes weigh down the roots while the ends remain dry and thirsty. This is why some people swear by


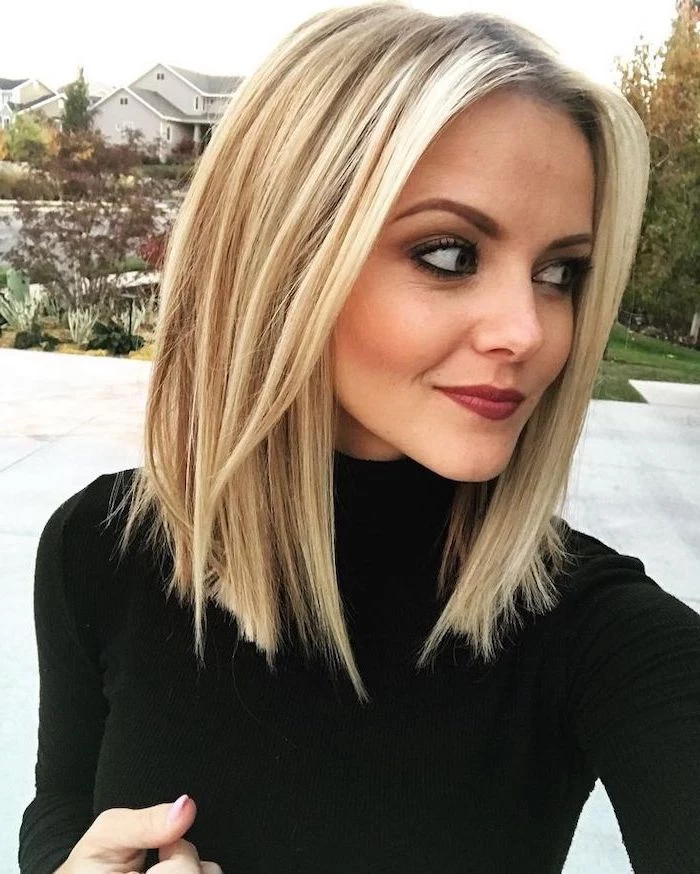
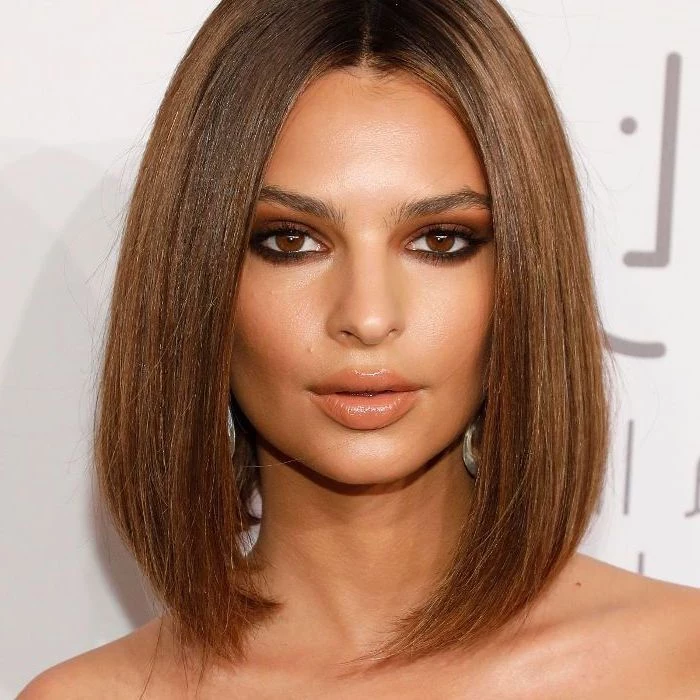
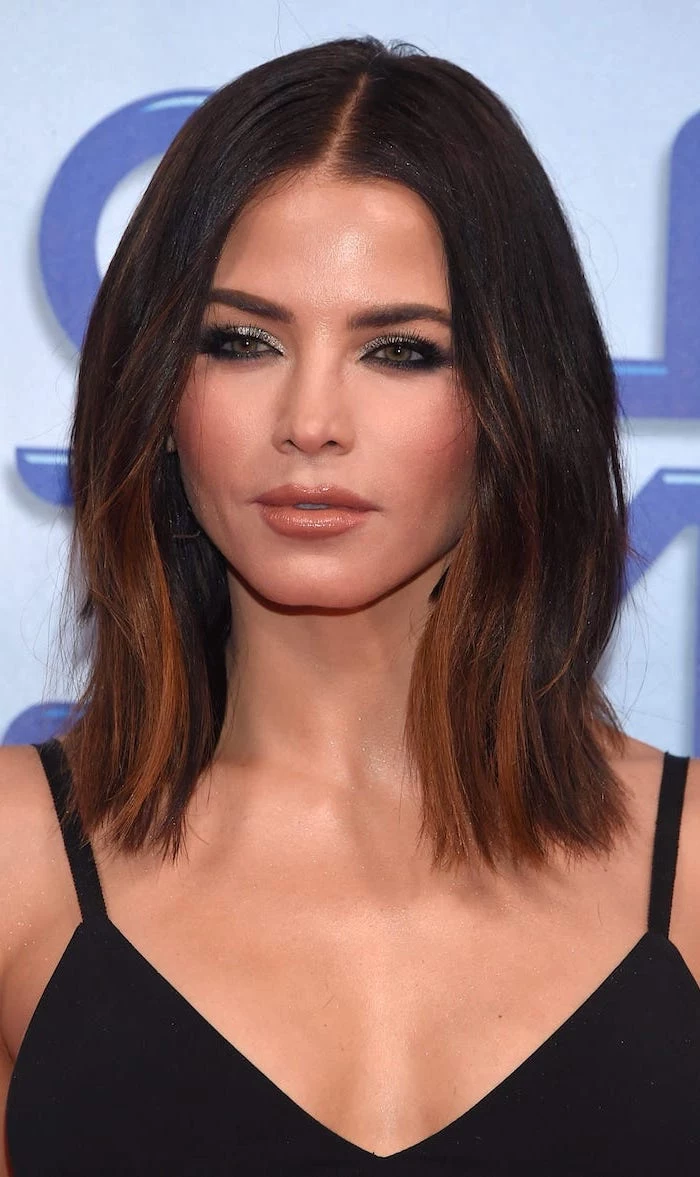
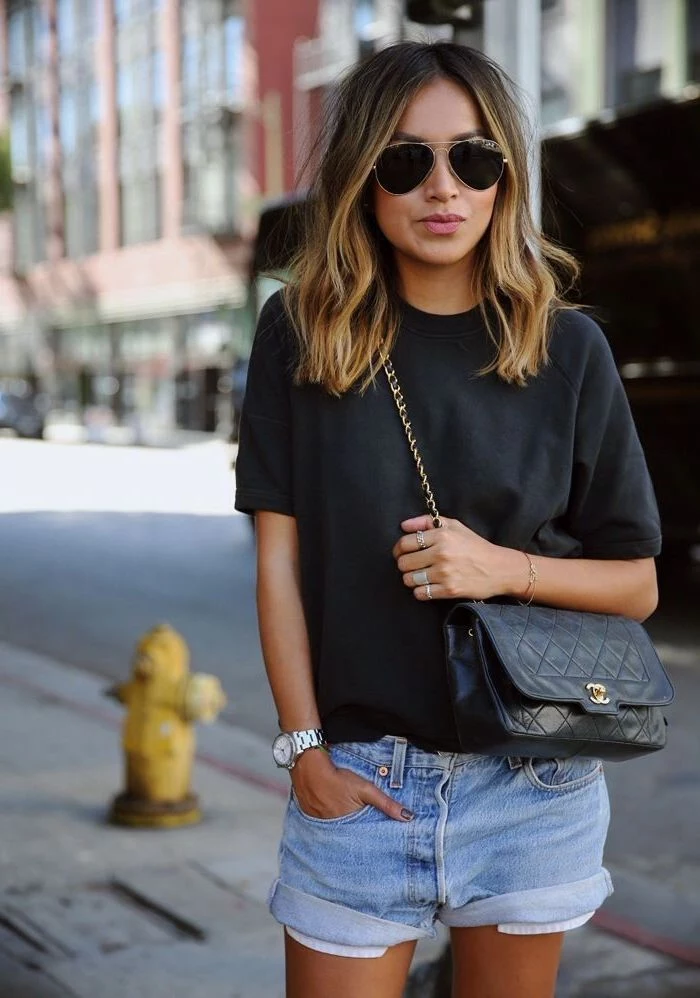
When choosing a cut, the shape of your face is just as important as your hair texture. For medium-length hair, a soft, layered shag works wonders on square or heart-shaped faces by softening the jawline. Oval faces can pull off almost anything, including a blunt, one-length lob. For round faces, a style with height at the crown and longer, face-framing layers can create an elongating effect.

Important point: Heat protectants aren’t all the same. Water-based sprays are great for damp hair as they evaporate and create a barrier without residue. Silicone-based serums are best for dry hair before using a flat iron or curling wand, as they add slip and shine while providing a robust thermal shield. Using the wrong type can make hair feel greasy or fail to protect it properly.