Staircases 101: A Builder’s Straight-Talk Guide to Choosing the Right Steps
Over my career as a builder, I’ve seen it all. And I can tell you one thing for sure: a staircase is so much more than a way to get upstairs. It’s the central artery of a home, dictating the flow of movement, light, and even the overall vibe of the space. I’ve installed everything from simple, utilitarian basement stairs to grand, sweeping entryways. Honestly, it’s the jobs where I’ve had to fix someone else’s poorly designed or dangerously built stairs that taught me the most.
In this article
Choosing a staircase isn’t like picking out a paint color. It’s a serious decision that has to blend solid engineering, strict safety codes, and real craftsmanship. A well-built staircase feels solid and has a natural rhythm. A bad one? It can feel awkward, bouncy, or just plain hazardous. This guide is my attempt to download some of that field experience so you can make a smart choice, whether you’re building new or fixing up an older home.
The Boring (But Crucial) Stuff: Stair Anatomy and Rules
Before we get into the fun stuff like styles and materials, we have to talk about the parts and the rules. Every pro lives by these, and for good reason—they’re all about making sure no one gets hurt. These rules are laid out in standard building codes, but local requirements can be even stricter. So, a quick tip: a call to your local building department is always the first step. ALWAYS.
Here are the key parts you’ll hear us builders talk about:
- Stringer: This is the backbone. It’s the saw-toothed board, usually a hefty piece of lumber like a 2×12, that supports everything. Most stairs have two, but if your stairs are wider than about 36 inches, you absolutely need a third one down the middle to prevent that dreaded sag and bounce.
- Tread: The flat part you step on. Its depth is called the ‘run’.
- Riser: The vertical piece between steps. Its height is called the ‘rise’. Some modern designs leave this out for an ‘open-riser’ look, which we’ll get to.
- Newel Post: The big, sturdy post at the start, end, and turns of a staircase. It’s the anchor for the whole handrail system. Don’t skimp on this.
- Handrail: The part you actually hold. It needs to be continuous and easy to grip.
- Balusters: You might call them spindles. They’re the vertical posts between the newel posts that hold up the handrail and, more importantly, keep people (especially little ones) from falling through.
Let’s Do the Math: A Quick Rise & Run Example
The single most critical part of stair design is the relationship between the rise and run. Get it wrong, and the stairs will feel awful. Standard building code usually caps the riser height at 7 ¾ inches and requires a minimum tread depth of 10 inches. But the key isn’t just the numbers—it’s consistency. Every single step must be virtually identical. A difference of more than 3/8 of an inch between steps is a major trip hazard.
So, how do we figure this out? Let’s walk through it. Imagine your total floor-to-floor height is 108 inches (that’s a standard 9-foot ceiling). Here’s the process:
- Get a rough step count: Divide the total height by a comfortable rise, say 7.5 inches. So, 108 / 7.5 = 14.4. You can’t have .4 of a step, so you’ll need 14 or 15 risers. Let’s go with 14.
- Find the exact riser height: Now, divide the total height by your chosen number of risers. 108 inches / 14 risers = 7.71 inches per riser. This is just under the 7.75-inch max, so we’re good to go. Every single riser will be cut to this exact height.
- Calculate the total run: A great rule of thumb a mentor taught me is that two risers plus one tread should equal about 25 inches (2R + T = 25). Using our rise of 7.71, the math is (2 x 7.71) + T = 25, which gives us a target tread depth of 9.58 inches. This is a bit under the 10-inch minimum, so we know our initial plan is flawed.
- Let’s try again with 15 steps: 108 inches / 15 risers = 7.2 inches per riser. Much better! Now for the tread: (2 x 7.2) + T = 25. That gives us a tread depth of 10.6 inches. Perfect! It’s comfortable and meets code.
- Final Check: We’ll have 15 risers at 7.2 inches each and 14 treads at 10.6 inches deep. (There’s always one less tread than riser).
See? It’s a bit of a dance, but getting this right on paper saves a world of hurt later. Another non-negotiable is headroom. You need a minimum of 6 feet 8 inches of clearance measured straight up from the tip of any tread. I once had to fix a job where the homeowner had to duck to go upstairs. It was an expensive tear-out that a tape measure could have prevented.
The Main Staircase Styles: A Pro’s Take
Okay, now for the fun part. The style you choose dramatically impacts your home’s layout, budget, and feel. Before we break them down, here’s a quick cheat sheet. Straight stairs are the cheapest and easiest but eat up a long stretch of floor. L-shaped and U-shaped stairs are more compact and safer but cost more. And curved stairs? Well, they’re in a league of their own. Let’s dive in.
1. The Straight Staircase
This is the workhorse of the stair world: one simple, straight flight. It’s clean, classic, and gets the job done.
- The Good: They are, by far, the easiest and most affordable to build. The design is simple, which means fewer labor hours. They also make moving furniture a breeze. From my experience, this is the go-to for many homes for a reason.
- The Challenges: They take up a lot of linear space. A long, uninterrupted flight can also be a safety issue; a fall from the top is a long way down. That’s why codes often require a landing if a stair rises more than 12 feet.
- The Bottom Line: For a basic, professionally installed straight staircase, you’re likely looking at a starting cost of $2,500 to $5,000. Installation is usually quick, often taking 2-4 days, depending on the finishes.
2. The L-Shaped (Quarter-Turn) Staircase
This is a straight stair that makes a 90-degree turn, using a small, flat landing. It’s a very popular and practical choice.
- The Good: The L-shape is more visually interesting and feels a bit cozier. The landing is a natural resting point and, importantly, breaks a potential fall, making it safer. They tuck nicely into corners, freeing up floor space.
- The Challenges: That landing isn’t just a platform; it has to be framed like a mini-floor, with proper support. This adds complexity and cost.
- The Bottom Line: Expect to pay more than a straight stair, typically in the $4,000 to $8,000 range. The extra framing for the landing means a longer project, usually around 4-7 days.
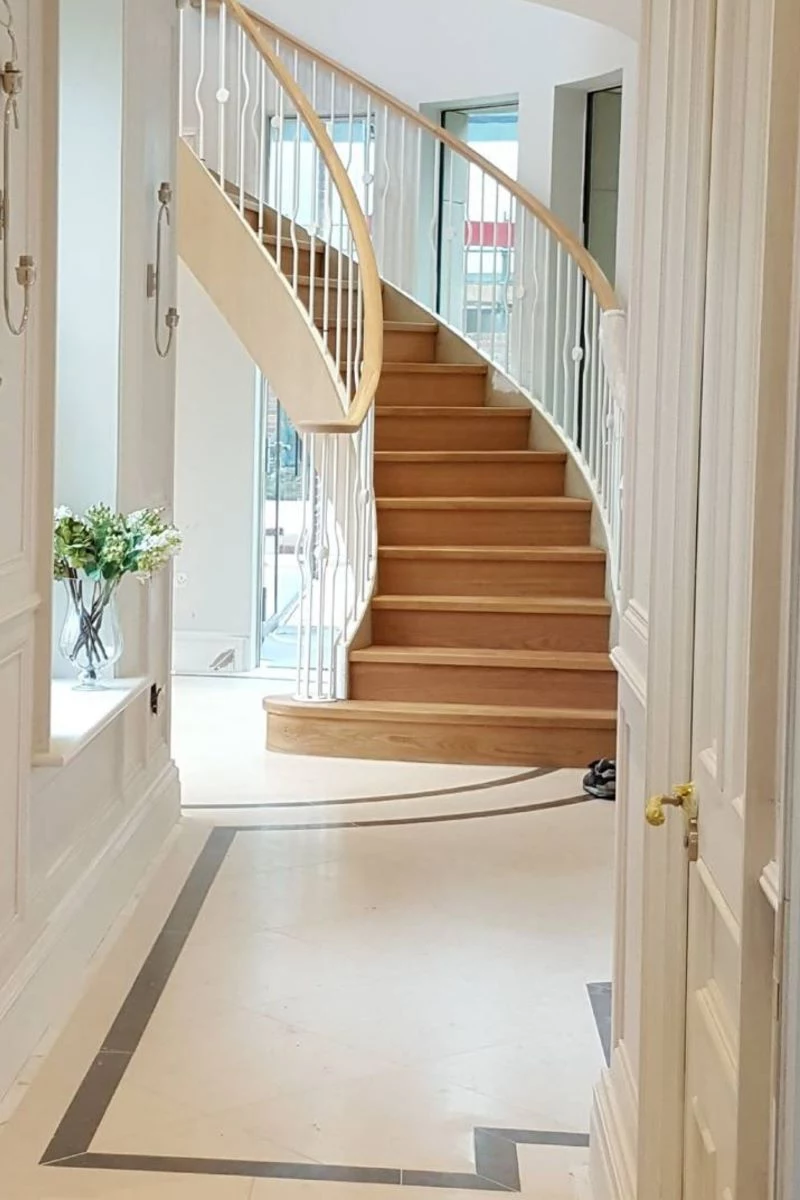
3. The U-Shaped (Half-Turn) Staircase
Think of this as two parallel flights going in opposite directions, connected by a generous landing. It’s compact and very safe.
- The Good: Architecturally, they are very efficient, fitting into a smaller footprint than an L-shape. The landing makes them one of the safest designs. They can also create a nice sense of separation between floors. A window at the landing is a classic move to flood both levels with light.
- The Challenges: These are trickier to build. The layout has to be perfect. The cost is higher due to the labor and materials for that large landing structure.
- The Bottom Line: You’re stepping up in price here. A U-shaped stair typically runs from $5,000 to $10,000+. The complex framing means you should plan for the area to be out of commission for at least a full week.
4. The Winder Staircase
Winder stairs make a turn using wedge-shaped treads instead of a flat landing. You see them a lot in older, traditional homes.
- The Good: They’re a fantastic space-saver for tight corners where a full landing just won’t fit. The continuous flow can be really elegant.
- The Challenges: This is where things get tricky, and frankly, dangerous if done wrong. The tapered treads can be a trip hazard. Building codes are extremely specific about the tread width—at the narrowest point, it must be at least 6 inches. They’re also a nightmare for moving furniture.
- The Bottom Line: Because of the complex cuts, winders are jobs for pros only. The cost is similar to or slightly higher than an L-shaped stair, around $5,000 to $9,000. Installation takes about 5-8 days.
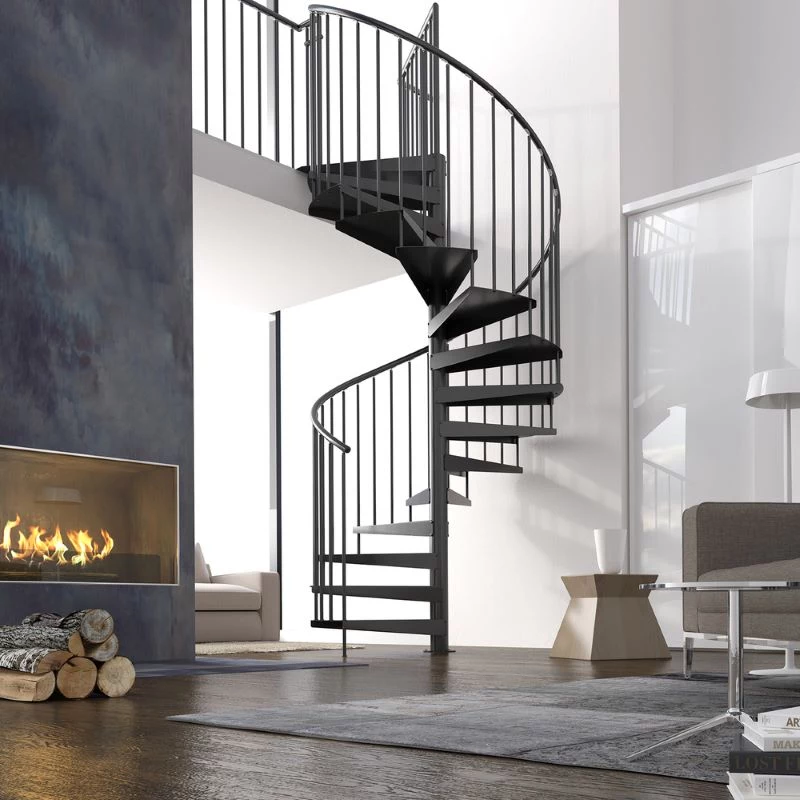
5. The Spiral Staircase
This design twists around a central pole. It’s a dramatic statement piece and the king of space-saving.
- The Good: Nothing fits in a tighter spot. You can tuck one into a 5-foot diameter circle. They offer a cool, sculptural look.
- The Challenges: Let’s be real: they are not practical for a primary staircase. The narrow treads are awkward, especially when carrying laundry, and moving furniture is basically impossible. Many building codes restrict their use to secondary access, like to a loft.
- The Bottom Line: Quality varies wildly here. A basic kit from a big-box store might be $1,500, while a custom-fabricated steel one can easily hit $15,000. Before you even think about it, check with your local building department to see if it’s even allowed.
6. The Curved Staircase
This is the showstopper. A grand, flowing arc with no landings. This is the peak of stair-building.
- The Good: Unmatched elegance. It’s a stunning architectural feature that screams high-end custom home.
- The Challenges: This isn’t just carpentry; it’s practically an art form. The stringers have to be custom-made by laminating thin wood strips in a massive jig. The cost is astronomical, and it requires a true specialist.
- The Bottom Line: Don’t even think about this for a standard budget. A true curved staircase is a five-figure investment, starting around $20,000 and going way, way up from there. The project can take several weeks from fabrication to final installation.
Quick Fixes & Weekend Upgrades
Okay, so maybe you’re not ready for a full tear-out. The good news is, you can still make a huge impact. Most people I talk to aren’t building from scratch; they just want to fix what they have.
How a Pro Fixes a Squeaky Stair
That annoying squeak is usually caused by the tread rubbing against the riser or stringer. If you have access from below (like in a basement), the best fix is to have a helper walk on the squeaky step while you watch from underneath. You can then apply a bead of construction adhesive (like PL Premium) into the joint where the tread and riser meet and drive a few shims in to tighten it up. If you don’t have access, you can try nailing the tread down into the stringer from above with finish nails, but it’s a less permanent fix.
3 Easy Upgrades for a Weekend
Want a fresh look without the massive bill? Try these:
- Paint the Risers: A classic move. Keep the wood treads and paint the risers a crisp white or a bold, dark color. It instantly modernizes the look for the cost of a can of paint.
- Add a Runner: A beautiful stair runner adds color, pattern, and comfort. It also dampens noise. You can find them at flooring stores or online, and a professional installer can have it done in a few hours.
- Swap the Balusters: This is a bit more involved, but you can transform a dated staircase by replacing old wooden balusters with simple, modern metal ones. You can often find them at places like Home Depot for $5-$15 per baluster. It’s a game-changer.
The Real Deal: DIY vs. Pro and Permits
I have huge respect for a skilled DIYer, but I’m going to be blunt: building a home’s primary staircase is a job for a professional. The structural calculations, the code requirements, and the risk of failure are just too high. A small mistake can have catastrophic consequences.
Could a handy homeowner tackle some parts? Sure. A pro should absolutely design, cut the stringers, and frame the staircase. But once that solid structure is in place and has passed its framing inspection, a skilled DIYer could probably handle the finish work—installing the treads, staining the handrail, or painting the risers. Just be honest with yourself about your skill level.
And speaking of inspections, almost any stair project requires a building permit. This isn’t just red tape. It’s a safety check. An inspector provides a second set of expert eyes to ensure everything is built to code. Building without a permit is a huge gamble that can result in fines and major issues when you try to sell your home.
A Final Thought on the Path Ahead
Your staircase is one of the most permanent features in your home. It’s worth taking the time to plan it right. Think about your family’s needs, your home’s style, and your budget. Balance what looks beautiful in a photo with the hard realities of physics and safety. A staircase that is both gorgeous and built like a rock is an investment that pays you back in comfort and peace of mind every single day.
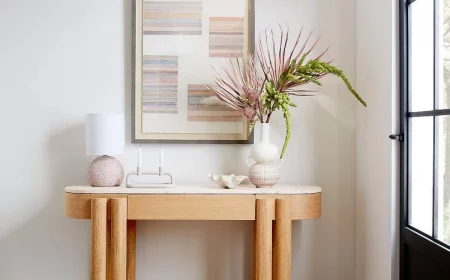
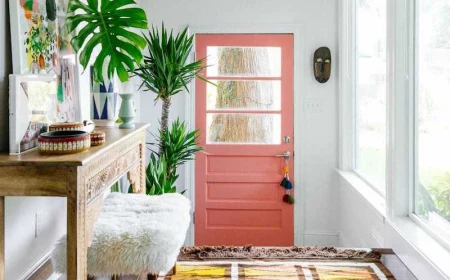
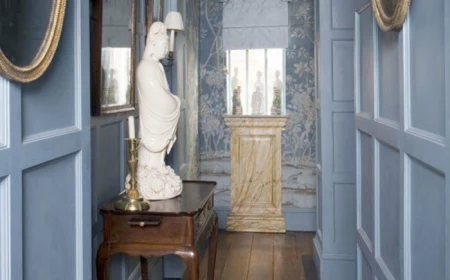
Inspirational Gallery
International building codes typically mandate that a 4-inch (10 cm) sphere cannot pass through any opening in a balustrade.
This isn’t an arbitrary number. It’s based on the size of a small child’s head and is a non-negotiable safety rule for any professional installer. When planning your design, especially an open or modern one, this spacing rule for balusters or cables is paramount.
Looking to add character to an old wooden staircase without a full replacement?
A painted runner is a timeless and budget-friendly solution. This DIY project creates the illusion of a carpet runner using just paint. The key is preparation and the right product. Use a high-adhesion primer and a durable porch and floor enamel, like Benjamin Moore’s Floor & Patio paint, to withstand foot traffic. Careful taping with a quality painter’s tape like FrogTape will ensure those crisp, professional-looking lines.
The feel of the handrail is as important as its look. This is the part of the staircase you physically connect with every day. A rail that’s too wide, too angular, or has a rough finish can feel insecure and unpleasant. Before you decide, run your hand along a sample. A comfortable grip profile, like a simple rounded or bread-loaf shape from a manufacturer such as L.J. Smith, often proves to be the most timeless and ergonomic choice.
The sound of a staircase contributes deeply to a home’s atmosphere. A solid oak or maple staircase, properly installed with a central stringer, offers a muted, satisfying thud—a sound of quality. In contrast, softwood like pine, or a staircase lacking proper support, can develop creaks that echo through the house. When choosing materials, consider the acoustic signature you want for your home.
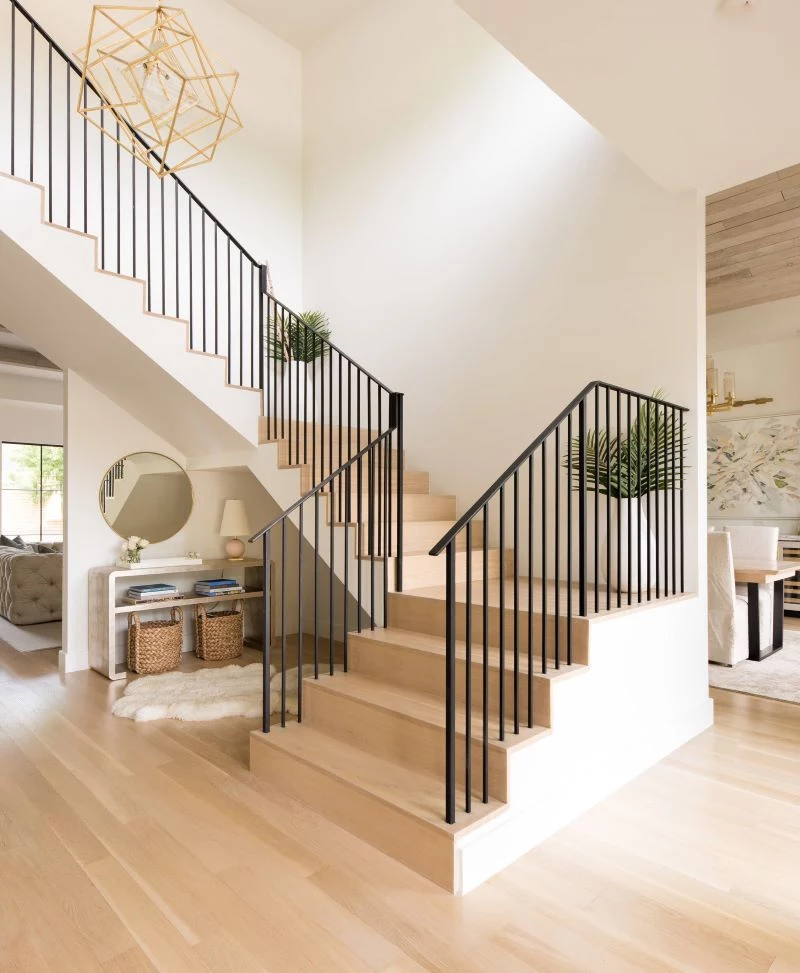
Don’t let your staircase be an afterthought in your lighting plan. Proper illumination is crucial for both safety and style.
- Tread-level lighting: Small, recessed LED fixtures installed directly into the risers or the wall beside the steps offer a modern look and safe passage at night.
- Statement Pendant: A beautiful pendant light hanging in the void of a U-shaped or L-shaped staircase creates a dramatic focal point.
- Continuous handrail lighting: Integrated LED strips within the underside of the handrail provide an even, seamless glow along the entire path.
- Reduces installation time from days to hours.
- Often costs a fraction of a site-built custom staircase.
- Arrives as a complete, engineered system with all parts included.
The secret? Modular staircase kits. Brands like Arke or Dolle offer sophisticated, code-compliant kits in metal and wood that are perfect for lofts, basements, or secondary access points, bringing modern design within reach of a tighter budget.
Wood Treads: Oak vs. Maple
Red Oak: The classic workhorse. Its prominent grain is great at hiding minor scratches and dents, making it ideal for high-traffic family homes. It also takes stain beautifully, allowing for a wide range of colors.
Maple: Known for its subtle, fine grain and creamy, light color. It provides a more modern and uniform look. While very hard and durable, its light color can show dirt and scuffs more readily than oak.
Both are excellent, durable choices; your decision often comes down to aesthetic preference.
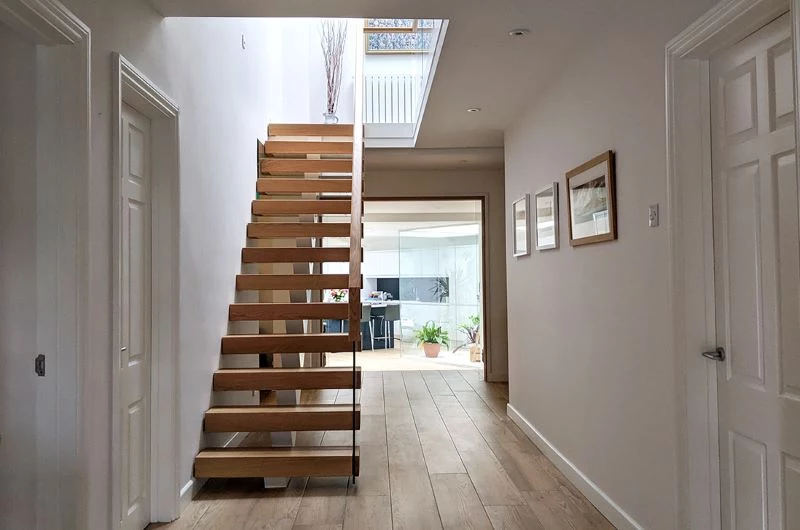
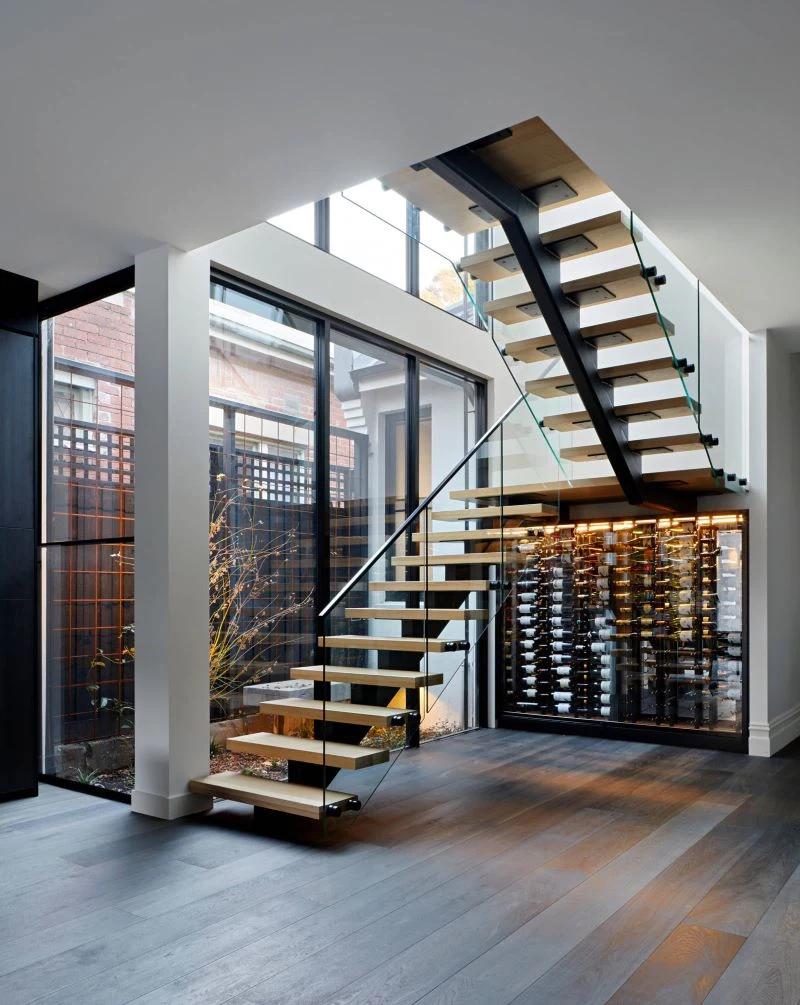
The ‘floating’ staircase, with its treads appearing to emerge directly from the wall, is a masterpiece of concealed engineering.
The illusion is achieved by a robust steel stringer or individual cantilevered brackets that are completely hidden within the wall structure. This design requires meticulous planning with a structural engineer *before* the walls are closed up, but the result is an unparalleled sense of openness and light.
One of the most striking current trends is the mixing of materials. Forget monolithic designs; think dynamic contrasts. Picture the industrial edge of a black powder-coated steel mono-stringer combined with the organic warmth of thick, live-edge walnut treads. Or consider the sleek, barely-there look of a glass panel balustrade anchored by substantial brushed stainless steel posts. This approach turns the staircase from a simple utility into a central piece of sculpture.