Don’t Remodel Your Bathroom Until You Read This: A Pro’s Guide
I’ve been in the home remodeling game for a long time, and if there’s one room that tells you everything you need to know about a builder’s quality, it’s the bathroom. I’ve seen it all. I’ve torn out showers that were basically held together by wishful thinking and a decade of layered caulk. I’ve had to replace floor joists that were rotted to mush from a slow, silent leak. It’s the one room where water, electricity, and constant use collide, and getting it wrong isn’t just ugly—it’s expensive and can be downright dangerous.
In this article
Most people start their remodel journey on Pinterest, falling in love with a stunning tile or a sleek floating vanity. And I get it! But a bathroom that’s built to last doesn’t start with the pretty stuff. It starts with what’s behind the walls and under the floor. My goal here is to walk you through how the pros see it, so you can build a bathroom that doesn’t just look good for a year, but works perfectly for decades.
To make sense of the chaos, here’s the basic roadmap every professional follows. Think of it as the contractor’s order of operations.
- Phase 1: Total Demolition & Inspection
- Phase 2: Framing, Blocking & Structural Changes
- Phase 3: Plumbing & Electrical Rough-In
- Phase 4: Insulation & Closing the Walls
- Phase 5: Waterproofing (The Most Critical Step!)
- Phase 6: Tile, Grout & Flooring
- Phase 7: Installing the Vanity, Toilet & Fixtures
- Phase 8: Painting & Final Touches
Understanding the Basics: Water and Air
Before you pick up a sledgehammer, you have to respect the forces you’re up against. The number one enemy in any bathroom is water, both as a liquid and as steam. A single hot shower pumps a huge amount of moisture into the air. If that water vapor has nowhere to go, it’ll soak into your drywall and ceiling, creating a perfect breeding ground for mold and rot. Not good.
Your Fan is Your Best Friend
This is why proper ventilation isn’t just a nice-to-have; it’s essential. That cheap, loud $30 fan from the big-box store? It’s basically a noise machine. It’s not moving enough air. Fan power is measured in Cubic Feet per Minute (CFM), and you want at least 1 CFM for every square foot of your bathroom. For a standard 8×10 foot bathroom (80 sq. ft.), you need an 80 CFM fan at minimum. Honestly, I always go bigger—around 110 CFM—just to be safe. A good, quiet model will run you between $150 and $250, and it is the single best investment you can make in the longevity of your bathroom.
Oh, and make sure the fan actually vents to the outside of your house, not just into the attic. Venting into the attic just moves the moisture problem upstairs where it can rot your roof. A quick tip: install it on a timer switch. You can get one for about $20 at Home Depot, and it’s a 15-minute job for an electrician. Set it to run for 30 minutes after every shower to get all that damp air out.
The Steps That Guarantee a Rock-Solid Build
The beautiful parts of a bathroom are only as good as the hidden work that supports them. This is where experience really shows.
Gutting the Room and Finding the Skeletons
When I do a full remodel, I take the room down to the studs. This isn’t just for fun; it’s for quality control. It’s the only way to see what’s really going on. I look for dark stains on the wood framing, which are tell-tale signs of old leaks. I’ll poke any suspicious-looking wood with a screwdriver. If it’s soft or spongy, it’s rotten and has to be replaced, no questions asked.
With the walls open, we also add “blocking.” This is just adding solid wood 2x6s or 2x8s horizontally between the wall studs wherever we plan to hang something heavy—think grab bars, towel racks, or a floating vanity. I learned this lesson the hard way years ago after a client’s kid used a new towel bar for pull-ups and ripped it right out of the drywall. Now, we put blocking in every single time. It ensures you’re always screwing into solid wood, not a flimsy plastic anchor.
Waterproofing: The Step You Absolutely Cannot Skip
If you hear nothing else, hear this: do not cheap out on waterproofing. Tile and grout are not waterproof. Let me say that again. They are NOT waterproof. Water will get through. The real protection is the membrane behind the tile, and a failure here is a complete catastrophe.
I was once hired to fix a “remodeled” shower that was only two years old. The tile looked fine, but the homeowner saw paint bubbling on the wall in the next room. We opened it up and found an absolute nightmare. The previous contractor had just stuck tile onto regular drywall. The wall was a black, moldy sponge, and the floor joists were starting to rot. The first shoddy job cost them around $8,000. The full tear-out and proper rebuild I had to do cost them another $16,000. Trying to save a few hundred bucks on waterproofing ended up costing them $24,000 for a single shower.
So, how do you do it right? You have a couple of great options:
- Liquid Membranes: These are products you literally paint onto the cement board. They are thick, like rubberized paint. The key is to apply multiple coats to build up to the right thickness (a credit card’s thickness is a good visual). For a standard tub surround, a bucket of a quality product will cost you about $60 and a little bit of your time.
- Sheet Membranes: This is my preferred method. It’s a pliable, fabric-like sheet that gets pressed into thin-set mortar. It’s more work and costs more upfront—a kit for a full shower can be around $500—but it creates a nearly foolproof waterproof barrier. The peace of mind is worth every penny.
Heads up! The foundation for your tile in any wet area MUST be a cement backer board or a specialized foam board. Never, ever use standard drywall or even moisture-resistant “green board.” They will turn to mush.
Smart Choices for a Bathroom That Just Works
A beautiful bathroom that’s annoying to use is a design failure. Functionality is everything.
Let’s Talk Tile: Porcelain vs. Natural Stone
This is a big decision for a lot of people. Everyone loves the look of natural stone like marble, and it’s gorgeous, but you have to be honest with yourself about maintenance. Stone is porous, so it can stain easily from things like makeup, hair dye, or even colored soaps. It needs to be sealed regularly (at least once a year) to protect it.
For most people, a high-quality porcelain tile is a much better choice. The technology today is incredible; you can get porcelain that perfectly mimics the look of marble, slate, or even wood, but it’s non-porous and incredibly durable. It will look the same in ten years as it does the day you install it, with zero sealing required. It’s usually more budget-friendly, too.
Lighting Makes or Breaks the Room
You need layers of light. The most important is task lighting at the vanity. The best setup is two sconces on either side of the mirror at about eye level. This lights your face evenly. A single light from above casts those weird shadows that make you look tired. Then you need general ambient light from a ceiling fixture or recessed cans, and please, put it on a dimmer! Finally, a dedicated, wet-rated light in the shower itself is a game-changer. It feels so much more open and clean.
Finishing Touches That Matter
When picking fixtures, don’t be lured by a cheap, no-name faucet online. The quality is in the valve body—the part you don’t see inside the wall. Stick with well-known brands that use solid brass parts; they last forever. Cheap faucets often have plastic guts that will crack and fail, causing a leak inside your brand-new vanity.
By the way, if you live in a colder climate, heated floors are an amazing luxury. Expect to add about $10-$20 per square foot for the materials, plus a few hundred bucks for the dedicated electrical circuit and thermostat. You have to plan for it during the electrical rough-in, but on a cold morning, you’ll be glad you did.
Knowing Your Limits: When to DIY vs. Call a Pro
I have huge respect for a skilled DIYer. But a full bathroom remodel is not the place to learn on the job. It combines high-stakes plumbing, electrical work, and precision tile setting all in one tiny room.
So, where can you save a buck? An ambitious homeowner can definitely handle the demolition, painting, and maybe even installing the vanity and toilet. But when it comes to moving pipes, running new electrical wires, and especially waterproofing the shower… that is non-negotiable pro territory. A small mistake with plumbing or wiring can cause a flood or a fire. A bad waterproofing job can cause thousands in hidden damage. The money you pay a licensed, insured professional is the best insurance you can buy for your home.
In the end, it’s about creating a space that is safe, functional, and durable. That hidden quality is what separates a pretty bathroom from a truly great one.
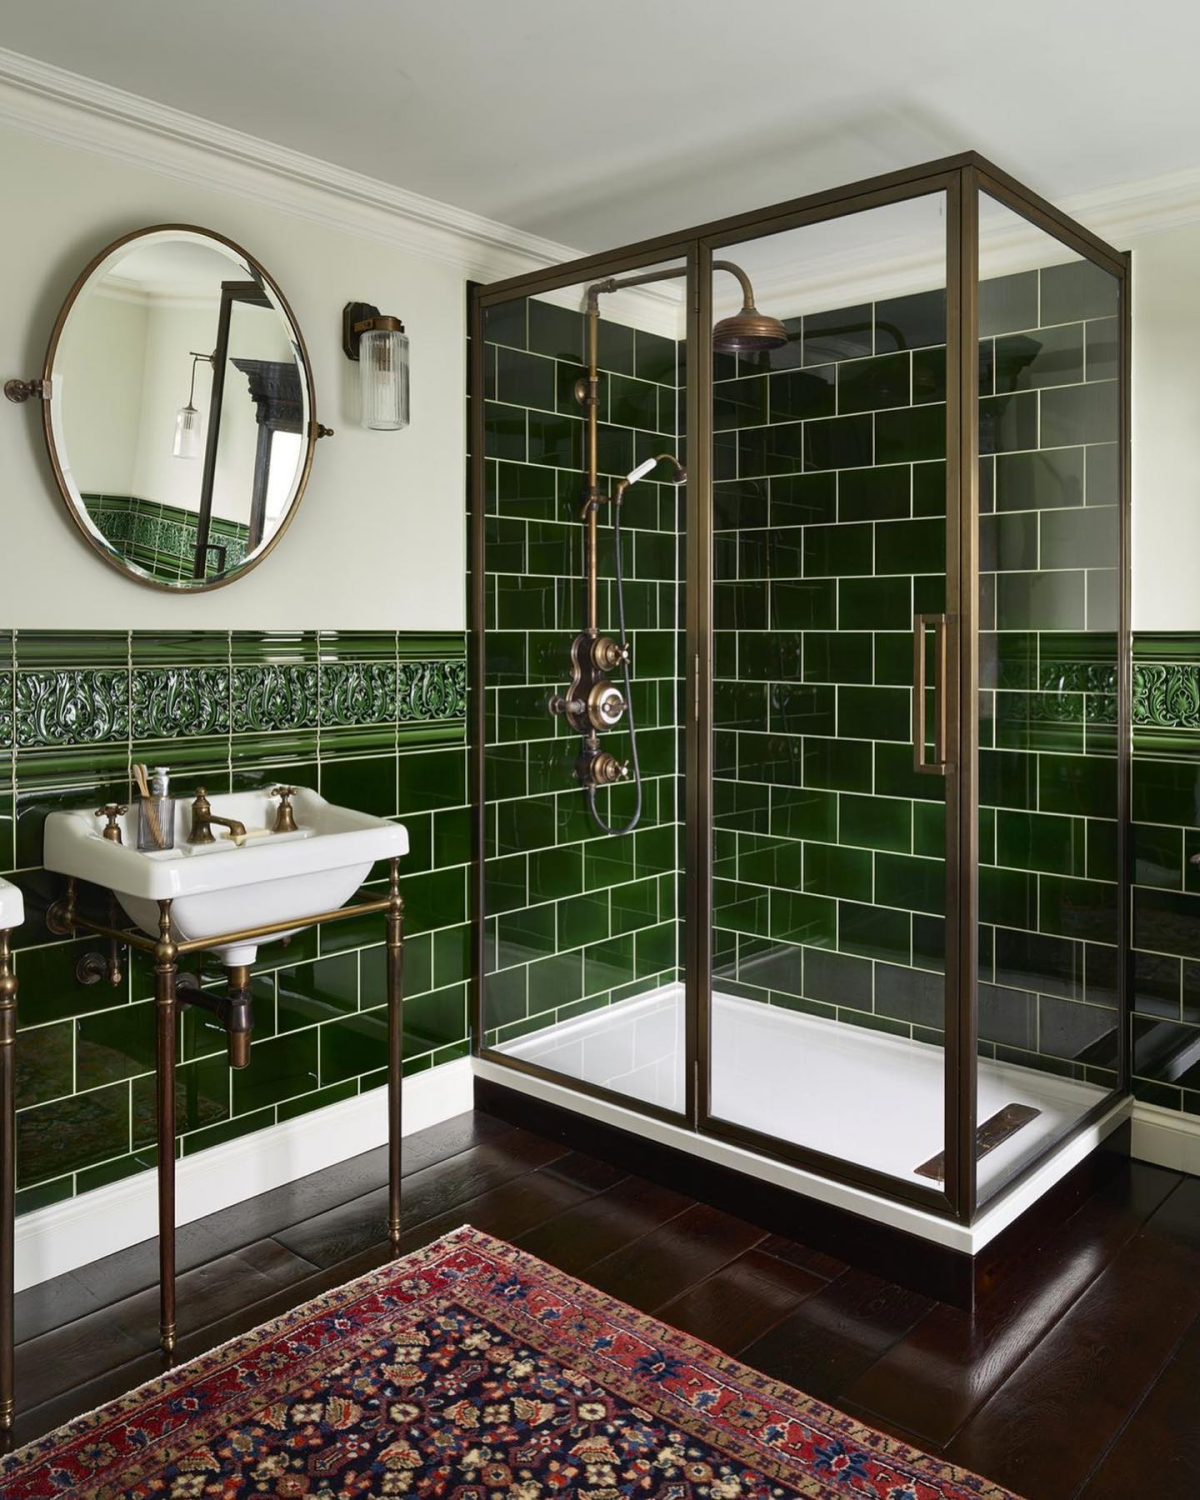
Galerie d’inspiration
Schluter-KERDI System: This is a sheet membrane approach. Think of it as high-tech wallpaper for your shower. A pliable, bonded polyethylene sheet is applied to the walls with thin-set mortar, and seams are overlapped with a special band, creating a fully sealed, watertight, and vapor-tight enclosure. It’s a complete system, which pros love for its reliability.
Laticrete Hydro Ban: This is a liquid-applied membrane. You literally paint or roll on a thick, rubbery liquid that cures to form a seamless, flexible waterproof layer. It’s fantastic for complex shapes, curved benches, or niches where cutting and folding a sheet membrane would be tricky. Both are premium choices that far outperform a simple coat of RedGard behind the tile.

More than 90% of all grout-related failures are due to improper mixing or application, not the product itself.
This is why pros are increasingly turning to epoxy grout, especially in showers. Unlike traditional cement grout which is porous and requires regular sealing, epoxy grout (like Mapei’s Kerapoxy or Laticrete’s Spectralock) is chemically cured, non-porous, and virtually stain-proof. It resists mold, mildew, and harsh cleaning chemicals without ever needing to be sealed. The upfront cost is higher and installation is more technical, but it’s the definition of a ‘do it once, do it right’ upgrade.

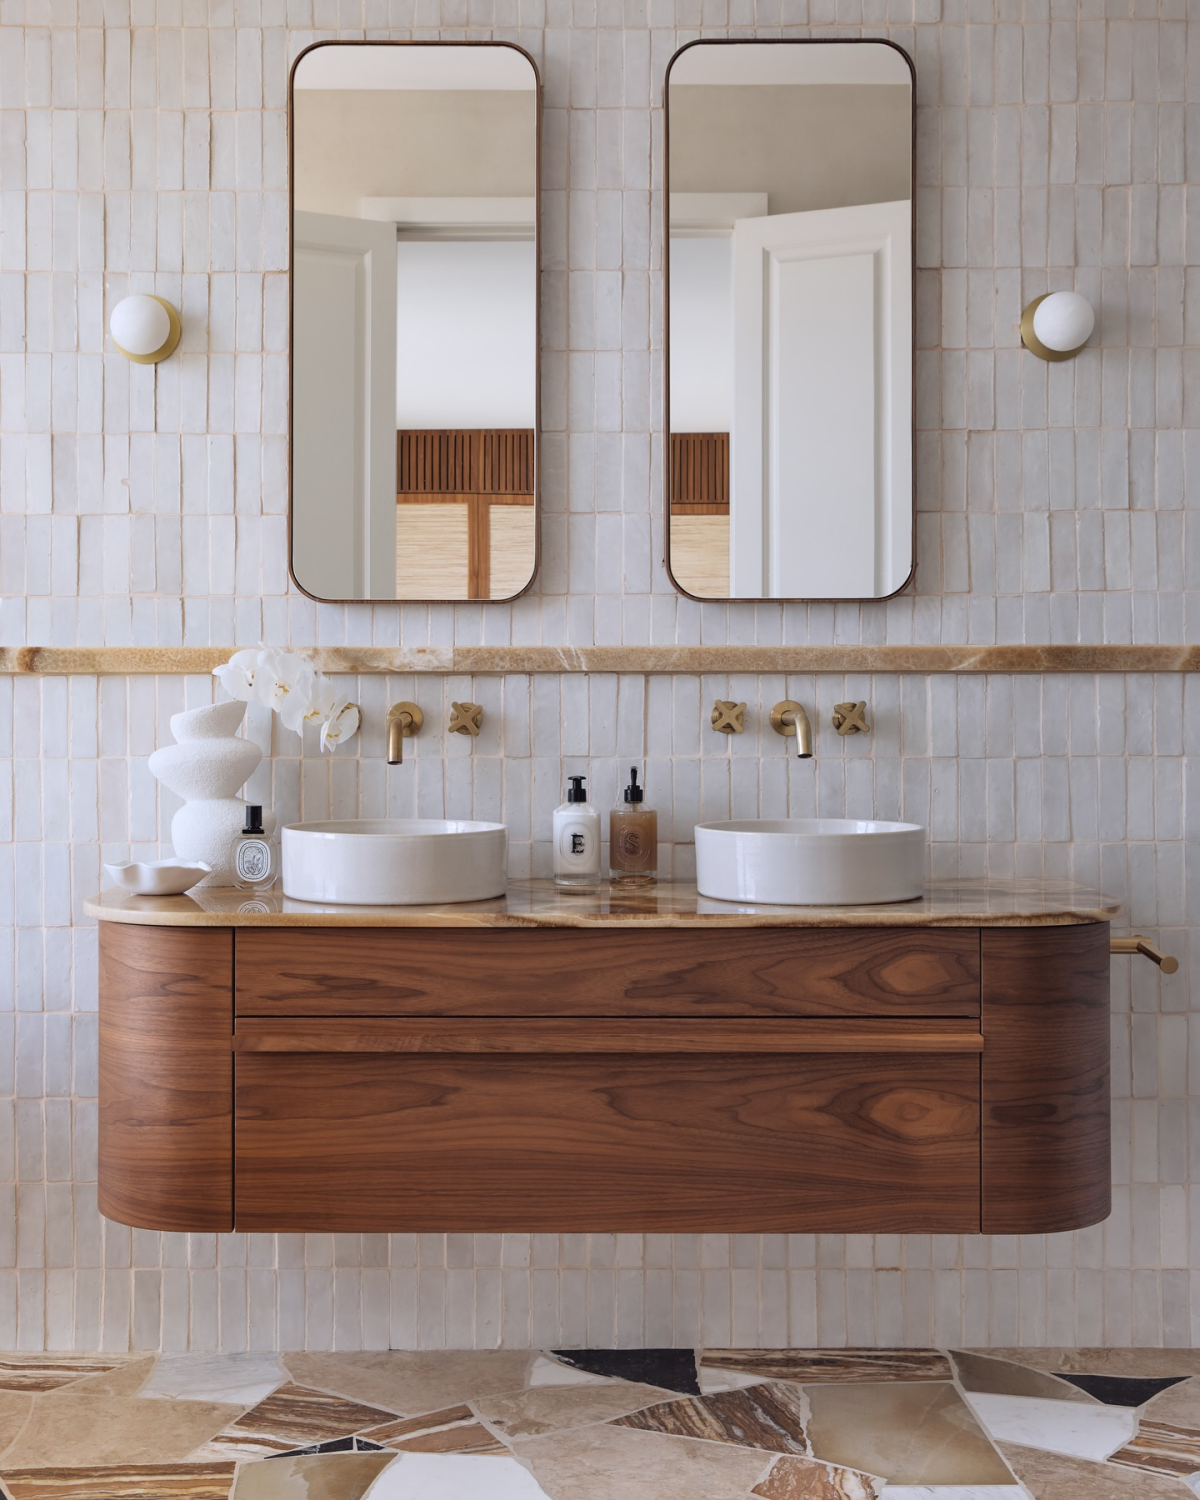
- It makes a small bathroom feel significantly larger and more airy.
- Cleaning the floor becomes a simple, one-swipe job with no awkward corners.
- It provides a perfect spot for subtle, under-cabinet accent lighting.
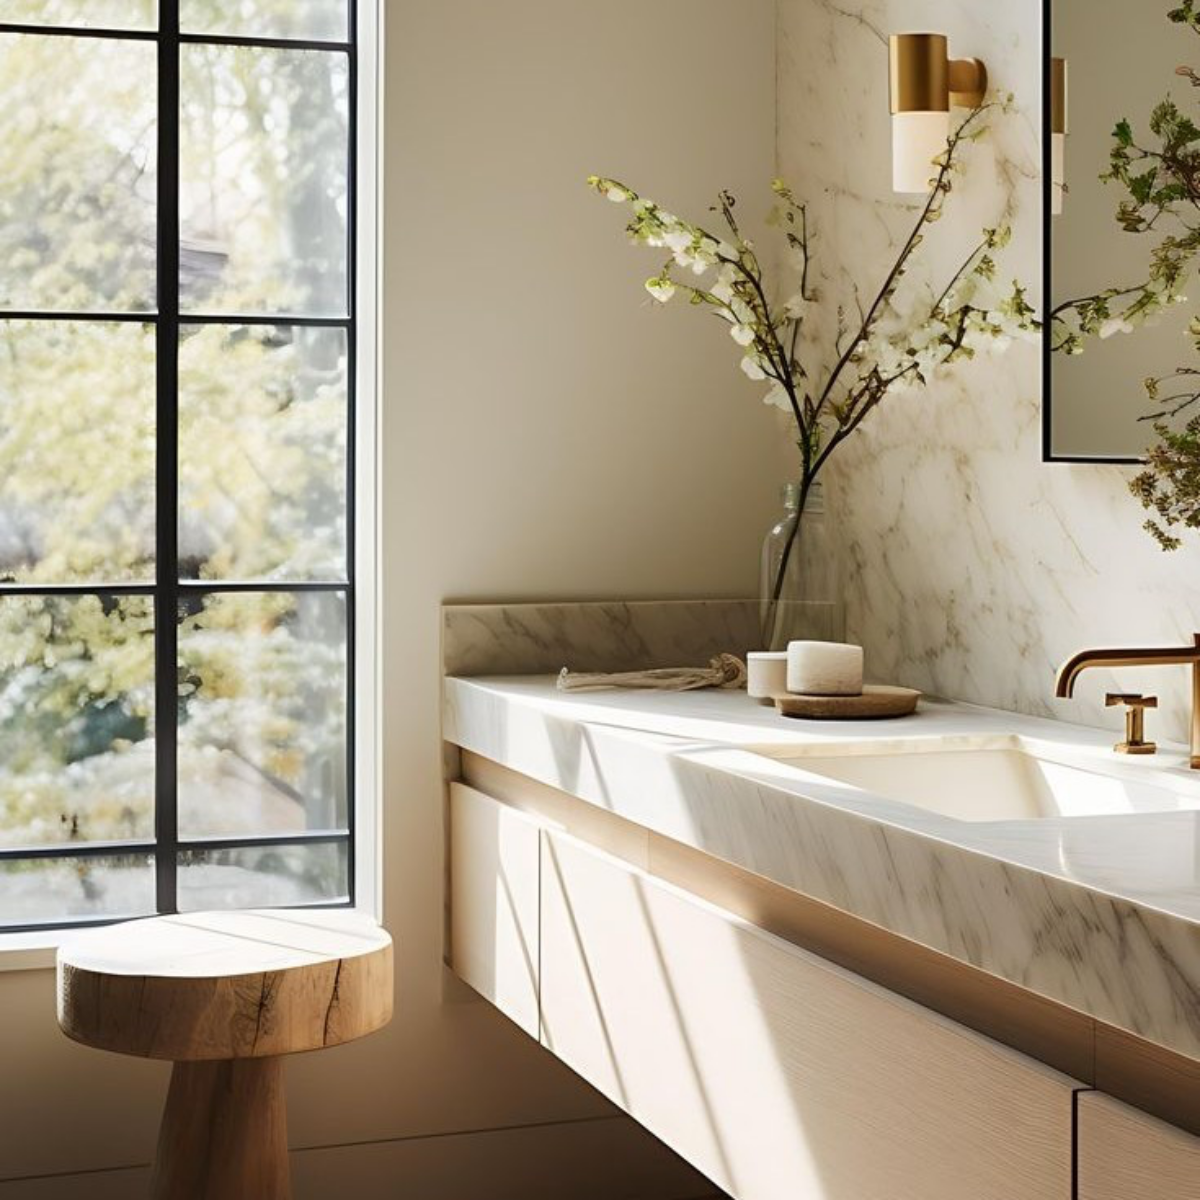
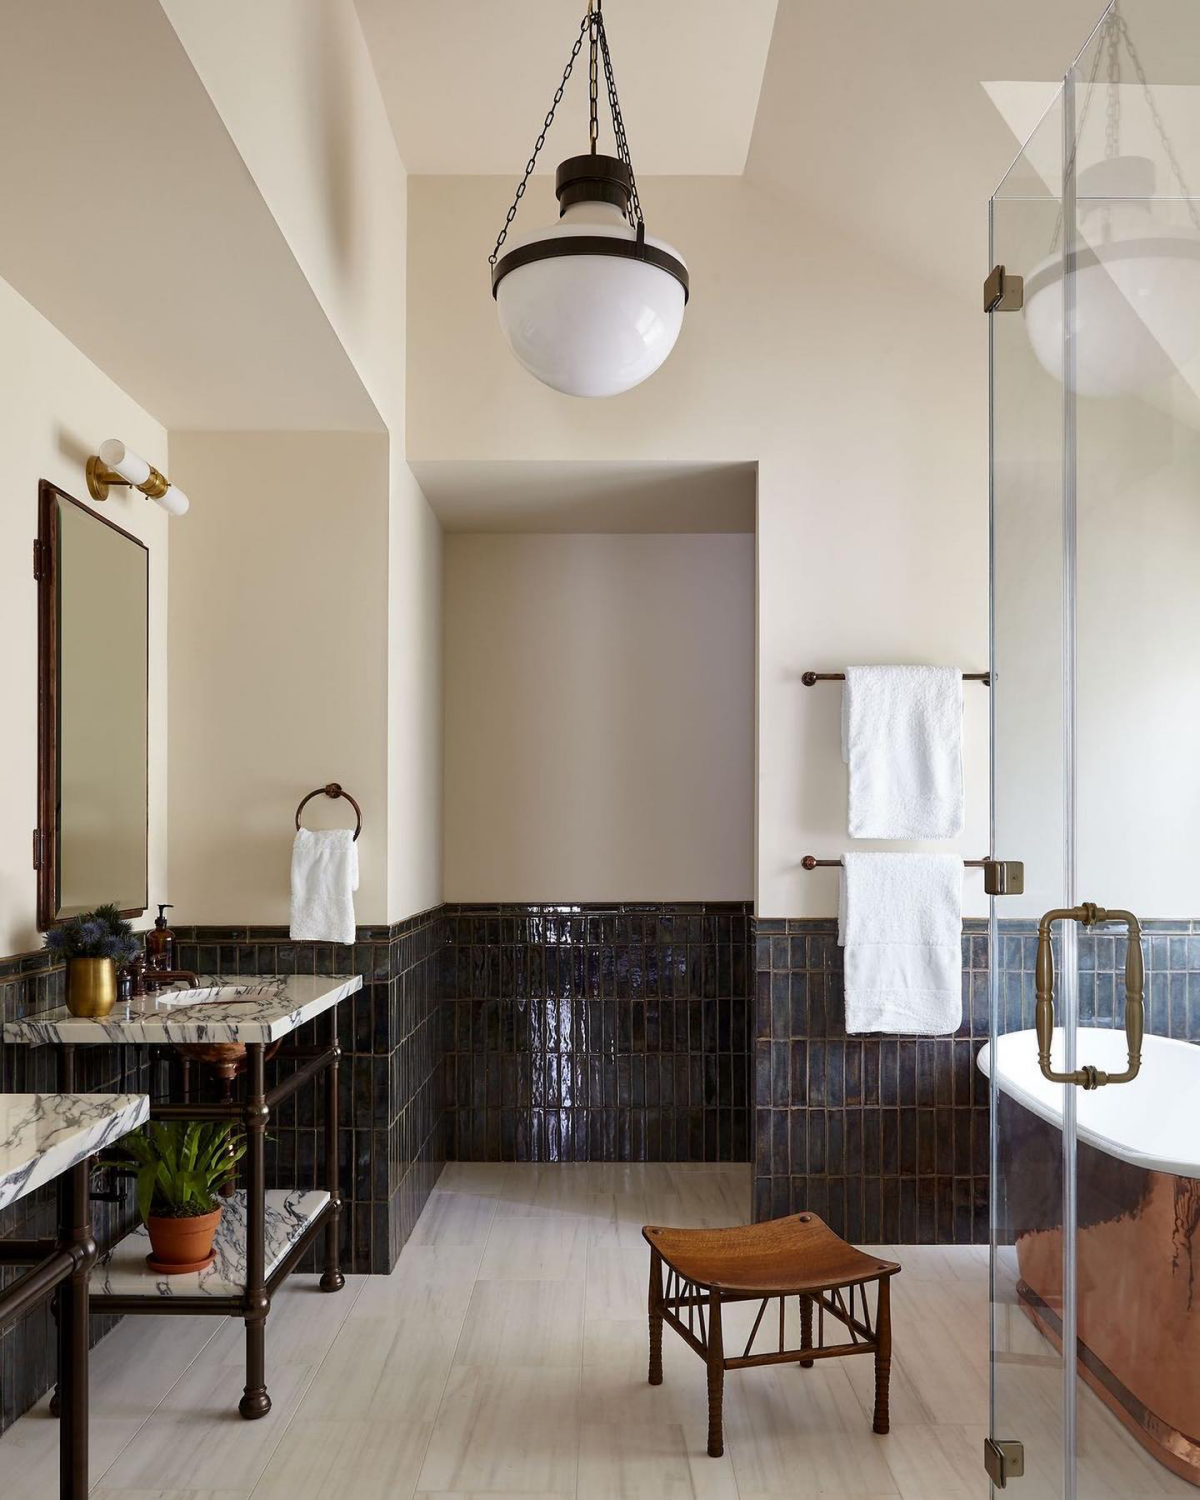
The secret? A wall-mounted or floating vanity. While it’s a strong aesthetic statement, its real genius lies in these practical benefits, turning a design choice into a smart, functional upgrade for modern bathrooms.
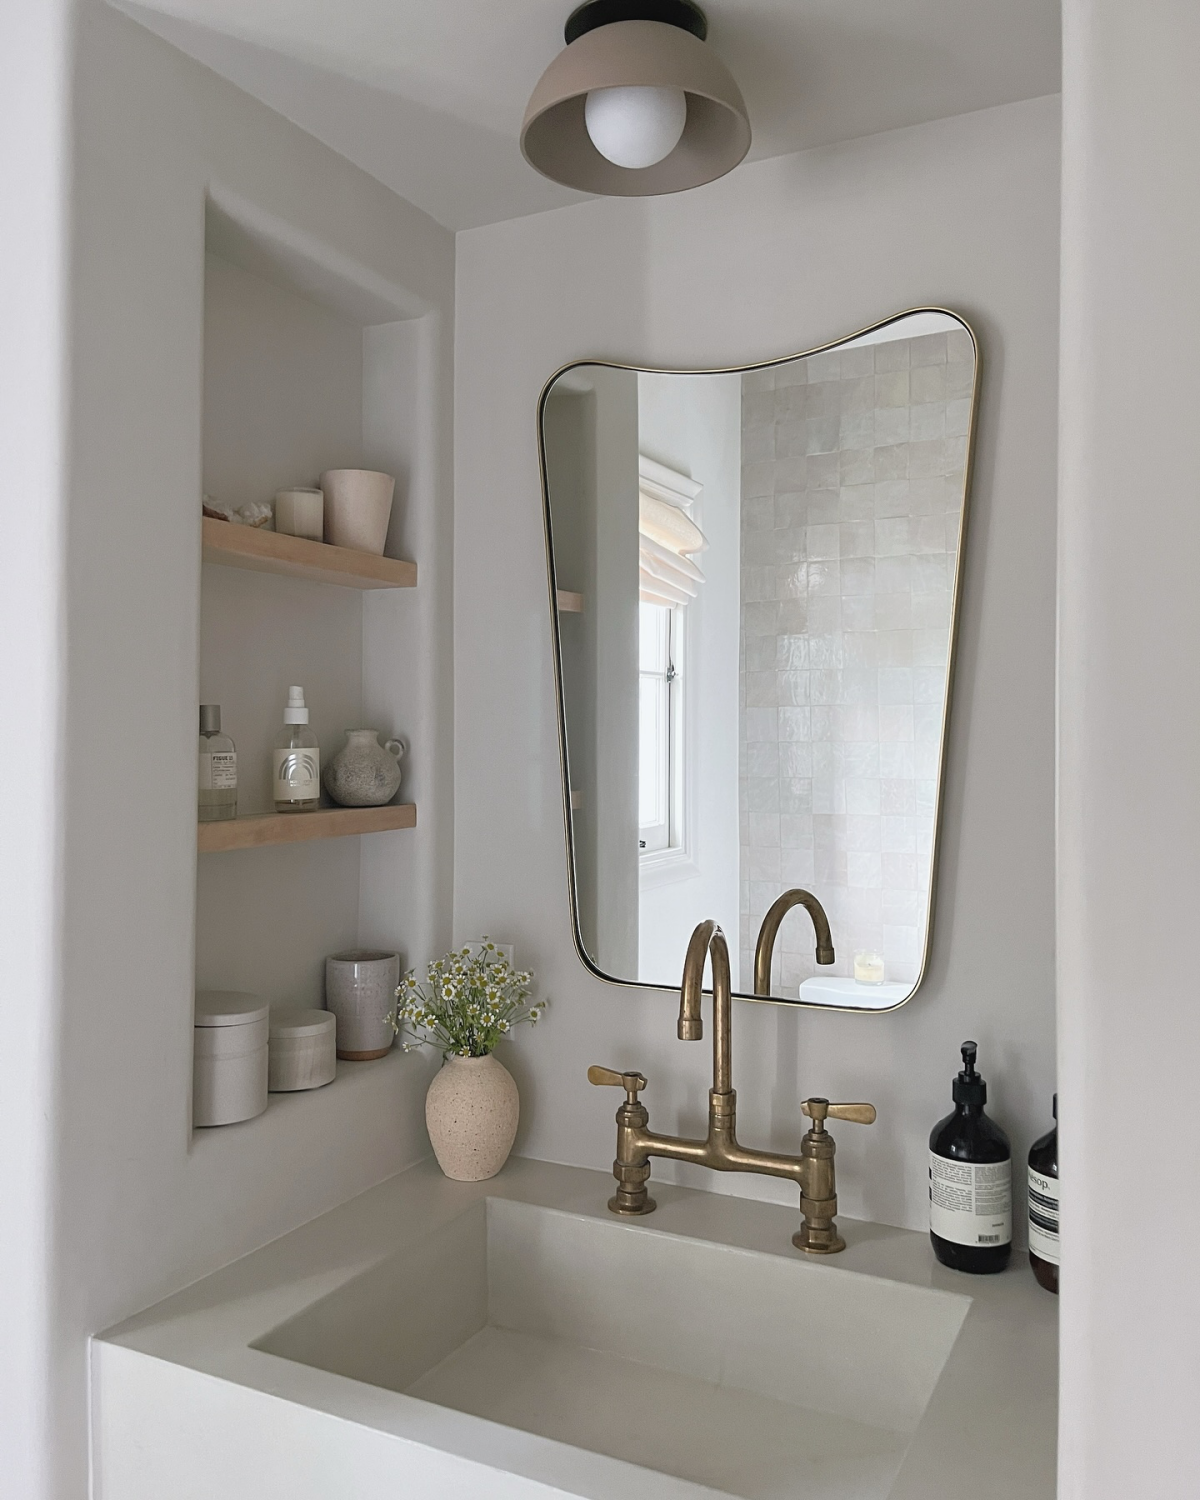
Why does a single overhead light make a bathroom feel so harsh and unflattering?
Because it casts shadows downward across your face. The professional solution is layered lighting. Start with ambient light from recessed ceiling fixtures. Then, add crucial task lighting: a pair of vertical sconces on either side of the mirror at eye level. This provides even, shadow-free light for grooming. Finally, consider an accent light, like a small spotlight on a decorative tile niche, to add a touch of drama.