Your Guide to DIY Halloween Costumes That Won’t Fall Apart (or Cause Tears)
I’ve been in the costume-making trenches for a long, long time. It started with my own kids, then their friends, and eventually even for some local school productions. I know the pure magic of seeing a kid light up in a costume that feels just right. And I’ve also seen the meltdowns when a costume is itchy, too hot, or starts shedding parts before they even get to the first house.
In this article
Let’s be real: those all-in-one costume bags at the store are tempting. They promise a quick fix. But honestly, they often don’t hold up, fit weirdly, and just don’t have that special spark of something made with a little love.
This guide isn’t about turning you into a professional designer overnight. Nope. It’s about sharing the real, practical stuff I’ve learned from years of trial and (lots of) error. We’re going to focus on how to plan and build a costume that’s creative, comfy, and, most importantly, safe. The goal is to make something your kid actually wants to wear—and maybe even create a fun memory along the way that outlasts the candy haul.
First Things First: A Good Plan is Everything
A great costume doesn’t start with scissors and a glue gun. It starts with a plan. Seriously, skipping this step is the #1 mistake I see people make. They get this amazing idea, dive right in, and then hit a frustrating roadblock halfway through. A little bit of thinking upfront saves a ton of headaches later.
Get Your Kid on Board (The Right Way)
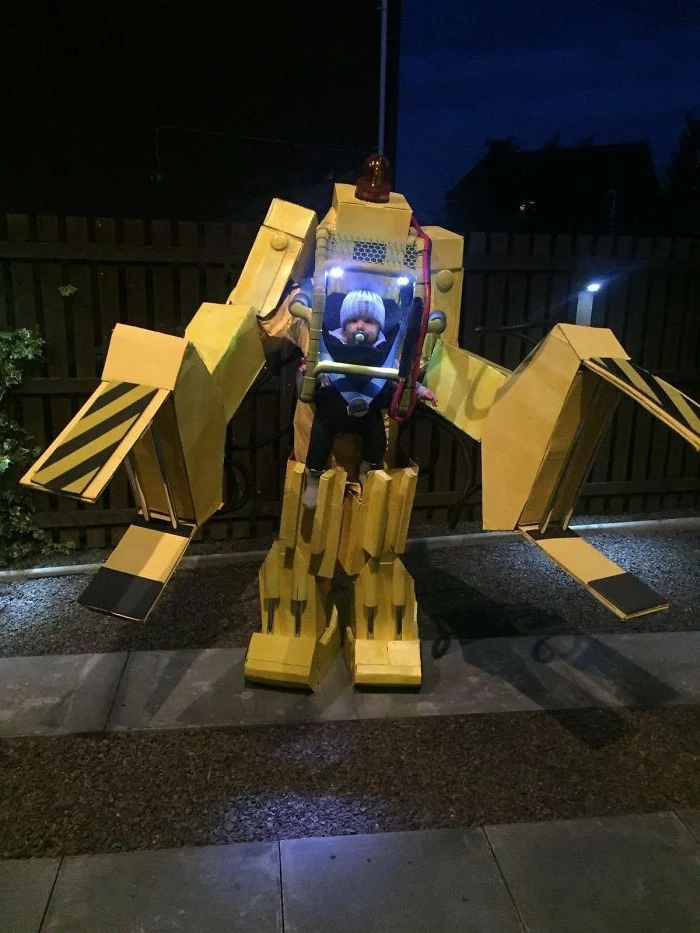
It’s their costume, so they should definitely have a say. When kids feel that sense of ownership, they’re way happier to wear it. But this has to be a guided conversation, right? A kid might want to be a giant transforming robot with real smoke and lasers, which is… a big ask for a Tuesday night project.
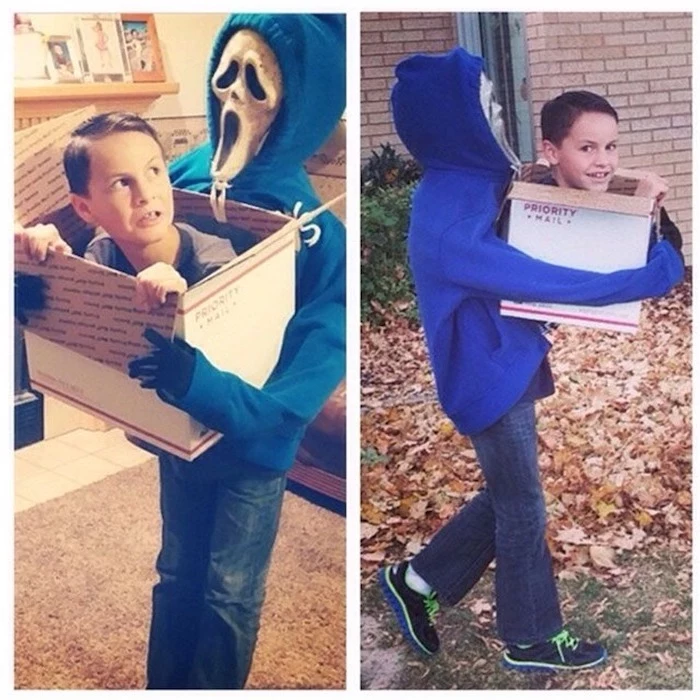
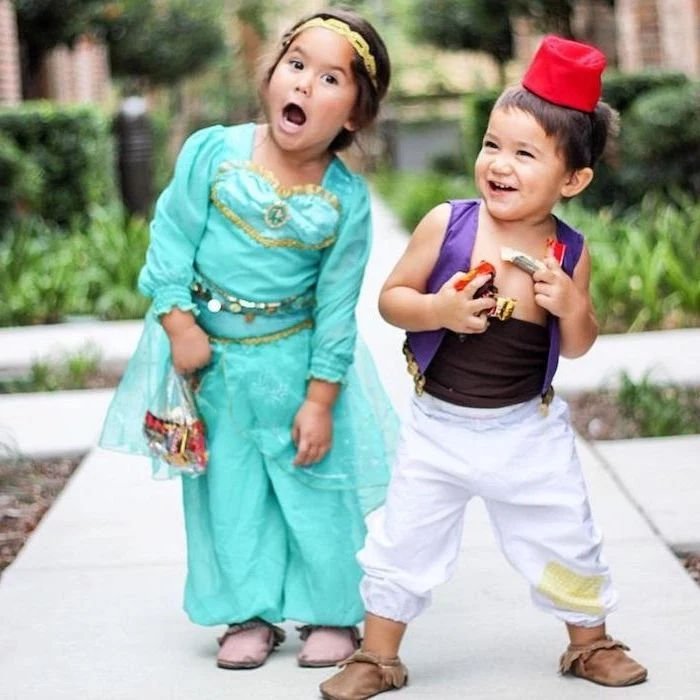
So, sit down with them and sketch it out. Ask them what the coolest part of the character is. Is it the hero’s awesome shield? The princess’s super sparkly dress? You can often simplify a wild idea by zeroing in on one or two signature elements. For that robot, maybe you focus on making awesome boxy arms and a cool helmet instead of building a full-body masterpiece. It’s a great way to manage expectations and make them feel like part of the creative team.
The 3 Pillars of a Costume That Actually Works
Every single successful kid’s costume I’ve ever made rests on these three pillars: comfort, safety, and durability. If you skimp on any one of these, you’re setting yourself up for a short and grumpy Halloween night.
1. Comfort is King
An uncomfortable kid is an unhappy kid. Period. The costume can look incredible, but if it’s scratchy or they can’t move, it’s coming off in ten minutes.
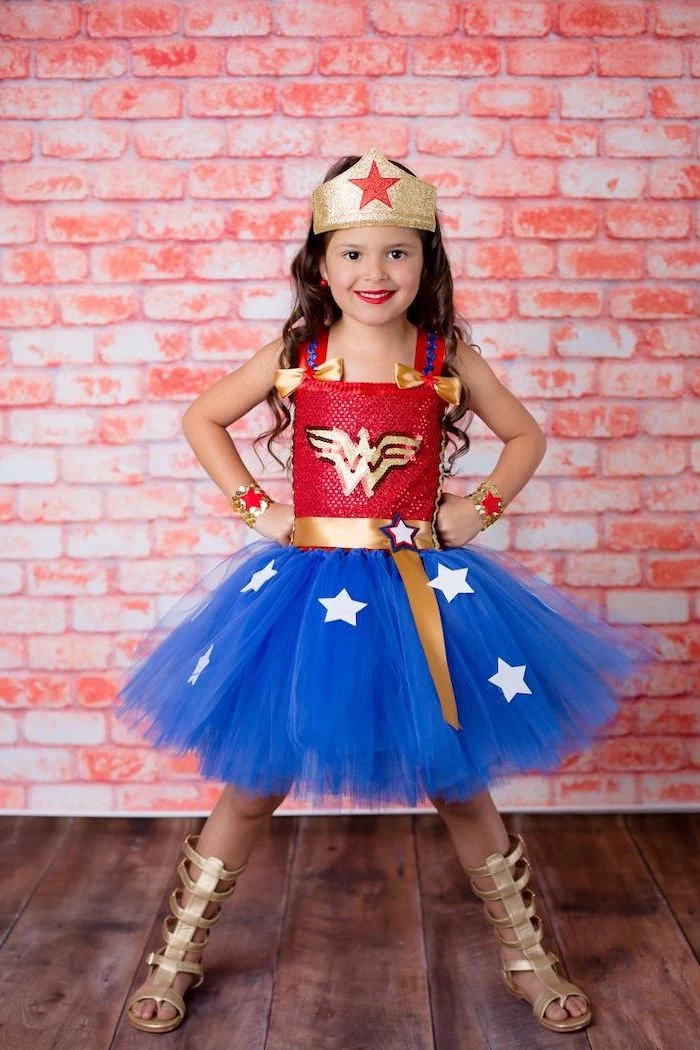
- Feel the Fabric: Please, avoid that cheap, stiff polyester or scratchy tulle if it’s going to be right against their skin. I’m a huge fan of soft fleece, comfy cotton, or basic felt for most projects. They’re forgiving to work with and feel good. If you absolutely have to use a specialty fabric that’s a bit itchy, just build in a soft layer underneath, like a simple long-sleeved t-shirt.
- Room to Move: Kids need to run, climb porch steps, and sit down to sort their candy. Make sure the costume allows for it. Have them do a few high knees and squats. Can they sit down without ripping a seam? Armholes are a common culprit for being too tight.
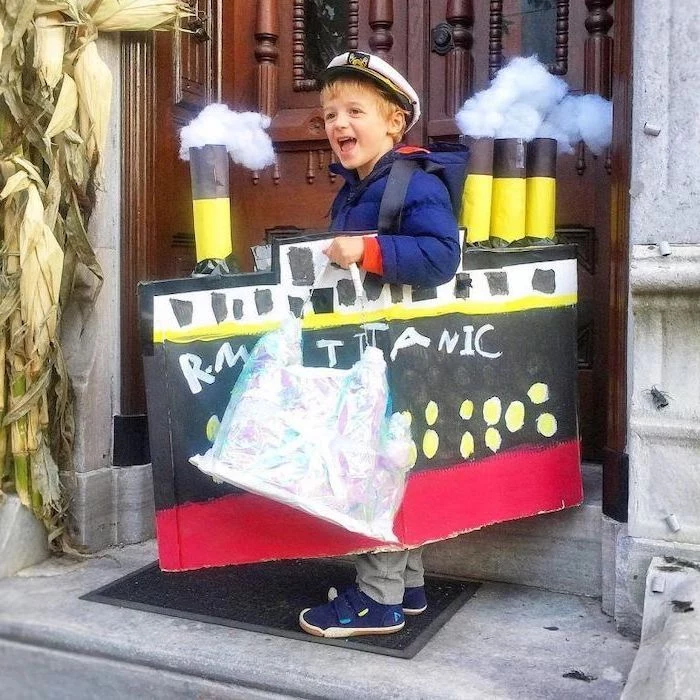
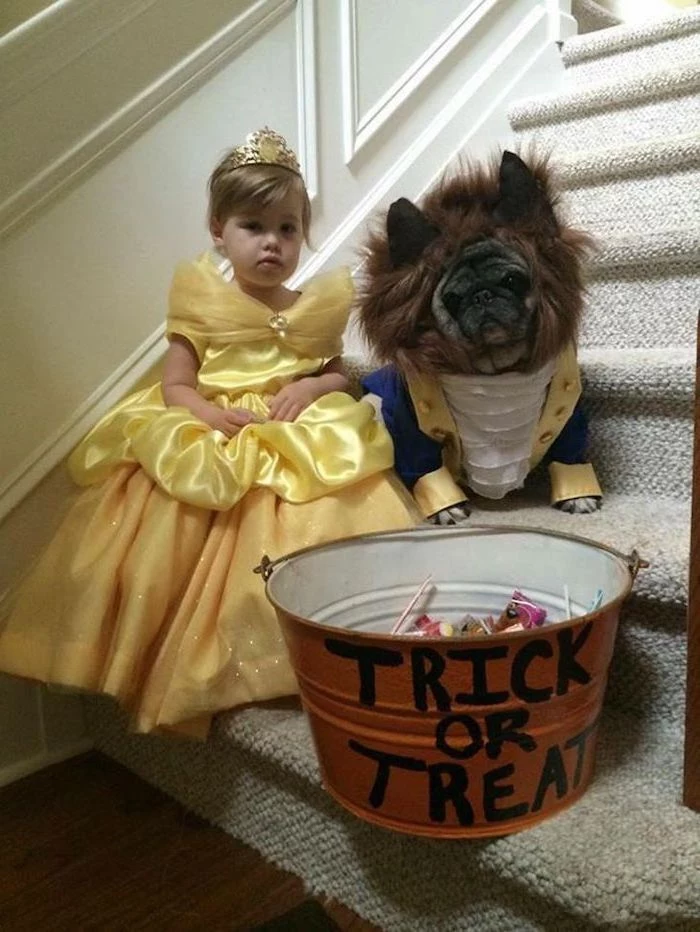
- Keep it Light: Huge, elaborate costumes can get surprisingly heavy. I once made this incredible turtle shell that looked amazing, but the poor kid was exhausted after one block. Now, I build any large structures from super lightweight stuff like EVA foam or just plain old cardboard.
2. Safety is Non-Negotiable
This is the big one. As a parent, nothing is more important. A few simple checks can prevent a real accident.
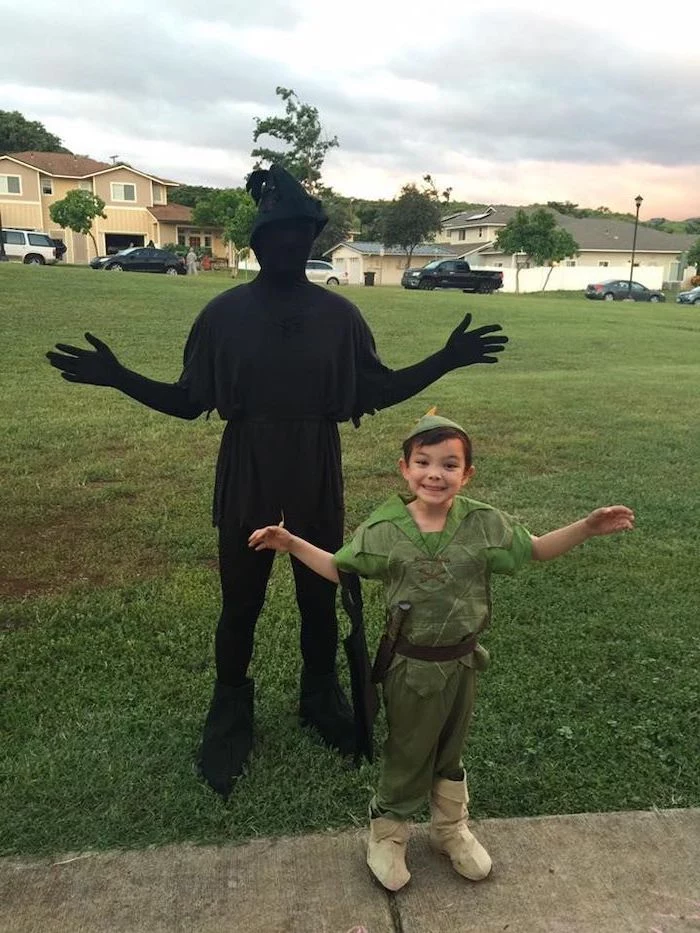
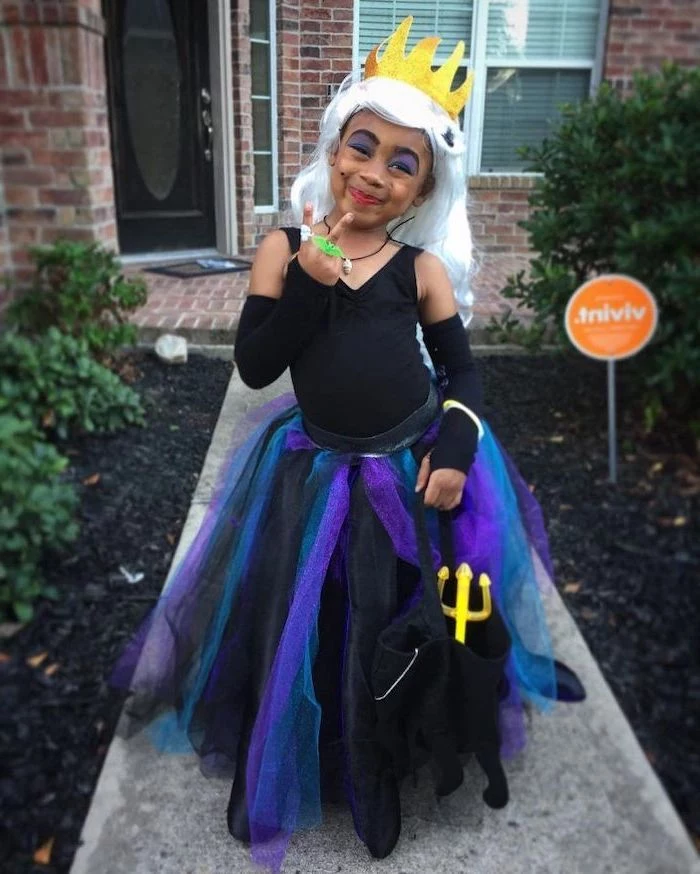
- Be Seen: Trick-or-treating is a nighttime sport. I always, always add strips of reflective tape to costumes. You can find it at any hardware store for a few bucks. Put it on the sides of shoes, the back of a cape, or on the candy bucket. It might not fit the “theme,” but who cares? Brightly colored costumes are also a much smarter choice than all-black outfits for this very reason.
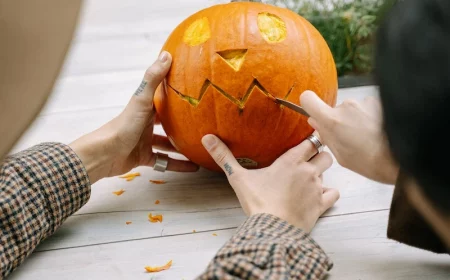
- Fire Awareness: This is a serious one. Many synthetic fabrics can be flammable. When you’re buying fabric, try to choose ones that are labeled as flame-retardant. And always, always keep costumes away from open flames like jack-o’-lantern candles. I’ve seen the wispy edge of a ghost costume get too close to a candle, and it goes up in a flash. Use battery-powered LED candles instead. They’re cheap and 100% safe.
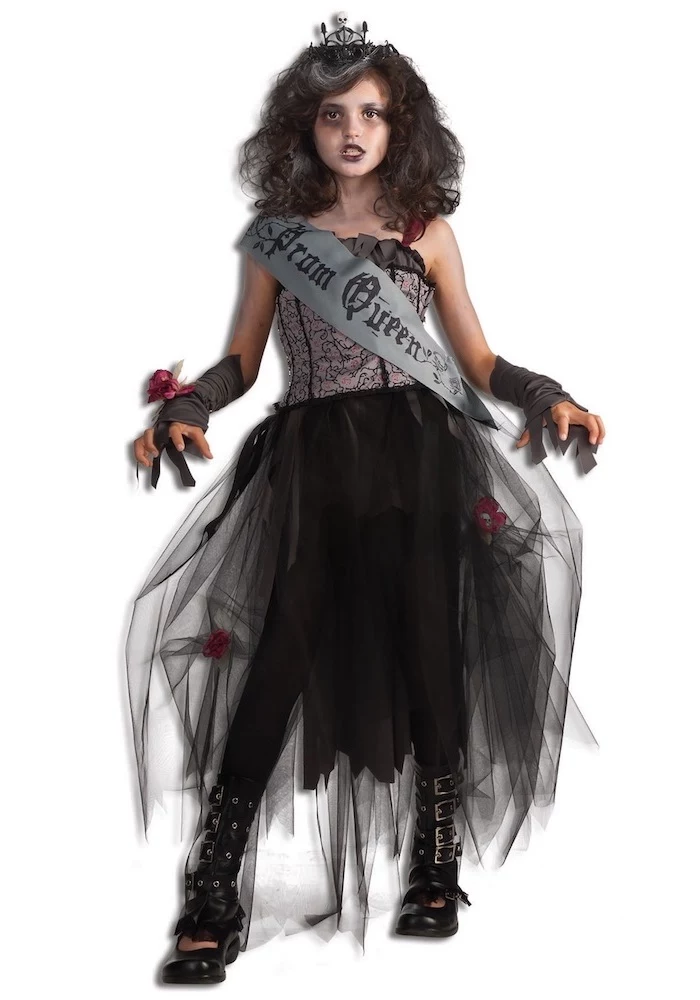
- Avoid Trip Hazards: Capes, long gowns, and robes should be hemmed to ankle length or even a little higher. It’s such an easy mistake to make a dramatic, floor-length cape that gets caught under their feet on the first set of stairs.
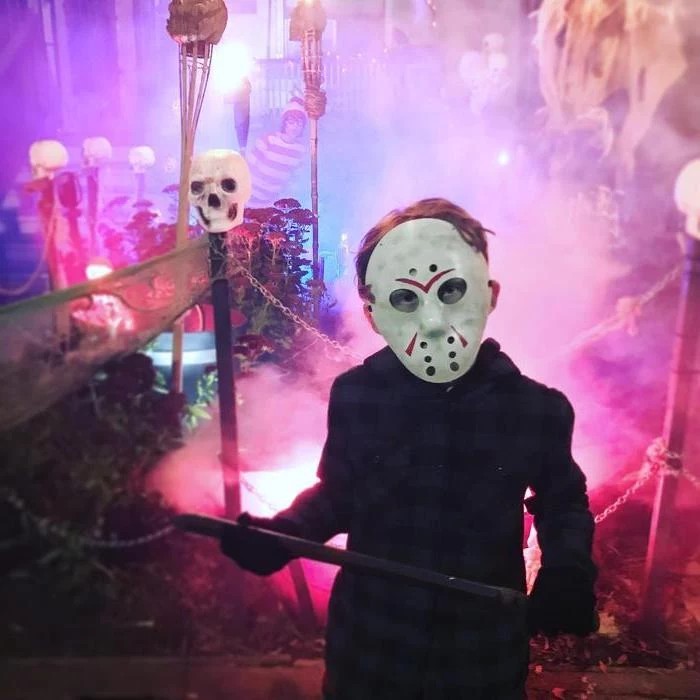
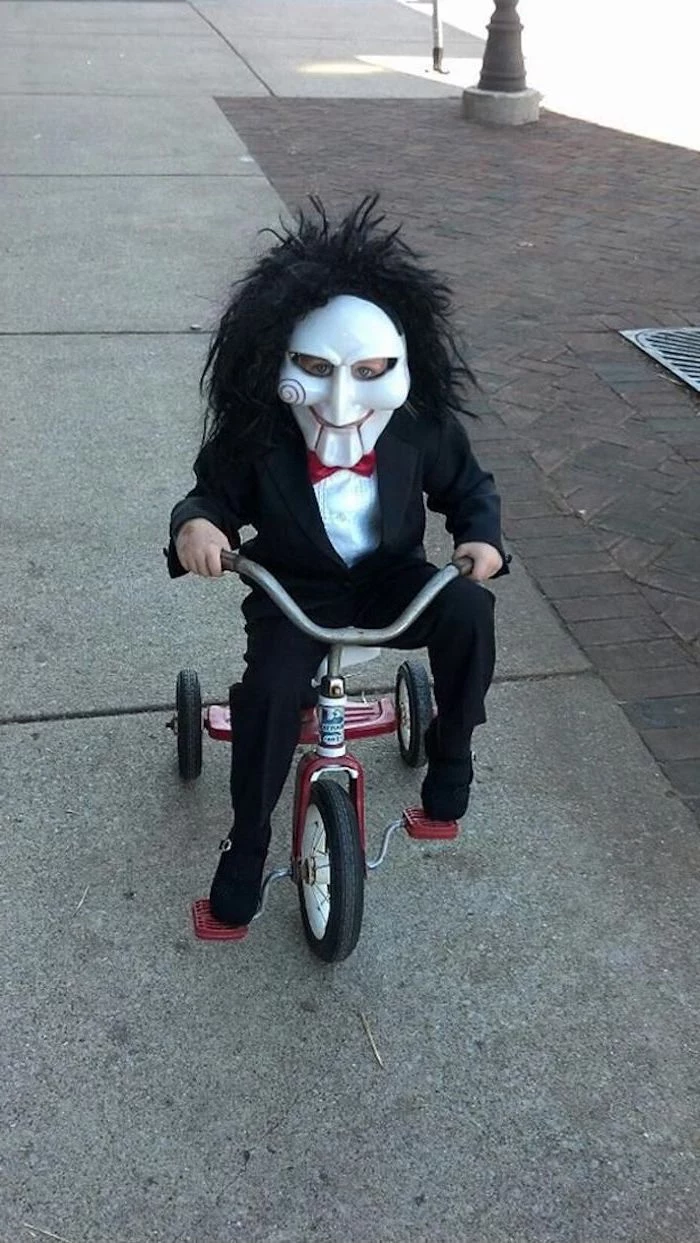
- Masks and Vision: Oh, the classic plastic mask. It can seriously limit a child’s peripheral vision. If you buy one, my first move is usually to cut the eye holes bigger. Honestly, face paint or a cool headpiece that doesn’t cover the eyes is often a better and safer bet. If a mask is a must-have, make them wear it around the house for a bit to ensure they can actually see where they’re going.
3. Built to Last (the Night)
A kid’s costume has a tough job. It needs to survive a school parade, a class party, and hours of walking. Flimsy construction is a recipe for tears.
- Reinforce the Weak Spots: Pay extra attention to the seams that get the most stress: shoulders, underarms, and the crotch area. If you’re sewing, just go over those seams twice. If you’re using glue, make sure it’s a strong, flexible fabric glue and let it fully cure before the big night.
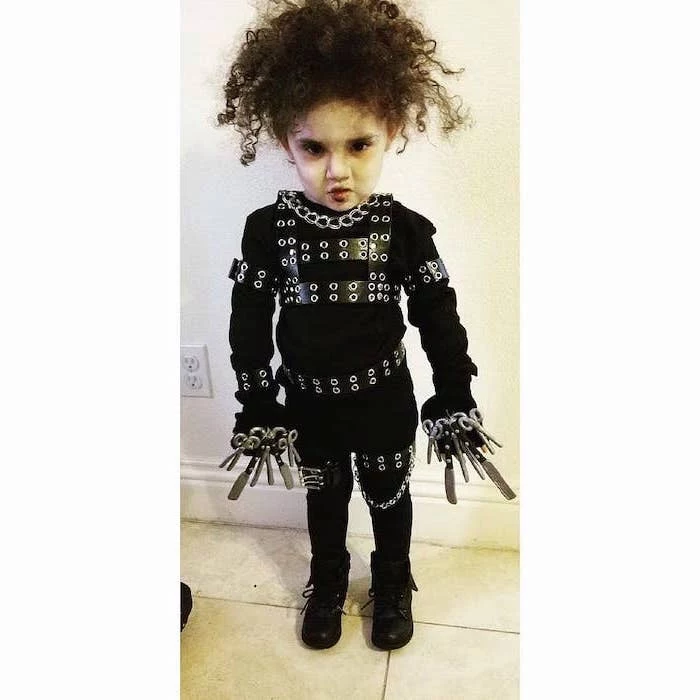
- Secure Your Bling: Anything you glue on needs to be really on there. I often use a two-part system: hot glue for a quick, initial hold, and then something stronger like E6000 for a permanent bond on heavier pieces. Heads up! Some glues can melt certain foams or plastics, so always test on a hidden spot first. Give every attachment a good tug before they head out the door.
Your Crafting Toolkit: Materials and Tricks
You don’t need a fancy workshop to make a cool costume. My first projects were all done on my kitchen table. The secret is just knowing what materials to use for what job.
Choosing Your Materials
Here’s a quick rundown of my favorite, go-to materials. I’ve broken it down by cost and skill level to make it easier.
- Felt: This is the absolute best friend of a beginner crafter. It’s super cheap (often under $2 a sheet at craft stores), comes in a million colors, and the edges don’t fray. That means no hemming! It’s perfect for no-sew projects, cutting out shapes to glue on, and making simple masks and accessories. It’s not very breathable, though, so I’d avoid making a full shirt out of it.
- Fleece: If you live where it gets chilly, fleece is your champion. It’s soft, warm, and pretty easy to sew. It has a little stretch, which is forgiving on fit, and it also doesn’t fray much. An absolute dream for animal costumes or anything you want to be cozy. Expect to pay between $8 and $15 per yard.
- EVA Foam: This is the secret of the pros for making armor, helmets, and cool props. You can find thin sheets at craft stores like Michaels, but for the thick, chunky stuff, check the floor mat section at hardware stores like Home Depot or even Harbor Freight. A pack of those interlocking floor mats can cost around $20-$30 and will give you plenty of material. It’s lightweight and can be shaped with a heat gun. (More on that in a sec!)
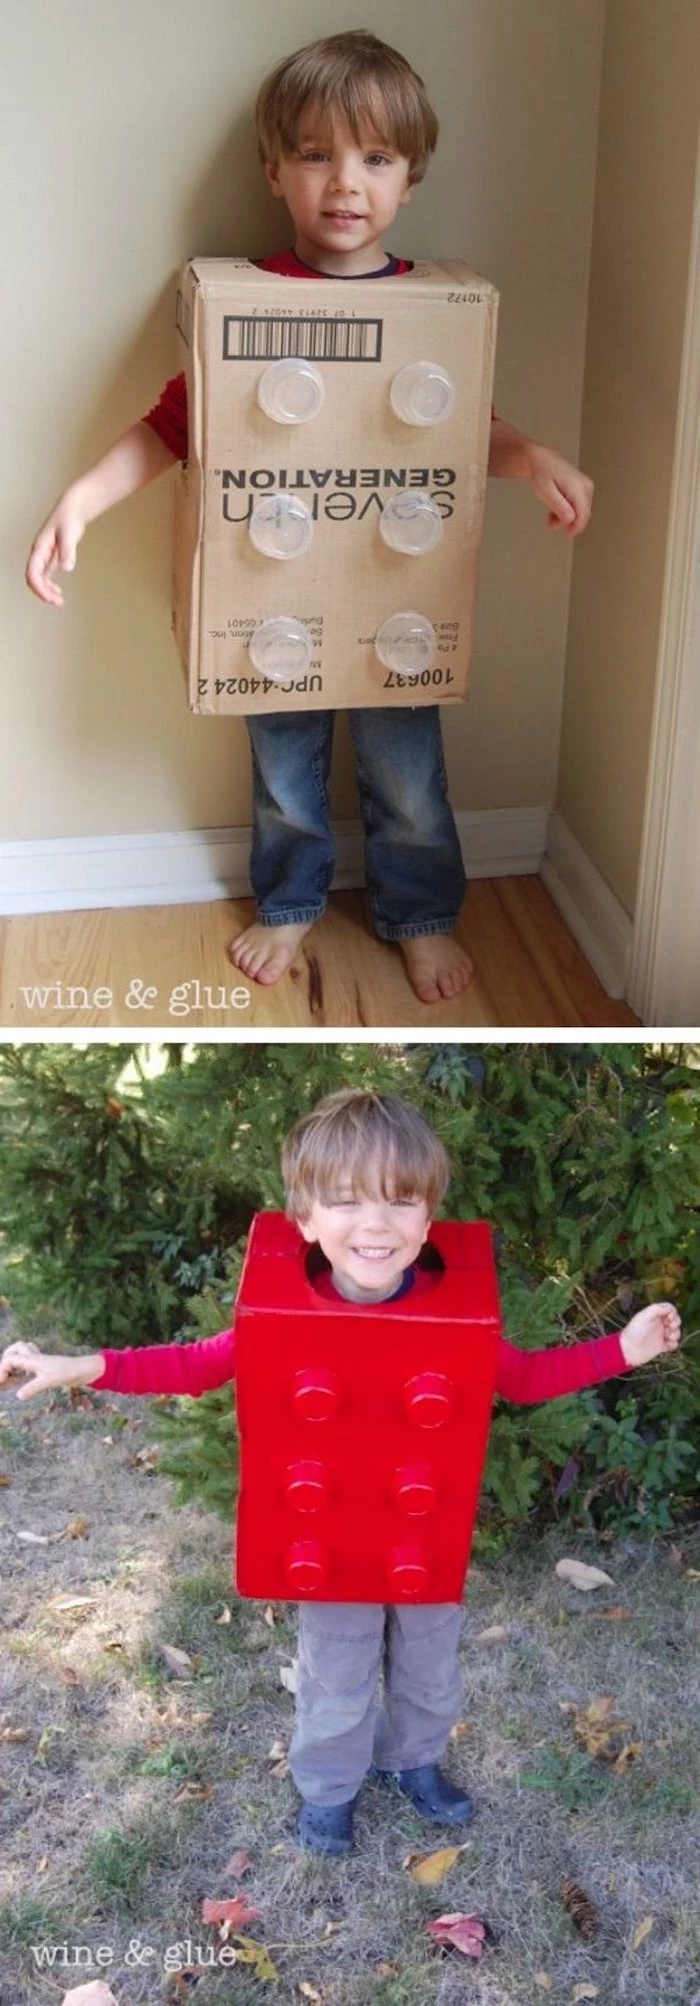
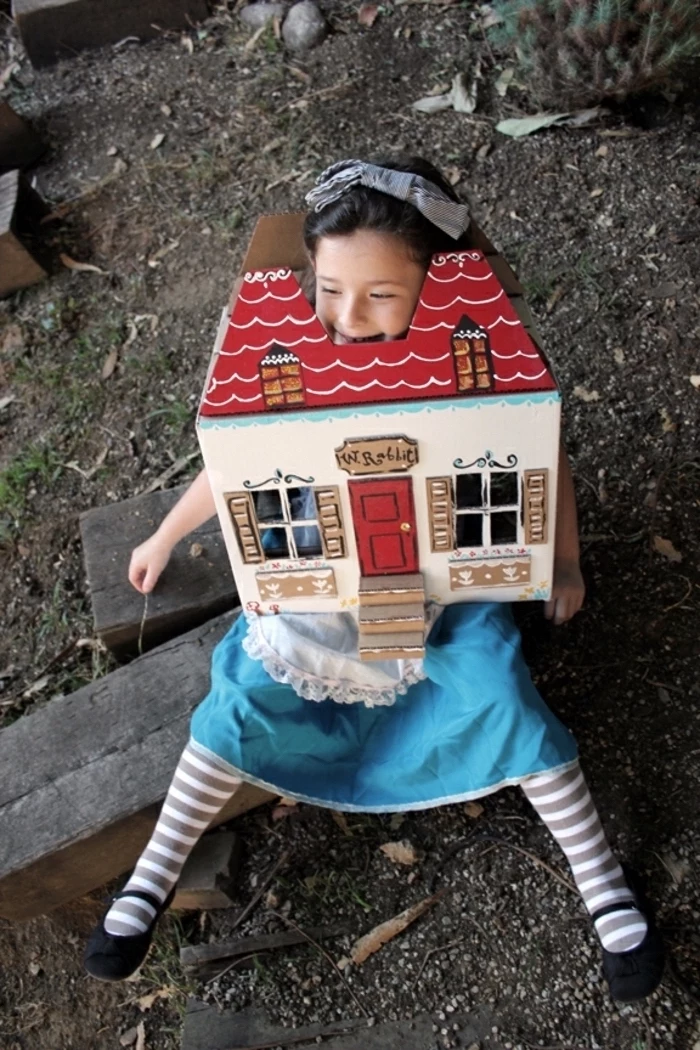
- Cardboard: Never, ever underestimate the power of a good cardboard box. It’s free and perfect for anything rigid: robot bodies, Minecraft characters, car costumes, you name it. A little packing tape and a coat of paint can completely transform it.
Techniques That Look Pro (But Aren’t Hard)
- No-Sew Magic: Don’t sew? No problem. Fusible bonding web (like Heat’n Bond) is a game-changer. It’s basically a sheet of glue that you iron between two pieces of fabric to create a seam. For everything else, there’s fabric glue. A good one like Fabri-Tac holds strong but stays flexible.
- Basic Sewing Tip: If you can sew a straight-ish line, you can make a costume. A huge shortcut is to trace clothes your kid already owns. Quick tip: When you trace that t-shirt or pair of pants, make sure to trace about an inch wider all around the edges. It’s a classic rookie mistake to forget to leave room for your seams!
- Using a Heat Gun on Foam: This sounds intimidating, but it’s not! To shape EVA foam for something like armor, hold a heat gun about 6 inches away and keep it moving. You don’t want to burn it. Once the foam gets a little shiny and floppy, it’s ready. Shape it (while wearing gloves!), and hold it in that position for a minute until it cools. It will hold the new shape.
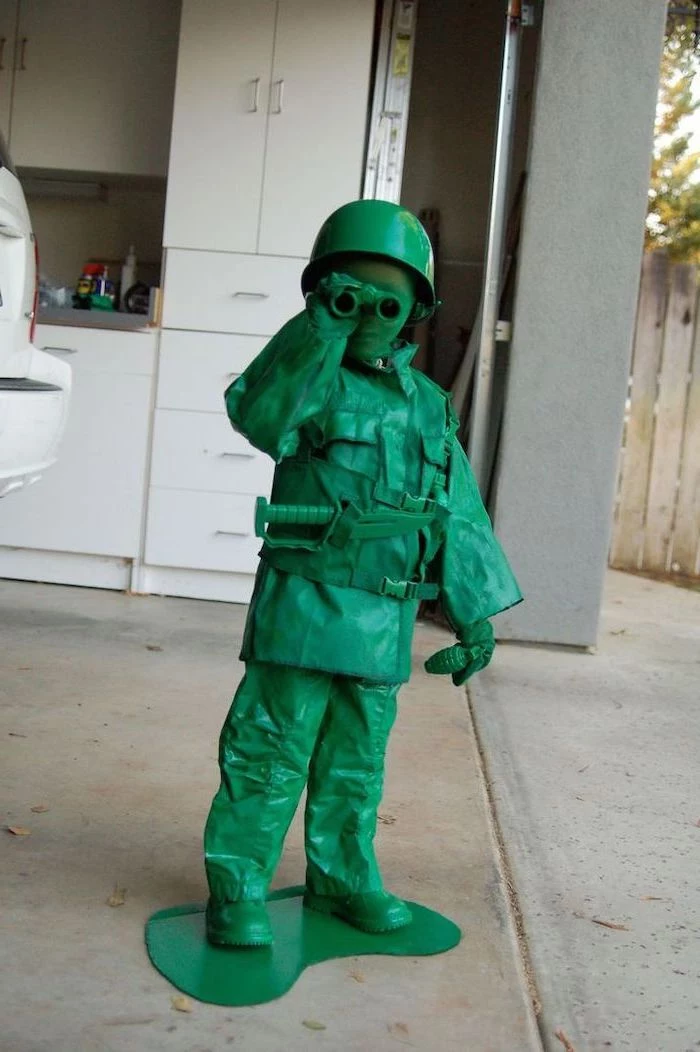
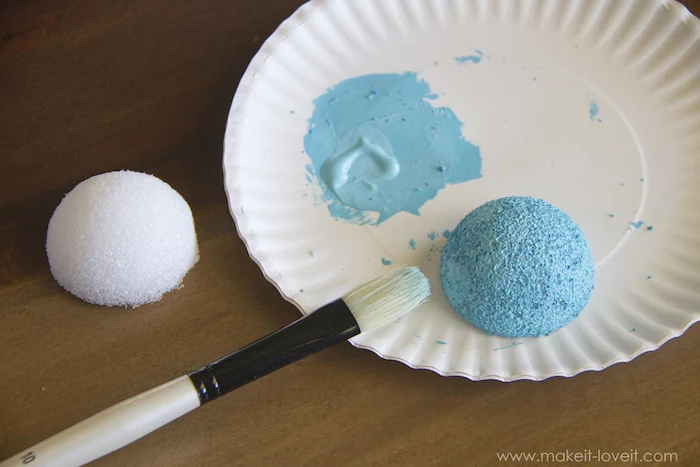
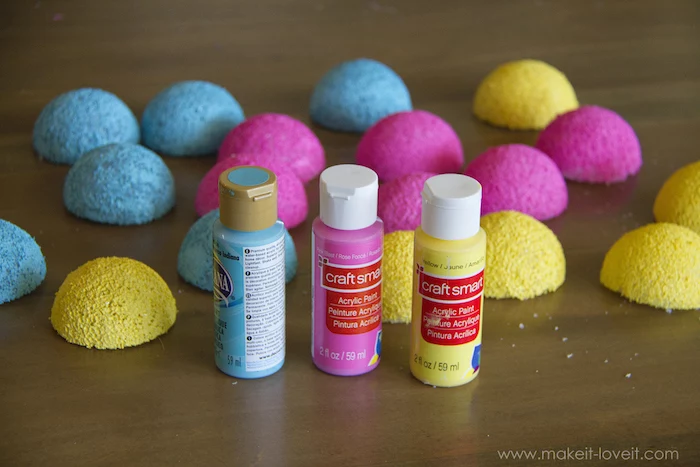
- Painting and Weathering: This is how you get that “wow” factor. To paint on fabric, just mix regular acrylic craft paint with something called “fabric medium” from the craft store. It stops the paint from getting stiff and cracking. To make something look old or battle-worn? Use a “dry brush” technique. Dip a brush in a little black or brown paint, wipe most of it off on a paper towel, then lightly brush it over the costume. It’s so easy and looks amazing.
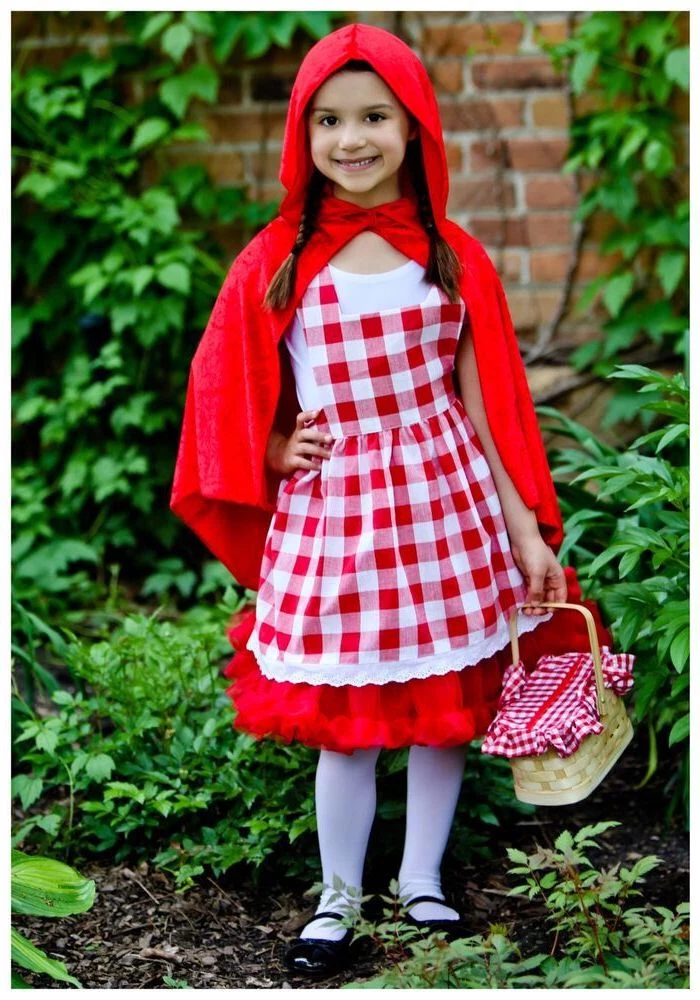
A Great First Project: The 30-Minute No-Sew Cape
Feeling nervous? Start with a super easy win to build your confidence. A simple fleece cape or poncho is perfect.
Just buy about a yard of fleece in your kid’s favorite color (cost: about $10). Fold it in half and cut a half-circle for the neck hole in the center of the fold. That’s it! You have a poncho. For a cape, just don’t fold the fabric; cut the neck hole in a corner and you can attach ribbons to tie it. No sewing needed because fleece doesn’t fray. It’s a 30-minute project, tops!
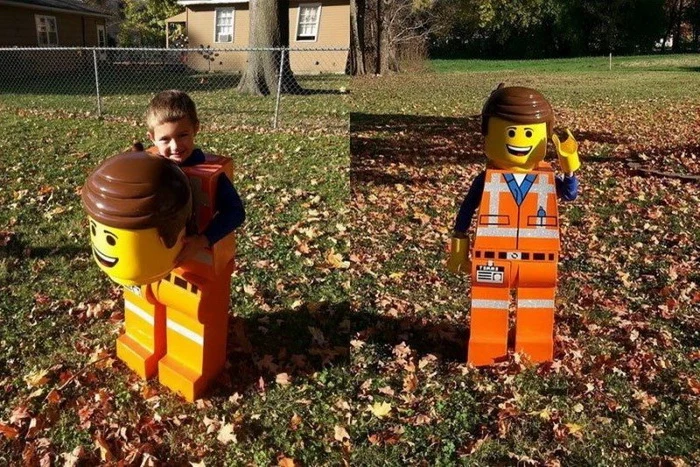
The Hybrid Approach: The Smartest Way to Costume
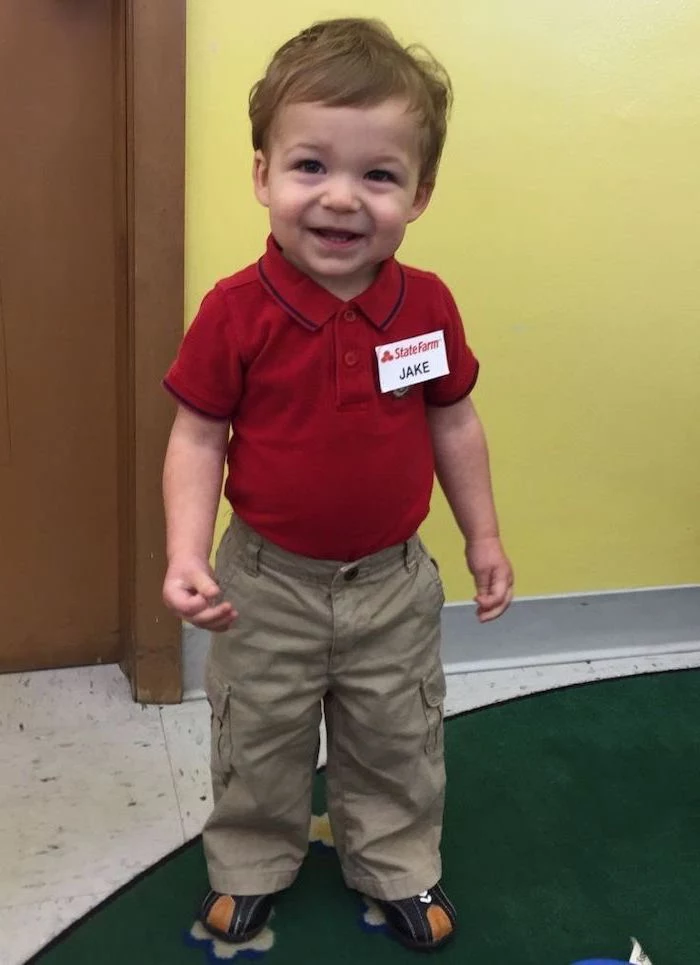
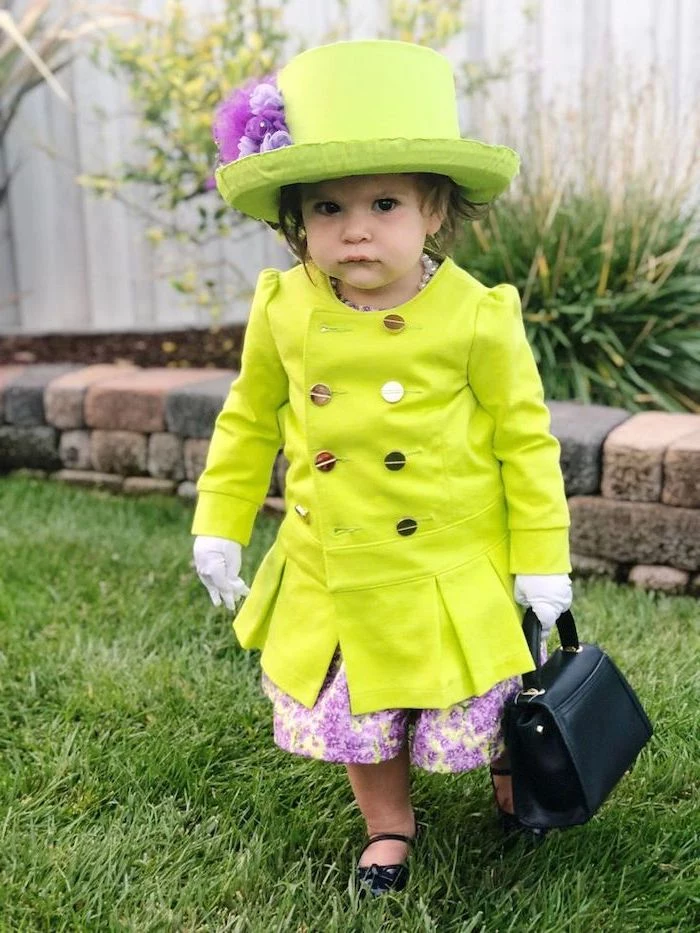
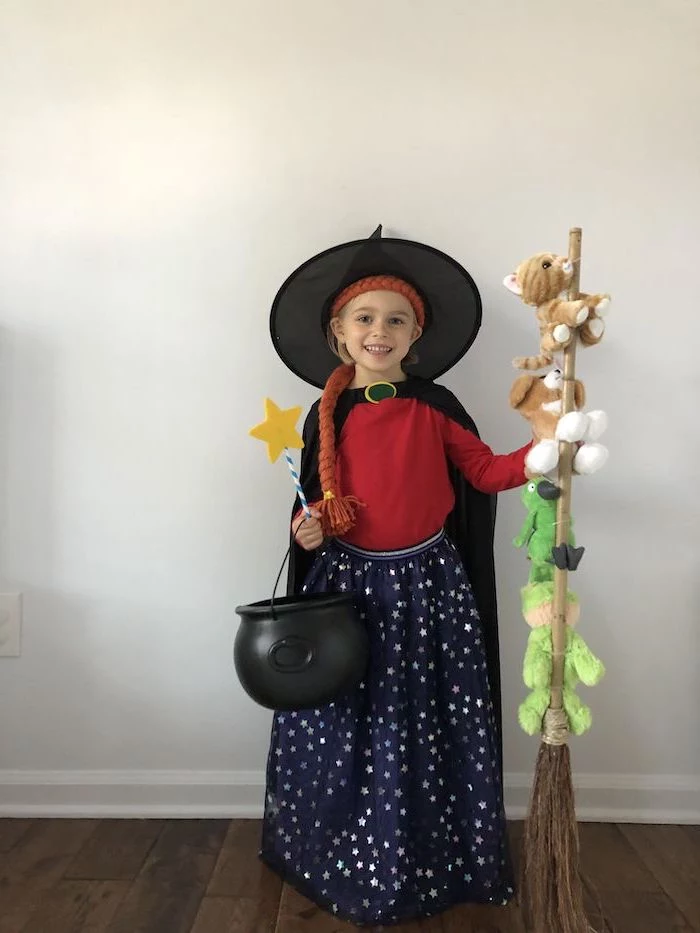
There’s absolutely no shame in buying a costume. Sometimes, it’s the most practical choice. But my favorite method, and the one I recommend most, is the hybrid approach: buy a basic costume, then make it awesome.
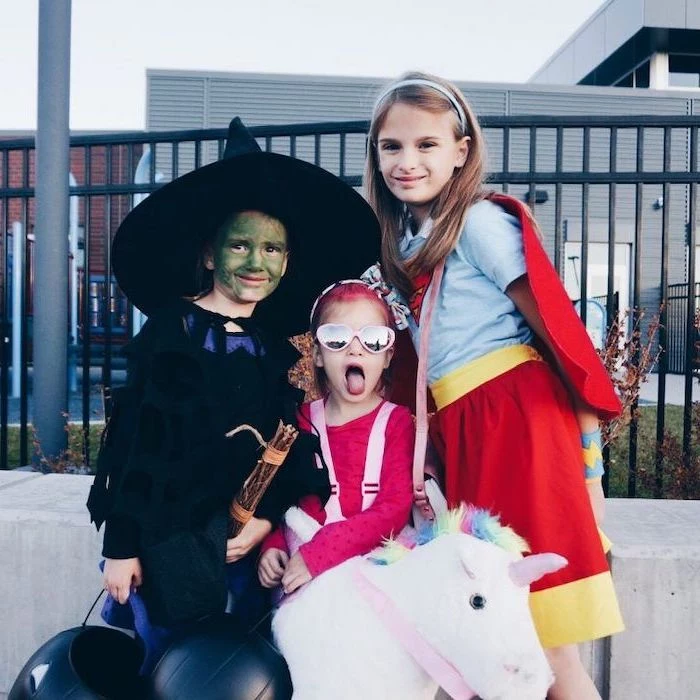
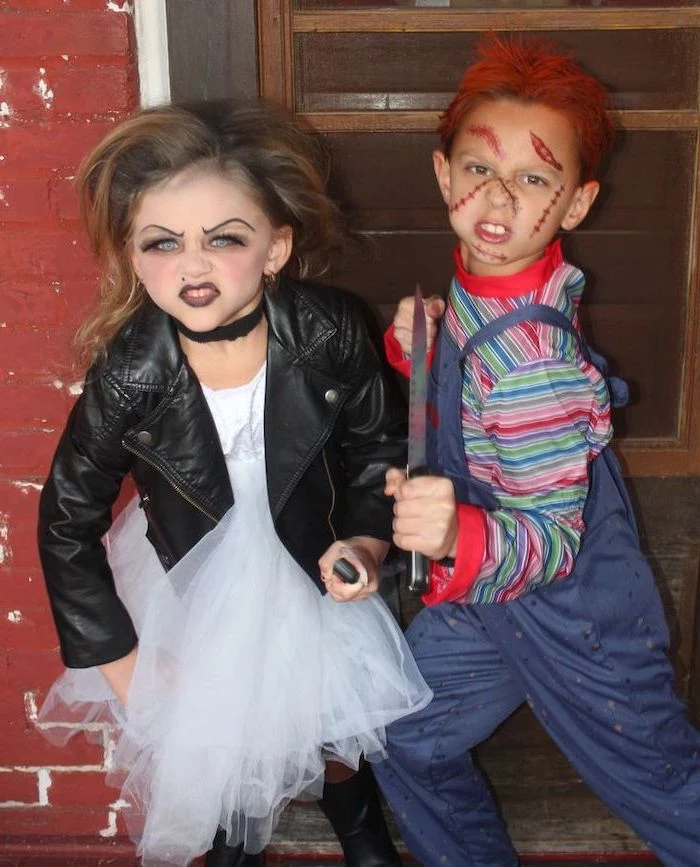
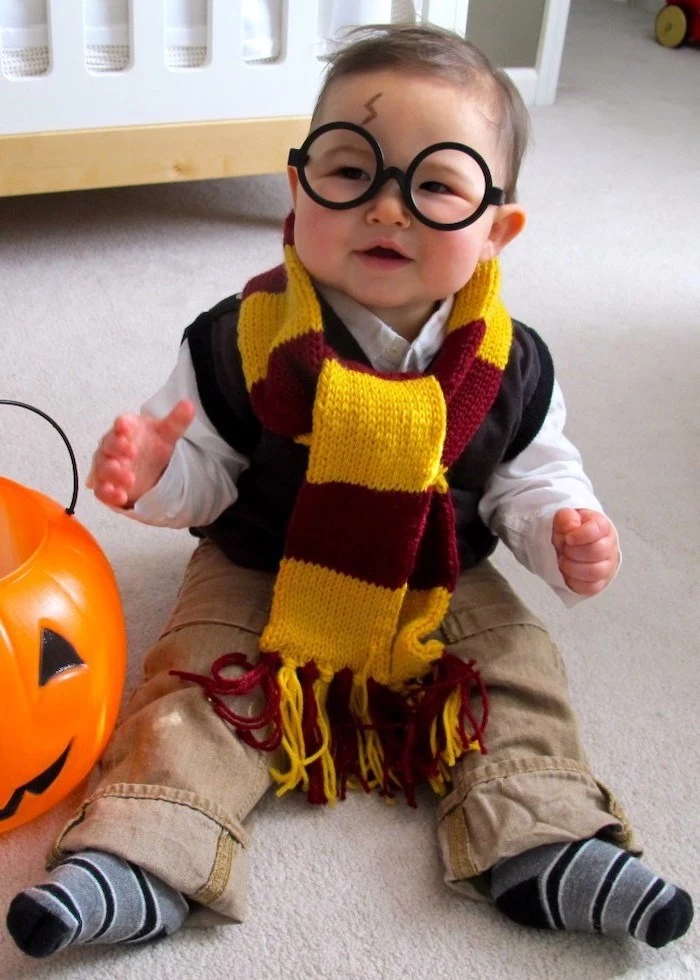
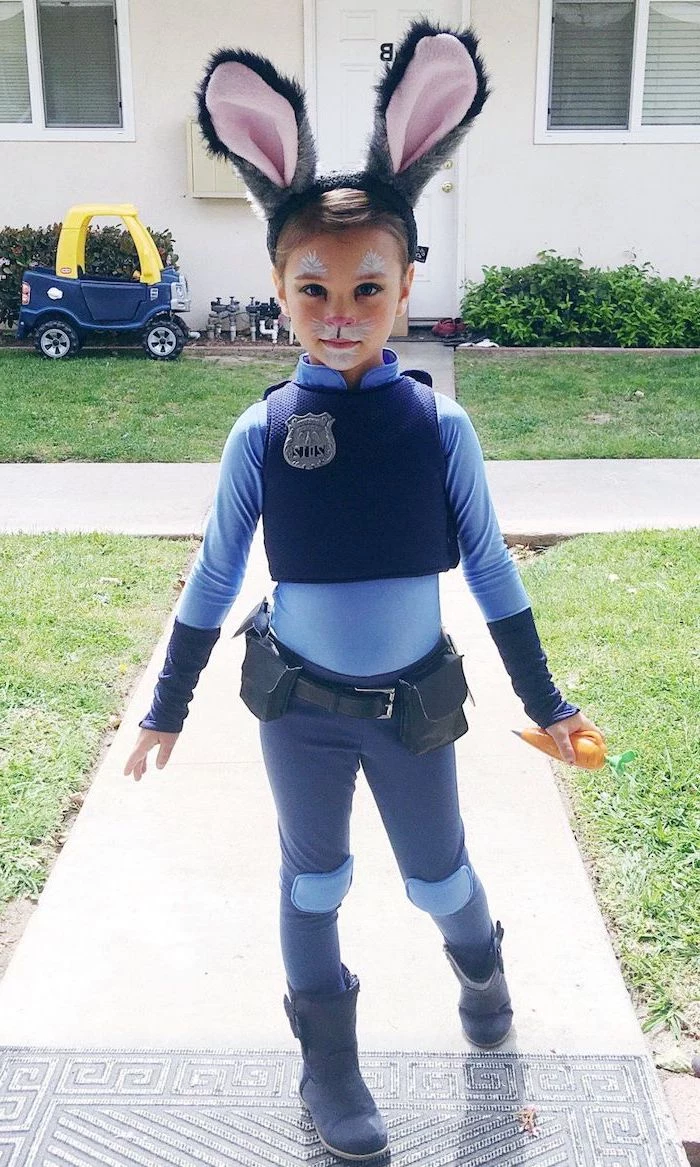
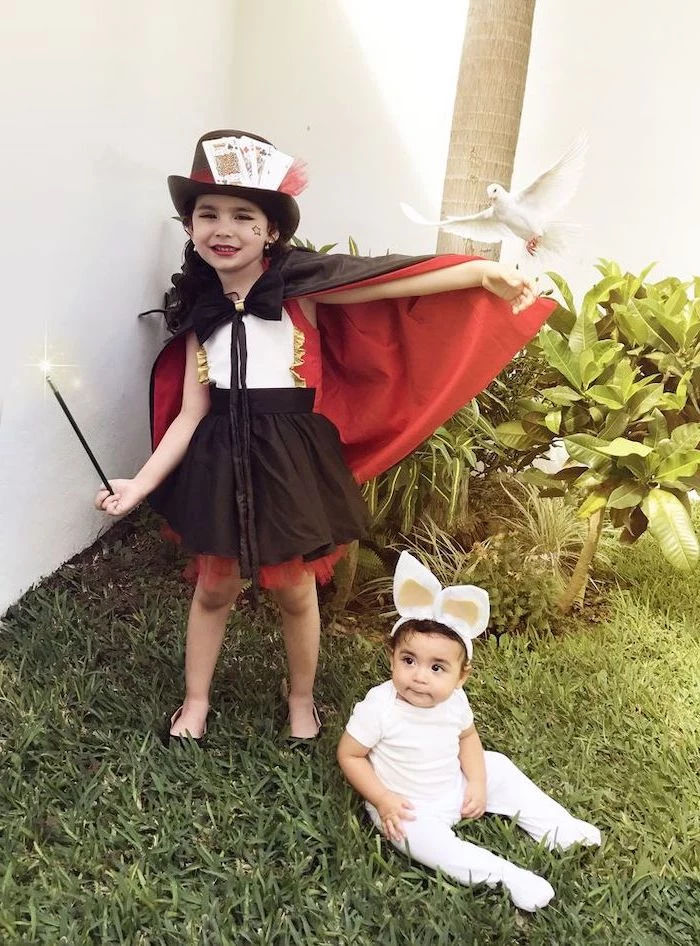
This saves you the hassle of making a whole outfit but still gives you a unique result. For instance, buy a cheap wizard robe from the store, but toss the flimsy plastic wand. Head to the backyard, find a cool-looking stick, and use a hot glue gun to add some gnarled texture around the handle. A quick coat of brown and black paint, and you’ve created a custom wand that looks ten times better and costs nothing. You can elevate almost any store-bought costume by replacing one or two cheap accessories with something you made yourself.
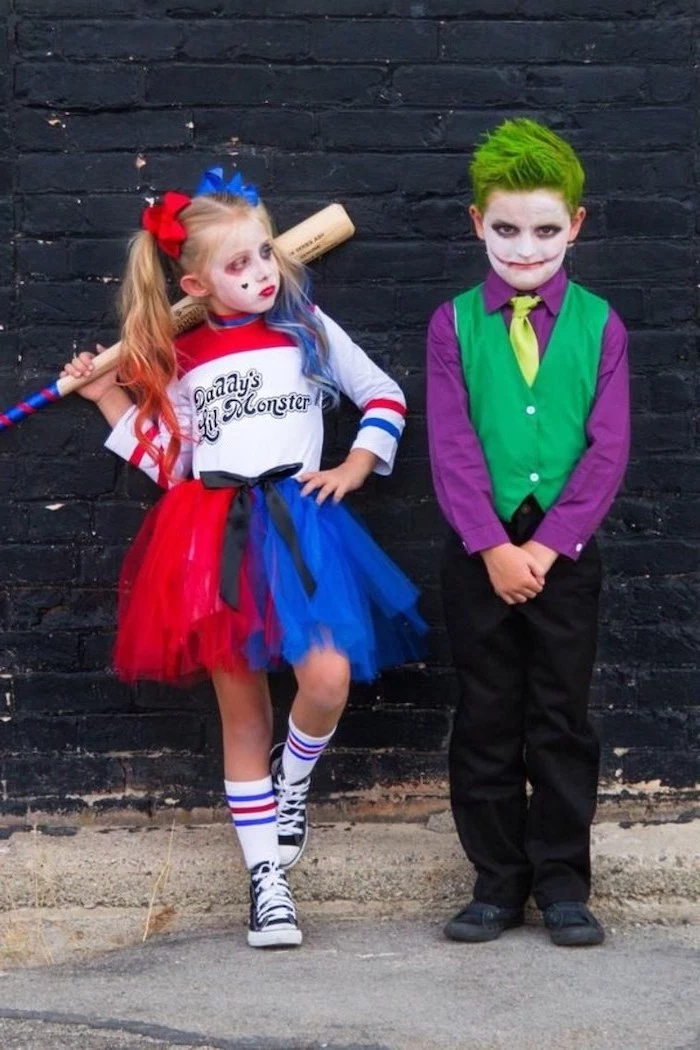
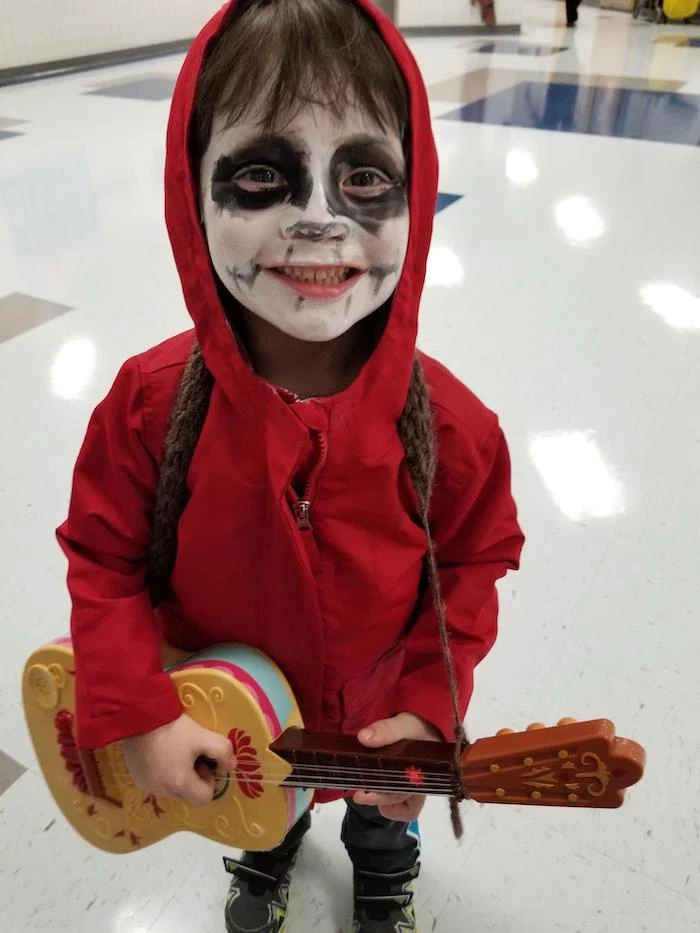
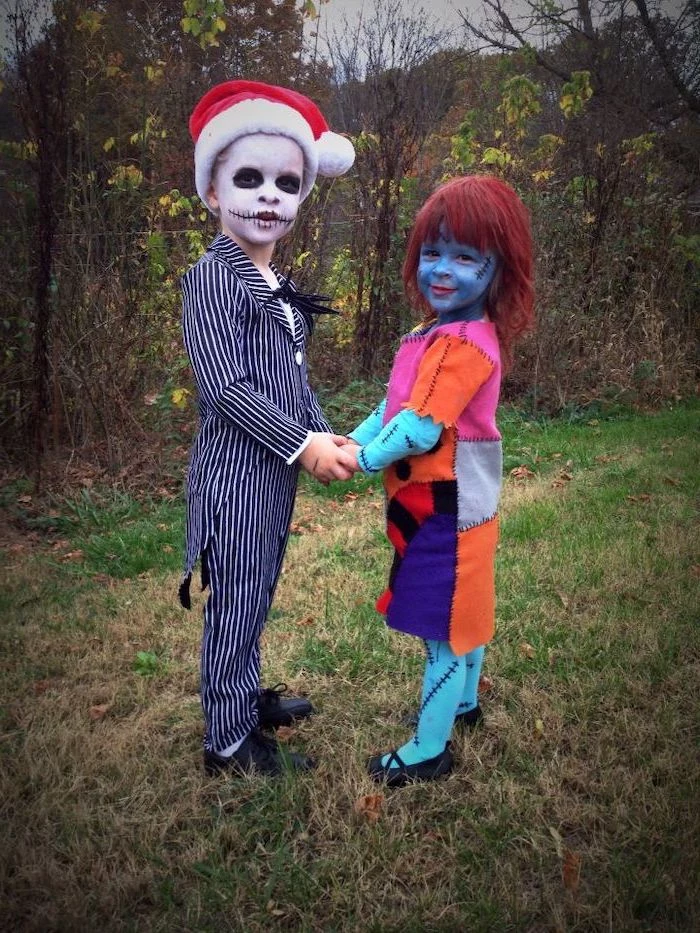
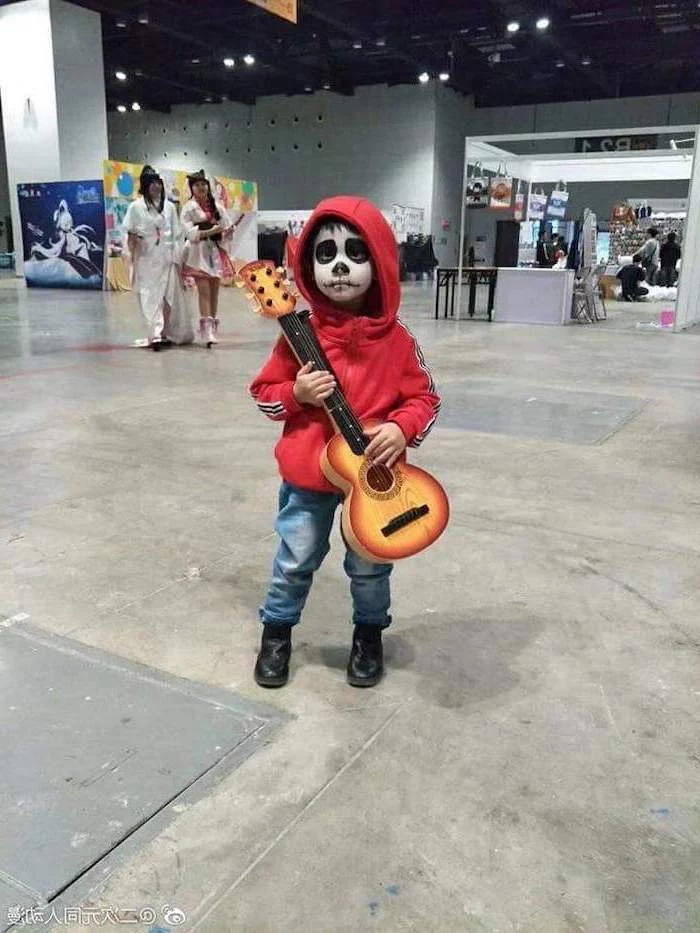
Getting the Face Paint Right (Without a Rash)
Face paint can elevate a costume from good to great, but please, be careful what you put on your kid’s skin. It’s way more sensitive than ours. Never, ever use regular acrylic craft paint on skin. It can cause nasty rashes and is a nightmare to get off.
Always use products specifically designed for skin. Look for cosmetic-grade, water-activated face paints that are FDA-compliant. They go on smoothly with a damp sponge and, most importantly, come off easily with just soap and water.
And one last thing: always do a patch test! Put a small dab of the paint on their inner arm the day before to make sure there’s no reaction. It’s a small step that can save you a lot of trouble.
At the end of the day, making a costume is about more than just the end result. It’s about the time you spend together, the silly problems you solve with a glue gun, and the pride they feel wearing something you helped bring to life. That’s the real Halloween magic.
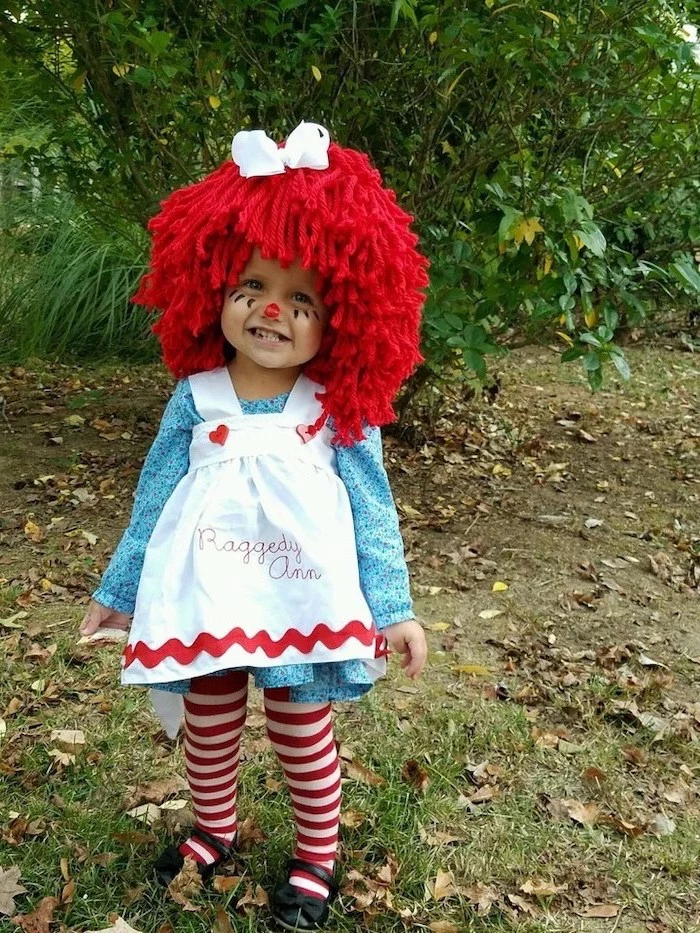
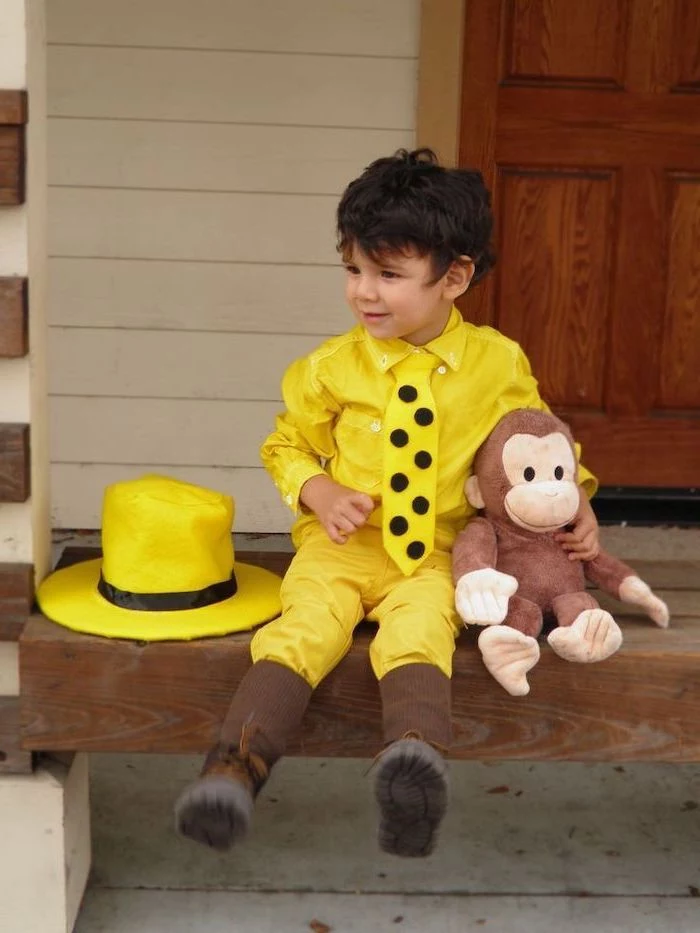
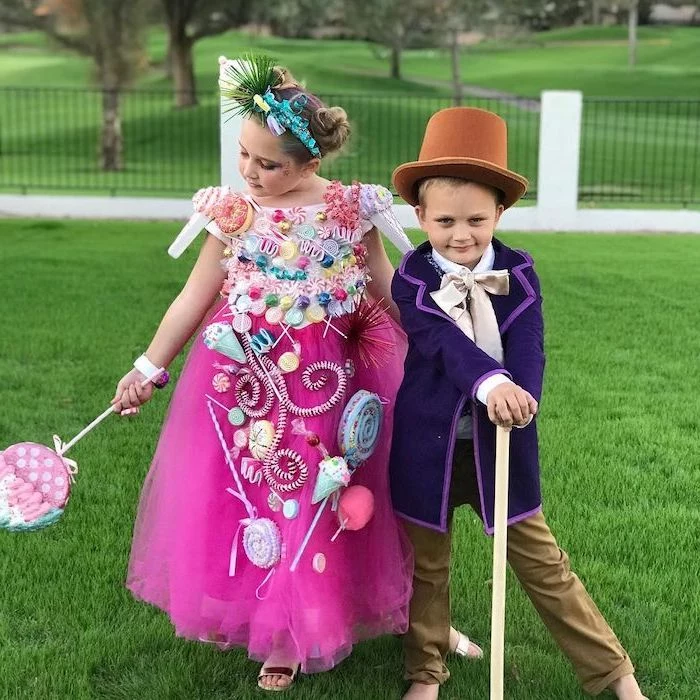
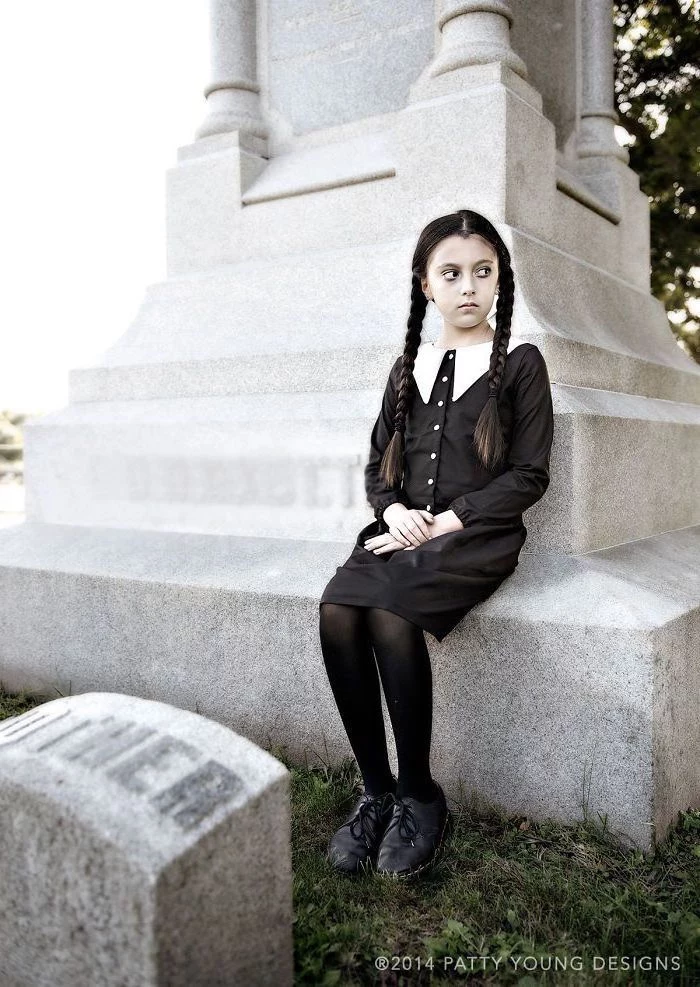
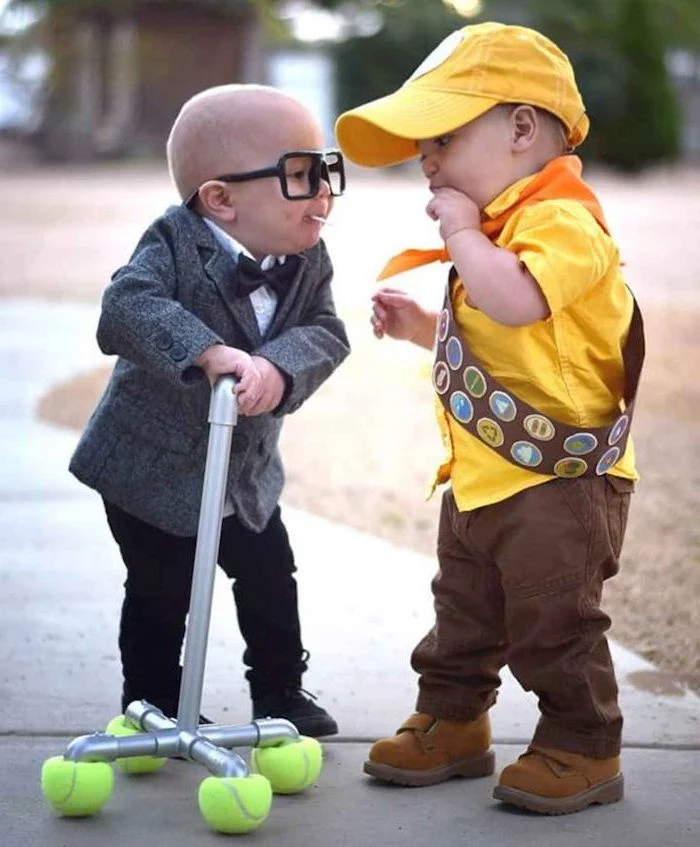
Inspiration Gallery
The Right Glue is a Game-Changer: Not all glues are created equal! For fabrics, felt, and foam, a thick, tacky craft glue like Aleene’s Original Tacky Glue is your best friend. For heavier plastic or wood elements, reach for a high-temp glue gun or a stronger adhesive like E6000 (use with ventilation!).

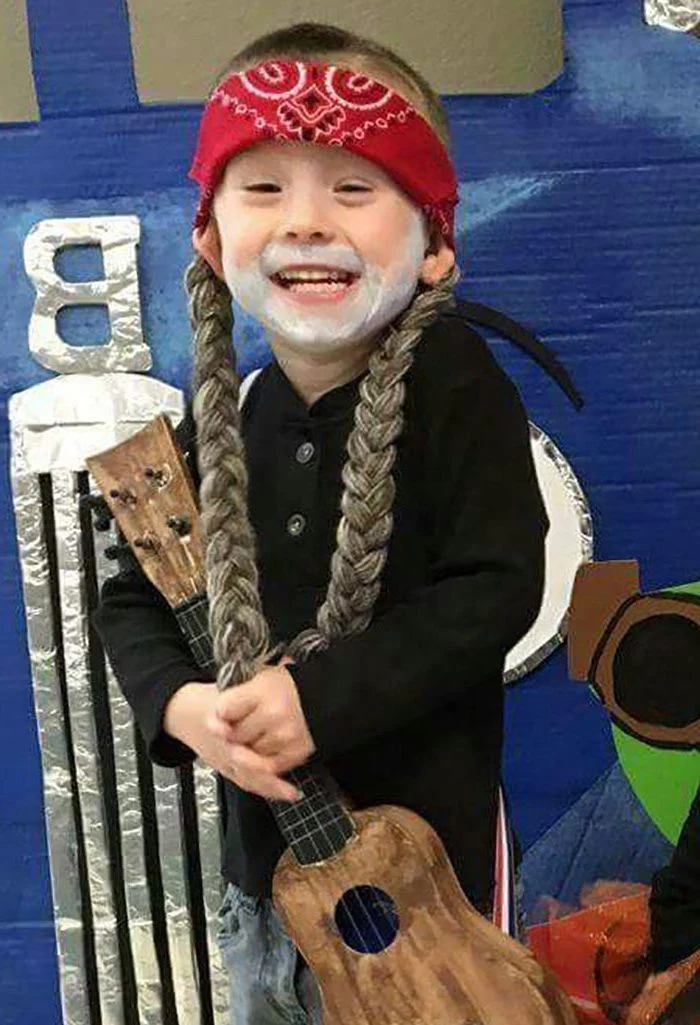
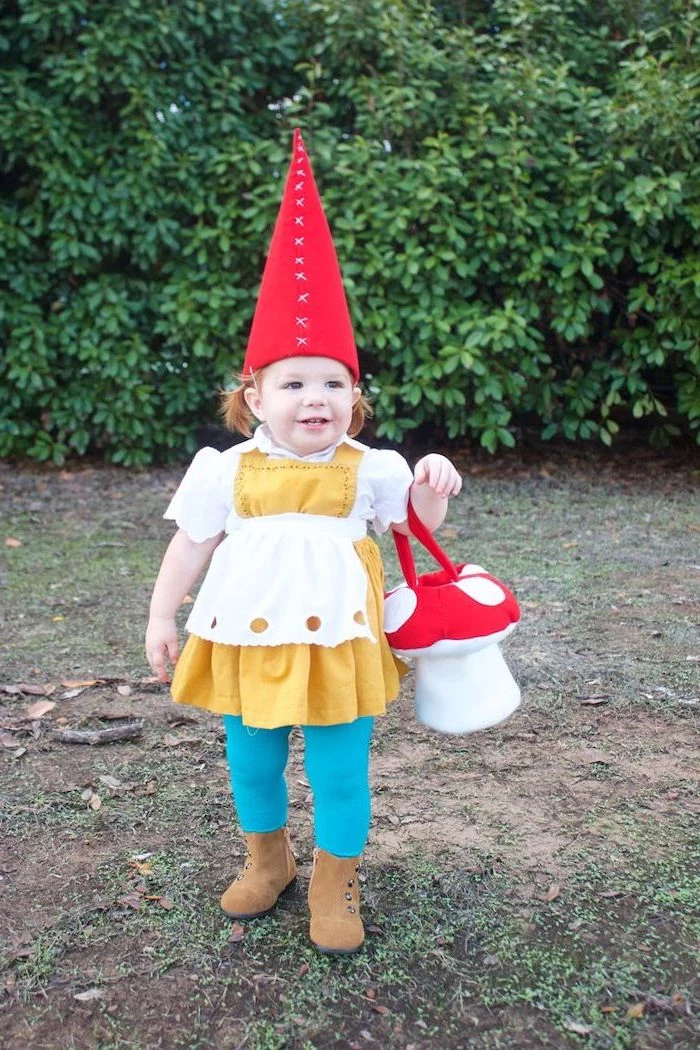
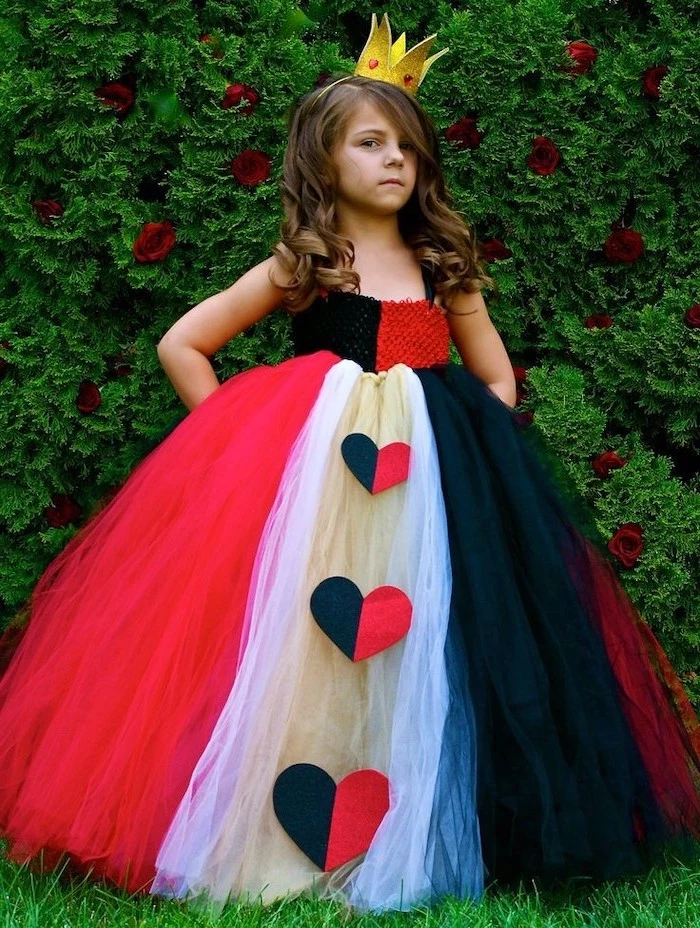
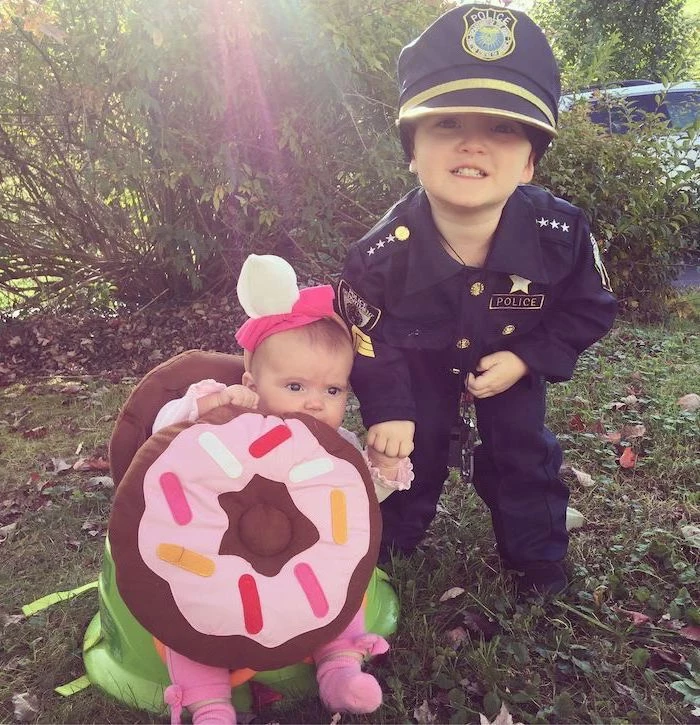
Sometimes, a great costume is all about the accessories. A simple outfit can be completely transformed with the right additions. Think about:
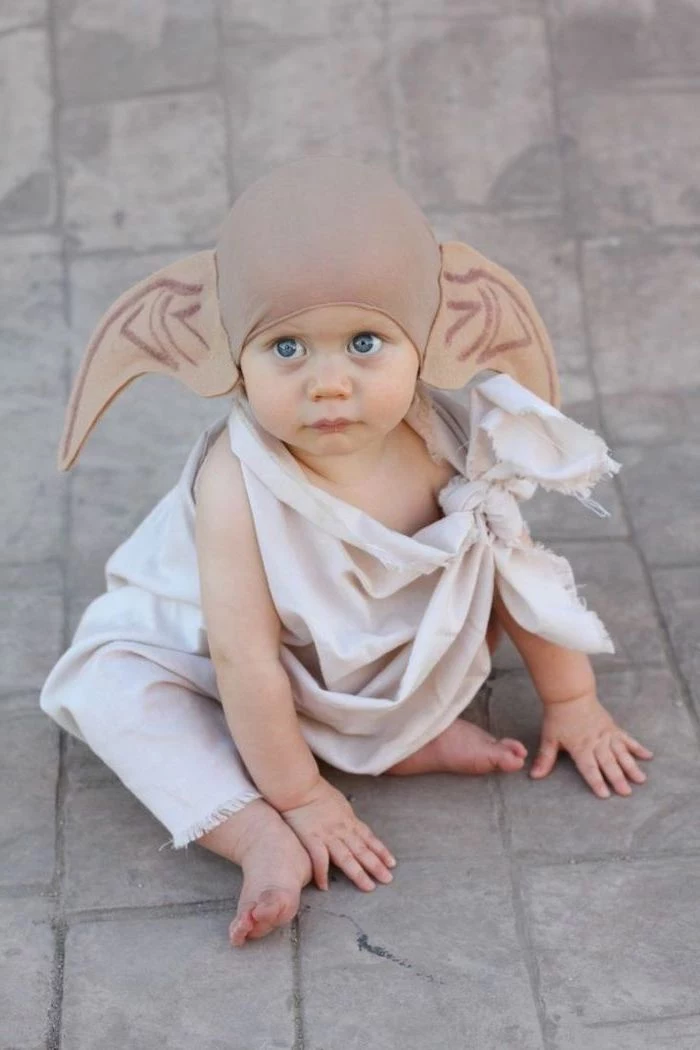
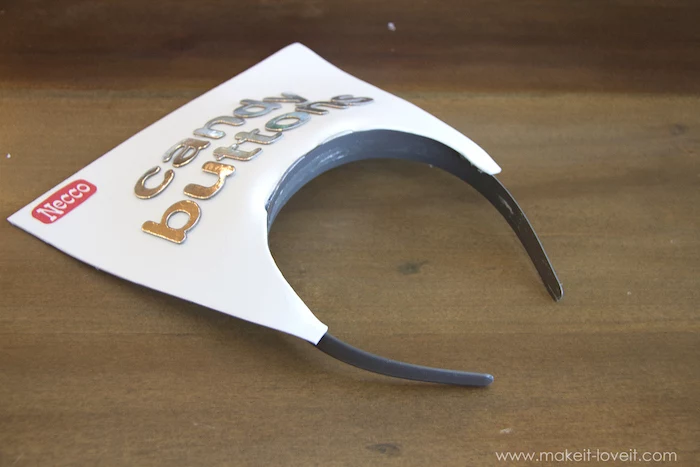
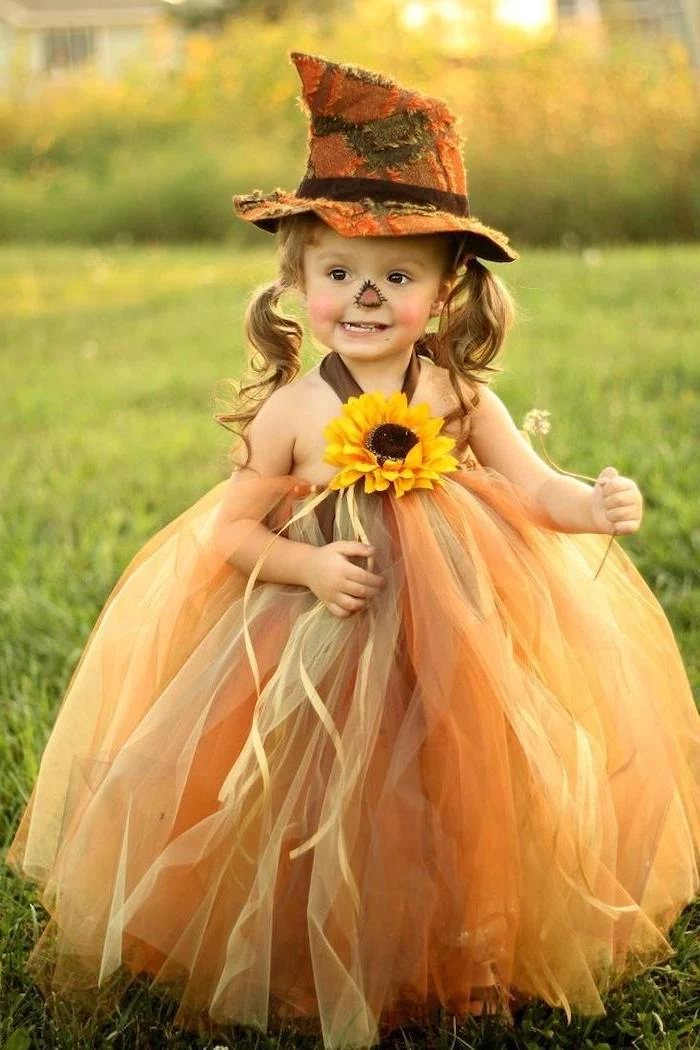
- Iconic Headwear: A witch’s pointy hat, a knight’s helmet, or an animal’s ears on a headband. These instantly signal the character.
- A Signature Prop: What’s Harry Potter without his wand, or Thor without his hammer? A well-made prop, even from a painted paper towel roll, can be the centerpiece.
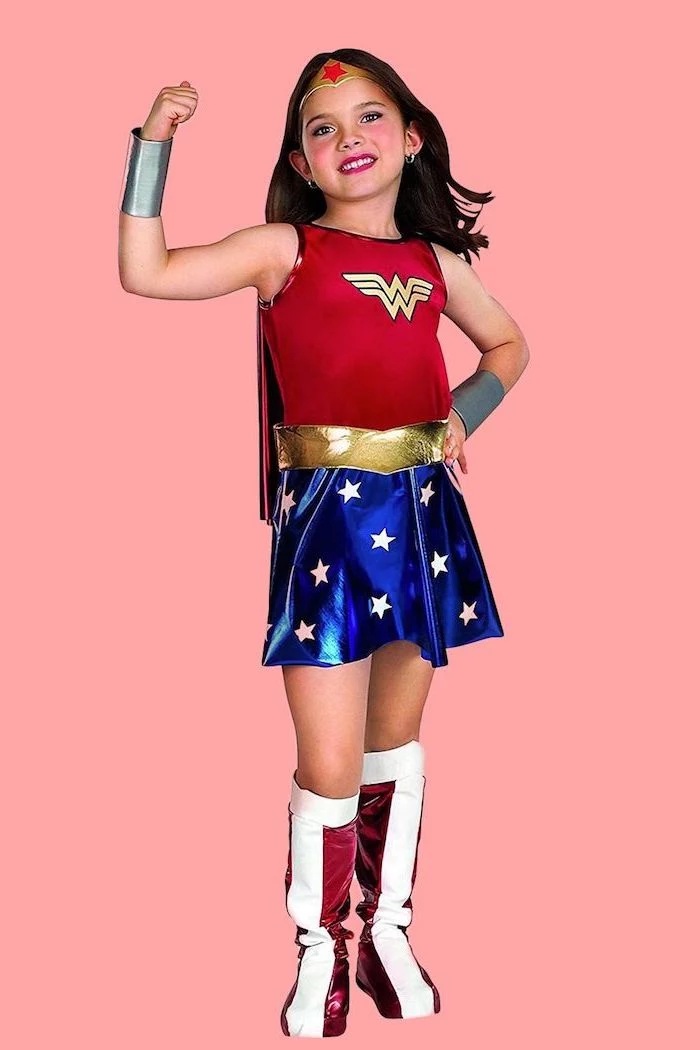
- Transformative Footwear: Simple boot covers made from felt or faux leather can turn regular sneakers into pirate boots or superhero footwear.
According to one UK study, an estimated 7 million Halloween costumes are thrown away each year.
Making a costume from a thrifted base or with reusable elements isn’t just creative—it’s a small step toward a less wasteful holiday.

Help! The costume is too itchy! What can I do?
This is a classic fun-killer. The easiest fix is to create a barrier. Have your child wear a soft, snug-fitting long-sleeved shirt and leggings (like a Uniqlo HEATTECH set) underneath. You can also line problematic areas, like the neckline or armholes, with soft felt or a strip of an old cotton t-shirt using iron-on adhesive.
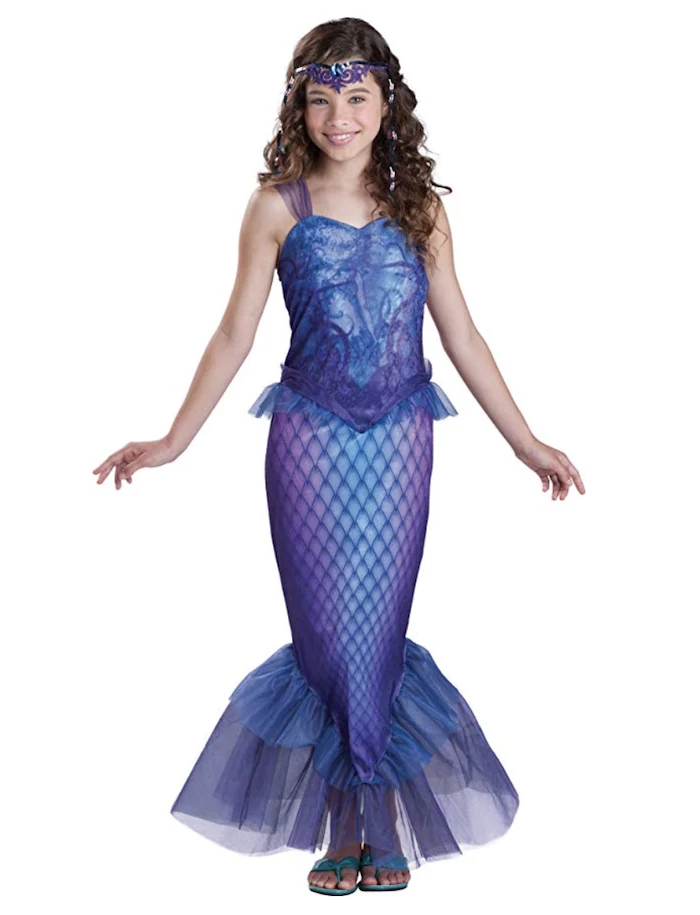
Think about the silhouette first. A memorable costume is often recognizable from a distance. Does your character have pointy ears? A giant, swishy tail? A boxy robot head? Focus on creating one or two defining shapes with lightweight materials like EVA foam or cardboard. You can suggest the rest with color and smaller details.

EVA Craft Foam: Flexible, lightweight, and easy to cut. Perfect for armor, helmets, and accessories that need to curve. It takes paint well (use a primer!) and comes in various thicknesses.
Cardboard: Free and abundant! Best for rigid, boxy shapes like robot bodies, Minecraft characters, or building blocks. It’s heavier and less weather-resistant, but you can’t beat the price.
- Fabric Glue: Brands like Aleene’s or Beacon’s Fabri-Tac create strong, flexible bonds that survive the night.
- Iron-On Hem Tape: Perfect for creating clean edges on capes or tunics without a single stitch.
- Safety Pins: An old classic for a reason. Use them on the inside for quick, invisible fixes.
- VELCRO Brand Sticky Back for Fabrics: Ideal for closures or attaching accessories that might need to be removed.
More than 60% of child pedestrian deaths occur between 7 p.m. and 10 p.m. on Halloween.
Visibility is non-negotiable. Weave reflective tape (available at craft or hardware stores) into the costume design—as stripes on a superhero’s boots, trim on a princess’s dress, or dots on a robot’s control panel. A few glow sticks worn as bracelets are a fun and effective addition, too.
- They’ll tell you if something pinches, scratches, or is too hot.
- You’ll discover if a key piece is likely to fall off after five minutes of running.
- It doubles as a perfect pre-Halloween photo op!
The secret to avoiding last-minute meltdowns? A full dress rehearsal a day or two before the main event.
Don’t overlook the dollar store. It’s a goldmine for costume bases and accessories. Look for plastic tablecloths (great for capes), pool noodles (perfect for structures), laundry baskets (for droid bodies), and plastic bowls or colanders (the start of a great helmet).

- Prep the Skin: Apply a light layer of face-friendly moisturizer first. This creates a barrier and makes removal easier.
- Use Quality Paints: Stick to cosmetic-grade face paints from brands like Snazaroo or Mehron to avoid skin irritation. Never use craft acrylics on skin.
- Set the Look: A light dusting of baby powder or setting powder can help prevent smudging.
- Easy Removal: Use a cold cream or oil-based makeup remover before washing with soap and water.
If you’re new to DIY, make felt your best friend. It doesn’t fray when cut, it’s cheap, comes in every color imaginable, and glues together beautifully. It’s the perfect material for appliqués, animal ears, masks, and details.
The tradition of wearing costumes on Halloween dates back to the ancient Celtic festival of Samhain, when people would light bonfires and wear costumes to ward off ghosts.
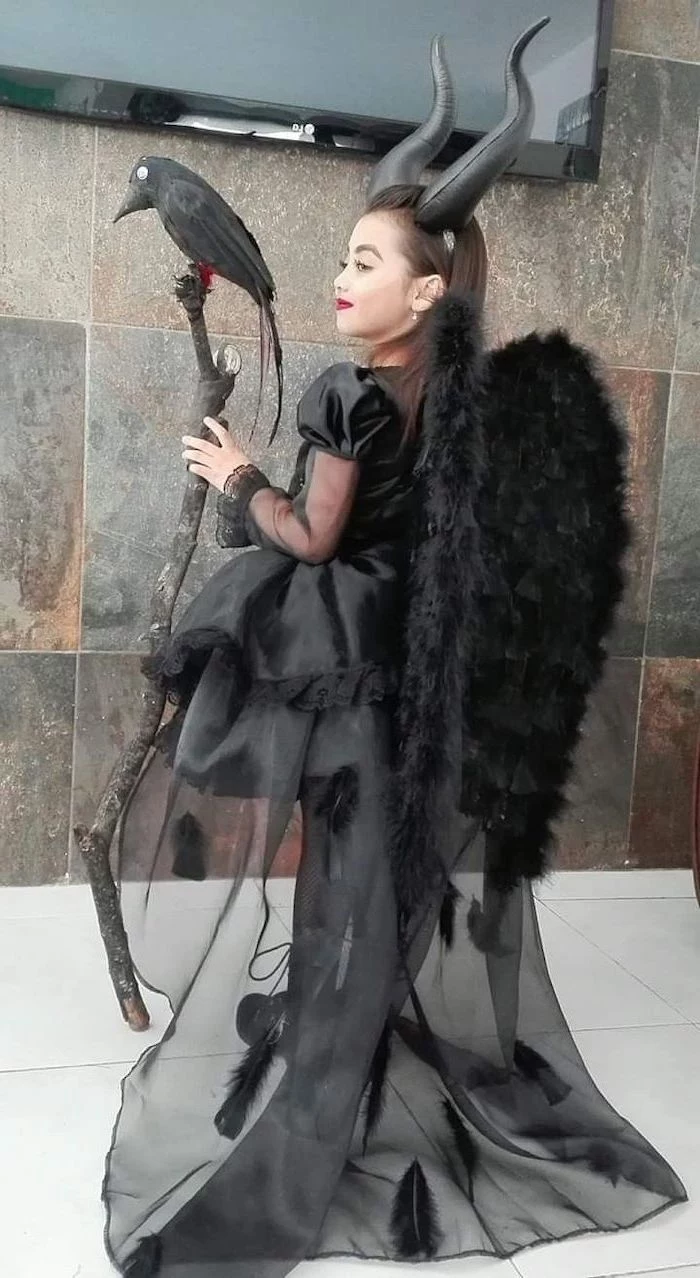
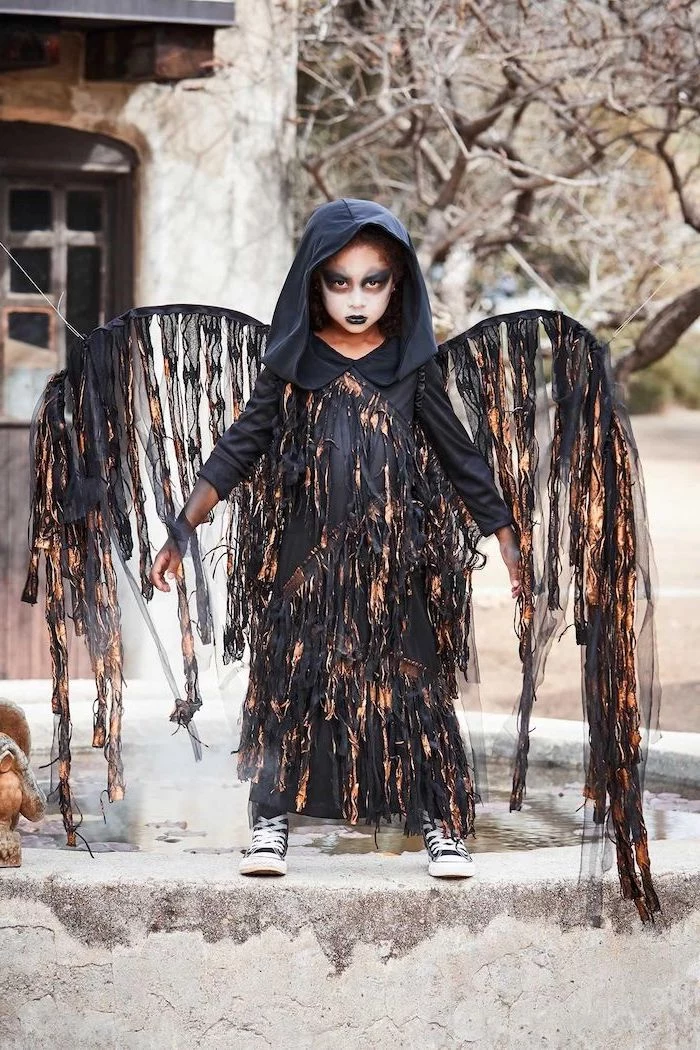
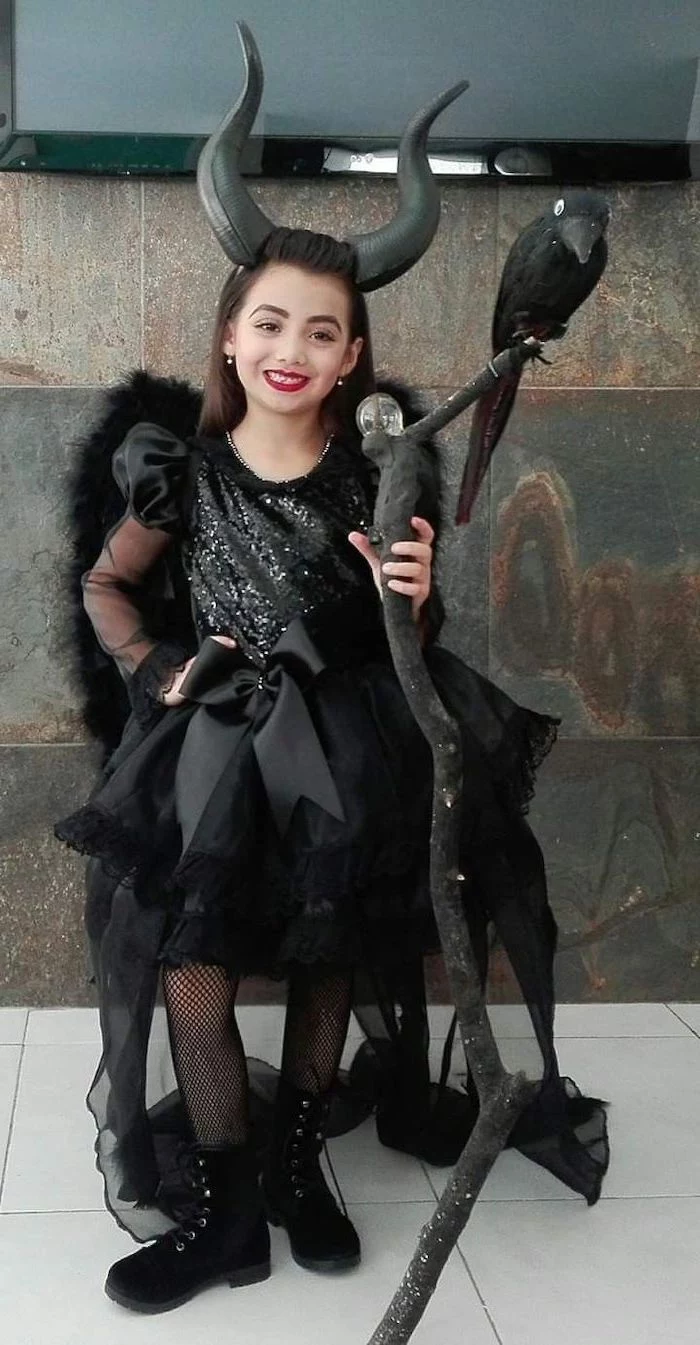
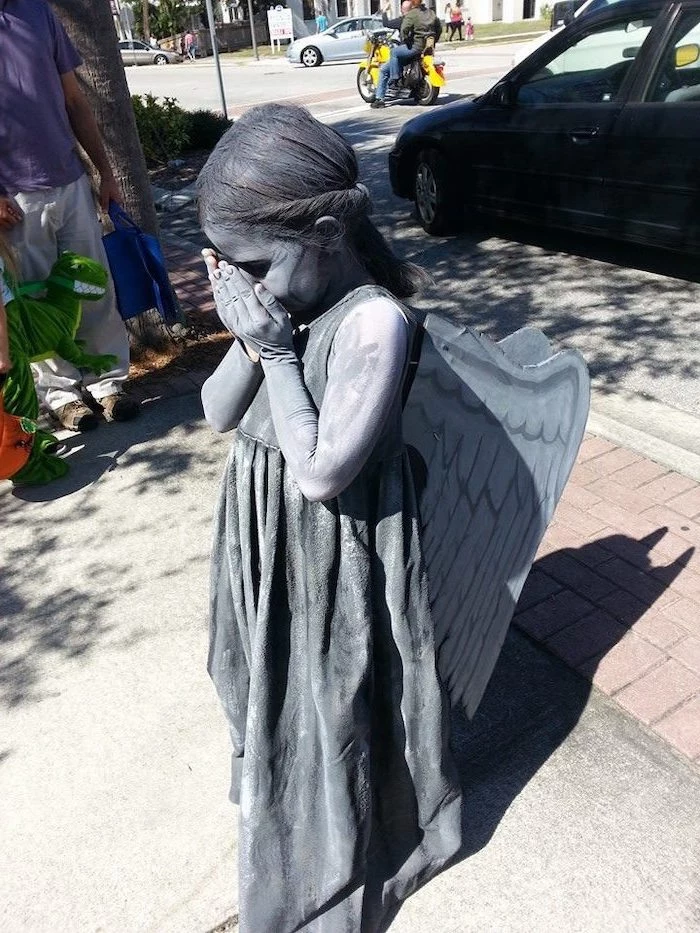
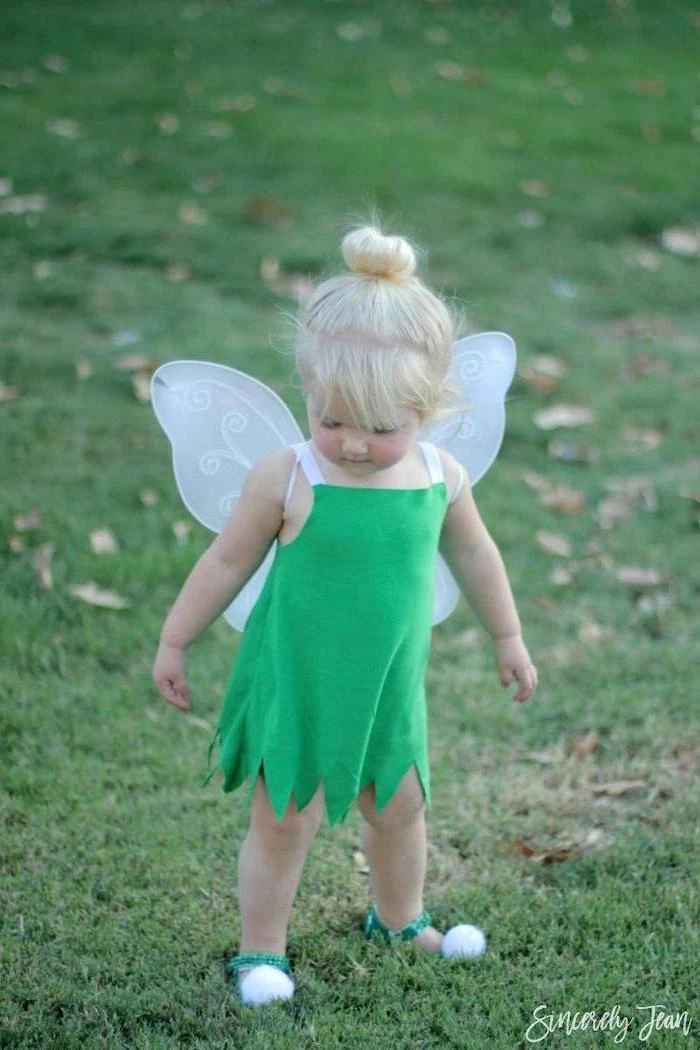
How do I make wings that stand up and don’t flop around?
The key is a lightweight, rigid frame. Bend 12-gauge craft wire into your desired wing shape. Stretch and glue sheer fabric or pantyhose over the frame. For the harness, create two loops from sturdy elastic that your child can slip their arms through, like a backpack. Attach the center of the wings securely to the back of the elastic harness.
Fabric Paint: Tulip’s puffy or slick paints are great for details and drawing directly on fabric. For larger areas, a liquid fabric paint like Jacquard’s Textile Color is better. It soaks in and remains flexible.
Spray Paint: Faster for large props made of cardboard or foam, but must be used outdoors with a mask. Note: some spray paints can melt certain types of foam, so always test on a scrap piece first!

Remember to take photos during the

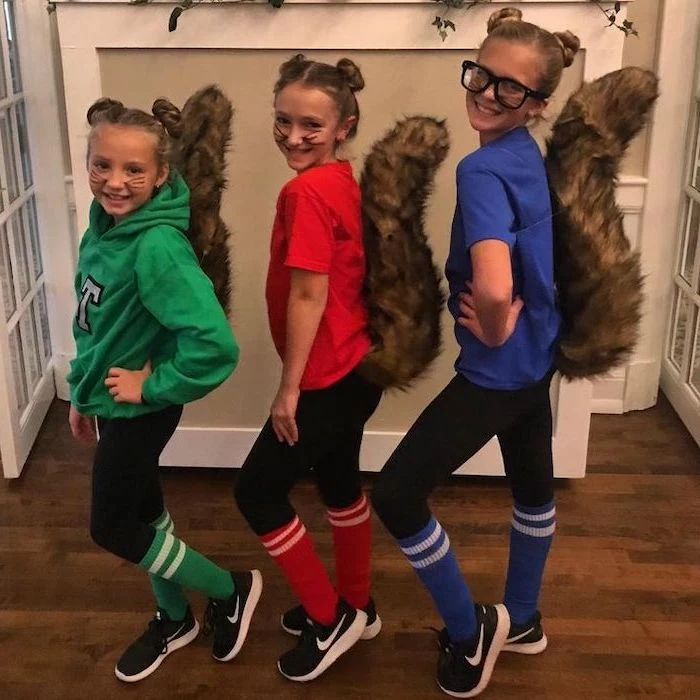
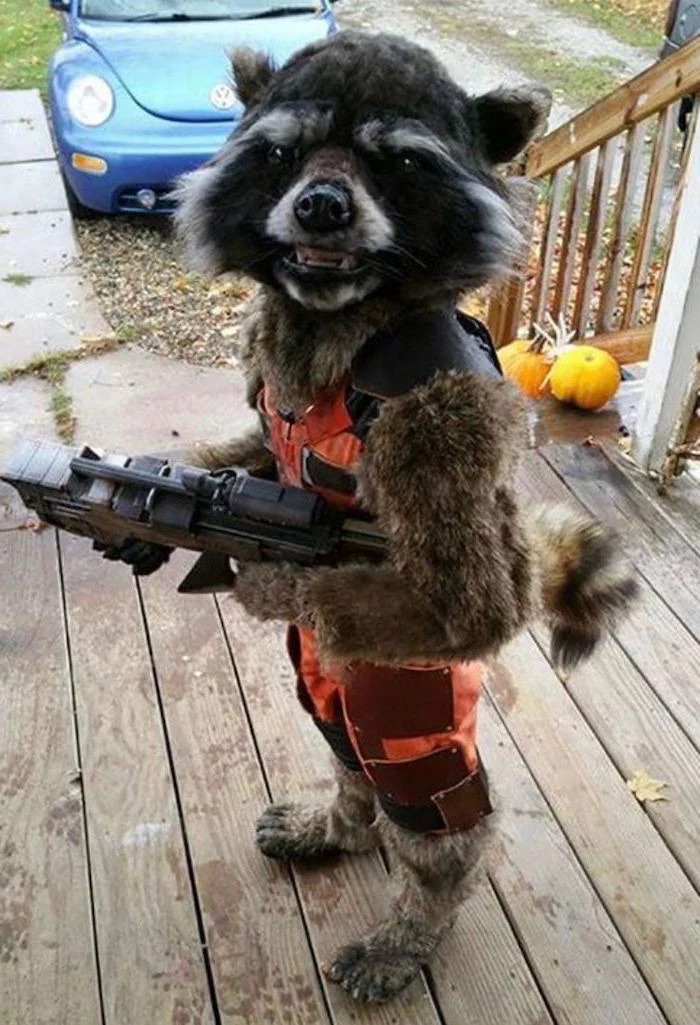
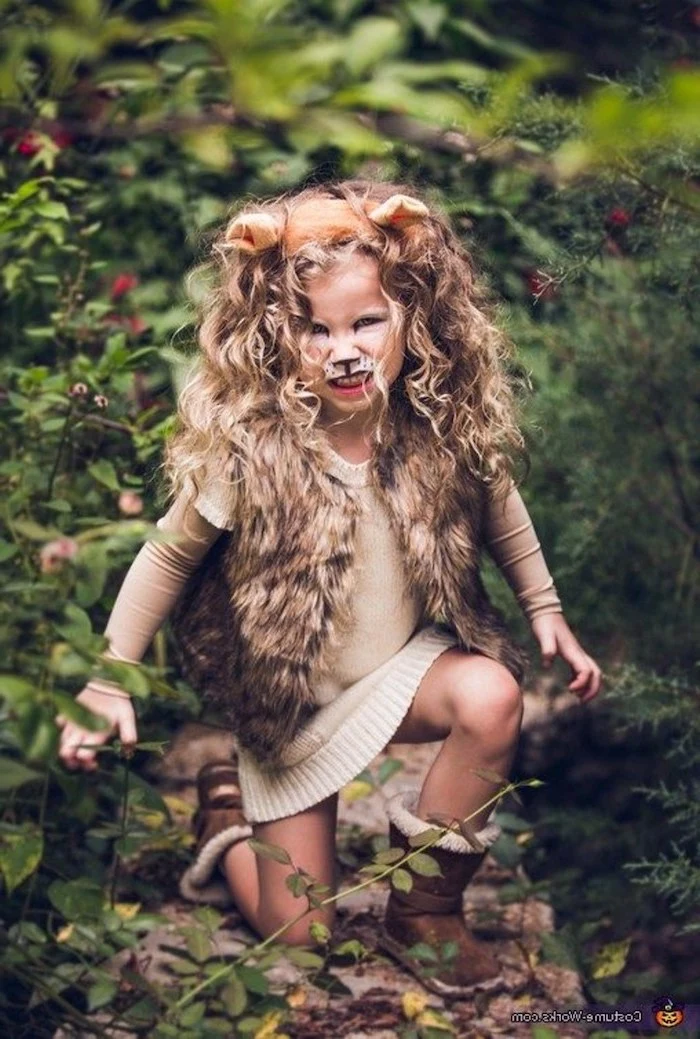
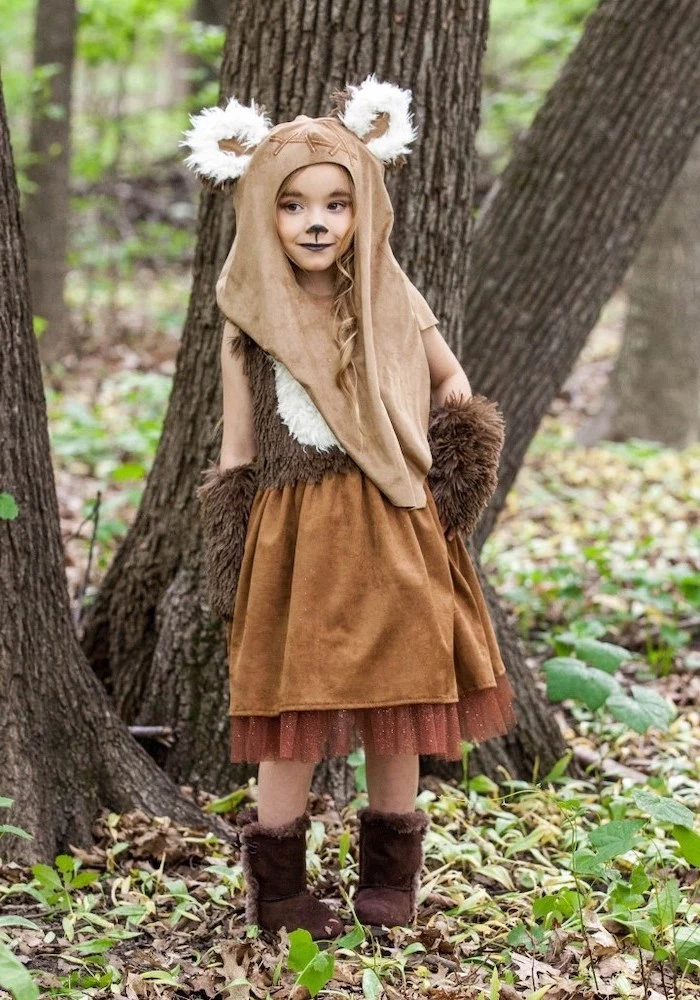
For animal or monster costumes, texture is everything. Move beyond flat fabric with these easy tricks:
- Furry Fun: Cut faux fur fabric into strips and glue them in overlapping layers onto a sweatshirt base. This creates a much more realistic shaggy look.
- Scaly Creatures: Cut out dozens of


The average American family planned to spend over $100 on Halloween in 2022, with a significant chunk going to costumes.
A DIY costume might feel like an investment of time, but it can be a huge money-saver. By starting with a base of clothes you already own and using inexpensive craft materials, you can create a high-impact look for less. Plus, a well-made DIY costume is often more durable and can be passed down.


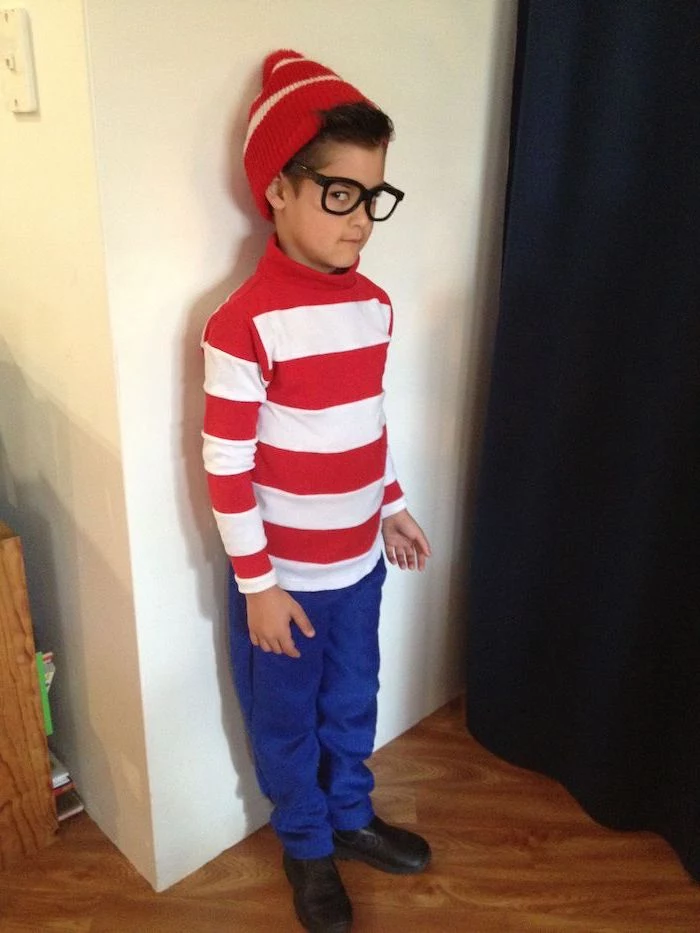
- It makes the costume instantly more graphic and recognizable.
- It simplifies your shopping list for materials.
- It helps you focus on shape and key details instead of getting lost in complexity.
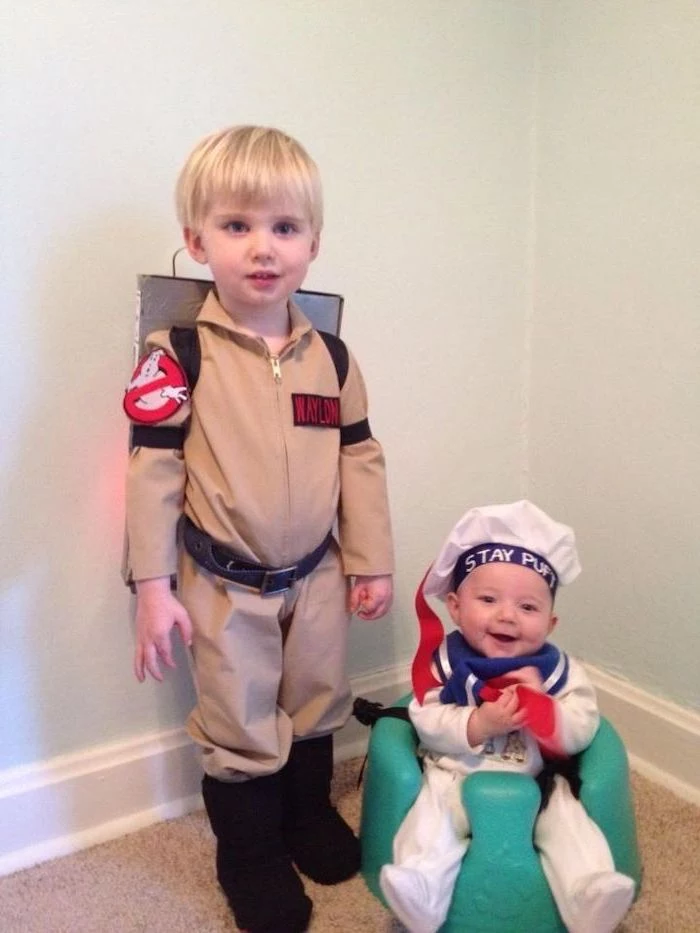
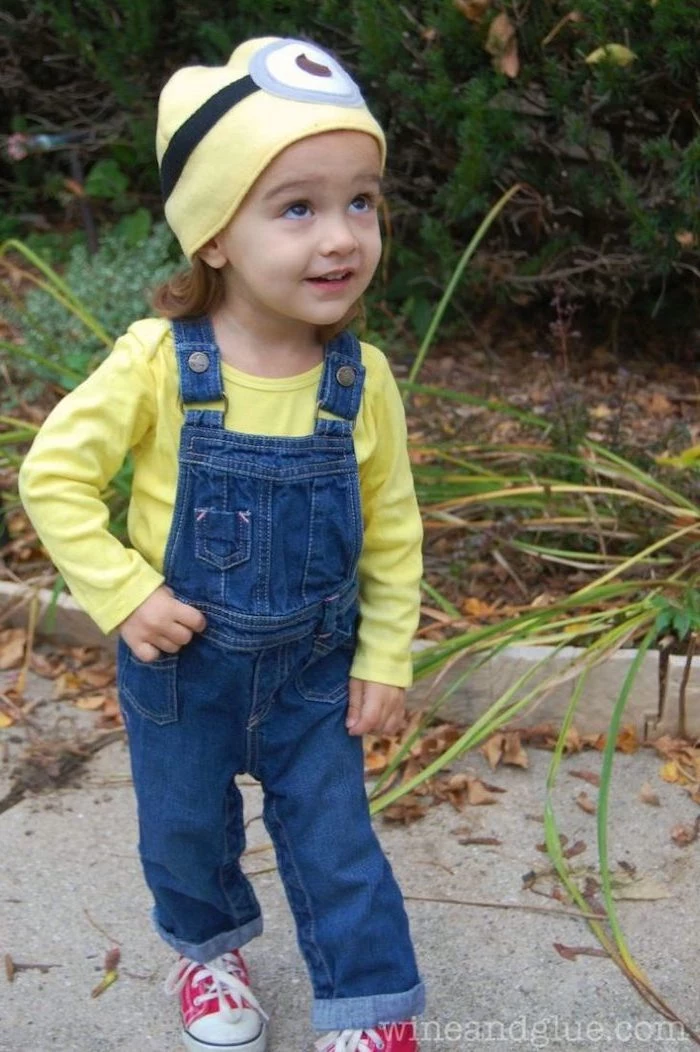
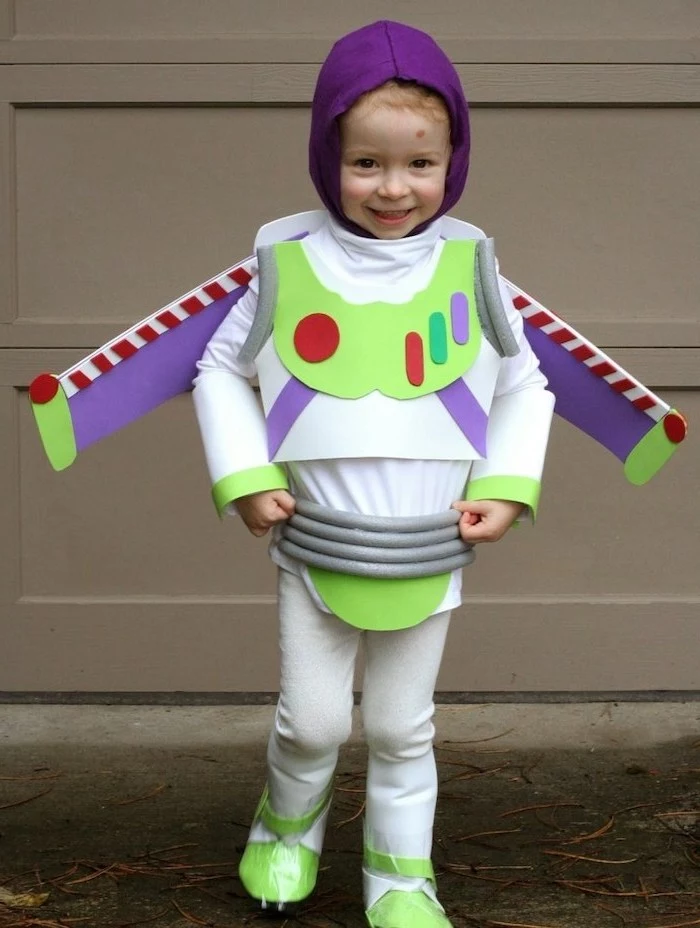
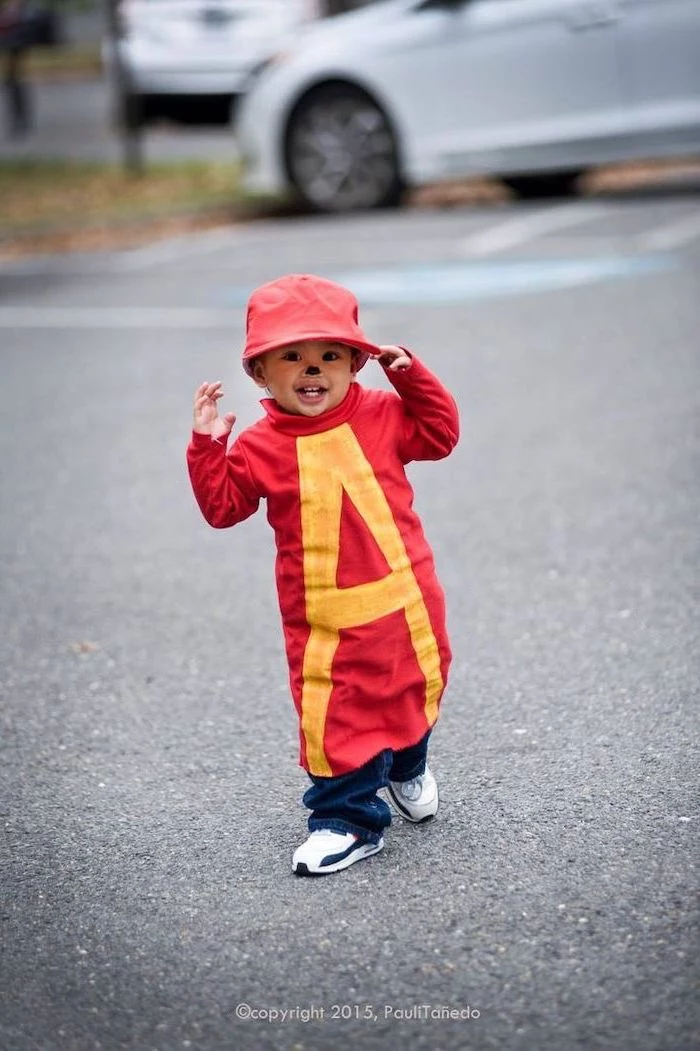
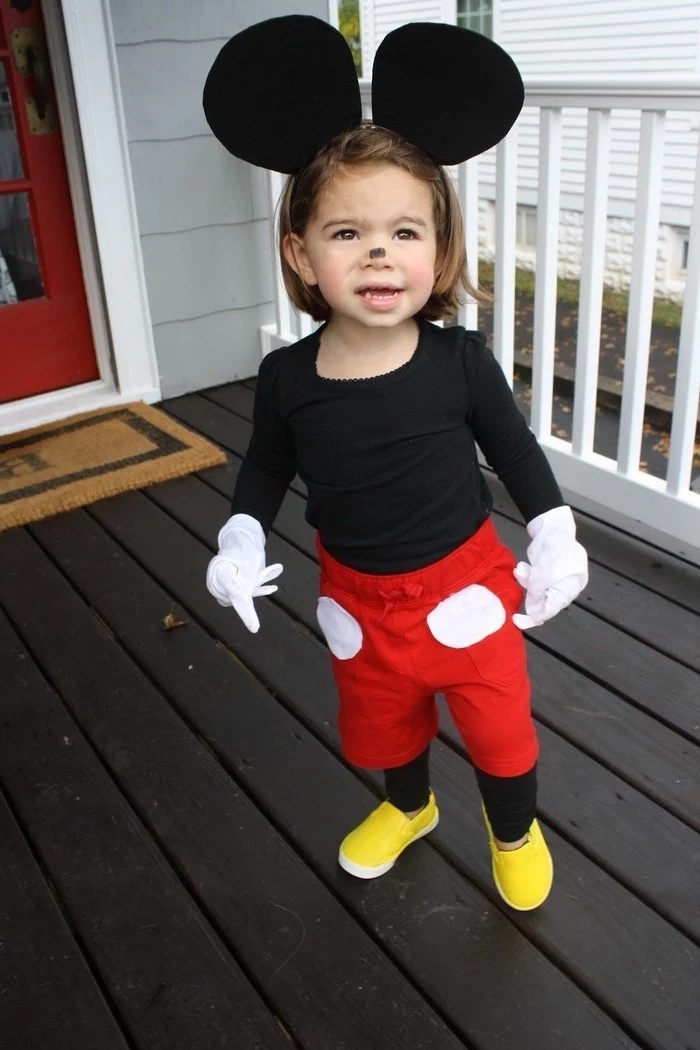
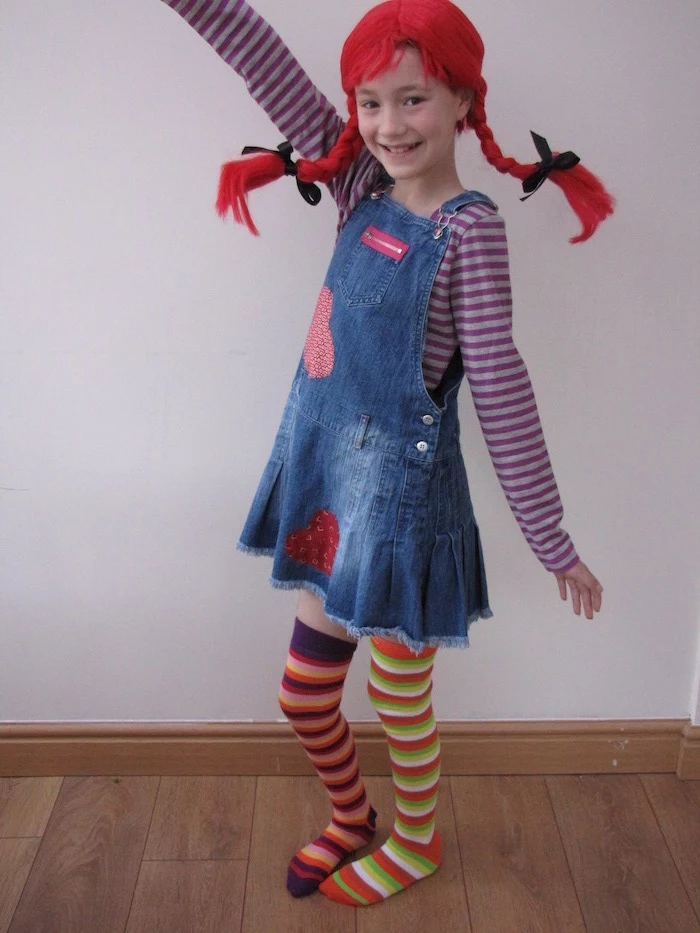
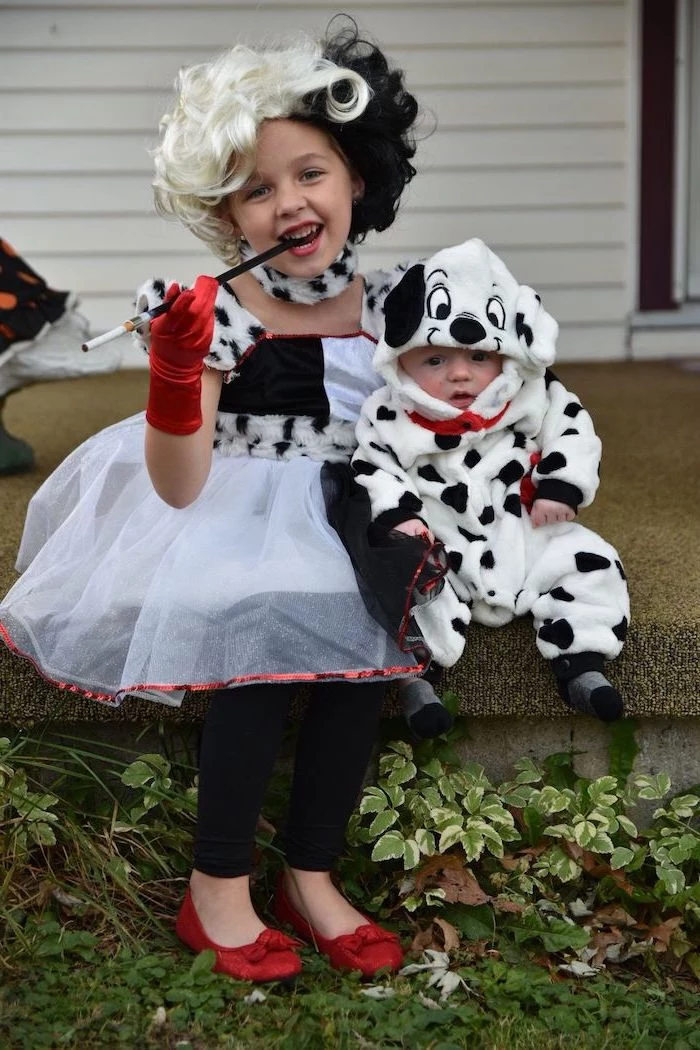
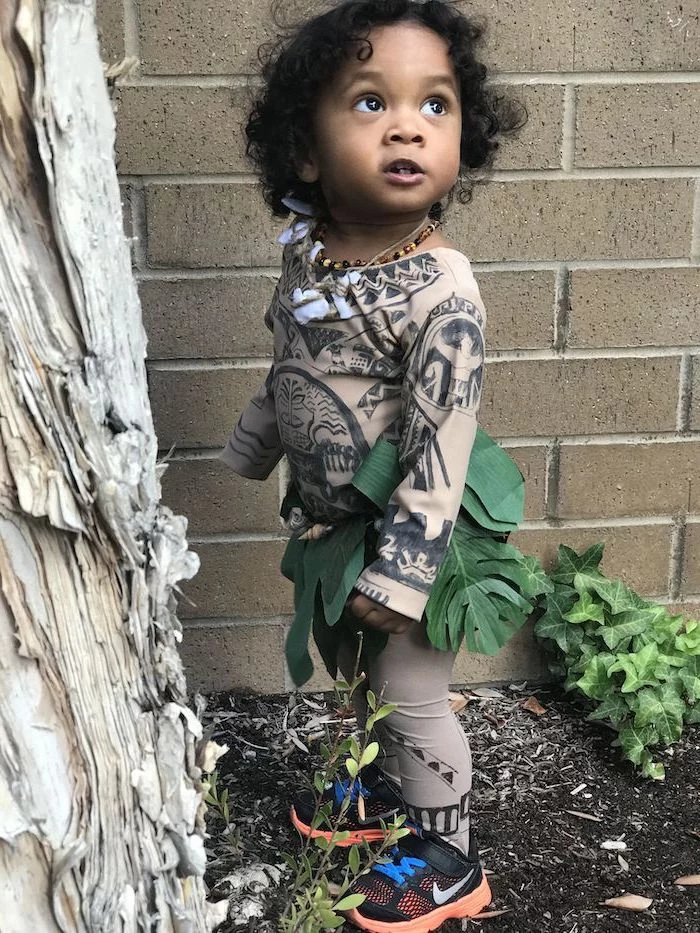
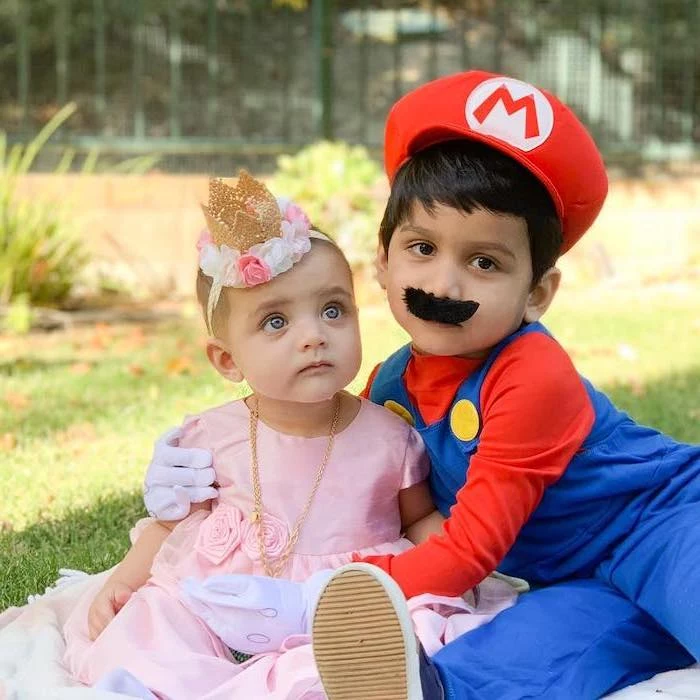
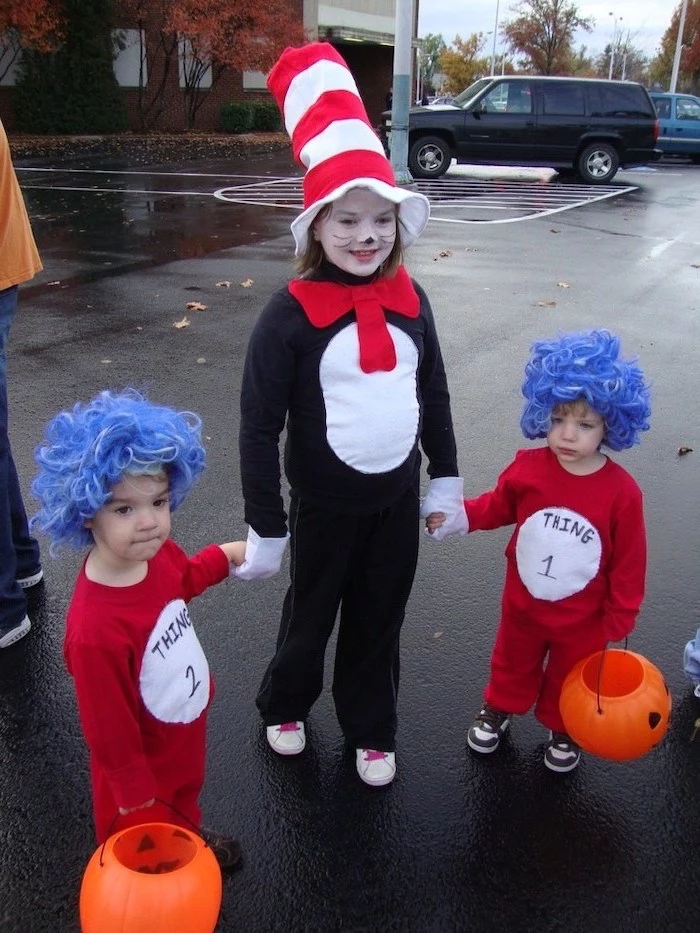
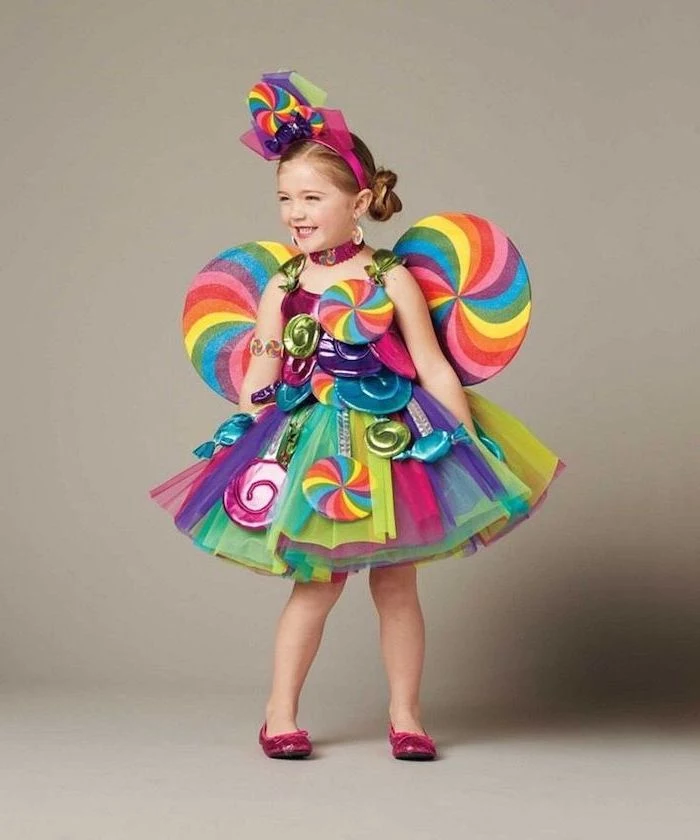
The secret to a polished look? Stick to the character’s main two or three colors. Think Mickey Mouse (red, black, yellow) or a Minion (blue, yellow).


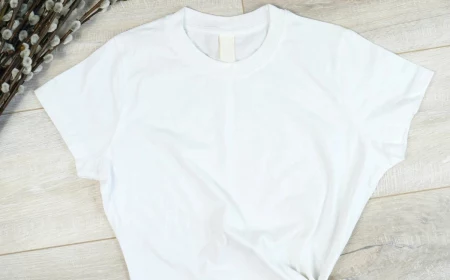
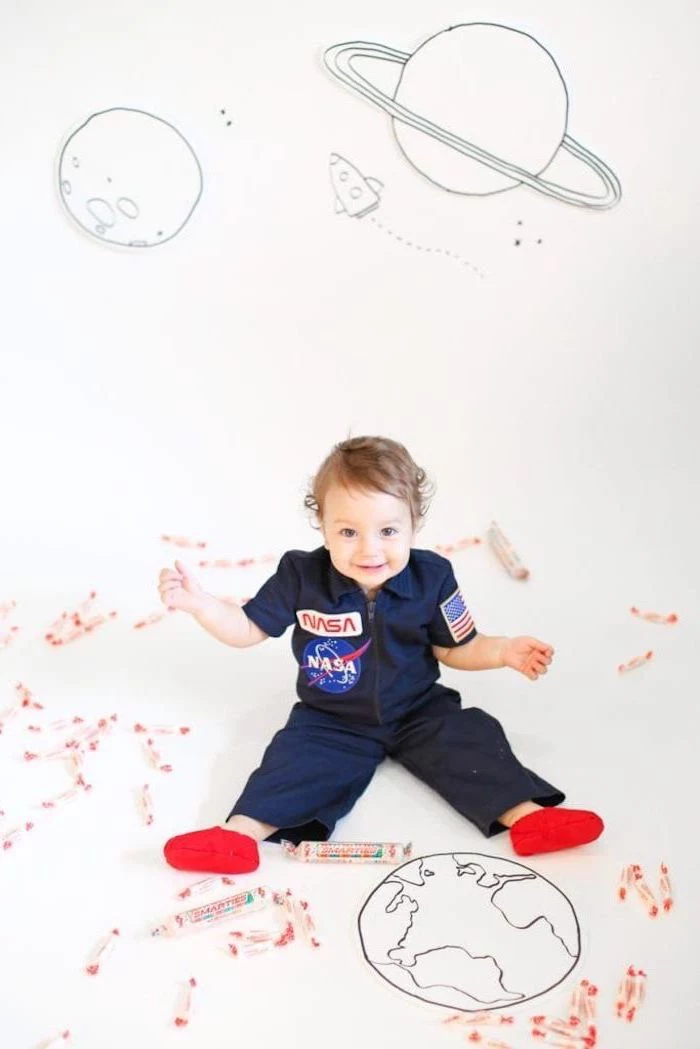
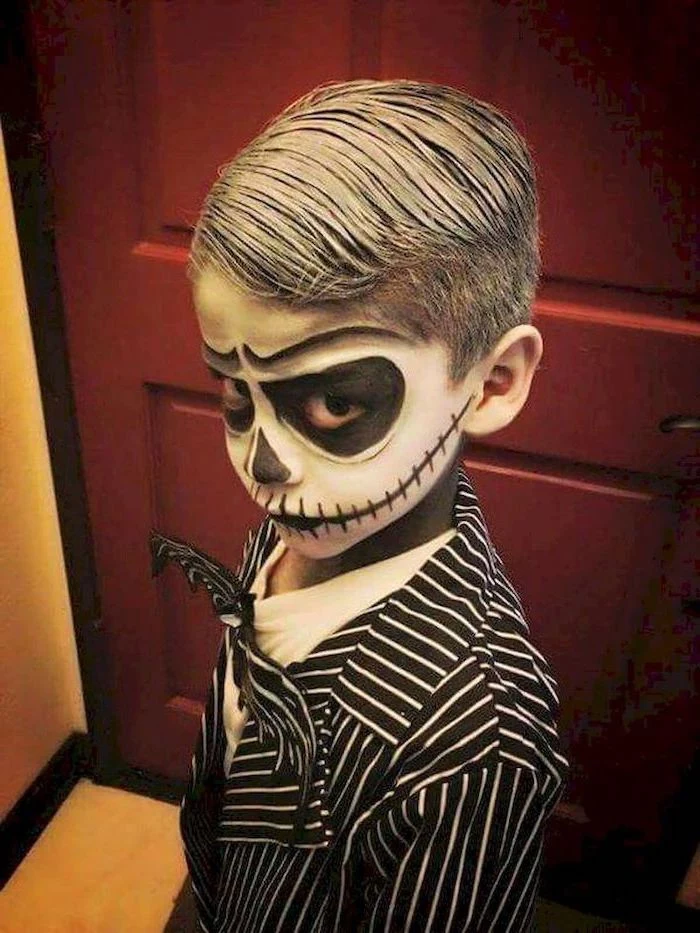
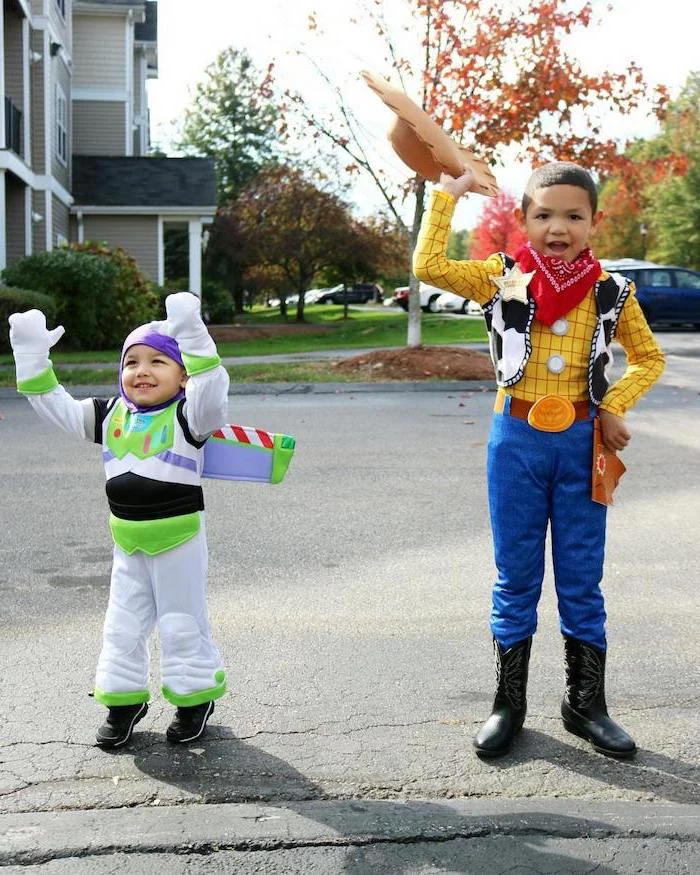
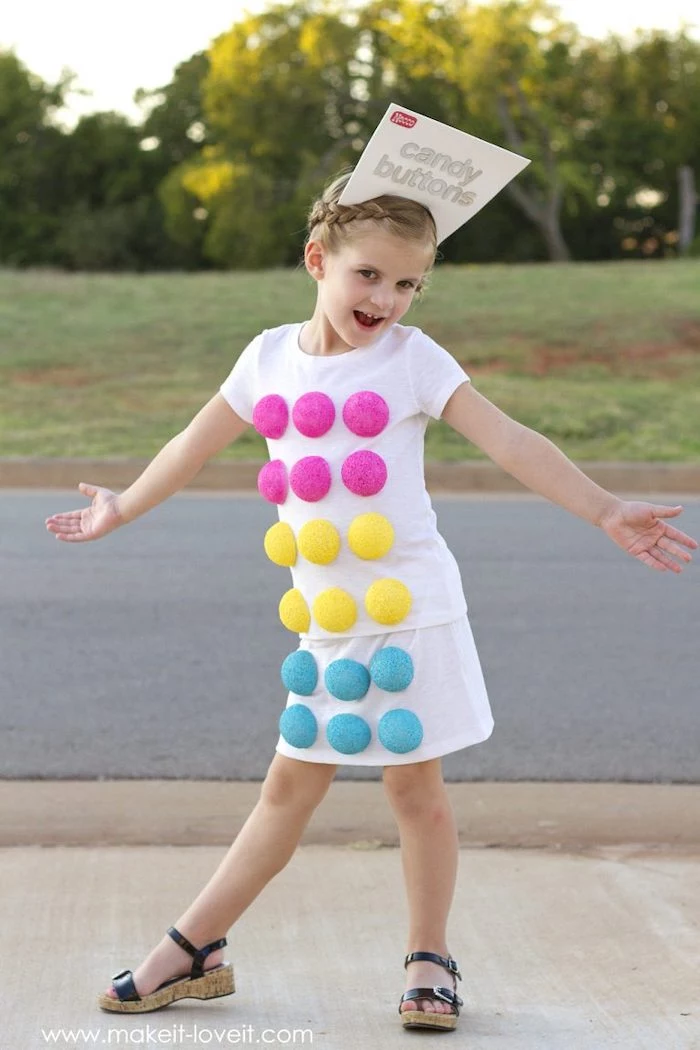
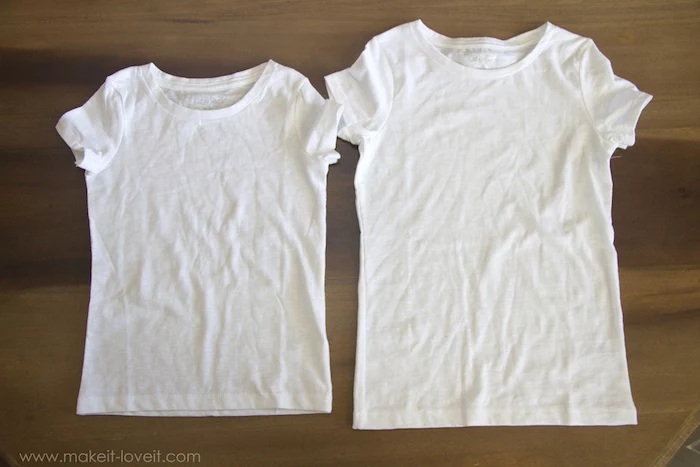
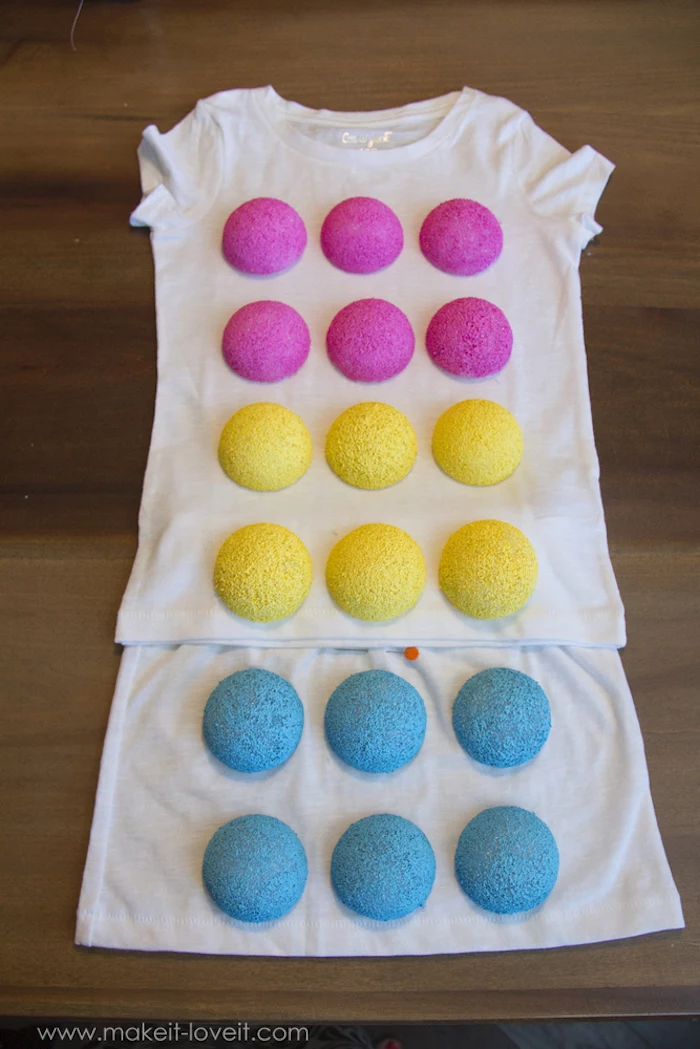
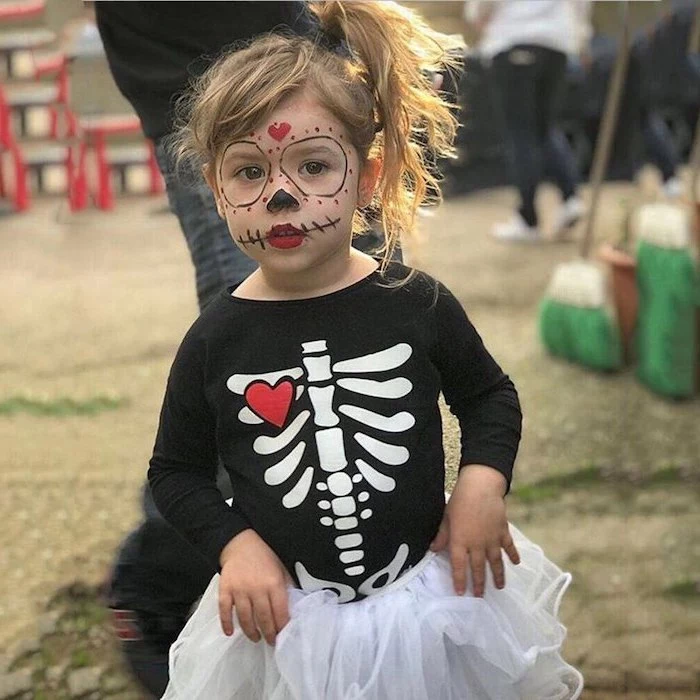
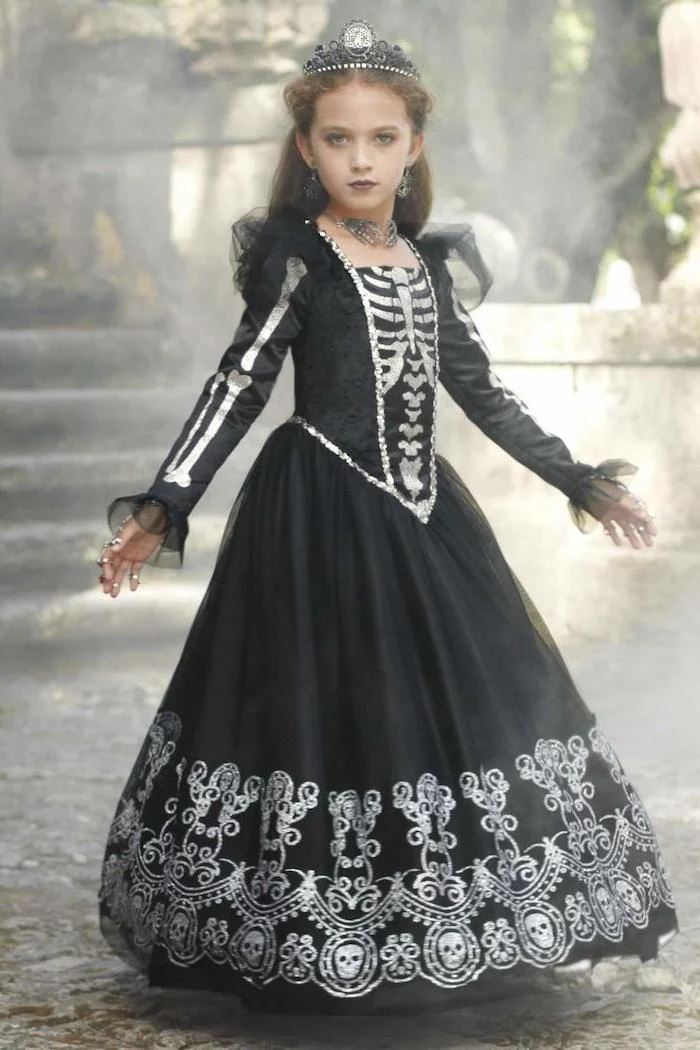
The humble sweatsuit or a basic t-shirt and leggings set is the ultimate costume foundation. It’s comfortable, readily available, and a perfect blank canvas. You can glue or pin elements directly onto it to create anything from a spooky skeleton (with white felt bones) to a colorful Pokémon without having to construct a garment from scratch.
- Can they see? Make sure mask eye-holes are large enough and don’t obstruct peripheral vision.
- Can they walk? Hem capes, dresses, and trousers to prevent tripping.
- Can they be seen? Add a strip of reflective tape to the front and back.


Never underestimate the power of a pool noodle. Seriously. It’s the secret to so many 3D costume elements. Cut it into sections for robot arms, slice it lengthwise for armor trim, or bend it into a circle for a planet’s rings. It’s lightweight, cheap, and easy to paint!

How do I attach armor or accessories to a shirt without ruining it?
VELCRO Brand Sticky Back for Fabrics is your best bet. One side sticks firmly to your foam armor piece, and the other attaches to the fabric. It’s strong enough for a night of trick-or-treating but can be peeled off the clothing later. For heavier items, consider using small, powerful neodymium magnets—one glued to the accessory, and its partner placed on the inside of the shirt.
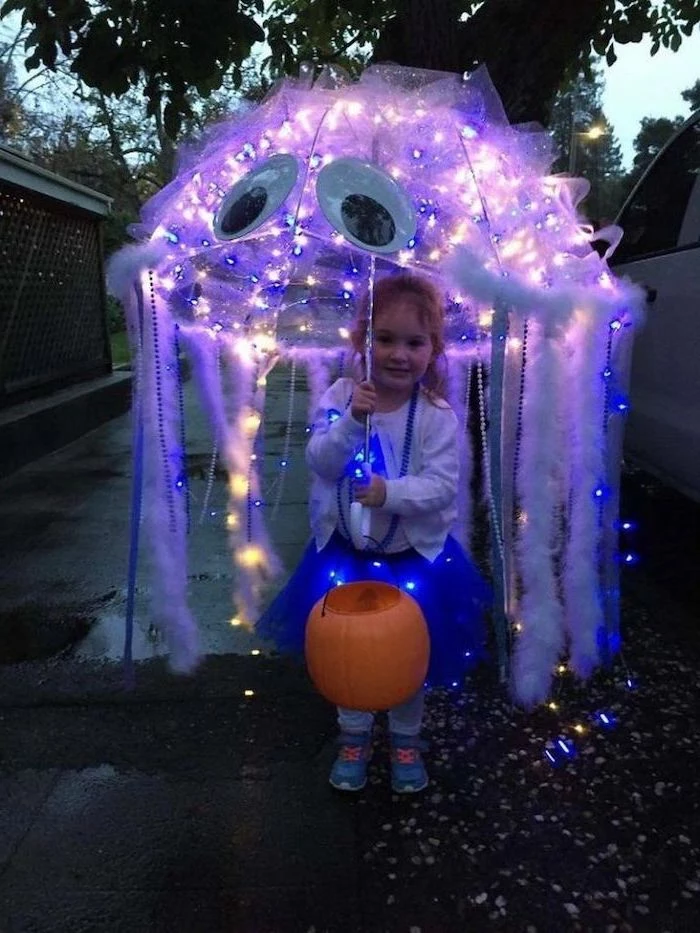
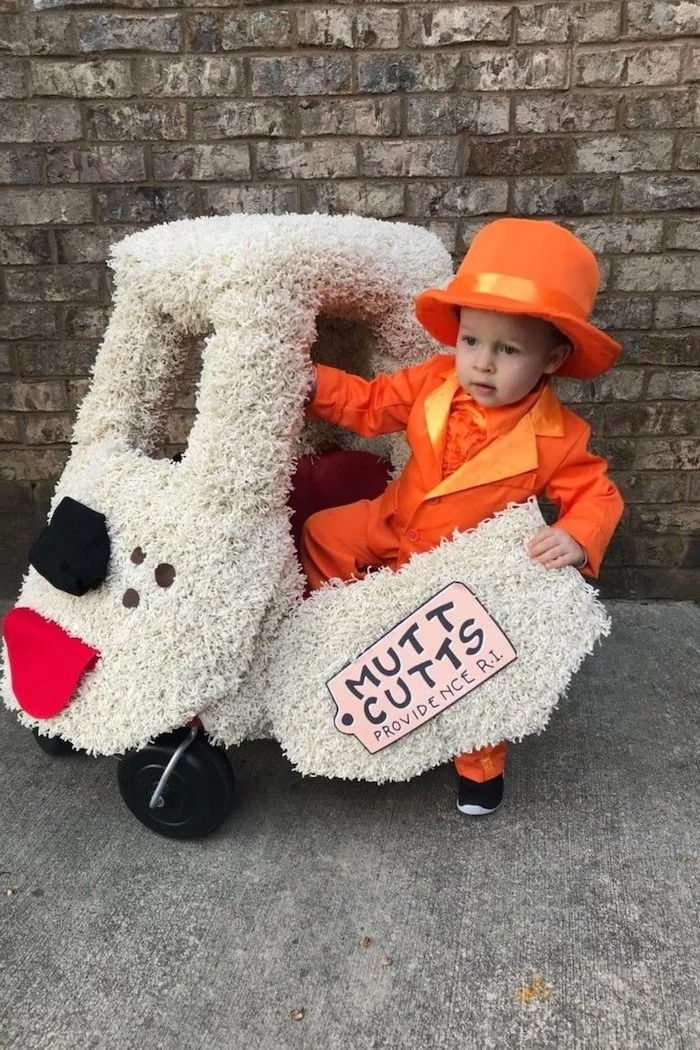
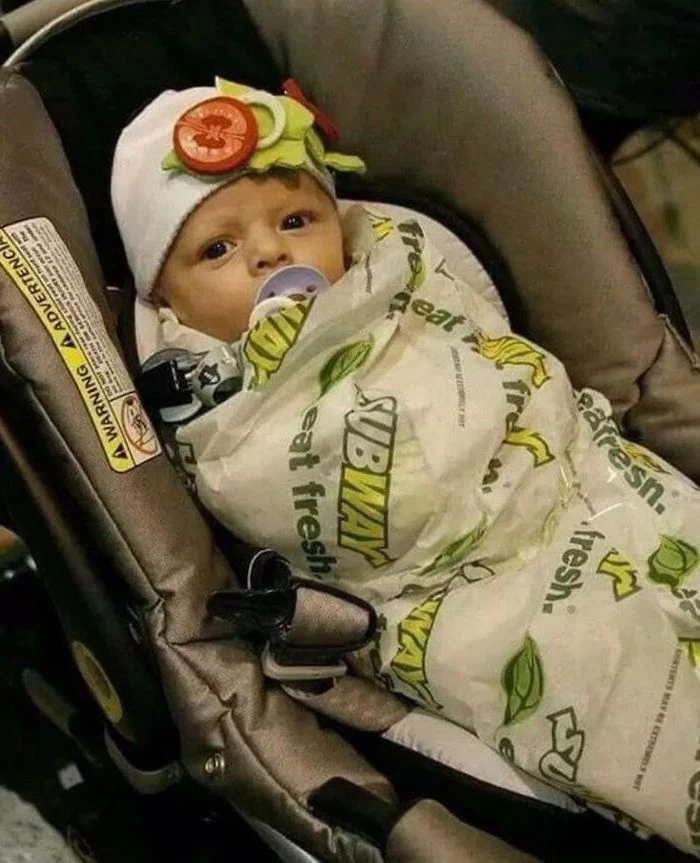
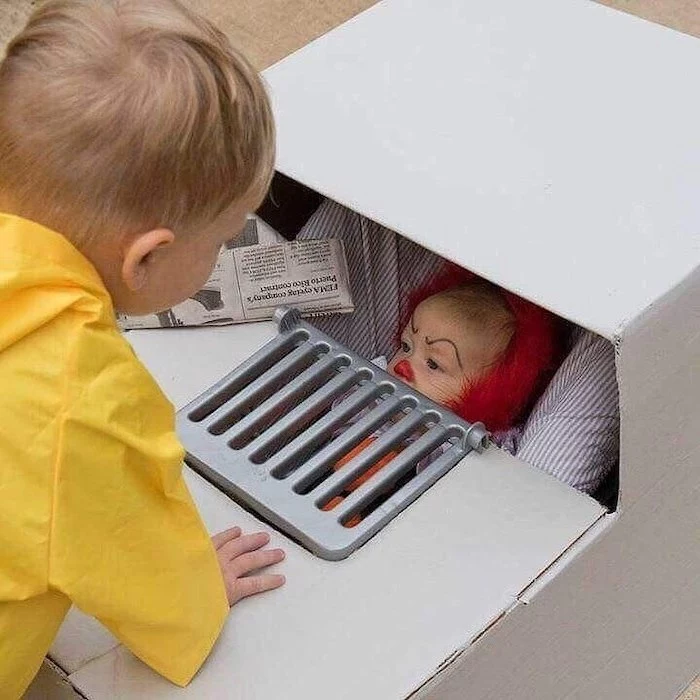
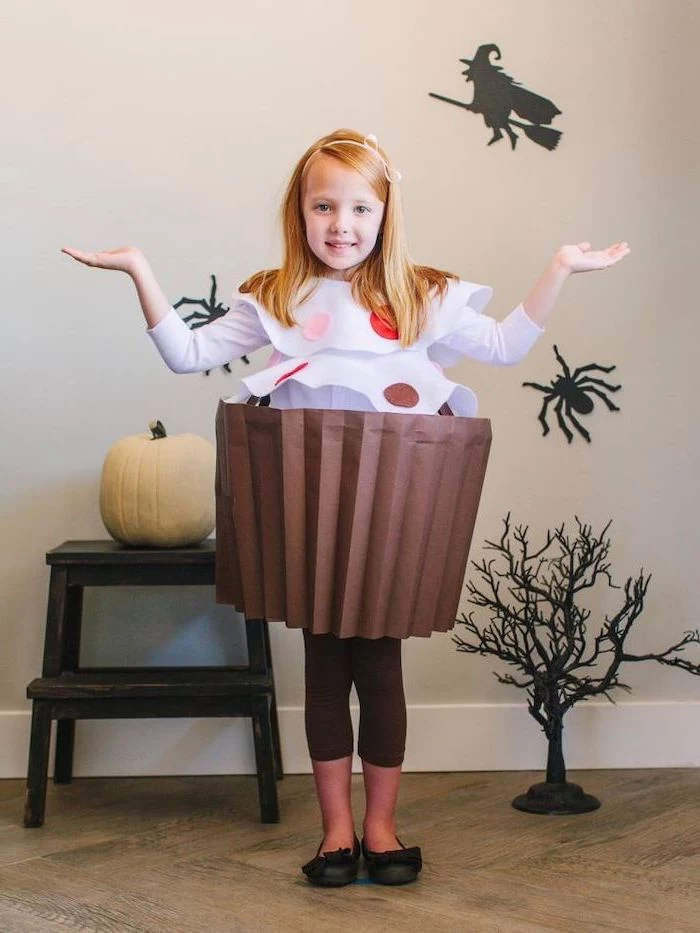
Think beyond specific characters. Some of the most memorable costumes are based on concepts. How about a fluffy rain cloud made from polyester batting glued to a blue sweatsuit, with yellow felt lightning bolts? Or a walking box of popcorn using a cardboard box and crumpled yellow-and-white paper? It’s a chance to get truly creative.