Pumpkin Carving Secrets: How to Create a Masterpiece That Actually Lasts
I’ve carved more pumpkins than I can count. We’re talking everything from those tiny gourds you can hold in one hand to behemoths that required a team lift. And over time, I’ve learned that a great jack-o’-lantern has very little to do with being a perfect artist and everything to do with the process. It’s about picking the right canvas, using the right tools, and knowing a few tricks to keep it from turning into a fuzzy, collapsed mess in three days.
In this article
You see a lot of quick tips online, but they often skip the ‘why.’ So, let’s go deeper. This is the stuff I teach in workshops—the methods that turn a messy, frustrating chore into a tradition you’ll actually look forward to.
By the way, before you even head to the patch, let’s talk basics. Here’s a quick shopping list to get you started:
- A good pumpkin: Expect to pay anywhere from $5 for a medium one to $20+ for a real giant.
- Carving tools: A basic kit from the grocery store is about $5, but I seriously recommend upgrading. A beginner’s wood or linoleum carving set from an art supply store or online will run you about $20-$30 and will completely change your game.
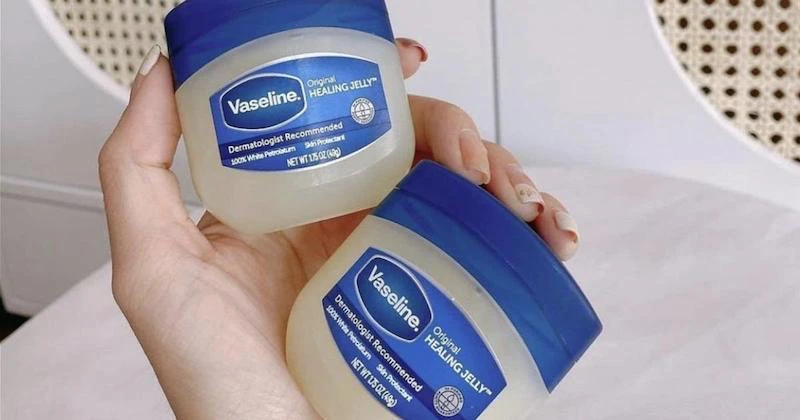
- Preservation supplies: A small tub of petroleum jelly (like Vaseline) and a bottle of household bleach will cost you under $10 for both.
- Lighting: A pack of battery-powered LED lights usually costs between $3 and $5.
Step 1: Choose Your Pumpkin Wisely
Your masterpiece is only as good as the pumpkin you start with. A bad choice means a faster rot time and a lot more frustration. Honestly, this is the most important step.
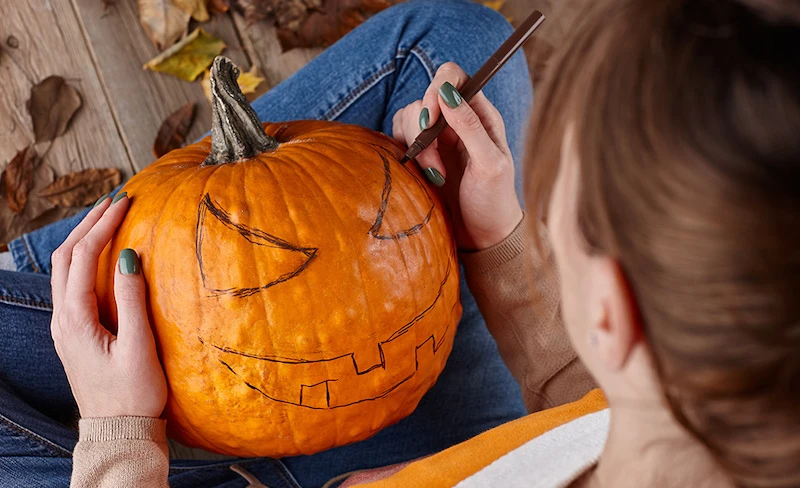
First off, look for the classic, bright orange carving pumpkins. The pros bred these varieties to have thinner walls and bigger, hollow cavities, making them way easier to work with. Steer clear of the small, heavy ones labeled ‘sugar’ or ‘pie’ pumpkins. Their walls are super thick and dense, which is great for baking but a nightmare for carving. They are, however, excellent for painting!
Here’s what I do for a hands-on inspection:
- Give it a Tap: Give the pumpkin a good, firm knock. You want to hear a deep, hollow sound. If it’s a dull thud, the walls might be too thick, or worse, it could be rotting from the inside.
- Check the Stem: The stem is its lifeline! Look for one that’s firm, dry, and green. A shriveled or soft stem means the pumpkin is old and already on its way out. I never, ever buy one with a broken or missing stem—that’s just an open door for mold.
- Feel for Soft Spots: Run your hands all over it. Any soft spots, deep cuts, or bruises are red flags. That’s where decay will start first. A little surface scratch is fine, but anything mushy is a hard pass.
- Flip It Over: Check the bottom. It should be firm and dry. If it’s been sitting in a damp spot, it may have already started to soften up, which is a very common point of failure.
- Consider the Shape: Make sure it has a flat bottom so it doesn’t wobble while you’re carving (super important for safety!). Also, think about your design. Tall and narrow for a spooky face? Short and wide for a whole scene? Pick a shape that works for your idea.
Quick tip: Once you get your pumpkin home, store it in a cool, dry place like a garage or basement until you’re ready to carve. Don’t leave it on a sunny porch for a week, or it’ll start to soften up before you even begin.
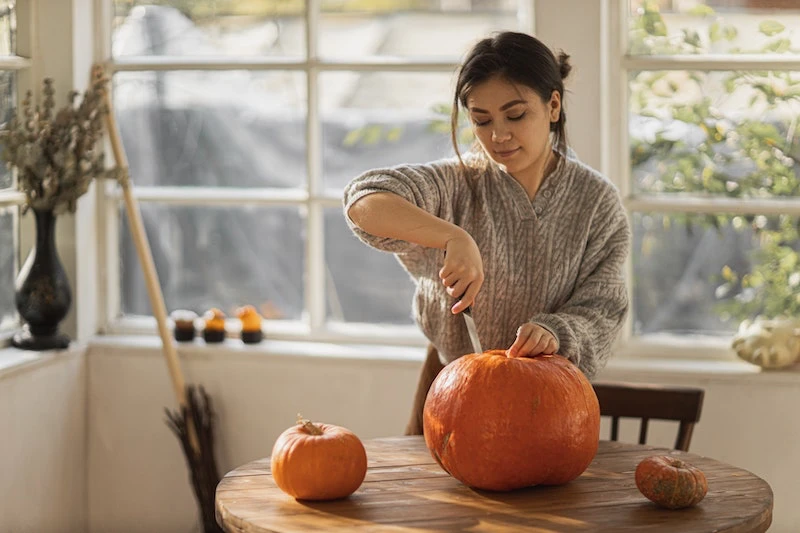
Step 2: Set Up Your Carving Station
Before you make a single cut, get your workspace ready. It makes cleanup a breeze and the whole process safer. My biggest piece of advice? Sit down! Carving while standing is awkward, your arms get tired, and you have way less control if a tool slips. I always sit at a sturdy table with the pumpkin braced in my lap.
My setup is pretty simple:
- Cover Your Surface: A few layers of newspaper or a cheap plastic tablecloth are perfect. When you’re done, just roll it all up and toss it. Easy.
- Lay Out Your Tools: Have your saws, scoops, and a cloth all laid out and ready to go. You don’t want to be digging through a drawer with pumpkin-guts-covered hands.
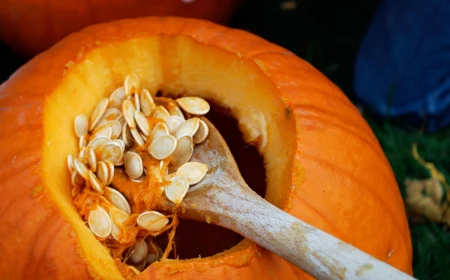
- Use Two Bowls: This is a game-changer. One big bowl is for the stringy pulp you’ll throw away. The other is just for seeds. If you plan on roasting them, separating them from the start saves a ton of time.
And of course, a heads-up on safety: Sharp tools and rolling pumpkins don’t mix well with curious kids or pets. Make sure your carving zone is clear before you start.
Step 3: The First Cut (From the Bottom!)
I know, I know. Tradition says you cut a lid around the stem. I used to do it that way, too. But trust me, once you try cutting from the bottom, you will never go back. It’s better for the pumpkin’s health and makes your life so much easier.
The stem actually keeps feeding the pumpkin tiny amounts of moisture and nutrients, even after it’s picked. When you cut the stem off, you sever that connection, and the pumpkin starts to dehydrate and shrink much faster. That’s why top lids always end up falling inside! Cutting a hole in the bottom leaves the stem intact, helping your jack-o’-lantern stay firm for longer.
Plus, there are other perks. A flat cut on the bottom means it sits perfectly level. And for cleaning? All the guts and seeds just fall right out. No more awkward scooping through a tiny hole. Best of all, lighting it is a piece of cake. You just place your light on the ground and lower the pumpkin over it. No more singed knuckles from trying to lower a candle into a deep cavern.
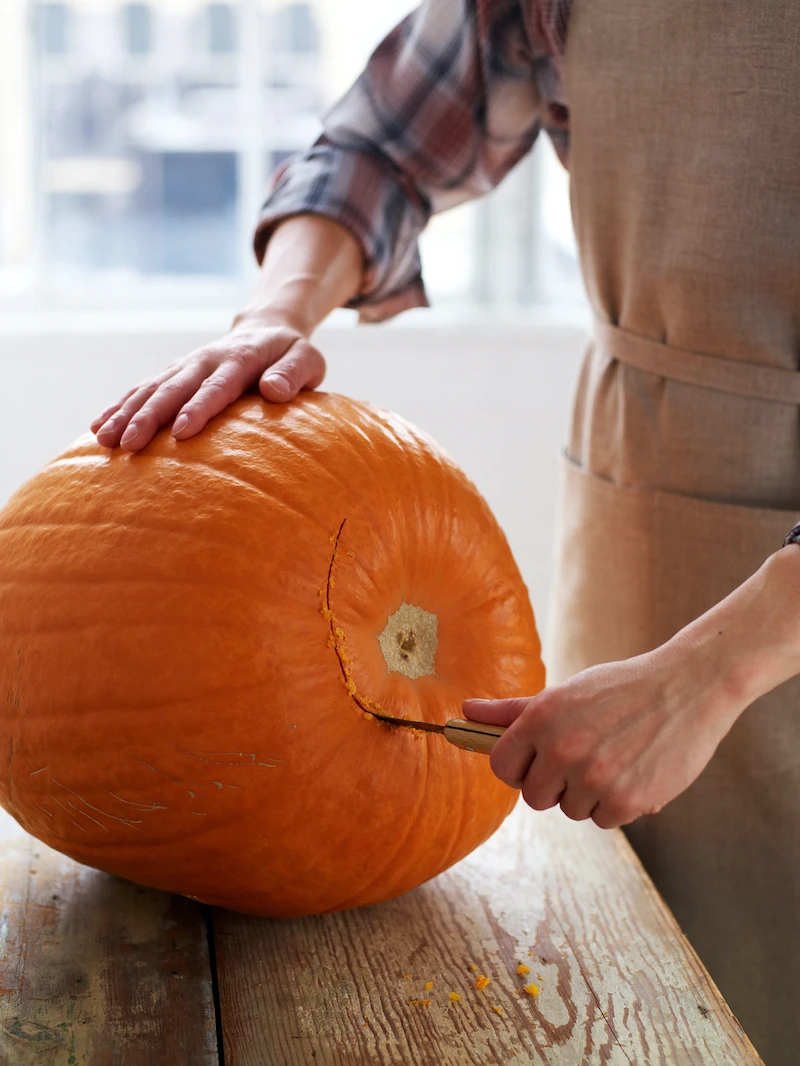
Use a sturdy, serrated knife for this—a small keyhole saw is fantastic. When you cut your circle on the bottom, angle the blade inward toward the center. This creates a little ledge so the bottom piece doesn’t fall through when you set it down.
Step 4: A Thoroughly Clean Interior
Getting the inside clean isn’t just about making space; it’s the number one thing you can do to prevent rot. That stringy, wet pulp is a five-star hotel for mold.
This whole process—cutting the hole, scooping, and scraping the walls smooth—should take you about 30-45 minutes. Put on some music, because this is the most labor-intensive part!
- The Big Scoop: Start with a big, sturdy metal spoon or an ice cream scoop. The serrated scoops in higher-quality carving kits are great for grabbing onto those stubborn fibers. Get all the loose stuff out first.
- Scrape the Walls Smooth: This is the secret. You need to scrape the inner walls until they feel smooth, removing all the stringy bits. My favorite tool for this is a clay modeling loop tool you can find at any art store. They’re perfect for it. The goal is a uniform wall thickness of about one inch.
Oh, and whatever you do, please don’t try that ‘hack’ with a hand mixer. From experience, it’s a disaster waiting to happen. The blade can catch on a tough strand and yank the mixer right out of your hands. It also creates a massive mess and can tear the pumpkin wall.
Step 5: Transfer and Carve Your Design
The classic poker tool method is foolproof for transferring a pattern. Just tape your design onto the pumpkin and poke holes along the lines, about 1/8-inch apart. When you remove the paper, you have a perfect connect-the-dots outline. A lesser-known trick: lightly dust the surface with flour and wipe it away. The flour will stick in the tiny holes and make your pattern pop!
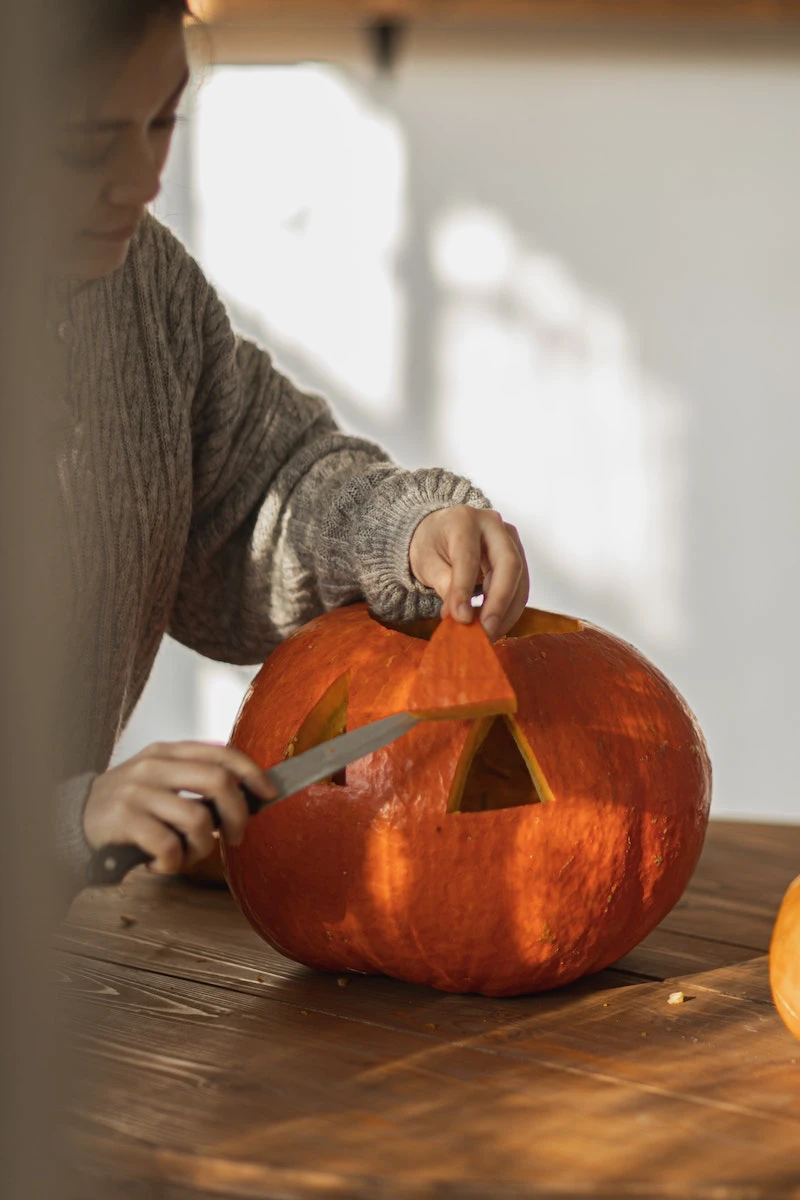
When it’s time to cut, here are a few rules I live by:
- Start in the Middle: Always carve the smallest, most central details of your design first. This keeps the pumpkin as strong as possible for as long as possible. If you cut out the big chunks first, the whole thing gets flimsy and hard to work on.
- Let the Saw Do the Work: Use a gentle sawing motion. Don’t force it. If you push too hard, the blade can snap.
- Push, Don’t Pry: Once a piece is cut, push it out from the inside. Prying it from the outside can tear the pumpkin or break off a chunk you didn’t mean to.
Want to take it to the next level? Try etching. That’s where you just scrape off the outer orange skin but leave the light-colored flesh underneath. It creates a beautiful, glowing, three-dimensional effect when lit. A lemon zester or a small gouge from a wood carving set works wonders for this.
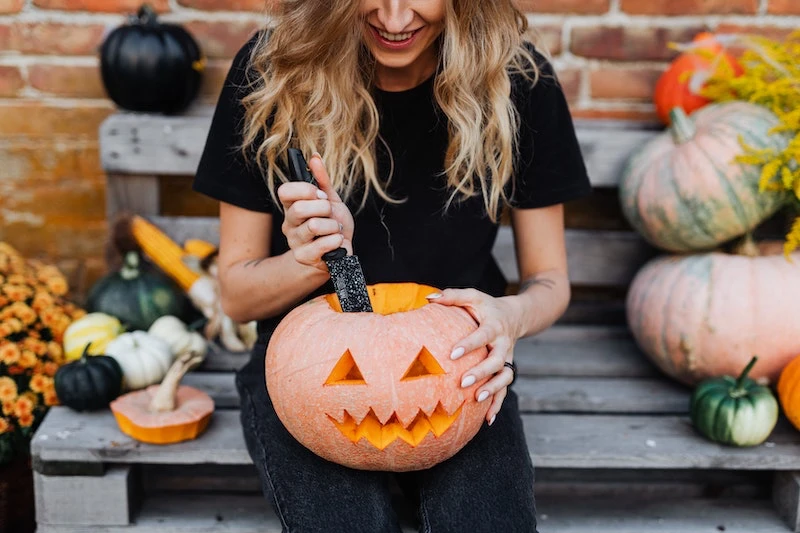
Step 6: Preservation and Pumpkin 911
Okay, your pumpkin is officially a work of art. Now, how do we make it last? Decay comes from two things: dehydration and mold. We have to fight both.
A simple, time-tested method is to apply a thin layer of petroleum jelly to all the cut edges. It seals in moisture and keeps mold out. I always do this, especially on detailed etched areas.
For maximum lifespan, though, a quick bleach bath is the ultimate pro move. It kills all the existing bacteria and mold spores. Just mix 1 tablespoon of bleach in 1 gallon of cold water. Submerge your carved pumpkin for about 5-10 minutes (wear gloves!), then let it air dry completely on a rack. To maintain it, you can give it a light spritz each day with a milder mix (1 teaspoon of bleach per quart of water).
Pumpkin 911: A Few Quick Fixes
- “I broke off a piece!” No worries! You can often reattach it with a couple of toothpicks. Just stick them into the broken piece and carefully push it back into place.
- “I see a spot of mold!” Catch it early! Dip a Q-tip in your bleach solution and spot-treat the area to stop it from spreading.
Remember, your climate matters. In a cool, dry area, a pumpkin might last close to two weeks. But in a warm, humid place, you might only get 4-5 days. It’s a battle against the elements!
Bonus Tip: Don’t Toss Those Seeds!
You went to all the trouble of separating them, so let’s make a delicious snack. It’s super easy.
- Clean and Dry: Rinse the seeds in a colander to get all the pumpkin gunk off. Then, pat them as dry as you can with a paper towel. This is key for getting them crispy.
- Season ‘Em Up: Toss the dry seeds in a bowl with a tablespoon of olive oil or melted butter. Then add your seasonings. A sprinkle of sea salt is classic, but you can also add garlic powder, paprika, or a bit of cayenne for a kick.
- Roast Low and Slow: Spread them in a single layer on a baking sheet. Roast in a 300°F (150°C) oven for about 20-30 minutes, stirring them halfway through, until they’re golden brown and crunchy. Let them cool before you eat them!
The Final Glow-Up
For a final touch, sprinkle a little cinnamon or pumpkin pie spice on the inside of your pumpkin’s ‘ceiling’ (if you cut from the top) or on the inside base near the candle. The heat will warm the spice and make your whole porch smell like autumn.
Now for the big debate: candle or LED? To be frank, it depends on what you value more. A real candle offers that classic, flickering ambiance that nothing can quite replicate. But the heat will slowly cook your pumpkin from the inside, shortening its life. And of course, it’s a real fire hazard. I once saw a whole porch display go up in flames from one tipped-over jack-o’-lantern. Never, ever leave a lit candle unattended.
For safety and longevity, battery-operated LED lights are the undisputed winner. They produce zero heat, so your pumpkin lasts longer, and you can leave them on without a worry. You can even find flickering amber ones that look remarkably like the real thing.
And there you have it. Carving a pumpkin is more science than art, but don’t get hung up on perfection. Just enjoy the process, the smell of fall, and the fun of bringing a little spooky light to a dark night.
Inspiration:
My printed pattern always slips or tears when I try to tape it to the pumpkin. What’s the secret to transferring a design cleanly?
Tape is the enemy of a curved surface! Instead, trim your paper pattern, leaving a small border. Lightly dampen the paper (a quick spritz of water works) so it better conforms to the pumpkin’s shape. Secure it with a few thumbtacks. Then, use an awl or the poker tool from a dedicated carving kit (brands like Warren or Sculpey make excellent ones) to prick holes along all the lines of your design, right through the paper into the pumpkin’s skin. Once you remove the paper, you’ll have a perfect dot-to-dot guide to follow with your carving tools. No smudges, no slipping.