What Your Hair Stylist *Wishes* You Knew Before Your Color Appointment
Alright, let’s have a real chat. After years and years behind the chair, I can tell you that choosing a new hair color isn’t as simple as pointing to a picture on Pinterest. It’s a collaboration. It’s a delicate dance between your hair goals, the laws of chemistry, and your actual daily life. I’ve seen the pure joy on a client’s face after a perfect color transformation, but I’ve also spent countless hours on color corrections, fixing jobs that went south because the groundwork wasn’t laid properly.
In this article
So, think of this as the honest, no-fluff consultation we’d have before a single drop of color gets mixed. My goal is to arm you with the inside scoop so you can walk into any salon, chat confidently with a stylist, and leave with a color that looks amazing on day one—and just as good a few months later. Because beautiful color is, first and foremost, healthy hair.
First, Let’s Talk About Your Hair (The Canvas)
Before we even dream of balayage or babylights, we need to get to know your hair. Understanding a bit of the science behind it all isn’t just for pros; it helps you grasp why some looks are a one-and-done deal, while others are a long-term relationship. Honestly, every decision we make starts here.
Hair’s Structure and Natural Color
Your hair isn’t just a single thread. It’s layered. The outside layer, the cuticle, acts like overlapping shingles on a roof. For any color to do its job, we have to gently lift those shingles to get to the good stuff inside—the cortex. This is where your natural hair pigment, called melanin, lives.
There are two key types of melanin hanging out in there:
- Eumelanin: This one’s in charge of the dark stuff, giving you all the black and brown tones.
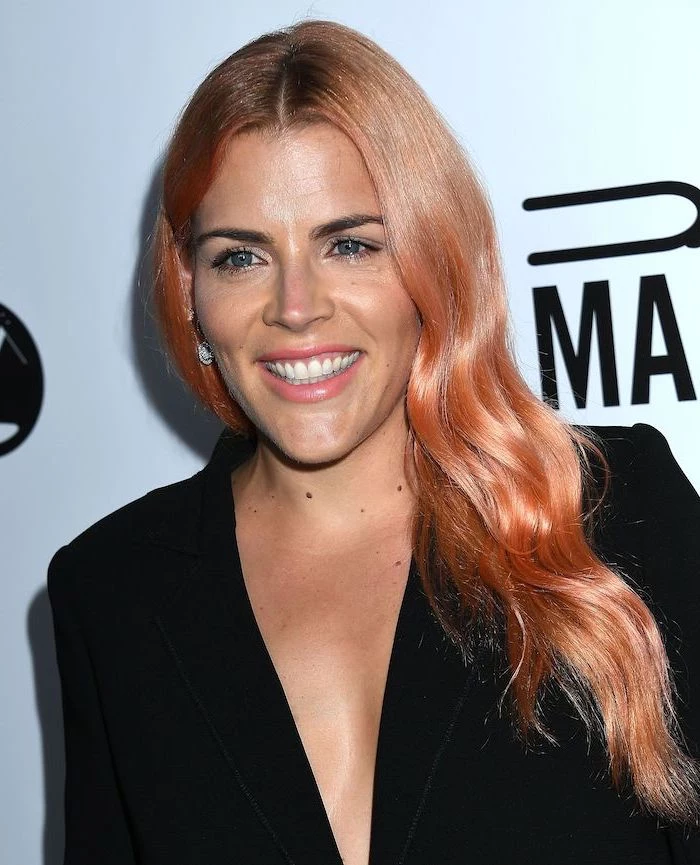
- Pheomelanin: This pigment brings the heat with red and yellow tones.
Everyone’s got a unique mix. A natural brunette has a ton of eumelanin, while a redhead is rocking mostly pheomelanin. When we lighten hair, we’re actually breaking down these melanin molecules. And as we do, we always expose the underlying warm tones (think red, orange, and then yellow). This is exactly why a good toner is a blonde’s absolute best friend.
The Level System: Our Universal Language
In the salon world, we use a simple number system from 1 to 10 to talk about how light or dark hair is. It keeps us all on the same page.
- Level 1: Black
- Level 3: Darkest Brown
- Level 5: Medium Brown
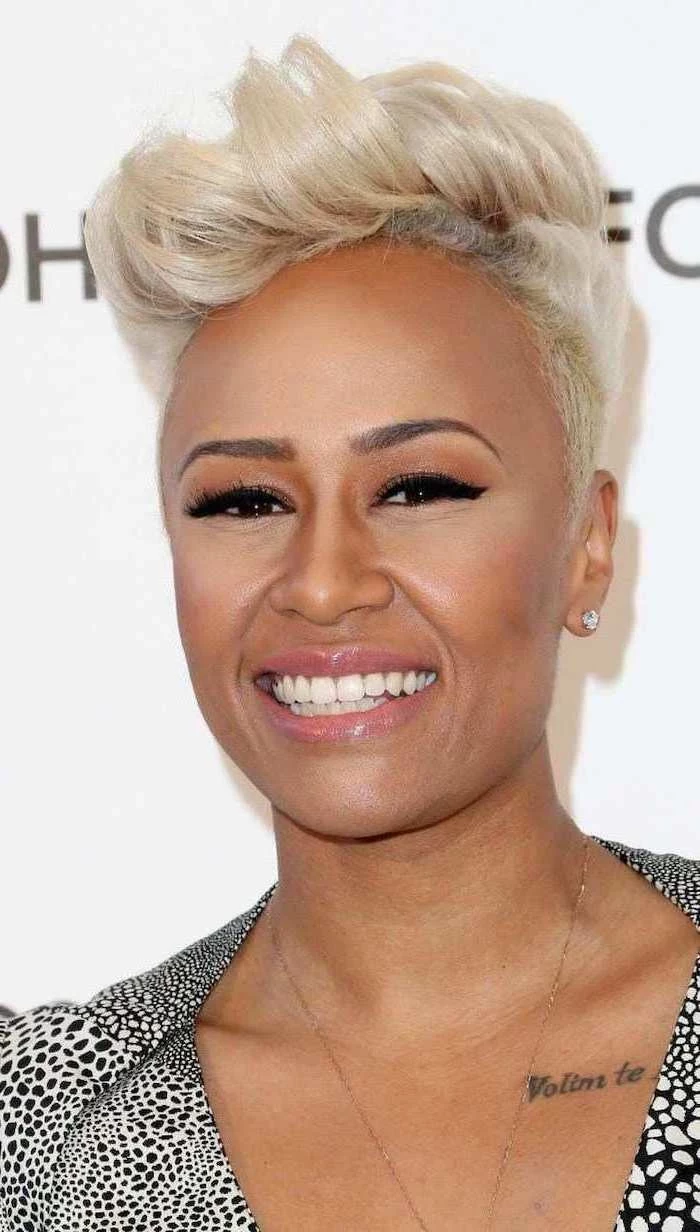
- Level 7: Medium Blonde
- Level 10: Lightest Blonde (think inside of a banana peel)
This system is our roadmap. If you walk in with Level 3 hair and a dream of being a Level 9 blonde, I immediately know we have to lift your hair six whole levels. Heads up: that is NOT happening in a single appointment if we want to keep your hair on your head. A two-level jump? Easy. A six-level jump? That’s a serious commitment of time, money, and hair care.
The Chemistry: What’s in the Bowl?
Hair color isn’t just paint we slap on. We mix it with a developer (which is a form of hydrogen peroxide) to make it work. The developer’s job is to open up that shingle-like cuticle and activate the color. We use different strengths, or “volumes,” for different jobs.
- 10 Volume: Super gentle. We use this mostly for depositing color when we don’t need any lift. It’s perfect for toning or going darker.
- 20 Volume: This is the salon workhorse. It’s our go-to for standard gray coverage and lifting the hair 1-2 levels.
- 30 Volume: Gives us more power, lifting 2-3 levels. You’ll see this used for brighter blondes, usually inside foils.
- 40 Volume: The big guns. It provides the most lift, but it’s powerful. To be frank, I almost never use 40 volume developer directly on someone’s scalp. The risk of irritation or even a chemical burn is just too high. It’s a tool for pros to use carefully, typically for off-scalp techniques like balayage on very dark, coarse hair.
By the way, this is why box dye is such a gamble. Most kits come with a one-size-fits-all strong developer, often 30 or 40 volume, to ensure it works on the widest range of hair. That might be way too aggressive for your hair, causing a ton of unnecessary damage.
The Colorist’s Toolkit: It’s All About Technique
Once we know your hair, we can pick the right tools for the look you want. People often use terms like balayage and ombré interchangeably, but to us, they are totally different techniques with very different price tags and upkeep schedules.
All-Over Color (Single Process)
This is the most straightforward service: one color, applied from your roots to your ends. It’s fantastic for covering grays, enriching your natural shade, or making a dramatic change to a darker color.
Best for: Full gray coverage, going darker, or shifting your overall tone.
Maintenance: Expect to be back for a root touch-up every 4 to 8 weeks, depending on how fast your hair grows.
Traditional Highlights vs. Balayage
Okay, this is a big one. Let’s break down the two most popular lightening services, because they are not the same.
Traditional Highlights involve weaving out sections of hair, painting them with lightener, and wrapping them in foil. The foil traps heat, letting us get the maximum amount of lift. This creates a defined, consistent pattern of lightness right from the root. It’s perfect for creating a classic, all-over blonde or adding high-contrast stripes. The initial service for a full head of foils can run anywhere from $200 to $400+ and take 3-4 hours. The catch? You’ll see roots and will likely need a touch-up every 6-10 weeks.

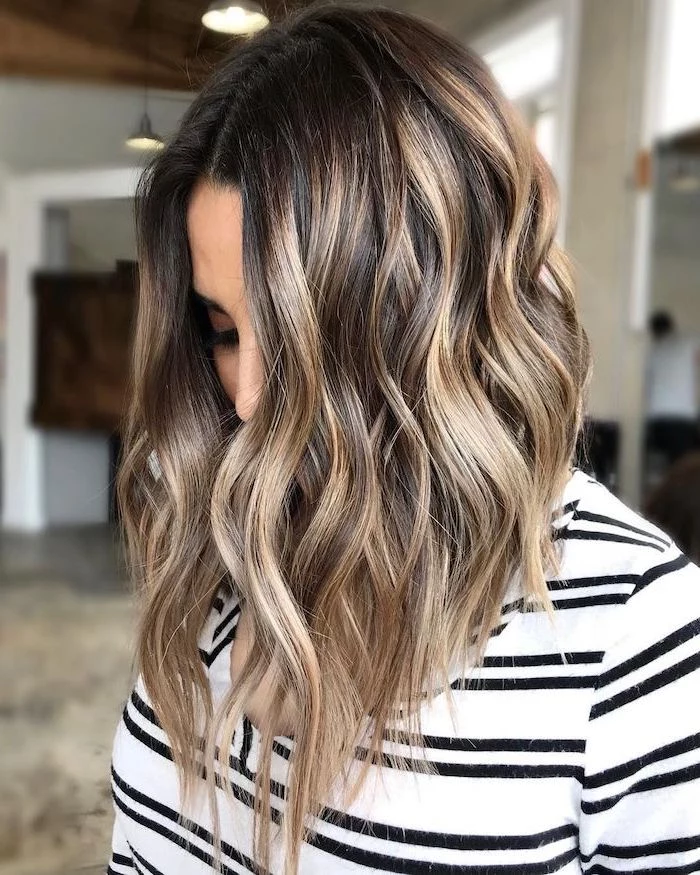
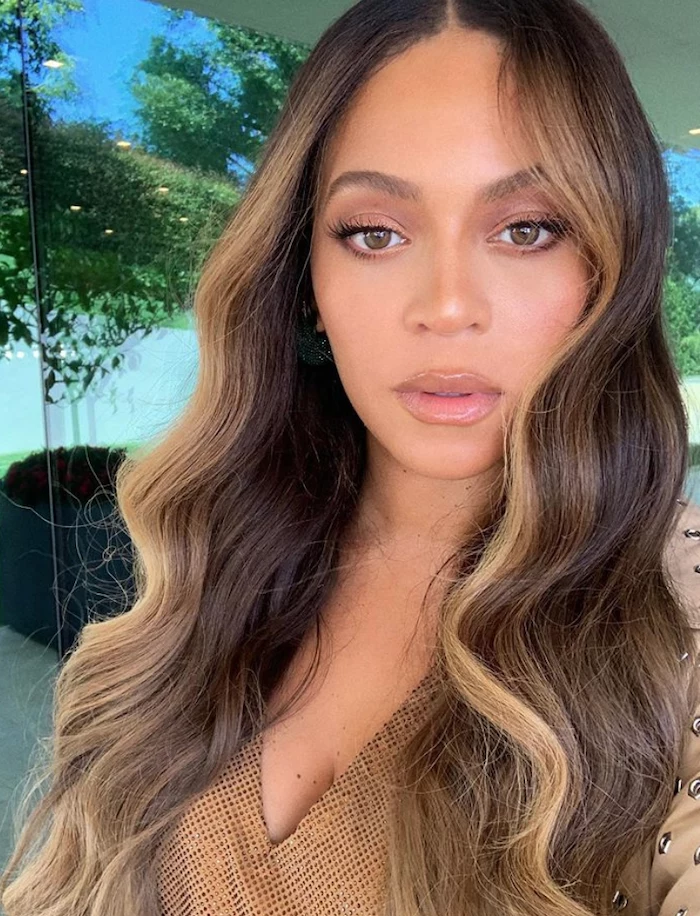
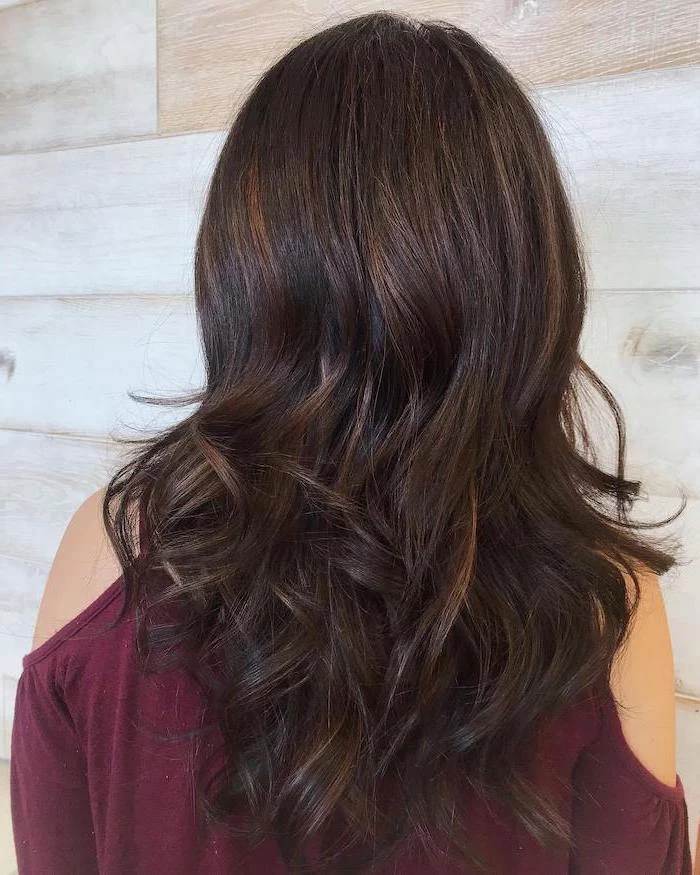
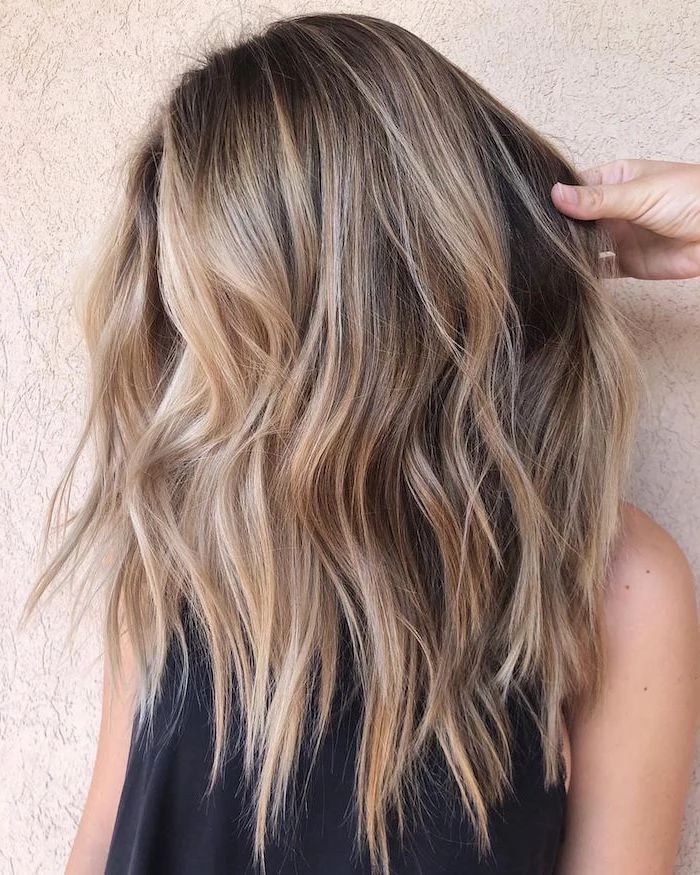
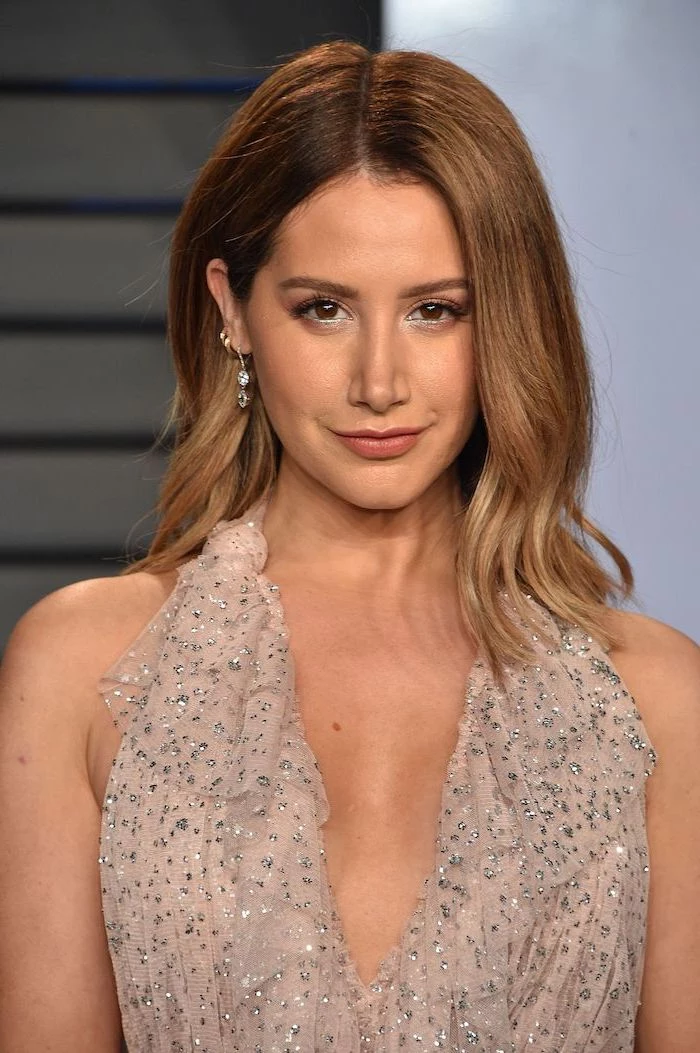
Balayage, on the other hand, is a French word that means “to sweep.” It’s a freehand painting technique where we sweep lightener onto the surface of the hair—no foils involved. This creates a much softer, more diffused, sun-kissed look that starts off your root. The magic is that it grows out beautifully without a harsh line. The upfront cost for balayage is often higher, typically in the $300 to $500+ range for a full session, and it’s a longer appointment, usually 4-6 hours. But here’s the payoff: you can go 3-6 months between major appointments, just coming in for a quick toner or gloss to refresh the color.
Finishing Touches: The Secrets to an Expensive-Looking Blend
Techniques like Root Shadowing or Color Melting are the secret sauce. After we lighten your hair, we can apply a gloss or semi-permanent color at the root that’s closer to your natural shade. We then blend or “melt” it down into the lighter color. This completely erases any harsh lines at the scalp and is the key to that effortless, “lived-in” look. I use this trick on almost all of my blonde clients because it buys them an extra month or two between appointments and keeps the color looking soft as it grows out.
The Consultation: Your Pre-Appointment Game Plan
A good stylist is part detective. To give you the best result, we need the full story. Being 100% honest during your consultation is the most important thing you can do for your hair. We’re not here to judge; we’re here to protect your hair’s health.
Step 1: Find Your Stylist
Before you even book, do a little recon. How do you find someone you can trust?
- Check Instagram: Look for stylists in your area and browse their work. Do you like their overall aesthetic? Crucially, do they post photos of the hair after it’s healed and grown out a bit? That’s a sign of confidence.
- Read Reviews: Look for recent reviews that talk about the consultation process and how the color held up over time.
- Book a Consultation First: A great stylist will be happy to have you come in for a 15-minute chat before committing to a multi-hour service. This is a huge green flag. A red flag? A stylist who seems rushed or dismisses your questions.
Step 2: Do Your Homework
To make our consultation super productive, you should come prepared.
- Bring Photos: Find 3 pictures of hair color you absolutely LOVE. Just as important, find 3 pictures of color you HATE. Knowing what you don’t want is incredibly helpful for us.
- Your Hair History: Be ready to confess everything you’ve done to your hair for the past few years. That black box dye from college? It’s probably still lingering in your ends. Previously colored hair lifts very differently from virgin hair, and hiding it can lead to disaster. (Seriously, some old dyes contain metallic salts that can have a bad reaction with professional lightener, causing it to smoke and literally melt the hair. It’s a preventable nightmare.)
- Show Up As You Are: Come to your appointment with your hair styled how you normally wear it. It gives us a realistic idea of your routine and skill level.

Step 3: Talk Budget & Lifestyle
This is a judgment-free zone. Can you realistically be in the salon every 6 weeks for a platinum root touch-up, or do you need a color that lets you go 6 months? A complex color service is an investment, so be upfront about what you’re comfortable spending on both the initial service and the upkeep. I would much rather give a client a gorgeous, low-maintenance balayage they can afford to maintain than a platinum look they can’t. You’ll be happier in the long run.
Your Post-Color Survival Guide
Getting the color is only half the battle. Keeping it looking fabulous requires a little TLC at home. Think of it as protecting your investment.
Your At-Home Starter Kit
You don’t need a million products, just the right ones. Here’s a basic shopping list:
- Sulfate-Free Shampoo: This is non-negotiable for preserving color. (Budget: $15-$30)
- Professional-Quality Conditioner: A good one will help seal that cuticle back down. (Budget: $20-$40)
- Heat Protectant Spray: If you use any hot tools, you need this. Period. (Budget: $15-$25)
- Weekly Deep Conditioning Mask: Use this once a week to restore moisture and strength. (Budget: $25-$50)
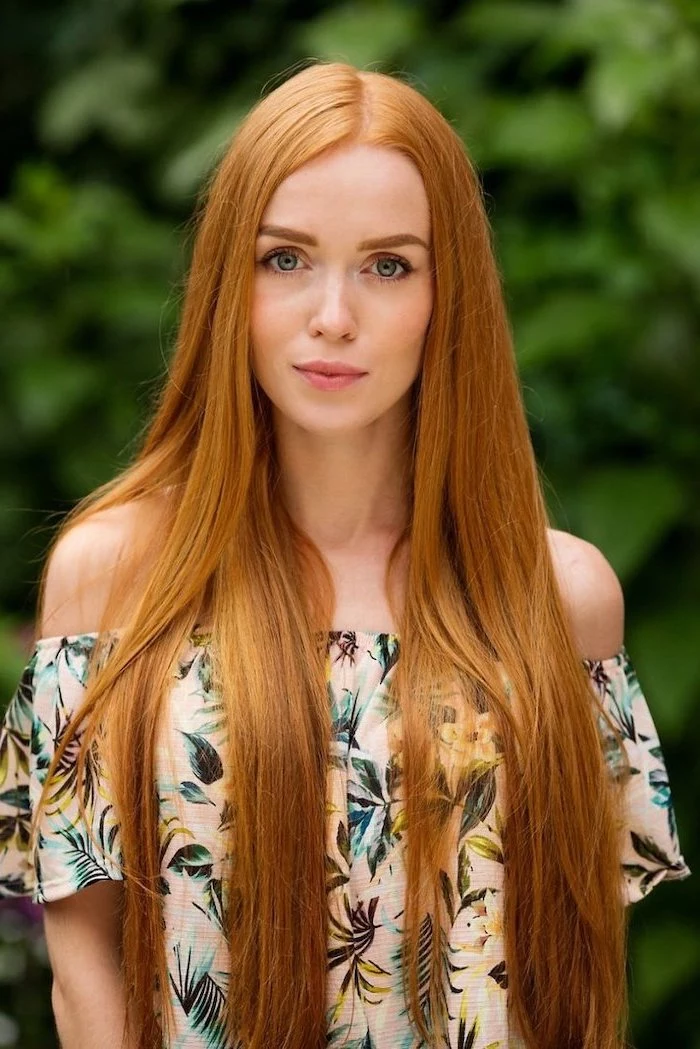
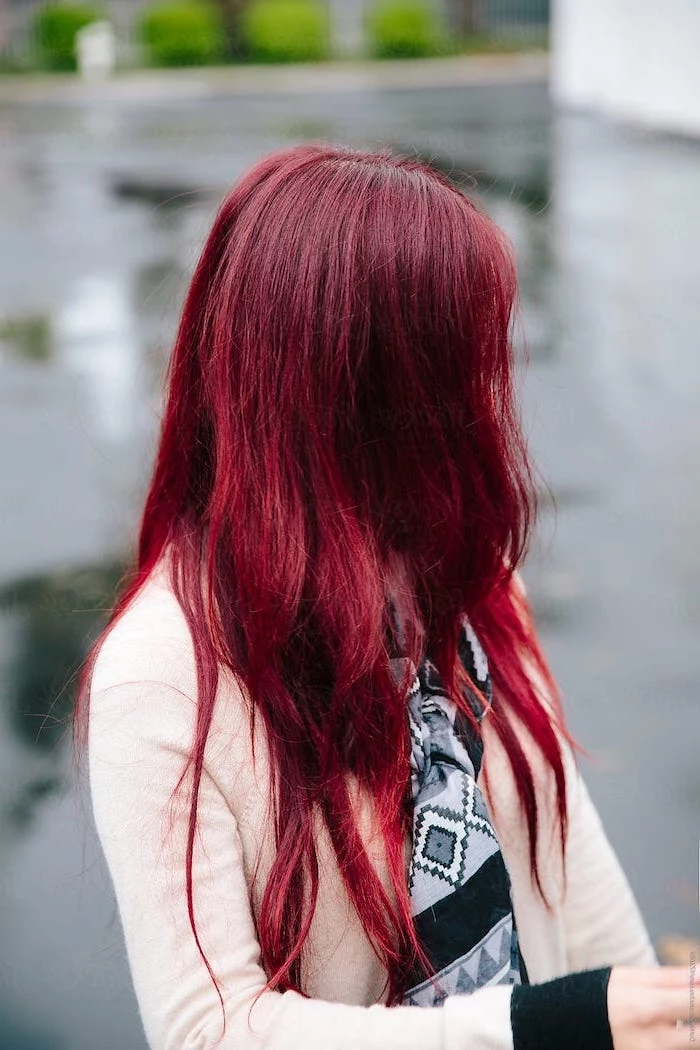
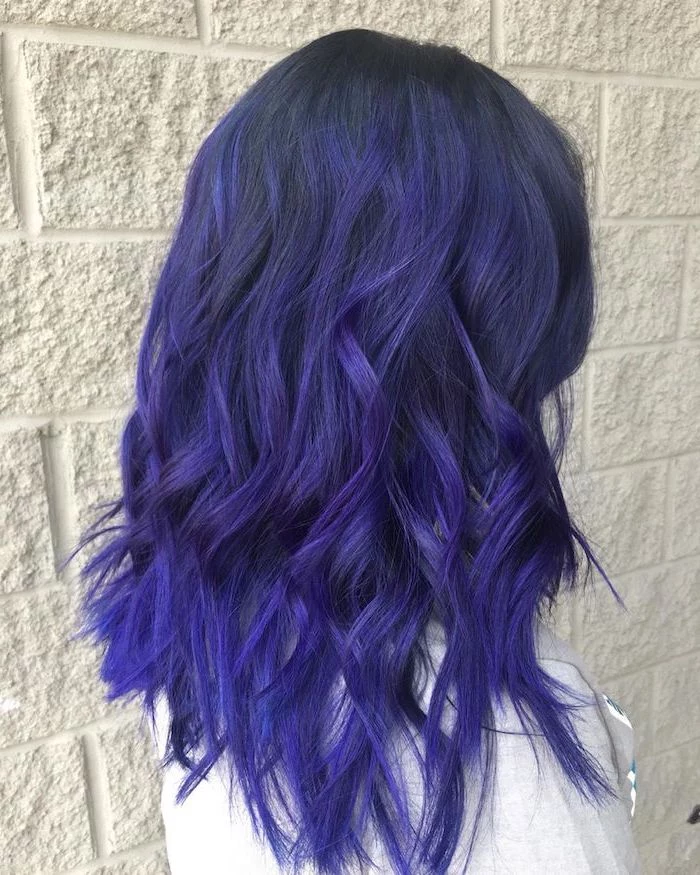
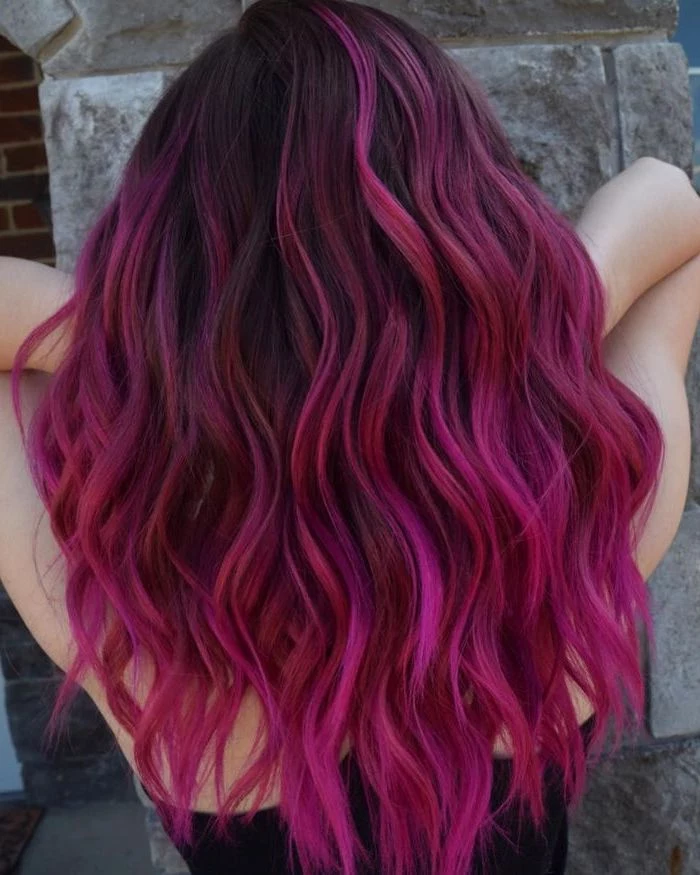
Oh yeah, for my redheads and anyone with vivids: a color-depositing conditioner is your new best friend. It will refresh your color between appointments. Look for brands like Keracolor Clenditioner or oVertone, which you can find online or at stores like Ulta.
A Quick Word on Tipping…
So many people get stressed about this, so let’s just clear it up! While never required, if you loved your service and your stylist, a standard tip in the industry is 18-22% of the total service cost.
Ultimately, choosing a new hair color is a partnership. When you’re armed with a little knowledge, you can work with your stylist to create a plan that respects your hair’s health, your lifestyle, and your vision. And that’s how you get a color you’ll truly love for months on end.
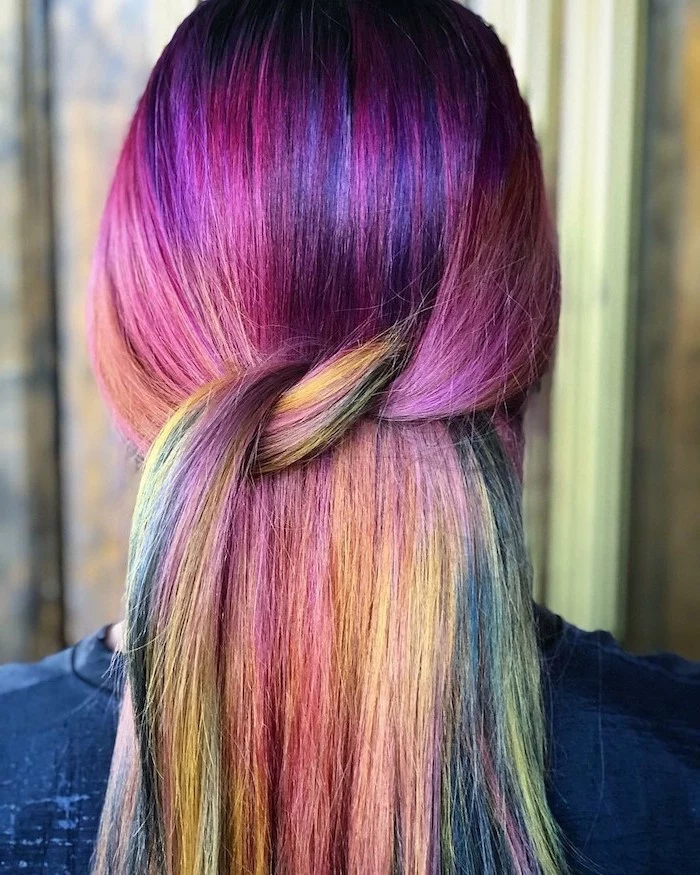
Inspiration Gallery


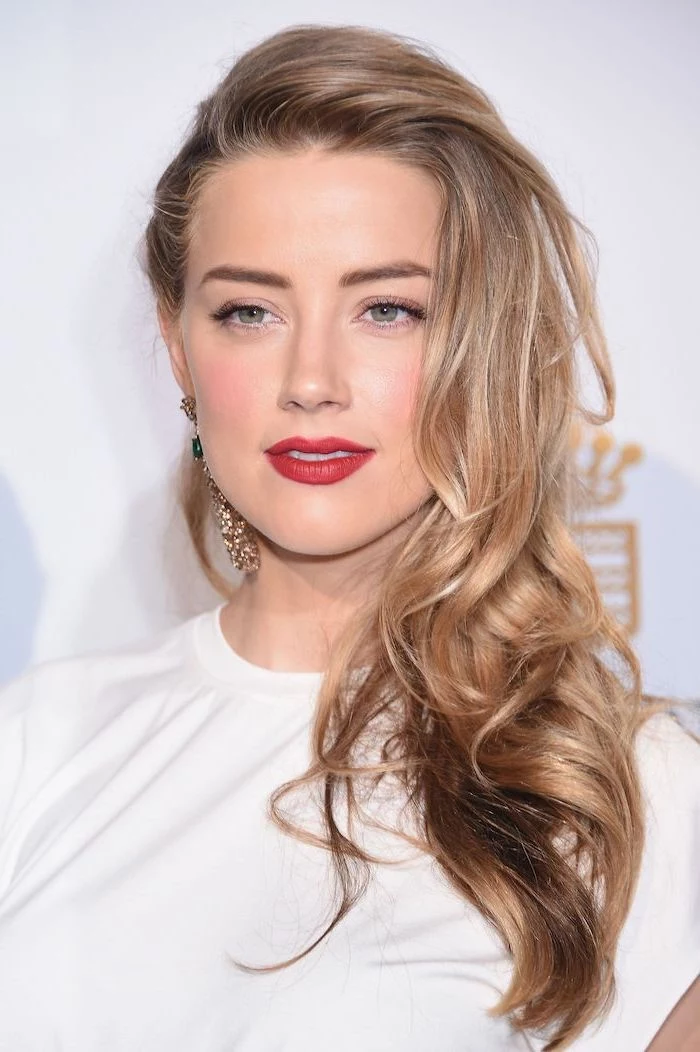
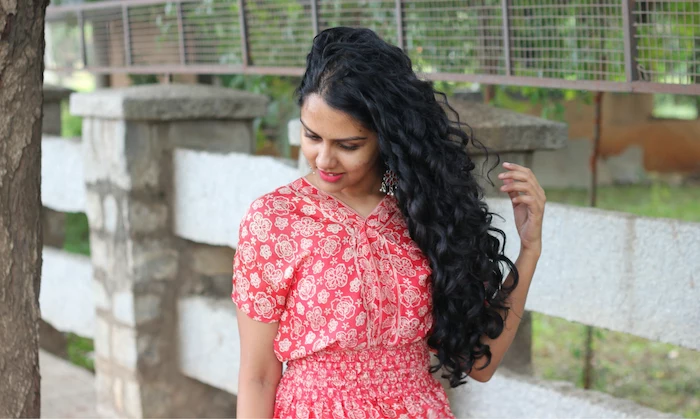
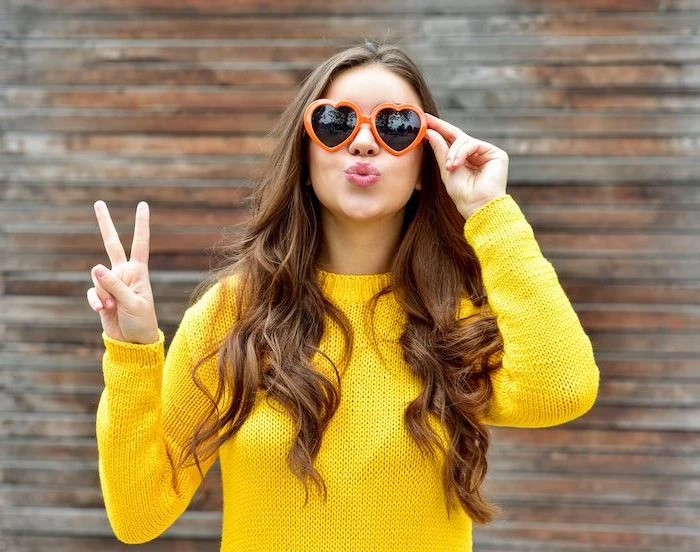
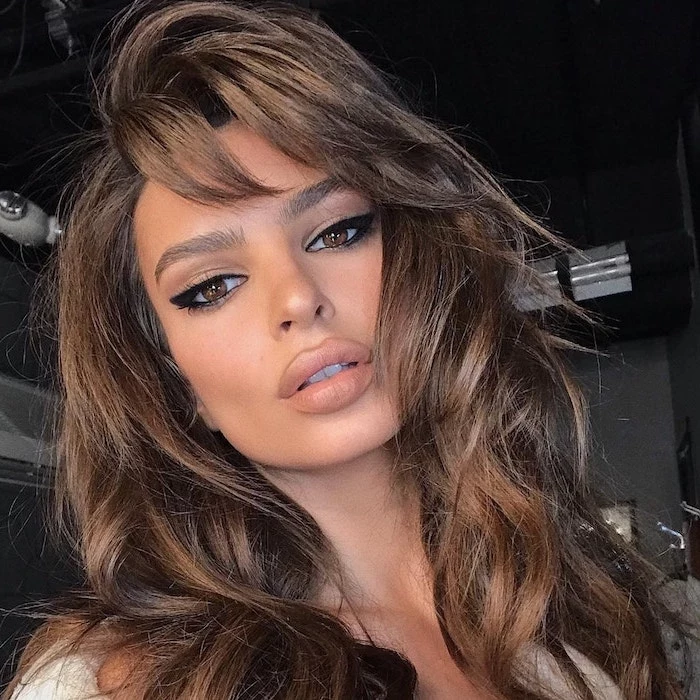
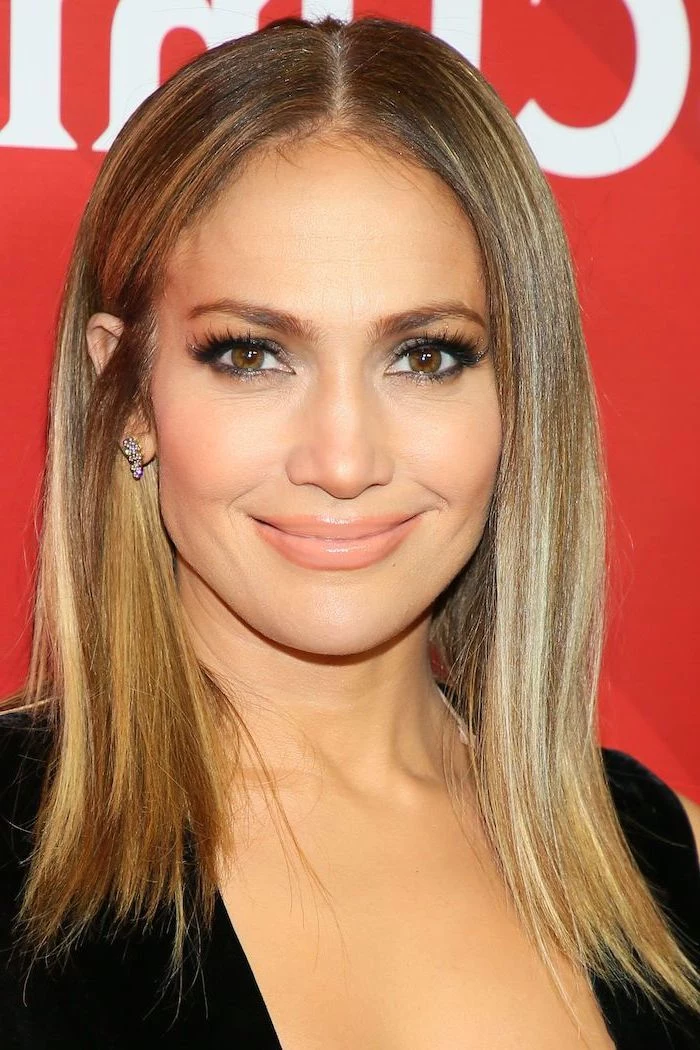
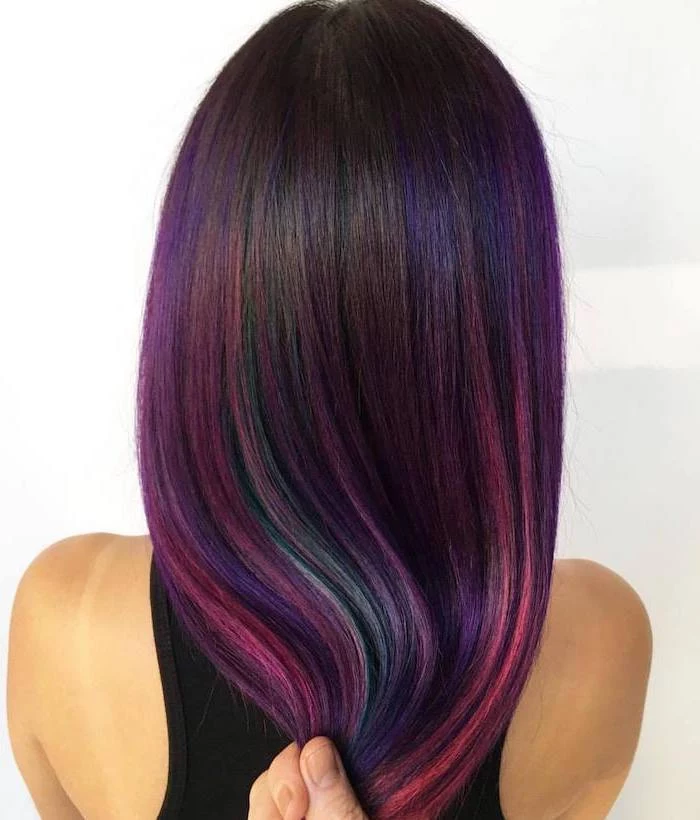
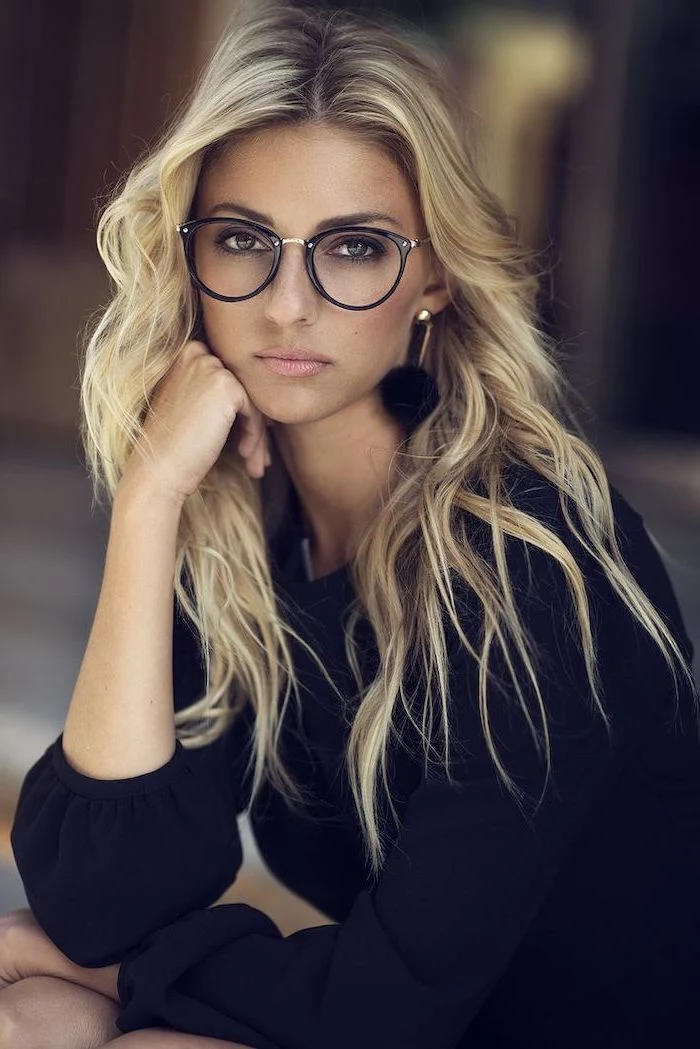
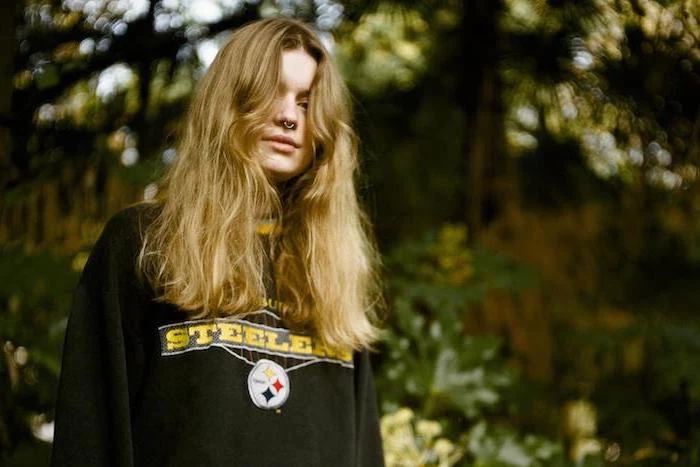
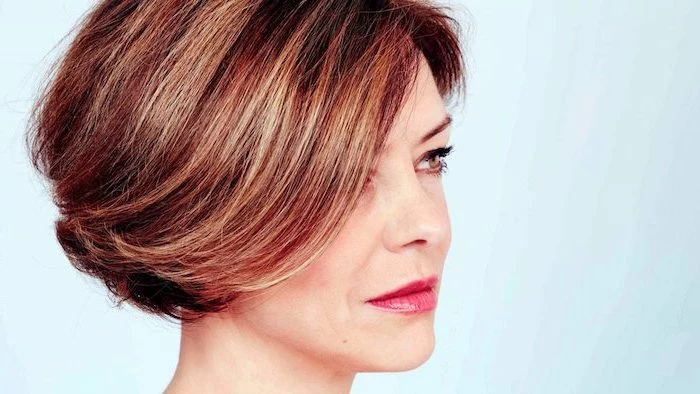
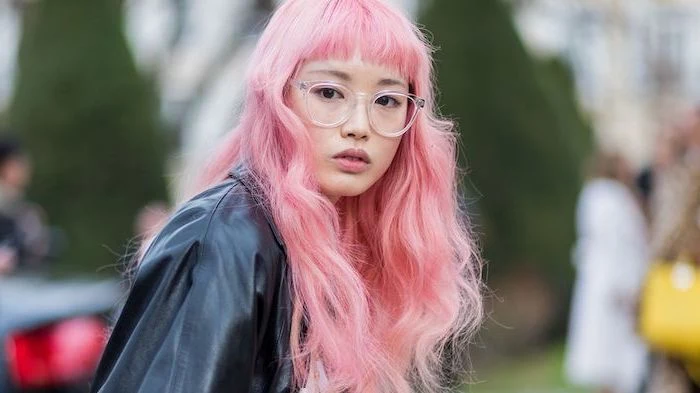
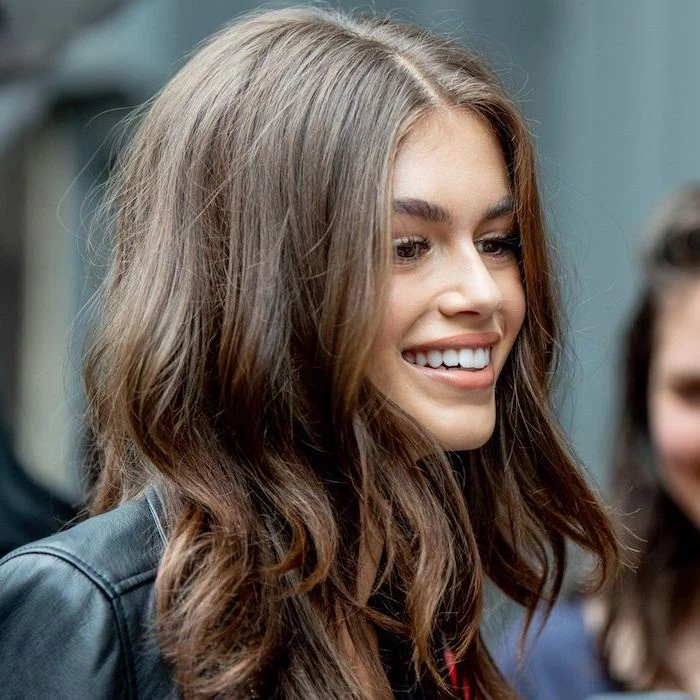
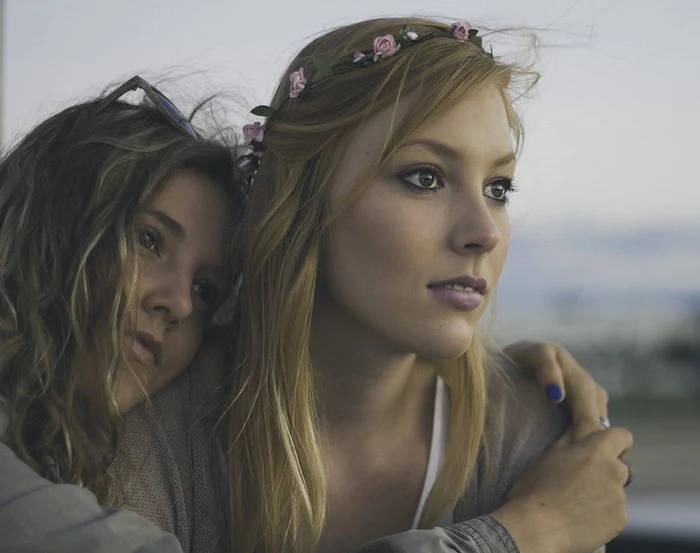
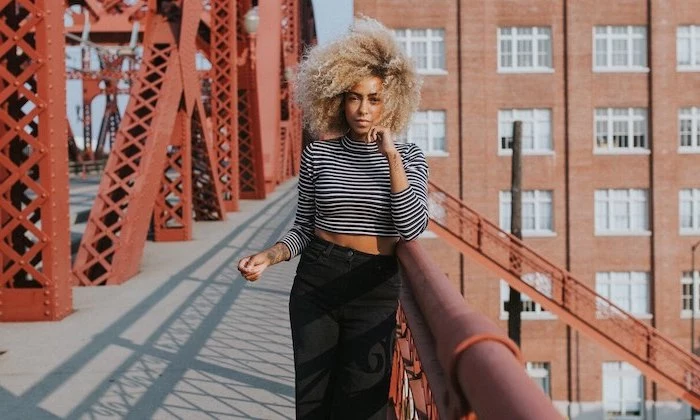
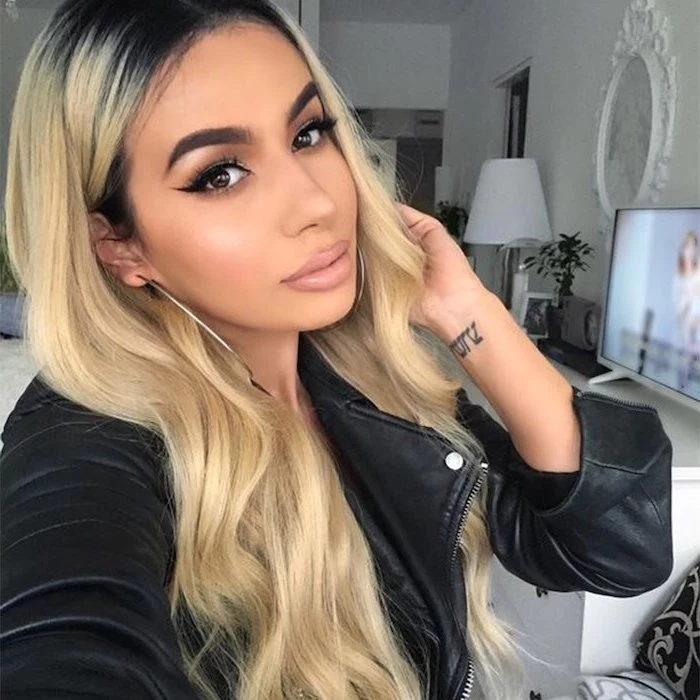
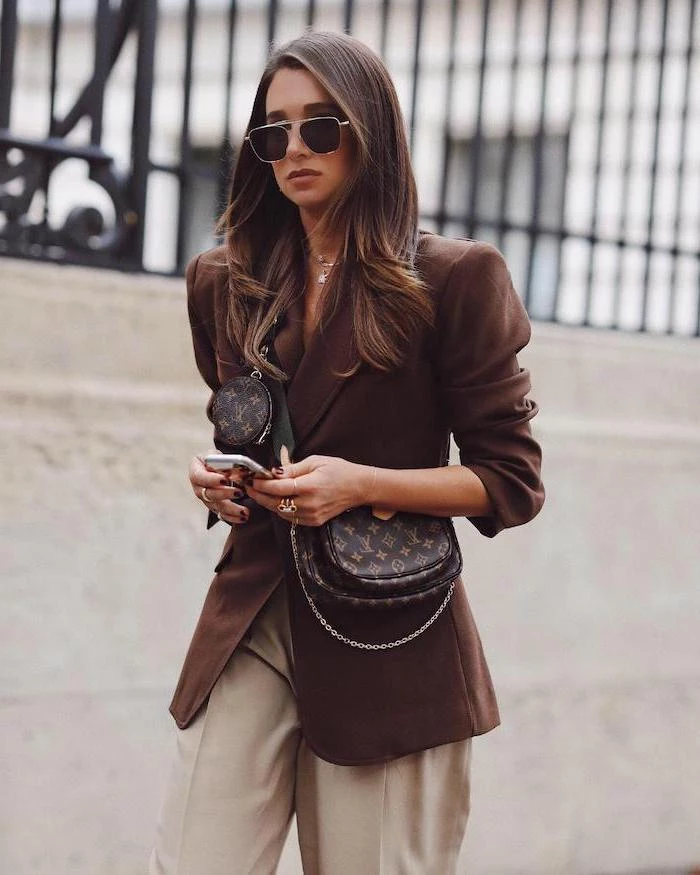
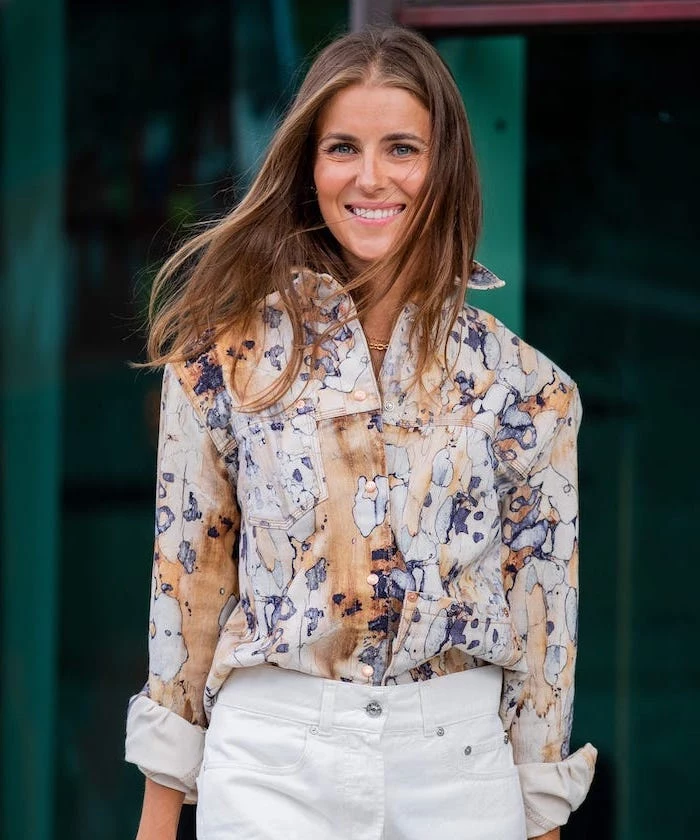
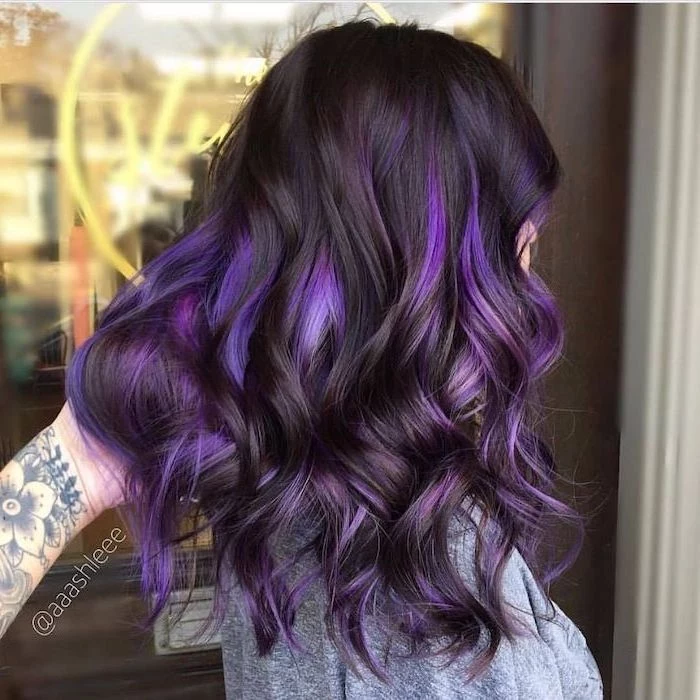
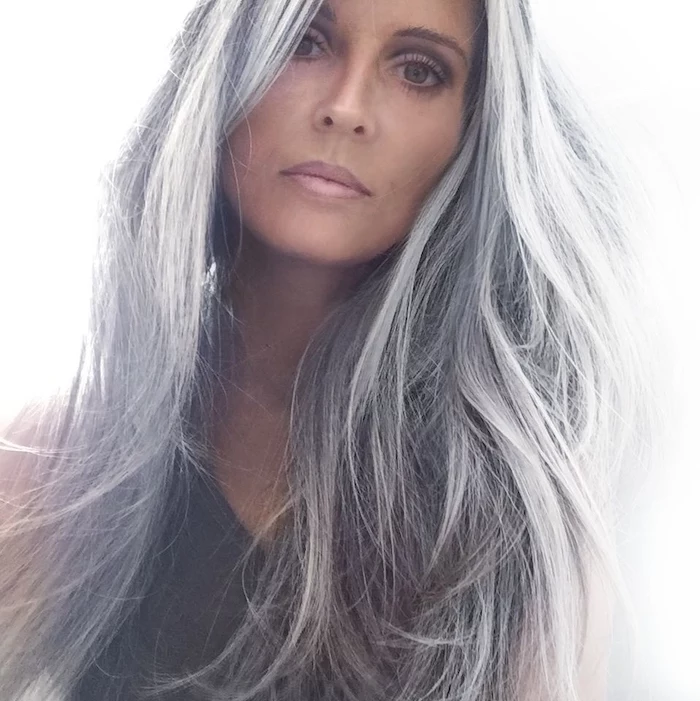
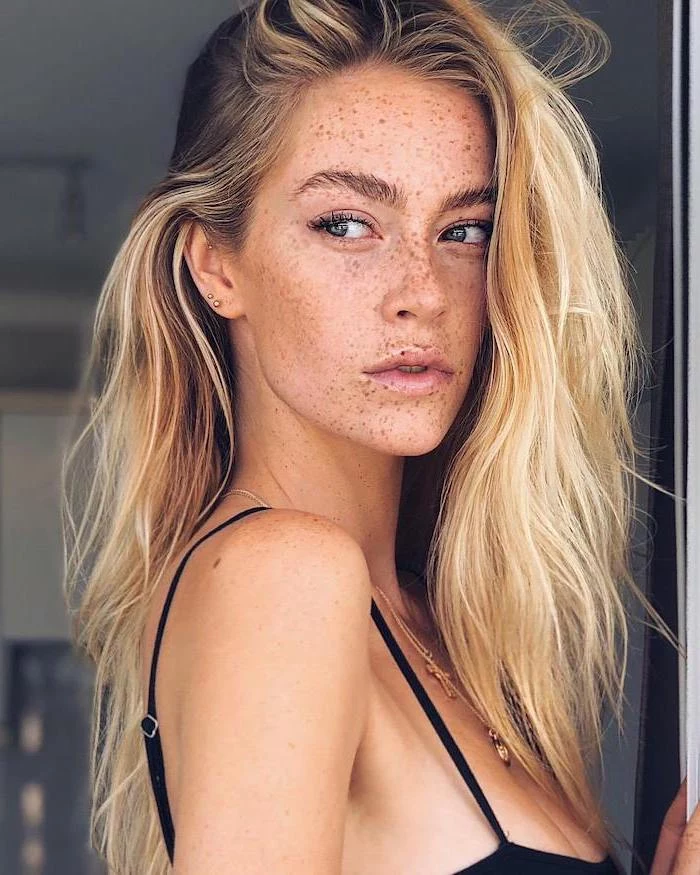
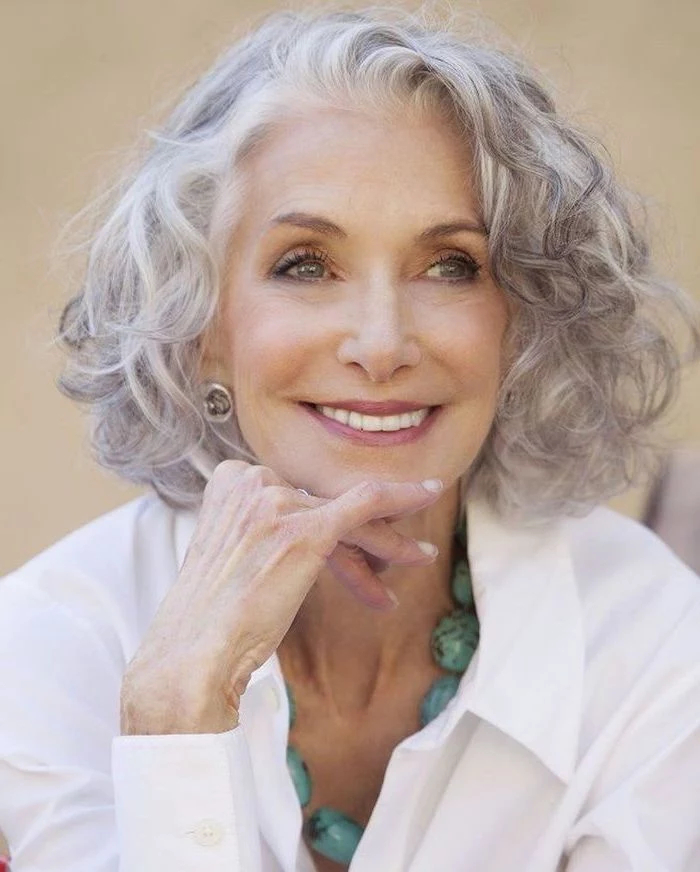
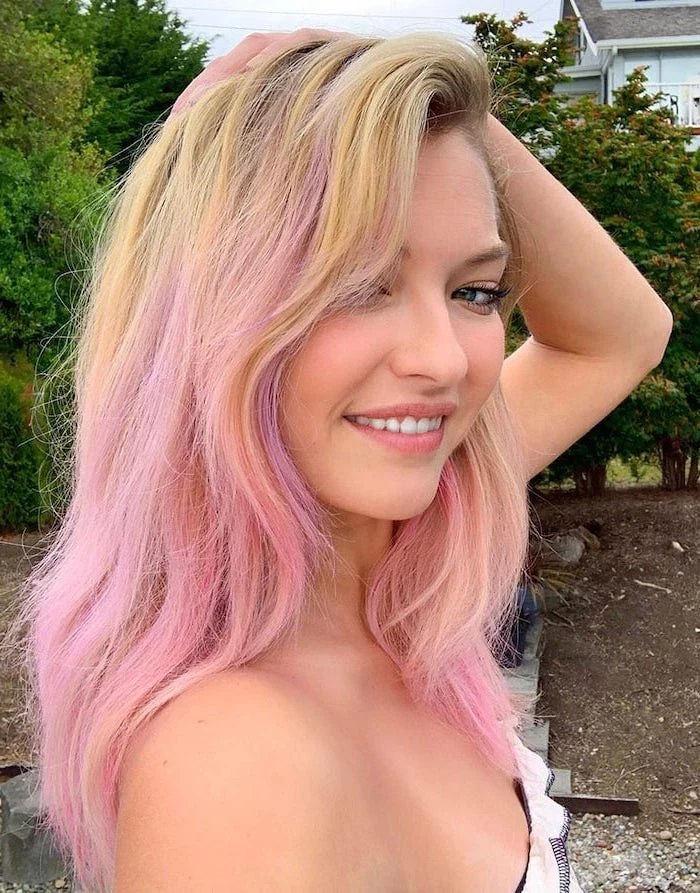
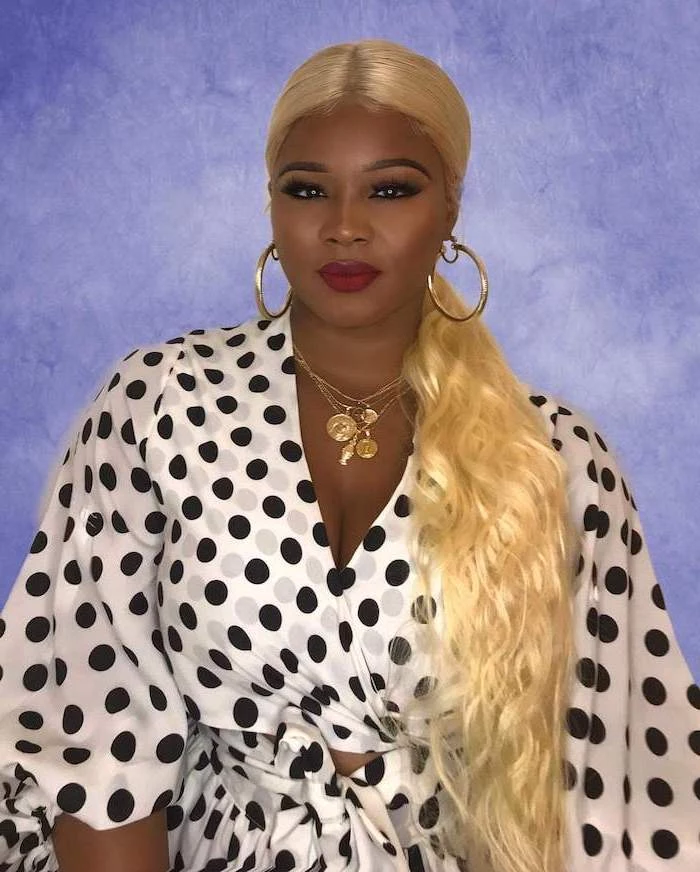
Your inspiration photos are a fantastic starting point, but remember to look at the whole picture. Pay attention to the model’s skin tone, eye color, and even their natural hair texture. A color that looks stunning on someone with olive skin and dark eyes might wash you out if you have fair, cool-toned skin. The best inspiration shows a color on someone with similar features to your own.

- Clarify your hair history for the last 2-3 years (box dye counts!).
- Arrive with clean, dry hair so your stylist can see its true texture and color.
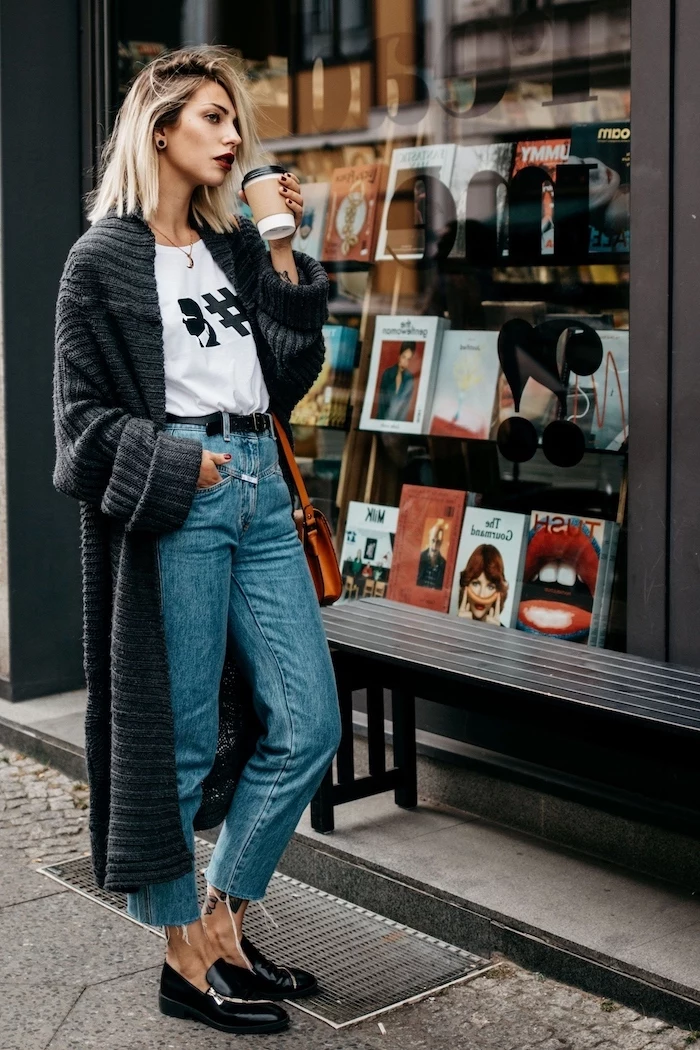
- Wear a top that is close in color to your usual wardrobe to ensure the new shade complements it.
- Set aside enough time; a major color transformation is not a process to be rushed.
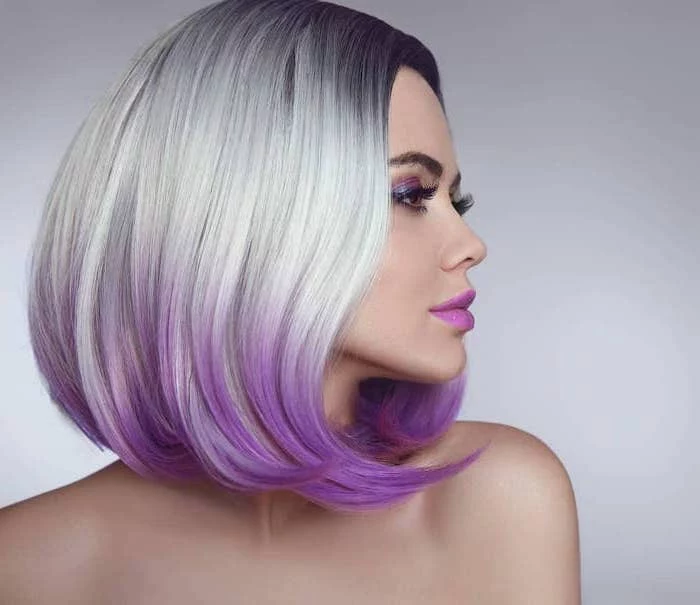
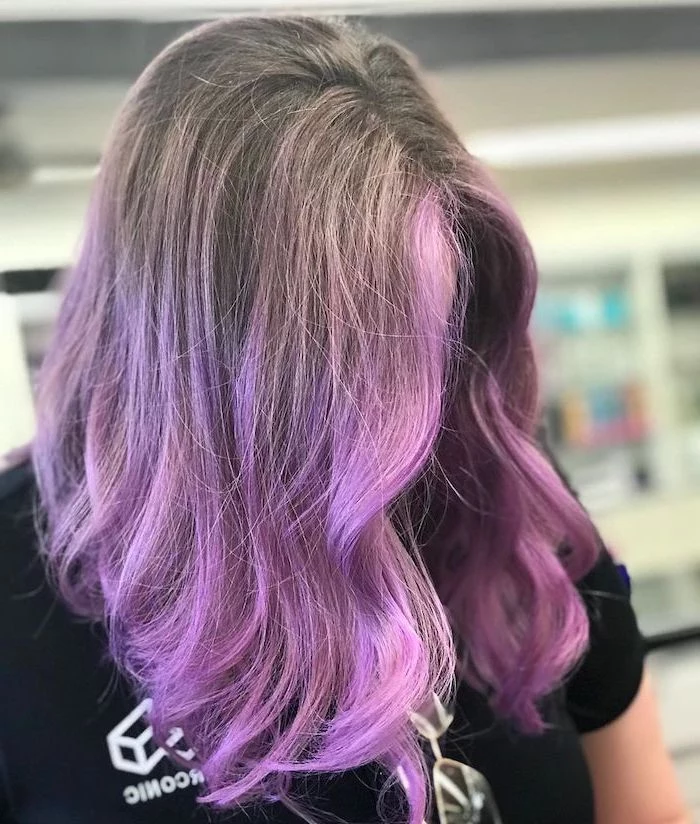
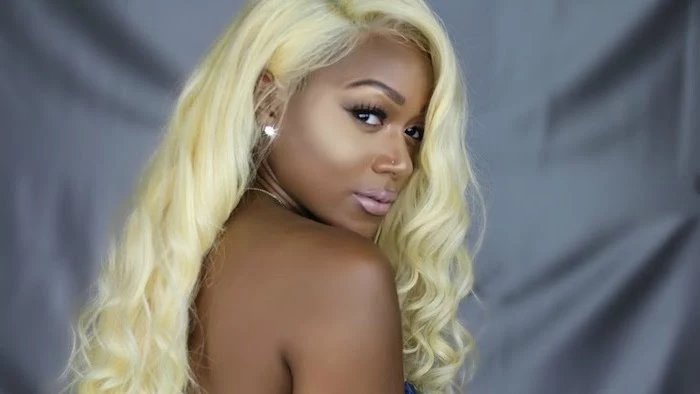
Going from dark brunette to platinum blonde can involve lifting your hair through 7-10 levels of underlying pigment.
This is why a dramatic change is a journey, not a single appointment. Each stage reveals warm tones—from red to orange to yellow—that must be carefully neutralized. Trusting the process (and your stylist’s plan) is key to achieving that clean, icy blonde without compromising your hair’s health.
Will my hair feel different after coloring?
Yes, and that’s completely normal. The chemical process of opening the hair cuticle to deposit or remove color can change its texture. It might feel fuller or slightly rougher initially. This is why post-color care, using products like a K18 leave-in mask or Olaplex No. 3 at home, is non-negotiable for restoring softness and strength.
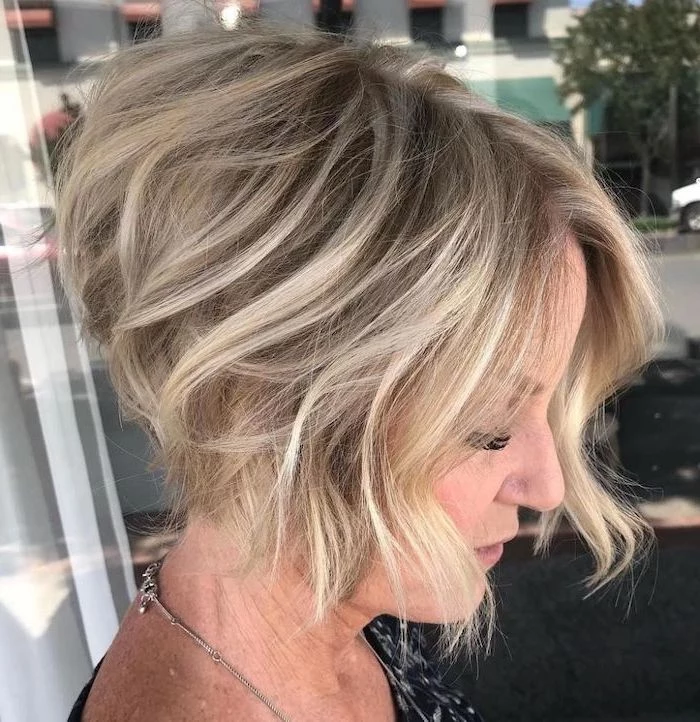

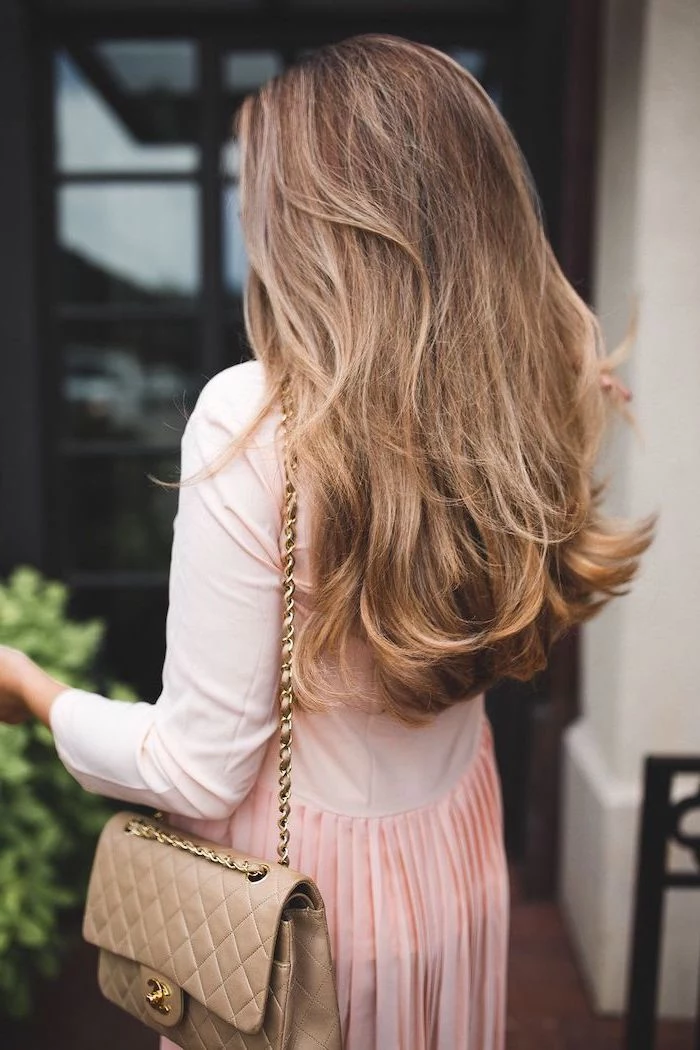
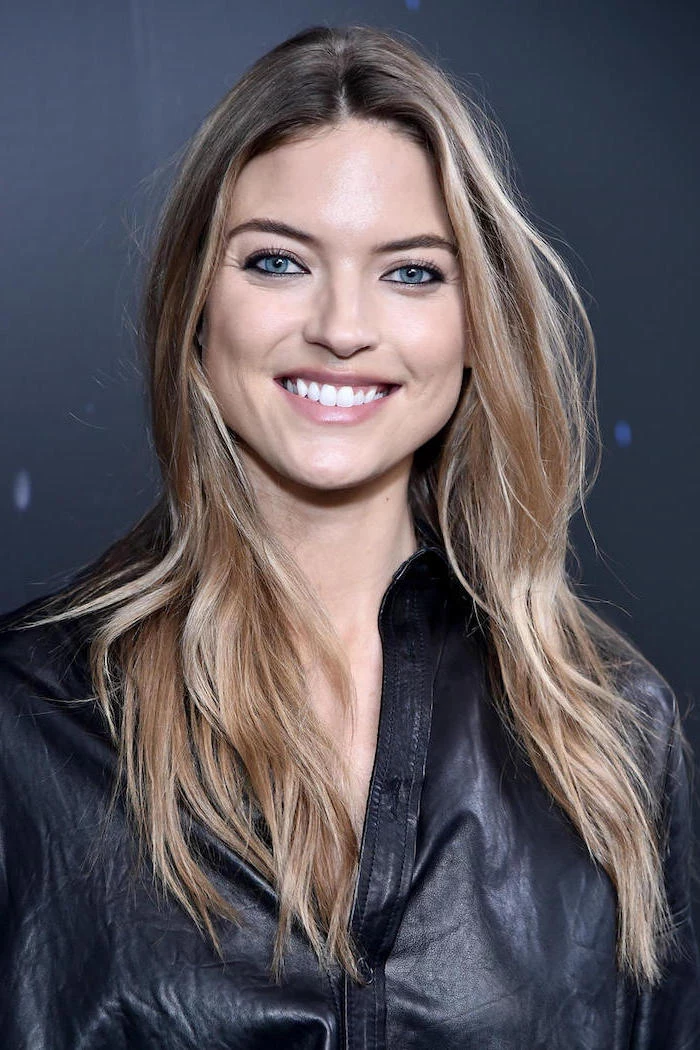
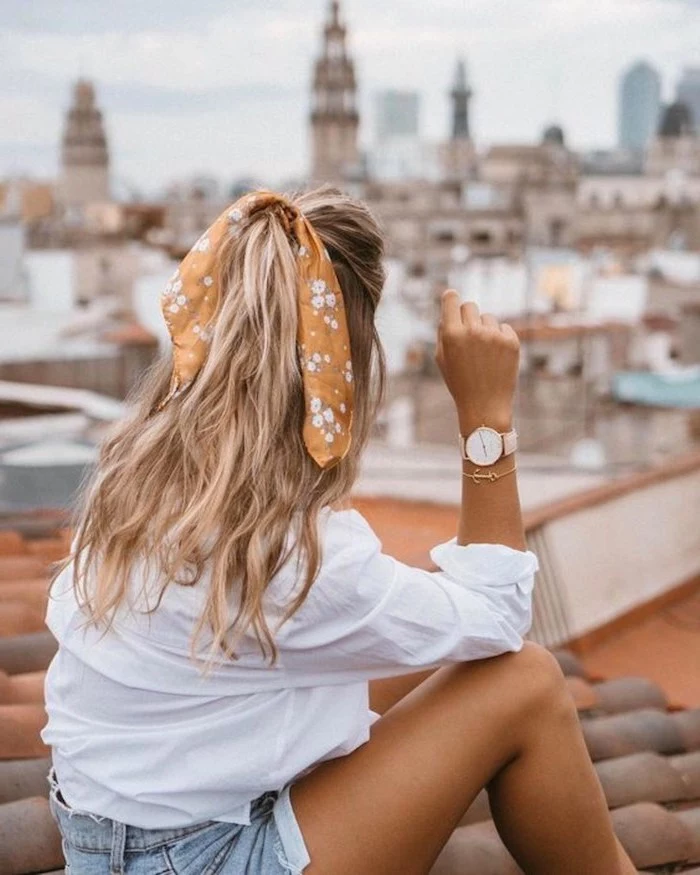
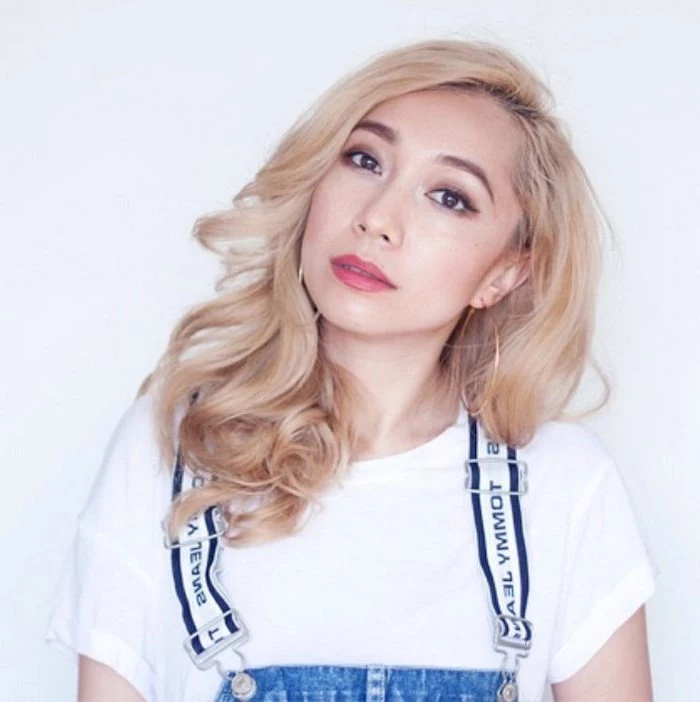
Balayage: Hand-painted highlights that create a soft, sun-kissed, and natural-looking gradient. Grow-out is seamless, requiring fewer touch-ups.
Traditional Foils: Weaving sections of hair and applying color in foil packets. This method provides more uniform, defined highlights from root to tip, but requires more frequent maintenance for root regrowth.
Think of a gloss or toner service as the top coat for your hair color. Performed between full color appointments, this quick service (often under 30 minutes) can neutralize brassiness, add incredible shine, and refresh the vibrancy of your existing color, extending its life for weeks.
- Reduces breakage during chemical services by over 90%.
- Visibly increases shine and softness.
- Helps color appear more vibrant and last longer.
The secret? Bond-building treatments. Ask your stylist about adding a professional-grade treatment like Olaplex or Schwarzkopf’s FibrePlex to your color formula. It’s the ultimate insurance policy for your hair’s integrity.
Corrective color services can cost 25-50% more than a standard color appointment and often require multiple sessions.
This is the hidden cost of a box dye experiment gone wrong. Professionals aren’t just applying a new color over the old; they’re strategically neutralizing unwanted tones, evening out patchiness, and trying to save the health of your hair—a complex and time-consuming process.
Don’t just bring photos of what you love—bring examples of what you *don’t* like. Showing your stylist a brassy blonde or a stripey highlight pattern that you want to avoid can be just as informative as your goal photos. It helps create clear boundaries and ensures you’re both on the same page.
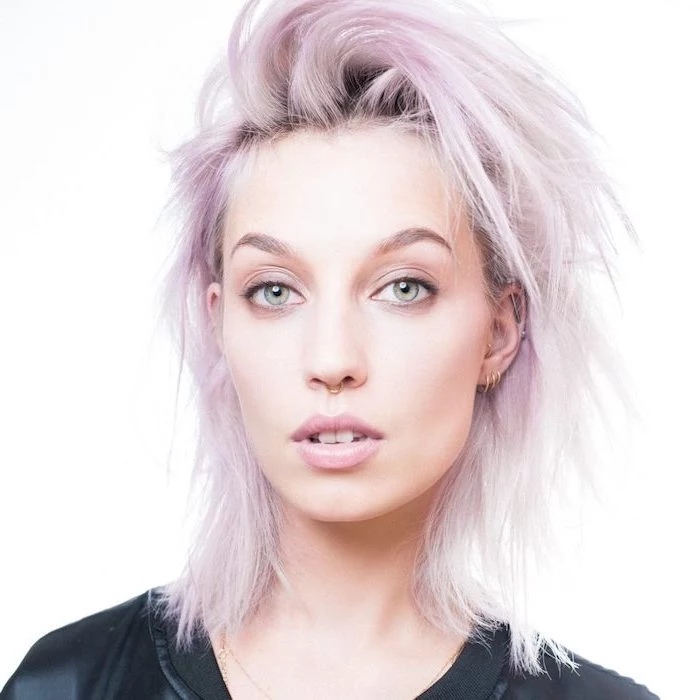
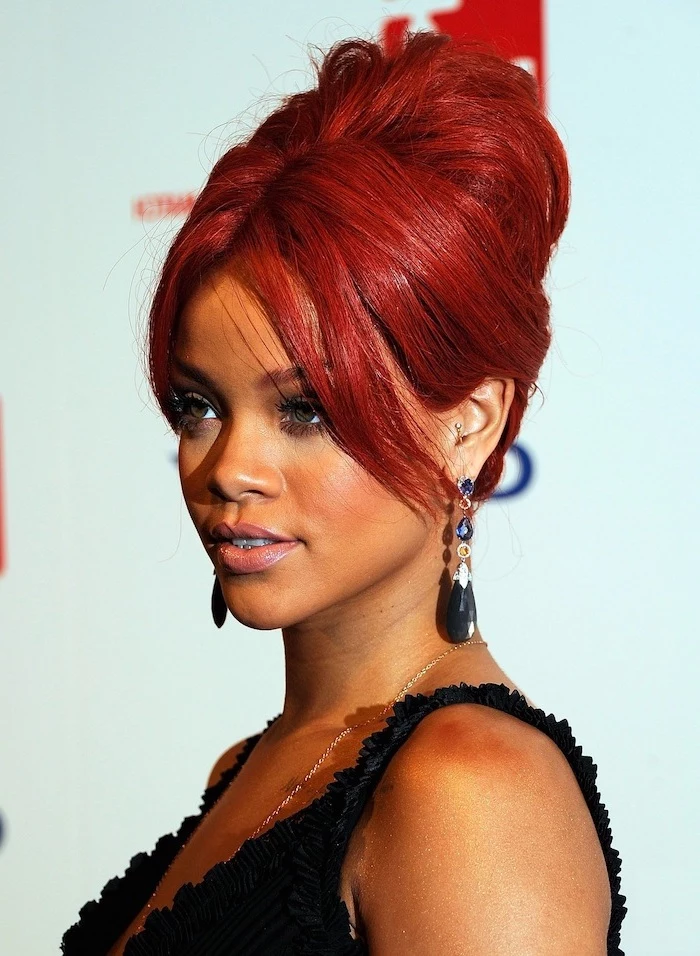
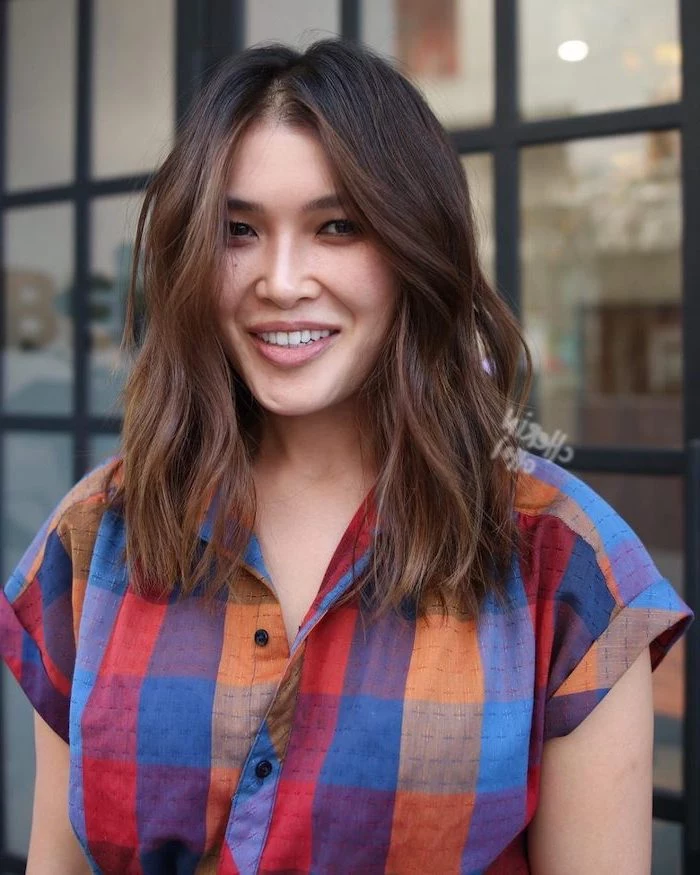
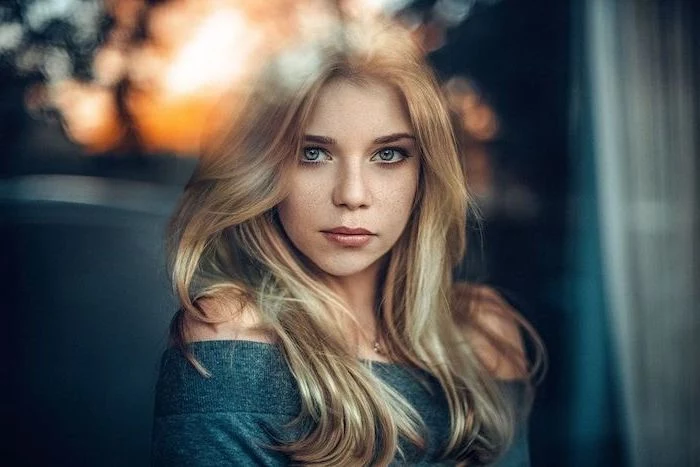
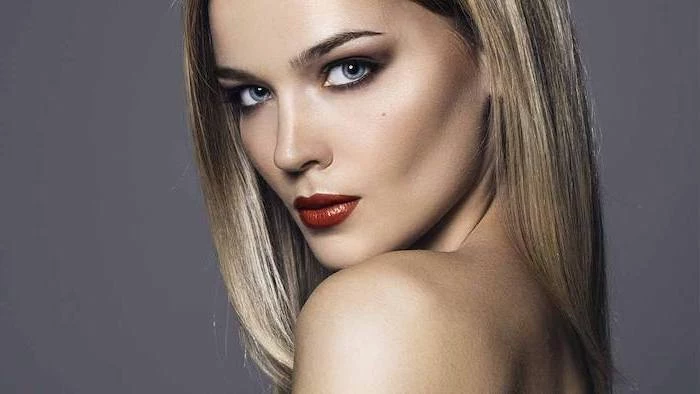
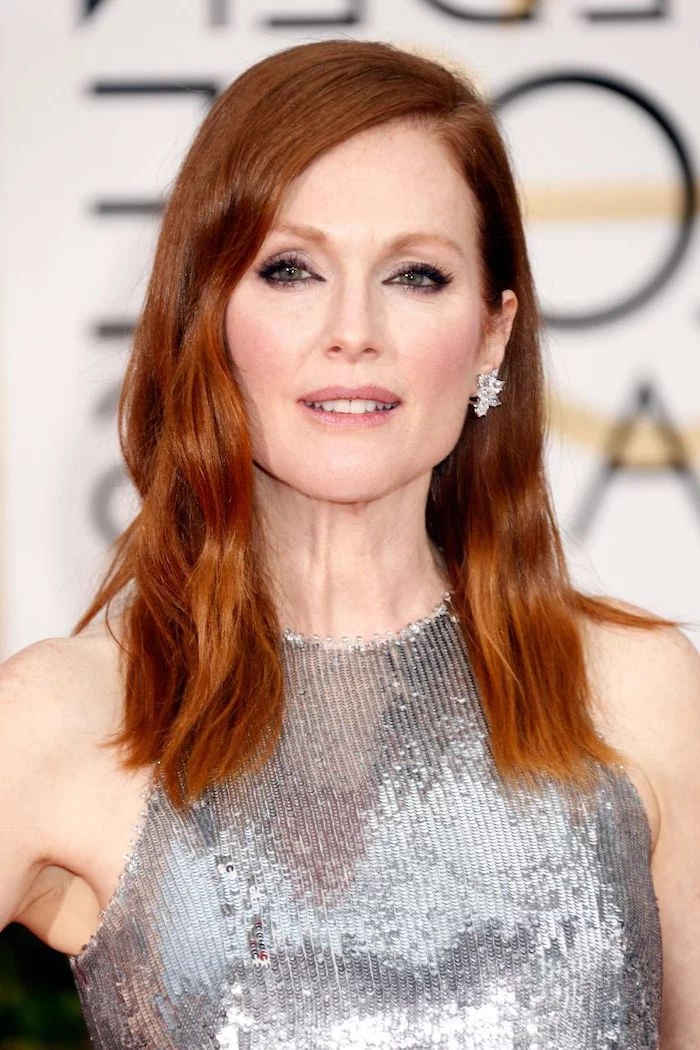
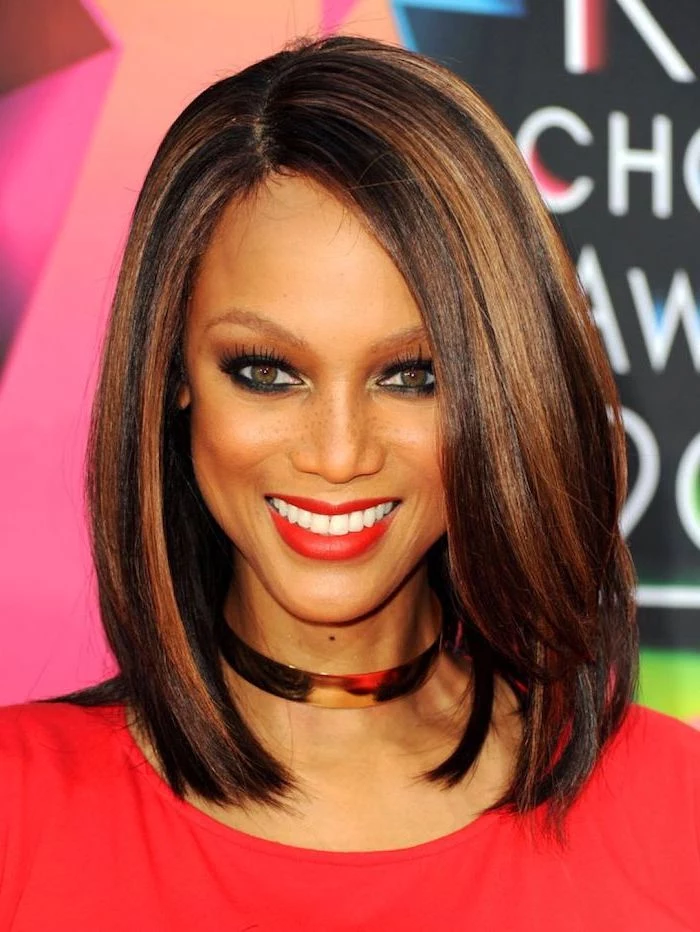
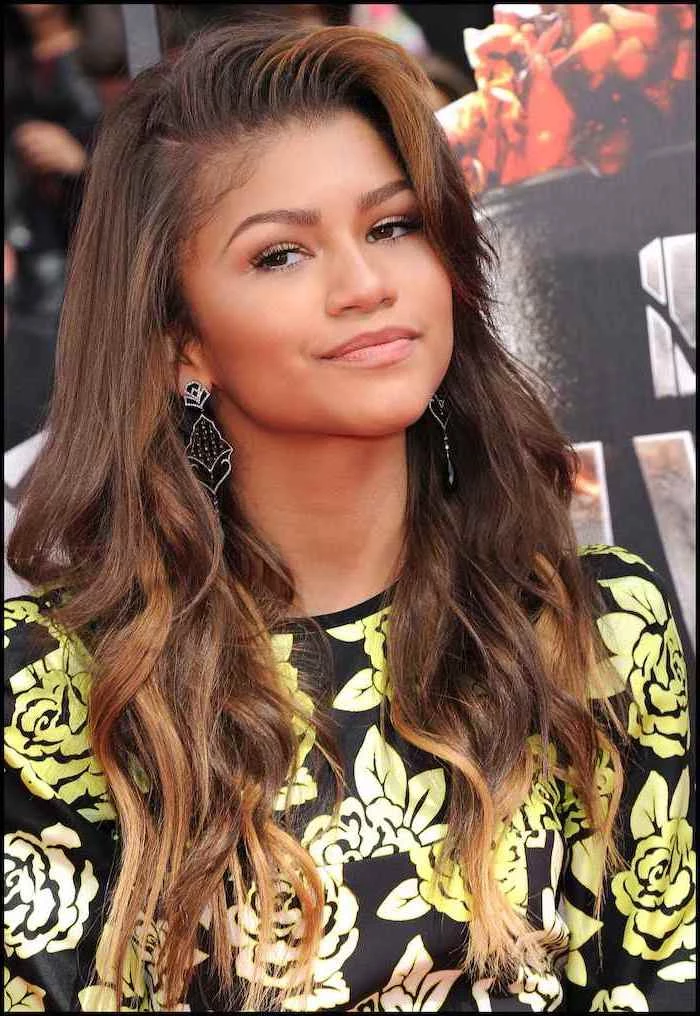
Cool Undertones: Look for ash blondes, deep violets, cool-toned brunettes, and true reds.
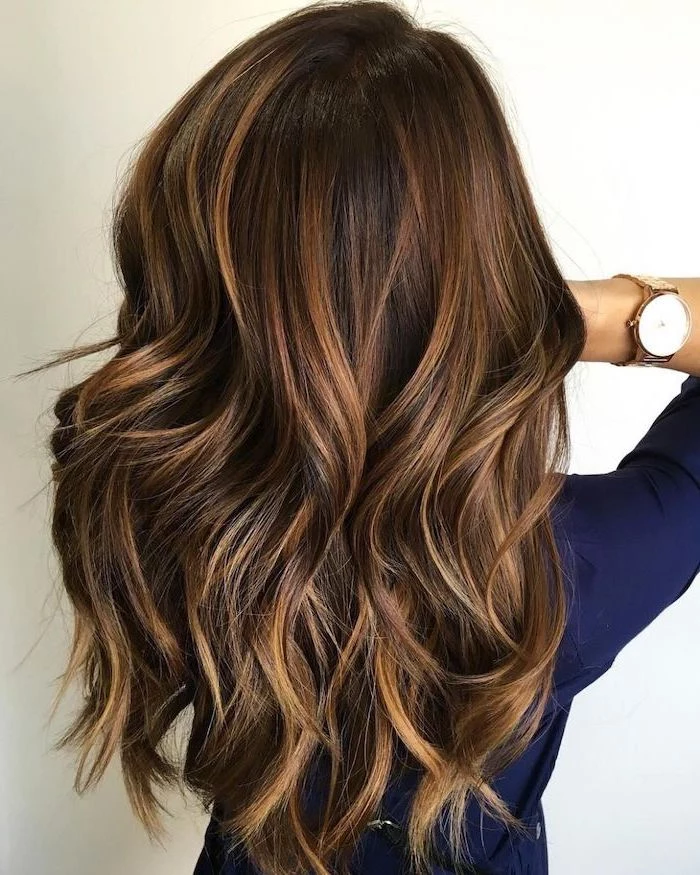
Warm Undertones: Shine in golden blondes, coppers, caramel browns, and auburns.
Neutral Undertones: You’re lucky! Most shades will flatter you, from strawberry blonde to rich espresso.
Unsure? Look at the veins on your wrist. Blue suggests cool, green suggests warm, and a mix suggests neutral.
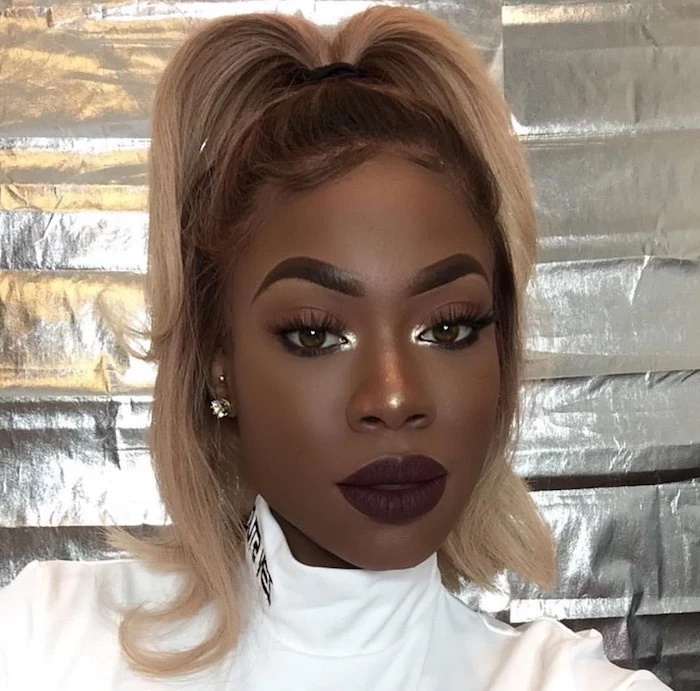
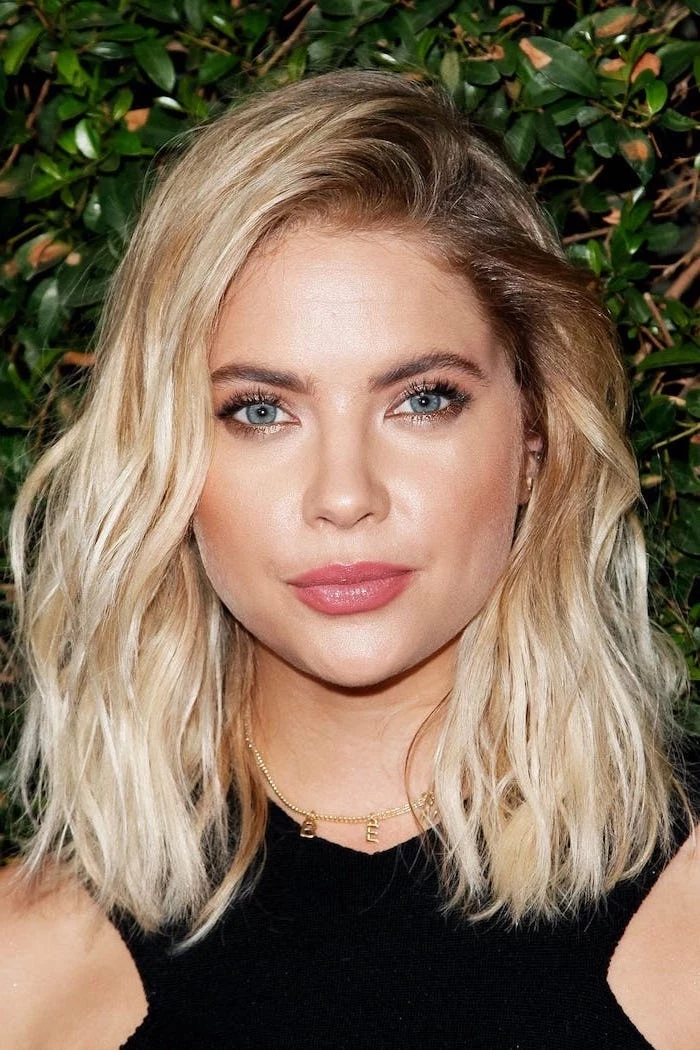
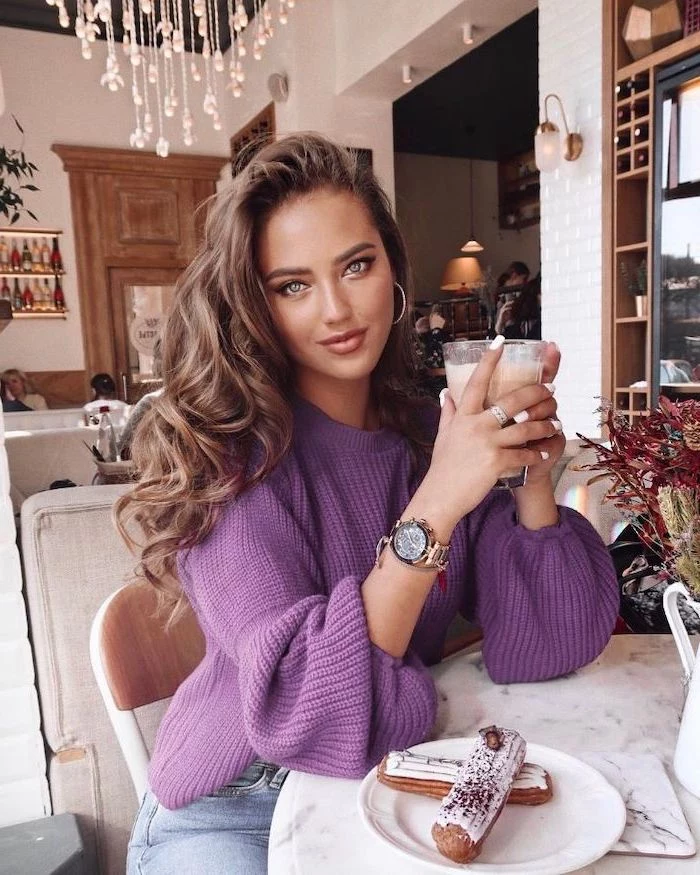
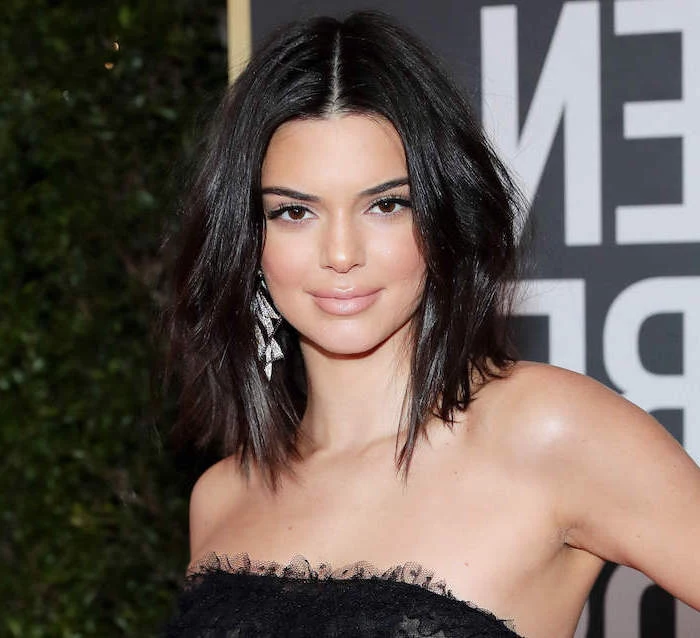
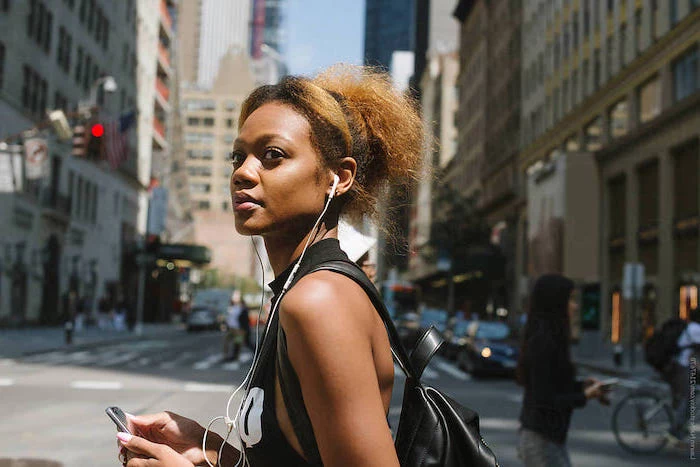
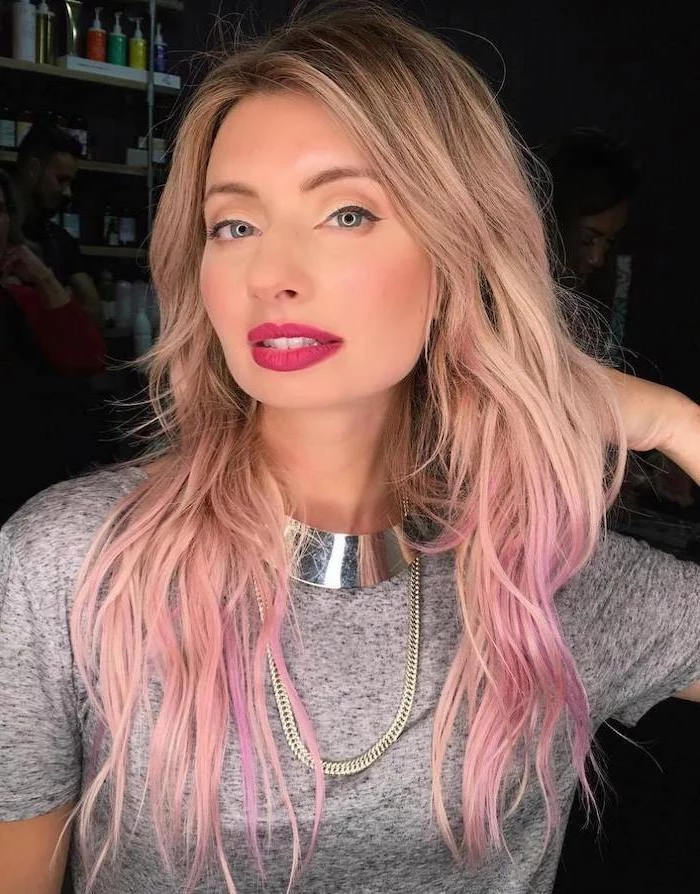
What’s the ‘money piece’?
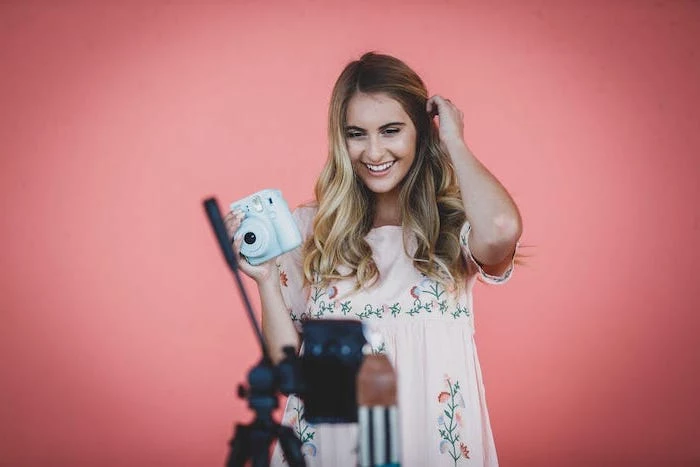
It’s a bright, face-framing highlight applied to the very front sections of your hair. This ’90s-inspired trend is popular because it delivers a high-impact look with minimal commitment, instantly brightening your complexion without requiring a full head of highlights.

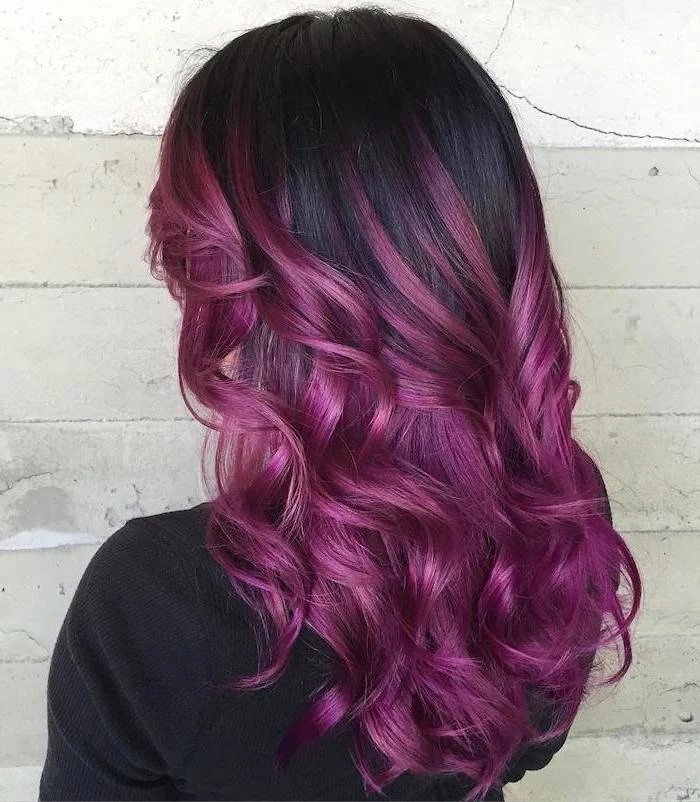
A note on maintenance budgets: A high-contrast, all-over platinum or vivid red will require root touch-ups every 4-6 weeks. A softer balayage or root-smudged look might only need a full refresh every 3-6 months. Discuss the upkeep costs and schedule with your stylist before you commit.
- Wait at least 48-72 hours before your first wash post-coloring.
- Use a sulfate-free shampoo, like those from Pureology or Redken’s Color Extend line, to prevent stripping color.
- Rinse with cool water to help seal the hair cuticle and lock in pigment.
- Apply a UV protectant spray if you’ll be in the sun for extended periods.

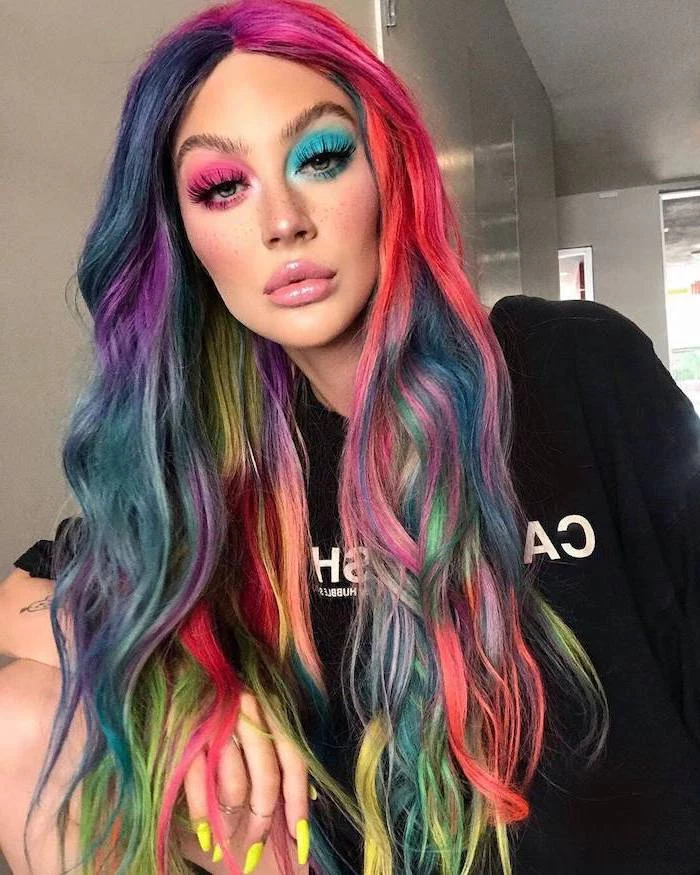
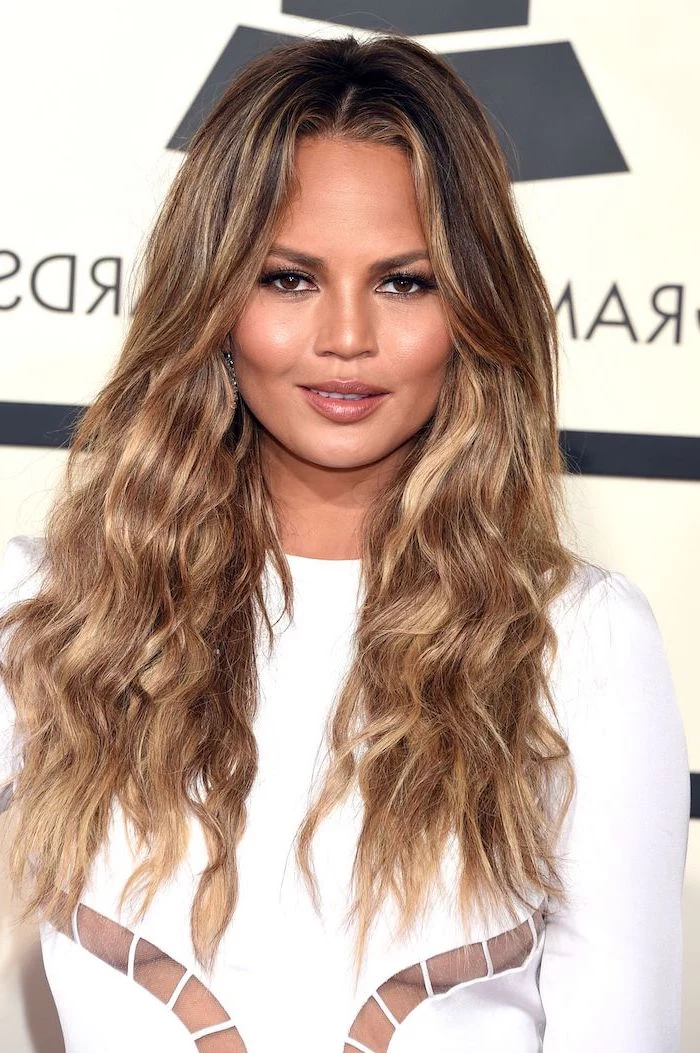
That filtered photo of a celebrity’s hair on Instagram is beautiful, but it’s often not reality. Professional lighting, editing apps, and even clip-in extensions can dramatically alter the appearance of a hair color. A good stylist can help you achieve a real-world version that’s just as gorgeous.
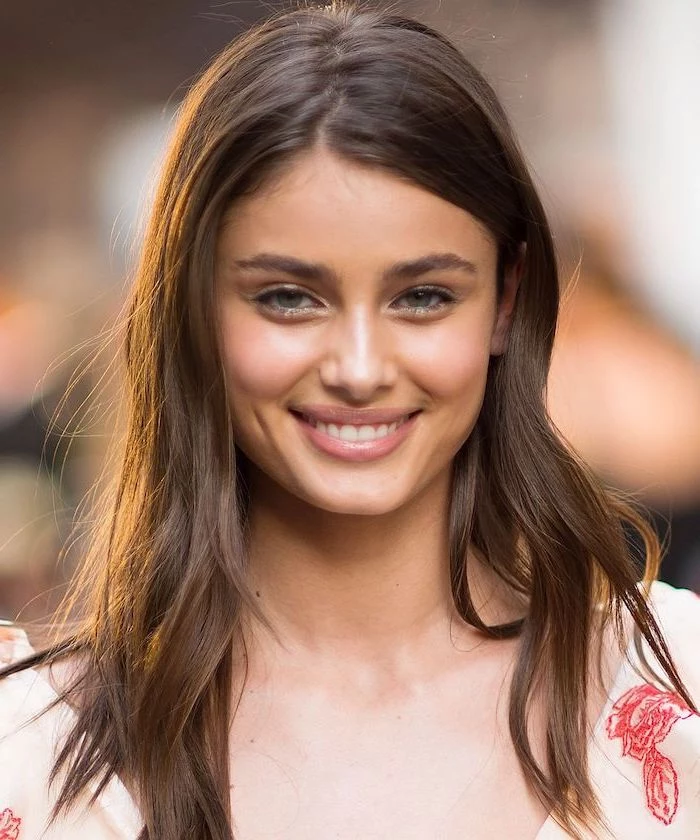
Your hair grows, on average, half an inch per month.
For a solid, single-process color, that means visible regrowth in just a few weeks. If you prefer a lower-maintenance style, ask your stylist about a ‘root tap’ or ‘root melt,’ techniques where they apply a color close to your natural shade at the root for a much softer grow-out.

When you say you want
Hot Tip: Before a big color change, use a clarifying shampoo (like Bumble and bumble’s Sunday Shampoo) about 3-4 days prior. This removes mineral buildup from hard water and product residue, creating a perfectly clean canvas for your stylist to work on, ensuring more even and predictable color results.
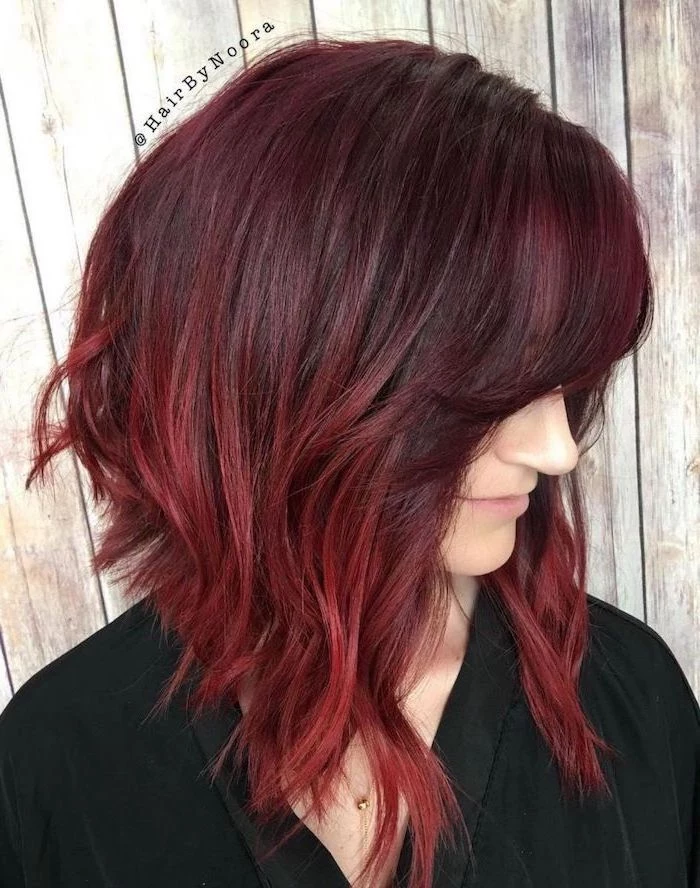


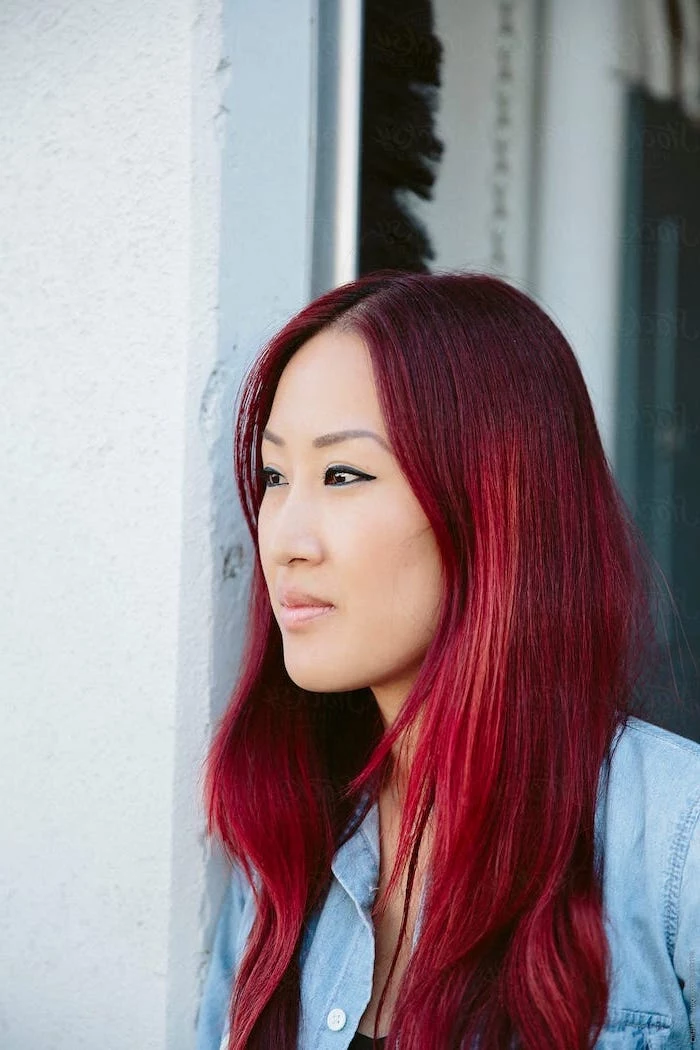
The number one enemy of vibrant hair color? Water. Especially hot water, which opens the hair cuticle and allows color molecules to escape. A simple switch to lukewarm or cool rinses can dramatically extend the life of your reds, coppers, and even rich brunettes.
- Creates incredible shine and a light-reflective surface.
- Makes color appear richer and more dimensional.
The secret? The
My freshly-lightened hair pulled orange! What happened?
It’s chemistry at work! All dark hair contains underlying red and orange pigments (pheomelanin). As it’s lightened, these warm tones are revealed. This isn’t a mistake; it’s a predictable stage. A stylist then uses a toner with blue or purple pigments to neutralize that unwanted warmth and achieve the final cool or neutral blonde you desire.
A word on wellness: Certain medications, hormonal shifts (like pregnancy or thyroid issues), and even high stress levels can affect your hair’s porosity and how it reacts to color. It’s always a good idea to mention any significant health changes to your stylist during the consultation.

Chlorine can strip hair of its natural oils, leaving it brittle, and can react with the minerals in hair color, sometimes turning light blonde shades a greenish tint.
Before you dive in, wet your hair with tap water and apply a leave-in conditioner. This fills the hair shaft, preventing it from absorbing as much damaging chlorine or salt.

Think beyond just color and consider placement. A few strategically placed
Permanent Color: Grows out, leaving a line of demarcation. It’s used for significant gray coverage and for lightening natural hair color.
Demi-Permanent Color: Deposits color without lift. It fades out gradually over 20-28 shampoos. Ideal for enhancing natural color, blending grays, or as a toner.
Your stylist will choose the right one based on your goals for longevity and coverage.


