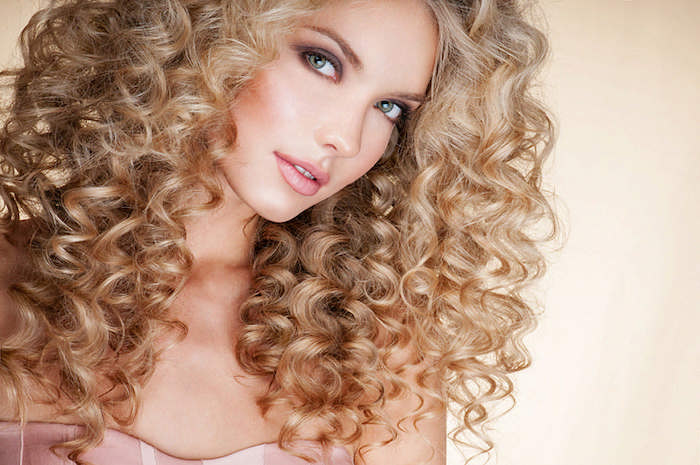
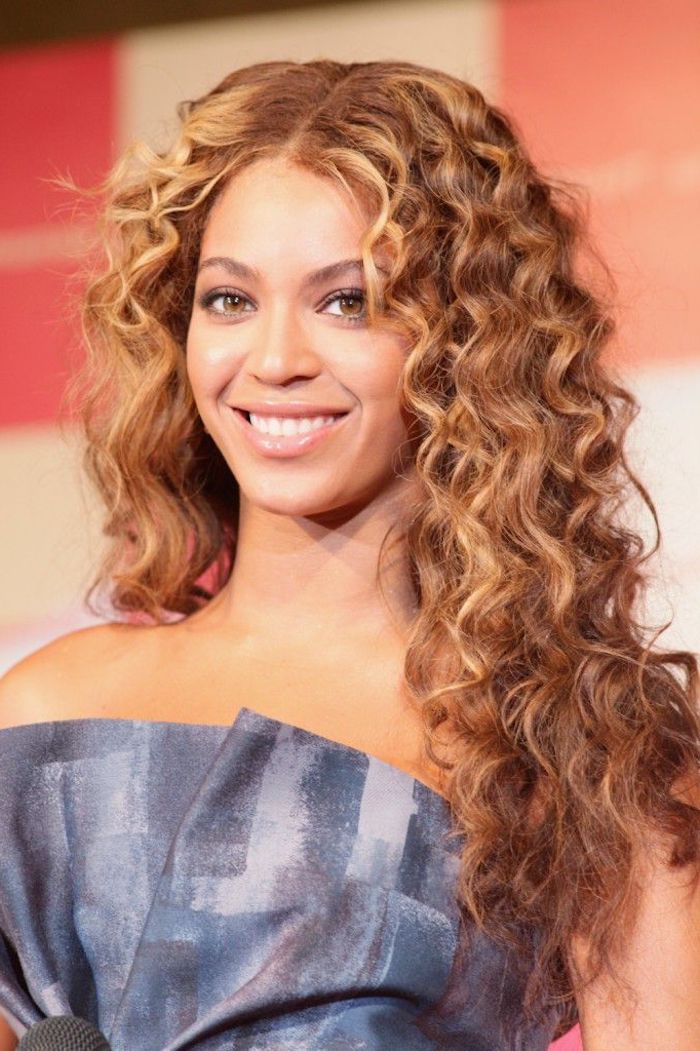
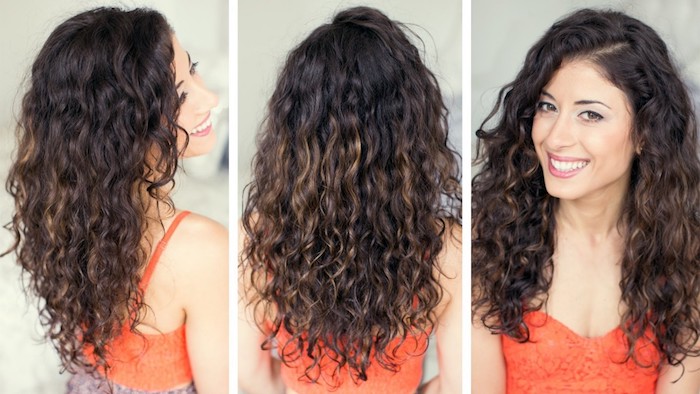
Tired of Fighting Your Curls? A Pro’s Guide to Finally Loving Your Hair
I’ve spent what feels like a lifetime with my hands in every kind of curl you can imagine. From the soft, subtle waves on a client who swore her hair was just “frizzy and straight,” to the tight, beautiful coils that need a deep respect for moisture and shrinkage. Honestly, the most common thing I hear in my chair is pure frustration. So many people feel like they’re in a daily battle with their hair, and I get it.
In this article
My job isn’t just about the haircut; it’s about being a translator. I help people understand what their hair is trying to tell them. The goal? To stop the fighting and start working together. This guide isn’t a glossy gallery of 80 styles you might never achieve. Instead, this is the foundational knowledge I share with every client. We’re going to cover the ‘why’ behind your hair, the techniques that actually work, and the honest truth about what it takes to get healthy, predictable curls. Let’s get into the real work—it’s so worth it.
By the way, if you want one change you can make TODAY for better curls, here it is: Ditch your rough bath towel. Seriously. Start using an old cotton t-shirt or a microfiber towel to scrunch your hair dry. It will slash frizz almost instantly. Easy win!
First Things First: The Science Behind Your Curls
Understanding the “why” is the key to mastering the “how.” Curly hair isn’t just straight hair with a bend; its entire structure is different, right from the root. Once you grasp these differences, all the rules about products and techniques suddenly click into place.
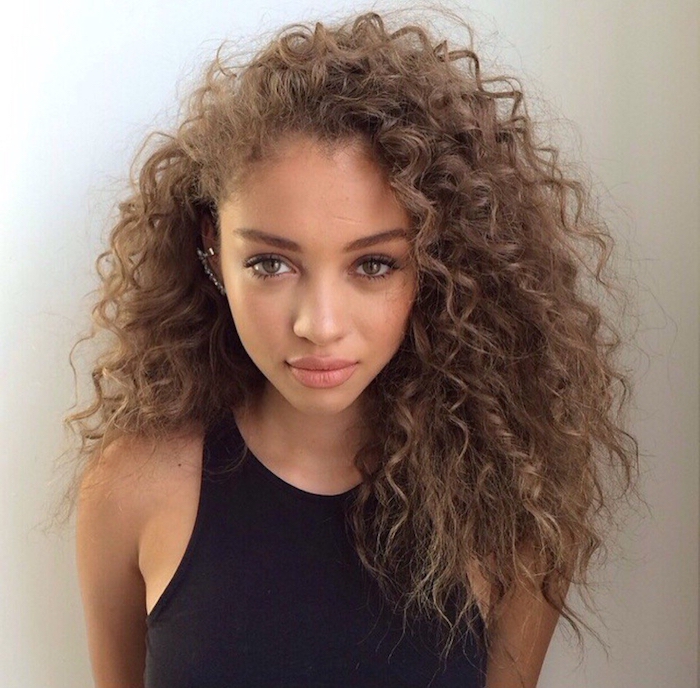
The Follicle Shape
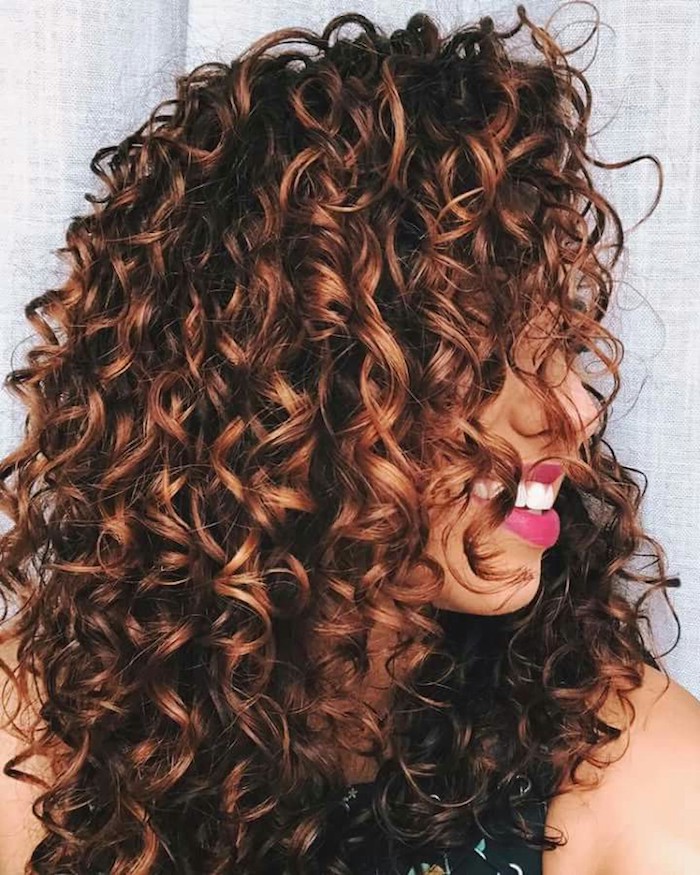
It all starts in your scalp, in a tiny pocket called the follicle. A perfectly round follicle? That produces a straight hair strand. An oval-shaped follicle, on the other hand, creates a curved, curly strand. The more squished or flat that oval is, the tighter your curl pattern will be. This is just genetics, and you can’t change it without some pretty intense chemical processes that alter the hair’s internal structure.
The Cuticle and Porosity (This is a big one!)
Think of the outer layer of your hair, the cuticle, like shingles on a roof. On straight hair, these shingles lie flat and tight. This gives it that smooth surface that reflects light (hello, shine!) and seals moisture in. But on curly hair, every bend and twist causes those shingles to lift up. This creates a rougher surface that doesn’t reflect light as well (so it can look less shiny) and, more importantly, allows moisture to escape super easily. This is the simple, physical reason why curly hair is naturally prone to dryness and frizz.
This brings us to porosity—your hair’s ability to absorb and hold onto moisture. It’s one of the first things I check in a consultation.
- Low Porosity: Those cuticle “shingles” are clamped down tight. This hair is often shiny but resists water and products. You’ll notice that products tend to sit on top instead of soaking in, and it takes forever to get wet in the shower and forever to dry. A quick tip: a little bit of gentle warmth from a hooded dryer or a warm towel can help your conditioning treatments actually penetrate.
- High Porosity: Here, the cuticles are wide open, maybe from genetics or damage from color or heat. This hair drinks up moisture instantly but loses it just as fast, feeling dry and brittle even right after you’ve conditioned it. For this hair type, sealing is non-negotiable. Using an oil or a rich cream after your leave-in conditioner is crucial to trap that moisture inside.
- Medium Porosity: If you have medium porosity, you’re in luck! Your hair is pretty balanced. The cuticles aren’t too tight or too open, so your main job is just maintaining its health. You can get away with alternating between lighter and heavier products depending on how your hair feels.
A little at-home test: You can get a rough idea of your hair’s porosity. Grab a clean, product-free strand of hair and drop it in a glass of water. If it floats for a good while, you likely have low porosity. If it sinks like a stone, you’ve got high porosity. If it just kind of hangs out in the middle, that’s medium. It’s not perfect science, but it’s a great starting point.
How We Actually Wash and Condition Curls in the Salon
The advice to “never comb your hair” or “only wash twice a week” is way too simple. The right routine depends on your hair, your lifestyle, and even the water quality where you live. Let’s break down the foundation of hair care like a pro.
Choosing Your Cleanser (and What to Avoid)
Not all shampoos are the same. For curly hair, we generally avoid harsh sulfates because they strip away the natural oils your hair desperately needs. Think of it like using dish soap on a silk shirt. But another ingredient to watch out for is silicone. While some silicones can give you great slip and shine, many aren’t water-soluble. They can build up on your hair over time, creating a plastic-like film that blocks moisture from getting in. If you use products with silicones, it’s not the end of the world, but you absolutely have to use a clarifying shampoo to get rid of that buildup.
So, what should you use? Here are the main types you’ll find:
- Clarifying Shampoo: I call this the “reset button.” It’s a stronger cleanser designed to remove everything—product buildup, hard water minerals, chlorine. I usually have my clients use one every 4-8 weeks. It’s an essential tool, not your daily driver. You can find excellent ones at the drugstore for about $5-$10.
- Low-Poo (or Low-Lather Shampoo): This is the go-to for most people with curls. It uses milder cleansing agents that get rid of dirt and excess oil without stripping your hair bare. It’s perfect for your regular wash days.
- Co-Wash (Conditioning Cleanser): This is basically a conditioner with a tiny amount of cleansing ingredients. It’s amazing for super dry, fragile hair or for people who work out daily and need to rinse away sweat without a full shampoo. Just remember, you’ll still need to clarify every now and then to prevent scalp buildup.
The Art of Conditioning
Conditioner is, without a doubt, the most important product in your arsenal. The biggest mistake I see is people slathering it on and then rinsing it right out. You’re missing the magic!
First, how much to use? It depends. For fine, shoulder-length hair, start with a quarter-sized amount and add from there. For thick, long, or very coarse hair, don’t be shy—you might need a full palmful. The goal is for your hair to feel incredibly slippery, almost like seaweed. If it doesn’t, you haven’t used enough.
The Technique: Squish to Condish. Once your hair is coated in conditioner, cup your hands with water and scrunch it upwards into your hair. You should hear a satisfying “squish” sound. This physically shoves water and conditioner into the hair strand and helps your curl clumps start forming right away.
Detangling the Right Way: The idea that you should never brush curls is just plain wrong and leads to breakage. The key is when and how. The only time a tool should go through your curls is when they are completely saturated with conditioner. That “slip” is what protects your hair. Always, always start from the ends and gently work your way up to the roots. A wide-tooth comb or a brush made for wet detangling is non-negotiable.
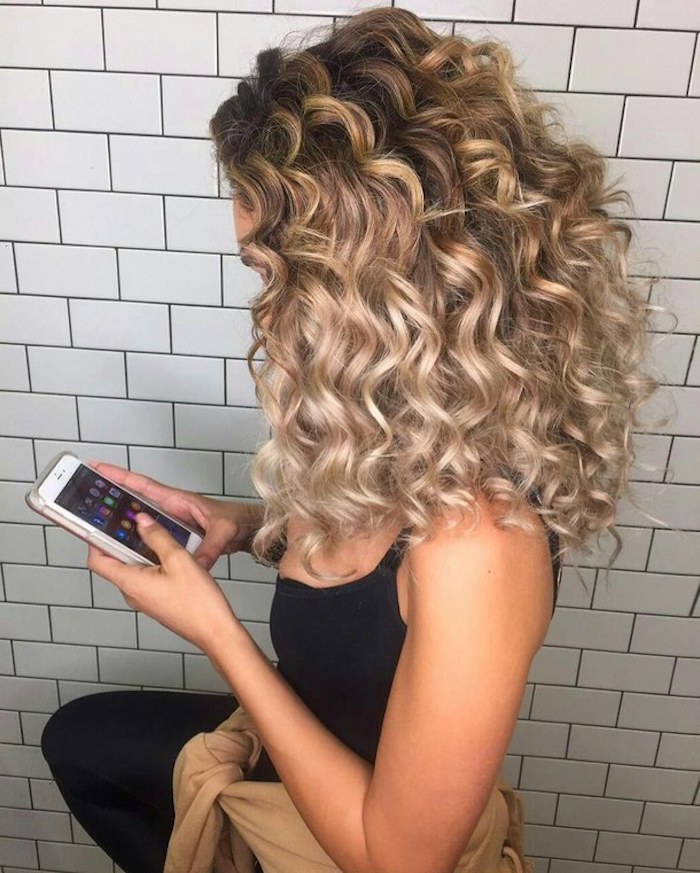
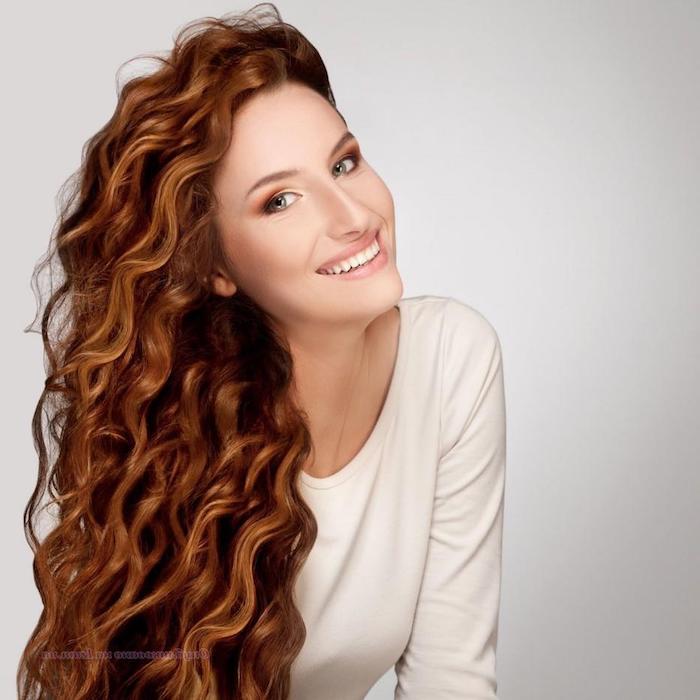
Styling: How to Get Definition That Lasts
Okay, let’s be real about timing. A full curly wash and style routine isn’t a 5-minute affair. Plan for about 30-45 minutes of washing, conditioning, and applying products. Then, you’ll need either 2-4 hours of air-drying time or about 20-30 minutes if you’re using a diffuser.
Layering Products for Success
A popular system for locking in moisture is to layer products in a specific order. You can experiment with two main methods: LOC (Liquid, Oil, Cream) or LCO (Liquid, Cream, Oil). Your hair’s porosity will probably tell you which one it prefers.
- L is for Liquid: This is your hydration base. It’s always water (your hair should be dripping wet when you start) and a water-based leave-in conditioner.
- O is for Oil: This is an optional sealing step, best for high-porosity or very coarse hair. I recommend light oils like jojoba or grapeseed to avoid that greasy feeling.
- C is for Cream: This is your styler. It provides soft hold, defines curl clumps, and adds another layer of moisture.
After these steps, many people top it all off with a gel or mousse for stronger hold and to fight frizz.
Application is Everything
On soaking wet hair, I use one of these methods:
- Raking: Just like it sounds. You coat your fingers with product and rake them through from root to tip. This is great for thicker hair but can sometimes break up finer waves.
- Praying Hands: You put a section of hair between your palms (like you’re praying) and glide them down the hair shaft. This smooths the cuticle beautifully and is my favorite method for fine hair that gets frizzy easily.
- Plopping: This is a game-changer! After you’ve applied all your products to wet hair, you lay a cotton t-shirt or microfiber towel on a flat surface. Then, you gently lower your hair onto the center of it, almost like an accordion. You wrap it up and let it sit for 15-20 minutes. Plopping helps absorb excess water without gravity pulling your curls down, which seriously boosts definition and cuts down on drying time.
- Scrunching: After applying products (and after plopping, if you do it), you gently scrunch your hair upwards towards the scalp to encourage your curl pattern.
Don’t Fear the Crunch!
Many fantastic gels and mousses create a crunchy layer on your hair as it dries. This is called a “cast.” A lot of people new to this hate the feeling and think the product failed. But the cast is your friend! It’s a protective shield that holds your curl definition and prevents frizz while your hair dries. Once your hair is 100% dry (and not a minute sooner!), you can “scrunch out the crunch.” Gently scrunch your hair to break that cast, revealing soft, defined curls underneath. Using a few drops of a lightweight oil on your hands can help with this, too.
Protecting Your Curls Overnight
You can have the best wash day ever, but if you sleep on a cotton pillowcase, you’ll wake up with a frizzy mess. Cotton absorbs moisture from your hair and the friction roughs up the cuticle. Protecting your hair at night is a total game-changer.
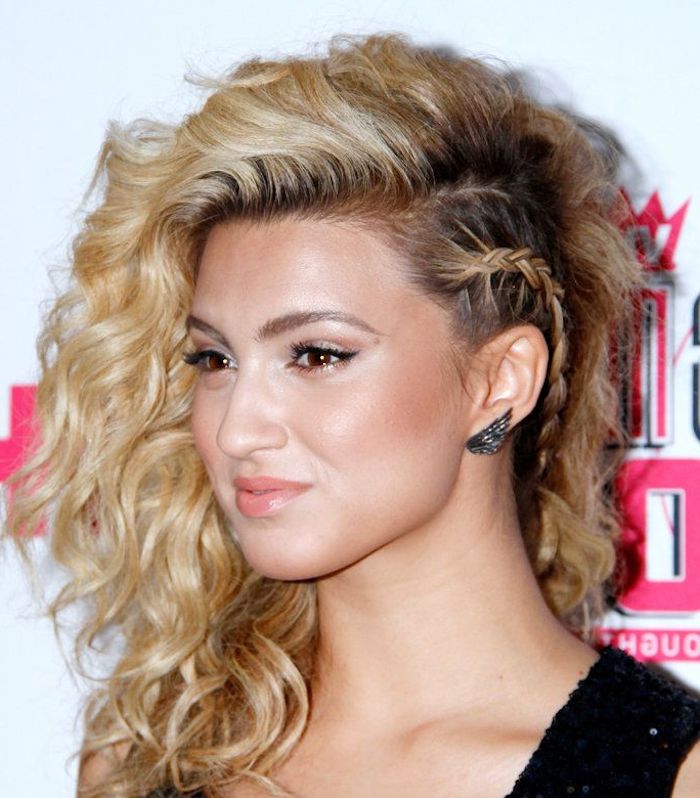
- The Pineapple: This is a go-to for many. You loosely gather your hair into a high ponytail on the very top of your head, using a gentle tie like a scrunchie or an Invisibobble. It looks a bit silly, but it keeps your curls from getting crushed while you sleep.
- Satin or Silk Bonnets/Scarves: These are your best friends. They protect your hair from friction and help it retain moisture. You can find a perfectly good satin bonnet online or at a beauty supply store for under $10. It’s a small investment with a huge payoff.
- Satin or Silk Pillowcases: If you can’t stand wearing something on your head, switching to a satin pillowcase (usually around $20-$30 for a pair) provides that same slippery surface so your hair can glide around without snagging.
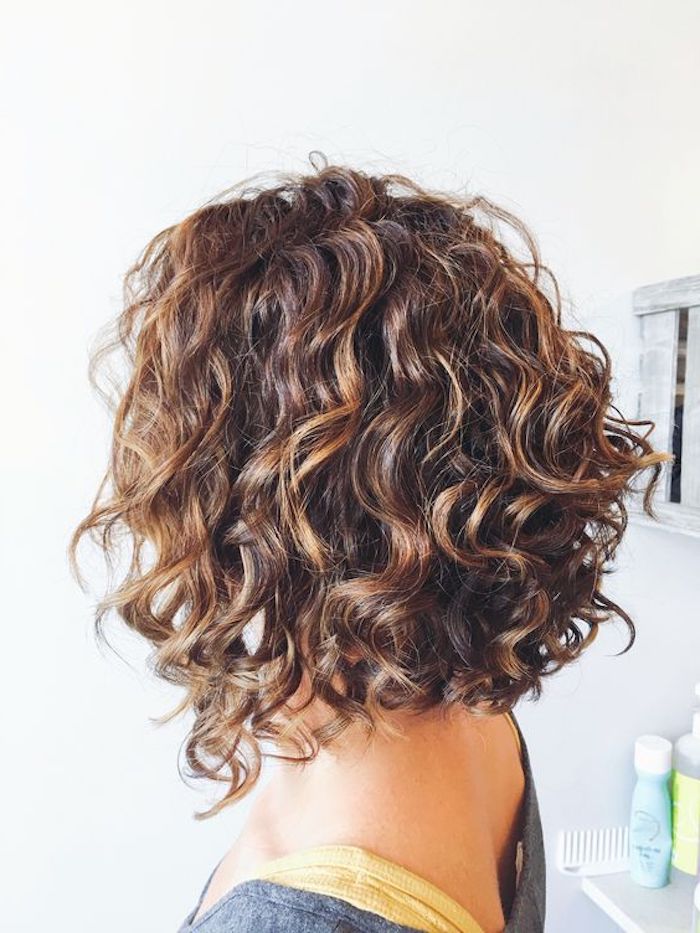
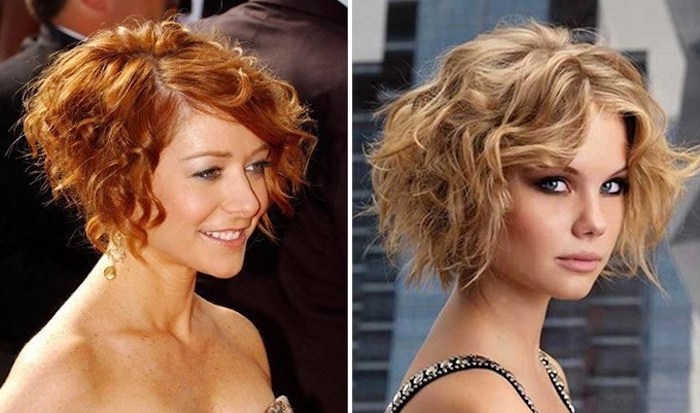
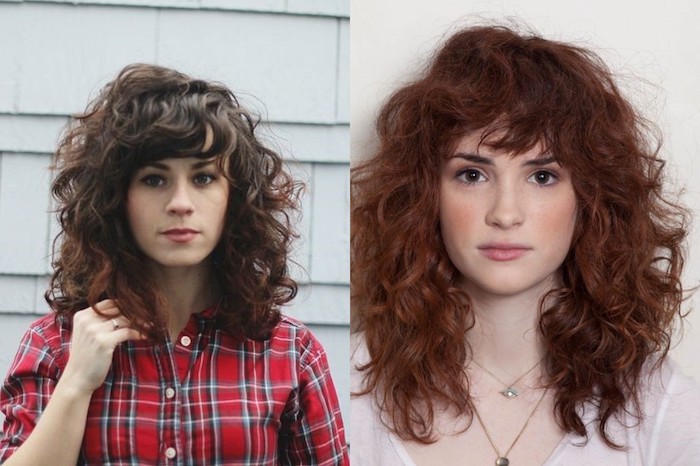
The Haircut: Why a Curl Specialist Is Worth It
A great haircut is the foundation of your style. For curly hair, the wrong cut can create bizarre shapes (like the dreaded “triangle head”) and layers that just don’t make sense. I’ve gone through years of advanced training just for cutting curls, and I can tell you, it’s a completely different skill than cutting straight hair.
Wet Cut vs. Dry Cut
There are two main approaches, and a good stylist often knows how to use both.
- Wet Cutting is the traditional method. It’s great for creating very clean, sharp lines. The challenge? The stylist can’t see exactly how the curls will spring up when they dry. They have to be an expert in judging shrinkage to get it right.
- Dry Cutting has become the gold standard for many curl specialists. We cut the hair dry, in its natural, styled state. This lets us sculpt the hair curl by curl, seeing exactly how the final shape will look. It’s like trimming a plant; you can address specific weird spots and build a shape that honors the hair’s natural tendencies. Many popular, certified curl-cutting methods are based on this principle.
How to Find a Good Curl Stylist
Finding the right stylist can be life-changing. Here’s what I tell people:
- Check Their Instagram: Don’t just look at the salon’s main website. Go to the individual stylist’s professional social media. Do you see lots of pictures of hair that looks like yours? Do they show before-and-afters? A true specialist is proud to show off their work on all textures.
- Ask Questions: Call and ask about their approach. “Do you typically cut curly hair wet or dry?” “What product lines do you use and why?” Their answers will tell you everything about their expertise level.
- Look Online: A quick search for a “curly hair stylist finder” will often lead you to great online directories where you can find certified and experienced pros in your area.
- Let’s Talk Money: Heads up, a true specialist cut is an investment. You’re paying for years of advanced, specialized education. Depending on your city and the stylist’s experience, expect to pay anywhere from $150 to $300+. It’s a shock if you’re used to a $60 cut, but the results often last for months and can completely transform your hair.
Troubleshooting and Final Thoughts
The journey with curly hair is not a straight line. You will have bad hair days. A product that was your holy grail might suddenly stop working. That’s totally normal.
- Problem: Limp, mushy, over-soft curls that have no life.
Diagnosis: This is probably “moisture overload.” Your hair is waterlogged and needs structure.
Solution: Use a light protein treatment. Look for products with ingredients like hydrolyzed wheat protein or amino acids. Don’t go crazy; once or twice a month is usually plenty. - Problem: Dry, brittle, straw-like hair that snaps easily.
Diagnosis: Could be a lack of moisture, but if you’ve been deep conditioning like crazy, it might be “protein overload.” Too much protein makes hair rigid.
Solution: Lay off all protein for a few weeks. Focus only on moisturizing deep conditioners. Use a clarifying shampoo to remove any excess buildup.
A Final Word…
This guide gives you the principles I’ve built my career on. But remember, every head of hair is a world of its own. Be patient with yourself when you’re trying a new technique. It might take a few tries to get it right. More than anything, finding a stylist who is genuinely passionate about curls is the best investment you can make. Your curls are not a problem to be solved; they’re a part of you to be understood and, finally, celebrated.
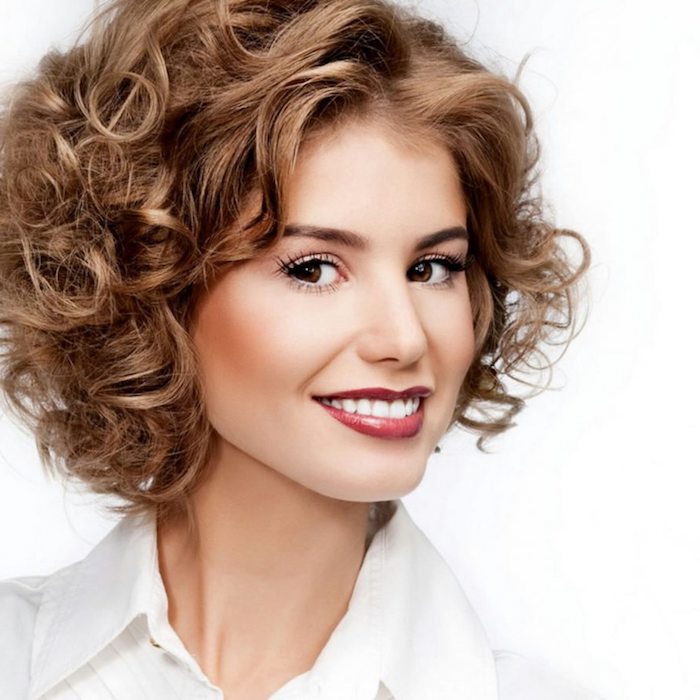
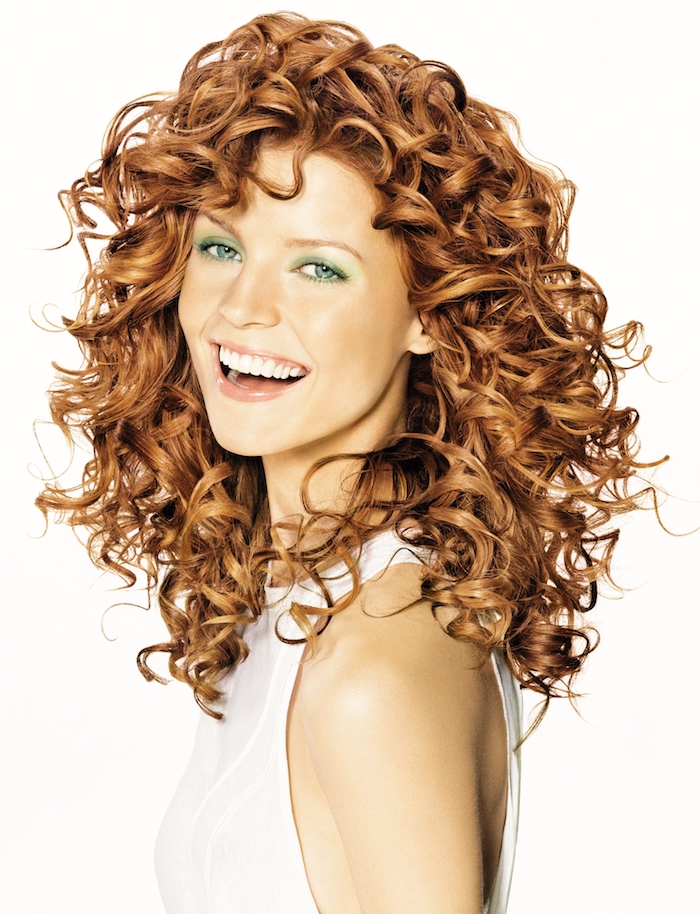
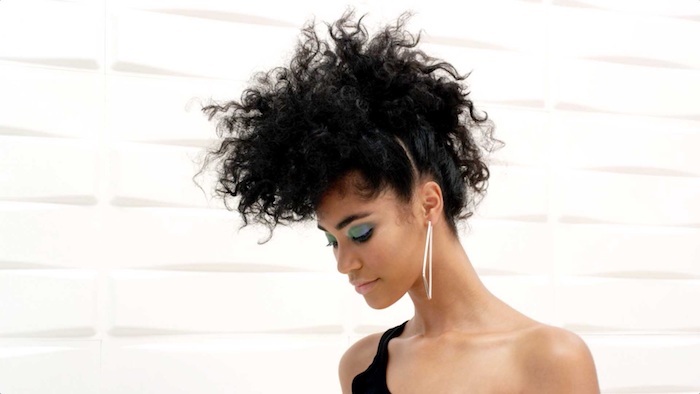
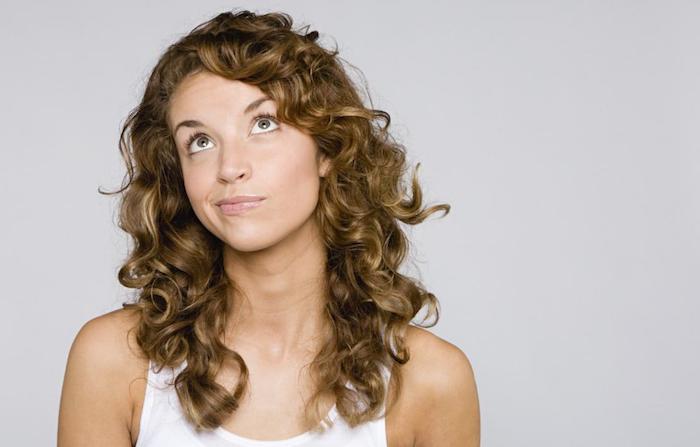
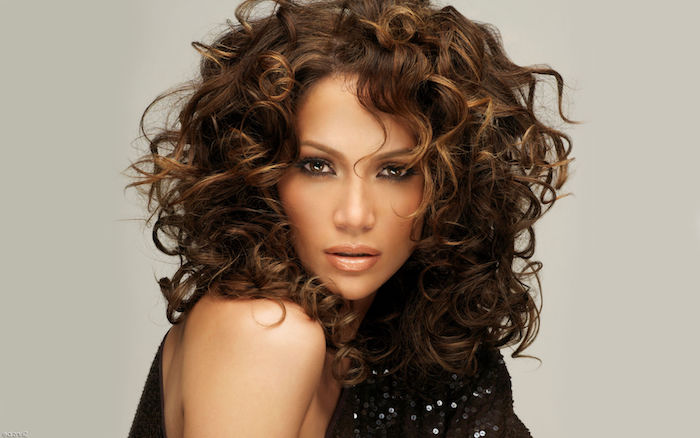
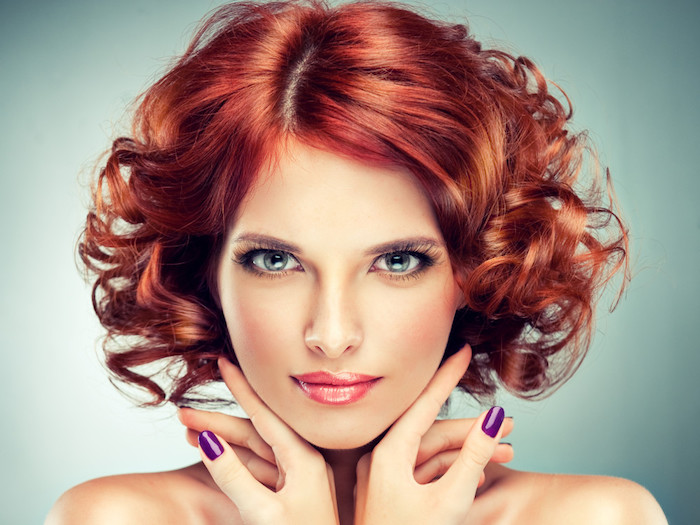
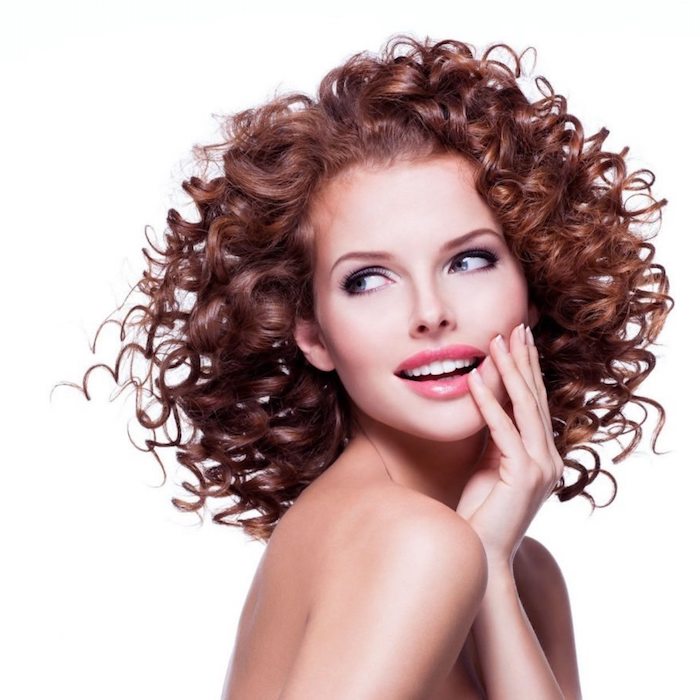
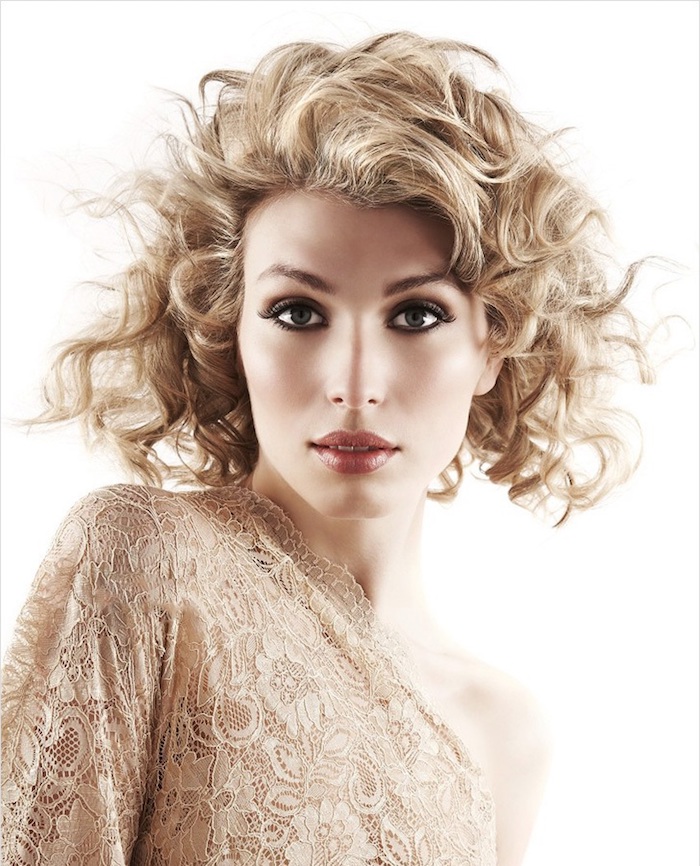
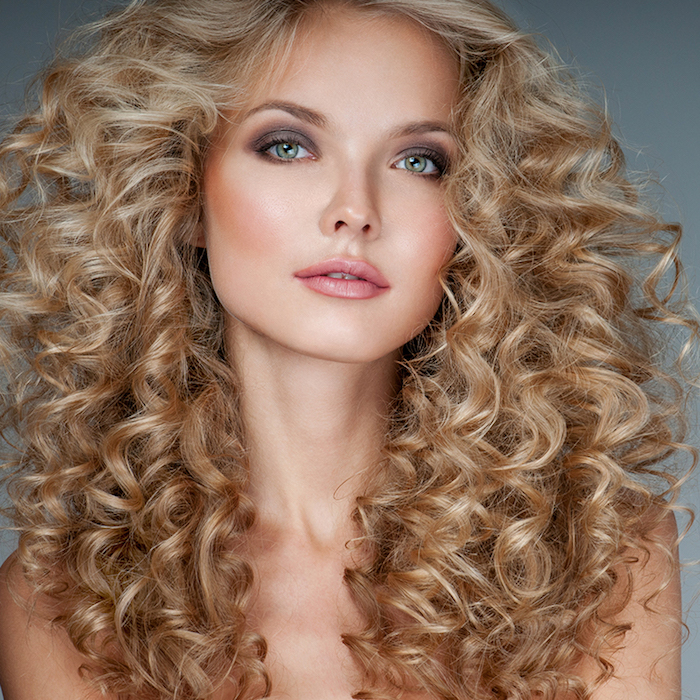
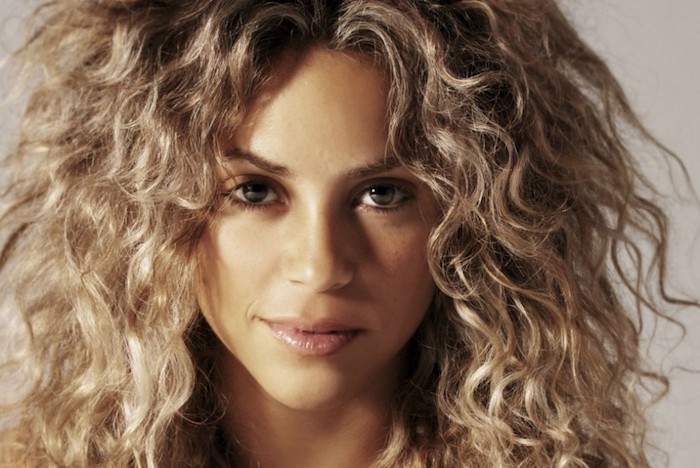
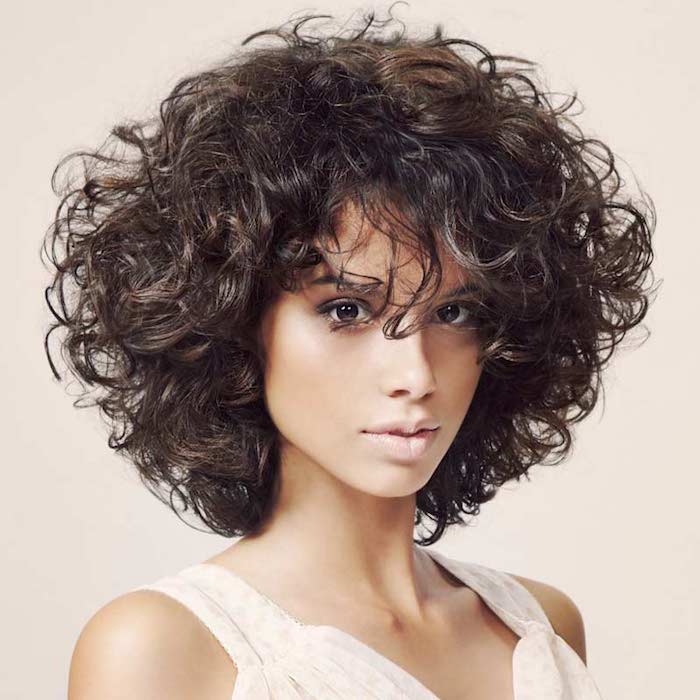
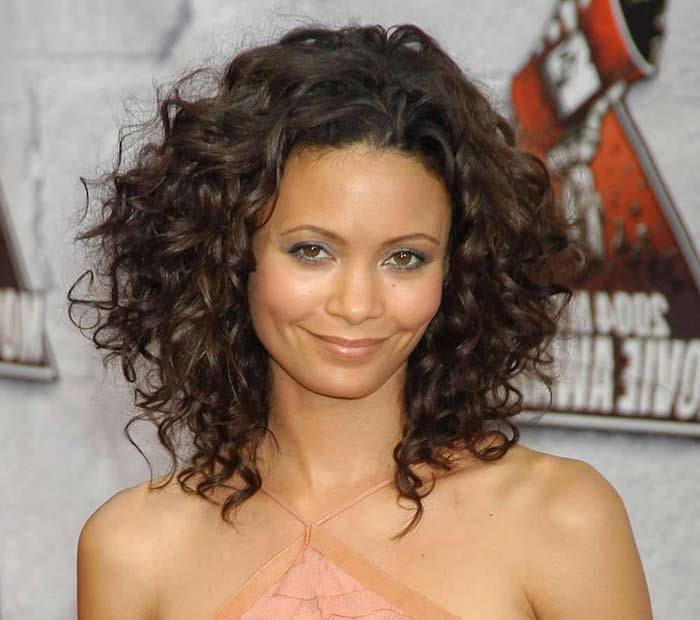
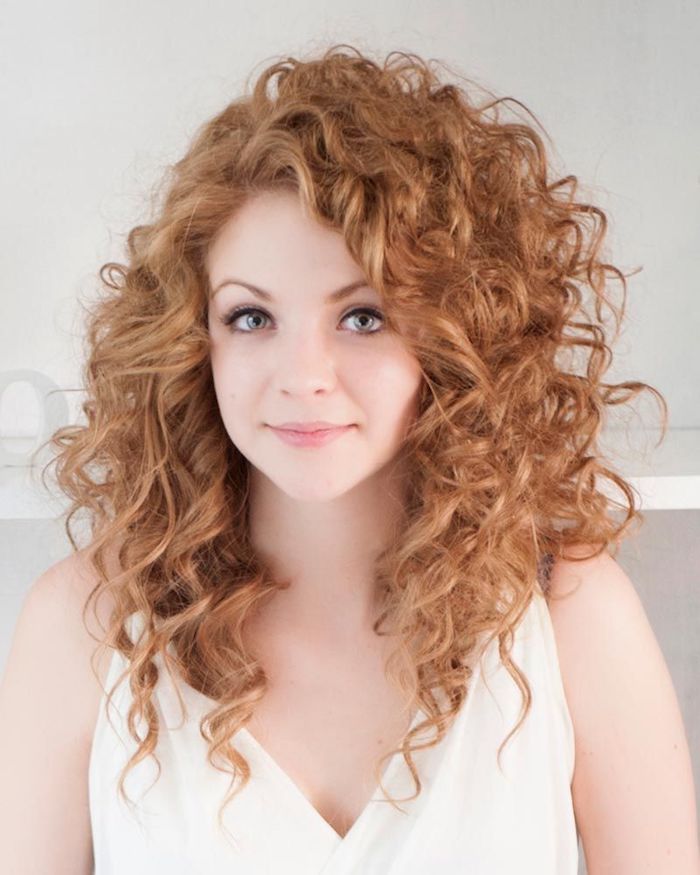
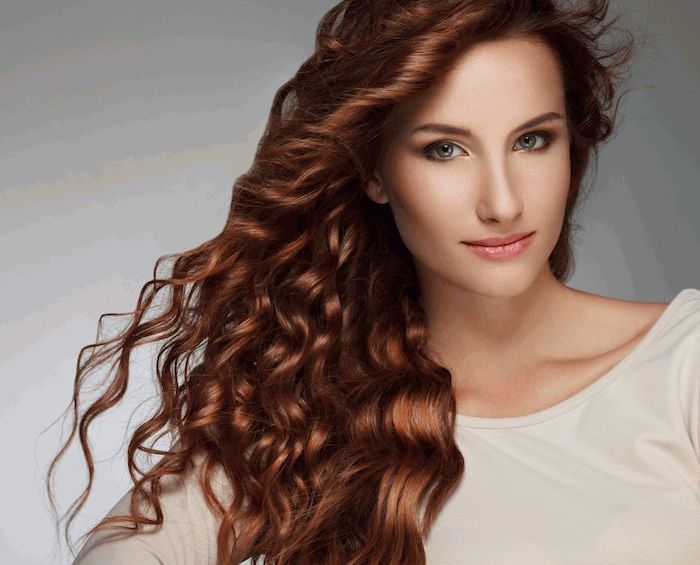
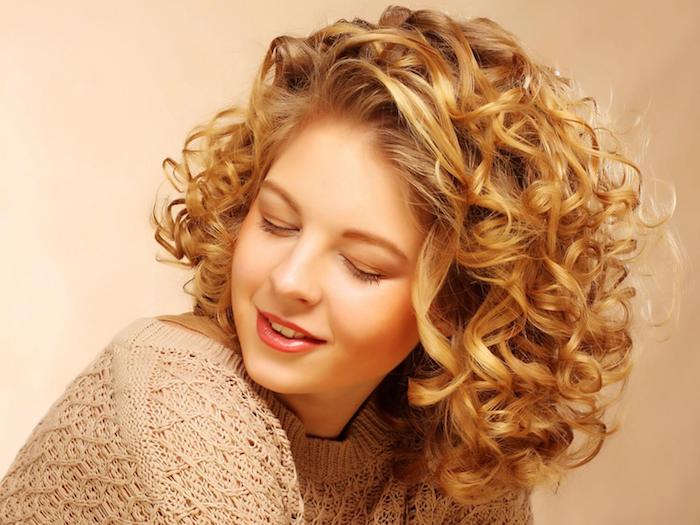
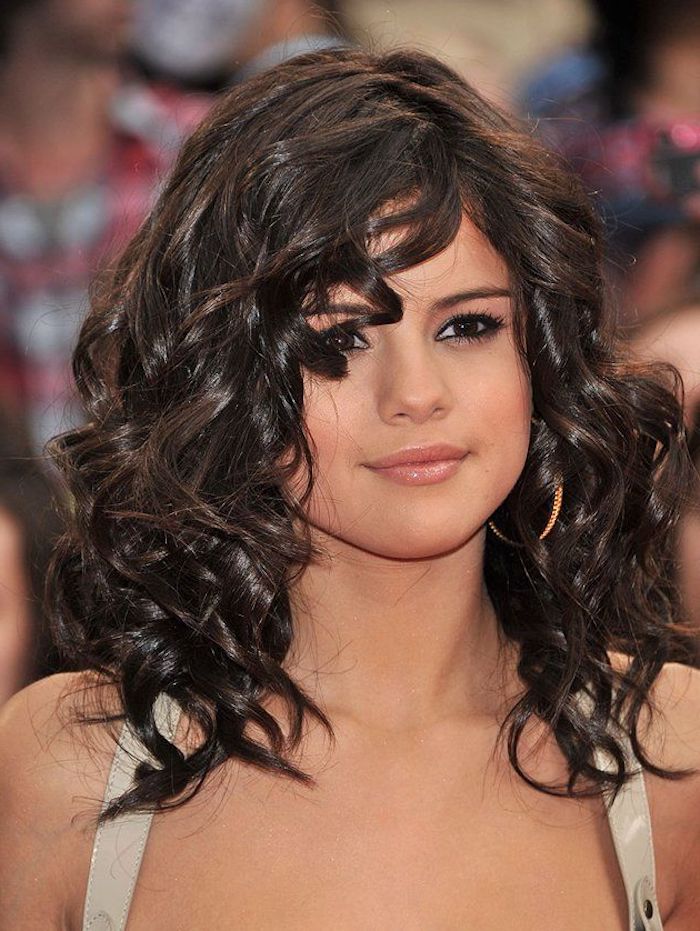
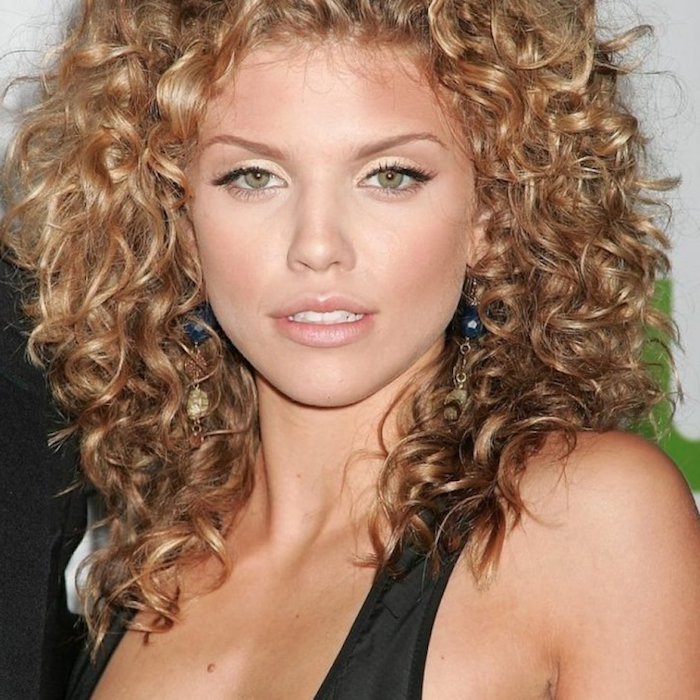
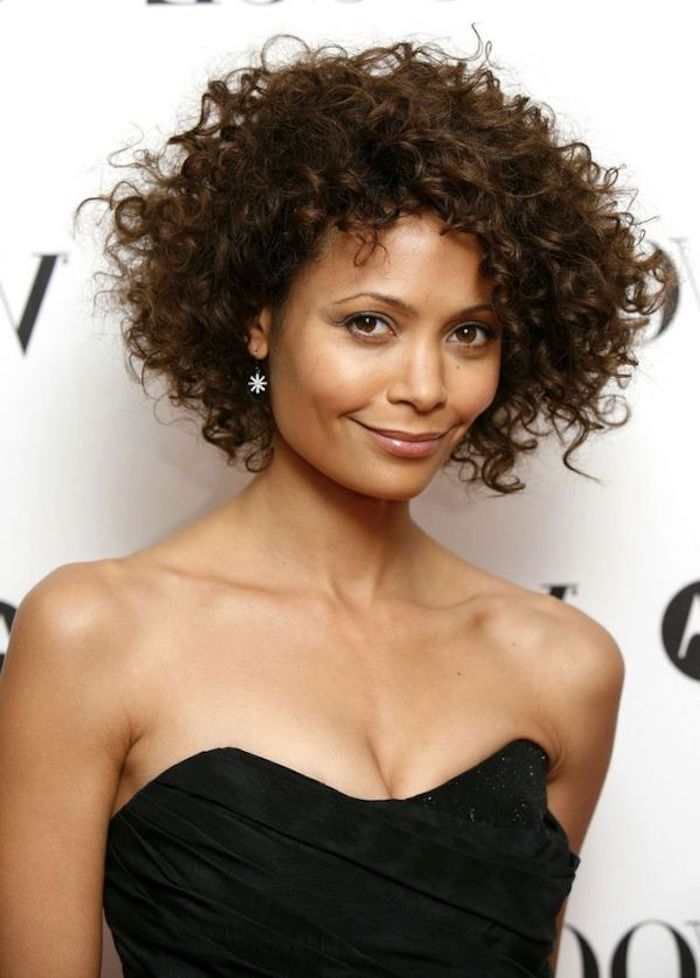
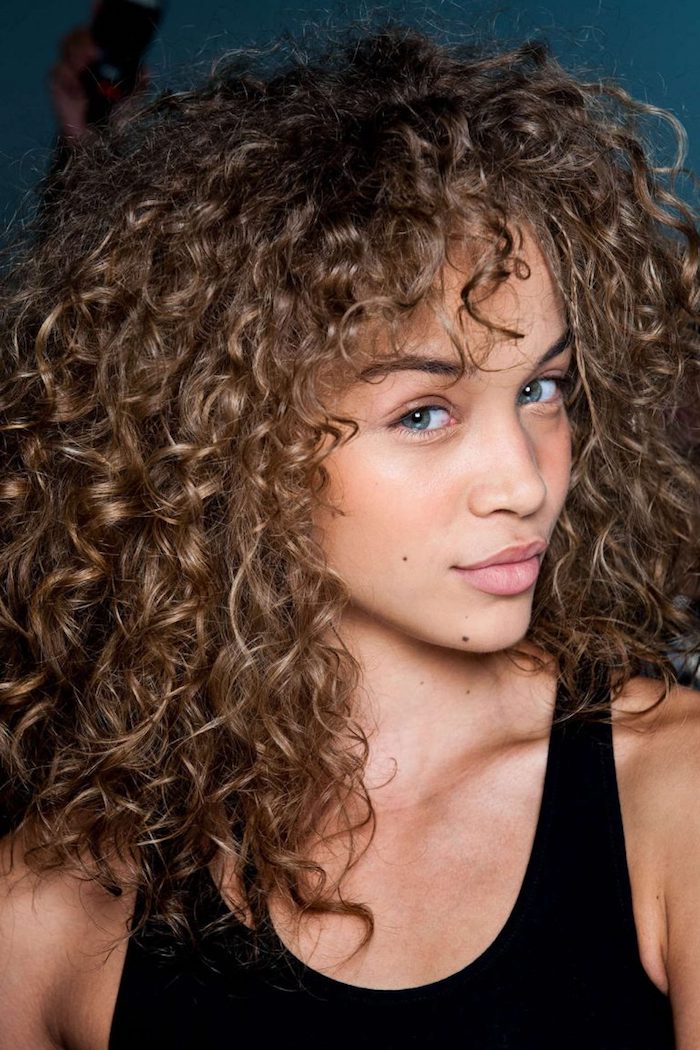
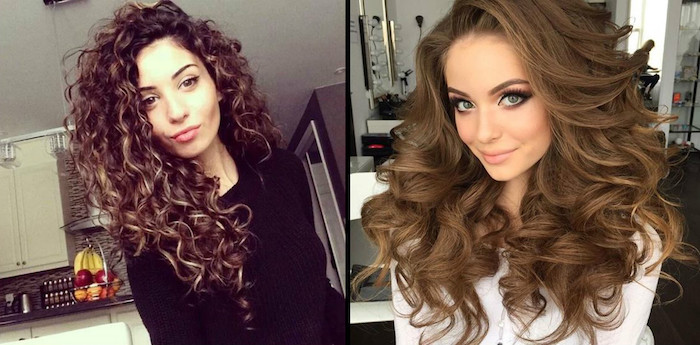
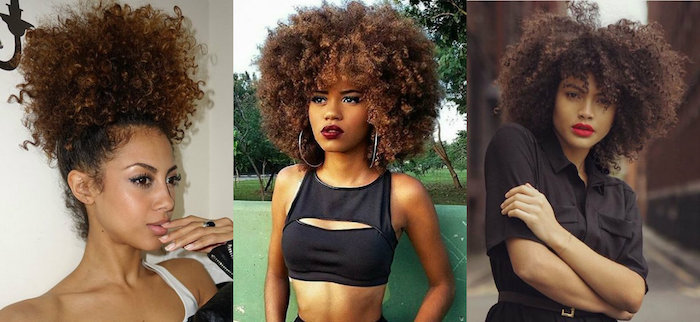
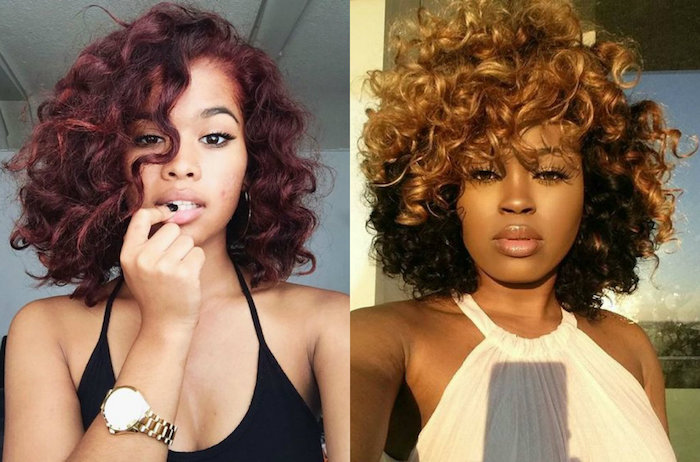
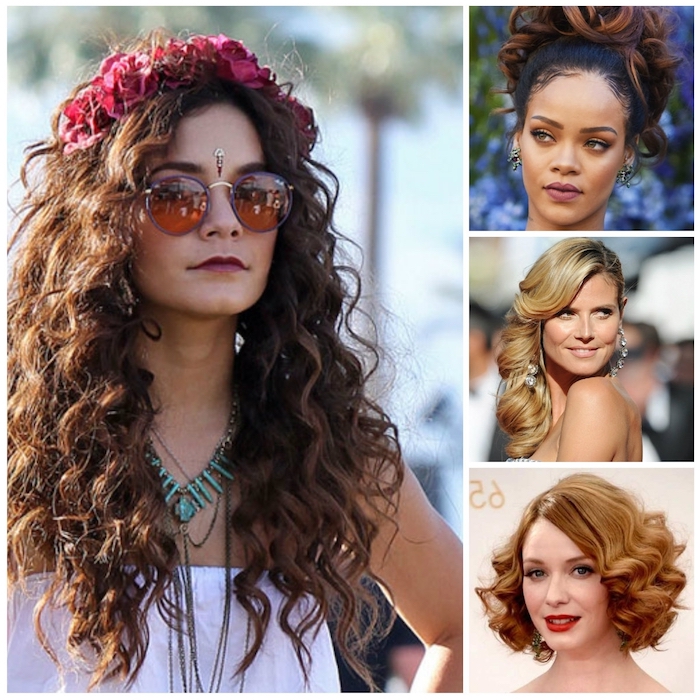
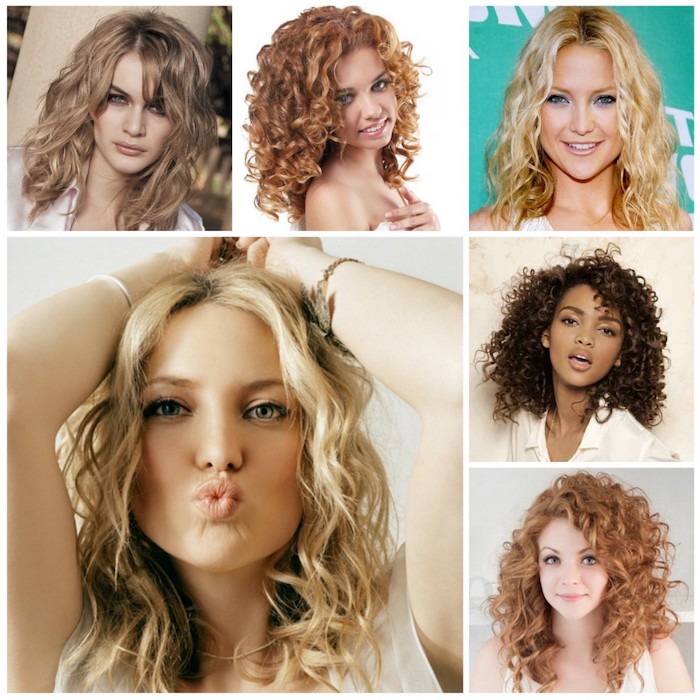
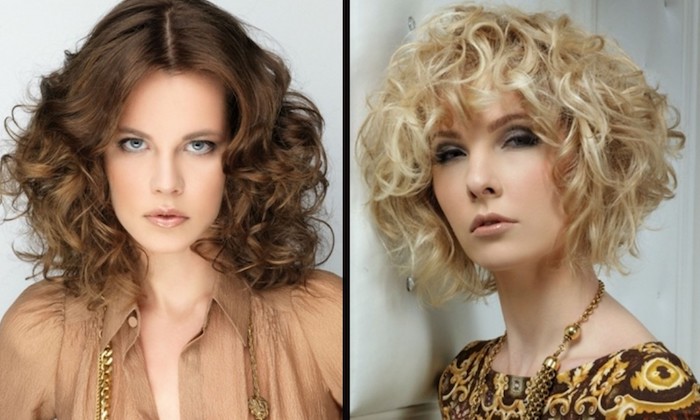
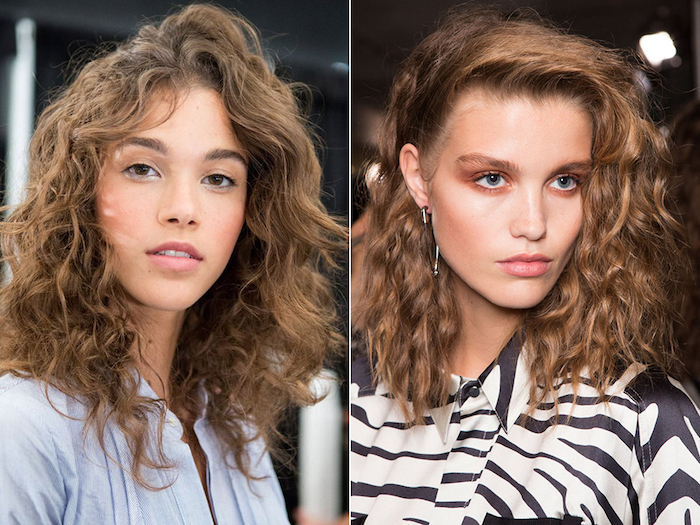
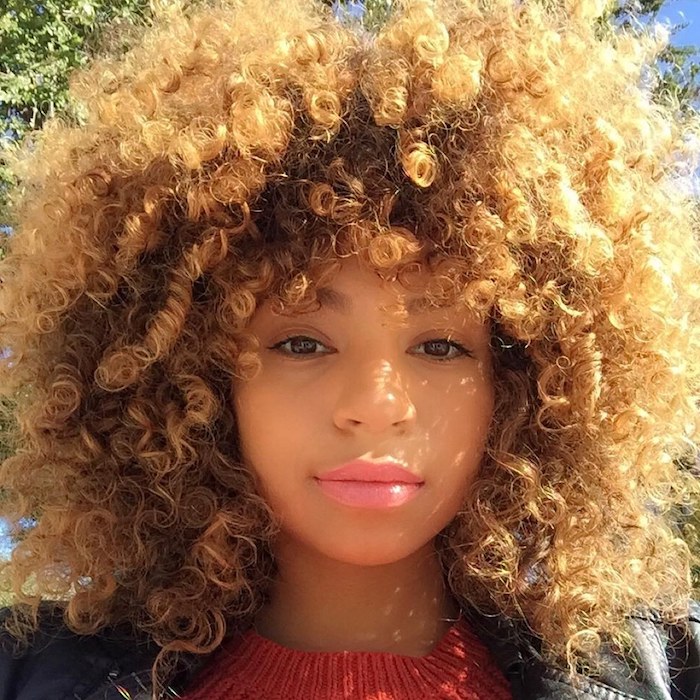
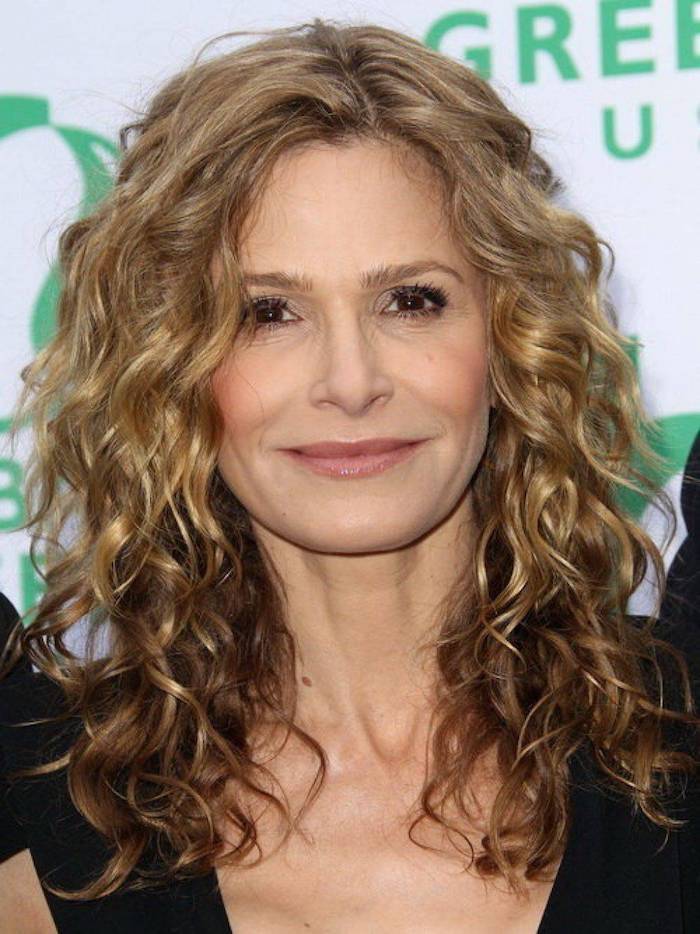
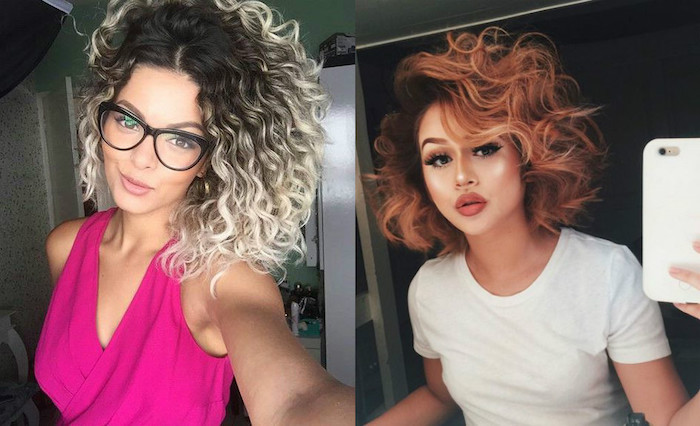
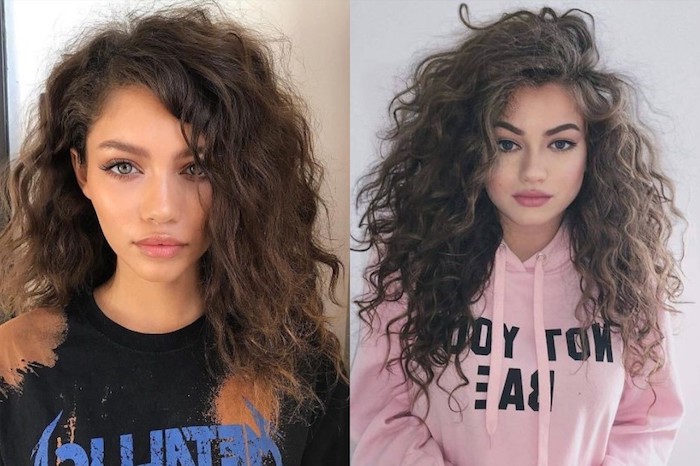
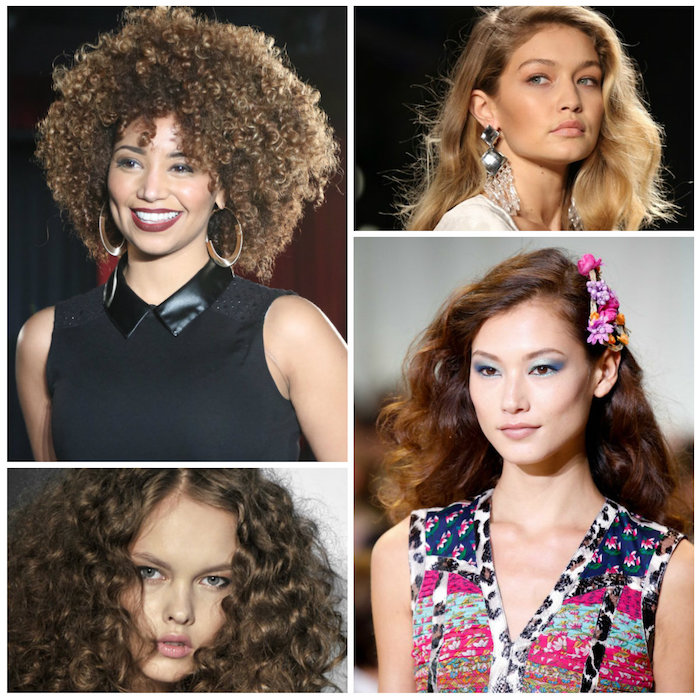
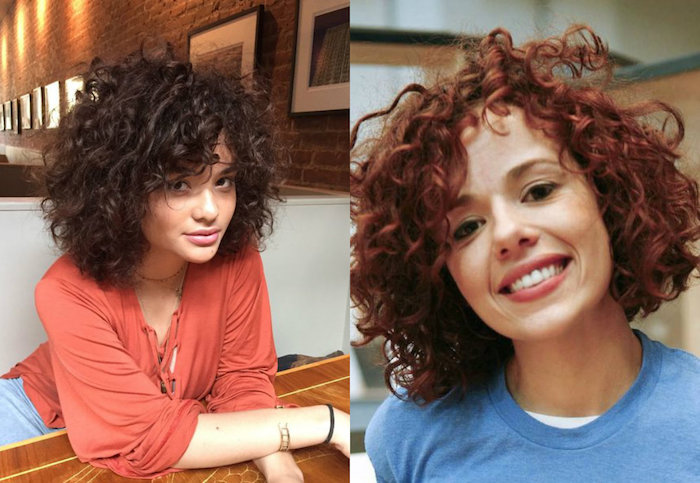
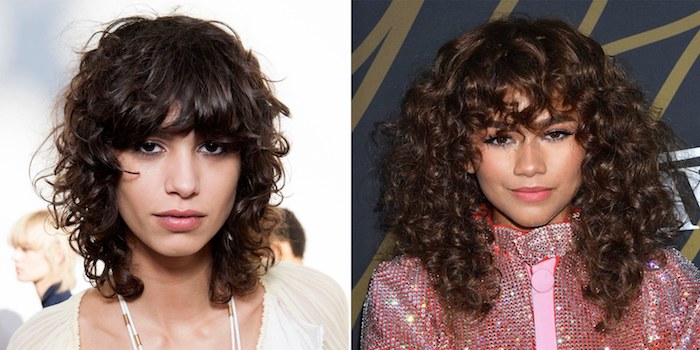
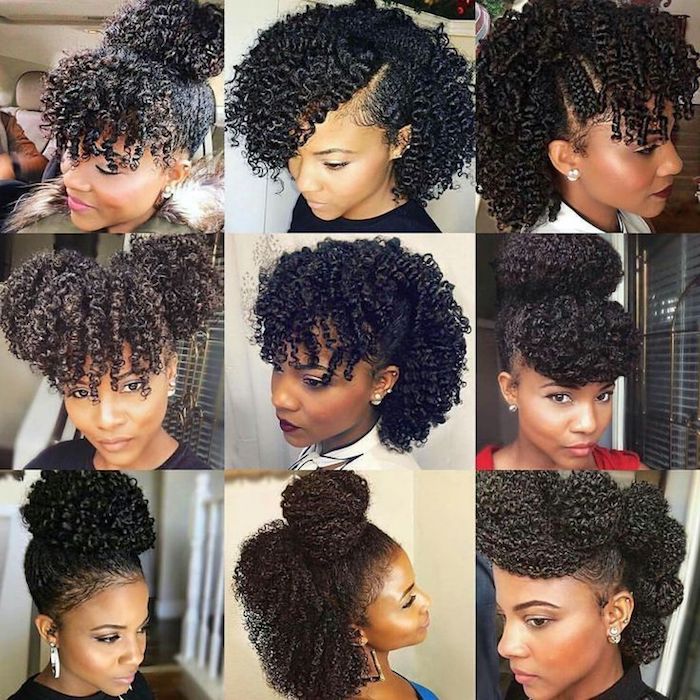
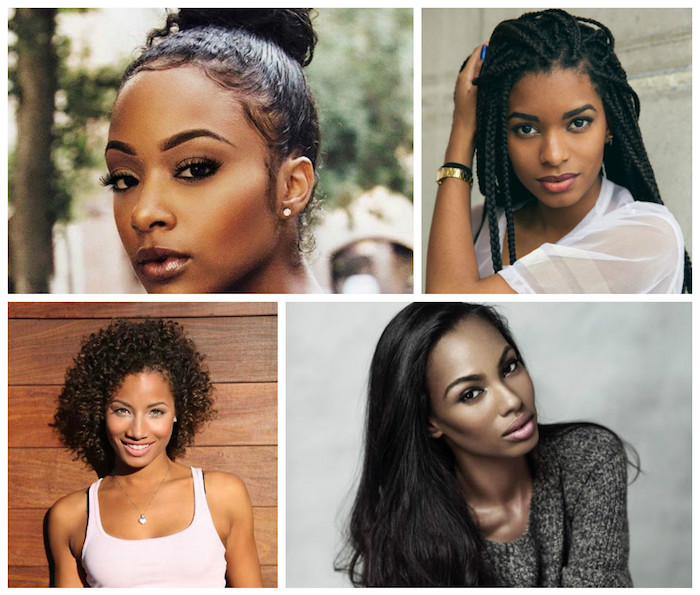
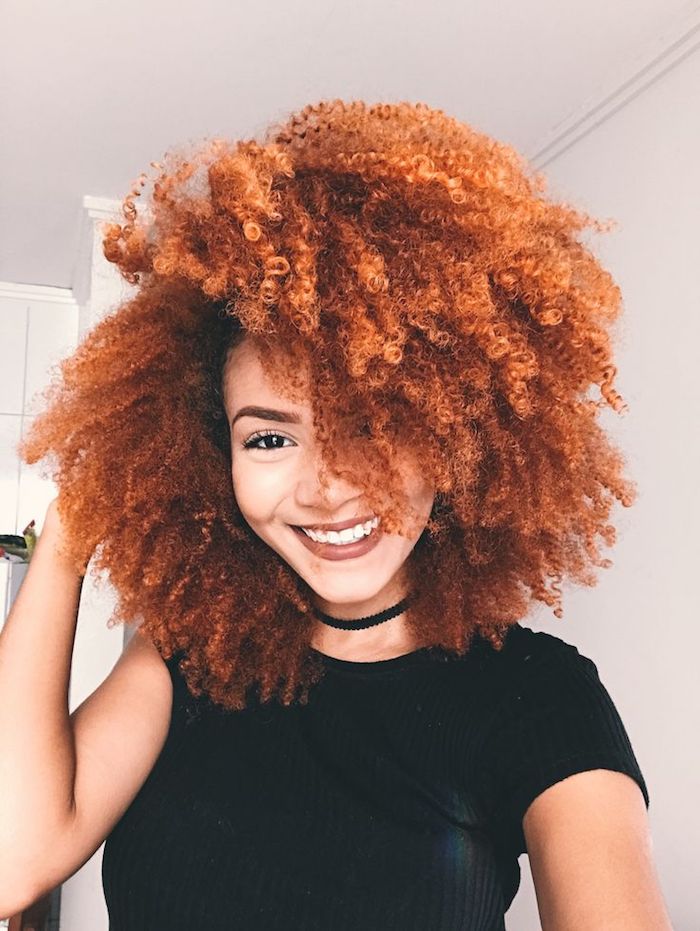
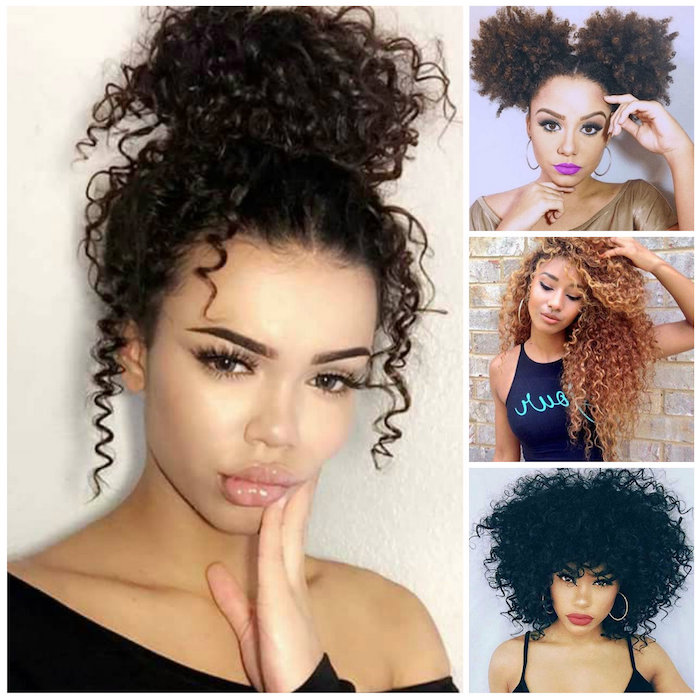
Inspiration Gallery

Don’t underestimate the power of a specialized cut. A stylist trained in curly hair—often called a DevaCut or a RezoCut—understands that curls should be cut dry, in their natural state. This allows them to shape your hair curl by curl, preventing the dreaded “triangle” or “shelf” shape that can result from a traditional wet cut.
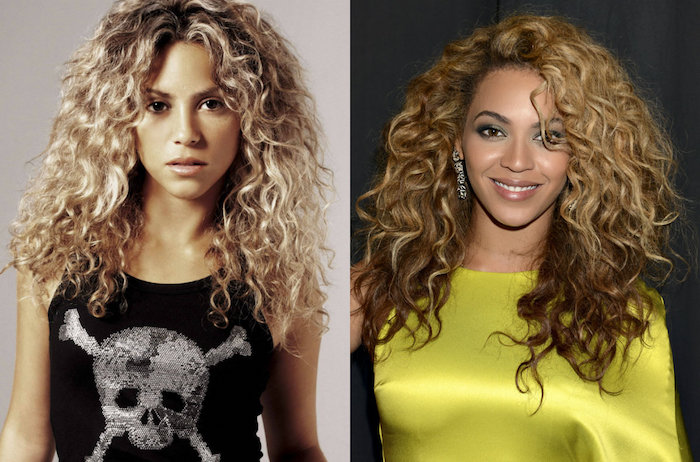
Did you know that up to 65% of people have some form of wavy, curly, or coily hair? You’re part of a beautiful majority, not a difficult minority!
This statistic highlights a major shift in the beauty industry. Brands are finally investing in formulations that cater to texture, moving beyond a one-size-fits-all approach. Embracing your curls means joining a global community that celebrates natural hair in all its forms.

What exactly is a ‘leave-in conditioner’ and is it different from my regular conditioner?
Yes, and it’s a game-changer. While regular conditioners are formulated to be rinsed out, leave-ins are lighter and designed to stay in your hair, providing a continuous shield of moisture and slip. They act as a primer before your styling products, like Kinky-Curly’s Knot Today, helping to detangle and reduce frizz throughout the day.

- Creates a defined, lasting cast.
- Fights humidity and frizz for hours.
- Often provides stronger hold for multi-day styles.
The secret? A high-quality styling gel. Unlike the crunchy, flaky gels of the 90s, modern formulas like those from Bouclème or Innersense Organic Beauty provide flexible hold without drying alcohols. The key is to apply it to soaking wet hair and then “scrunch out the crunch” once it’s fully dry.

The Pineapple Trick: A loose, high ponytail on the very top of your head, resembling a pineapple, is the go-to overnight style for many curlies. It protects the curl pattern and prevents flattening and friction while you sleep. Secure it with a gentle tie like an Invisibobble or a silk scrunchie to avoid dents.
Product application can be just as important as the product itself. The “praying hands” method is a fantastic way to apply creams or leave-ins without disrupting your curl clumps.
- Take a small amount of product and emulsify it between your palms.
- Instead of raking, sandwich a section of hair between your hands in a praying motion.
- Smooth your hands down the hair shaft from root to tip.

Gel: Excellent for definition and strong, all-day hold, creating a “cast” that you scrunch out later. Ideal for humid climates or for those who want their style to last for several days. Think Ouidad’s Advanced Climate Control Heat & Humidity Gel.
Mousse: A lighter option that provides volume and soft, touchable definition. Perfect for finer waves and curls that are easily weighed down. Try the Curl Talk Activating Mousse from Not Your Mother’s.
Many people even layer them, using a mousse for volume at the roots and a gel for hold on the lengths.
Shrinkage is not a flaw; it’s a sign of healthy, elastic hair. Some highly coily hair types can shrink up to 75% of their true length!

If your curls feel dry, lifeless, and your products suddenly stop working, you might be dealing with product build-up. A clarifying shampoo is your reset button. Use a gentle one, like As I Am’s Curl Clarity Shampoo, once or twice a month to remove residue from products, oils, and hard water, allowing moisture to penetrate your hair shaft again.
- Improved curl definition overnight.
- Significant reduction in frizz and tangles.
- Less moisture loss from your hair.
The key to these benefits? A satin or silk pillowcase. Cotton absorbs moisture, leaving your hair dry and creating friction that roughens up the cuticle. The smooth surface of silk or satin lets your hair glide, preserving your style and health while you sleep. A satin bonnet or scarf achieves the same effect.
Are my expensive products a waste of money if I have hard water?
They might not be working as well as they could. Hard water contains minerals like calcium and magnesium that build up on the hair, creating a barrier that prevents conditioners and stylers from absorbing properly. This can leave curls feeling constantly dry and brittle. Installing a shower filter is a simple, effective solution to this common problem.


Deep Condition with Heat: Your weekly deep conditioning treatment is good. Making it great is simple: add heat. After applying your mask (like SheaMoisture’s Manuka Honey & Mafura Oil Intensive Hydration Masque), cover your hair with a shower cap and then wrap a warm, damp towel around it for 20-30 minutes. The heat opens up the hair cuticle, allowing the nourishing ingredients to penetrate far more effectively.
“The number one mistake I see is applying products to damp or towel-dried hair. Curls form best when they are soaking wet. That’s when you can capture the pattern without creating frizz.” – Lorraine Massey, creator of the Curly Girl Method.

Finding your Holy Grail products doesn’t have to break the bank. The drugstore aisle is full of incredible options. Brands like Cantu, Not Your Mother’s Curl Talk, and Garnier Fructis’s curl lines offer sulfate-free shampoos, rich conditioners, and effective stylers that are beloved by the curly community, proving that a high price tag doesn’t always mean better results.


A diffuser is a curly’s best friend for adding volume and speeding up drying time without creating a frizzy mess. Look for one with a large, deep bowl and long “fingers.”
- These features help you scoop up and support large sections of hair.
- They also promote air circulation at the root for maximum lift.
- The DevaFuser and the Xtava Black Orchid are two cult-favorite models.
Glycerin: Friend or Foe? This common ingredient is a humectant, meaning it draws moisture from the air into your hair. In moderately humid conditions, it’s amazing for hydration. However, in very high humidity, it can draw in too much moisture, causing frizz. In very dry air, it can actually pull moisture *out* of your hair. Check the dew point—if it’s extreme, consider a glycerin-free styler.

- A simple glass of water.
- A single, clean strand of your hair.
With these, you can test your hair’s porosity. Drop the strand into the water. If it sinks quickly, you have high porosity hair (it absorbs moisture easily but can also lose it quickly). If it floats, you have low porosity hair (it’s harder to get moisture in, but it stays once it’s there). This simple test helps you choose the right products—light ones for low porosity, richer creams for high porosity.

Second-day curls can be even better than the first, but they often need a little wake-up call. Mix some water with a bit of your favorite leave-in conditioner in a fine-mist spray bottle (like those from Flairosol). Lightly spritz your hair to re-dampen it, then gently scrunch to reactivate the product and reform your curls without a full re-wash.

The Denman Brush Myth: It’s not for detangling dry hair! A Denman brush, especially the D3 or D4 models, is a styling tool. When used on soaking wet, conditioned hair, it helps to clump curls together and create incredible definition and ringlets. Raking it through dry or tangled hair, however, will lead to breakage and disrupt your pattern.


Why are sulfates considered bad for curls?
Sulfates, like Sodium Lauryl Sulfate, are powerful detergents that create that satisfying lather we associate with being clean. However, for curly hair, which is naturally drier, they are too harsh. They strip the hair of its natural oils, leading to a dry, frizzy, and fragile state. Switching to a sulfate-free cleanser is one of the most impactful changes you can make.

Just 1 tablespoon of flaxseeds and 1 cup of water can create a surprisingly effective, protein-rich styling gel at home.
Simply boil the seeds in water until the liquid becomes a gel-like consistency (about 5-10 minutes). Strain the seeds out while the mixture is still hot. Once cooled, the resulting gel provides amazing, natural hold and definition. You can customize it by adding a few drops of essential oil for scent or aloe vera for extra moisture.

Bond Builders: They work on a molecular level to repair broken disulfide bonds within the hair, often damaged by bleach, color, or heat. Olaplex No.3 is the classic at-home treatment for this.
Moisture Masks: These focus on hydration, infusing the outer layers of the hair with oils, butters, and humectants to combat dryness and improve elasticity. Think Briogeo’s Don’t Despair, Repair! mask.
Healthy curls need both: strength from bond repair and suppleness from moisture.

Embrace the frizz—just a little. The quest for 100% defined, frizz-free curls can be exhausting and unrealistic. A little bit of frizz, often called a “halo” or “canopy,” is natural. It creates softness, movement, and incredible volume. Sometimes, letting go of perfection is the final step to truly loving your hair.


- Your curls feel limp and overly soft, refusing to hold a shape.
- Your hair looks stringy and weighed down, even when clean.
- It feels almost too slippery or mushy when wet.
The problem? Most likely moisture overload. You’ve given your hair too much conditioning and not enough protein. Balance it out by swapping your deep conditioner for a protein treatment, like the Mielle Organics Rosemary Mint Strengthening Hair Masque, for a couple of washes to restore structure and bounce.
A single change: Stop touching your hair while it’s drying. Seriously. Once you’ve applied your products and scrunched, let it be. Constant touching, flipping, and fussing disrupts the curl clumps as they’re setting, creating frizz where there would have been a perfect spiral. Wait until it’s 100% dry to fluff the roots or scrunch out any gel cast.


