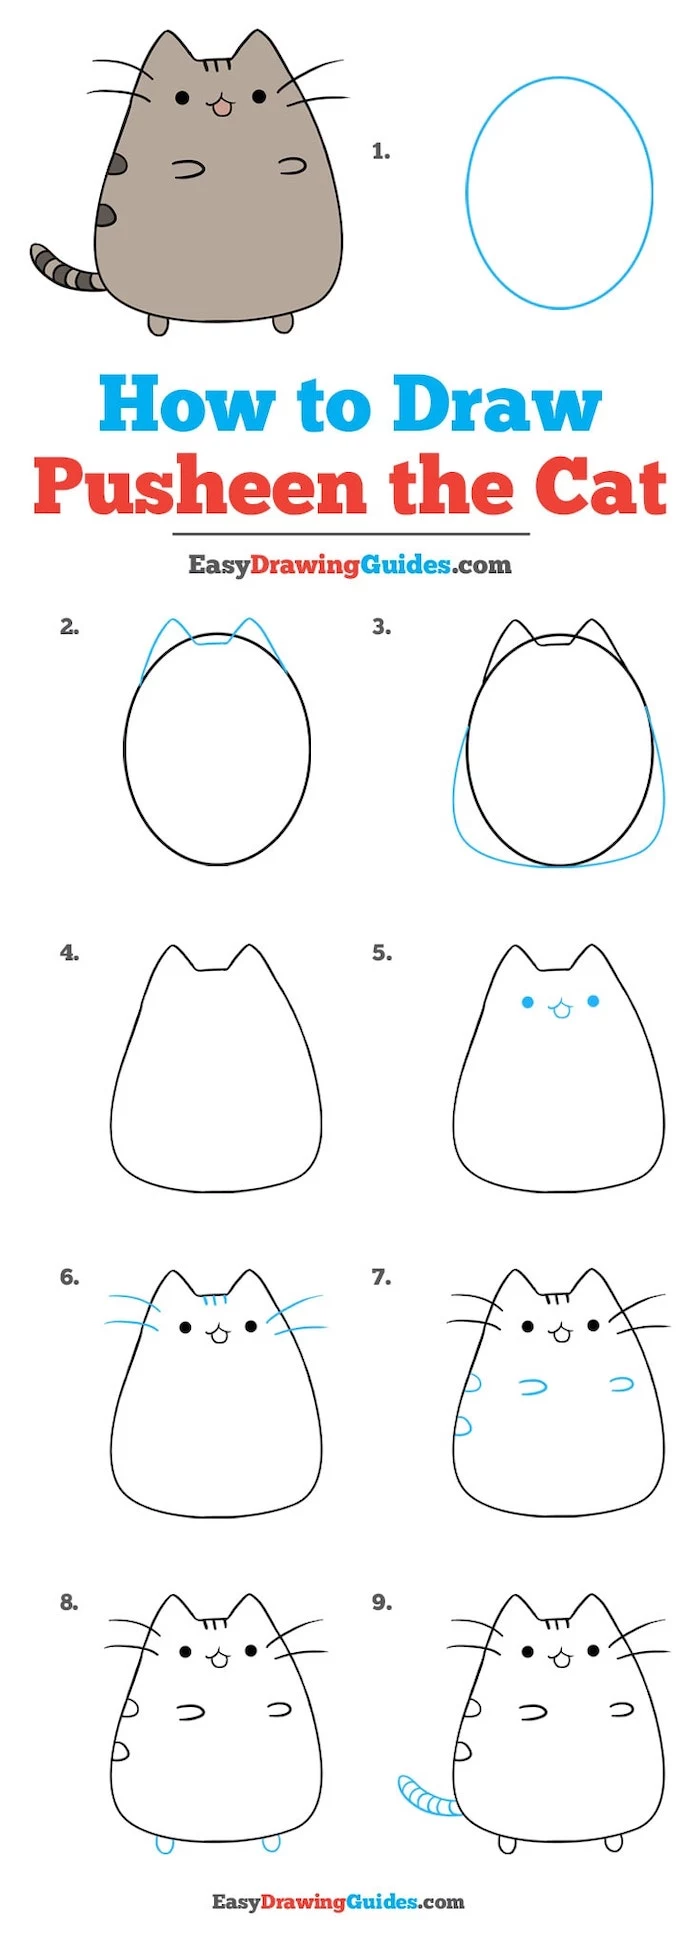
Your Kid Can Draw (Even If You Can’t). A No-Stress Guide for Parents.
I’ve had the absolute joy of watching kids discover the world through art for years, both in classrooms and community programs. And in all that time, I’ve seen it all. The super-hesitant child who’s scared to even make a mark. The bold kiddo who covers a page in black paint with a gigantic smile. And I’ve landed on one simple, powerful truth: every single child can draw.
In this article
Let’s get one thing straight. Drawing isn’t some magical talent you’re born with. It’s a skill, just like walking or talking. It’s one of the most fundamental ways kids process their world, work through big feelings, and literally build their brains.
But so many parents I talk to are worried. They buy those step-by-step drawing books or try to show their kid the “right” way to draw a dog. Honestly, those methods often do more harm than good. They can quietly whisper to a child that their own ideas aren’t good enough. My whole approach is different. It’s about being a guide, not a director. It’s about providing the right tools and a safe space to just… explore. This guide is packed with the same techniques the pros use, broken down so you can help your child on their natural creative journey.
What’s Actually Happening on That Piece of Paper?
When a child grabs a crayon, it’s so much more than just a creative moment. It’s a complex developmental process unfolding right before your eyes. Understanding the stages can help you really appreciate their work and offer the right kind of support. We don’t expect a one-year-old to speak in full sentences, right? So we shouldn’t expect them to draw a perfect house, either. It’s all about meeting them where they are.
The Scribble Stage (Roughly 1 to 3 Years)
A toddler’s first marks on paper are just plain thrilling. To us, it might look like a bunch of random lines, but to them, it’s a massive discovery. They are learning cause and effect in real-time. “Whoa, when I move my arm like this, a mark appears!” This whole stage is about physical exploration, and it’s the foundation for every bit of art and writing that will come later.
And their scribbles evolve! They go from uncontrolled jabs at the paper to more controlled, repeated motions like loops or long, flowing lines. Then, around age two or three, something incredible happens. A child will make a scribble and then, almost as an afterthought, give it a name. They’ll point to a chaotic tangle of lines and proudly say, “Doggy!” That’s the very beginning of symbolic thought—a huge cognitive leap.
The “What Is That?” Stage (Roughly 3 to 4 Years)
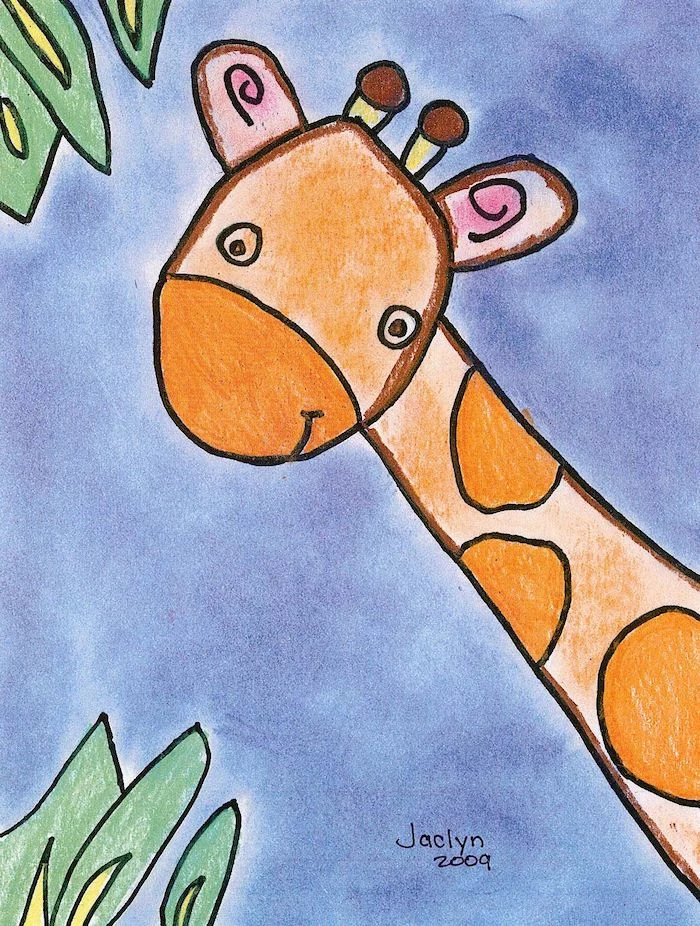
This is when you start to see the first things you might actually recognize. The most common one is the classic “tadpole” person: a big circle for a head with two lines coming straight down for legs. Sometimes arms will stick out from the head, too. Parents always ask me, “Where’s the body?” The thing is, the child isn’t going for anatomical correctness. They’re drawing what’s most important to them: the head (where the face is) and the ability to move (the legs). It’s a completely logical and beautiful representation from their perspective.
During this stage, don’t expect realistic colors or sizes. The sky might be green and a flower might be bigger than a house. This isn’t a mistake! It shows they’re drawing from their feelings and imagination, not just copying what they see. They’re solving problems on the page, and their solutions are creative and deeply personal.
The “My Formula” Stage (Roughly 5 to 7 Years)
By this age, kids have often developed a personal formula, or schema, for drawing common things. A house is a square with a triangle on top. A person now has a separate head and body. You’ll often see a blue line across the top of the page for the sky and a green line at the bottom for the grass, with everything sitting neatly on that baseline.
I once worked with a little boy who drew every single person with the exact same striped shirt. That was his schema for “person.” This isn’t a lack of creativity; it’s a sign of a brain that’s getting organized. He created a reliable set of symbols to tell his stories. Our job isn’t to tell him he’s wrong, but to help him add detail. Instead of saying, “People don’t all wear striped shirts,” I’d ask something like, “I wonder what your person is doing today? Do they need pockets to carry anything?” This encourages them to think and elaborate on their own terms.
How to Help Without Taking Over
The most common mistake I see well-meaning adults make is grabbing the pencil themselves. Saying, “Here, let me show you,” sends a crystal-clear message: “Your way is wrong, my way is right.” It can completely shut down a child’s willingness to even try. So, here’s the number one rule: the child holds the pencil. Your job is to be an interested observer and a thoughtful provider.
Pro Technique: The Art of Strewing
“Strewing” is a wonderful term from early education that just means strategically placing interesting materials in a child’s path to spark their curiosity. Instead of announcing, “Okay, it’s time to draw!” just set up an inviting little art station. This doesn’t need to be a whole room—a corner of the kitchen table is perfect.
Try taping a large piece of paper to the table and setting out a few chunky crayons and maybe a couple of washable markers. That’s it. The invitation is there, but the choice to engage is all theirs. I love to vary the materials to keep it interesting. One day it might be black paper and white chalk. The next, small squares of cardboard and those amazing paint sticks. Novelty keeps it exciting without any pressure.
Your 5-Minute Mission: Right now, find a cereal box and lay it flat on a table with two chunky crayons next to it. That’s it. You’ve officially started strewing. See what happens!
Pro Technique: Talk About the Process, Not the Product
When your child proudly shows you a drawing, fight that powerful urge to ask, “What is it?” This question implies it has to be something recognizable and puts them on the spot. Instead, just talk about what you see. It’s called descriptive feedback, and it’s incredibly powerful.
Try saying things like:
- “Wow, I see you used a ton of red right here.”
- “Look at all those circles you made! They go round and round.”
- “You are holding your marker so steady to make that super long line.”
This validates their effort and shows you’re paying attention to their work, not just waiting for a final product. If they want to tell you about it, believe me, they will.
Pro Technique: Build a Visual Vocabulary
Instead of teaching them to copy a cartoon character, you can give them the building blocks to create absolutely anything. I play a game called “Shape Hunt.” We just look around the room and find all the circles, squares, and triangles. The clock is a circle. The window is a rectangle. A book is a rectangle.
Once they get good at finding shapes, we apply it to drawing. “Let’s try to build a truck using shapes. What shape could we use for the wheels? A circle! Awesome. What about for the part that holds all the cargo? A big rectangle might work!” This turns drawing into a fun puzzle, not an artistic test. It empowers them to deconstruct the world and rebuild it on the page.
Setting Up Your Space (Without Losing Your Mind)
The tools you provide can make or break the experience. Choosing the right materials for their age and ability is key. And let’s be honest, managing the potential for mess is probably the #1 thing holding parents back from breaking out the paint.

Let’s Talk About the Elephant in the Room: The Mess
I get it. The fear of marker on the walls or paint on the rug is real. But a little prep goes a long way. First, get a splat mat. An old shower curtain or a cheap plastic tablecloth from the dollar store works perfectly. Second, designate an “art shirt”—an old adult t-shirt works great as a full-body smock.
I’ll never forget one time in a classroom when a child discovered that shaking a bottle of glitter was WAY more fun than sprinkling it. We had a shimmering, iridescent mess that took ages to clean up. It happens! The trick is to have a simple cleanup routine. We always finished 5 minutes early for “art cleanup,” where everyone helps wipe the table and put caps back on markers. It makes the mess feel manageable instead of catastrophic.
Tools for Little Hands (1–3 Years)
At this age, it’s all about a full-fisted grip and sensory fun. Forget thin, breakable tools.
- Egg or Rock Crayons: These are amazing for a toddler’s “palmar grasp.” Brands like Crayon Rocks are a great investment. They’re hard to break and make lovely, broad strokes. Mess Level: 1/5. Super easy.
- Washable Finger Paints: Don’t be scared! This is a fantastic full-body sensory experience. Just make sure the label says “non-toxic” and “washable.” Mess Level: 5/5. Yes, it’s messy, but with a splat mat and an art smock, it’s 10 minutes of cleanup for an hour of fun.
- Large Paper: Roll out a big sheet of butcher paper on the floor. It encourages big arm movements, which is great for developing gross motor skills.
Tools for Preschoolers (3–5 Years)
As their fine motor skills get better, you can introduce tools that offer more control.
- Thick Triangular Crayons/Pencils: The shape naturally encourages the more mature “tripod grip” they’ll need for writing later on.
- Tempera Paint Sticks: If you buy one new art supply, make it these. They look like glue sticks but are filled with solid, vibrant paint. They glide on like lipstick and dry in about 90 seconds. Brands like Kwik Stix are my favorite; you can find a 6-pack online for about $10-$15. Mess Level: 2/5. All the fun of painting with almost none of the mess.
A Quick Word on Safety and Budgets
Safety is non-negotiable. Always supervise young kids with art supplies. Look for a clear “non-toxic” seal from a reputable testing organization on any product you buy. This is critical for any materials used by young kids who might, you know, try to taste them. Also, be mindful of choking hazards like marker caps or small broken crayon pieces, especially for kids under three.
And you don’t need to spend a fortune! Some of the best art happens with free materials.
- Cardboard: Cereal boxes and shipping boxes are fantastic, sturdy surfaces.
- Junk Mail: The back of envelopes and flyers are perfect for doodles.
- Nature’s Tools: Drawing in the sand with a stick or “painting” a warm sidewalk with a brush and some water are classic, free, and totally mess-free activities.
Even with the perfect setup, there will be moments of frustration. These are actually great opportunities to build resilience.
The Dreaded “I Can’t Draw!”
This phrase usually means, “I can’t make this look as realistic as the picture in my head.” Your first job is to validate the feeling. “It sounds like you’re feeling really frustrated right now.” Then, gently change the goal. “You know, art doesn’t have to look real. Let’s try to draw the silliest dog we can imagine. Does it have purple spots? Does it have ten legs?” This turns a moment of failure into a fun game.

The Perfectionist Who Keeps Erasing
Some kids get stuck in a frustrating loop of drawing and erasing. For them, I recommend “No Eraser Drawing.” Give them a pen or a fine-tip marker and explain that for this one activity, there are no mistakes. Every line is part of the drawing. If a line isn’t what they expected, it’s a “happy accident” we can turn into something new. A wobbly line can become a wave or a snake. It’s a wonderful way to teach flexibility.
The Nightmare: “My Kid Drew on the Wall!”
Okay, take a deep breath. It happens to almost everyone. The key is to respond calmly and redirect the impulse. Yelling can create shame around the creative act itself. Instead, try something like, “Wow, you have such big ideas they couldn’t even fit on the paper! That’s amazing. But our walls are for keeping the house standing, not for drawing. Let’s find a special, GIANT piece of paper just for these big ideas.” You validate their creativity while clearly and kindly setting a boundary.
What’s Next? Advanced Ideas and When to Get Advice
As kids get older, their interest might deepen. For the child who’s really into it, you can introduce more complex ideas. But it’s also important to know when a struggle might point to a deeper issue.
Introducing More Complex Concepts
For kids around seven or eight who are keen artists, you can start introducing more formal concepts in a playful way:
- Observational Drawing: Put a simple object, like a cool-looking leaf or a favorite toy, on the table. Ask them to draw what they really see. “Where is the light hitting it? Is the shadow on the left or the right?”
- Overlapping: Show them how drawing one shape partly in front of another makes it look closer. This simple trick is a game-changer for creating depth.
- New Materials: Introduce oil pastels for their rich, blendable colors (around $10 at any craft store) or try charcoal on rough paper for a dramatic effect.
When to Maybe Consult a Pro
While most drawing challenges are totally normal, some can occasionally be a sign of an underlying issue. This isn’t a reason to panic, but a reason to gather more info. If by age 5 or 6, your child consistently has a very weak or awkward grip, shows extreme frustration with all fine motor tasks (like buttoning or using forks), or is unable to draw basic recognizable shapes like a circle or a cross, it might be worth a chat with your pediatrician or an occupational therapist.
An occupational therapist can assess their fine motor skills and provide fun, play-based activities to strengthen them. Early support can make a huge difference for a child’s confidence and school readiness.
Ultimately, your role in your child’s creative life isn’t to teach them to be a famous artist. It’s about giving them a powerful tool to think, feel, and communicate. By providing the space, the tools, and your patient encouragement, you’re telling them that their ideas matter. The messy, joyful process is where the real magic lies. So embrace the scribbles, celebrate the tadpole people, and listen to the stories they tell. You’re giving them a gift that will last a lifetime.
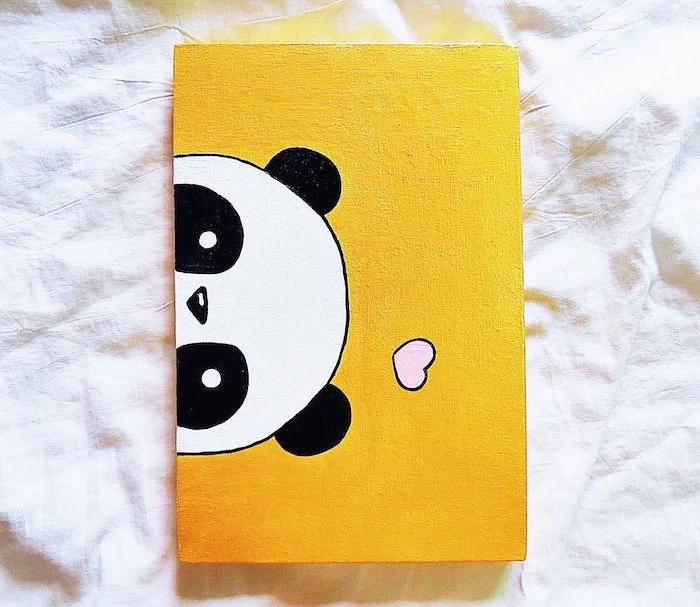
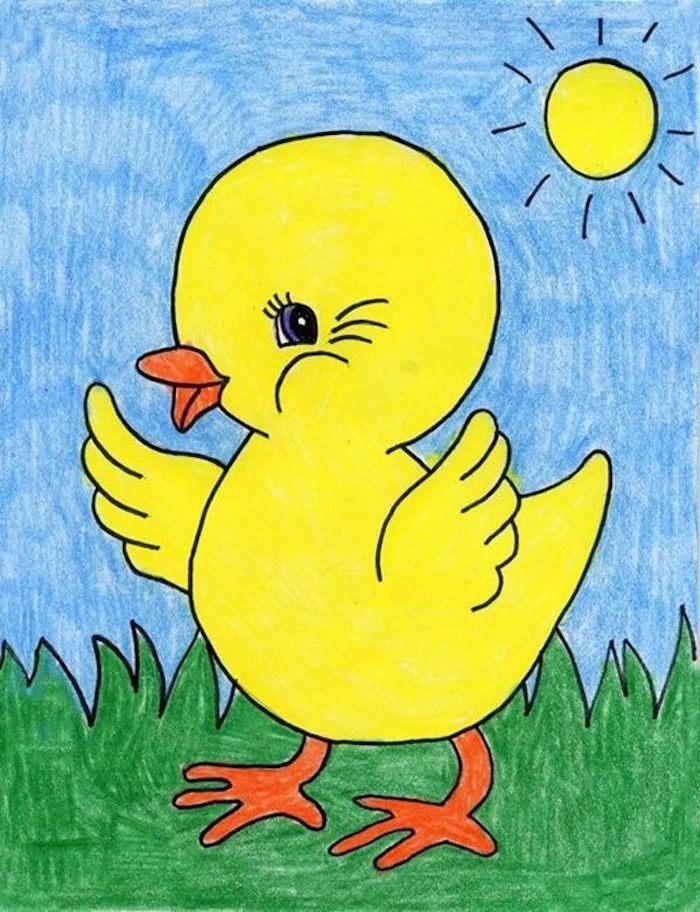
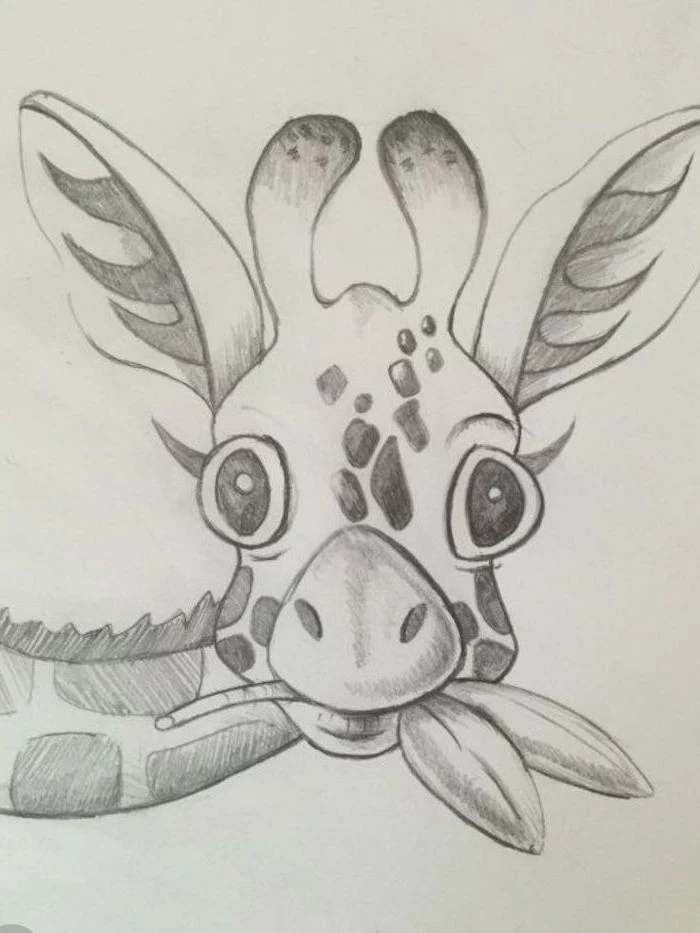
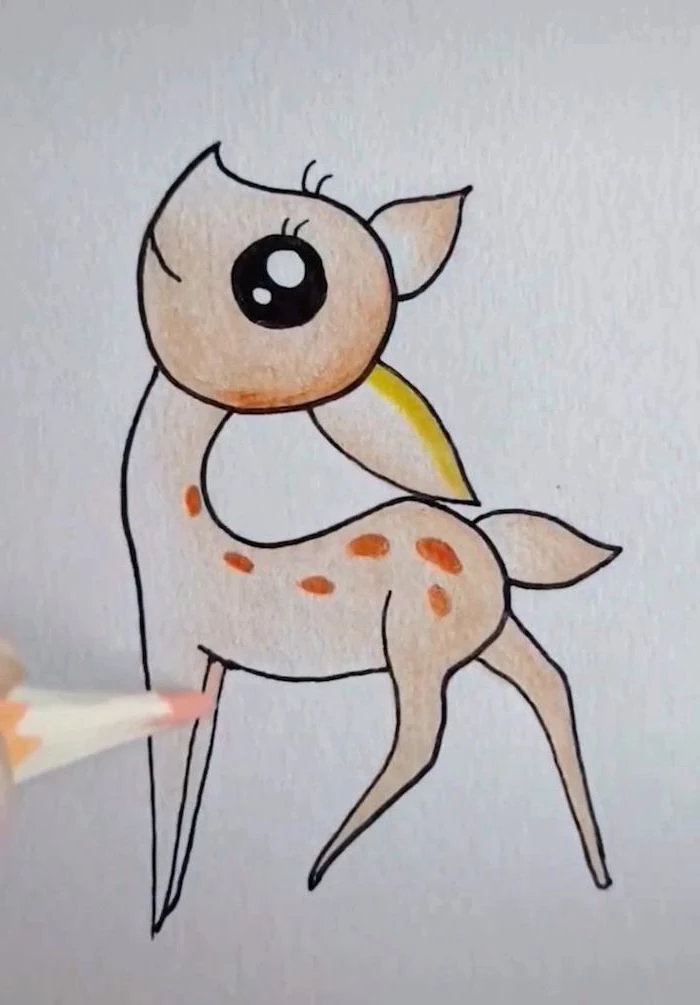
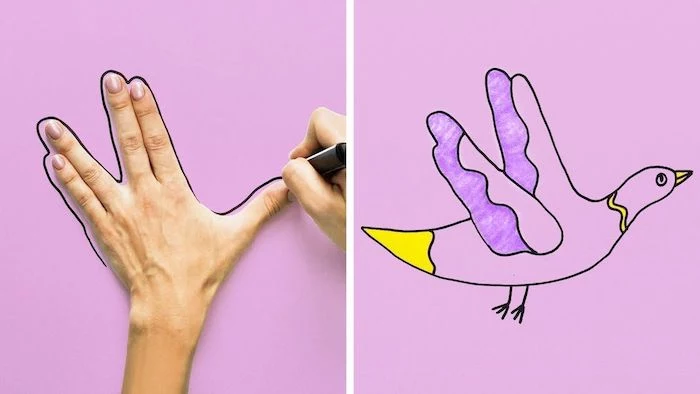
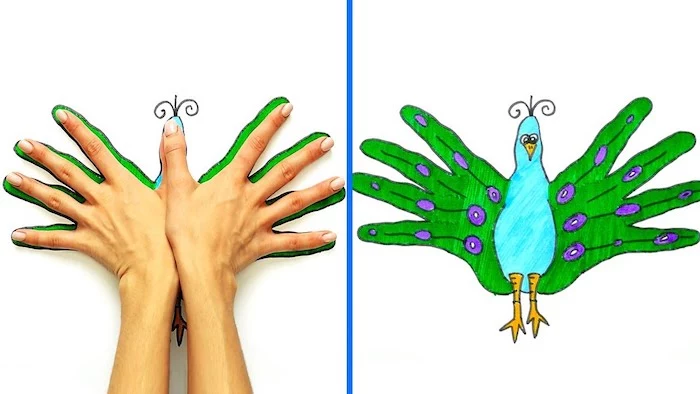
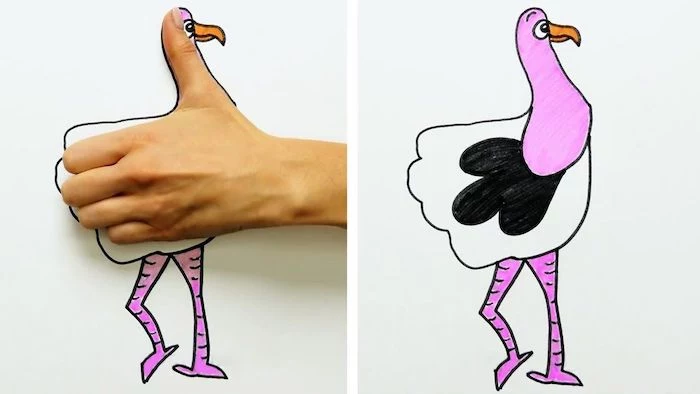
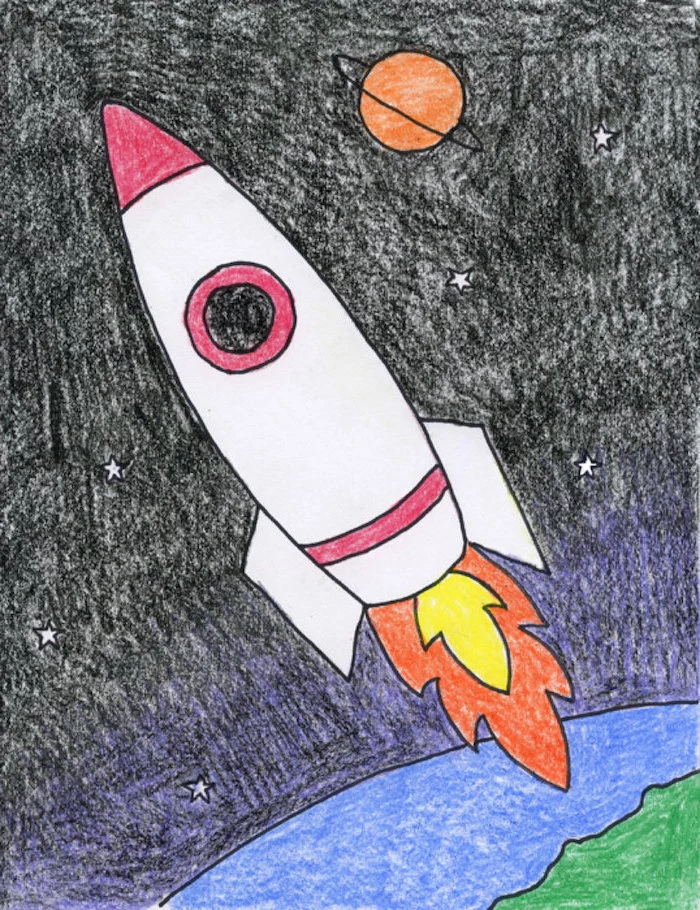
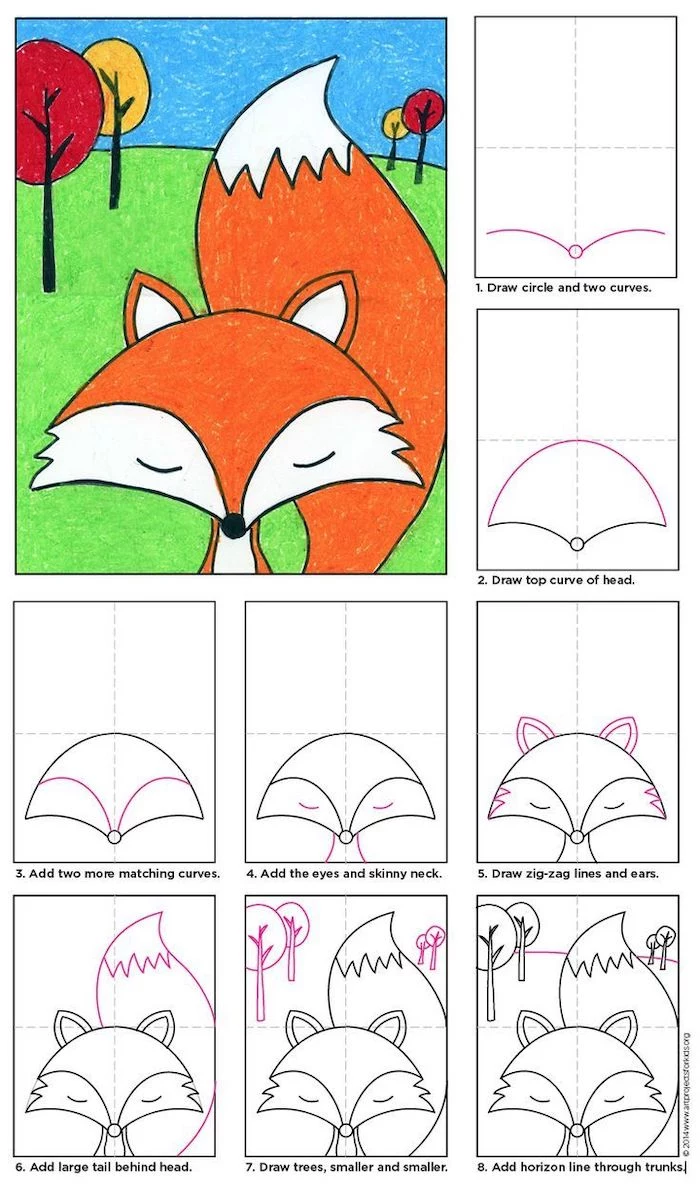
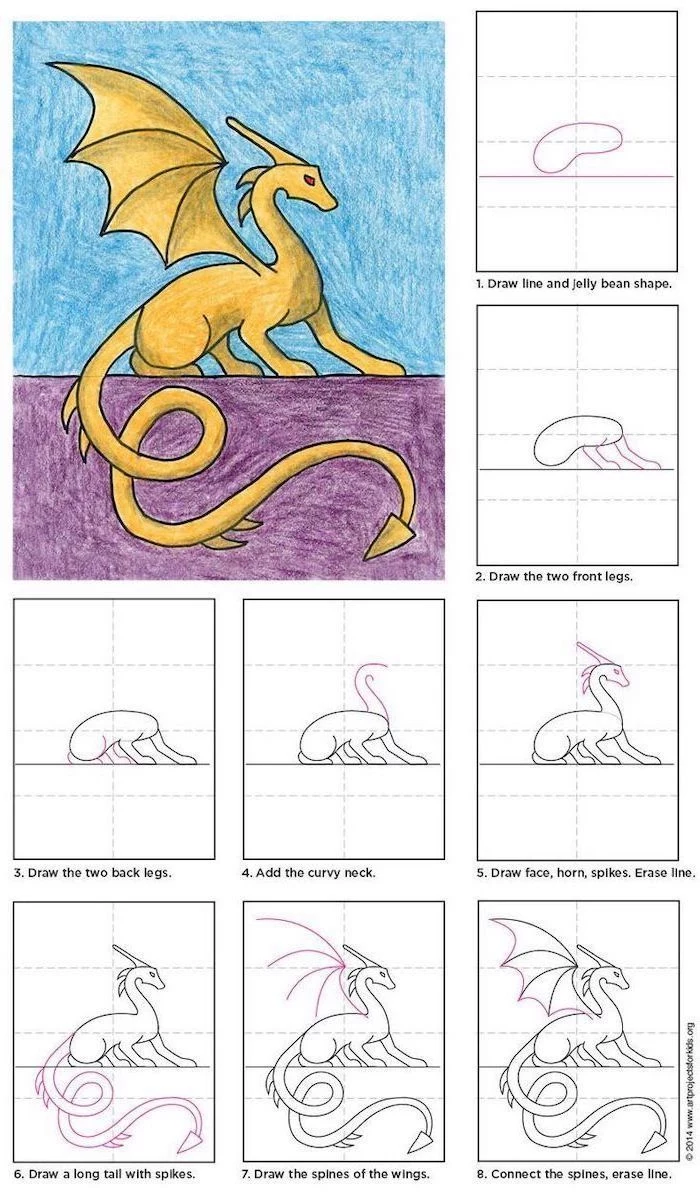
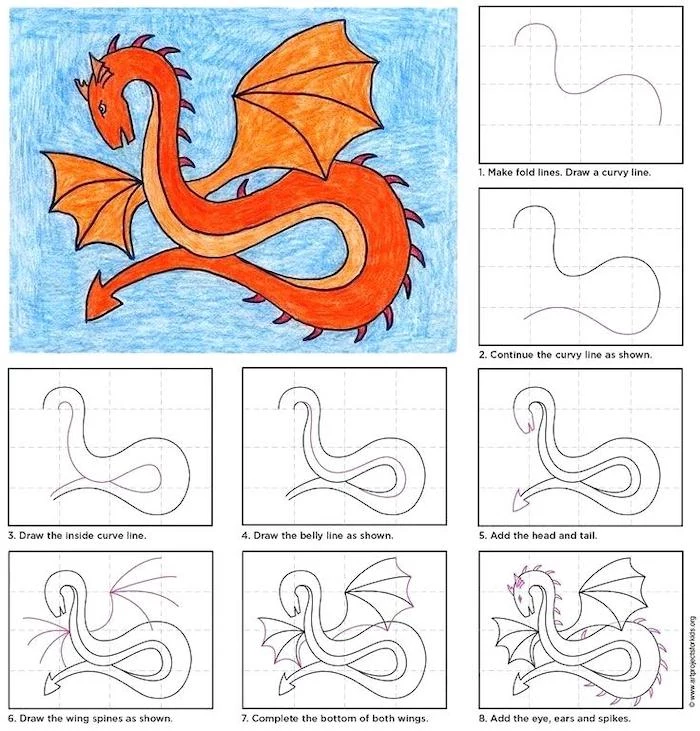
Inspiration Gallery
The Magic Phrase: Instead of asking “What is it?”, try saying “Tell me about your drawing.” This opens the door for storytelling, not a quiz. It shows you’re interested in their thought process, whether they drew a squiggly line or a detailed dragon, valuing the story behind the marks over the final product’s accuracy.
- They build fine motor skills essential for writing.
- They learn cause and effect in real-time.
- They process complex emotions they can’t yet verbalize.
The secret? A simple scribble. For a toddler, these early marks are a monumental developmental leap, laying the foundation for all future learning and expression. Celebrate every single one.
“Every child is an artist. The problem is how to remain an artist once we grow up.” – Pablo Picasso
This famous insight reminds us that children’s uninhibited creativity is natural. Our role isn’t to teach them how to be creative, but to create an environment where their innate artistic sense isn’t lost as they get older.
My child only wants to draw with black crayons. Should I be worried?
Absolutely not! A fascination with a single color, especially a high-contrast one like black, is a normal phase of exploration. Kids are often drawn to the boldness of the mark it makes. Instead of pushing other colors, you could offer different kinds of black tools: a thick marker, a thin pen, charcoal, or even black paint. It’s a phase of discovery, not a sign of gloom.
Introduce a ‘Creation Station.’ It doesn’t need to be a whole room; a small cart or even a designated box can work wonders. Stock it with a rotating variety of materials—crayons, markers, recycled paper, stickers, and maybe some fun collage bits like fabric scraps or old magazine pictures. Having tools accessible and ready empowers them to create whenever inspiration strikes, making art a normal, joyful part of their day.

Chunky vs. Thin: For little hands (ages 1-3), chunky tools are best. They support the ‘palmar grasp’ a toddler uses. Look for things like Crayola My First Palm-Grasp Crayons or the wonderfully versatile Stabilo Woody 3-in-1 pencils, which are thick, durable, and work on many surfaces.
Fine-Tuned Tools: As children get older (4+), their grip refines. Introduce finer-tipped markers like Crayola Super Tips and good quality colored pencils like those from Faber-Castell, allowing for more detailed and controlled drawing.
Ready to move beyond basic crayons? Oil pastels are a fantastic next step. They offer a wonderfully different sensory experience:
- Vibrant Color: The pigment is much richer and bolder than wax crayons.
- Smooth Glide: They slide across the paper with a satisfying, creamy feel.
- Blendable: Kids can smudge the colors together with their fingers to create new shades, a magical discovery!

A study by the American Academy of Pediatrics highlights that creative play, including drawing, is crucial for mitigating the effects of stress and building resilience in children.
When your child is furiously scribbling after a tough day at school, they’re not just making a mess. They are actively processing their experiences and regulating their nervous system. Providing that piece of paper and a pen is a powerful tool for their emotional well-being.
Don’t underestimate the power of a simple piece of charcoal. It’s messy, yes, but it teaches kids about pressure and smudging in a way a marker never can. Give them a large sheet of paper on the floor (put newspaper down first!), and let them explore making light, dark, soft, and sharp marks. It connects them to a more elemental form of art-making.
- Drawing Prompts Jar: Write silly ideas on popsicle sticks (“A superhero potato,” “A mouse riding a ladybug”).
- Scribble Start: You draw a random squiggle or shape on the page, and they have to turn it into something.
- Nature’s Textures: Go on a texture hunt with paper and a crayon. Place the paper over a leaf, a piece of bark, or a manhole cover and rub with the side of the crayon.
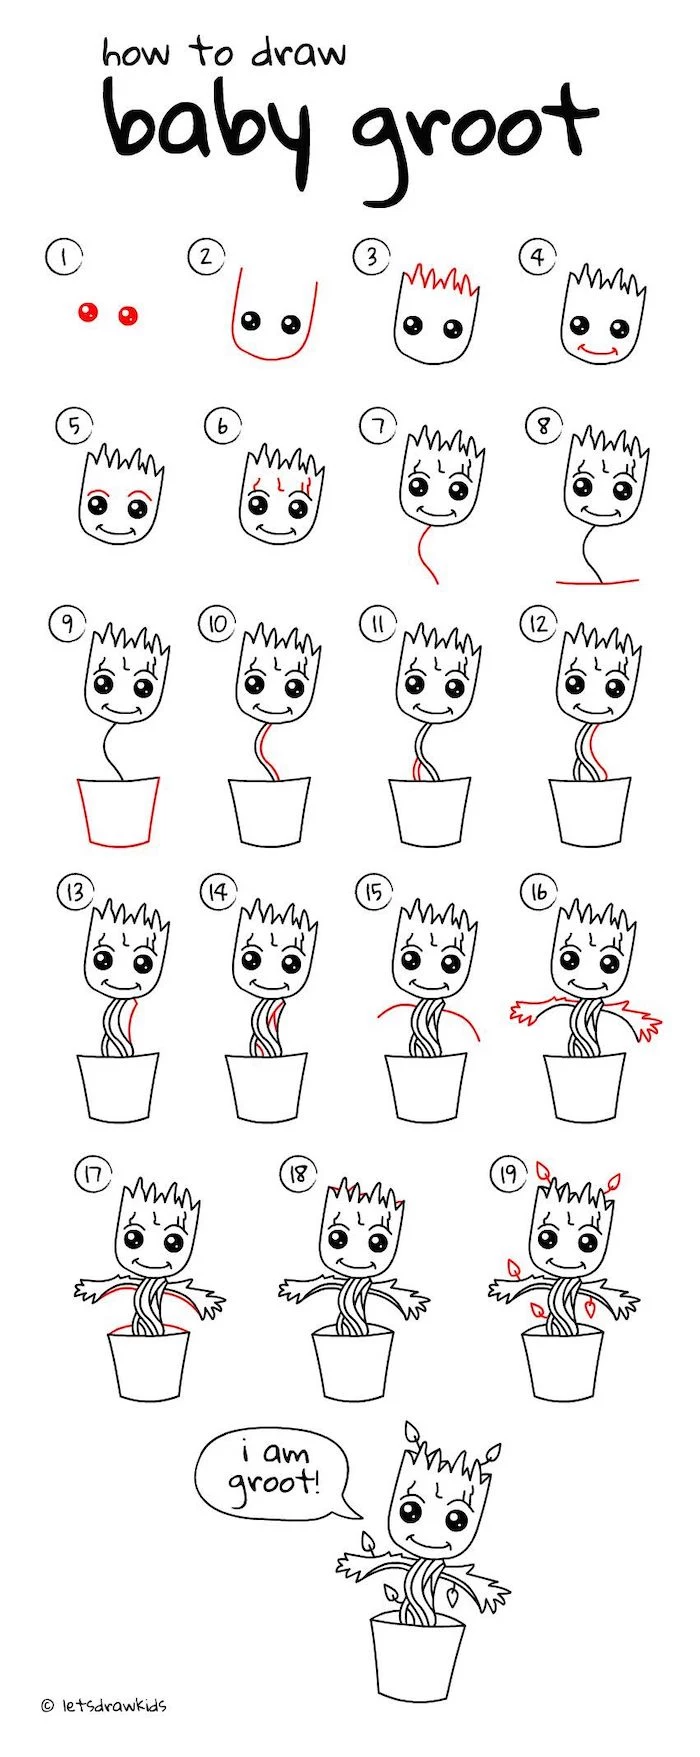
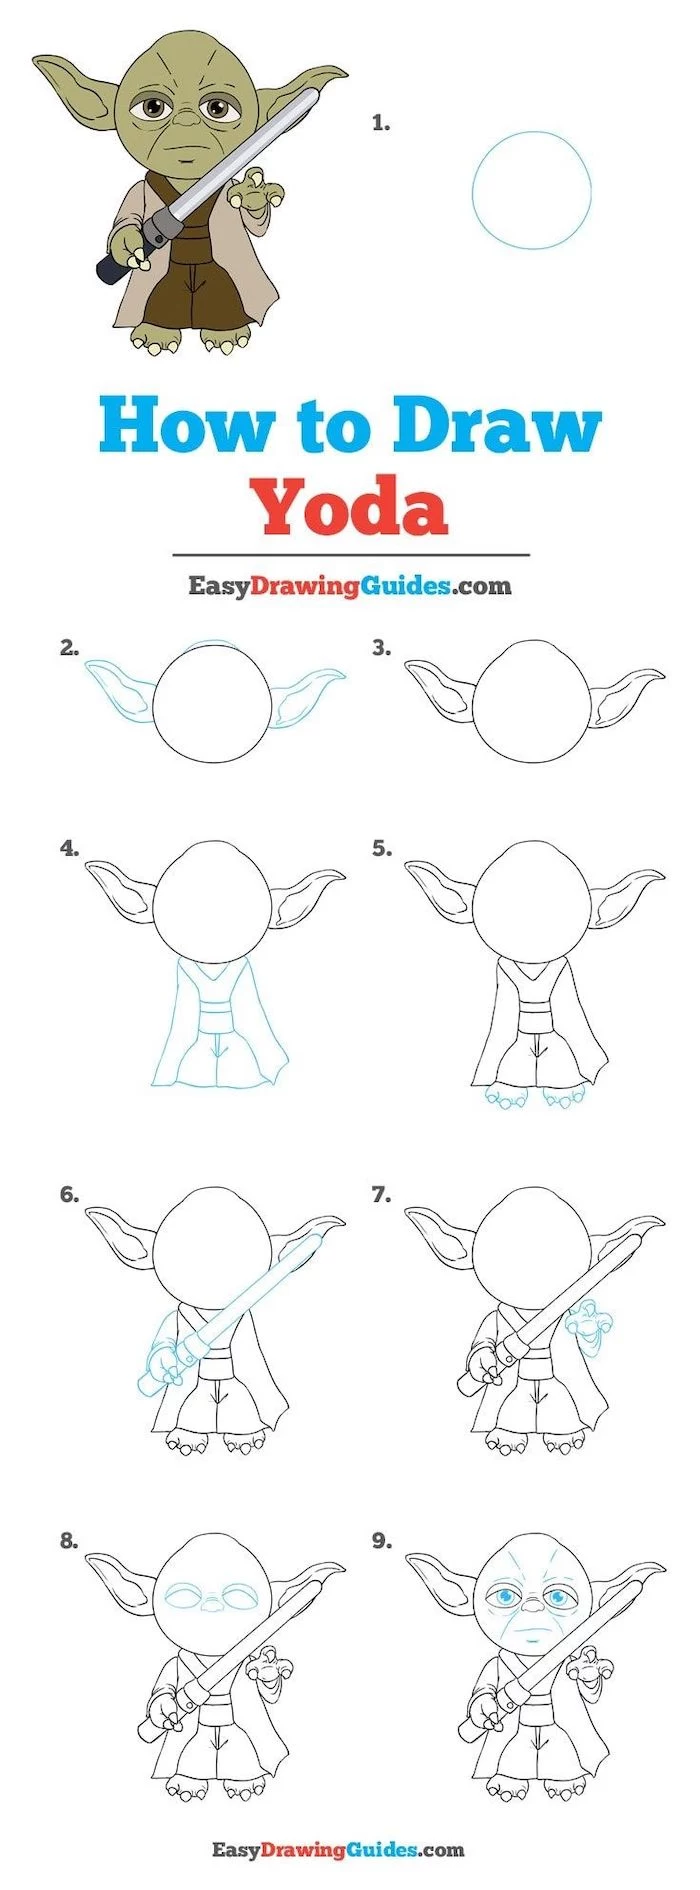
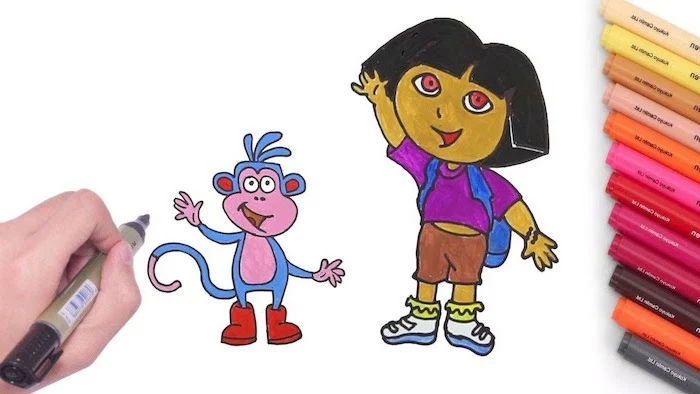
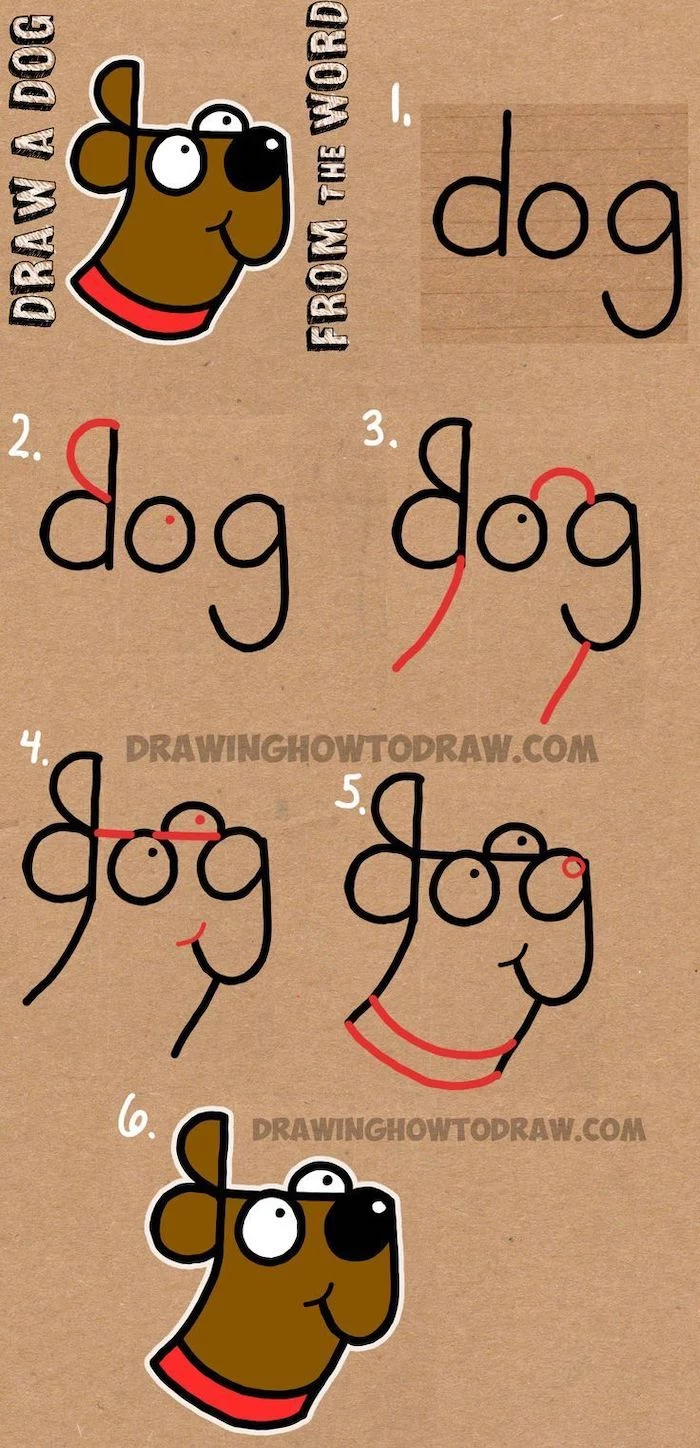
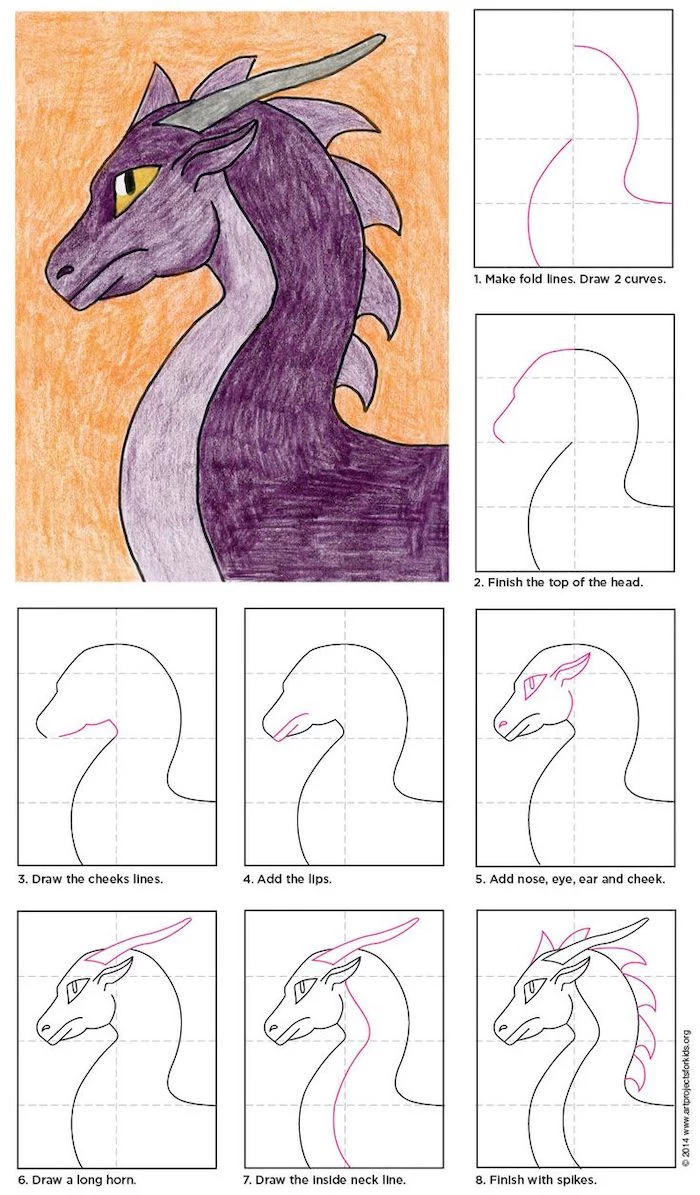
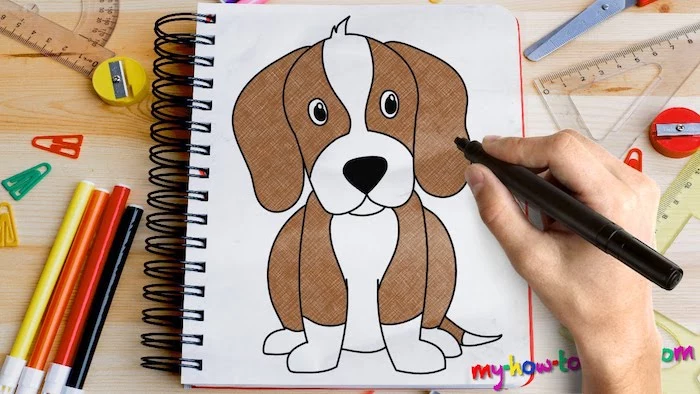
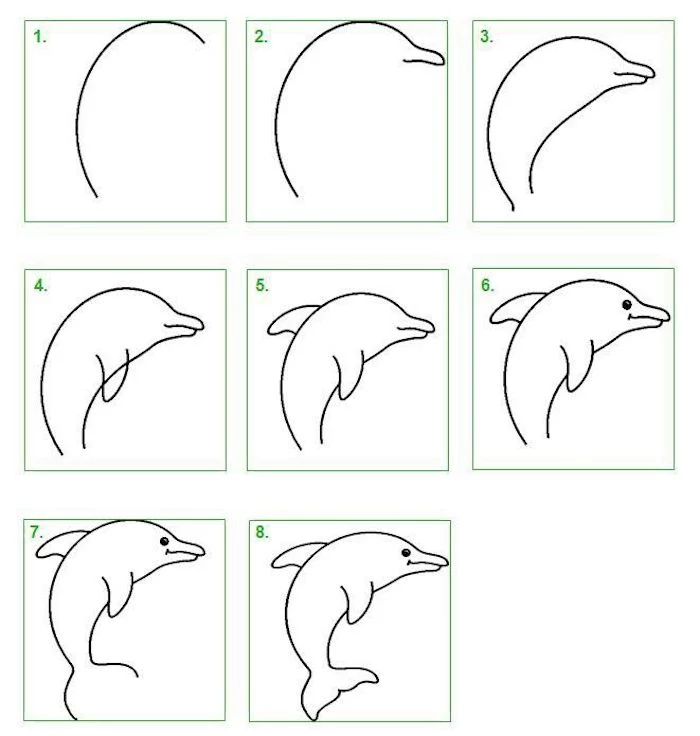
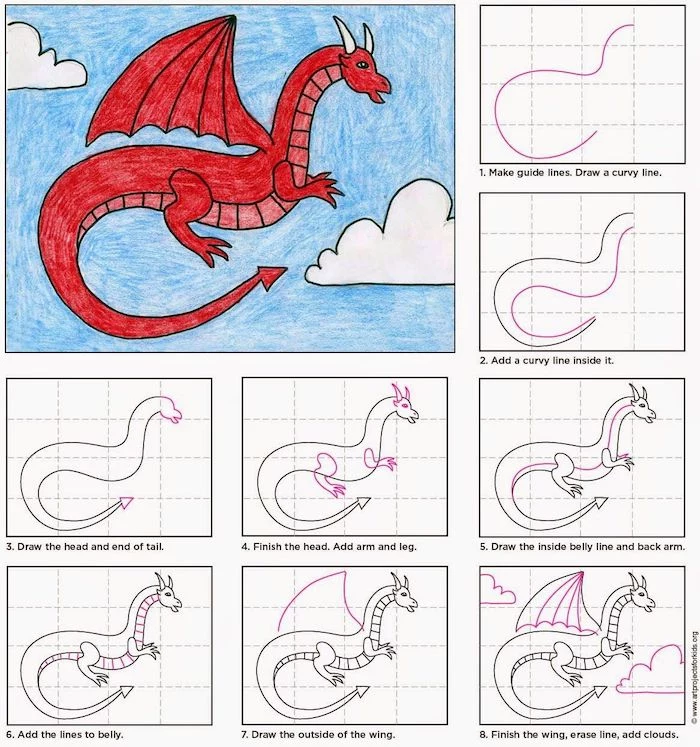
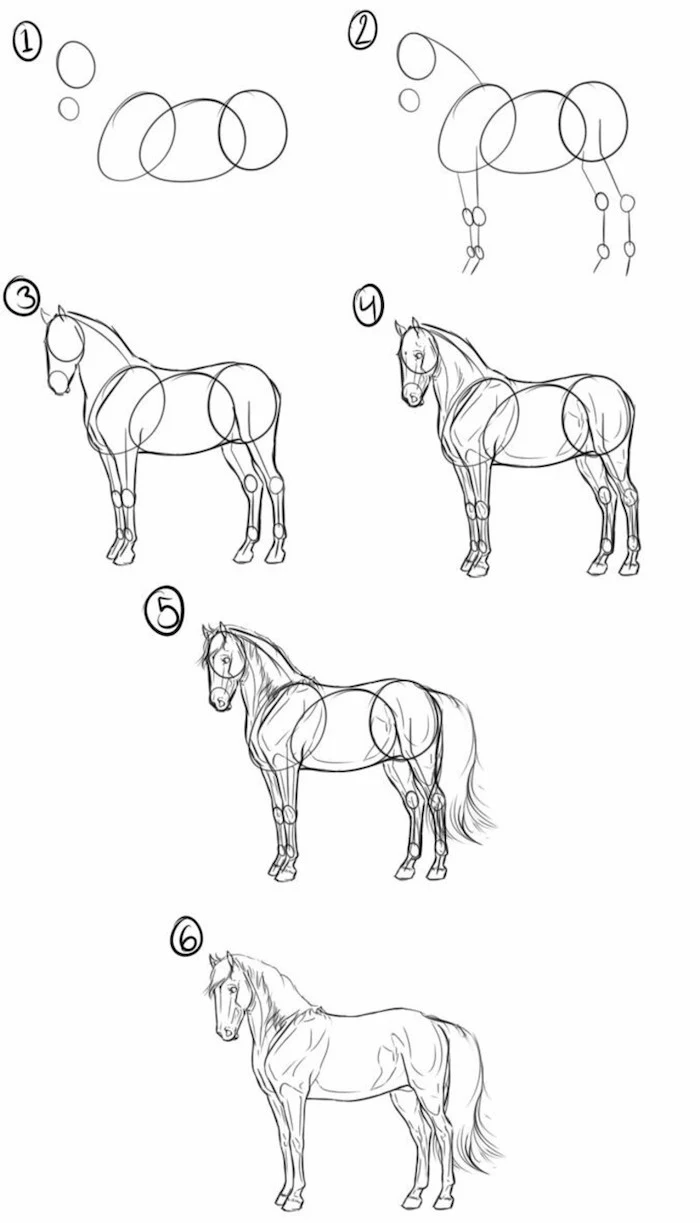
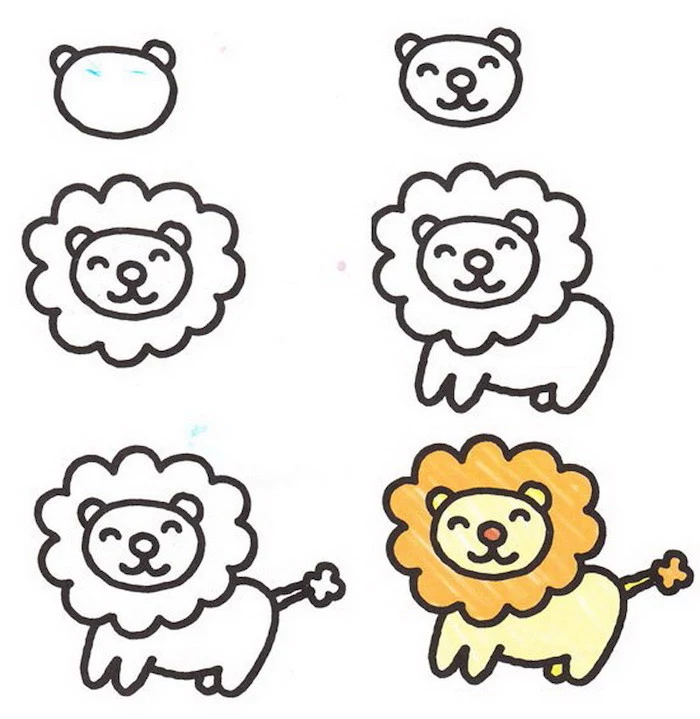
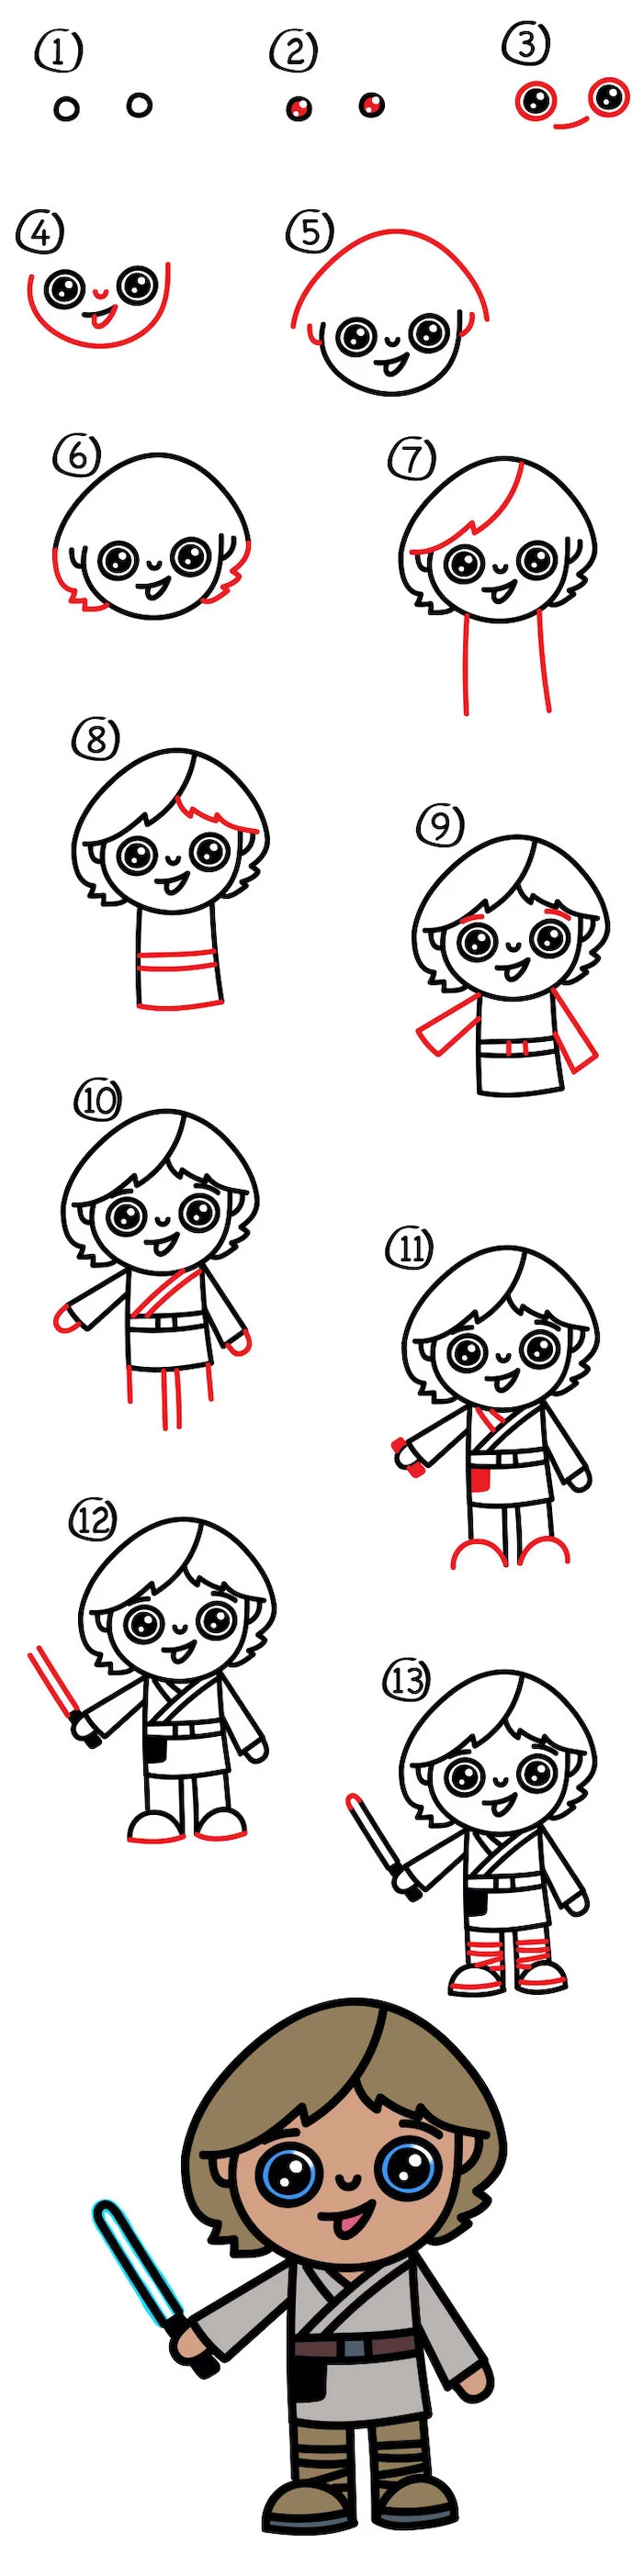
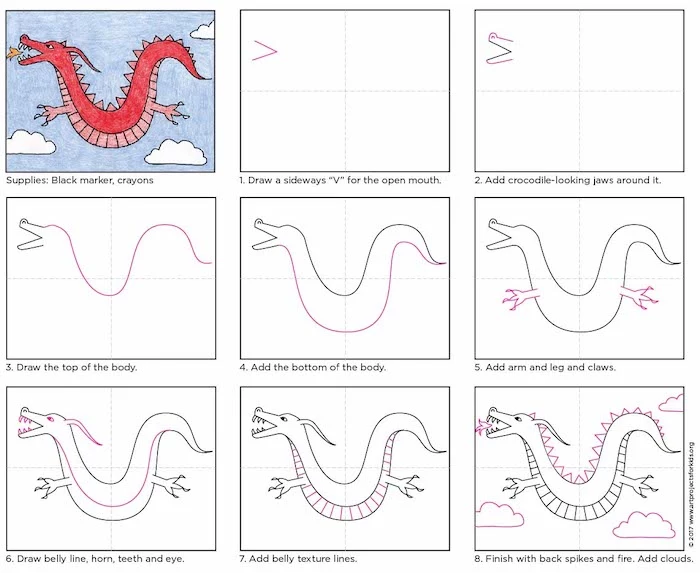
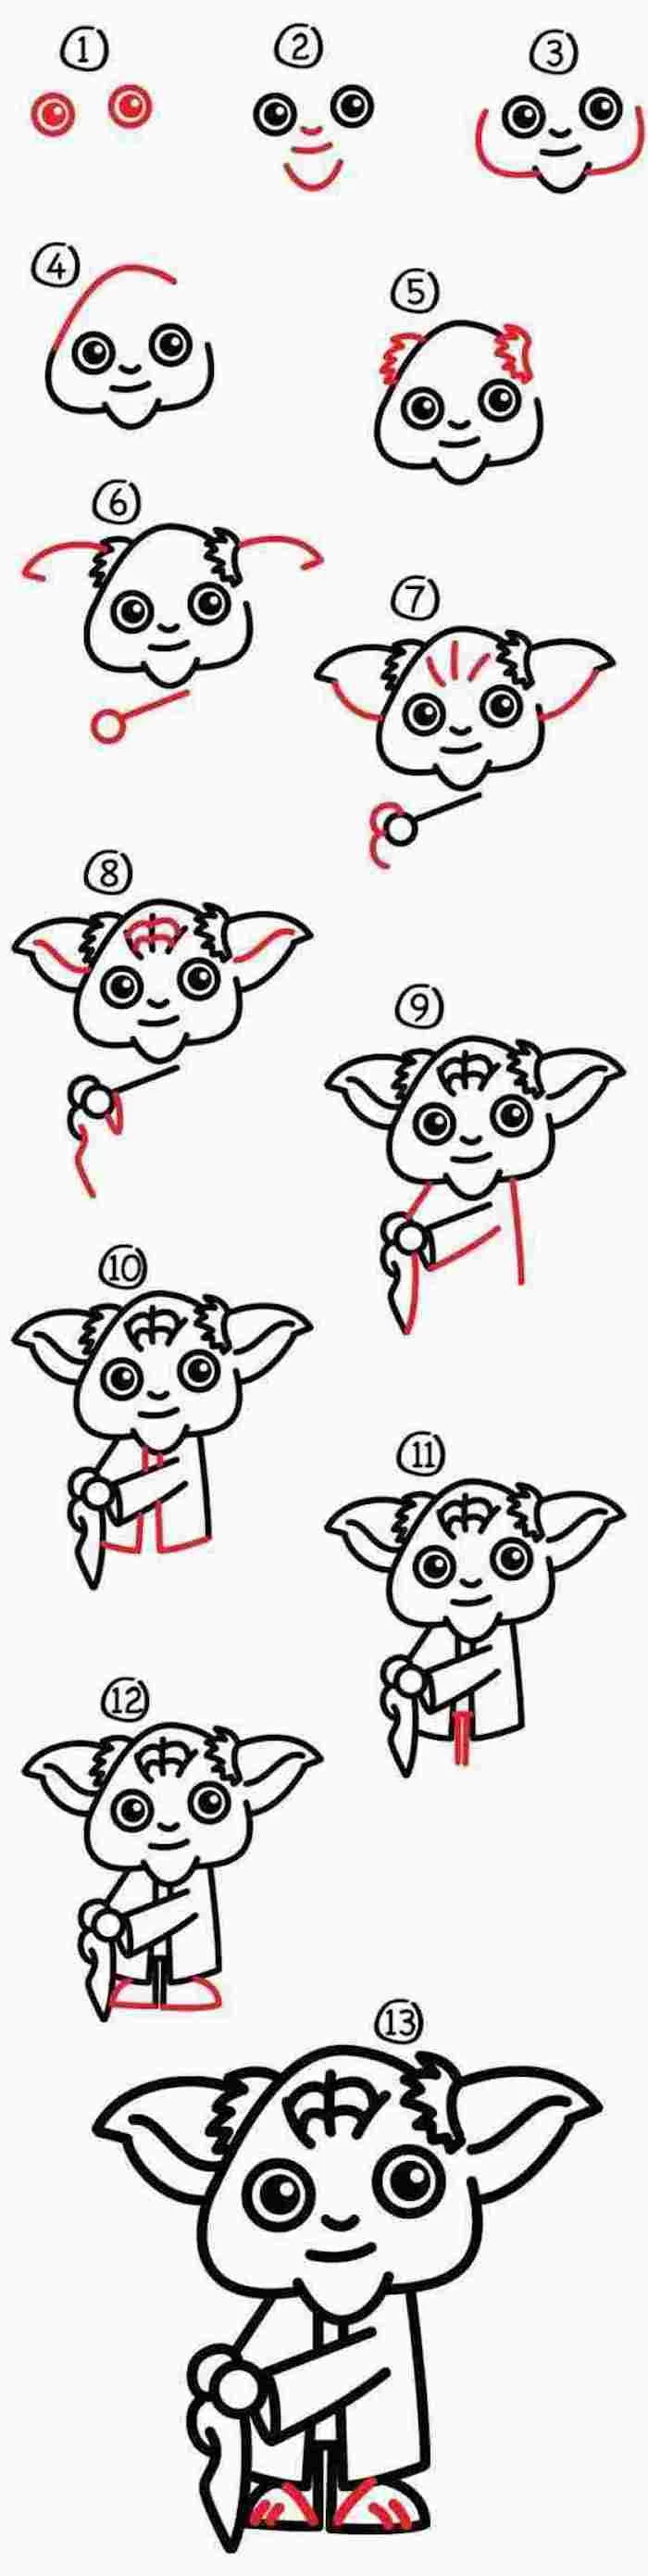
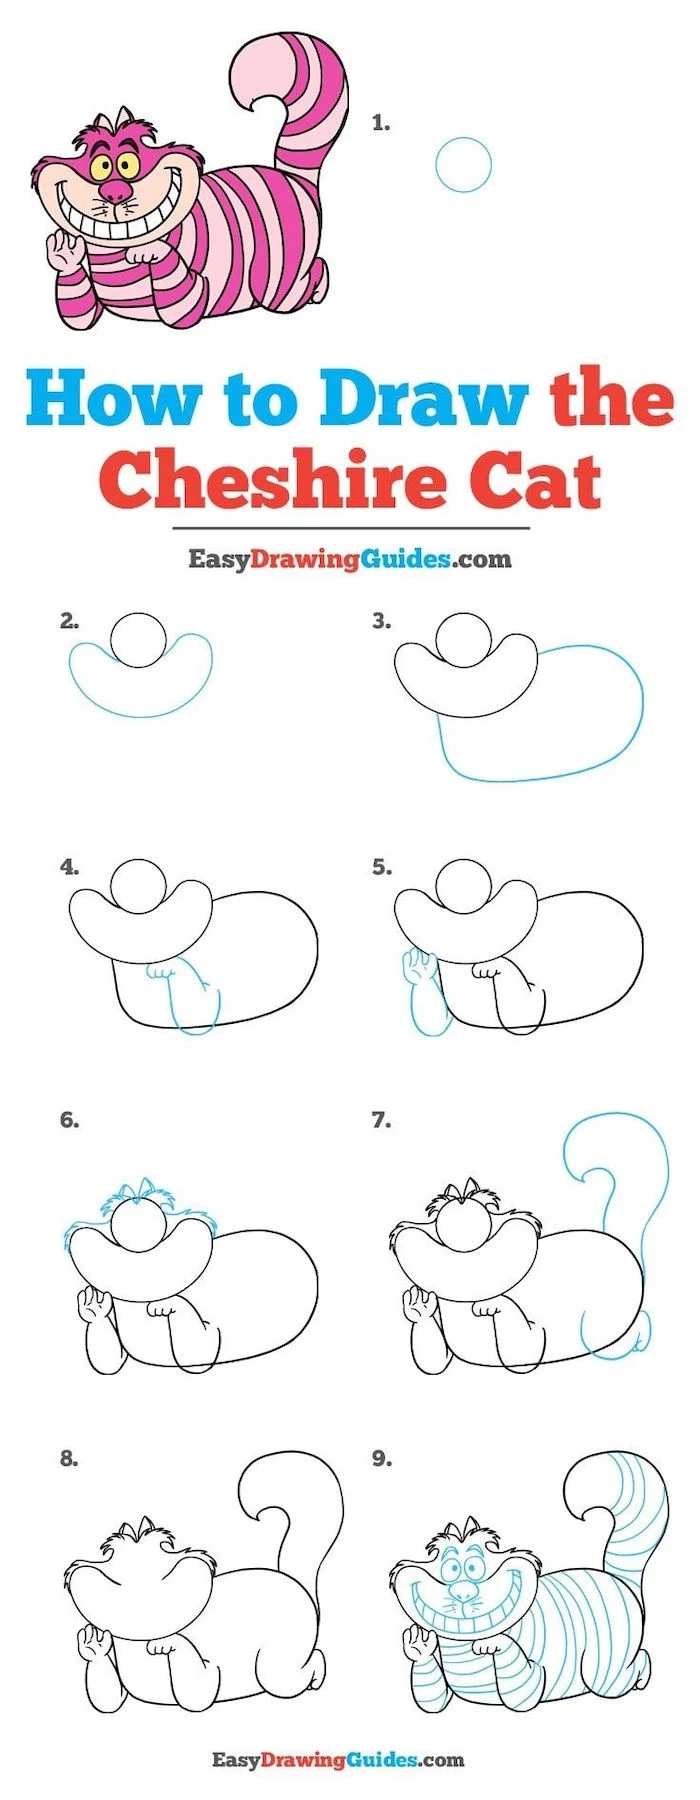
Are those step-by-step drawing tutorials actually helpful?
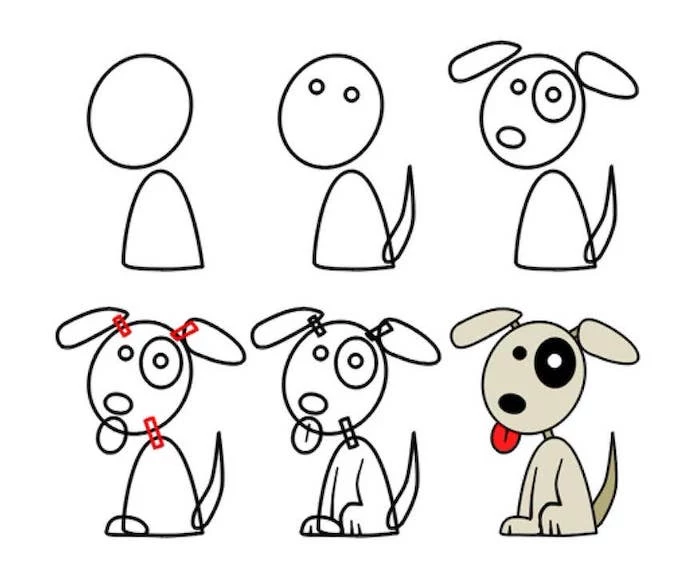
They can be fun for an older child who wants to achieve a specific result, like drawing their favorite cartoon character. The danger lies in presenting it as the *only* way. Use them sparingly, like a fun recipe. The bulk of art time should be about free exploration, where their own unique-looking dog is just as valid as the one in the tutorial. The goal is self-expression, not perfect reproduction.
A simple sketchbook is a game-changer. It contains their artistic journey in one place. Unlike loose sheets, a sketchbook like the classic Canson Mixed Media pad becomes a treasured object. They can see their own progress, and it feels more official and special. It’s also perfectly portable for capturing ideas on the go.
White Paper: The classic choice, perfect for showing off vibrant marker colors.
Construction Paper: Its slight texture is great for chalk and oil pastels, and using a dark color as a base makes light colors pop dramatically.
For a real treat, try offering a sheet of sandpaper for crayon drawings. The texture and resistance create a completely new and exciting sensory experience.
On average, a child in a developed country will have created over 1,000 drawings by the time they are 10 years old.
What should you do with this creative avalanche? You don’t have to keep everything. Take photos of favorites and create a digital album. For the extra-special pieces, consider a dynamic frame like the Lil Davinci Art Cabinet, which lets you store up to 50 pages and easily swap out the front display.
The ultimate budget art supply? Cardboard. A large, flattened delivery box offers a massive canvas that feels less intimidating than a pristine white sheet of paper. It’s sturdy enough for paint, markers, and vigorous scribbling, and its brown color makes white paint and chalk look amazing. Best of all, it’s free and eco-friendly.

Play a game of ‘Exquisite Corpse.’ Fold a piece of paper into three sections. The first person draws a head on the top section, then folds it over to hide it, leaving only small neck lines visible. The next person draws a torso, and the last person draws the legs. The final unfolding reveals a hilarious and completely collaborative creature. It’s all about fun and zero pressure.
- Draw with your non-dominant hand.
- Try drawing an object without looking at the paper.
- Draw the ‘negative space’—the area around an object instead of the object itself.
The goal? To break the adult brain’s habit of trying to be perfect. By engaging in these playful exercises alongside your child, you model a spirit of experimentation and show them that the process is more important than the outcome.
Is it okay to draw *on* my child’s picture to ‘help’ them?
It’s a common instinct, but it’s best to resist. When you ‘fix’ their drawing of a dog by giving it a better-proportioned ear, the unspoken message can be,
“The role of the artist is to ask questions, not answer them.” – Anton Chekhov
Traditional Paper: Offers tactile, sensory feedback that’s crucial for development. The smell of crayons, the sound of a pencil on paper—it’s a full-body experience.
Digital Tablet: Apps like Procreate on an iPad offer an ‘undo’ button, which can reduce frustration for some kids. The endless supply of colors and brushes is exciting.
A healthy balance is key. Digital tools are fun, but nothing can fully replace the physical-world learning that happens with real paper and pencils.
Explore art through music. Put on different kinds of songs—a slow, classical piece, then a fast, energetic pop song, then a dramatic film score. Ask your child to draw what the music feels like. They’ll learn to associate lines, colors, and shapes with emotions and rhythms, connecting art to a whole new sense.

A common mistake: Only praising the ‘pretty’ or ‘realistic’ pictures. Make an effort to praise the effort, the choices, and the ideas in all their work. Say things like,
An easy way to broaden their horizons is to introduce the work of abstract artists. Show them the energetic splatters of Jackson Pollock or the colorful shapes of Wassily Kandinsky. When they see that famous, ‘grown-up’ art doesn’t always look like a photograph, it validates their own scribbles and experiments with color and form.
Set up an ‘invitation to create.’ This is a simple arrangement of materials on a table that sparks curiosity. For example, lay out a few fall leaves, some red, yellow, and brown paint, and a piece of paper. You don’t need to give instructions; just let them discover the materials and see what they make of the invitation. It fosters independence and imagination.
For an art session with a difference, look in your kitchen pantry.
- Painting with cold coffee creates beautiful sepia tones.
- Food coloring mixed with a little water makes for vibrant, temporary watercolors.
- Spices like paprika and turmeric can be mixed with a drop of water to create earthy paints.


