The Realistic Guide to Deep Cleaning Your Bedroom & Office (Without Losing Your Mind)
I’ve walked into countless homes over the years, and I see the same thing every time spring rolls around. The new light hits just right and suddenly reveals a year’s worth of dust and clutter. It’s overwhelming. Your bedroom, which should be a sanctuary, is covered in clothes. The home office, your focus zone, is buried under a mountain of paper. Sound familiar?
In this article
Listen, getting these spaces back isn’t about magic or some trendy “lazy hack.” It’s about having a solid, methodical process that actually works. This isn’t just about making a room look nice for a photo, either. A proper deep clean genuinely resets your environment. I’ve watched people go from stressed-out and distracted to calm and focused, all from reclaiming these two critical rooms. So, let’s walk through the exact same system I’ve used for years, breaking it down into steps that anyone can handle.
First Things First: Gear Up and Get in the Zone
Before you even think about moving a single thing, you need to prep. The biggest rookie mistake is diving in without a plan or the right supplies. That’s a one-way ticket to frustration and a half-finished mess. Let’s set you up for success instead.

Your Pro-Level Toolkit (on a Real-World Budget)
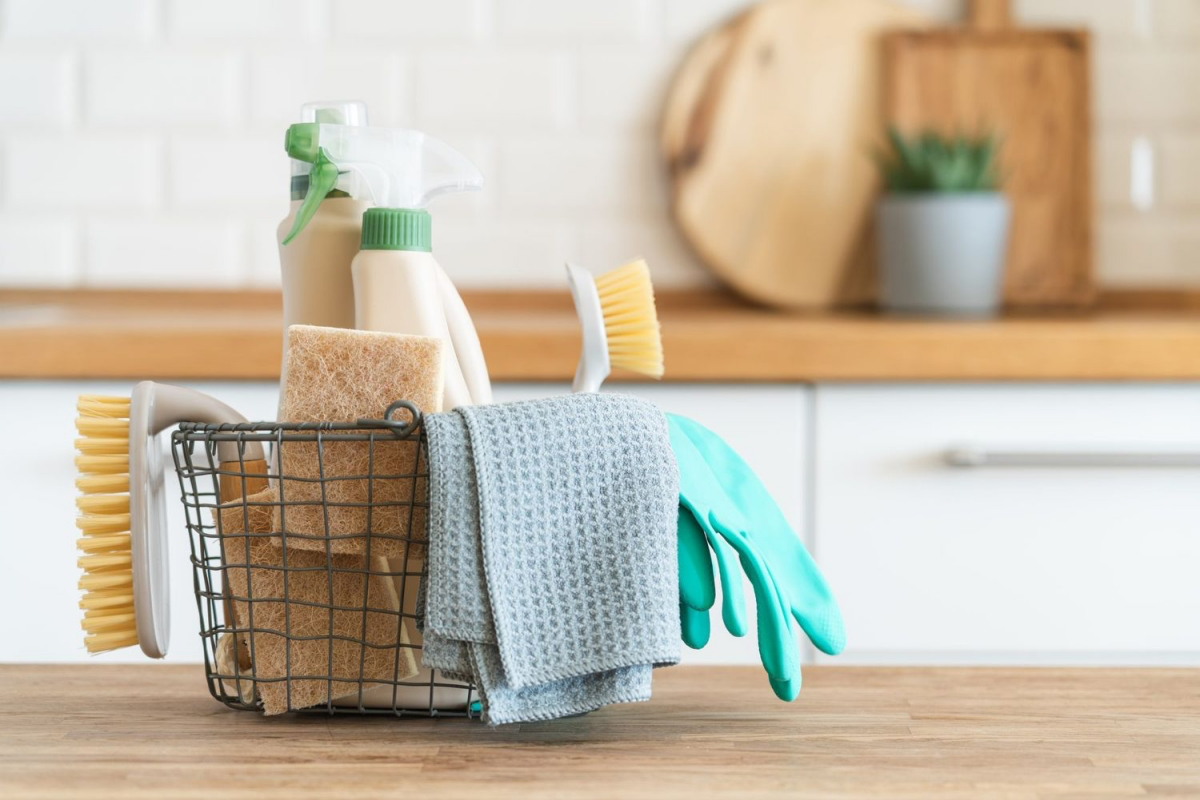
You don’t need a bunch of expensive, specialized gadgets. Quality basics will get you 99% of the way there. Here’s what’s in my cleaning caddy:
- Sorting Bins: You need four. Don’t overthink it—cardboard boxes or laundry baskets are perfect. Just grab a marker and label them: KEEP, DONATE/SELL, TRASH, and RELOCATE. That ‘Relocate’ bin is a secret weapon; it’s for anything that belongs in another room. It stops you from getting sidetracked wandering around the house.
- Microfiber Cloths: Get a good stack of these, at least 10-12. A decent pack runs about $10 to $15 on Amazon or at Target, and they’re worth every penny. Unlike cotton cloths that just push dust around, microfiber’s electrostatic charge actually lifts and traps it. Quick tip: I use a color-coded system (like blue for glass, yellow for dusting) to avoid cross-contamination.
- A HEPA Filter Vacuum: This is a non-negotiable for a true deep clean. A vacuum with a High-Efficiency Particulate Air (HEPA) filter traps all the nasty fine particles like pollen and dust mites instead of just spitting them back into the air. Make sure you have the attachments ready: the crevice tool, upholstery brush, and dusting brush are your best friends here.
- Simple Cleaning Solutions: You really only need a few basics: an all-purpose cleaner, a glass cleaner, and something safe for wood. Honestly, my go-to all-purpose cleaner is just a teaspoon of gentle, pH-neutral dish soap in a gallon of warm water. It’s cheap and effective.
- Safety First! A quick but important heads up: NEVER mix cleaning products, especially anything with bleach and ammonia. The combination creates toxic gas. Just open a window for good ventilation and you’ll be fine. And do your hands a favor—wear gloves. A simple dust mask is also a great idea if you’re sensitive to what you’re kicking up.
Before you start, get your mindset right. Put on some music, open the windows, and commit to the process. You’re here to make decisions and move forward, not achieve impossible perfection.
The Zone-by-Zone Decluttering Method
Here’s where people go wrong: they try to tackle the entire room at once and end up drowning in a sea of their own stuff. The pro method is to work in small, manageable zones. You finish one zone completely—and I mean completely—before you even look at the next one.
For a bedroom, the zones are: The Closet, The Dresser, The Nightstands, Under the Bed, and finally, all the other surfaces and decor.
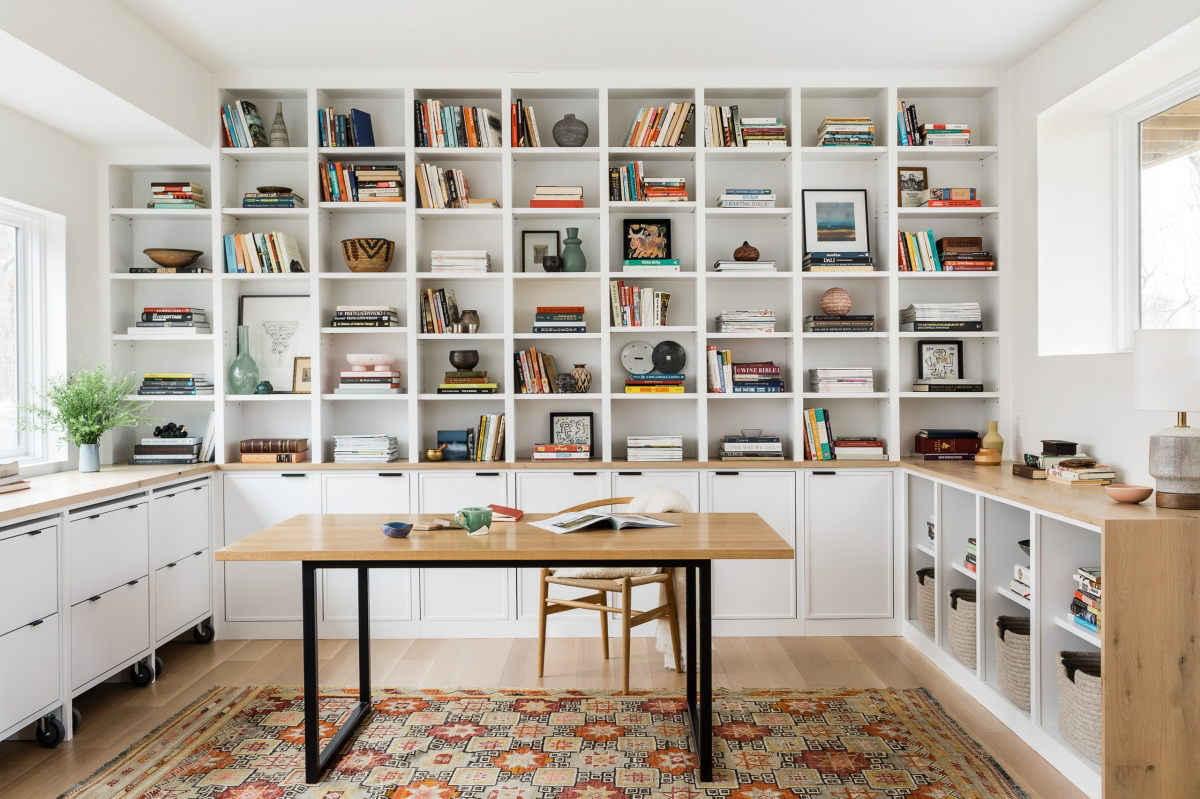
For a home office, they are: The Desk Surface, Desk Drawers, Bookshelves, Filing Cabinets/Paper Piles, and a quick pass on your digital desktop.
For each zone, you have to empty it. Yes, all of it. Pull every single thing out of the closet. Empty every drawer. This is the only way to see what you actually own and to properly clean the space. As you touch each item, make a quick decision and toss it into one of your four bins.
Oh yeah, a common question I get is, “What if I get interrupted?” If you have to stop mid-zone, just put everything you’ve pulled out into a single, clearly labeled box. That way, your room isn’t a total disaster zone, and you can pick up exactly where you left off.
How to Make Decisions Without Agonizing
This is where the momentum can stall. Be honest with yourself. For clothes, ask: Have I worn this in the last year? Does it fit my body and my life right now? Is it damaged (and will I actually fix it)? Most importantly, do I feel good in it? Your closet should be your support team, not a source of guilt.
For papers, the enemy of any home office, you need to be ruthless. Can I find this online (like bank statements or manuals)? Do I legally need to keep it (like tax documents)? If it’s for a current project, it can stay in an “Action” file. Everything else needs to be filed away or, better yet, shredded.
A lesser-known trick for paper: Go digital. Grab your phone and download a free scanning app like Adobe Scan or Microsoft Lens. You can turn that pile of receipts or important documents into searchable PDFs in minutes. It’s a total game-changer.
The Top-to-Bottom Deep Clean
Once a zone is decluttered and empty, it’s time to clean. The golden rule is simple: work from top to bottom. Gravity is a thing! If you clean the floors first and then dust the ceiling fan, you’re just making more work for yourself. This way, you only clean each surface once.
Step 1: Look Up! Start with a long-handled duster and hit the ceiling corners, light fixtures, and the tops of window frames. For light fixtures, PLEASE turn off the power at the circuit breaker first, not just the wall switch. It’s a crucial safety step.
Step 2: Walls & Windows. You can literally vacuum your walls with the brush attachment. It’s amazing how much dust they hold. For windows, vacuum the tracks first, then scrub them with an old toothbrush and your all-purpose cleaner. For the glass itself, a simple mix of one part white vinegar to ten parts water works wonders.

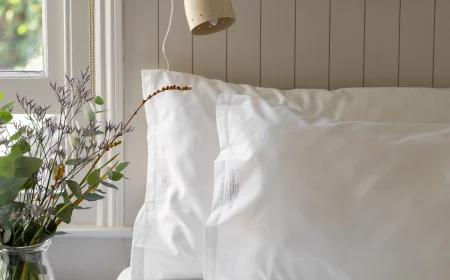
Step 3: Fabrics & Furnishings. Wash all your bedding—duvet, pillows, everything. While the bed is bare, vacuum the mattress with the upholstery tool. You’d be shocked. And check the labels on your curtains! I learned this the hard way once and shrank a client’s beautiful linen curtains by six inches. When in doubt, get them professionally cleaned.
Step 4: Surfaces & Floors. Now you can wipe down all those empty shelves and surfaces. Finally, tackle the floors. Vacuum hard floors first, then mop from the farthest corner out. For carpets, vacuum slowly in overlapping rows, going in both directions (north-south, then east-west) to really lift the pile and pull out deep-down dirt.
By the way, don’t forget these commonly missed spots: baseboards, light switches and outlet covers, doorknobs, and the grates on your air vents!
Putting It All Back Together: Smart Organization
Okay, you have a sparkling clean space and a curated pile of things to keep. Now we give everything a logical, easy-to-access home. This is about function, not just looks.
For the Bedroom: Create Calm
- In the Closet: An easy upgrade that makes a huge difference is using matching, slimline hangers. A 50-pack usually costs around $20-$30 and instantly makes your closet feel calmer and more organized. Keep your most-used clothes at eye level.
- In the Dresser: Learn to file-fold your clothes. Instead of stacking, you fold items into neat little rectangles and line them up vertically. You can see everything at a glance. It’s a revelation.
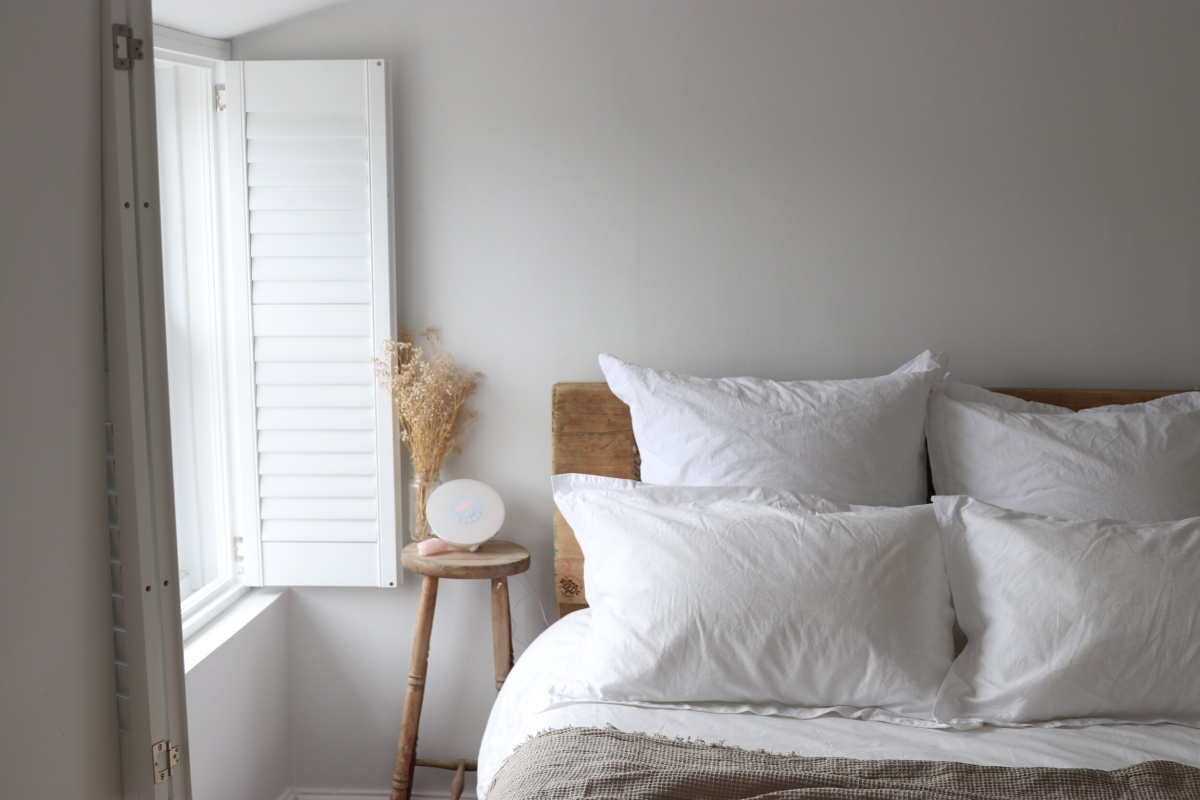
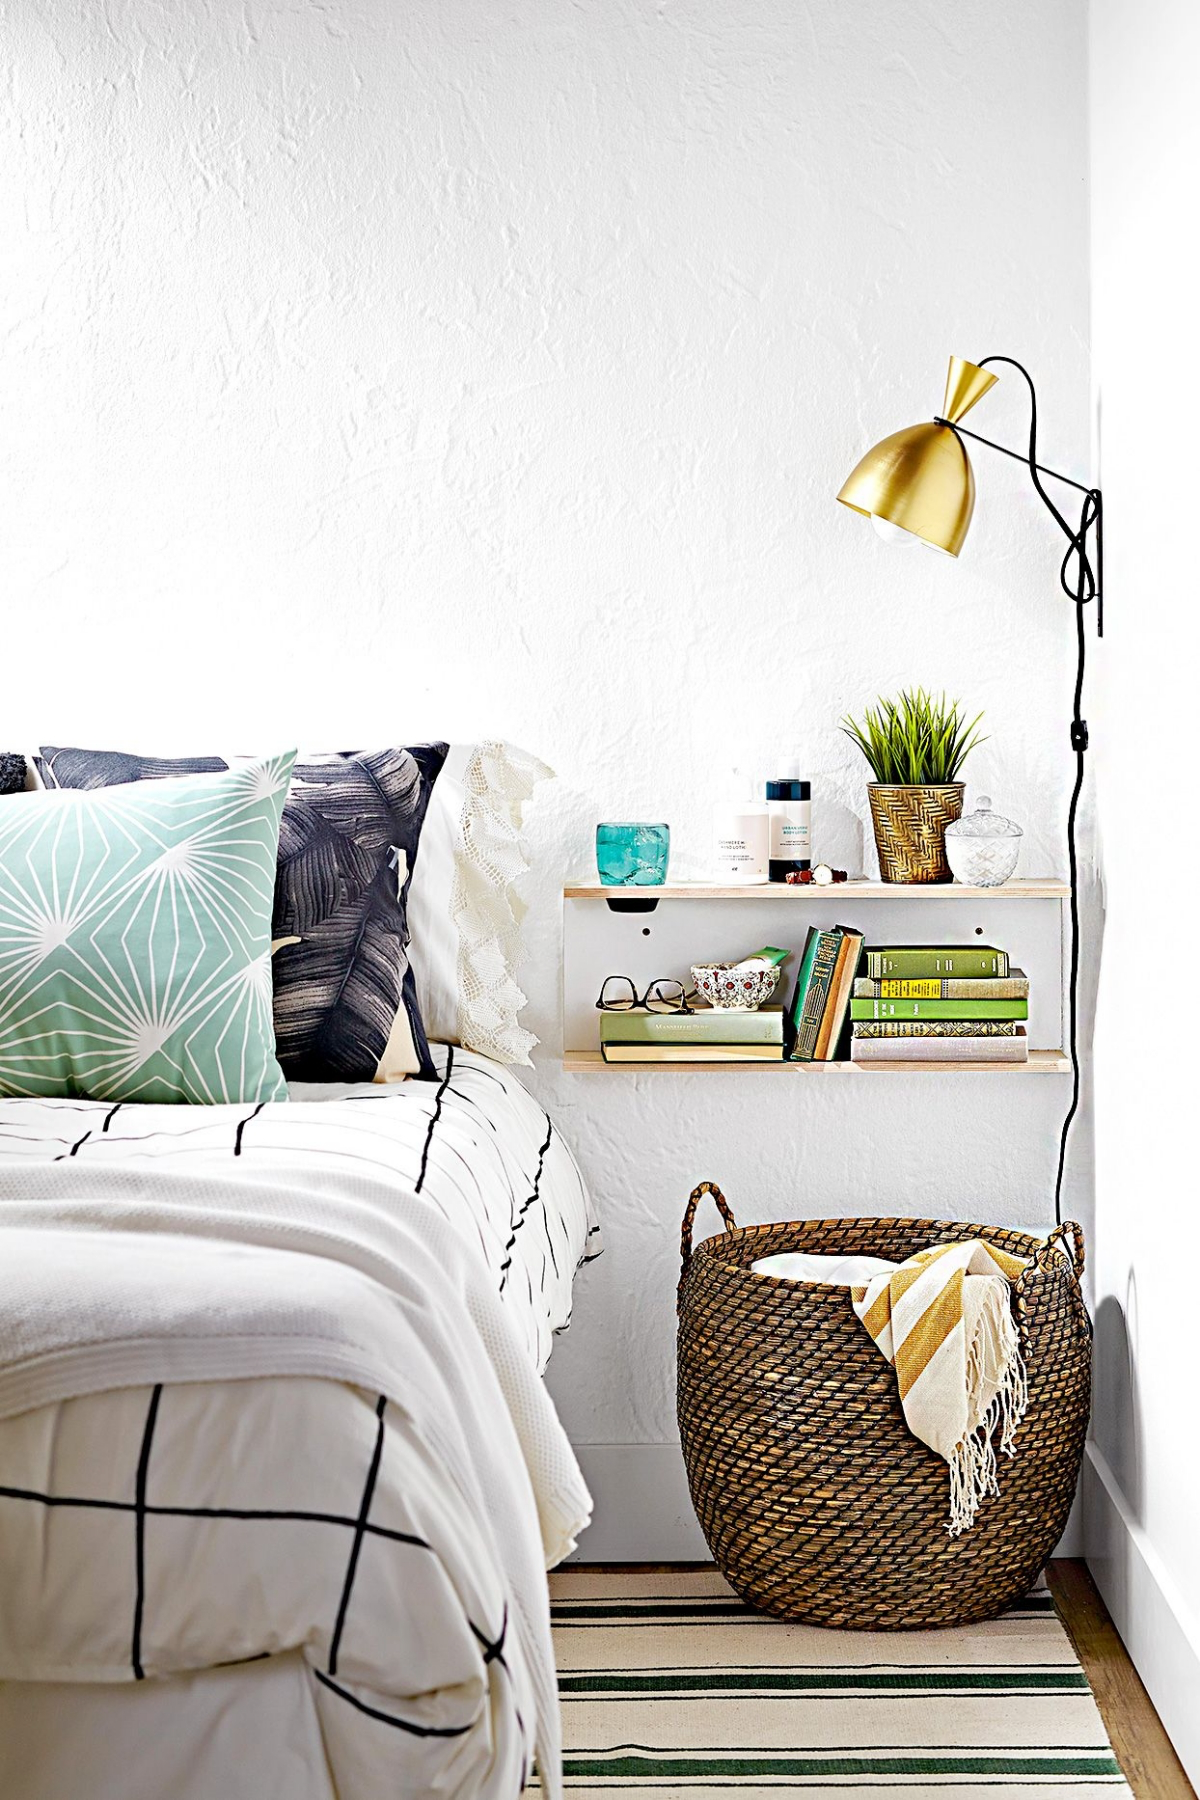
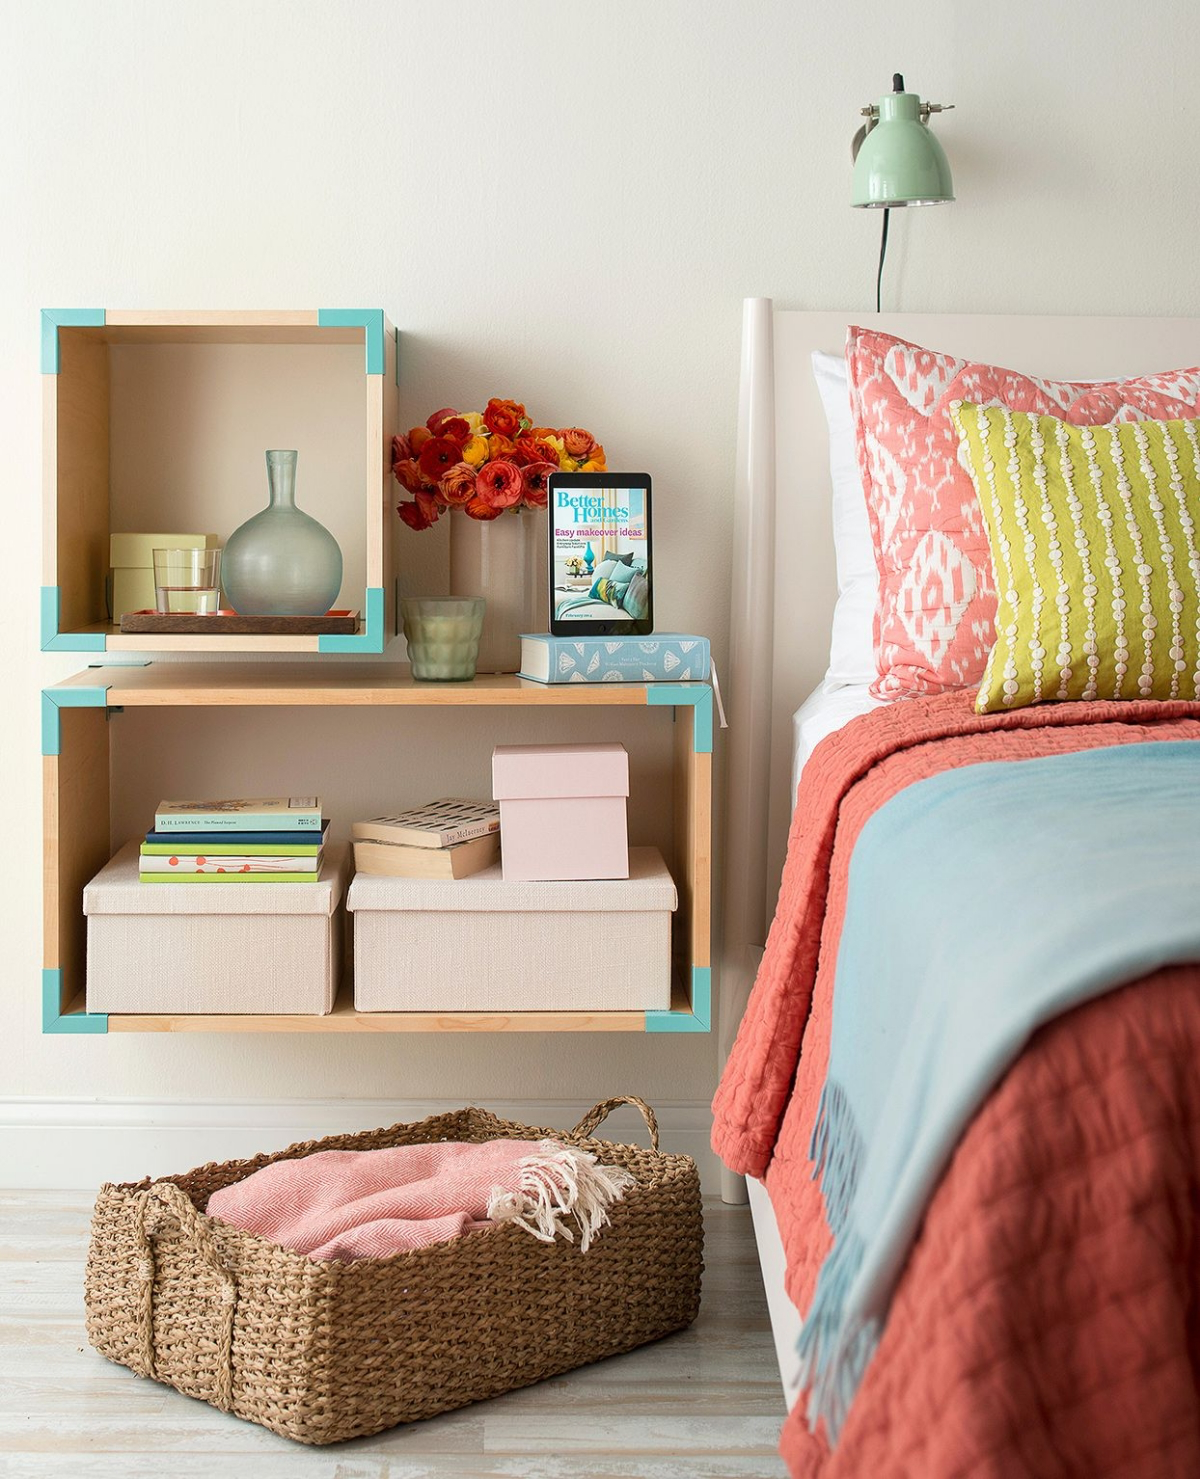
- The Nightstand: This is prime real estate. Keep it minimal: a lamp, your current book, a glass of water. That’s it. Everything else can live in a drawer.
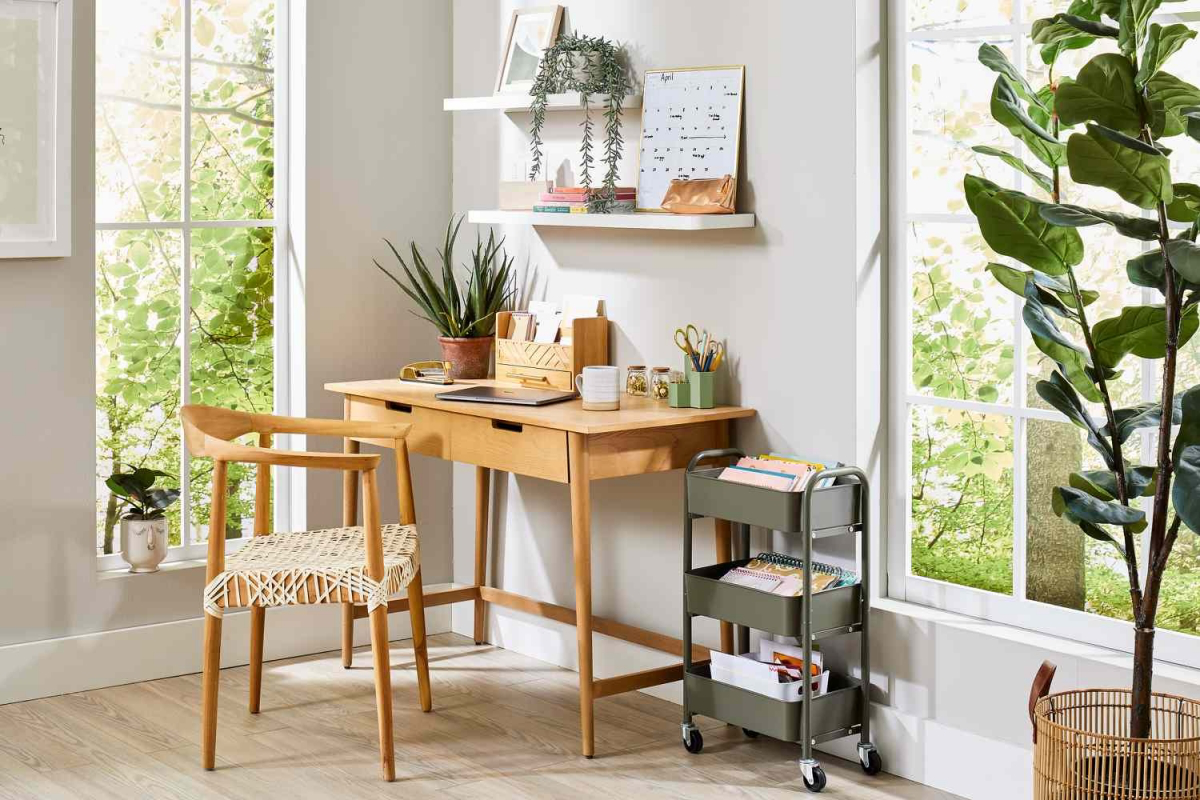
For the Office: Boost Focus
- The Desk: The surface should be for your immediate task only. Use vertical organizers for active papers and a cup for pens.
- Cable Management: Tangled cords are visual chaos. For a few bucks, you can get a pack of reusable velcro ties or a cable sleeve. For a truly pro setup, mount a power strip to the underside of your desk to get everything off the floor.
- Simple Filing: Don’t get fancy. For paper you’re keeping, an A-Z accordion file or filing box is perfect. Label folders clearly (e.g., ‘Car Insurance,’ ‘Vet Bills’).
How to Keep It This Way (The 15-Minute Daily Reset)
You did all this work, so let’s protect that investment. The secret is a simple maintenance routine. Spend 10-15 minutes at the end of each day doing a quick reset: put clothes away, clear your desk, sort the mail. And remember that ‘Relocate’ bin? Make a 15-minute ‘Relocate Run’ your final task. Take the bin and quickly return everything to its proper home. Don’t let it become your new doom pile!
Feeling totally overwhelmed? Here’s a quick win. Just tackle one nightstand. Empty it, wipe it down, and only put back the absolute essentials. It takes 20 minutes, and the small victory will give you a huge mental boost to keep going.
Taking a weekend to do this isn’t just about cleaning. It’s about taking back control of your environment. And trust me, the sense of peace and clarity you get from that is worth every ounce of effort.

Inspiration:
My home office is a tangle of dusty cables and grimy screens. Isn’t it risky to clean electronics with liquids?
It’s a valid concern, but a tech-safe clean is easier than you think. The golden rule: power down and unplug everything first. For screens, never spray cleaner directly onto the glass. Lightly mist a dedicated screen cleaner (like Whoosh!) onto a clean microfiber cloth and gently wipe. For keyboards, use compressed air to dislodge debris, then wipe the keys with a cloth dampened with 70% isopropyl alcohol—it disinfects and evaporates quickly. This is also the perfect moment to tame that cable mess. Once you’ve wiped the cords down, bundle them with simple Velcro ties or tuck them into a cable management box to stop them from becoming a dust magnet again.