How to Design a Kid’s Room That Actually Lasts (and Doesn’t Break the Bank)
I’ve been designing spaces for families for a long time, and if there’s one thing that stumps parents more than anything, it’s the kid’s bedroom. You want to create this magical, wonderful world for them, right? But there’s always that nagging thought in the back of your head: “Am I really about to spend all this money on a theme they’ll hate in six months?”
In this article
Here’s the secret: creating a great kid’s room isn’t about finding the cheapest stuff. It’s about being smart and choosing things that can grow and adapt as your child rockets from a toddler to a teen. It’s about making a space that feels like a safe haven—a place for play, for rest, and for them to just be themselves.
Over the years, I’ve seen what works and what’s a total waste of money. So, let’s skip the magazine-perfect rooms that nobody can actually live in. I’m going to walk you through the practical, real-world methods for building a functional, personal space that will serve your family for years to come.
First Things First: Get Inside Their Head
Before you even think about picking up a paintbrush, you’ve got to understand the ‘why’ of the room. This isn’t just four walls; it’s your child’s first piece of personal territory. The way it’s designed can genuinely affect their mood, sleep, and even their sense of independence. I’ve seen it happen time and time again.
A huge part of this is giving them a sense of ownership. When they feel like the room is theirs, they’re way more likely to take care of it. This is why you have to involve them. But please, don’t just ask, “What color do you want?” unless you’re prepared to paint everything lime green and purple.
Instead, try what I call the ‘Three Keywords’ trick. Ask them to give you three words that describe how they want their room to feel. You’ll be surprised by what they say. Instead of just shouting “Spider-Man!”, you’ll get things like “cozy, fun, and magical,” or “calm, adventurous, and cool.” These keywords become your North Star, helping you make choices that tap into a feeling, not a fleeting obsession with a cartoon.
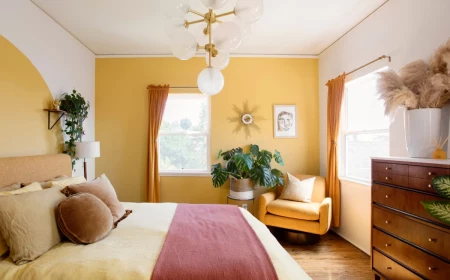
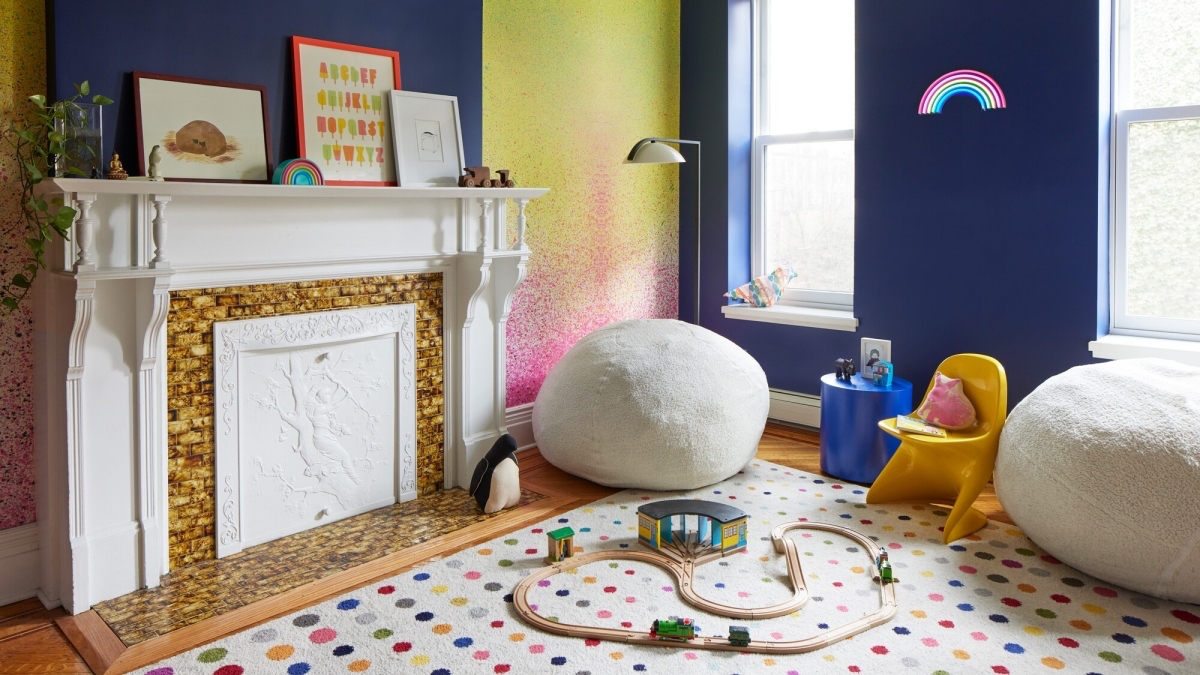
And yes, color psychology is a real thing. It’s not magic, but it works. Soft blues and greens tend to be calming, which makes them perfect for sleeping areas. Warmer colors like yellows and oranges can spark energy and creativity—great for a play corner. I once worked with a family whose son had a really hard time settling down at night. His room was painted a super bright, glossy red. We repainted three of the walls in a soft, muted sage green and left one wall as an accent for his posters. His parents told me it made a noticeable difference in his bedtime routine almost immediately. The environment really does matter.
The Game Plan: How to Plan Like a Pro
Good results come from good planning. Seriously. Rushing into decisions is the fastest way to waste money and end up with a room that just doesn’t work. Here’s the step-by-step process that will save you a ton of headaches.
1. Measure and Map It Out
Grab a pencil and some graph paper (or a cool app on your phone) and sketch a simple floor plan. Measure the room’s length and width, and mark where the windows, doors, and closets are. Oh, and a classic mistake: don’t forget to measure the door swing! You don’t want to buy the perfect bookshelf only to find the door bangs into it. Also, mark where the electrical outlets are—this dictates where lamps and chargers can safely go.
2. Create Your Zones
A kid’s room is a multi-tasking machine. I always divide the room into three main zones:
- The Sleep Zone: This is just for the bed and maybe a nightstand. It should feel calm and be as free of distractions as possible. Ideally, the bed is against a solid wall, not right under a window where light or drafts can mess with sleep.
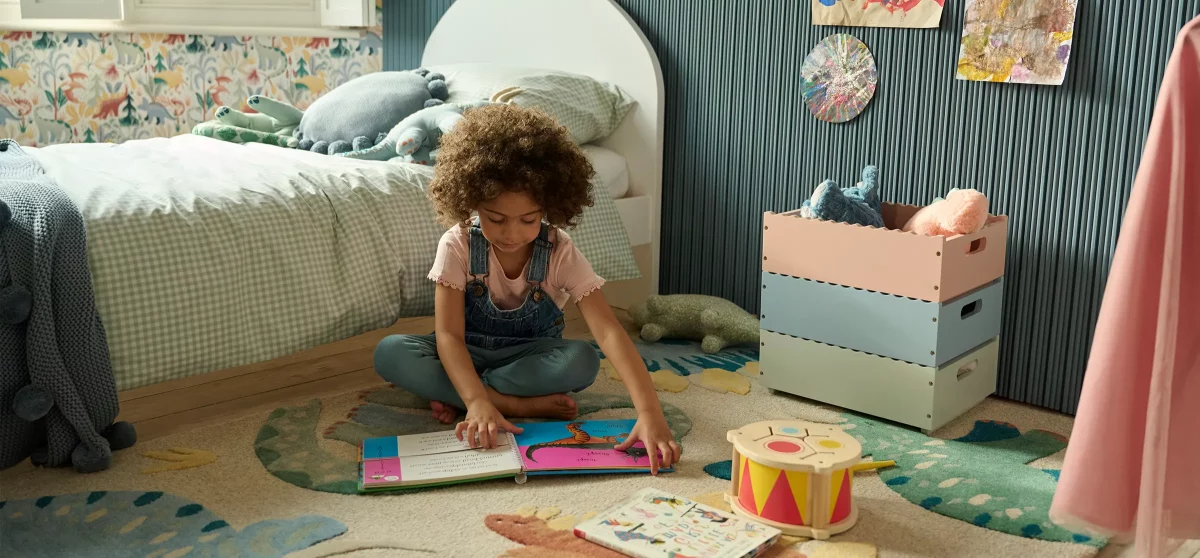
- The Play/Work Zone: This is for a desk, a play table, or just open floor space. It needs good light and easy access to toy and book storage.
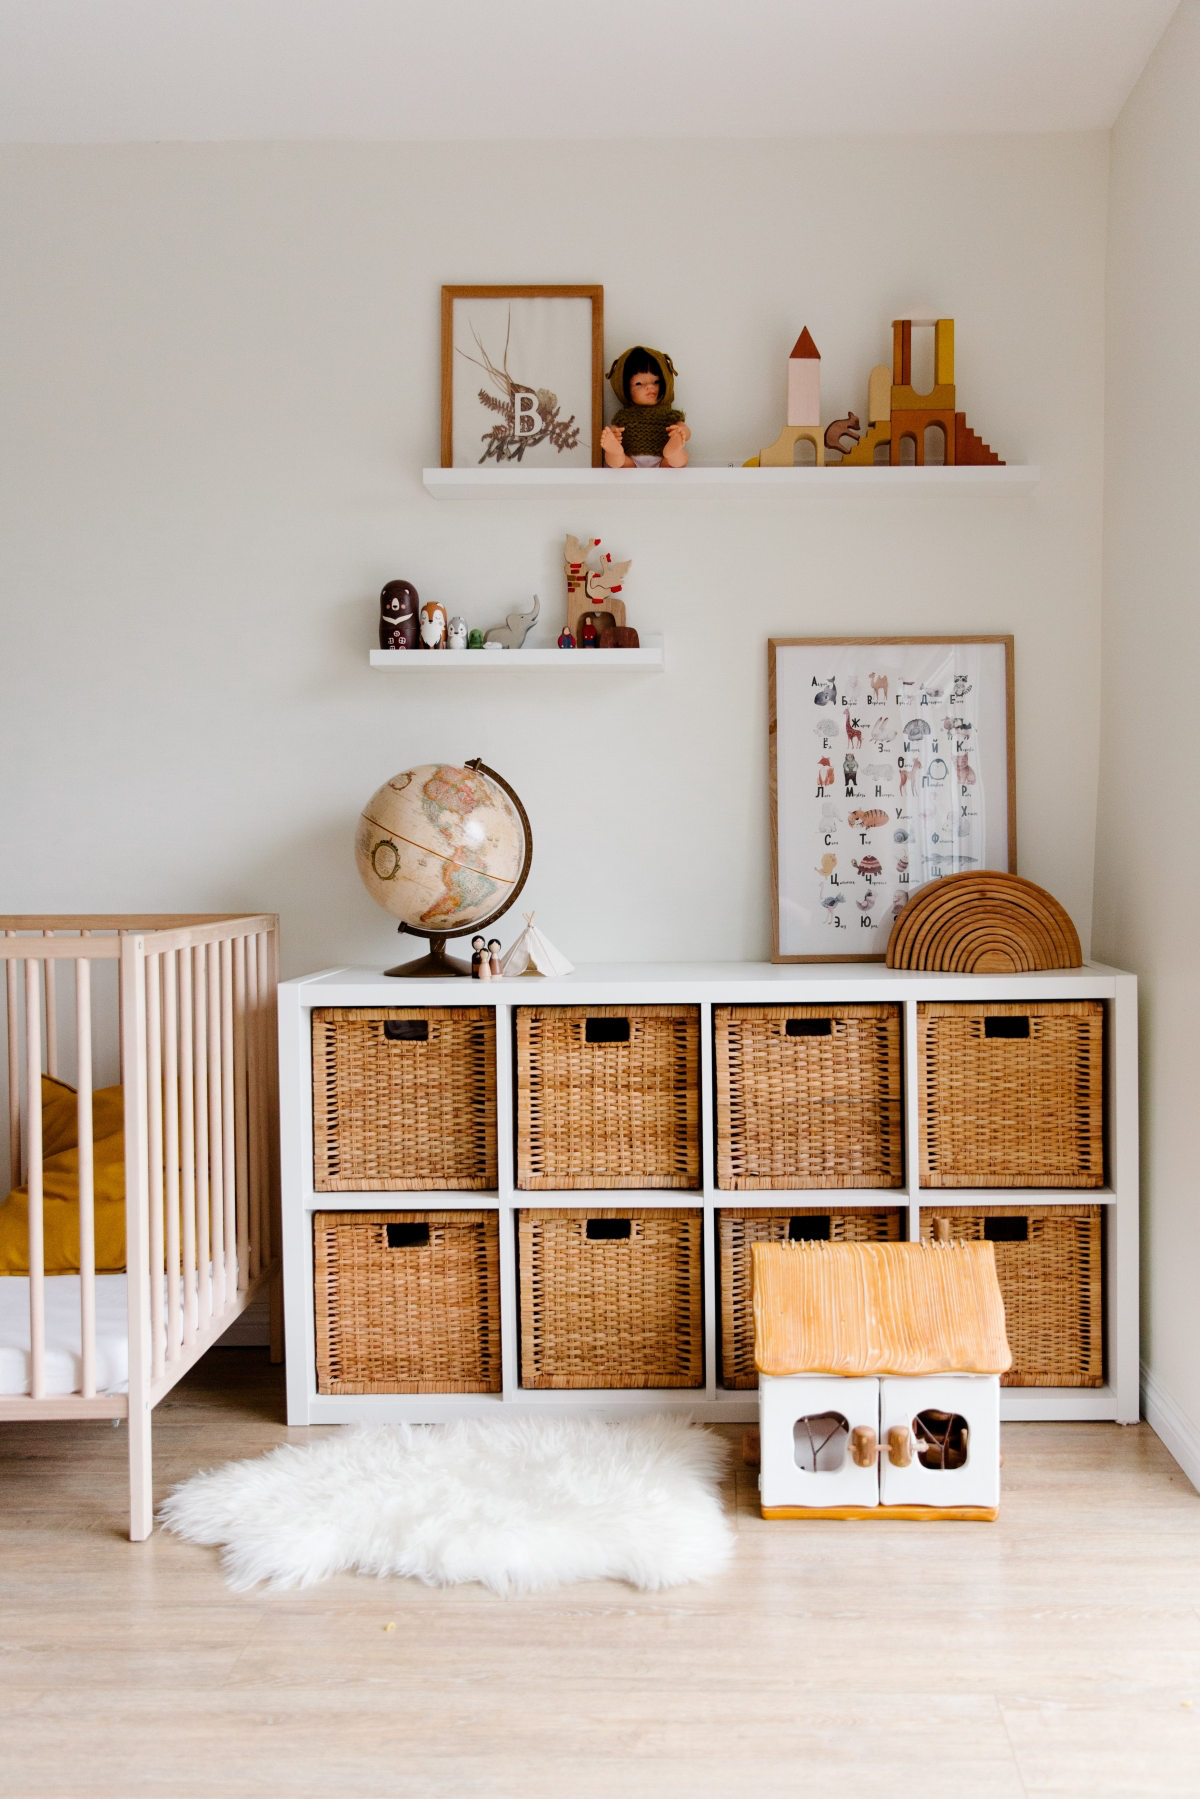
- The Storage Zone: This covers the closet, a dresser, and shelves. The key here is to make it accessible for your child. If they can reach it, they’re more likely to use it.
Sketch these zones onto your floor plan. It’s a simple visual map that helps you place furniture logically and make sure there’s room to actually walk.
3. Talk About Money (The Realistic Budget)
Let’s be real about what you can spend. A simple refresh with paint and new bedding might be a few hundred dollars, while all-new furniture can easily run into the thousands. Here’s a rough idea:
- The $500 Refresh: With this budget, you’re focusing on high-impact, low-cost changes. You can get a couple of gallons of quality low-VOC paint ($80-$140), a new area rug from a place like Target or Wayfair ($100-$150), new bedding ($70), and some cool storage bins and wall decor from IKEA or HomeGoods ($100). The furniture stays, but the room feels completely new.
- The $2,000 Overhaul: This lets you tackle the big-ticket items. You can budget for a solid new twin bed frame and mattress ($500-$700), a quality dresser that will last for years ($400+), plus all the refresh items like paint, a nice rug, and better lighting ($500+).
My advice? Put the biggest chunk of your budget into the pieces that get the most use: the bed and the dresser. You can always save money on accessories that are easy to swap out later.
The Big Three: Walls, Floors, and Lighting
These three things are the foundation of the room. If you get them right, everything else falls into place much more easily.
Walls: It’s About More Than Just Color
Paint is your most powerful tool. But the finish is just as important as the color. For a kid’s room, you absolutely want a durable, washable finish. An eggshell or satin finish is the professional go-to. They have a slight sheen that resists scuffs and can be wiped down with a damp cloth. A matte finish looks gorgeous, but honestly, it marks up if you just look at it wrong, and cleaning it often leaves a weird shiny spot. You’ll be repainting way sooner.
Quick tip: Always choose a low-VOC or zero-VOC paint from brands like Behr or Benjamin Moore. These have fewer chemical emissions, which is a big deal for indoor air quality, especially where your child sleeps. A gallon will run you between $40 and $70. And even with low-VOC paint, let the room air out for a good 24-48 hours.
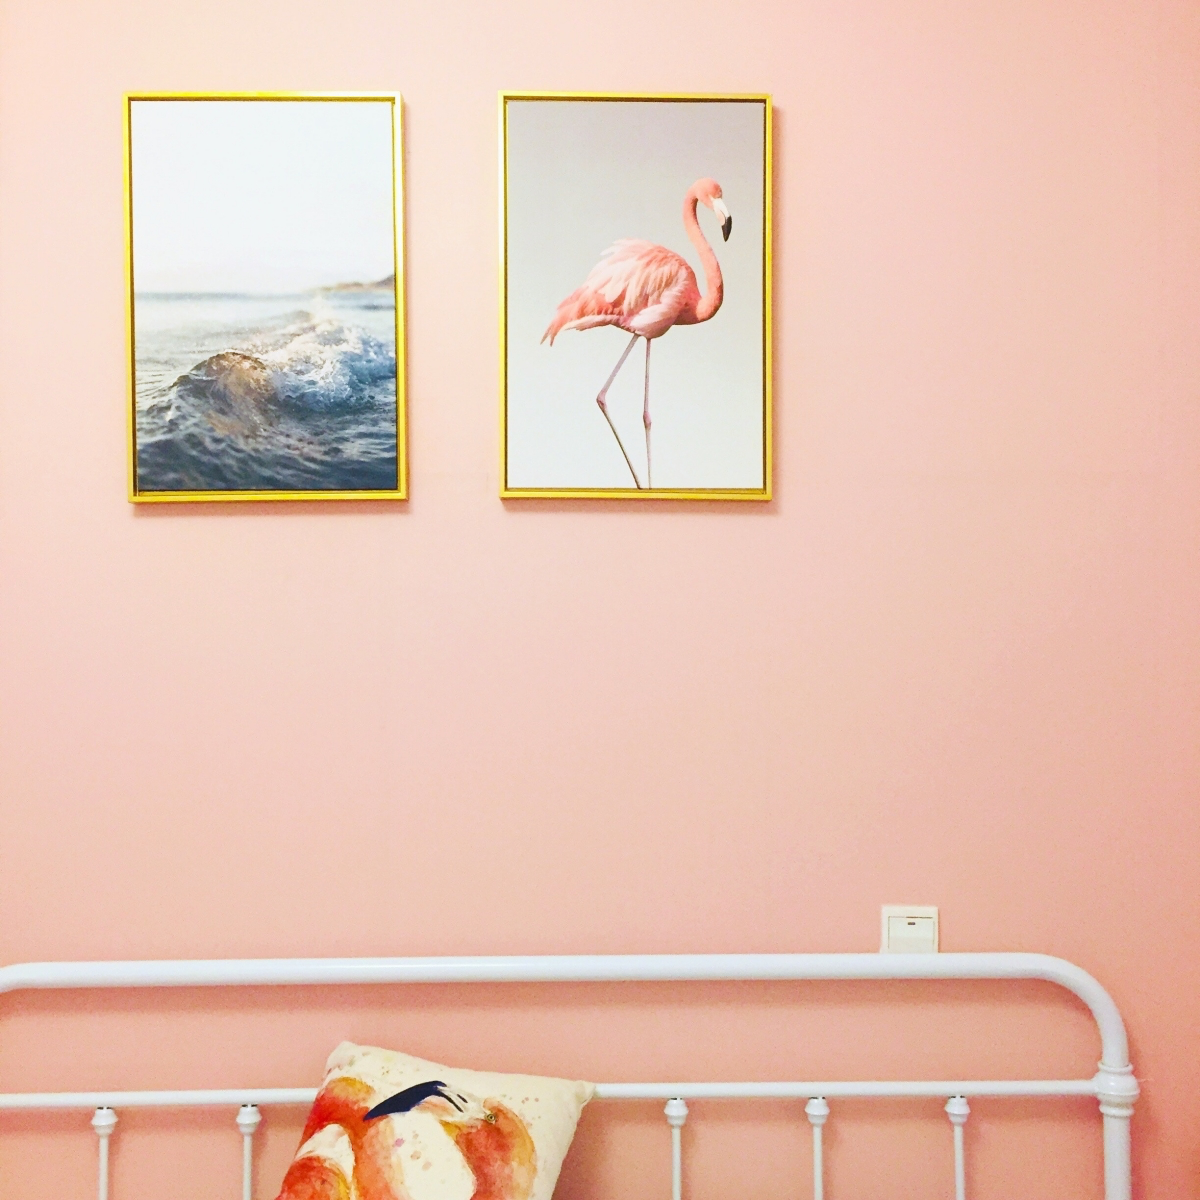
Hesitant to go with a bold color? Just do one feature wall, maybe the one behind the bed. It makes a big statement without overwhelming the room. Removable wallpaper is another fantastic option here, but a heads-up: it works best on smooth, primed walls, not textured ones.
Flooring: Ready for Battle
The floor in a kid’s room takes a serious beating. My personal preference is a hard surface—like hardwood, laminate, or even cork—with a big, soft area rug on top. Hard floors are a breeze to clean after spills or messy art projects. The rug adds warmth, comfort, and defines the play space. Plus, if the rug gets ruined, it’s a lot cheaper and easier to replace than wall-to-wall carpet.
If you’re set on carpet, go for a low-pile, durable material like nylon. High-pile or shag carpets might feel nice, but they’re a nightmare to clean and become a black hole for dust, allergens, and tiny Lego pieces. Trust me on this.
Lighting: Set the Mood
One harsh overhead light just won’t cut it. You need layers:
- Ambient Light: This is your main ceiling light. I always, always tell my clients to install a dimmer switch. It’s a game-changer for winding down in the evening.
- Task Light: This is focused light for activities, like a desk lamp for homework or a reading light by the bed. It prevents eye strain.
- Accent Light: This is the fun stuff! A soft night light, a string of fairy lights, or a cool moon-shaped lamp adds personality and a feeling of safety.
Heads up! Please, secure all lamp cords. A cord snaking across the floor is a major tripping hazard. Tuck them behind furniture or use cord clips to secure them to the baseboard. Never leave a long cord dangling where a small child could pull a heavy lamp down on themselves.
Buying Furniture That Lasts a Decade, Not a Year
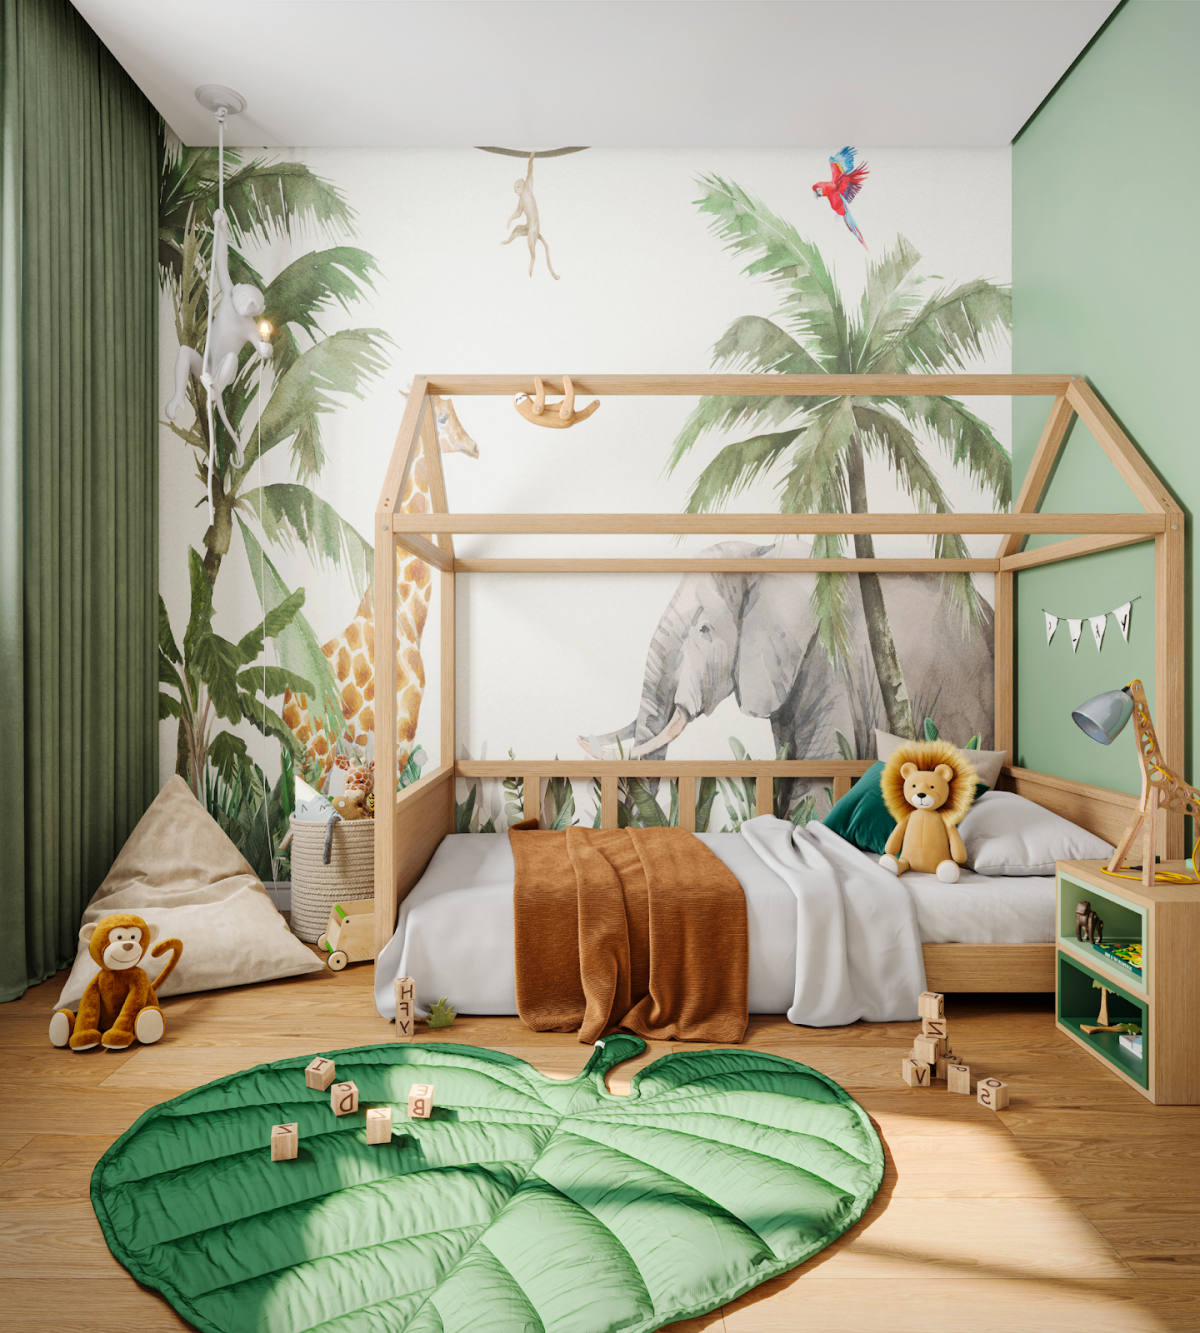
This is where you make your big investments. It’s so tempting to buy that cute, kid-sized themed furniture. My professional advice? Don’t do it. That race car bed is a blast for a four-year-old, but by the time they’re seven, it’s just an awkward, oversized toy you have to get rid of.
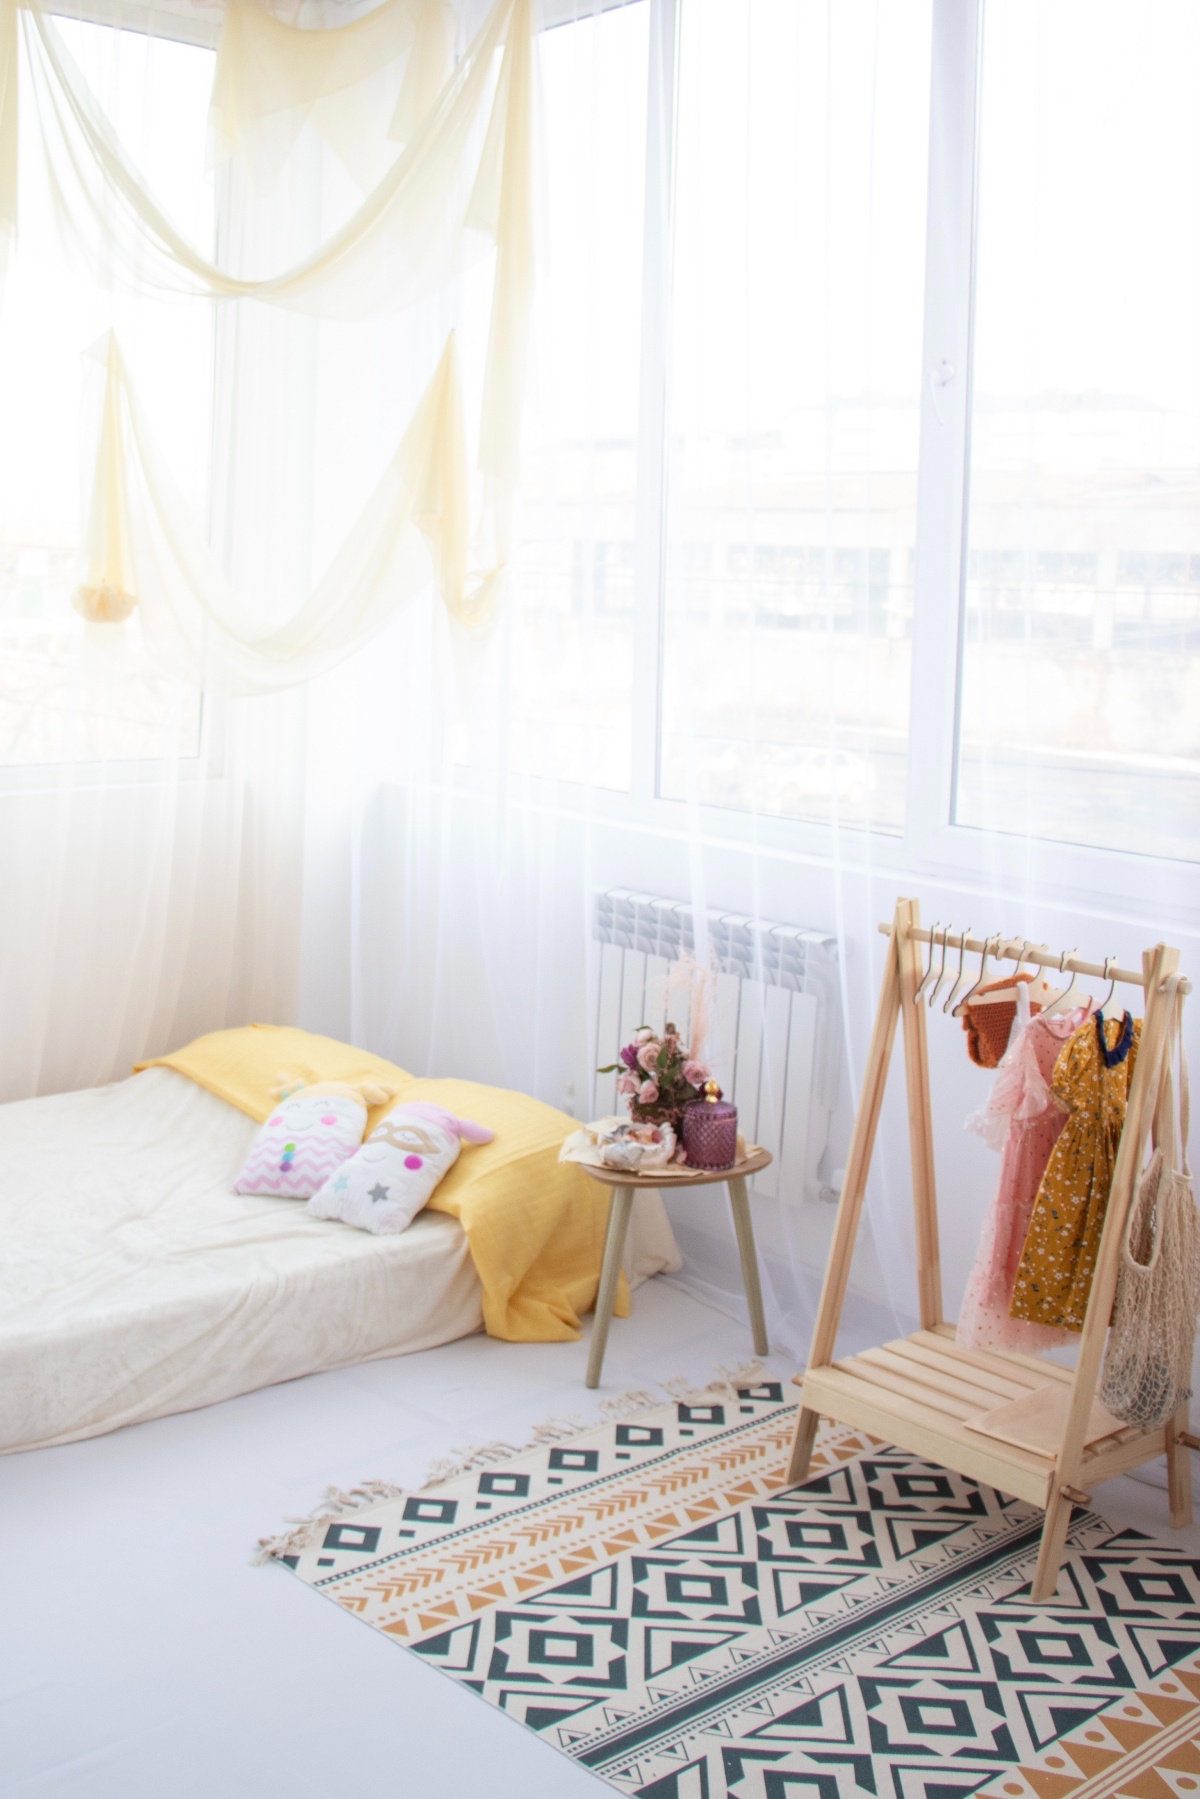
The Bed: Unless the room is tiny, I suggest skipping the toddler bed altogether. A twin mattress on the floor has the same footprint! Go straight to a twin or even a full-size bed with a simple, sturdy wood or metal frame. You can add a temporary safety rail for a few years. A bigger bed gives them room to grow and is way more comfortable for snuggling up to read stories together.
The Dresser: Go for a standard-height dresser. For a nursery, you can just pop a changing pad on top. Once they’re out of diapers, you’ve got a perfectly good piece of furniture that will last them into their teen years. Look for solid wood construction if you can. A solid piece from a furniture store might be $400+, but a particleboard one from Target or IKEA for around $150 will work just fine—as long as you anchor it.
Safety First—This is Non-Negotiable
All tall or heavy furniture, like dressers and bookshelves, MUST be securely anchored to the wall. This prevents tip-over accidents, which can be incredibly dangerous. Most new furniture includes an anti-tip kit. If you buy second-hand, you can grab a kit at any hardware store or online for about $5. It’s the most important five dollars you’ll spend.
It’s easier than you think:
- Find a wall stud using a stud finder (a great tool to own, they’re about $20).
- Attach one bracket to the top back of your furniture.
- Attach the second bracket to the stud in the wall, level with the first bracket.
- Lace the security strap between the two brackets and pull it taut. Done.
Creative Ideas and Knowing Your Limits
If you’re handy, there are tons of ways to add custom touches. But you have to be honest about your skill level and always prioritize safety.
The Small Room Challenge: If you’re working with a tight space, think vertical. Tall, narrow bookshelves, loft beds, or beds with storage drawers underneath are your best friends. Painting the room a light, bright color can also make it feel bigger.
The Shared Room Dilemma: For kids sharing a room, the goal is to create a sense of personal space for each. You can use two different (but complementary) rugs to define their zones. Or, let each pick their own bedding. A cube shelving unit can act as a great, non-permanent room divider that also adds a ton of storage.
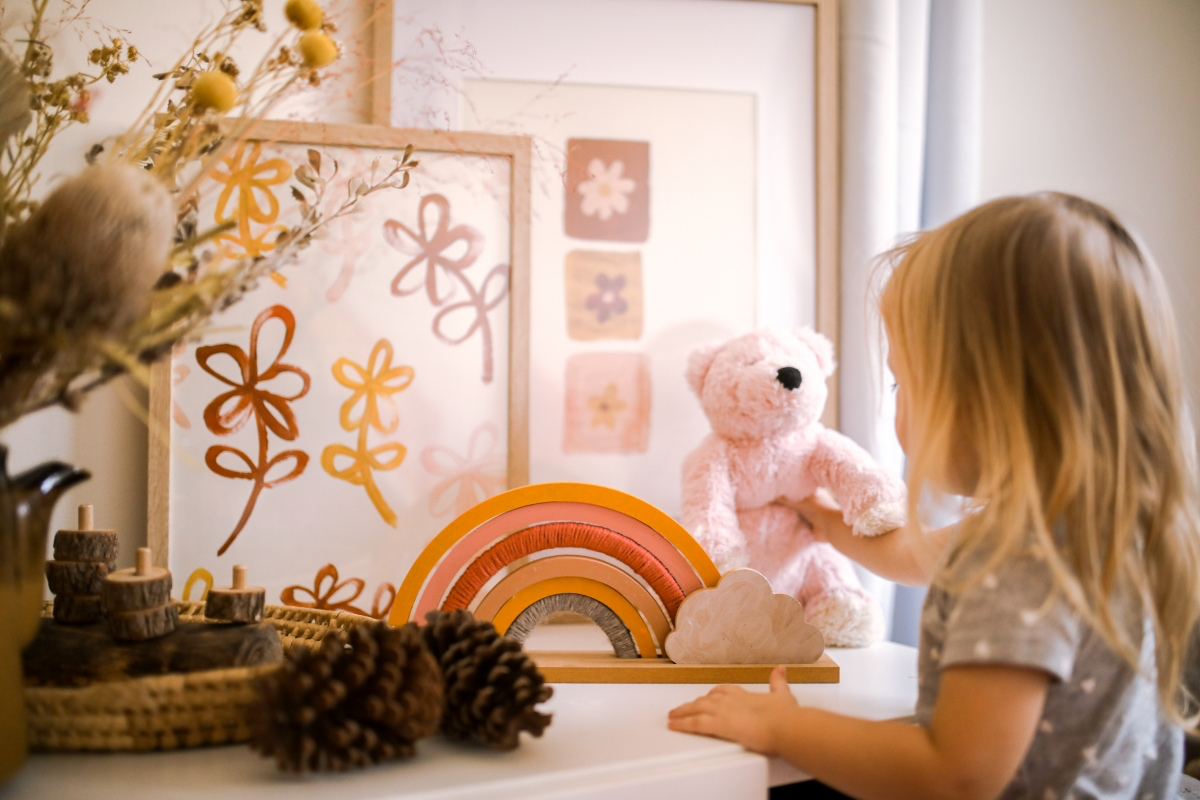
Troubleshooting Tip: What if your kid insists on a wild color, like neon pink? Compromise! Use that color for things that are easy to change—like the bedding, a throw pillow, a rug, or picture frames. Then, paint the walls a soft neutral that complements it. They get their favorite color, and you get a room that doesn’t hurt your eyes.
The Final Check: A Quick Walk-Through
Before you call it done, do a final walk-through. This is my personal quality control check, and it’s a great habit for any DIY project.
Here’s what to look for:
- Safety Check: Is all the heavy furniture anchored? Are cords out of the way? Any tripping hazards?
- Functionality Check: Can your child actually open their drawers and closet easily? Can they reach their favorite books and toys?
- The ‘Three Keywords’ Test: Does the room feel the way you wanted it to? If the words were “cozy, fun, and magical,” do you see it? The soft rug for cozy, the art wall for fun, the fairy lights for magical.
And remember, the goal isn’t a perfect, untouchable room. A successful design is one that gets lived in. The drawings taped to the wall, the scuff marks from hours of play, the pile of favorite stuffed animals on the bed—that’s the stuff that makes it a real, happy home.