Pro Secrets for Halloween Decor That Doesn’t End Up in the Trash
I’ve spent a long, long time building props and scenery for everything from local stage shows to big-time haunted attractions. And every single October, I see the same thing: front yards filled with flimsy plastic skeletons and cheap, disposable decorations that look sad by Halloween and are in a landfill by November 1st.
In this article
There’s a much better way, and honestly, it’s way more satisfying. Creating your own Halloween decor isn’t just about trying to be unique. It’s about craftsmanship. It’s about building pieces you’re actually proud of, things that create a genuine atmosphere and that you can pull out year after year. It’s the difference between a cheap jump scare and a creeping sense of dread that really sticks with people.
So, we’re not just slapping some orange paint on a craft store pumpkin. We’re going to dig into the materials, lighting, and techniques the pros use. I’ll share some methods I’ve picked up in the workshop, including a few epic fails that taught me some very valuable lessons. The goal here is to help you make decor that’s not just spooky, but also durable and safe.
The Foundation: Where the Real Magic Happens
Before you even think about picking up a tool, you need to get your head around two things: light and materials. I’d say 90% of homemade decor fails because one of these was ignored. A killer prop that’s lit badly is basically invisible. And a great idea made with the wrong stuff will fall apart in the first autumn rain.
The Easiest Upgrade: Working with Light and Shadow
If you’re looking for the biggest bang for your buck, this is it. Light is your most powerful tool. It tells people where to look, sets the mood, and, best of all, hides your mistakes. The most common goof I see is flooding a yard with flat, boring light. It just kills the mystery.
Instead, think like a theater pro:
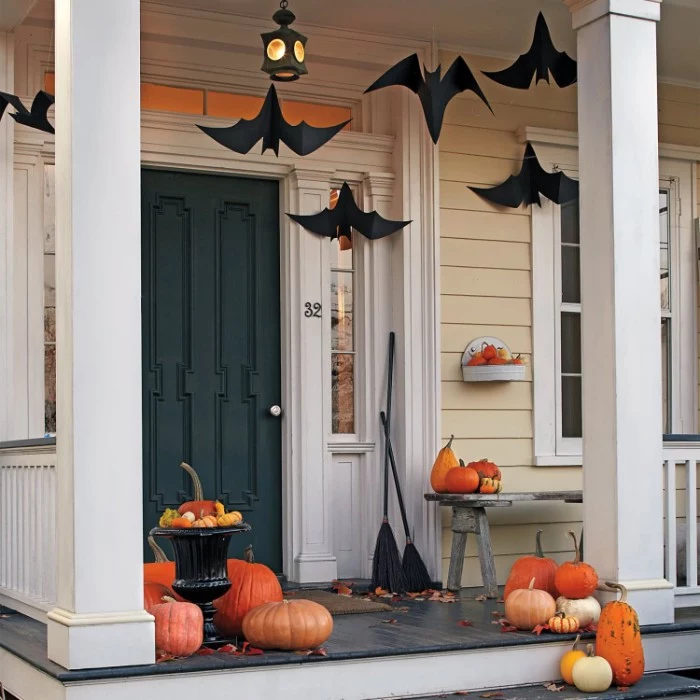
- Uplighting: This is the 15-minute, $20 upgrade that changes everything. Grab a simple outdoor spotlight from Home Depot or Lowe’s, stick it on the ground, and point it up the trunk of a tree or the wall of your house. It creates these long, creepy shadows and makes everything look ten times more menacing.
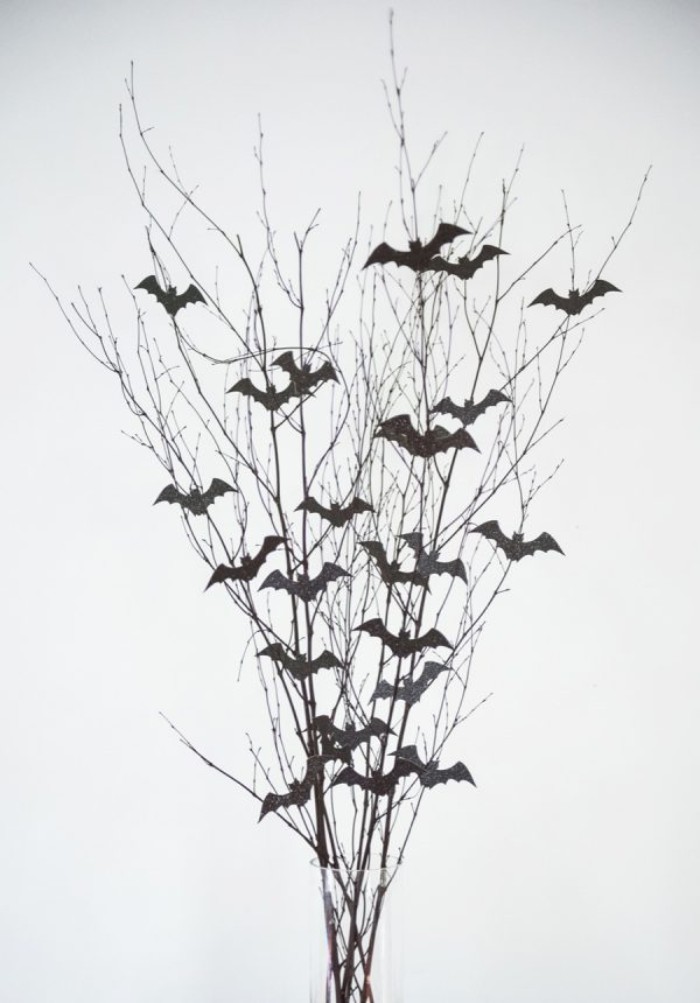
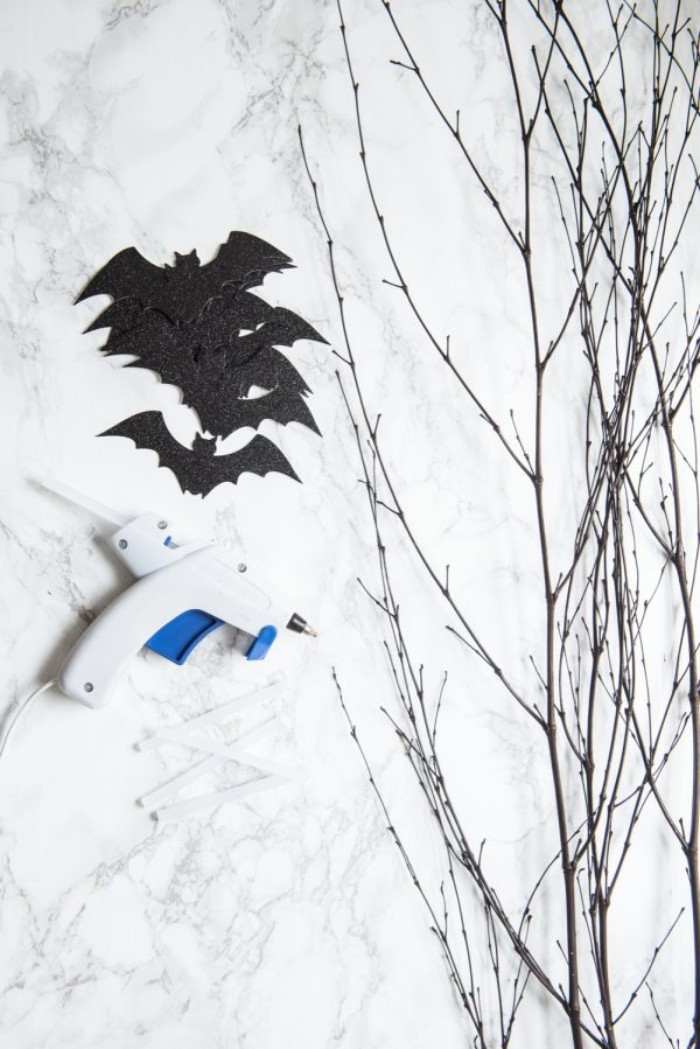
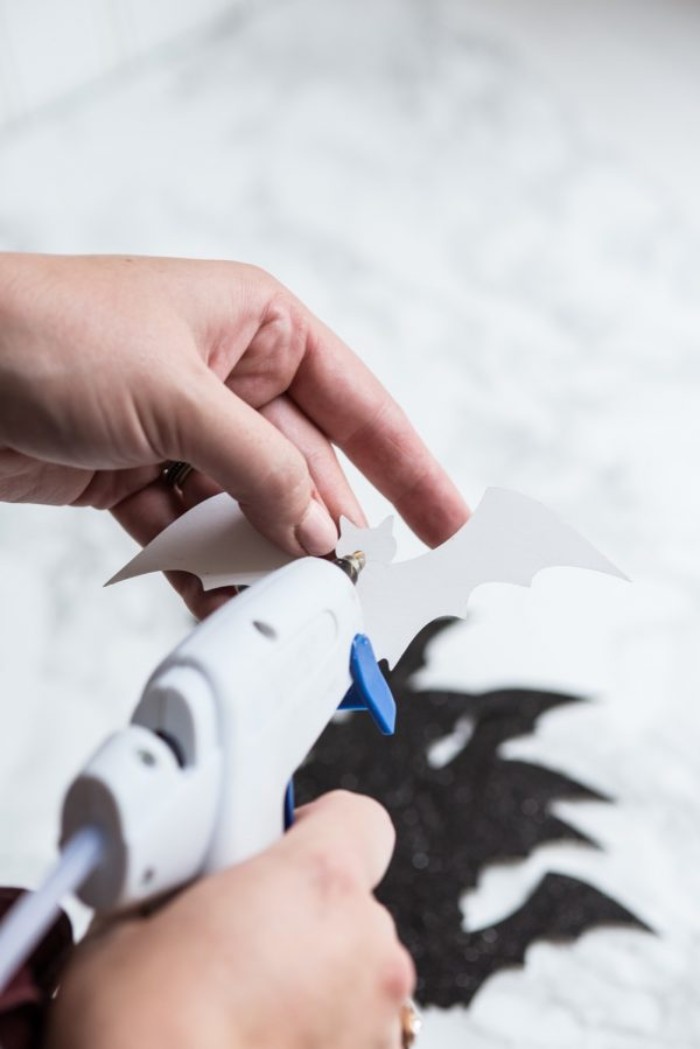
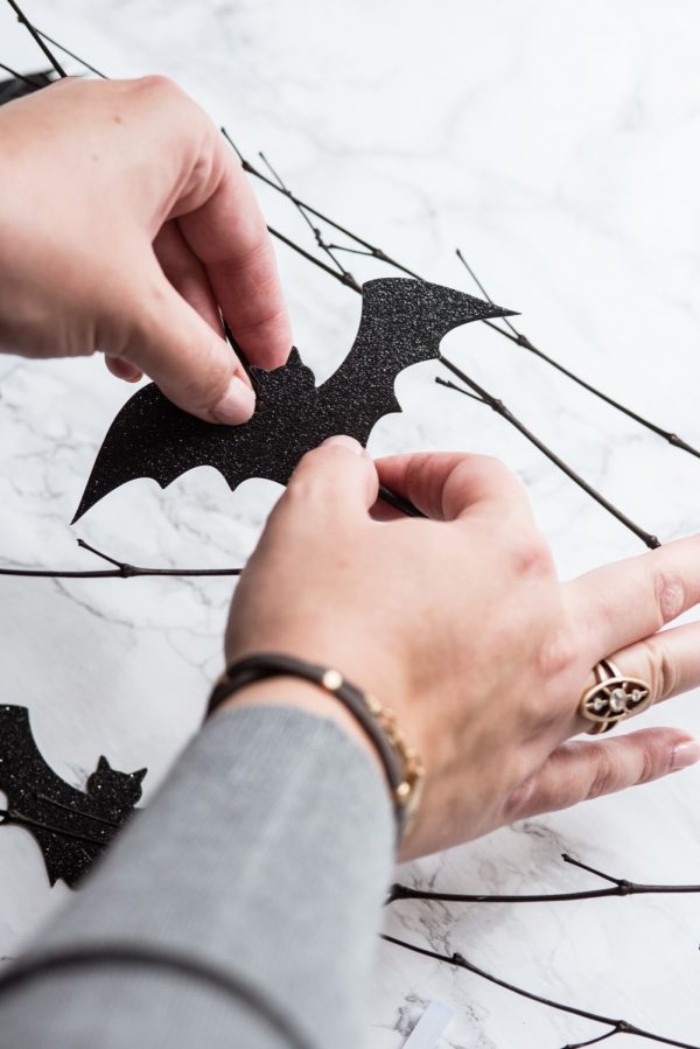
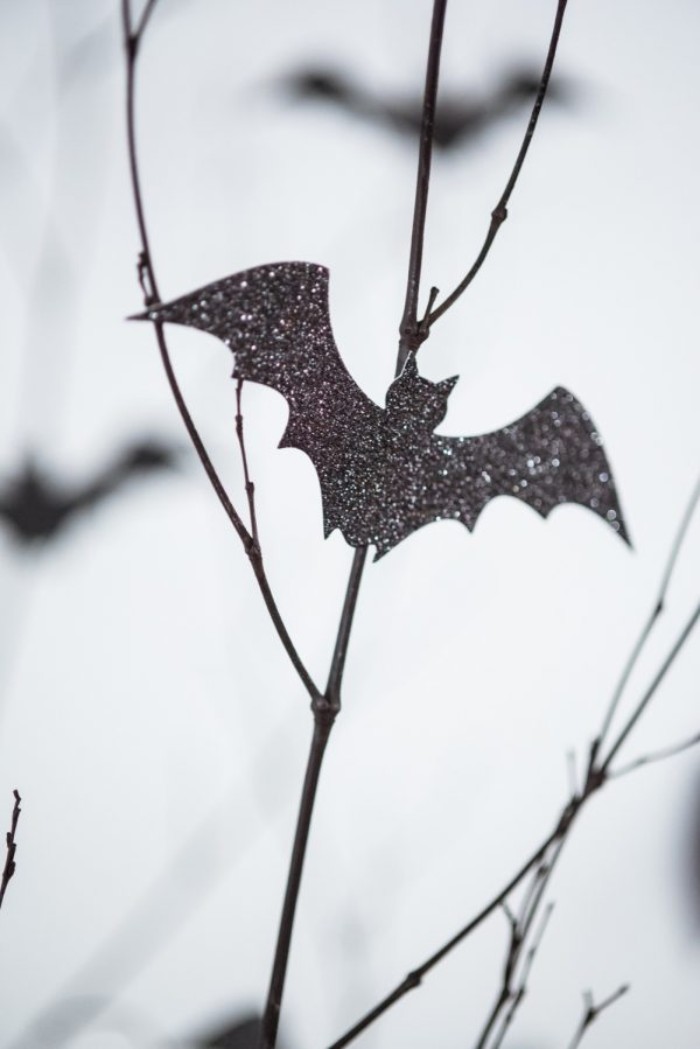
- Backlighting: This is how you make simple cutouts look amazing. You just put a light source behind an object to turn it into a black silhouette. It’s perfect for windows. An old lamp or a cheap work light placed on the floor behind a cardboard cutout of a figure in your window is incredibly effective. Your brain does the heavy lifting to fill in the scary details.
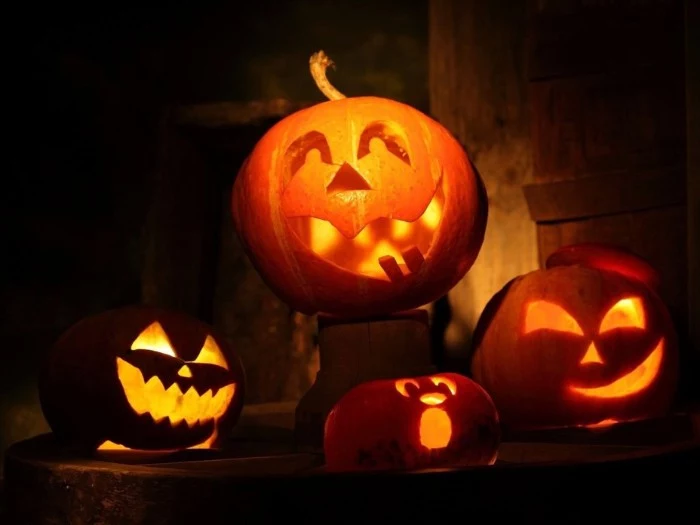
- Single-Source Lighting: Think about a single candle in a dark room. Using one main light creates deep, dramatic shadows and a powerful focal point. This is the whole principle behind a jack-o’-lantern, right? That single flickering light inside is what makes the face so expressive. We’ll use this idea to make our props feel more intentional.
Choosing Your Weapons: Materials That Last
Picking the right material is everything. The wrong glue or paint can absolutely destroy a project you just spent hours on. So let’s talk about making smart choices.
First, adhesives. A hot glue gun is great for quickly tacking things together, but it is NOT your friend for permanent, outdoor work. The glue gets brittle in the cold and will pop right off smooth plastics. For anything that needs to survive outside, I always reach for a construction adhesive. A tube of something like Loctite PL Premium costs around $7-$10 and creates a rock-solid, weatherproof bond. For smaller, detailed work, a two-part epoxy is your best bet.
Next up, fabrics. If you plan to make something look old and tattered, you have to use the right kind. Bleach and dyes work by changing natural fibers. So, if you want to make aged mummy wrappings or ghostly shrouds, you need 100% cotton, like cheesecloth or an old bedsheet. You can grab one at a thrift store for a few bucks. Bleach will do almost nothing to synthetics like polyester. Quick tip: Always wash new fabric first to get rid of any factory coatings that can block dyes.
And finally, foams and plastics. Those fake pumpkins from the craft store have a slick, shiny surface from the manufacturing process. If you just paint on them, it’s going to peel or scratch off. Trust me. I learned this the hard way… more on that in a minute. You HAVE to prep the surface first. A light scrub with fine-grit sandpaper (around 220-grit) gives the paint something to grab onto.
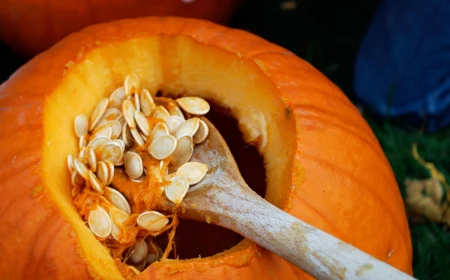
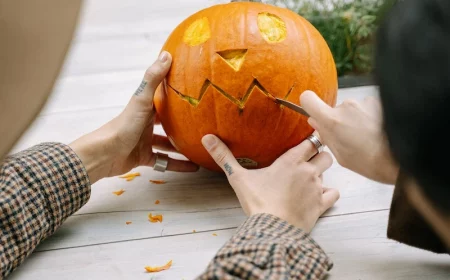
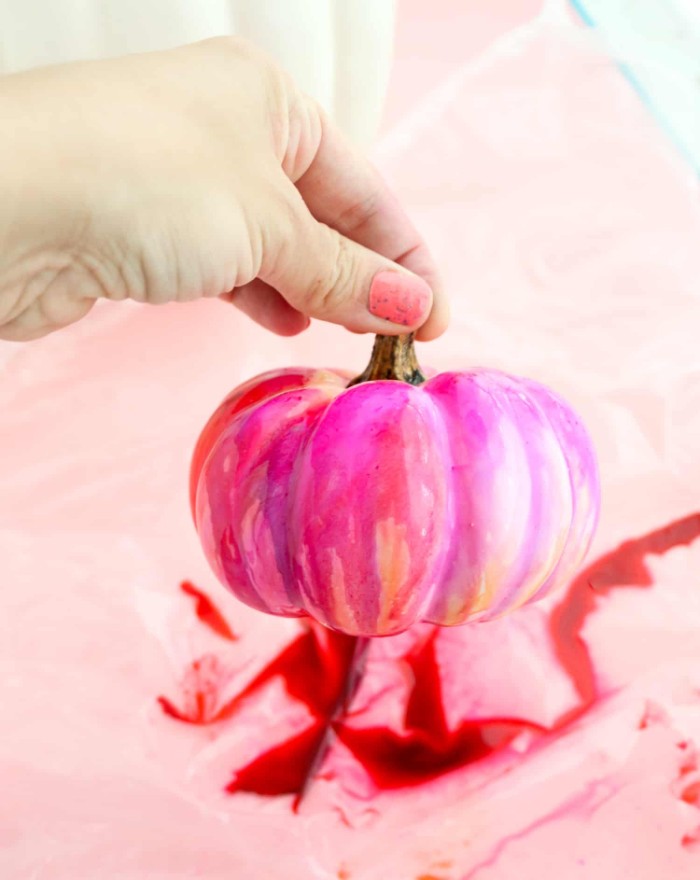
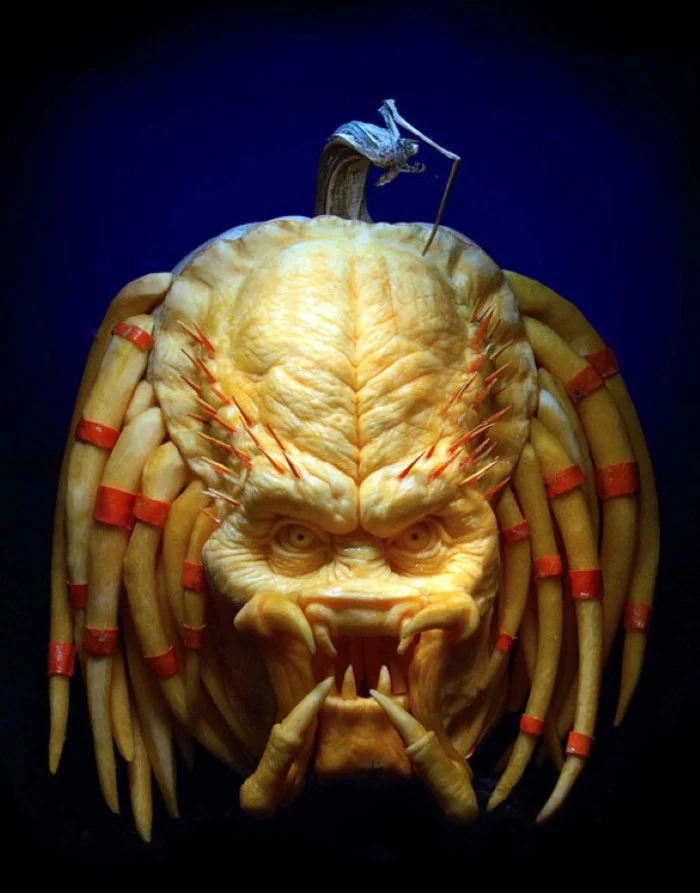
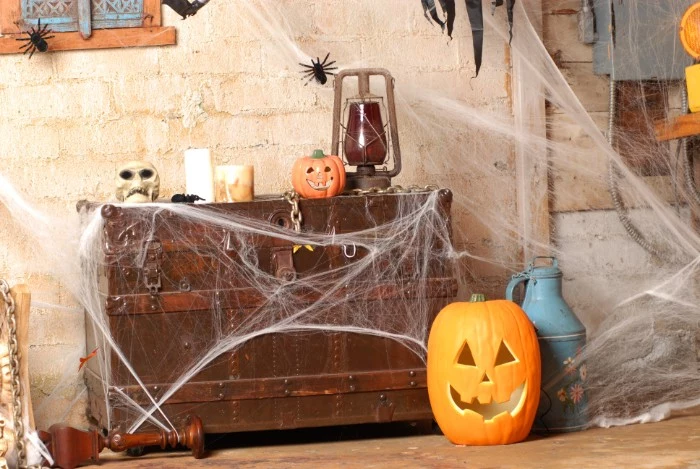
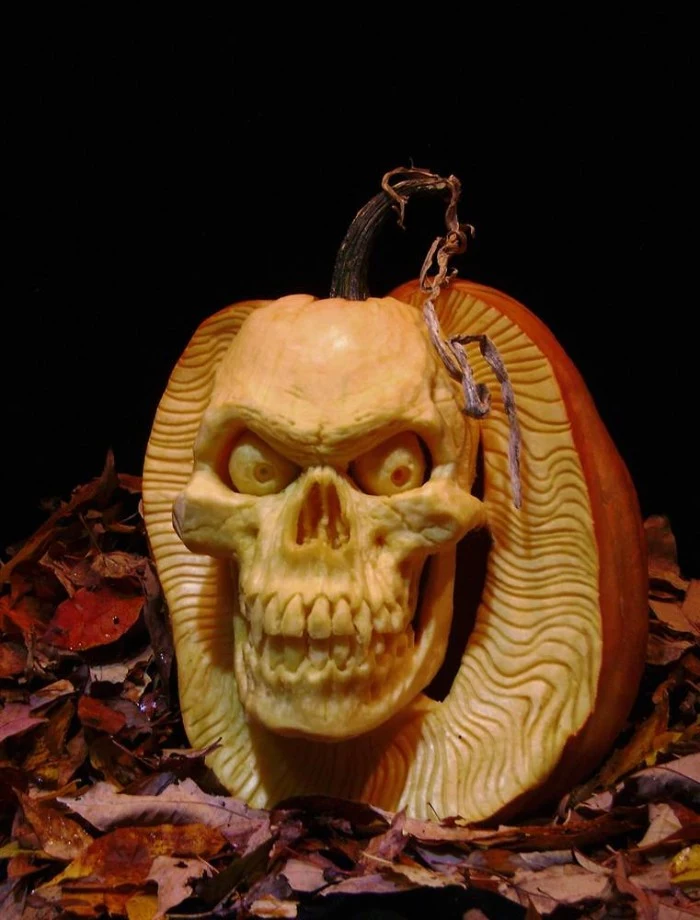
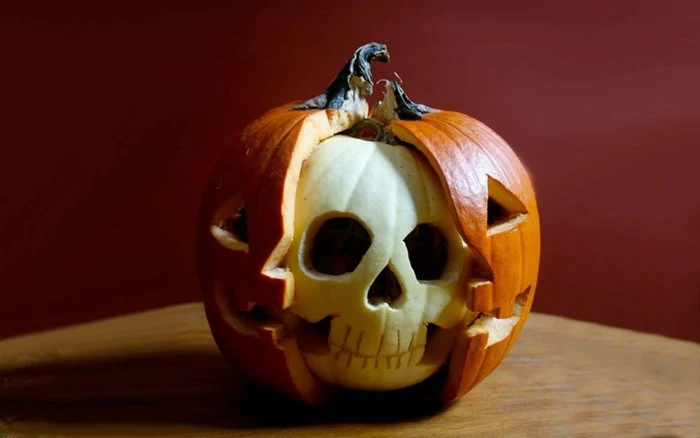
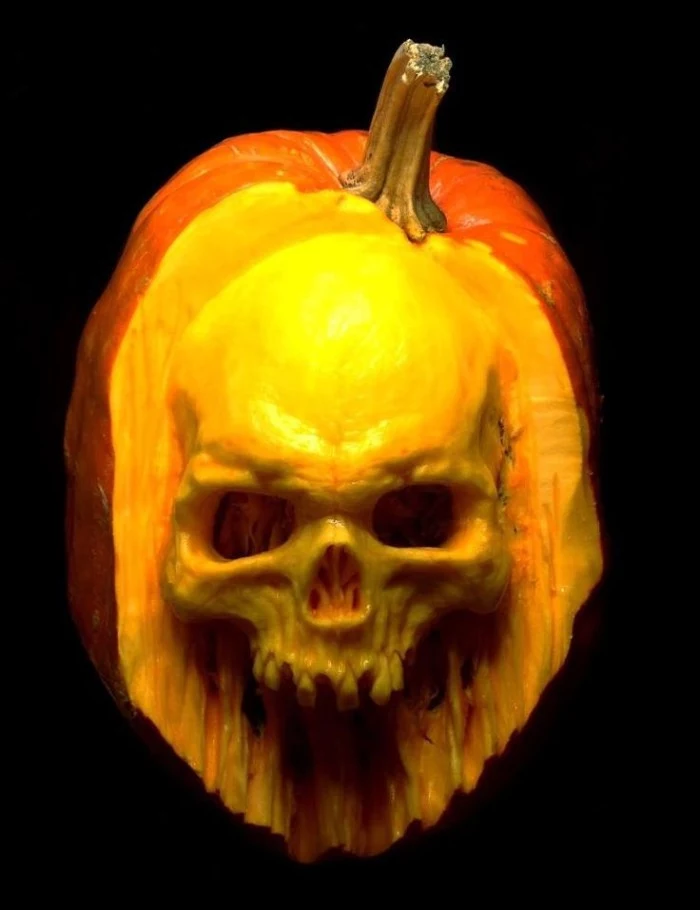
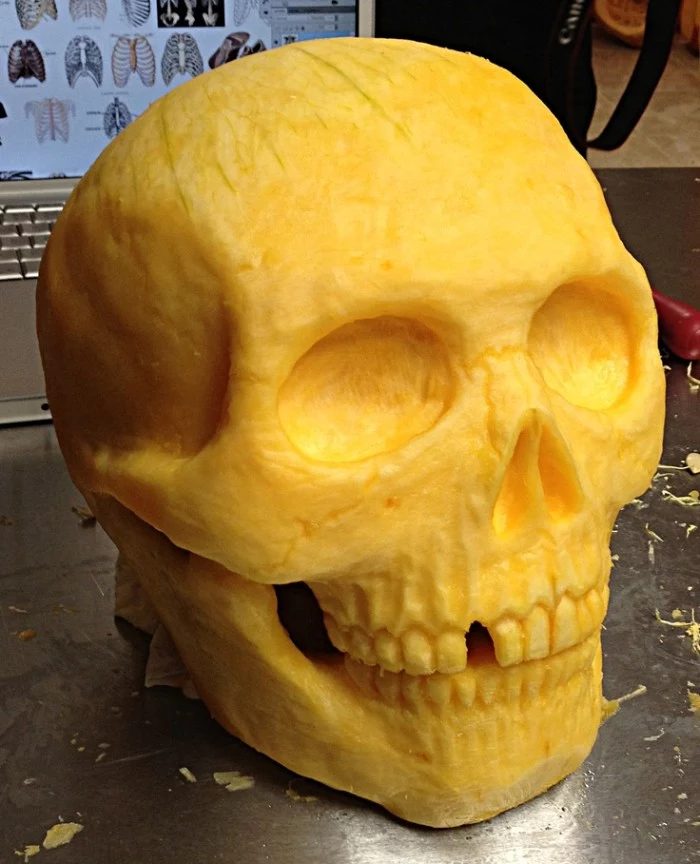
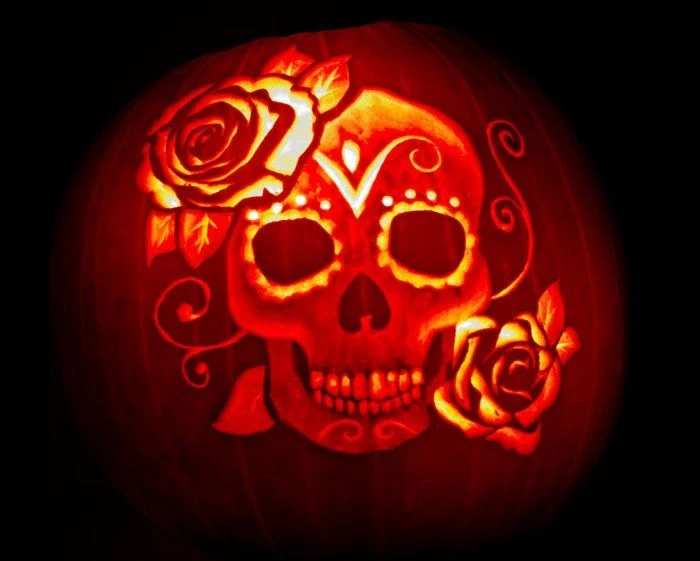
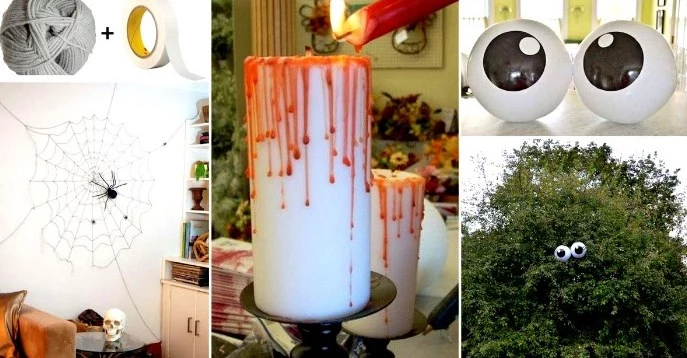
Project 1: The Seriously Spooky Pumpkin
Let’s make a pumpkin that looks like it was pulled from a haunted patch—rotted, grimy, and with a bit of a story. This is a layering process that’s super fun.
Time Commitment: About 2 hours of active work, but spread over 2 days to let things dry.
Budget: Around $20-$30, assuming you have some basic paints. The foam pumpkin will be your biggest cost ($10-$25).
You’ll Need:
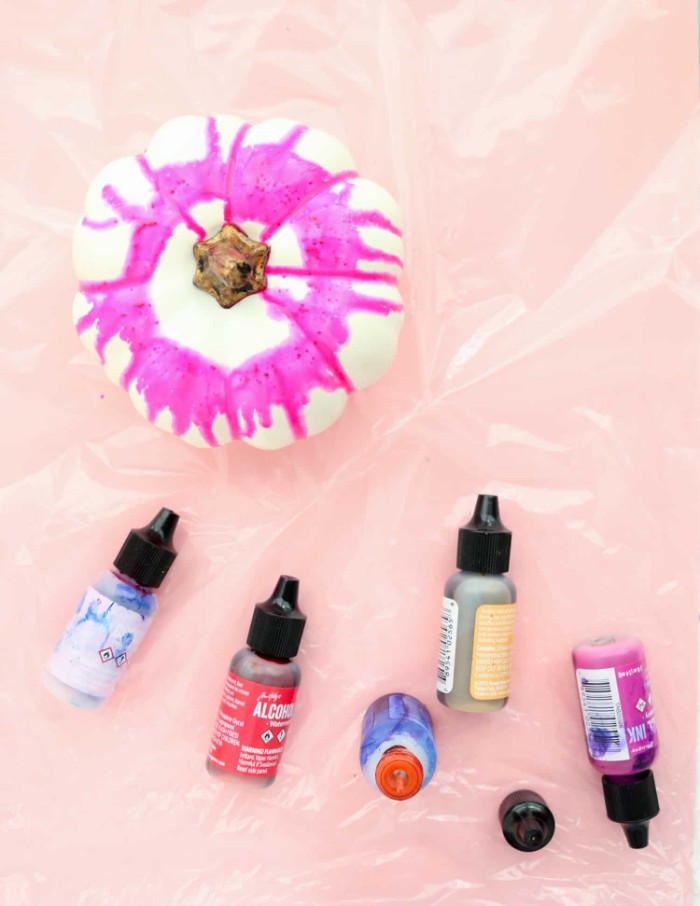
- A faux pumpkin (foam or plastic from a craft store like Michael’s or Jo-Ann)
- Soap, water, and rubbing alcohol
- Fine-grit sandpaper (220-grit)
- Acrylic paints: black, dark brown, burnt sienna, moss green, and an off-white or pale orange base color
- A spray bottle with water
- Old rags or paper towels
- Paintbrushes
- Matte spray sealant (I usually grab a can of Krylon Matte Finish)
- Optional: A real dried pumpkin stem and a crackle medium from the craft store
The Pro-Level Breakdown:

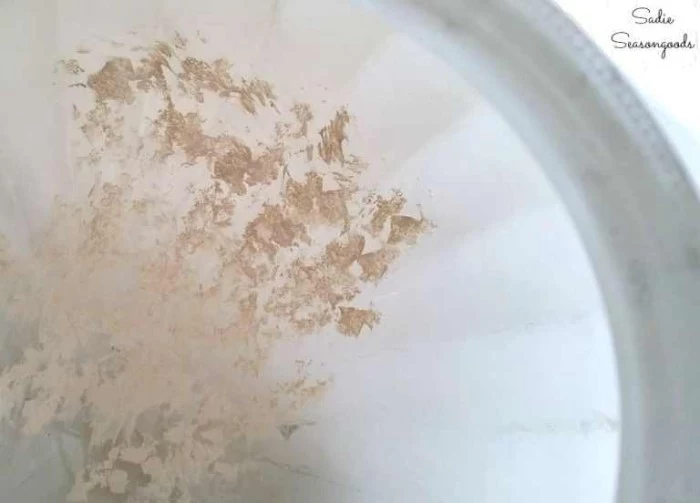
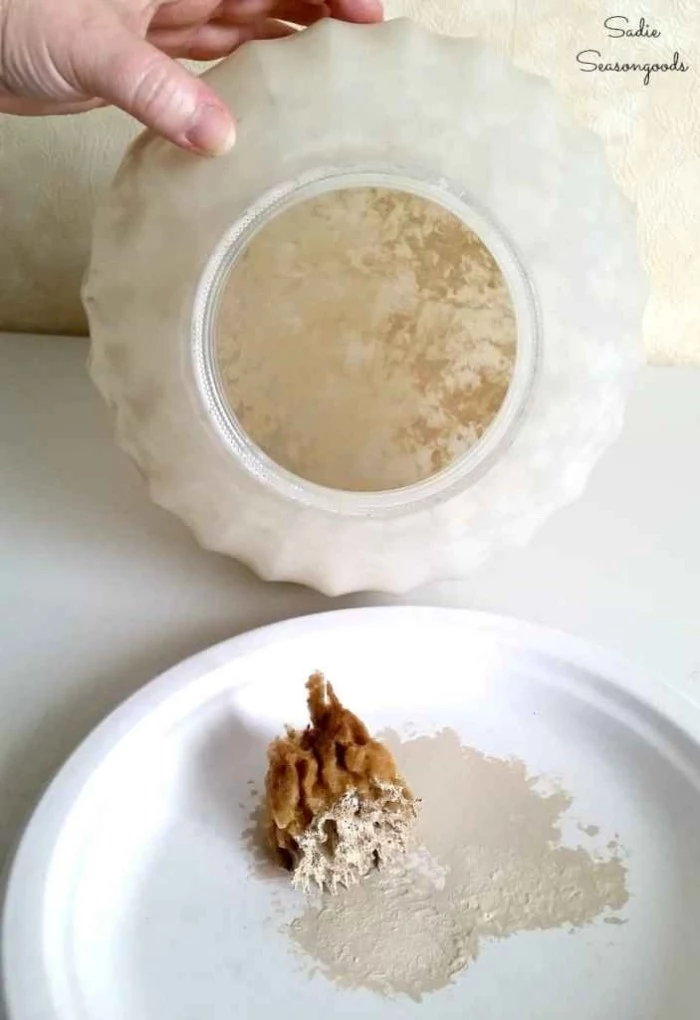
1. Prep the Surface (Don’t Skip This!): I once spent a whole weekend painting 20 foam skulls for a haunt. I was in a rush, so I skipped the prep. A week later, right before showtime, the paint on every single one was peeling off like a bad sunburn. It was a total nightmare to fix. Never again. Clean your pumpkin with soap and water, wipe it with rubbing alcohol, let it dry, and then give it a light sanding to scuff up the shine. It takes five minutes and saves you hours of heartache.
2. The Base & The Wash: Apply your base color. Two thin coats are always better than one thick, gloppy one. Let it dry completely. Now for the magic. To make an aging wash, mix a small amount of black and brown acrylic paint. A good starting point is a 50/50 mix, about a teaspoon total, thinned with 4-5 parts water until it’s like inky water. Brush this wash into the crevices of the pumpkin, then, before it dries, wipe it off the raised surfaces with a damp rag. The dark paint stays in the grooves, instantly creating depth and grime.
3. Add Some Character: Real pumpkins aren’t just one color. Use a small brush to dab on subtle splotches of burnt sienna and moss green. Think about where mold would grow or where dirt would collect. Lightly mist the area with your water bottle to help the colors blend together for a soft, natural look.
4. Dry Brush for Highlights: Dry brushing is the opposite of a wash. Dab a stiff brush into a lighter color (your base color with a little white mixed in), then wipe almost all of it off on a paper towel. Lightly drag the “dry” brush over the raised surfaces. It’ll catch all the texture and make the details pop.
5. Fix the Stem: The shiny plastic stem is a dead giveaway. Pry it off. You can either paint it using the same techniques, or, for ultimate realism, replace it. I save stems from real pumpkins, let them dry for a few weeks, and then hot glue them on. A gnarled twig works great, too.
6. Seal the Deal: After waiting a full 24 hours for it to be bone dry, take it outside and give it two light coats of matte spray sealant. This protects your masterpiece from moisture and chipping.
What if… my wash looks too dark? No sweat. Just use a wetter rag to wipe more of it off. If you really messed it up, just let it dry and paint another base coat right over it. It’s just paint! You can always fix it.
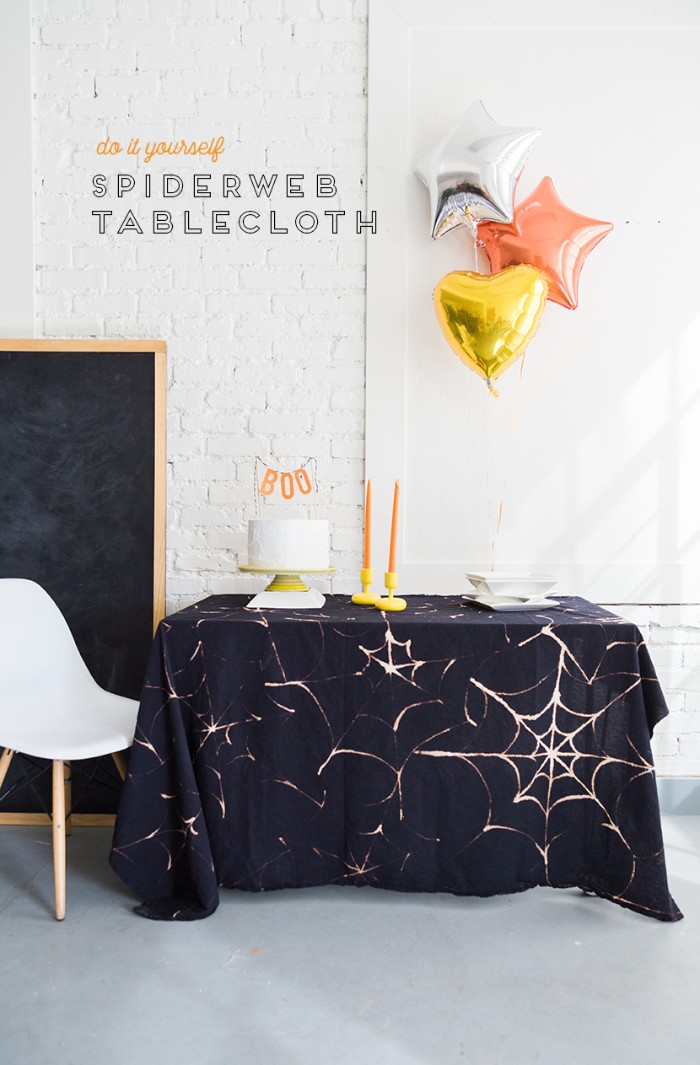
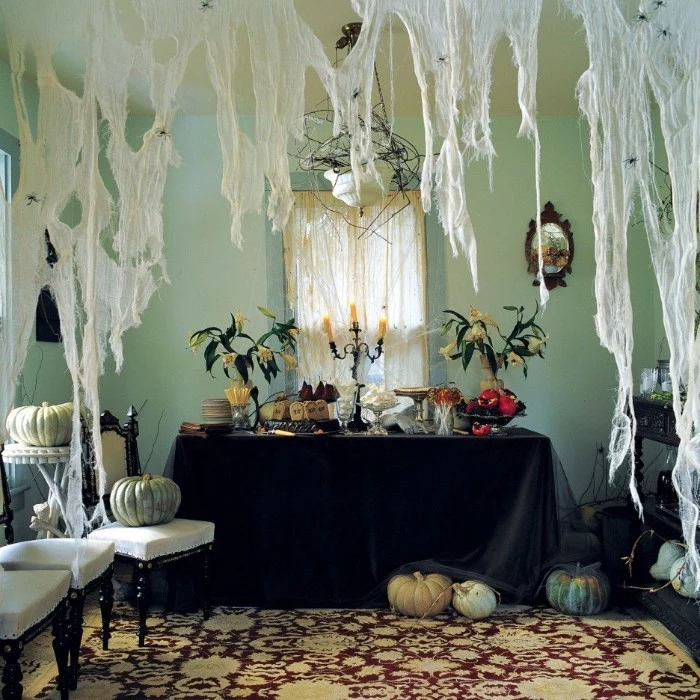
Project 2: From Bed Sheets to Burial Shrouds
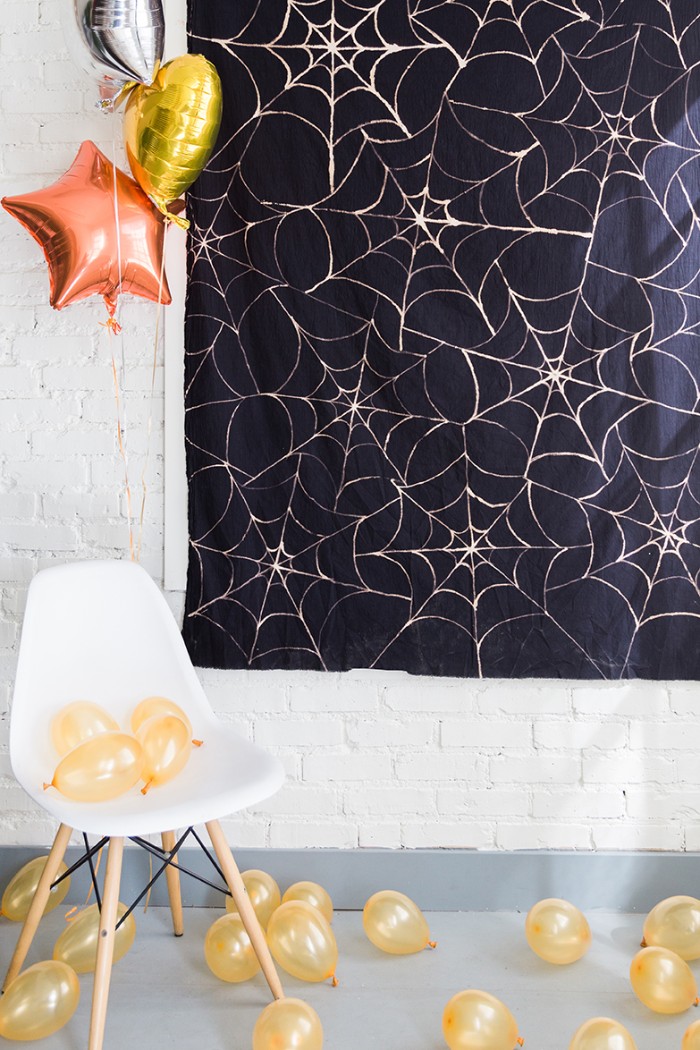
Store-bought spiderwebs are okay, but there’s nothing like authentically rotted, aged fabric to create a creepy vibe. This is perfect for tablecloths, ghostly curtains, or creepy shrouds.
A Serious Note on Safety: Look, we’re using household bleach here. This stuff is no joke. Please work outside or in a very well-ventilated space. Wear rubber gloves and safety glasses. The fumes are nasty and a splash can burn your skin or cause permanent eye damage. And never, EVER mix bleach with other cleaners (especially ammonia), as it can create toxic gas. This is not a project for kids.
Heads up! If using bleach makes you nervous (and that’s totally fair), you can get a very similar faded look with Rit Color Remover. You can find it in the laundry aisle for about $5, and it’s a bit gentler to work with.
You’ll Need:
- 100% cotton fabric (an old white sheet from a thrift store is perfect and cheap)
- Household bleach OR Rit Color Remover
- Tools for tearing it up: a cheese grater, wire brush, scissors
- Optional stains: strong black coffee or tea, watered-down brown/black paint
The Process of Decay:
1. Get Physical: Before any chemicals, let’s beat it up. Don’t just cut straight lines. Make a small snip and then RIP the fabric. Cotton tears with a beautifully frayed edge. Use a cheese grater or a wire brush to scrape areas until they wear thin and break. This looks way more natural than just cutting holes.
2. The Bleach/Color Remover Step: Lay your fabric on a plastic tarp outside. For a general aged look, dilute your bleach 50/50 with water in a spray bottle and mist it on unevenly. For a spiderweb look, you can carefully paint a pattern with undiluted bleach. Just know that it will bleed and the lines will get thicker. Let it sit until it’s as faded as you want, then rinse it with a garden hose.

3. Neutralize and Wash: Bleach keeps eating fabric even after it’s dry. To stop it, you have to neutralize it. Soaking it in a simple solution of one part hydrogen peroxide to ten parts water for about 10 minutes will do the trick. Then, just rinse it and run it through the washing machine by itself.
4. Add the Grime: Now for the fun part. Brew some super strong coffee or black tea, let it cool, and then soak your fabric in it overnight. This will give it that perfect, yellowed, ancient look. For darker water-stain spots, just dab on some thinned-out brown acrylic paint with a rag.
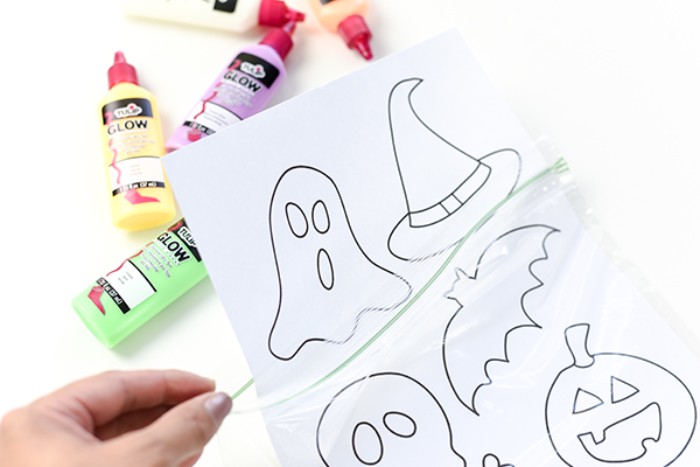
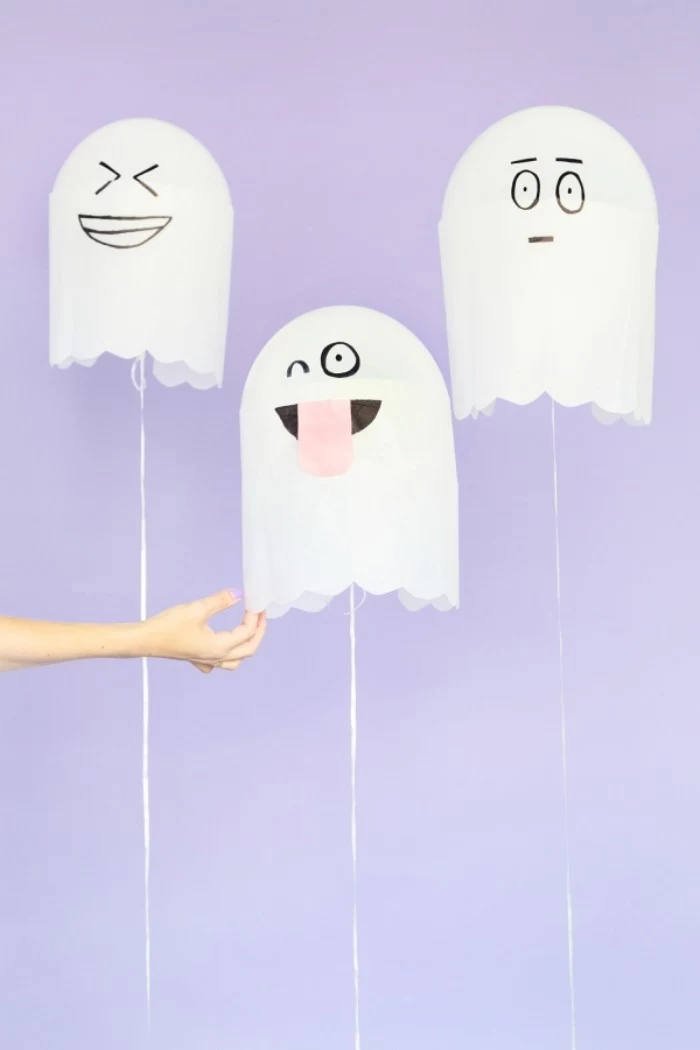
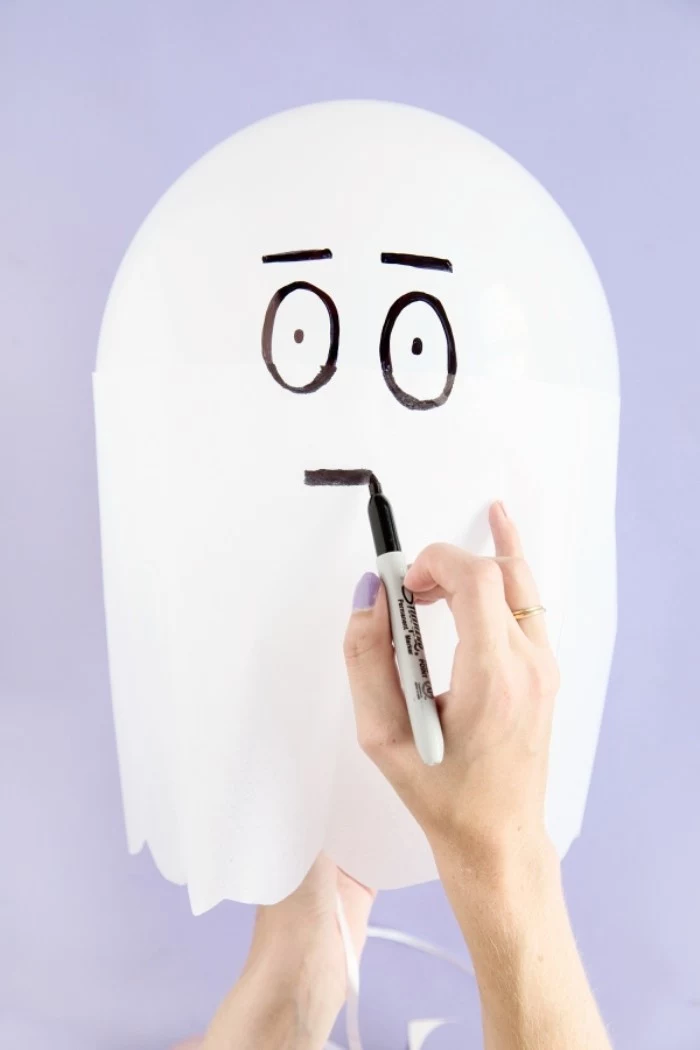
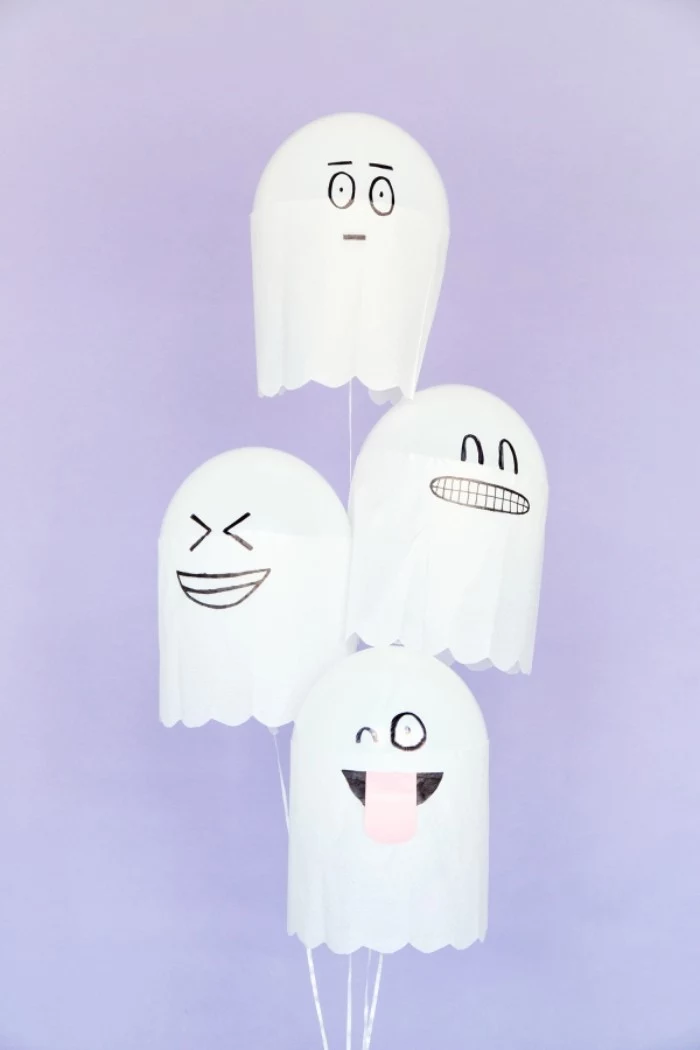
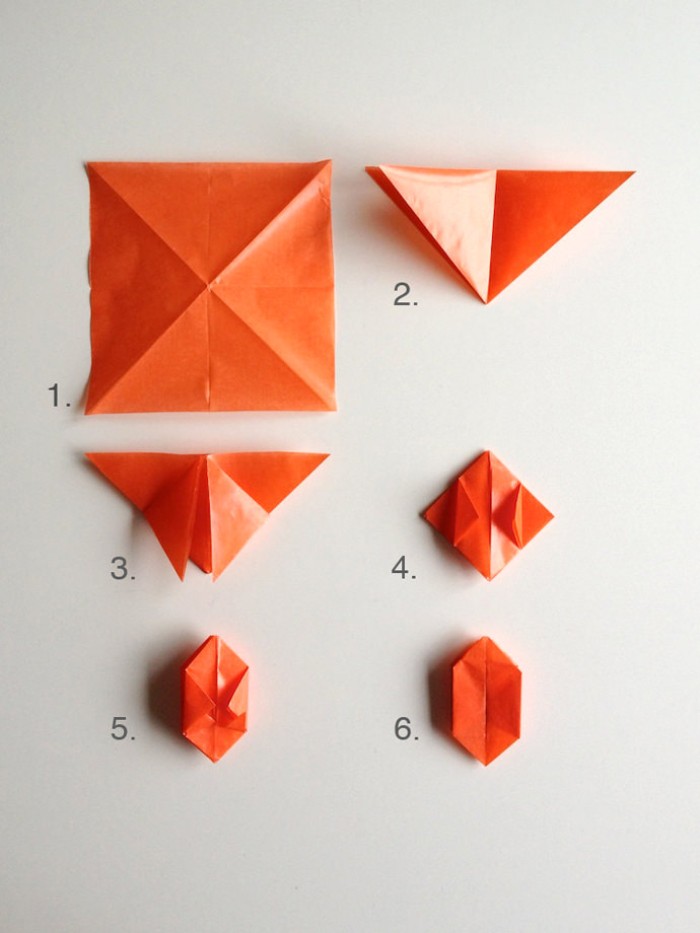
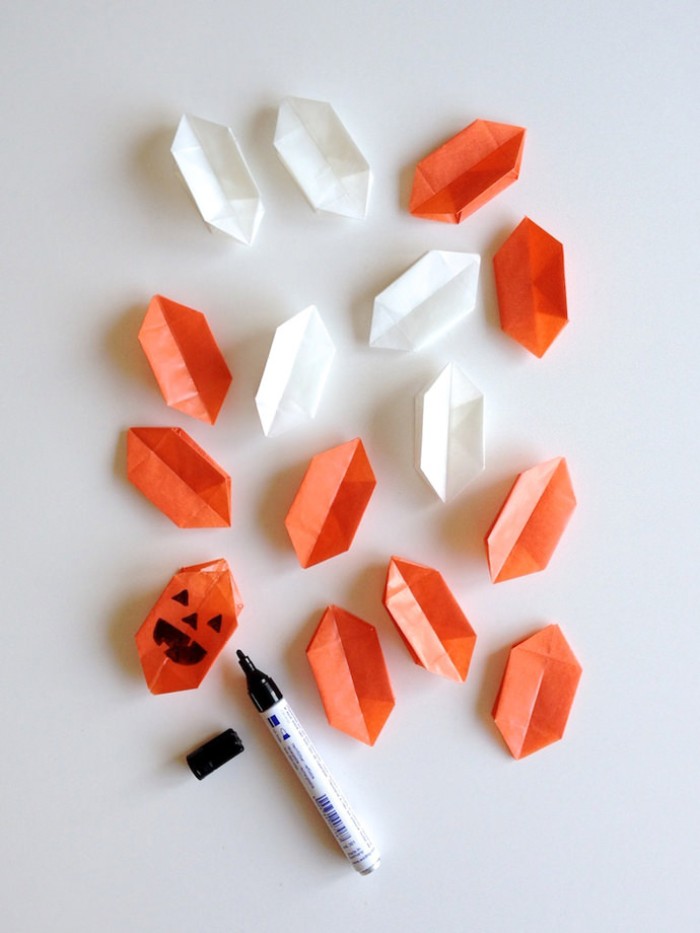
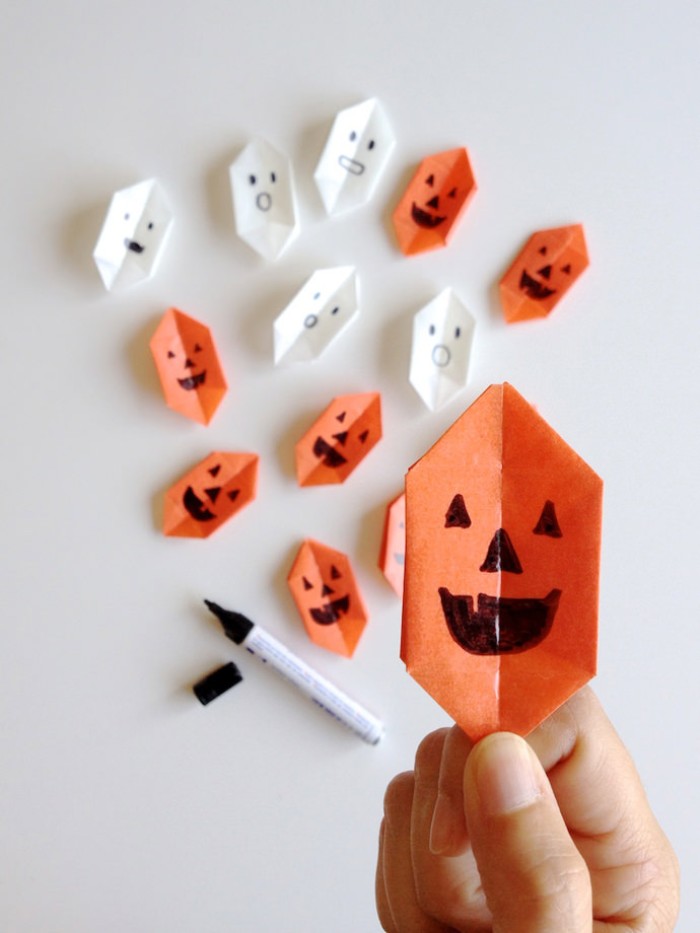
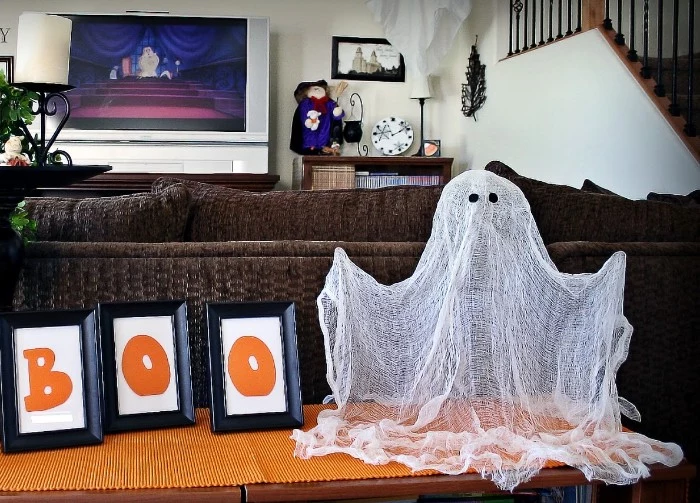
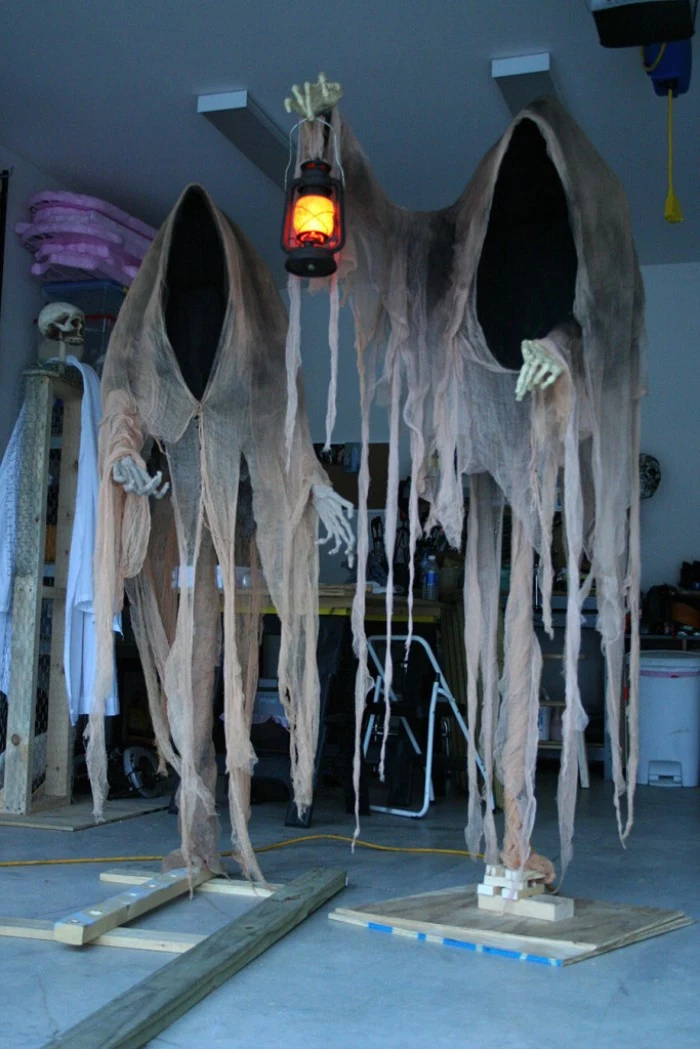
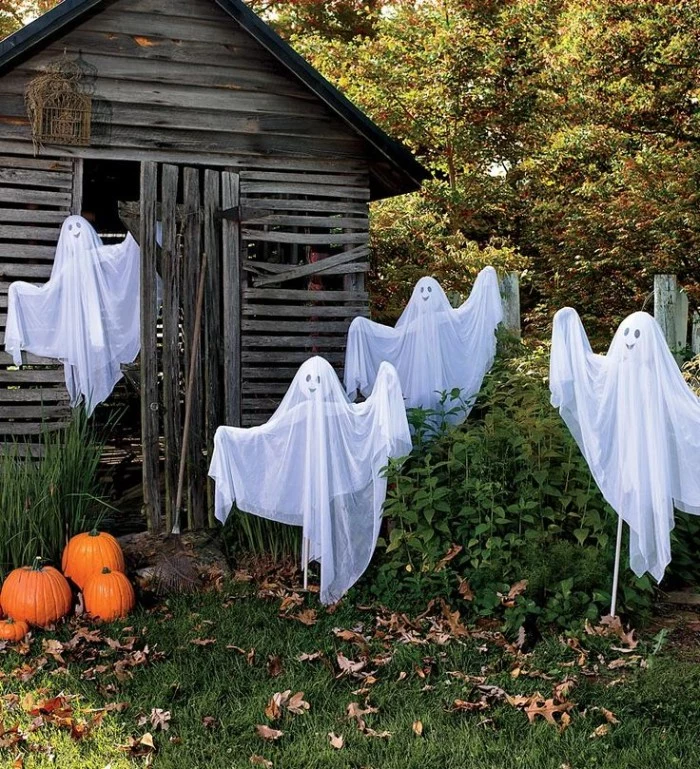
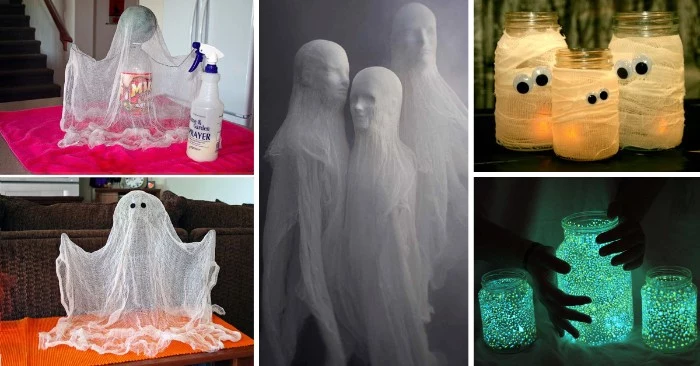
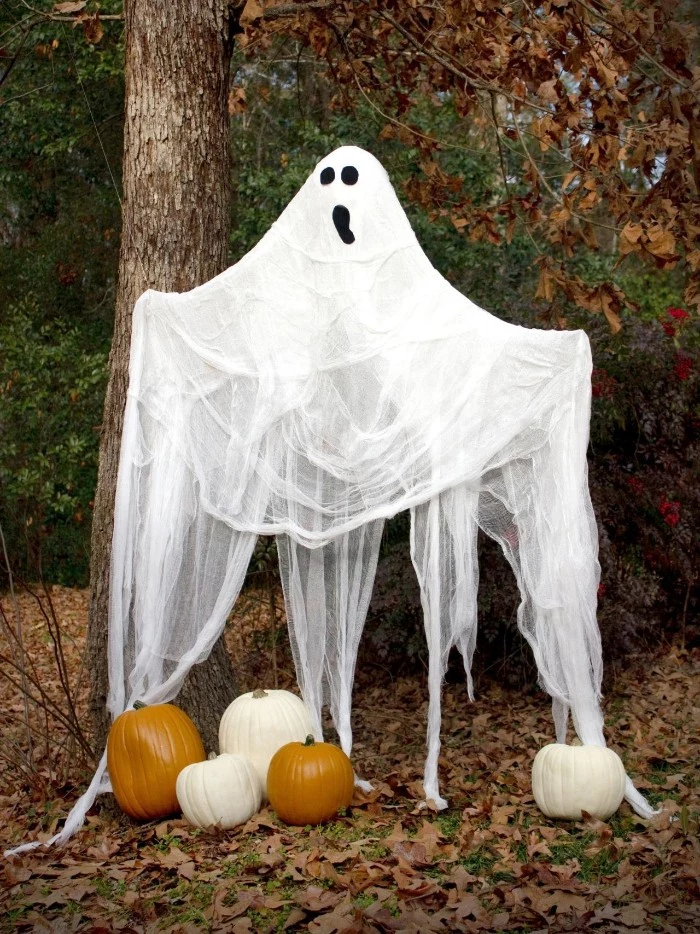
Project 3: The Classic Cheesecloth Ghost (The Pro Way)
A balloon with a sheet taped to it is… well, it’s a start. But a proper ghost needs form and a sense of weightlessness. This method is a staple in the haunt industry because it’s cheap, effective, and looks amazing.
Time Commitment: The hands-on part is quick, maybe 30-45 minutes. The hard part is waiting for it to dry, which can take 24-48 hours. Budget: Super cheap! A roll of cheesecloth is $5-$10, and you probably have white school glue at home.
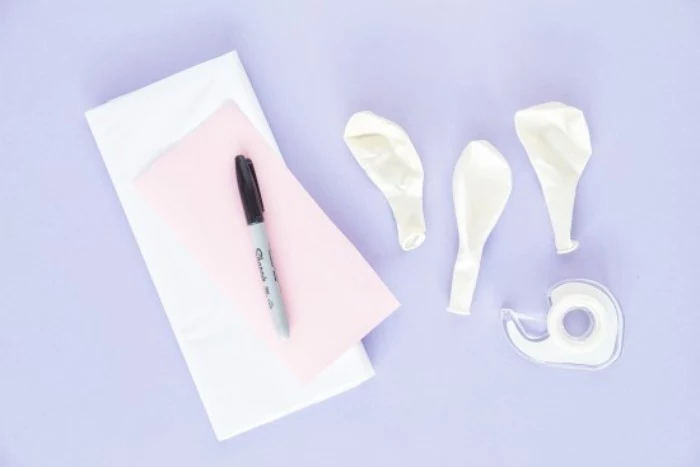
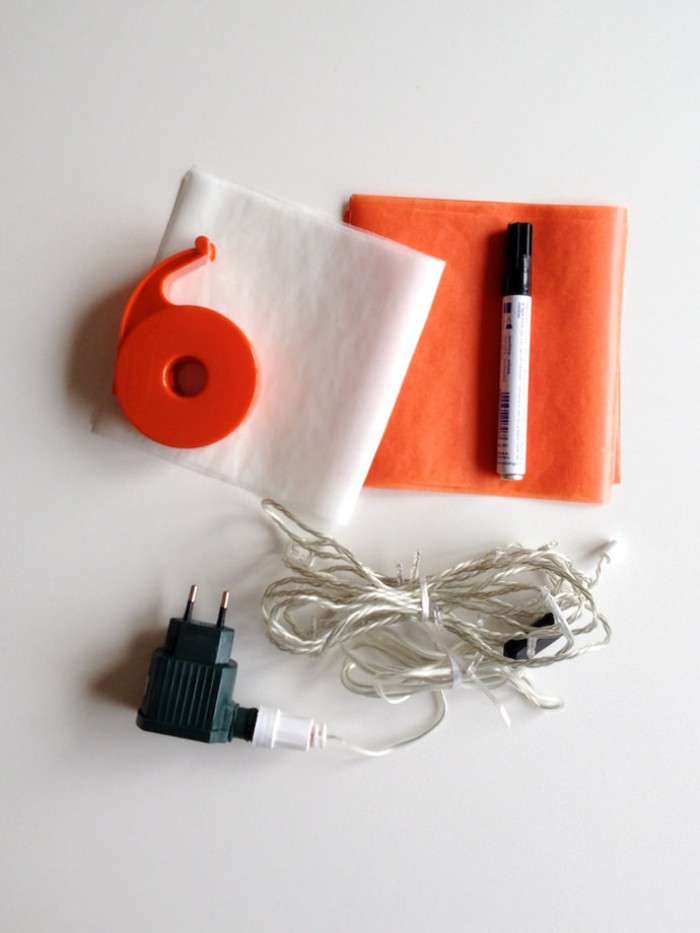
You’ll Need:
- A roll of cheesecloth. Good to know: Grade 10 or 20 is a very open weave that creates a wispy, see-through ghost. Grade 90 is much tighter, like gauze, and gives you a more solid, mummy-like look. Both work great!
- An armature (a form to shape it on): A soda bottle with a foam ball on top works perfectly.
- White PVA glue (like Elmer’s Glue-All) or liquid fabric starch.
- A big bowl, water, and a plastic drop cloth.
- Fishing line for hanging.
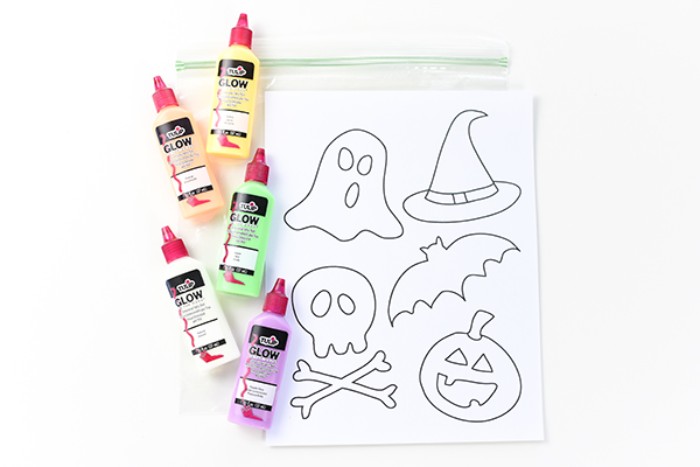
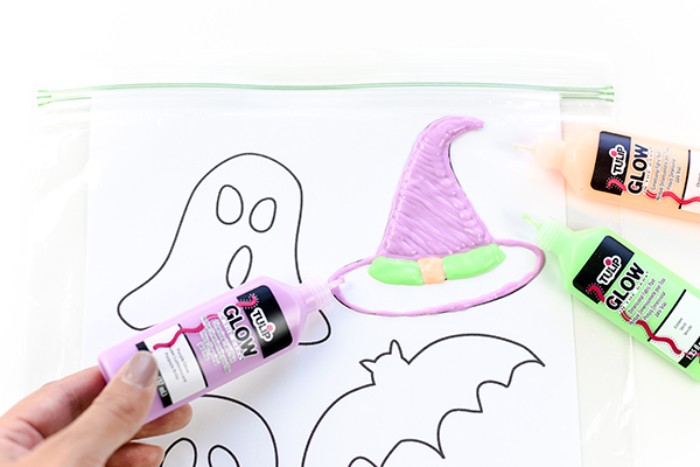
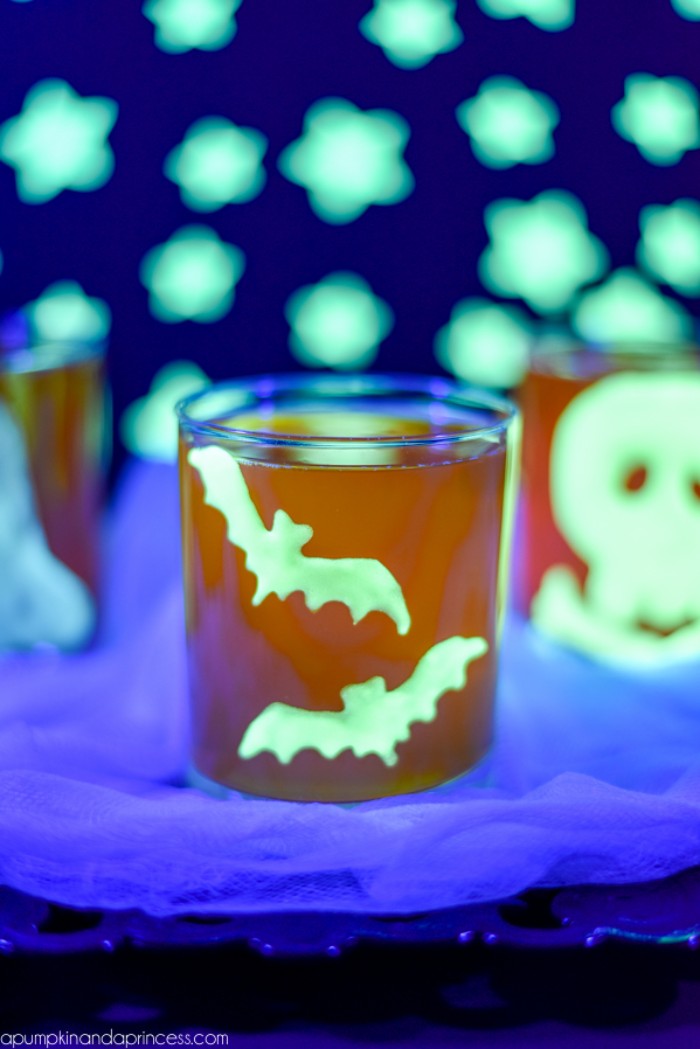
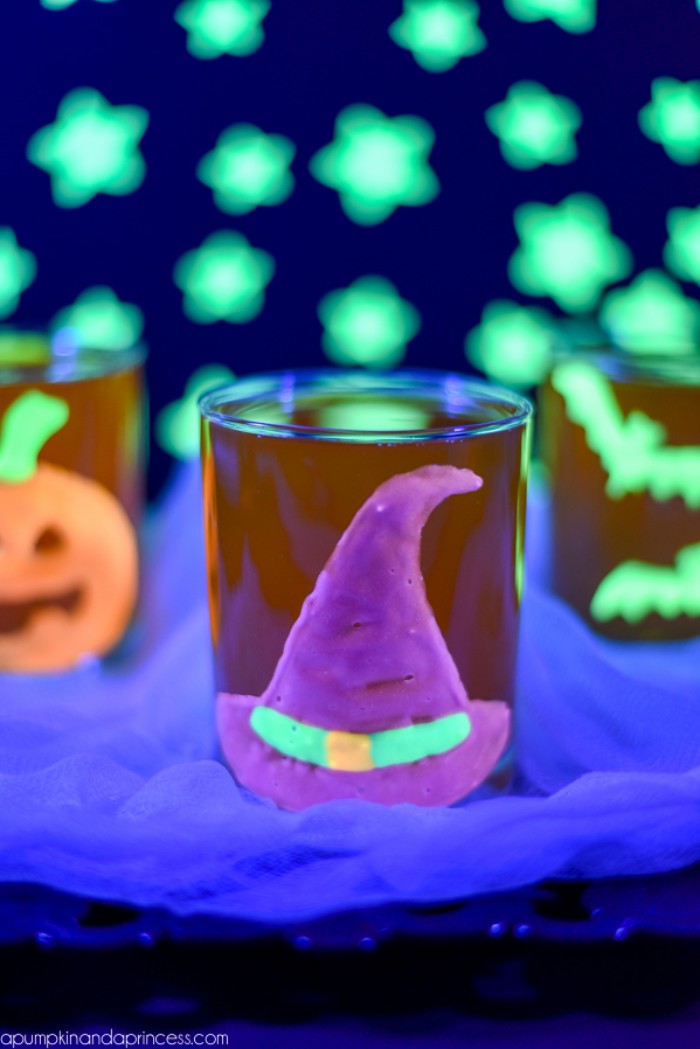
- Optional: Glow-in-the-dark paint or UV-reactive paint for a blacklight.
Building Your Specter:
1. Build the Form: Create your ghost’s shape with a bottle, foam ball, and maybe some wire hangers for arms. Important: Cover your form in plastic wrap so the ghost doesn’t get permanently stuck to it.
2. Mix the Stiffener: In a bowl, mix two parts white glue to one part water until it’s smooth. Liquid starch also works, but the glue mixture creates a much more rigid, durable final product.
3. Soak and Drape: Cut your cheesecloth into sections. Dunk a piece in the glue mix, squeeze out the excess (you want it damp, not dripping), and drape it over your form. This is the artistic part. Arrange the folds and create trailing wisps. The more layers, the more solid your ghost will be.
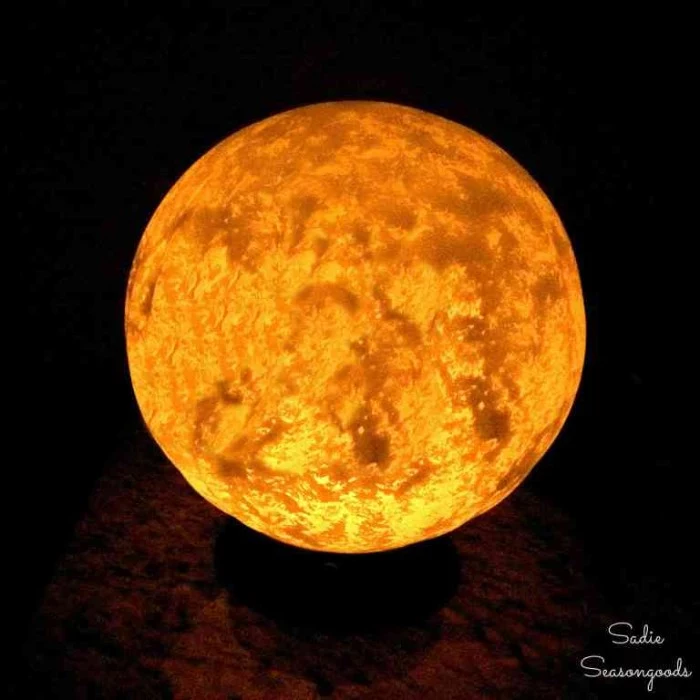
4. The Reveal: Once it’s completely stiff and bone dry (a fan can speed this up), gently lift it off the form. It will hold its shape perfectly. If you want it to glow, now’s the time to dry brush it with glow or UV paint. (Pro tip: UV paint under a blacklight is way more intense and controllable than regular glow paint).
5. Make it Float: Poke a tiny hole in the top, thread some fishing line through, and hang it up. In low light, the fishing line is nearly invisible, giving a perfect illusion of a floating ghost.
What if… my ghost is too floppy? It probably means your glue mix was too watery or you didn’t let it dry long enough. No worries. You can just paint another coat of the glue mixture on the outside to reinforce it.
A Final Word on Safety and Storage
Alright, last thing. When you set up your display, please be smart about power. Use outdoor-rated extension cords, don’t overload circuits, and keep all connections off the wet ground. And remember, those awesome distressed fabrics and cheesecloth ghosts are flammable. Keep them far away from real flames. I only use battery-powered LED candles these days—you can get packs of realistic flickering ones online for super cheap, and they’re 100% safe.
When the season’s over, don’t just shove your hard work in a box. Pack the ghosts loosely with some newspaper to keep their shape. Store everything in a cool, dry place like a basement or closet instead of a hot attic, which can make materials brittle.
You just invested your time and skill into these pieces. By using the right techniques, you’re not just making decorations—you’re building a collection that will be part of your Halloween tradition for years. And that’s a satisfaction you can’t buy in a store.
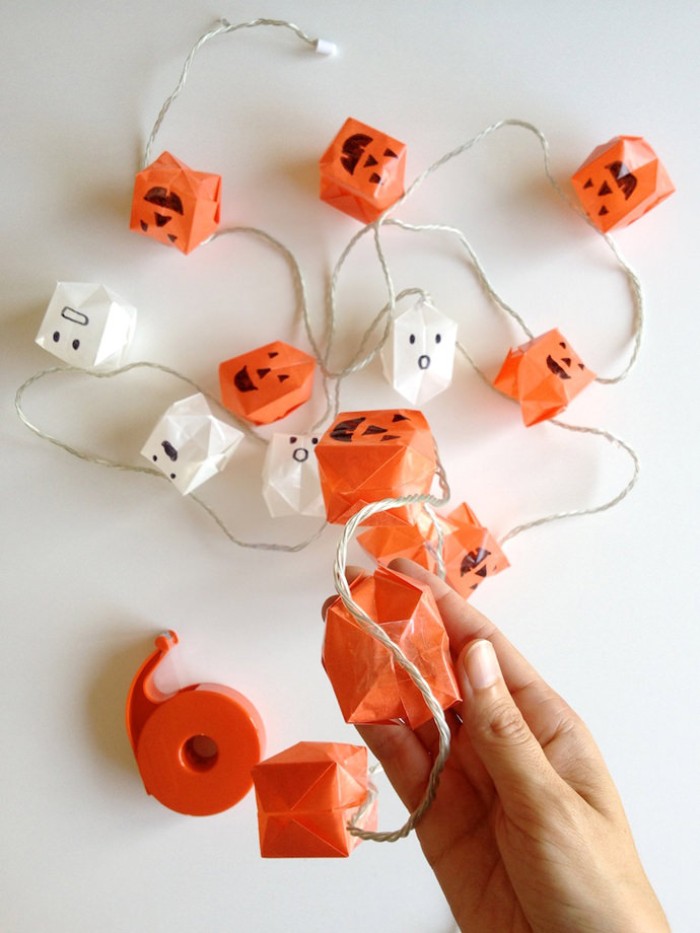
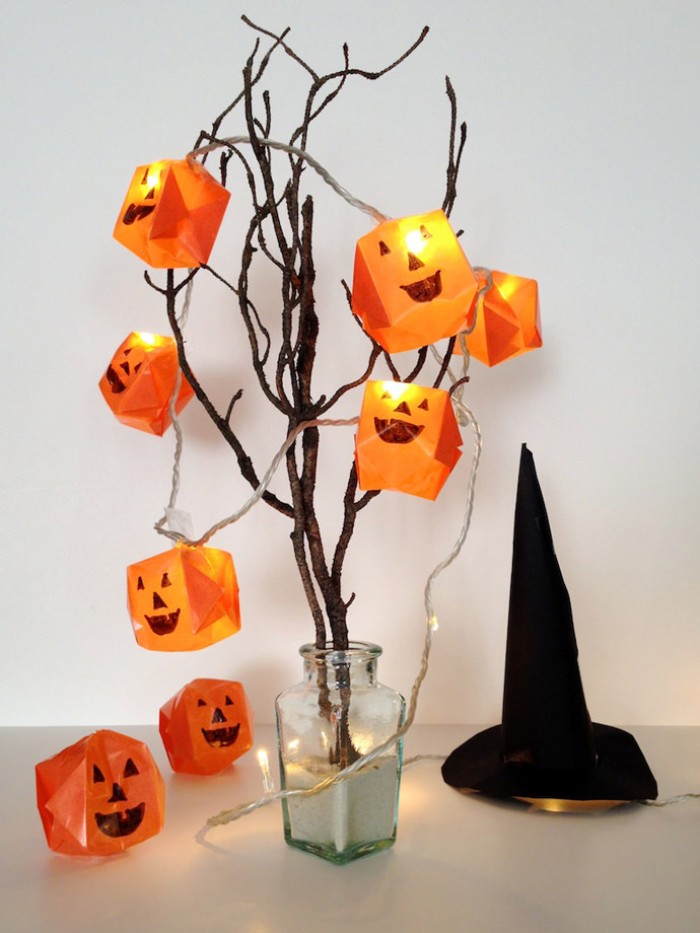
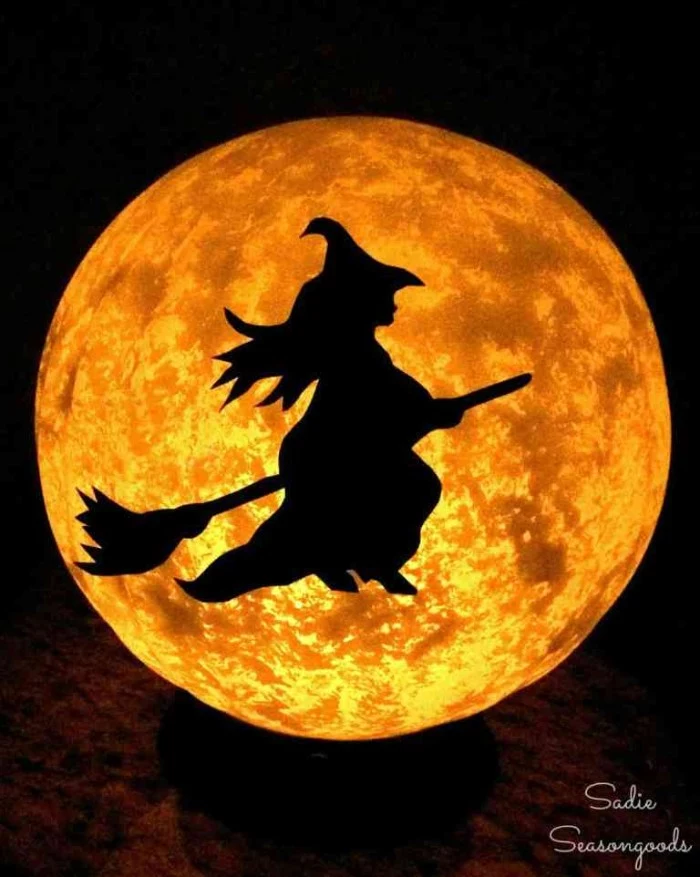
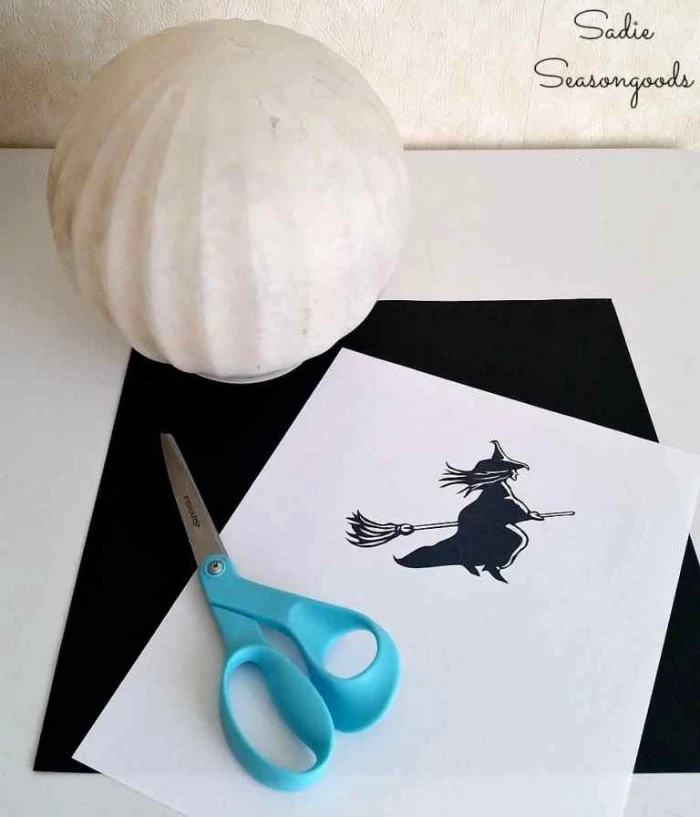
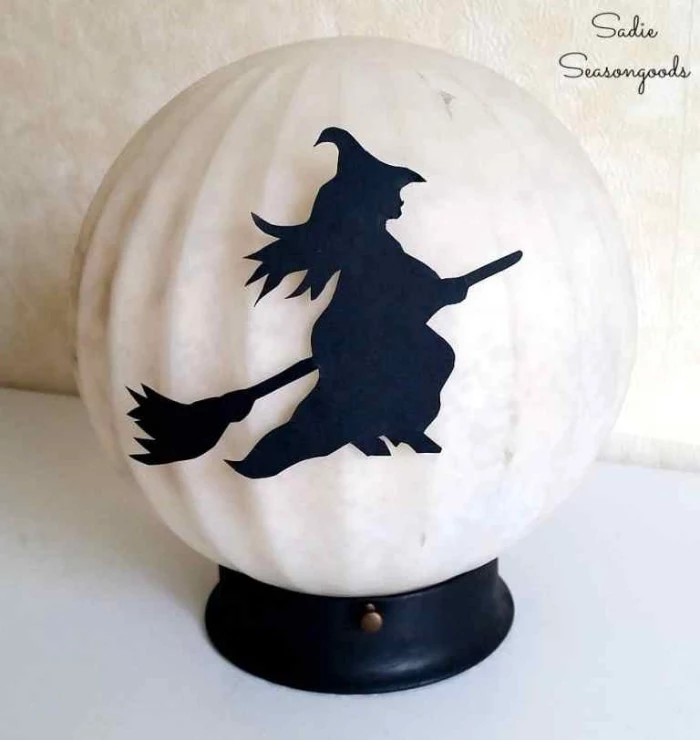
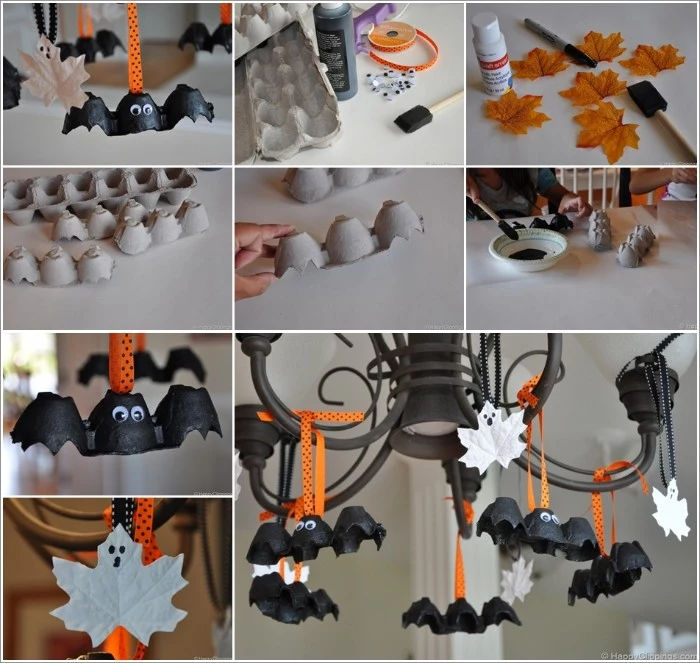
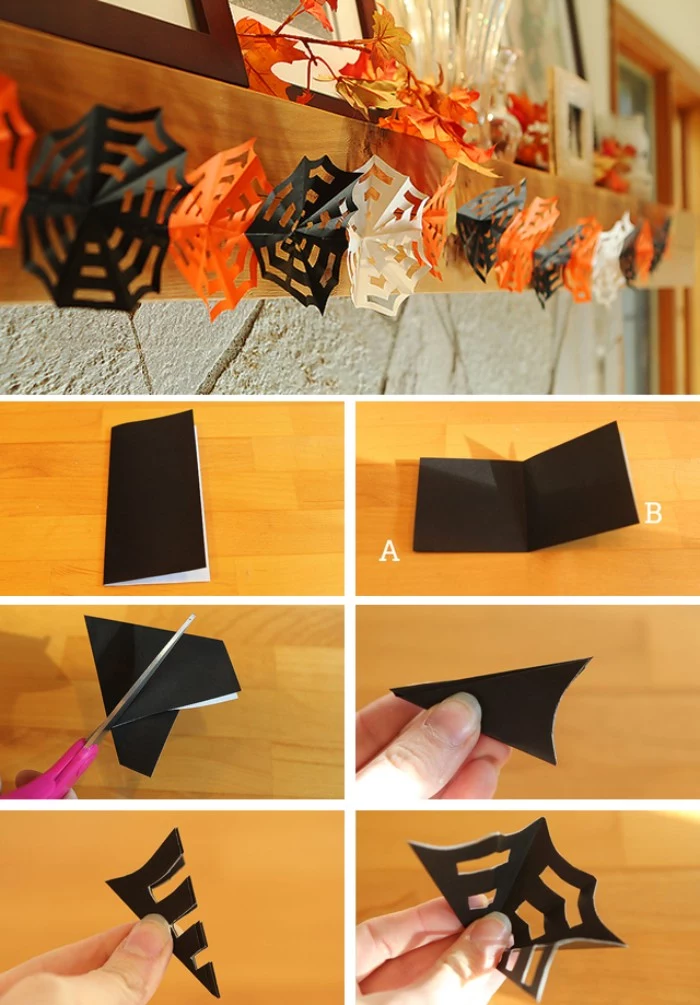
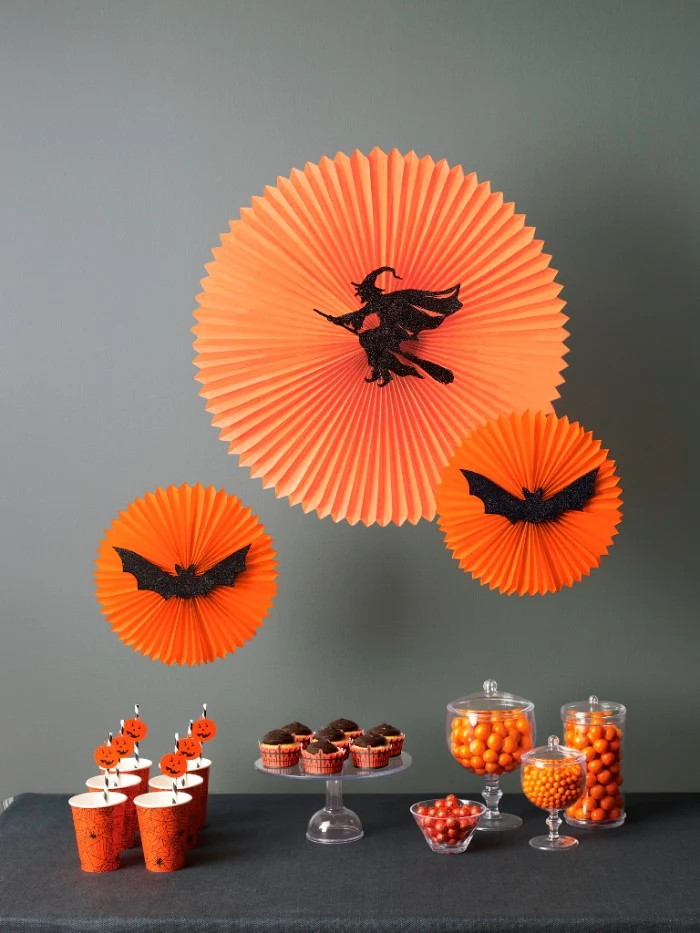
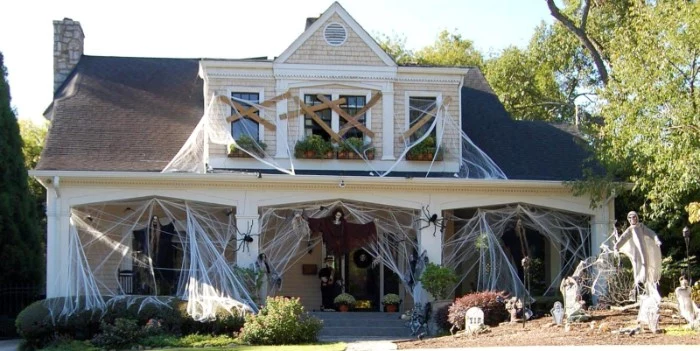
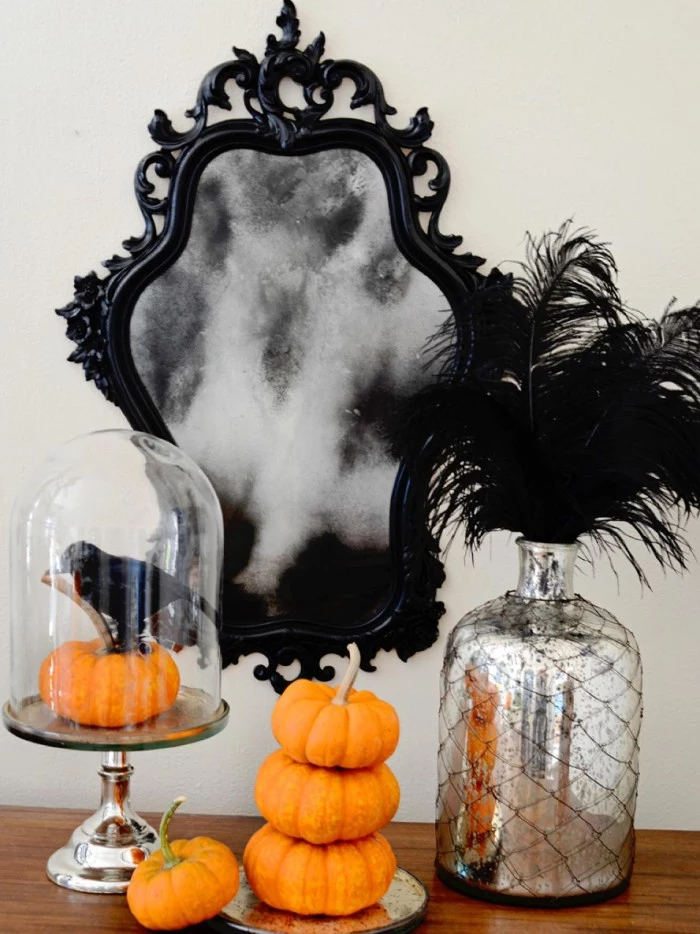
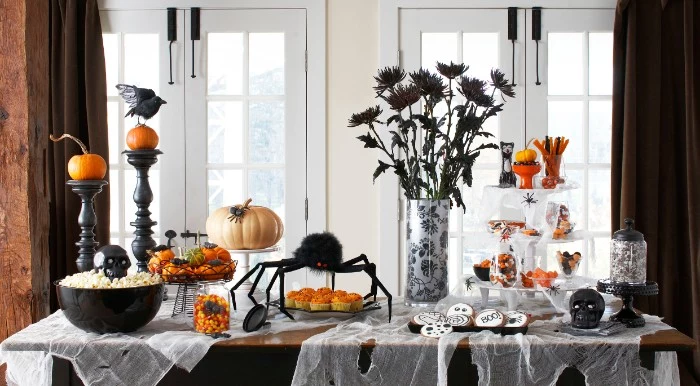
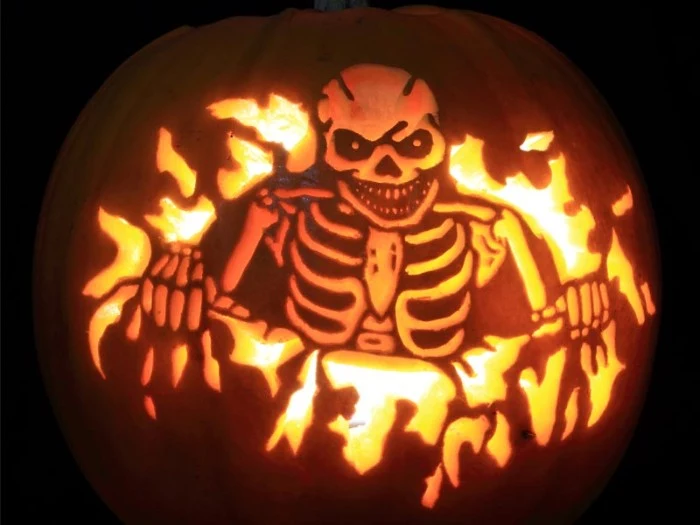
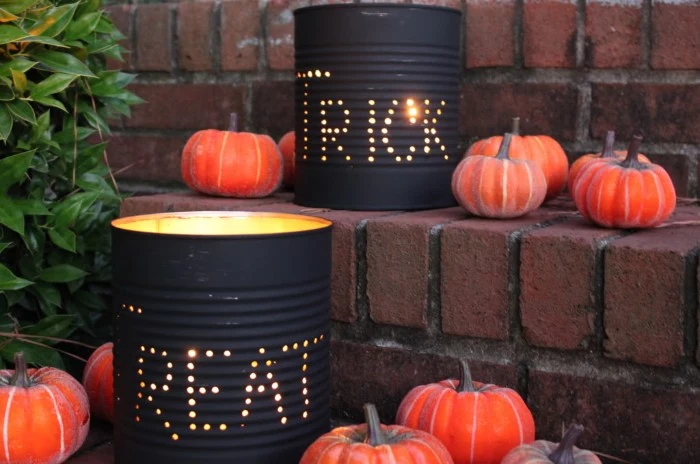
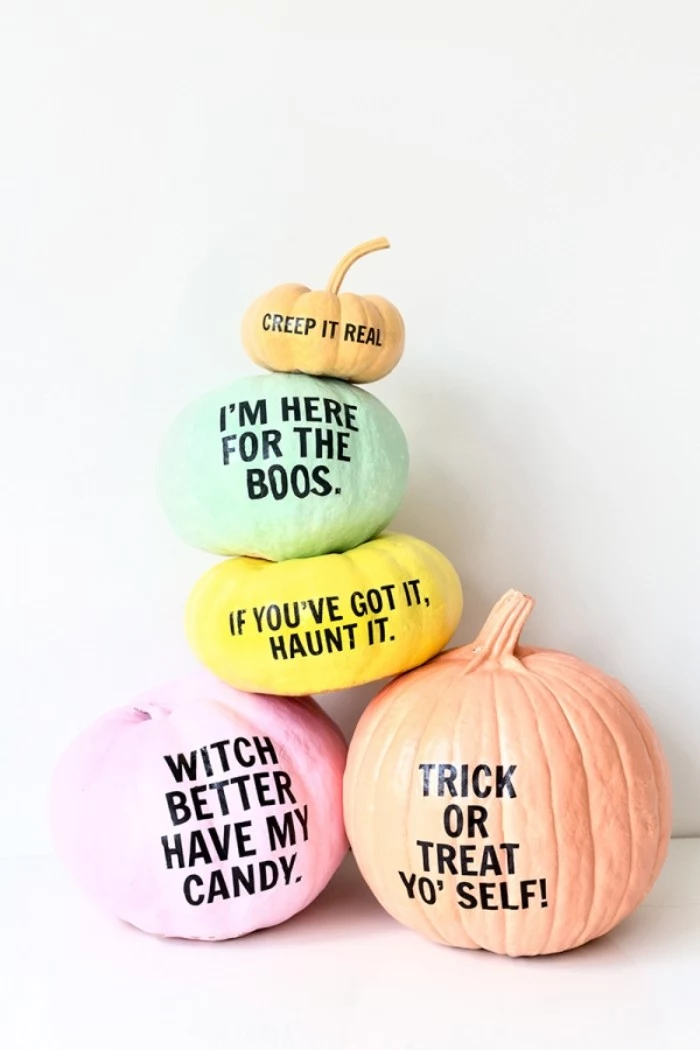
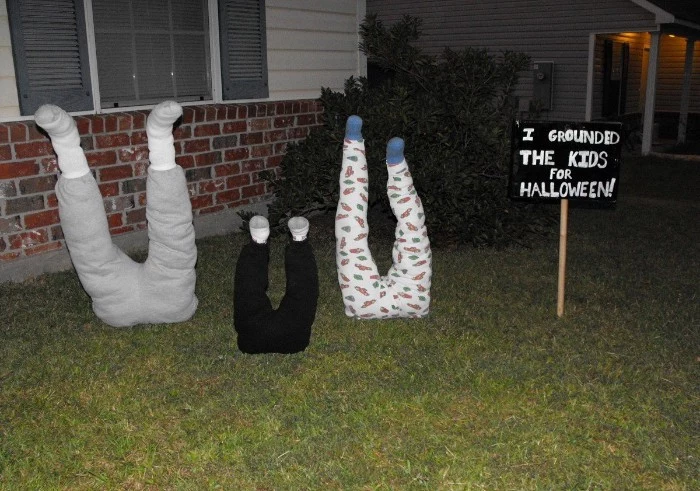
Inspiration Gallery
Don’t neglect the soundscape. A hidden Bluetooth speaker playing a low, subtle drone or intermittent, unidentifiable scraping sounds can be far more unsettling than a loud, looping ‘spooky sounds’ track. Think less about jump scares and more about a persistent, background hum of dread.
The Pro’s Go-To Materials for Immortality:
- Pink or Blue Foam Insulation Board: Your best friend for carving lightweight, durable tombstones, columns, or crypt facades.
- PVC Piping: The skeleton for your monsters. It’s cheap, easy to cut, and can be heated and bent into organic shapes.
- Monster Mud: A classic mix of drywall joint compound and latex paint. Slather it over a frame to create a durable, rock-like skin.
- Exterior-grade Screws: Because staples will rust and fail by year two.
You can’t just have a monster, you have to create a story for it. Where does it live? What does it eat? That’s what makes it feel real.
This principle applies to your yard. Don’t just place a zombie; build a small scene that tells you how it got there. A broken fence, a disturbed patch of earth, a dropped possession… story is everything.

My foam tombstones look like… well, foam. How do I give them realistic age and texture?
Forget a simple grey paint job. The secret is layering. Start by carving deep cracks and chips with a Dremel tool or a soldering iron (in a well-ventilated area!). Then, coat the entire piece in a sandable primer like Drylok Extreme Masonry Waterproofer. This gives it a real stone texture. Finish with a ‘wash’ – very watered-down black and brown acrylic paint – letting it seep into the cracks to simulate decades of grime.
Ground Fogger: Low-Lying vs. Standard Machine.
Standard Fogger: Uses a glycol-based fluid to create clouds that rise and dissipate. Great for creating a general hazy atmosphere.
Low-Lying Fogger: Often requires chilling the fog (with ice) or using dry ice to make it heavier than air. This creates that iconic, creepy graveyard fog that hugs the ground.
For that true cemetery look, investing in or building a fog chiller for your standard machine is a game-changer.
A note on safety that’s non-negotiable: When running power outdoors, always use extension cords rated for outdoor use and plug them into a GFCI (Ground Fault Circuit Interrupter) outlet. Water and electricity are a genuinely scary combination, and a GFCI will cut the power instantly if it detects a short.
- They don’t blink often enough.
- Their movements are just a little too smooth or too jerky.
- Their proportions are almost right, but not quite.
This is the Uncanny Valley, and it’s your best friend for creating truly unnerving figures. Instead of a perfect skeleton, try one with slightly-too-long fingers. Design a scarecrow that stands unnaturally still in the wind. This subtle ‘wrongness’ is more deeply disturbing than fangs and gore.
Did you know? The color blue, especially deep indigo, is often associated with the supernatural and the nocturnal in folklore, triggering a primal sense of unease.
Instead of just orange and black, try a more sophisticated palette. A wash of blue or eerie green light from an LED floodlight can make your entire scene feel more otherworldly and sinister than a dozen plastic pumpkins.
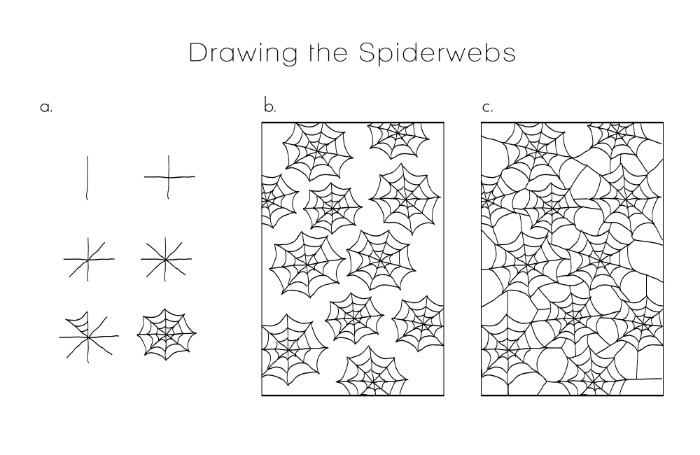
- Creates incredibly fine, realistic strands that look aged and dusty.
- Lets you cover an entire porch, bush, or archway in minutes.
- Stretches and sticks to surfaces just like real webs.
The secret weapon? A hot glue gun web spinner. You can buy a pro model like the Webcaster Gun, which attaches to an air compressor, or find DIY tutorials online to build your own using a simple drill and fan blades. It’s how haunted attractions get that perfect, layered web effect.

Your creations deserve a proper hibernation. Storing props correctly is the key to their longevity. For large foam pieces, avoid attics where extreme heat can cause warping. A cool, dry basement or garage is ideal. Wrap figures with moving parts or delicate details in old blankets or bubble wrap, and label everything clearly. You’ll thank yourself next September.
Want to move beyond basic tools? Here’s what the pros keep handy:
- Heat Gun: Essential for bending PVC pipe into gnarled branches or skeletal frames without breaking it.
- Multi-Tool (like a Dremel): Perfect for detailed carving, engraving, and sanding on foam or wood.
- Jigsaw: For cutting complex, curved shapes out of plywood or large foam sheets much faster and cleaner than a knife.
Wait, plywood isn’t waterproof?
Absolutely not. A single autumn downpour can cause untreated plywood cutouts to swell, delaminate, and fall apart. Before you even think about painting your ghouls, you must seal them. Apply at least two coats of a high-quality exterior primer, followed by your color, and finish with several coats of a clear sealant like spar urethane (the kind used on boats). It’s a bit of work, but your cutout will last for years, not days.
The original Jack-o’-Lanterns in Ireland and Scotland weren’t pumpkins. They were hollowed-out turnips and potatoes, carved with grotesque faces to frighten away wandering evil spirits.
LEDs vs. Traditional Bulbs for Prop Lighting.
Traditional C7/C9 Bulbs: Give a classic, warm glow but they get hot, posing a fire risk with foam or fabric. They also consume much more power.
LEDs: Run cool to the touch, making them perfectly safe to embed directly into foam, plastic, or even costumes. They are far more energy-efficient and come in an endless variety of colors.
For any prop you’re building, LEDs are the safer, more versatile choice.
A critical misstep: a vampire next to a UFO next to a scarecrow. Your display lacks a story. Decide on a single, unifying theme—like ‘abandoned carnival,’ ‘witch’s swamp,’ or ‘mad scientist’s lab’—and make sure every element, from the lighting to the props, serves that one idea. A cohesive theme is what separates a random collection of decorations from an immersive experience.
Tired of the same old ghosts and vampires? Dig into global folklore for fresh inspiration.
- The Wendigo: A gaunt, cannibalistic creature from Algonquian myths, perfect for a woodsy or skeletal theme.
- The Nøkken: A Scandinavian water spirit that lures victims with enchanting music. Imagine glowing eyes just above the surface of a pond or water feature.
- The Banshee: Her wailing cry foretells death. This is an opportunity for a purely audio-based scare.
Create a scent-scape. A fog machine with a ‘swamp’ or ‘decay’ scented fog juice can radically enhance the atmosphere. For a more subtle touch, a hidden diffuser with an earthy, petrichor scent can make a graveyard scene feel disturbingly real.
Video projection mapping, once a tool for multi-million dollar theme parks, is now accessible to home haunters with projectors costing less than $100.
Companies like AtmosFX sell digital decoration files that can make it look like ghosts are flying through your windows or zombies are clawing at your garage door. It’s one of the highest-impact effects you can achieve, turning any flat surface into a dynamic scene.
- Gives your props a convincing, gritty texture.
- Adds a layer of tough, weatherproof protection.
- Masks the original material, whether it’s foam, wood, or plastic.
The trick is a technique called ‘corpsing’. After building your frame, coat it in a thin layer of latex carpet adhesive. While it’s still tacky, stretch and press cheap plastic painter’s drop cloths or cheesecloth onto the surface, creating wrinkles and folds that mimic decaying flesh or ancient stone.
Building on a budget doesn’t mean building cheap. Keep an eye out for these free or low-cost materials:
- Wood Pallets: Often found for free behind stores, they provide endless weathered wood for fences, crates, or signs.
- Appliance Boxes: The thick cardboard is excellent for creating temporary indoor walls or large, flat shapes.
- Neighborhood Cleanup Days: A goldmine for old furniture, discarded wood, and other items perfect for being repurposed into something sinister.
How do I add simple, creepy motion without complex electronics?
Look to the world of simple mechanics. A slow, 12V motor from a discarded windshield wiper assembly, available at any auto junkyard, is the haunter’s best friend. It can be used to make a prop slowly rock back and forth, a lid on a coffin creak open and shut, or a figure stir under a sheet. It’s the key to bringing your static props to life.

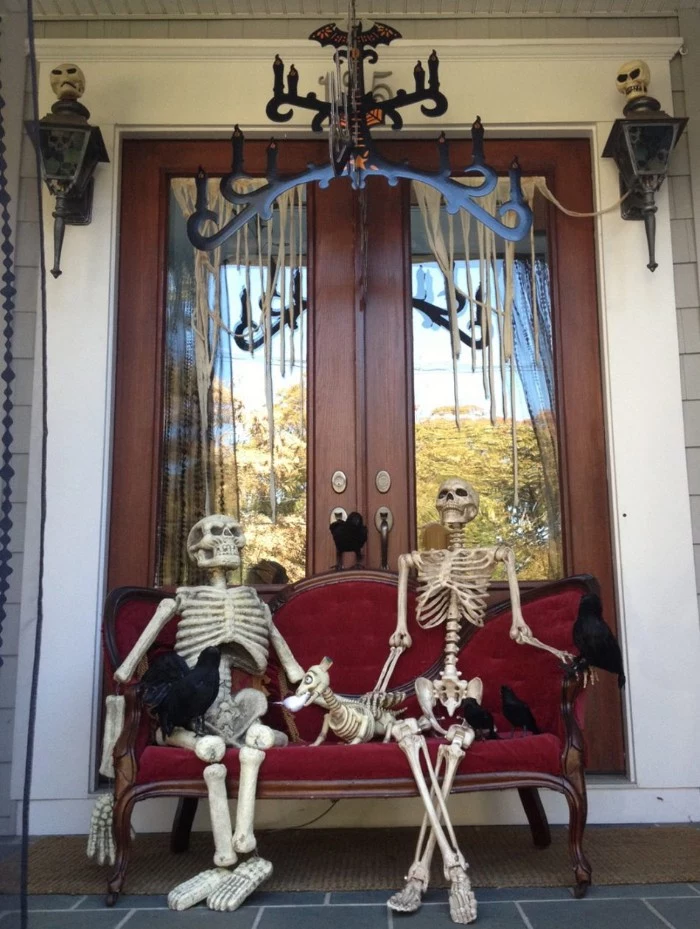

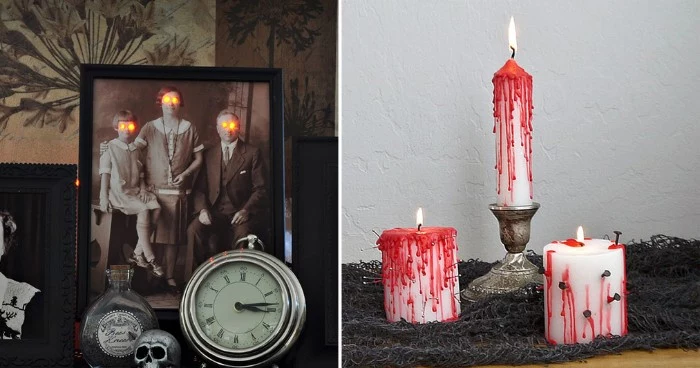
For a sophisticated and genuinely creepy aesthetic, explore Gothic Victoriana. Think less blood and more decay. Use aged lace, faded velvet, antique-looking picture frames with ghostly images, and candelabras with dripping wax. The color palette is muted: dusty blacks, deep burgundies, and tarnished silvers. It’s about creating an atmosphere of elegant, sorrowful horror.

Great Stuff Foam: This expanding foam-in-a-can is perfect for creating organic, tumorous textures or monster guts. It’s messy and hard to control, which is its strength.
Pink Insulation Board: This rigid foam is for builders. It’s what you use when you need precise, flat planes and sharp, carvable edges for architectural elements like tombstones or columns.
Use the right foam for the job; they are not interchangeable.

According to a 2019 study, an estimated 8 million tons of plastic waste are generated from Halloween costumes and decorations each year, much of it single-use.
Every prop you build to last is a direct counter-action to this trend. Craftsmanship isn’t just about aesthetics; it’s a commitment to sustainability.
Remember the most important tool: Patience. Your first carved tombstone might look rough. Your first monster mud skin might crack. That’s part of the process. The pros you admire have made hundreds of mistakes. Embrace the learning, and be proud of building something real with your own two hands.