An Art Teacher’s Guide to Seriously Fun Halloween Coloring
I’ve spent a huge chunk of my life running art workshops, and I’ve seen it time and time again: a simple piece of paper and a few crayons can work wonders. It can quiet a chaotic room of kids or give a stressed-out parent a moment to breathe and reconnect. We tend to write off coloring as just a time-filler for children, but honestly, it’s so much more. It’s a powerful tool, especially when you wrap it in a fun theme like Halloween.
In this article
So, this isn’t just a list of spooky coloring ideas. I want to give you a peek inside my art room and share the approach I’ve fine-tuned over the years. We’ll get into the nitty-gritty of choosing the right tools—from a toddler’s first chunky crayon to an adult’s fancy fine-tipped marker. We’ll even cover a few pro techniques to make your pictures pop. But most importantly, we’ll look at how this simple act can calm our minds, sharpen our skills, and bring people together. The goal here is always the joy of making something, not just a perfect finished product.
Why Coloring Genuinely Calms Your Brain
You’ve probably heard that coloring is relaxing, but do you know why it actually works? It’s not magic; it’s a simple form of mindfulness that taps directly into how our brains are wired. In my therapeutic art sessions, I often use coloring as a warm-up to help people center themselves before we dive into bigger creative projects. It works every time, whether it’s for an energetic seven-year-old or an executive wrestling with burnout.
Here’s the deal: when you focus on choosing a color and staying within the lines, you’re engaging the part of your brain that handles logic and focus. This focused, low-stakes task gives your brain’s “alarm system,” the part that processes fear and anxiety, a much-needed break. You’re basically turning down the volume on your internal stress, which is why it feels so meditative.
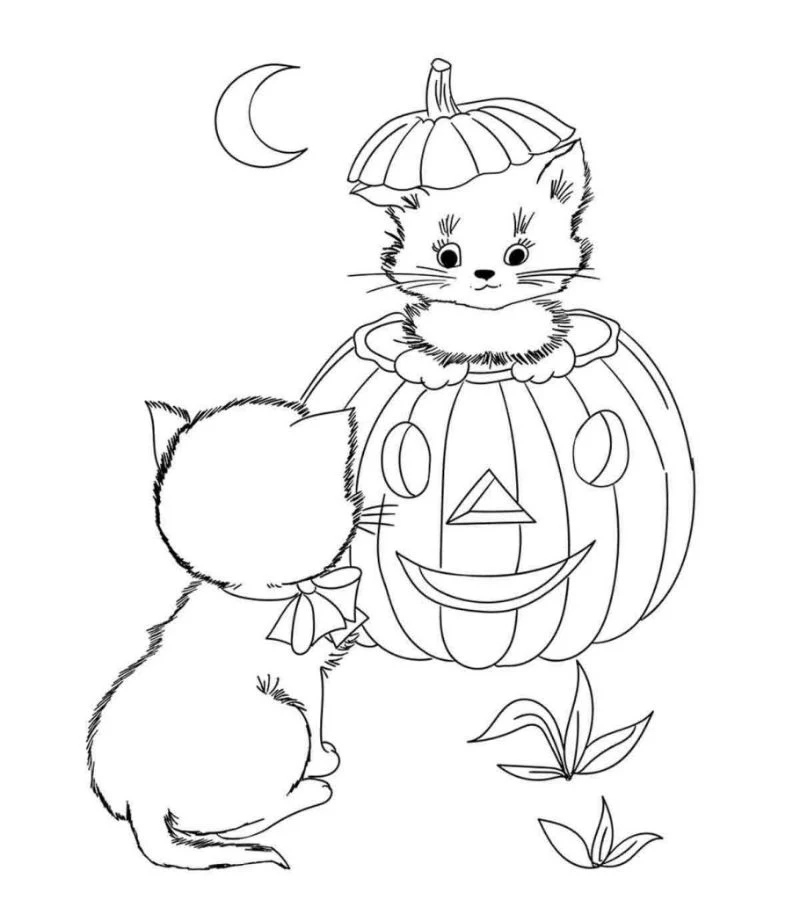
For kids, the benefits are even bigger. The simple act of holding a crayon while using the other hand to steady the paper is a fantastic exercise in what experts call bilateral coordination. It strengthens the connection between the left and right sides of the brain, building the fine motor skills they need for writing, tying shoes, and a million other things. And the Halloween theme? It’s perfect. It gives kids a safe, creative way to explore spooky things like ghosts and monsters, helping them process and gain a sense of control over things that might otherwise seem scary.
The Ultimate Guide to Coloring Tools and Supplies
The tools you use can make or break the experience. A waxy, cheap crayon on flimsy paper is just plain frustrating. Investing just a little bit more in your materials makes the process so much more enjoyable. Let’s break down the best options.
For the Little Monsters: Crayons and Washable Markers
Crayons are the classic choice for a reason—they’re tough, safe, and great for building grip strength. But not all crayons are created equal. I always lean towards brands like Crayola because they have a great balance of pigment and wax. Cheaper, off-brand crayons (like the ones you get in party favor bags) are often too waxy, making the color look pale and streaky. Pro tip: teach your kid to use the tip for lines and the peeled side for coloring big areas. It’s a game-changer. By the way, if you see a faint white film on old crayons, that’s just ‘wax bloom.’ It’s harmless and wipes right off.
Parents adore Washable Markers for obvious reasons, and kids love the instant gratification of that bright, bold color. A pack of Crayola SuperTips is usually under $10 and is worlds better than the dollar-store kind because they last longer and the colors are richer. The big challenge with markers is bleed-through. Standard printer paper is too thin. Do yourself a favor and print your coloring pages on a thicker paper, like a 24 lb stock or, even better, a 65 lb cardstock. You can grab a ream of it for about $10-$15 at any office supply store or on Amazon, and it’ll save you from stained tables.
For Big Kids and Adults: Colored Pencils and Alcohol Markers
This is where the real artistry begins. With Colored Pencils, there are two main types to know about:
- Wax-based pencils, like the popular Prismacolor Premier line, are soft, super vibrant, and a dream to blend. They are my go-to for teaching people how to layer color. The only downside is they can break easily if you press too hard. A great starter set of 24 will run you between $20 and $30 and is a fantastic investment that will last for ages.
- Oil-based pencils, like Faber-Castell Polychromos, are a bit harder, hold a sharp point for longer, and are amazing for fine details. They tend to be pricier, but for a serious hobbyist, they are worth every penny.
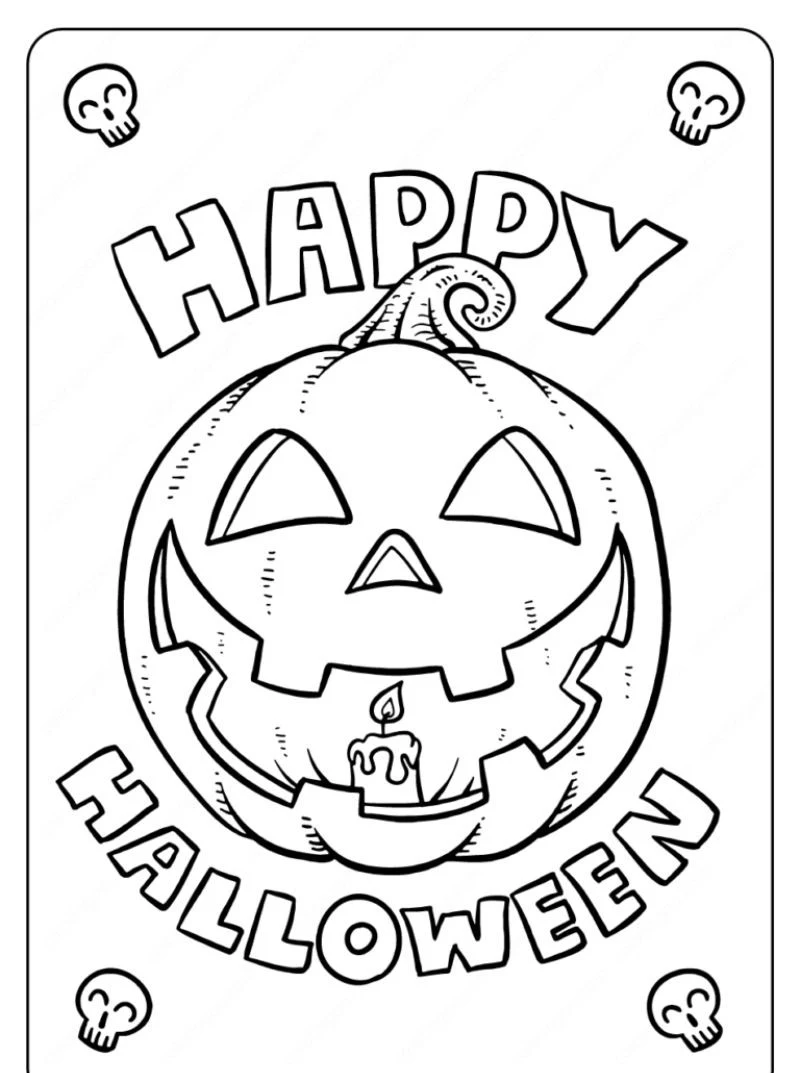
A key technique you have to try is burnishing. It sounds fancy, but it’s easy. Here’s a mini-tutorial for a classic pumpkin: 1. Color your pumpkin with a light, even layer of orange. 2. Add some shadows in the creases with a darker orange or red. 3. Now, take a white or cream-colored pencil and color firmly over the entire thing. You’ll see the pigments mash into the paper, creating a smooth, waxy, and professional-looking shine. Magic!
For those who crave that seamless, streak-free look, Alcohol Markers are incredible. Brands like Copic are the professional standard, but a budget-friendly set from a brand like Ohuhu can get you started for around $30-$40. Heads up! These will bleed through almost any paper. You absolutely must use special marker paper or slip a piece of scrap cardstock behind your page. I learned that lesson the hard way after a class of students accidentally decorated my workshop tables with permanent ink.
How to Set Up a Great Coloring Session for Any Age
A little planning goes a long way. Matching the activity to the person’s attention span is the secret to success.
- Toddlers (Ages 2-4): Keep it simple. The goal is pure exploration. Hand them one or two chunky crayons and a page with a single, giant shape—like one big pumpkin. Expect coloring outside the lines; that’s how they learn. Keep it short, maybe 5-10 minutes. Praise the effort, not the result. “I love your powerful orange marks!” is way better than “Stay in the lines.”
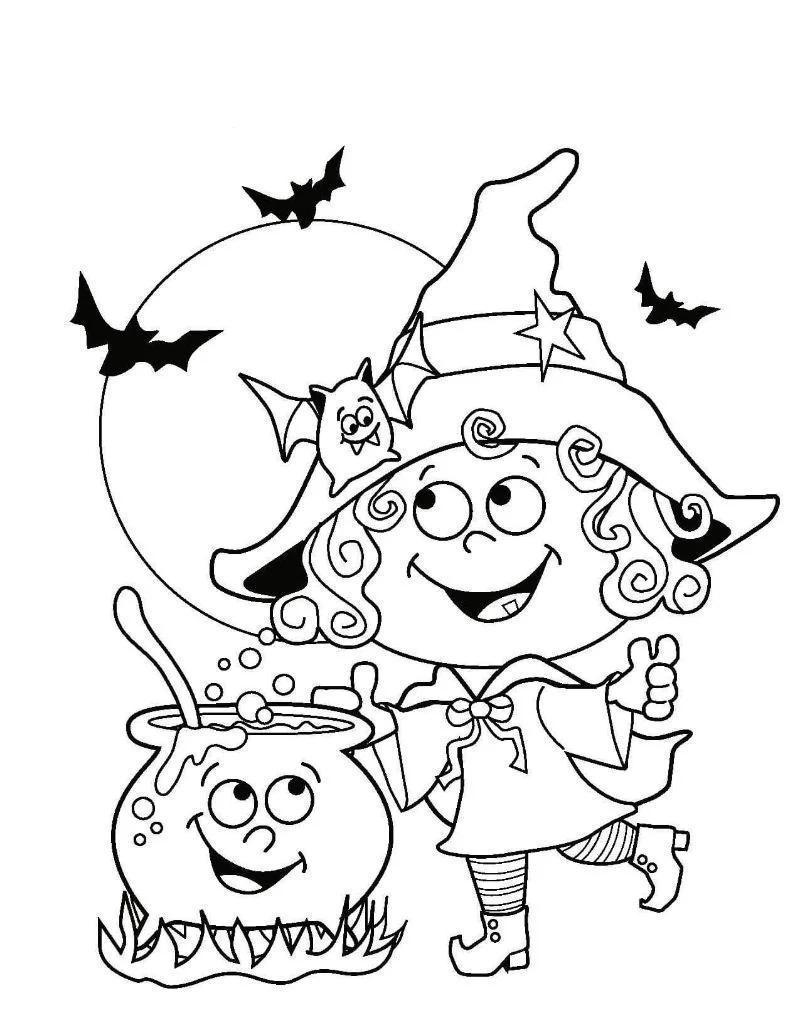
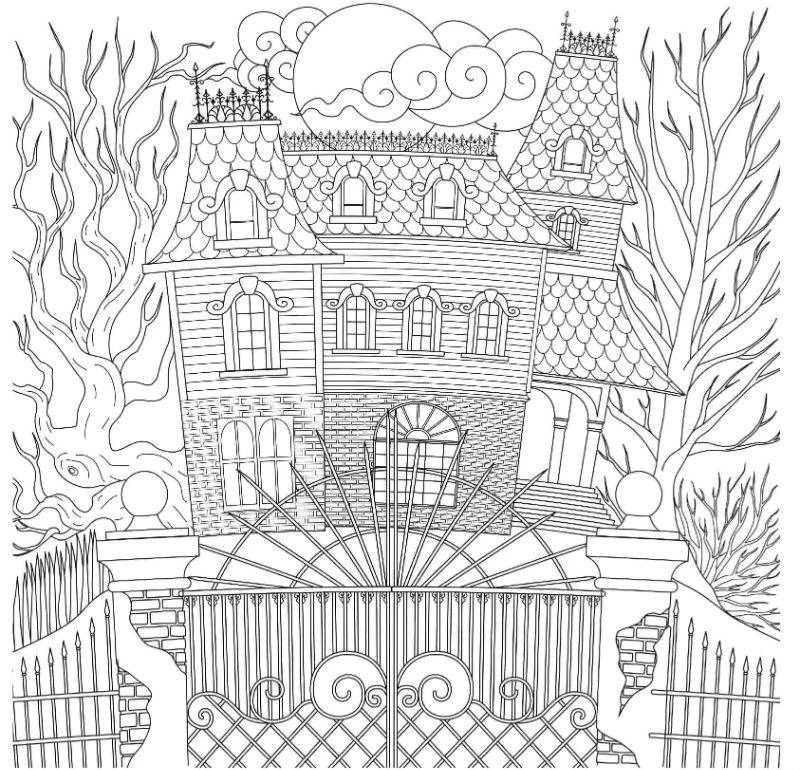
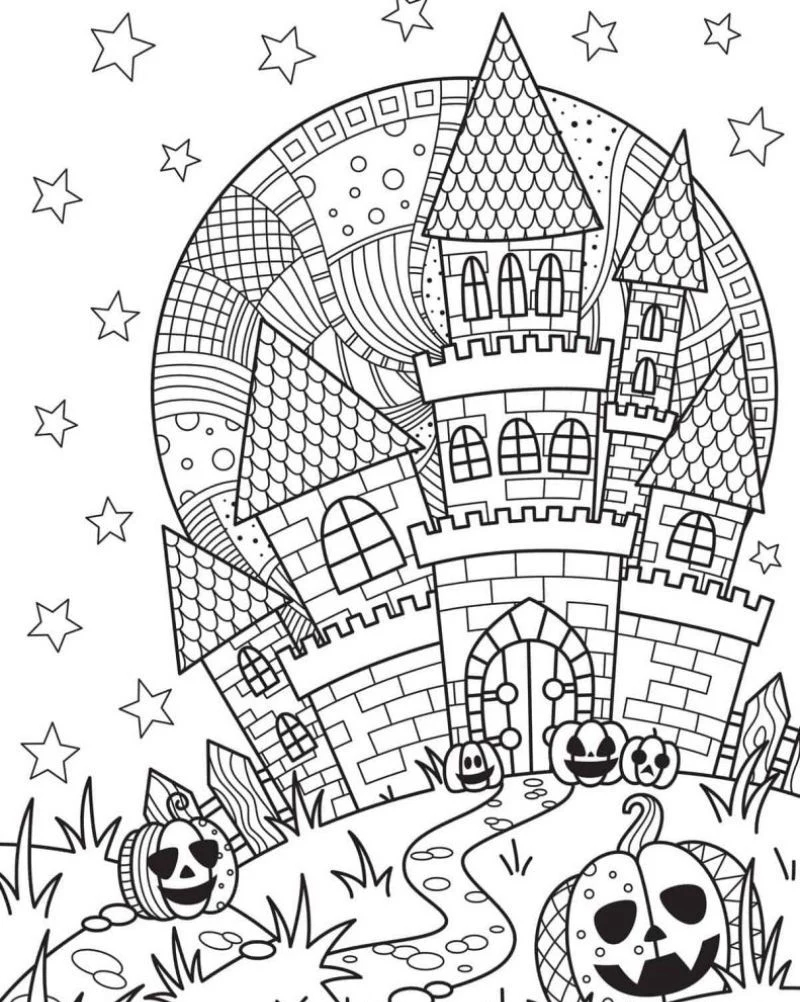
- Young Kids (Ages 5-8): They can handle more detail now. Think a haunted house with big windows or a witch with a striped hat. This is a great time to introduce an 8 or 12-pack of colored pencils and simple concepts. Try saying, “What happens if you color the pumpkin lightly with yellow first, and then put orange on top?” Plan for a 15-20 minute session.
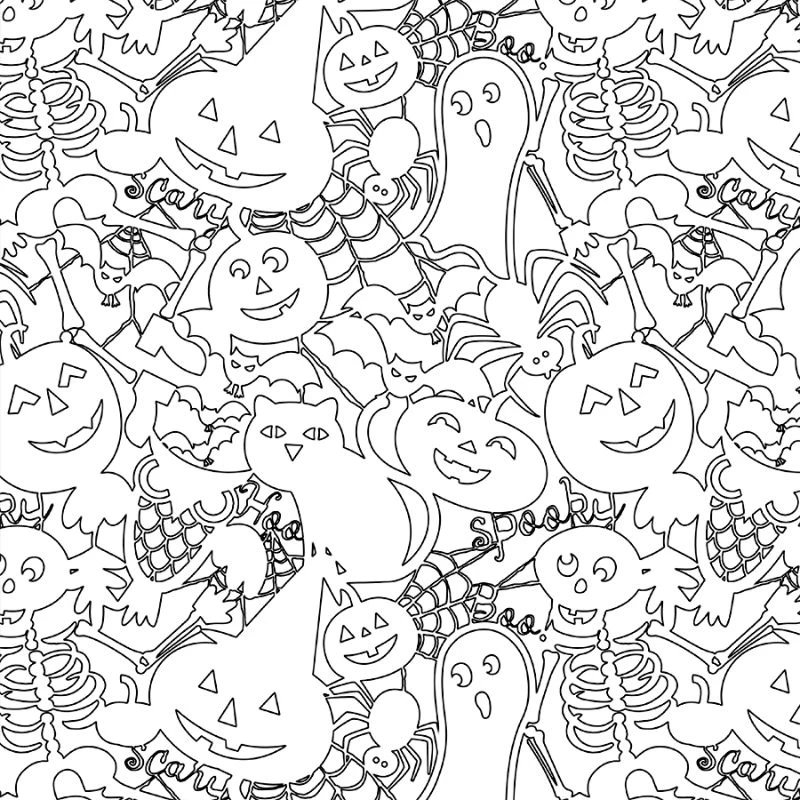
- Older Kids and Teens (Ages 9-14): They’re ready for complexity and a bit of a challenge. You can find amazing, intricate Halloween mandalas and detailed monster art on sites like Etsy, often for just a few dollars a page. This is the perfect age to introduce shading. I’ll never forget the look on one of my student’s faces when he added a simple dark gray shadow under a ghost—it suddenly looked like it was floating right off the page. It was a total ‘aha!’ moment.
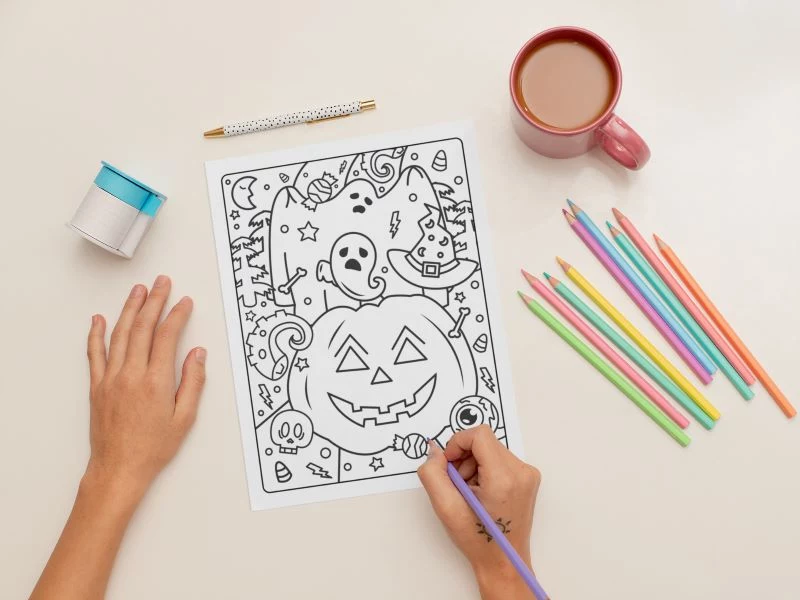
- Adults: For us, it’s about mindfulness. Set the mood. Put on some music, grab a cup of tea, and put your phone on silent. Use those high-quality materials you invested in; the smooth feel of a good pencil is part of the therapy. Don’t rush. The goal isn’t to finish, it’s to enjoy the simple, focused process.
Level Up Your Art with These Pro Tricks
Ready to move beyond just filling in shapes? Try some of these techniques to make your art truly stand out.
Create Realistic Textures
Think about what you’re coloring. A pumpkin isn’t perfectly smooth. Use small, curved strokes that follow its round shape, and add a few darker orange lines to suggest the ridges. For a ghost, use a light gray or even a white pencil in soft, circular motions to create a wispy, cloudy feel. For a wooden door, draw some vertical lines and knots with a dark brown pencil before coloring over it lightly with a lighter brown.
Master Your Color Palette
You don’t need all 64 colors. Limiting your palette creates a stronger mood. Here’s a fun challenge for today: grab any page and pick just three colors. See what you can create! For a spooky night scene, try using only blues, purples, and black, with a single pop of yellow for the moon. An orange pumpkin against a deep purple sky will feel way more vibrant than against a plain blue one.
Add Some Mixed Media Magic
A few extra touches can make a huge difference. A white gel pen (the Gelly Roll brand is classic and costs just a couple of bucks) is perfect for adding highlights. A tiny white dot in a creature’s eye or a shimmer on a spiderweb brings it to life. You can also use fine-point black ink pens, like a Micron, to redraw outlines or add tiny details, like cracks in a tombstone.
Beyond the Pumpkin: Global Halloween Inspiration
While the orange pumpkin is a Halloween staple, the holiday’s roots offer so much more creative fuel. Did you know the original jack-o’-lanterns weren’t pumpkins at all? They were carved from turnips, potatoes, or beets to ward off spirits during the ancient Celtic festival of Samhain. Try coloring a jack-o’-lantern with earthy browns, pale yellows, and deep purples for a more ancient, folkloric vibe.
And, of course, there’s the beautiful imagery from Día de los Muertos (Day of the Dead). While it’s a completely separate holiday with a different meaning, its influence is often seen around Halloween. The iconic sugar skulls, or calaveras, are decorated with joyful, vibrant colors and flowers to celebrate loved ones. It’s a wonderful inspiration to break out of the typical dark Halloween palette and play with bright pinks, turquoises, and sunny yellows.
A Few Final Words of Advice
Just a couple of quick things to keep in mind from an educator’s perspective.
Art Supply Safety: When buying supplies for kids, especially little ones who might put things in their mouths, always look for the “AP” (Approved Product) seal. It certifies that the product is non-toxic.
A Quick Note on Using Online Art: Most of the free coloring pages you find online are for personal use. That means it’s totally cool to print them for your family or a classroom, but you can’t sell the pages or your finished artwork. Let’s always respect the artists who create these great resources.
A Gentle Disclaimer: Coloring is an amazing tool for everyday stress relief. However, it isn’t a replacement for professional mental health support. If you or your child are dealing with serious anxiety or trauma, please reach out to a licensed therapist. What we’re doing here is wonderfully therapeutic, but it’s different from clinical art therapy.
At the end of the day, the real goal is just to find a little pocket of peace and creativity. Whether you’re using a single orange crayon or a full set of professional pencils, the true value is in the process. It’s in slowing down, paying attention, and making your mark.
Inspirational Gallery
Want to take your spooky scenes from flat to fantastic?
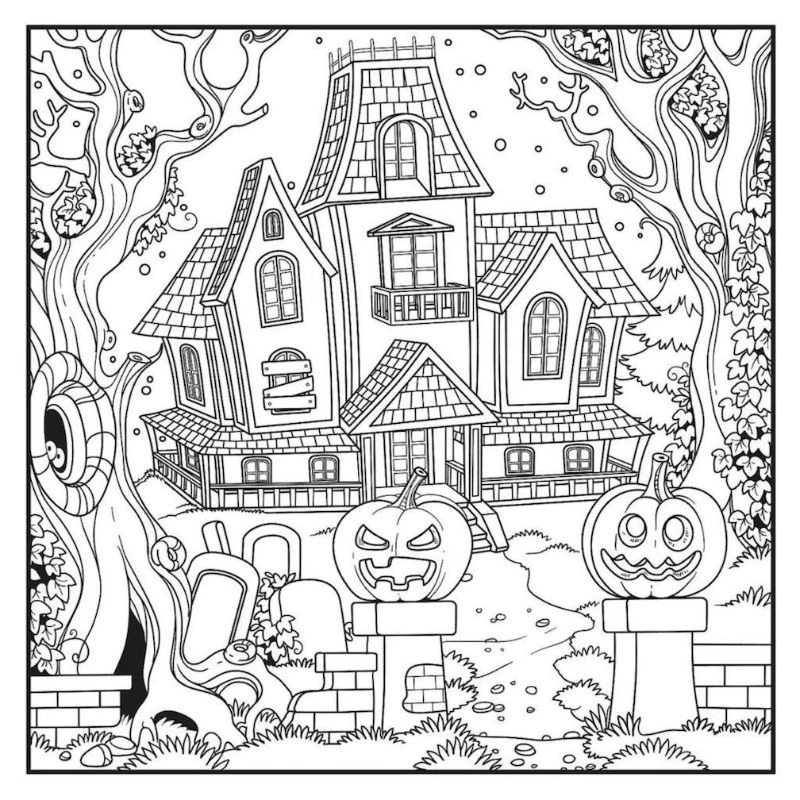
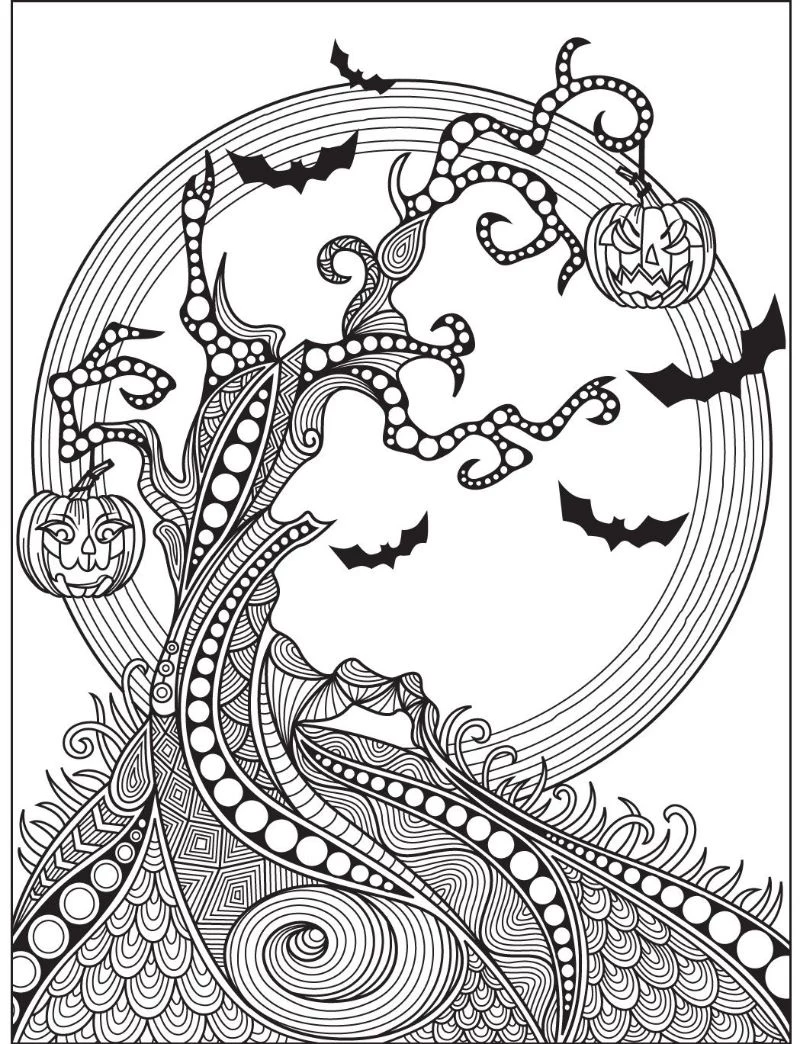
The secret often lies in the background. Instead of leaving it white, try a simple color wash. For a haunted forest, use a soft grey or deep blue watercolor pencil, then go over it with a barely damp brush for a misty, ethereal effect. For a pumpkin patch at dusk, a gradient of light purple to deep indigo, applied with soft pastels and blended with a cotton ball, can create an incredible sense of depth and mood before you even color the main objects.
- Create an eerie glow around ghosts or moons by coloring with a white or yellow pencil first, then adding the darker background color around it. The wax from the first layer will resist the second, creating a natural-looking halo.
- Use a black fine-liner, like a Pigma Micron 01, to go over the printed lines of your main subject after coloring. This sharpens the image instantly.
- Add tiny white dots to black areas with a gel pen (like a Uni-ball Signo Broad) to create a starry night sky or a magical glint.
More than just orange and black, Halloween’s true color palette is one of contrast: the vibrant, life-affirming orange of a pumpkin against the deep, mysterious purple of a twilight sky.
This psychological push-and-pull is what makes the holiday’s aesthetic so compelling. When coloring, lean into these contrasts. Pair a bright, acid green with a muted mauve, or a blood-red with a cold, sterile grey. This elevates a simple drawing into a more emotionally resonant piece of art.
The paper problem: Don’t let your masterpiece bleed or buckle! Standard printer paper is too thin for markers or wet media. For kids using crayons or basic pencils, it’s fine. But for markers, especially alcohol-based ones like Copic or Ohuhu, invest in a smooth, thick cardstock (at least 160 gsm) or specialized marker paper. The ink will lay down beautifully without feathering or soaking through.
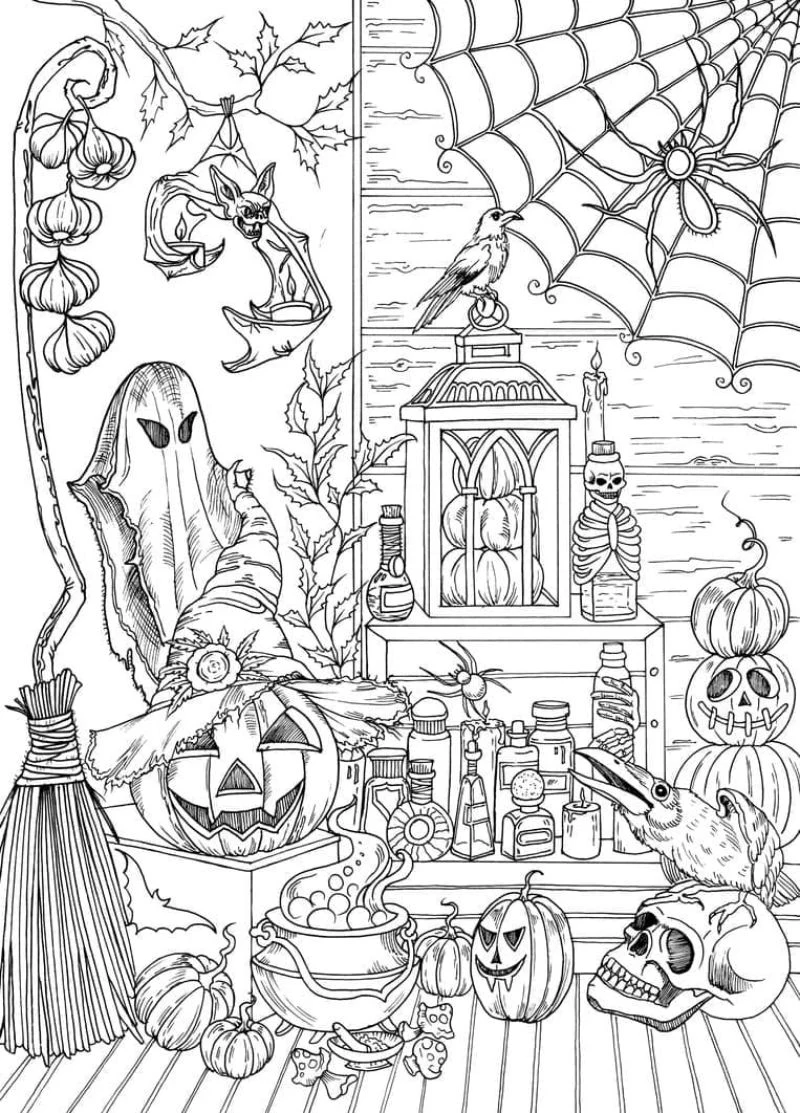
For adding those final, vibrant details to a haunted house or a witch’s cauldron, what’s the better choice?
Alcohol Markers: They excel at smooth, streak-free coverage and blending large areas. Perfect for coloring in a pumpkin’s main body or a ghostly sheet. Their downside is that they can bleed, and fine details can be tricky.
Gel Pens: Think of them as your secret weapon for highlights and textures. Use a metallic Sakura Gelly Roll to trace the lines of a spiderweb or a glitter pen to make a potion bubble. They sit on top of the paper, making them perfect for adding detail over already colored areas.
For best results, use both! Markers for the base, gel pens for the magic.
A 2017 study found that just 45 minutes of creative activity, like coloring, can significantly lower levels of the stress hormone cortisol, regardless of artistic skill level.
This means you don’t have to be a professional to reap the benefits. The simple act of focusing on your spooky scene and choosing colors gives your brain a structured, meditative break from daily worries. The Halloween theme just adds a layer of playful escape.
Why not turn your coloring session into a full Halloween experience? Dim the lights and use a few battery-operated candles for a spooky glow. Put on a playlist of atmospheric music—the soundtrack from
- A richer, more velvety finish.
- Easier blending between different shades.
- The ability to layer light colors over dark ones.
The secret? Using high-quality colored pencils. While a child’s Crayola set is perfect for fun, an artist-grade, wax or oil-based pencil like a Prismacolor Premier or Faber-Castell Polychromos makes all the difference for adult coloring. The softer core deposits more pigment, allowing for techniques that are impossible with harder, more basic pencils.
Don’t just throw away your finished pages! With a little creativity, they become part of your decor. Cut out your colored pumpkins, ghosts, and bats, punch a hole in the top of each, and string them together to make a festive garland for your mantelpiece. Another idea: use Mod Podge to decoupage your best drawings onto plain glass jars. Pop in an LED tea light, and you’ve got a custom, one-of-a-kind Halloween lantern.
How do I avoid a flat, boring black when coloring a witch’s cat or a dark night?
Professional artists rarely use a single black pencil. To create a dynamic black, start with a layer of dark indigo or deep purple in the areas you want to be the absolute darkest. Then, layer your black pencil over it. For areas that should have a slight sheen, like leather or fur, layer a dark brown under the black instead. This technique gives your blacks a surprising depth and realism.

Coloring is a form of active meditation that quiets the amygdala, the brain’s fear center.
Look to the master of spooky-cute, Tim Burton, for color inspiration. His films rarely use pure primary colors. Instead, notice the desaturated world of the living in
One of the most common mistakes is trying to use water-based markers (like Crayola Super Tips) on thin paper for large areas. The paper will often pill and tear from the moisture, and the color will look streaky. These markers are great for lines and small details, but for smooth, saturated fields of color, colored pencils or alcohol markers on the right paper are a much better choice.
Want that magical, otherworldly shimmer? A set of metallic or glitter pens is a must-have for Halloween coloring. They’re perfect for adding a final touch of magic that makes your artwork stand out.
- Spiderwebs: Trace them with a silver metallic pen.
- Witch’s Brew: Add bubbling green and purple glitter.
- Stars & Moons: A gold or white gel pen adds a brilliant glow against a dark sky.
Brands like Sakura Gelly Roll offer a huge range of effects, from classic glitter to shiny metallics and even 3D ‘puff’ Soufflé pens.
- Protects from smudging, especially with pencil or pastel.
- Prevents fading from sunlight.
- Gives a professional, finished look.
The trick? A light coat of workable fixative spray. Once your masterpiece is complete, a quick spray (like Krylon Workable Fixatif) seals the colors. This is especially important for pencil drawings, which can easily smudge. It ensures your ghouls and ghosts stay crisp and vibrant for many Halloweens to come.

Crayola Crayons: Don’t underestimate them! For a waxy, textured effect on a spooky tree’s bark, press hard. For a soft, ghostly aura, peel the paper off and use the side of the crayon to lightly shade an area. This is a fantastic and budget-friendly way to play with texture.
White Glue: Before coloring, draw a spiderweb or a secret message with regular Elmer’s school glue. Let it dry completely clear. When you color over it with markers or pencils, the glue lines will resist the color, revealing your design. It’s a simple trick that kids absolutely love.
For advanced colorists using alcohol markers, a colorless blender is your best friend. It’s not for blending two colors together, as the name might suggest. Instead, use it to push color around, lighten areas that got too dark, or create textures. For instance, color a pumpkin in solid orange, then use the tip of the colorless blender to tap small dots onto the surface. The blender will lift some of the color, creating a realistic, mottled texture on the pumpkin’s skin.