Your Plain T-Shirt Is a Halloween Costume Waiting to Happen
I’ve spent more nights than I can count in the musty back rooms of community theaters and school auditoriums. You know the smell—a mix of sawdust, wet paint, and just a little bit of sheer panic. It seems like someone always needs a costume, like, right now. After years of this, I’ve learned a secret: you don’t need a giant budget or weeks of prep to make something awesome. You just need a solid plan and a few good techniques.
In this article
And the most versatile tool in my last-minute costume kit? The plain t-shirt. It’s a total blank canvas.
But look, a great costume isn’t just about the idea. It’s about how you pull it off. Anyone can tape a paper circle to their chest and call it an egg. But with a little more care, you can create something that looks intentional and well-made. This guide isn’t about shortcuts that look cheap. It’s about using pro-level crafting methods to get fantastic results, fast. We’ll cover picking the right shirt, using paint and glue the right way, and building out some classic costumes from scratch. This is how we turn a simple piece of clothing into something you’ll actually be excited to wear.
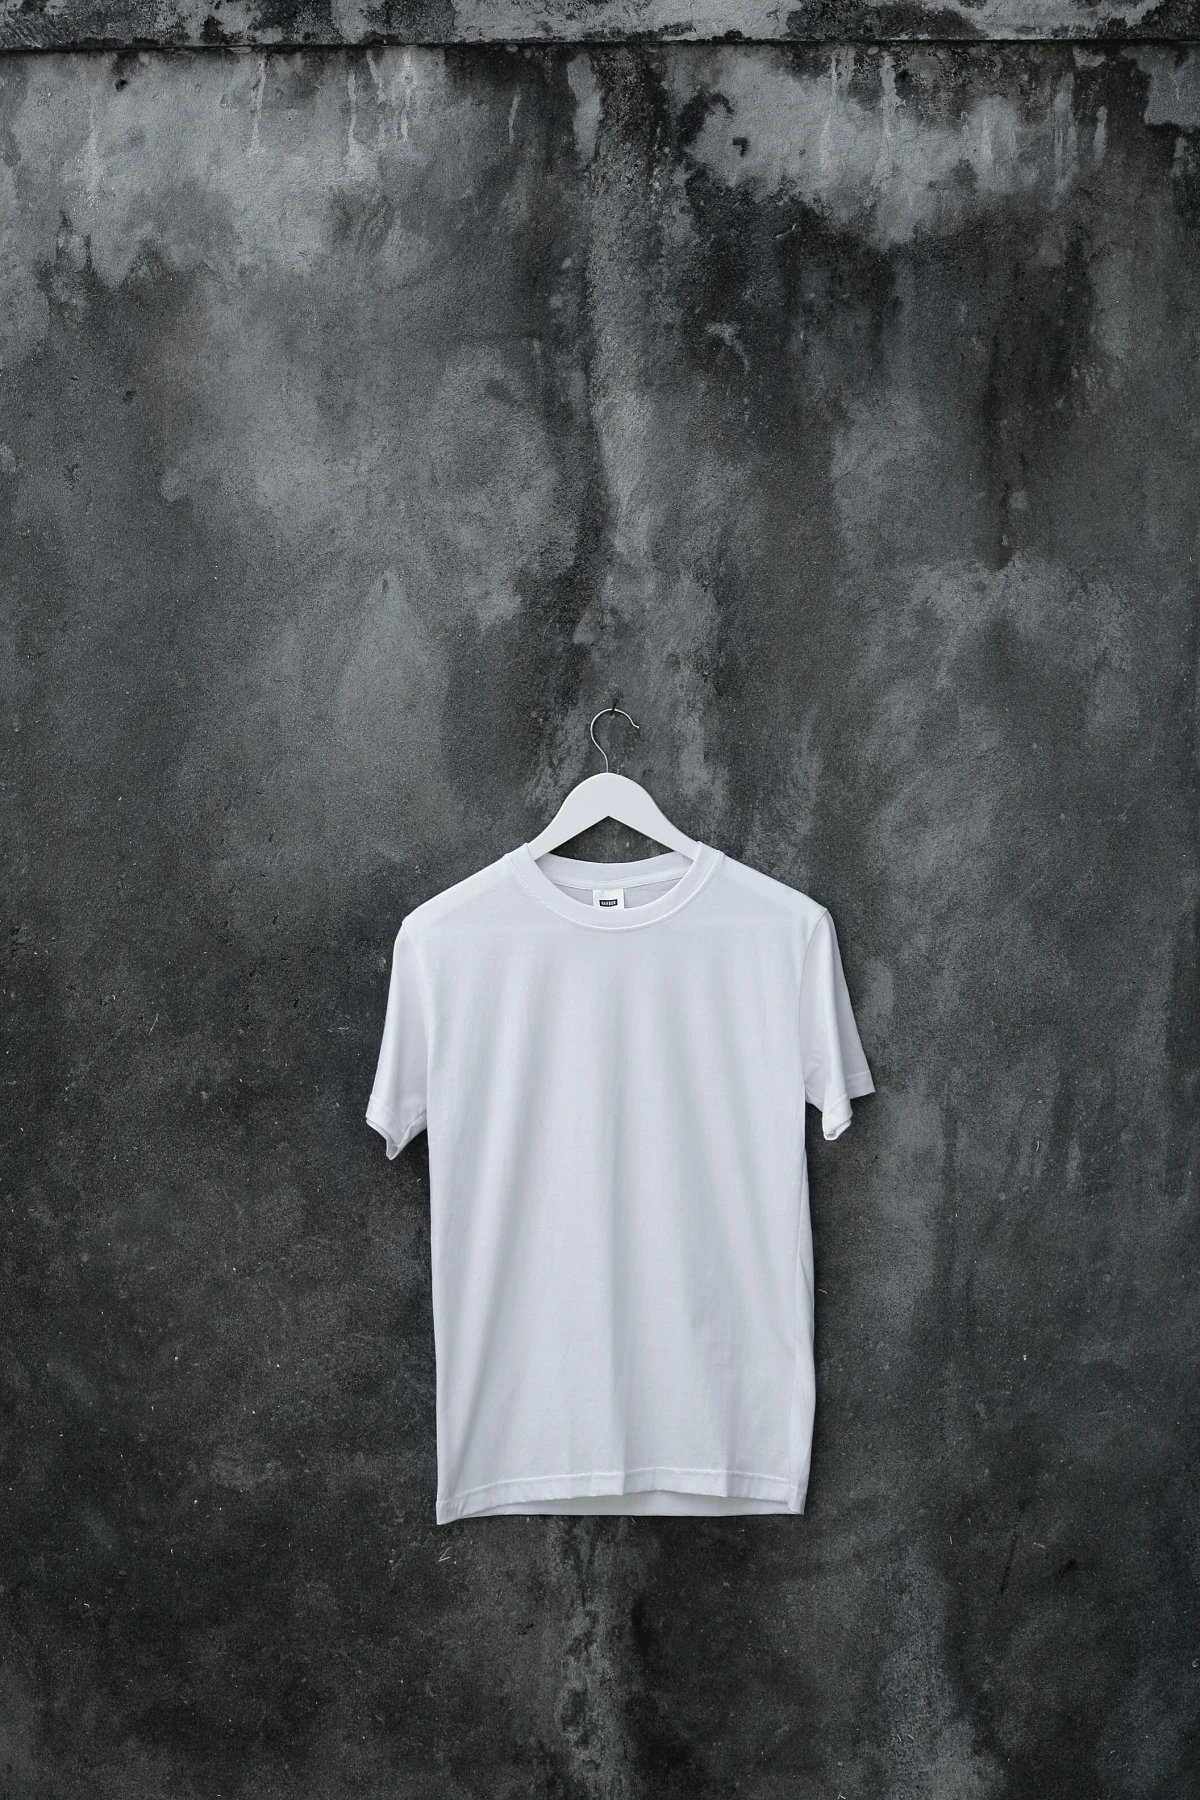
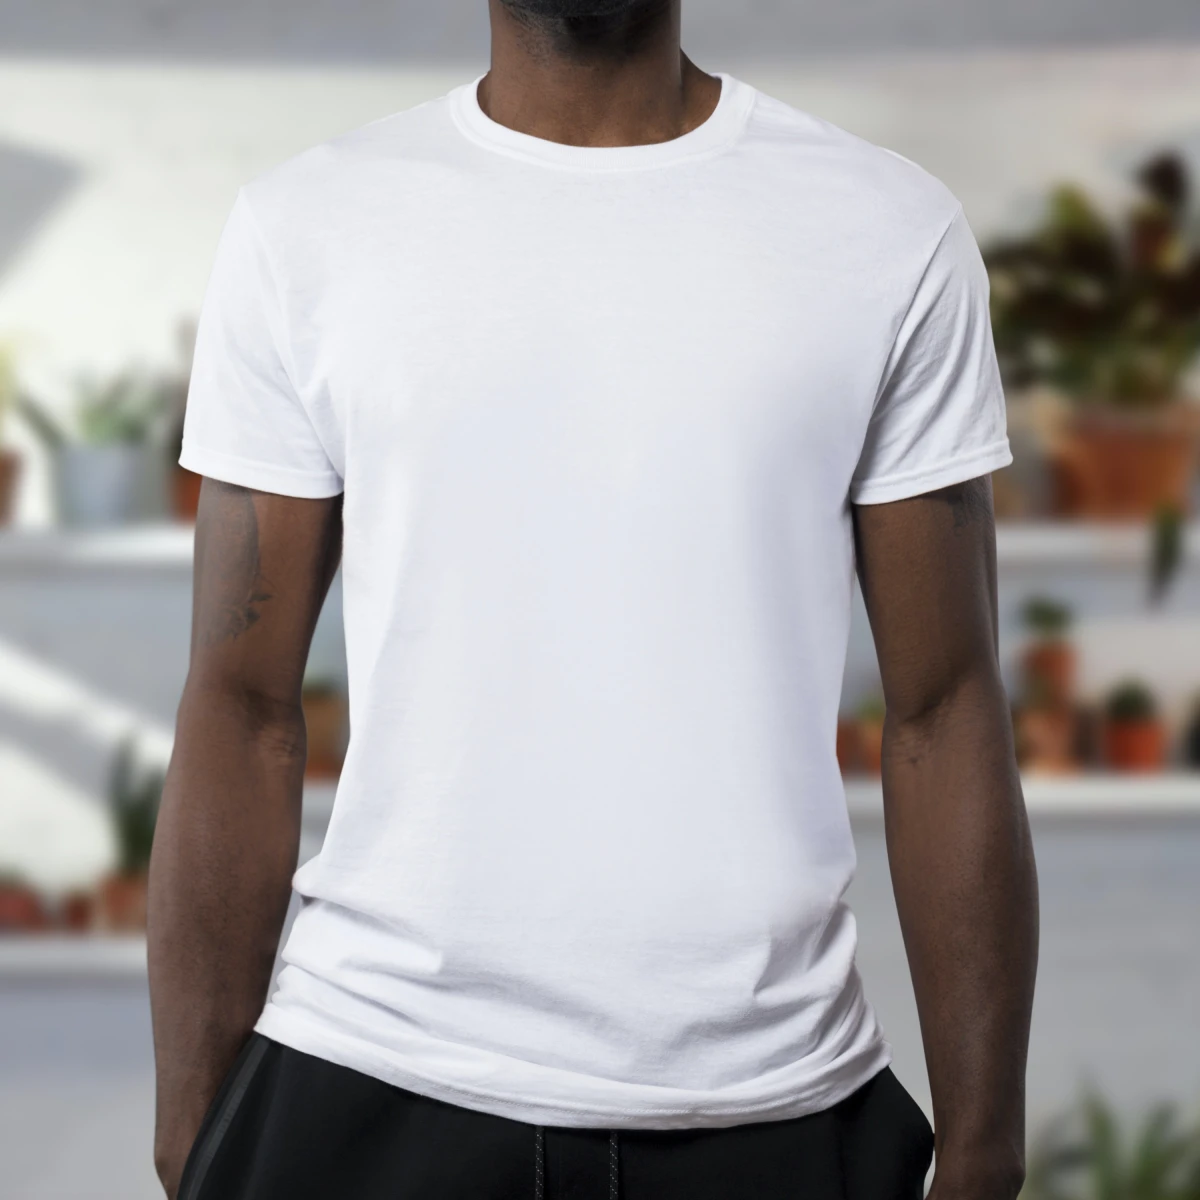
The Foundation: Choosing and Preparing Your T-Shirt
Everything starts with the right material. Seriously, not all t-shirts are created equal, and your choice here will affect every single step that follows. I’ve seen way too many projects fail before they even start because the fabric was all wrong.
Fabric Content is Everything
Go ahead, look at the tag. You’re searching for one thing: 100% cotton. Cotton fibers are like little sponges; they’re absorbent and porous, which means they grab onto paint and dye beautifully. A 50/50 cotton/polyester blend will work in a pinch, but the paint won’t really sink in. It just kind of sits on the surface, making it way more likely to crack or peel off. Polyester is basically plastic, so it repels water-based paints. My advice? Avoid anything with high poly or rayon content if painting is your plan.
Think About the Shirt’s Weight
T-shirts have different weights, and you can feel the difference. A super thin, lightweight shirt might be cheap, but it can also be see-through. Paint is more likely to bleed right through, and the fabric can pucker or stretch weirdly as it dries. I always recommend a mid-weight or heavyweight shirt. I usually grab a Hanes Beefy-T from a place like Target or a basic Gildan shirt from a craft store like Michael’s for about $5-$8. They provide a much more stable, opaque surface to work on and make the final costume feel more substantial.
Pre-Washing Is Not Optional. I Repeat: NOT OPTIONAL.
This is the step everyone wants to skip. Please don’t. New shirts are treated with chemicals called ‘sizing’ to make them feel crisp in the store. But that sizing also creates a barrier that repels paint and glue. Washing the shirt gets rid of it. Oh yeah, and it also pre-shrinks the cotton. If you paint a new shirt and then wash it, the fabric will shrink under your design, causing the whole thing to warp and ripple. Just wash it in warm water, dry it completely, and—heads up!—don’t use fabric softener. It can leave a residue that messes with adhesion.
Set Up Your Workspace
Once your shirt is clean and dry, lay it flat. The most important prep step now is to prevent paint from bleeding through to the back. Cut a piece of cardboard that fits snugly inside the shirt (a flattened cereal box is perfect for this). Slide it in between the front and back layers. This gives you a firm, flat surface for painting and guarantees you won’t ruin the other side. Smooth the fabric over the cardboard to get rid of any wrinkles.
The Core Techniques: Paint, Glue, and No-Sew Tricks
With your shirt prepped, it’s time for the fun part. For t-shirt costumes, this usually means paint, glue, or adding other materials. Knowing the right tool for the job is what separates a durable costume from one that falls apart before you even get to the party.
Let’s Talk Fabric Paint
You can’t just use any old paint from the garage. You need something that stays flexible when it dries, otherwise it will crack and flake off the second you move.
- Acrylic Fabric Paint: This is my go-to. It’s basically acrylic paint pre-mixed with a special medium that keeps it soft on fabric. Brands like Tulip or Jacquard are fantastic and easy to find at any craft store. A bottle is usually only $3-$4 and will last you several projects.
- Standard Acrylic Craft Paint: You can totally use the cheap regular acrylic paint, but you have to add a fabric medium to it. You can buy a bottle of this medium for about $6. A typical ratio is two parts paint to one part medium, but check the instructions. Honestly, buying the medium is a great investment because it turns your entire collection of cheap craft paints into usable fabric paint.
- Puffy Paint: This stuff is pure nostalgia, right? It’s a dimensional paint that creates a raised, 3D line. It’s perfect for outlines or adding texture. Just be warned: it takes a long time to dry, sometimes up to 24 hours. Don’t touch it until it’s fully cured.
A Few Pro Painting Tips
For large areas of color, use a foam brush or a pouncer. Dab the paint on instead of stroking it. A stroking motion can stretch the wet fabric and give you distorted lines. For details, a small synthetic bristle brush is your best friend. It’s always better to apply two thin coats than one thick, goopy one. Let the first coat get tacky (about 20-30 minutes) before adding the second.
Heat Setting: The Final Step
This is how you make your design permanent and washable. Let the paint dry completely—this can take anywhere from 4 to 24 hours. Once it’s bone dry, remove the cardboard insert. Place a thin cloth (like an old pillowcase) over the painted design. Set your iron to the cotton setting with NO STEAM. Press the iron over the design, keeping it moving constantly over the entire painted area for about 2-3 minutes. Don’t just let it sit in one spot, or you could scorch the paint or the shirt! This simple step cures the paint, bonding it to the fibers for good.
Gluing and Attaching Stuff (Appliqué)
Sometimes you need to stick other materials, like felt, onto your shirt. This is called appliqué.
- Fabric Glue: Please use a dedicated fabric glue like Aleene’s Fabric Fusion. It’s made to bond fabric and stays flexible. Hot glue is a terrible choice for anything you wear. It creates a hard, brittle bond that will pop right off when the fabric flexes.
- Fusible Webbing: For a super clean, no-sew finish, this is my secret weapon. Products like Heat’n Bond are magic. It’s a sheet of dry adhesive with a paper backing. You iron it onto your felt, cut out your shape, peel off the paper, and then iron the shape onto your t-shirt. It creates a soft, permanent bond that looks incredibly professional.
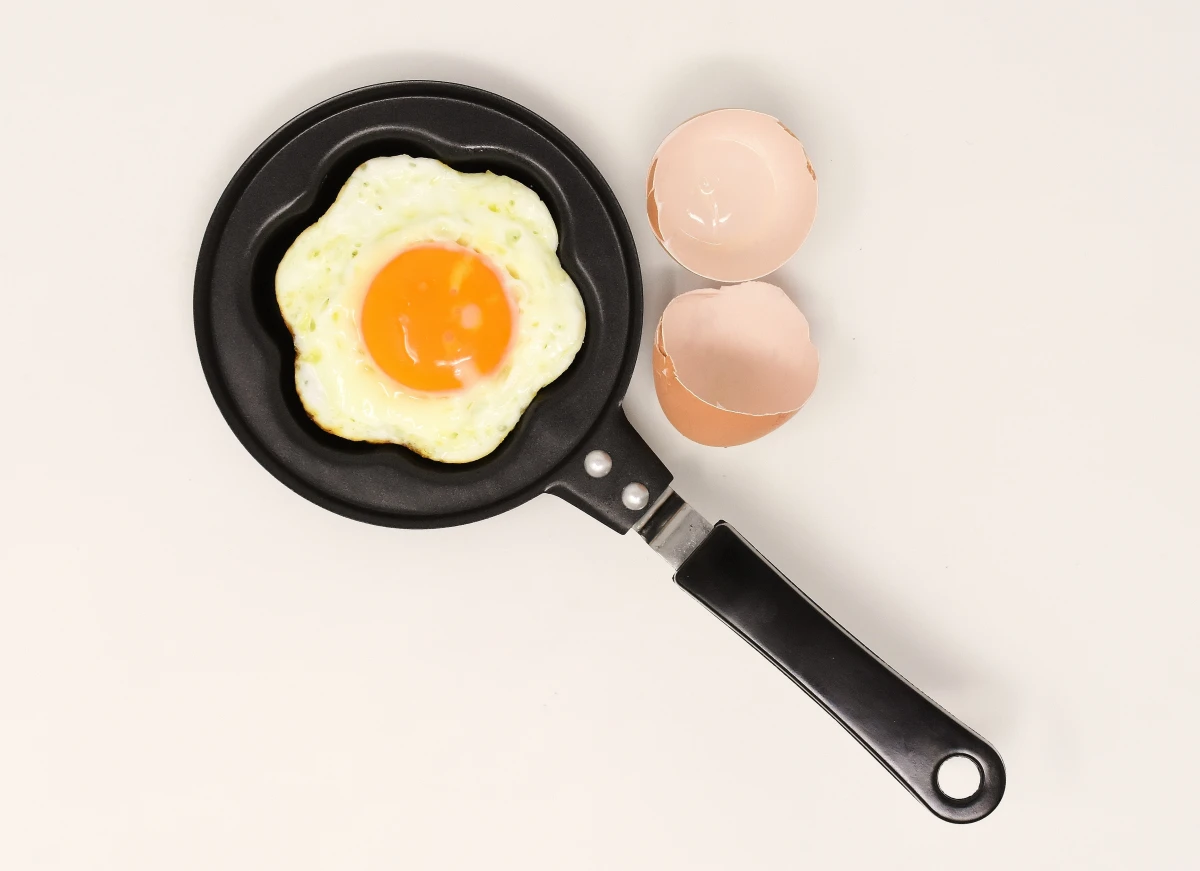
Costume Build 1: The Sunny-Side-Up Egg
This is a classic for a reason! It’s simple, funny, and everyone gets it immediately. But let’s look at a few ways to tackle it.
The 15-Minute Egg: The fastest version, but it won’t survive a wash. Just cut an 8-inch circle from yellow felt or paper and use double-sided tape or safety pins to stick it on. Done. The downside? It looks temporary because it is.
The Painter’s Egg (1-2 hours + drying): This looks so much better and it’s permanent. Use a dinner plate to trace a circle for the yolk with a pencil. Fill it in with yellow fabric paint, dabbing it on. Let it dry a bit. Now for the pro touch: the egg white. A real fried egg isn’t a perfect circle. Use white fabric paint to create a wavy, irregular “white” around your yolk. Yes, you’re painting white on white, but the texture and sheen of the paint will make it stand out and give the costume depth. Let it dry completely, then heat set it.
The Advanced 3D Egg (2-3 hours + drying): This is my favorite. Use fusible webbing to iron a yellow felt circle onto your shirt. Now you have a soft, raised yolk. Then, take white puffy paint and outline the felt yolk with a thick bead. Use the puffy paint to draw the rest of the textured, glossy egg white around it. Let it dry for a full 24 hours. The mix of textures is fantastic!
So, which egg is for you? It really depends on your goal.
The 15-Minute Egg is cheapest and fastest, but it’s a one-and-done deal. It definitely won’t survive the wash.
The Painter’s Egg costs a bit more (a few bucks for paint) and takes longer, but it’s durable and looks great. You can wash this one for sure.
The Advanced 3D Egg takes the most time and materials, but the result is a truly unique, textured costume that will last for years.
More Quick & Easy Paint Ideas
By the way, these techniques work for tons of other ideas!
The M&M: Grab a brightly colored t-shirt (red, yellow, blue, green). Use white puffy paint or regular white fabric paint to carefully draw the iconic lowercase “m” on the chest. That’s it. Get a group of friends with different colored shirts and you’ve got an instant group costume.
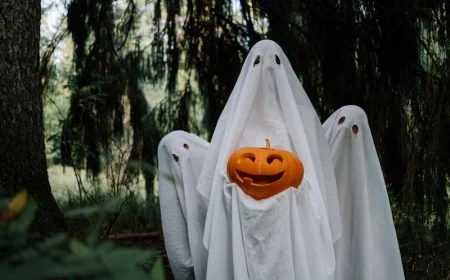
The Classic Ghost: This is beyond easy. On a white t-shirt, use black fabric paint to create two oval eyes and a wobbly, open mouth. You can make it cute, scary, or surprised. It’s a five-minute project that’s instantly recognizable.
Costume Build 2: Nailing an Iconic Look
Sometimes a costume is less about crafting and more about styling. The t-shirt becomes the centerpiece of a whole vibe. The secret here is getting the little details just right.
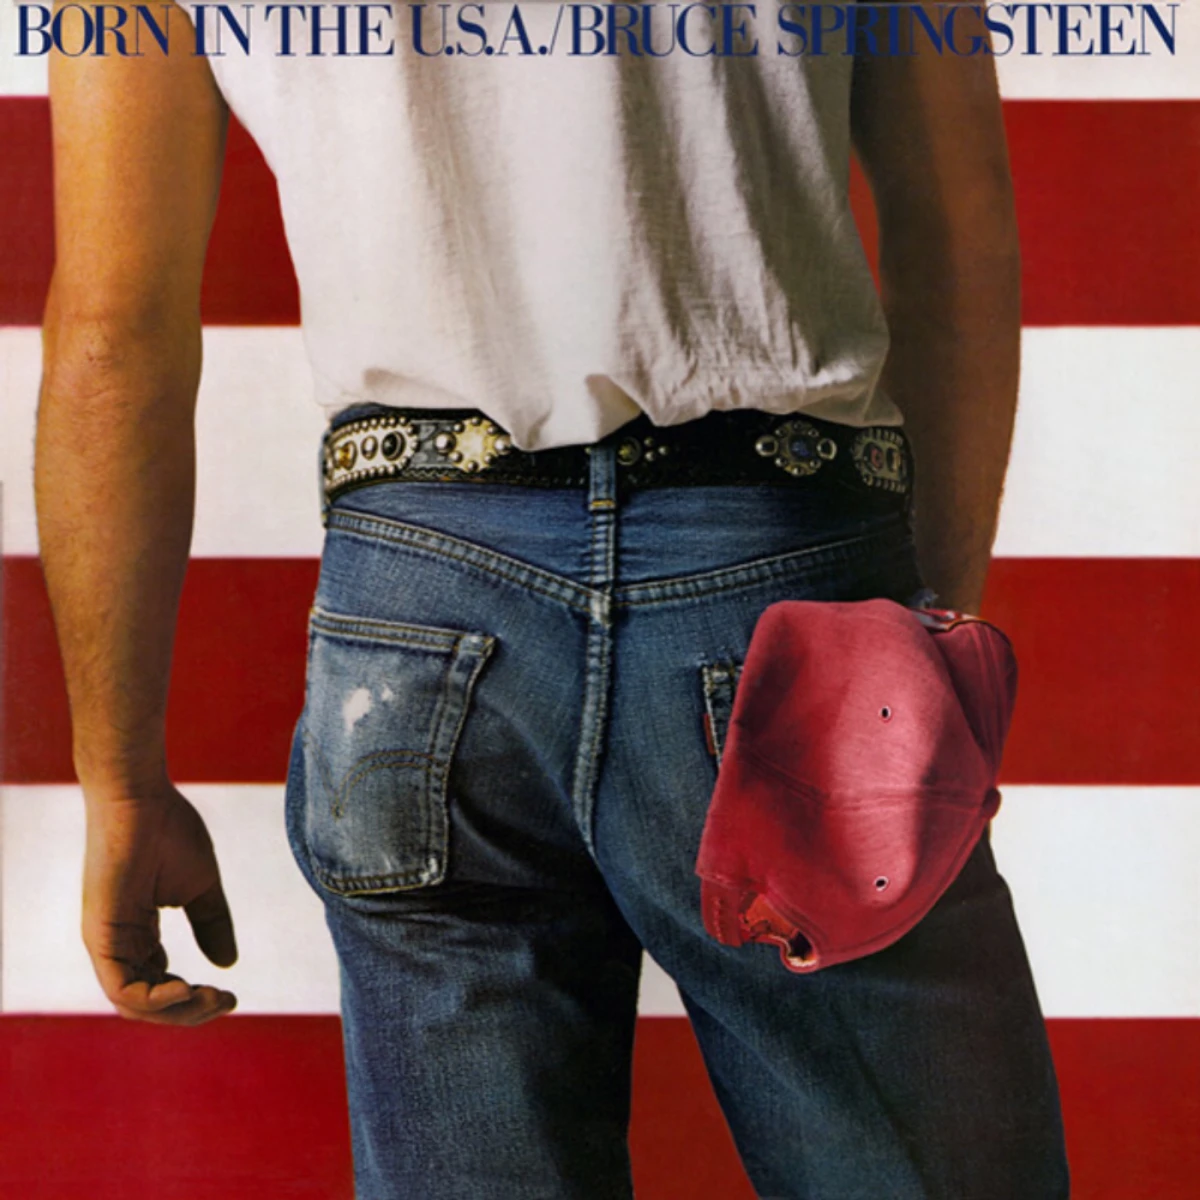
The ’80s Rock Anthem Look
You know the one—it’s an iconic, all-denim, all-American look from a famous album cover. It seems simple, but the details make it work.
- The Shirt: You need a classic, white crew-neck tee. It should be relatively fitted, not baggy. Roll the sleeves up a couple of times to get that classic muscle tee vibe.
- The Jeans: Look for light-wash, straight-leg denim. The key is finding a classic fit, not modern skinny jeans. It’s all about looking authentic.
- The Details: The most crucial detail is the red baseball cap tucked into the back right pocket. It should be a classic, curved-brim hat. The whole point is to make the outfit look lived-in, not like you just bought everything new for a costume.
Oops! A Quick Troubleshooting and Care Guide
Even the pros make mistakes. Here’s how to handle a few common issues.
“Help, my paint bled outside the lines!” Don’t panic! If it’s a small smudge, you can often work it into the design. For our egg costume, a little stray white paint can just become part of the irregular egg white shape. If it’s a bigger mess, sometimes the best fix is to just make that part of the design bigger to cover it.
“My puffy paint is still sticky!” It just needs more time. Puffy paint can feel dry to the touch on the surface but still be wet underneath. Give it a full 24 hours, maybe even 48 if it’s a really thick line. Just put it somewhere safe and don’t touch it.
“So… can I wash this thing?” Absolutely, as long as you heat-set it properly! For best results, turn the shirt inside out before washing. Use a gentle cycle with cold water, and either tumble dry on low or let it hang dry. This will keep your masterpiece looking great for a long time.
Inspirational Gallery
Hot Glue: Perfect for a quick, last-minute hold on non-fabric items like plastic spiders or googly eyes. It’s fast but dries rigid, can be bulky, and might not survive a whole night of partying.
Fabric Glue: Your best bet for attaching fabric to fabric (like felt letters or patches). A quality glue like Aleene’s Fabric Fusion dries clear, stays flexible, and is much more durable. The only downside is it requires more drying time.
For a costume you might want to wash, fabric glue is the only real choice.
- Create a perfectly aged, distressed look for a zombie or pirate costume.
- Make your painted designs look authentically vintage and worn-in.
- Soften stiff painted areas for a more comfortable fit.
The secret? A simple piece of fine-grit sandpaper. Once your fabric paint is completely dry, gently rub the design to create a faded, cracked effect that looks like it’s been around for ages.
Want perfectly sharp geometric lines for a Rubik’s Cube or 8-bit video game character?
The trick is high-quality painter’s tape. Don’t just grab masking tape, which can bleed. Use a brand like FrogTape, designed for sharp lines. Lay out your grid on the shirt, pressing the edges down firmly with a credit card. Paint inside the lines, and for best results, peel the tape off while the paint is still slightly wet, pulling away from the painted edge at a 45-degree angle.
The National Retail Federation reported that in 2023, the average person celebrating Halloween planned to spend over $108 on costumes, candy, and decorations.
This highlights the real value of a great DIY costume. By turning a simple t-shirt into something creative, you’re not just making a costume; you’re opting for a personal, budget-friendly approach that often yields more memorable results than a pre-packaged outfit.
Don’t just think about what you add to the shirt; consider what you can take away. For a classic jack-o’-lantern, wear a bright orange t-shirt underneath a black one. Carefully cut the eyes, nose, and jagged mouth out of the top black shirt. The orange peeking through from below creates a striking, layered effect that’s far more dynamic than simply painting a face on.
Important: Always wash and dry your new t-shirt *before* you start any project. T-shirts are treated with chemicals called ‘sizing’ to keep them crisp in the store. This invisible layer will prevent paint and glue from properly adhering to the cotton fibers, leading to flaking and peeling later on. A quick wash cycle removes it and also pre-shrinks the fabric, ensuring your design doesn’t warp after the first wash.
Group costumes are easier than you think with a t-shirt base. A little coordination goes a long way and always makes a big impact at a party.
- M&M’s: The easiest of all. Get a different solid-colored tee for each person (red, yellow, green, blue). Use white fabric paint or an iron-on transfer to create the signature lowercase ‘m’ on the chest.
- Pac-Man Ghosts: Start with red, pink, cyan, and orange shirts. All you need are large eyes made from white and blue felt, attached with fabric glue. One person can even wear a yellow shirt to be Pac-Man!
For a quick, witty costume that requires almost no effort, grab a white t-shirt and a black permanent marker. In a simple, computer-like font, write across the chest:
- A quick way to create a bony ribcage for a skeleton costume.
- Add a pop of 3D texture to your design.
- Draw fine lines or lettering with perfect control.
Explore the world of dimensional fabric paint, often called ‘puffy paint.’ Brands like Tulip have been a crafter’s staple for decades for a reason. It comes in a fine-tipped squeeze bottle, allowing you to draw directly onto the fabric. When it dries, it leaves a raised, rubbery line that adds professional-looking texture and detail.