Your Makeup Looks Bad for a Reason: How to Design a Vanity That Actually Works
After years of designing custom furniture and interior spaces, I’ve seen it all. I’ve worked on everything from tiny corner nooks to dressing rooms bigger than my first apartment. And early on, I admit, I thought a makeup vanity was just a cute table with a mirror. Boy, was I wrong.
In this article
I learned pretty quickly from the professional makeup artists I worked with that a truly functional vanity is a precision workspace. It’s a station designed for efficiency, accuracy, and honestly, saving your sanity every morning.
So many of the gorgeous vanities you see splashed across social media are just props. They’re staged for a photo, not for a real person’s daily routine. A setup that genuinely works isn’t about having the most expensive chair or a table buried in flowers. It’s about understanding the science of light, smart ergonomics to save your back, and an organization system that actually makes your life easier. This is where the pro-level thinking comes in.
In this guide, we’re going to get past the pretty pictures and dive into what really matters. We’ll cover the nitty-gritty of layout, lighting, storage, and safety so you can build a space that serves you well for years to come.
The Foundation: Nailing the Layout and Ergonomics
Before you even think about adding to your cart, you have to plan your space. Seriously, don’t skip this. Getting the location and layout right from the start prevents a ton of frustration later. The goal is a comfortable, efficient workflow.
Choosing Your Spot: Bedroom vs. Bathroom
Most people automatically think of putting a vanity in either the bedroom or the bathroom. Each has some major pros and cons that depend a lot on your home and lifestyle.
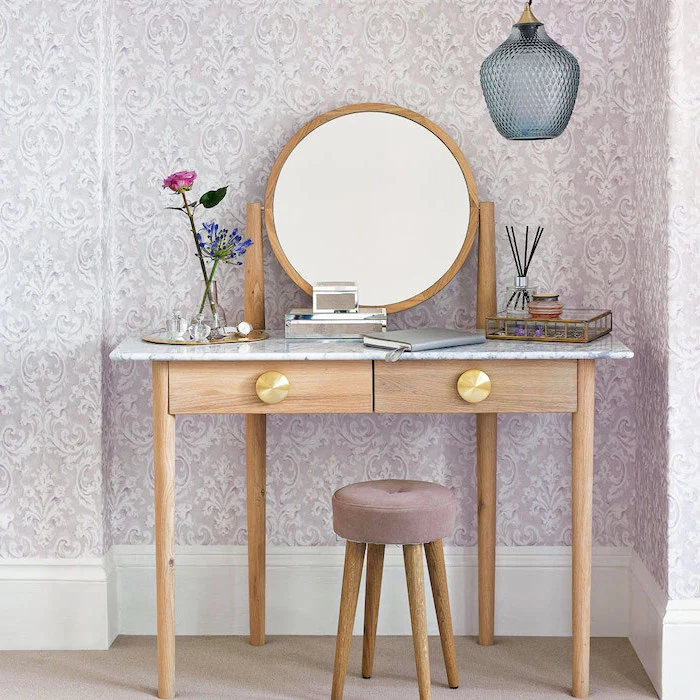
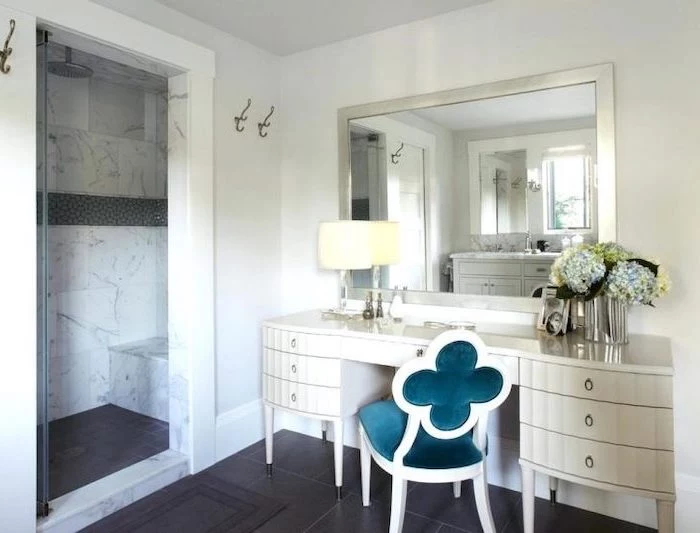
The Bedroom Vanity: This is my personal recommendation for most people. A bedroom vanity gives you a quiet space away from the steam and humidity of the bathroom. And that humidity is a huge deal. Steam from a hot shower can wreck your makeup, especially powders like eyeshadows, blushes, and setting powders. It can change their texture and even encourage bacteria to grow. I’ve seen pricey palettes completely ruined by being stored in a steamy bathroom. A bedroom spot protects that investment.
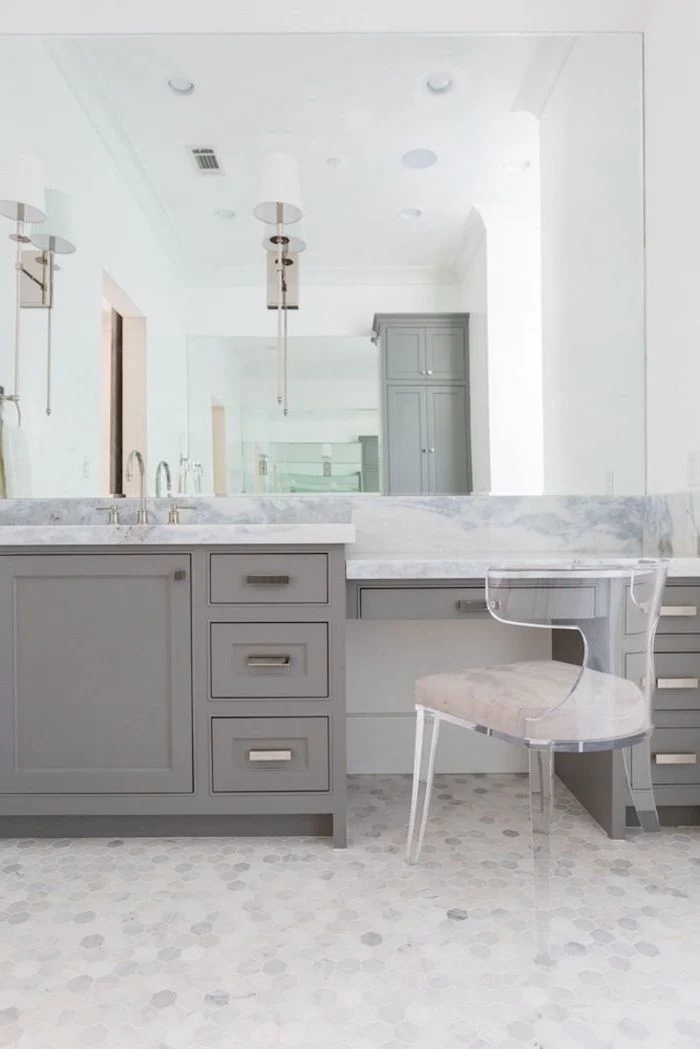
The Bathroom Vanity: The big draw here is convenience. You’ve got water right there for washing hands, cleaning brushes, and taking it all off at the end of the day. If you have a massive bathroom with a separate, well-ventilated counter far from the shower, it can work. But for most homes, especially in humid climates, the constant moisture is a real enemy to your products.
Ergonomics: The Science of Not Hunching Over
You shouldn’t have to curl into a shrimp to do your eyeliner. Poor ergonomics can lead to real neck, back, and shoulder pain over time. Here are the key measurements to aim for:
- Table Height: A standard desk height, around 29 to 30 inches, is a great starting point. This lets your legs fit comfortably underneath. Your arms should be able to rest on the surface with your shoulders relaxed, not hunched up by your ears.
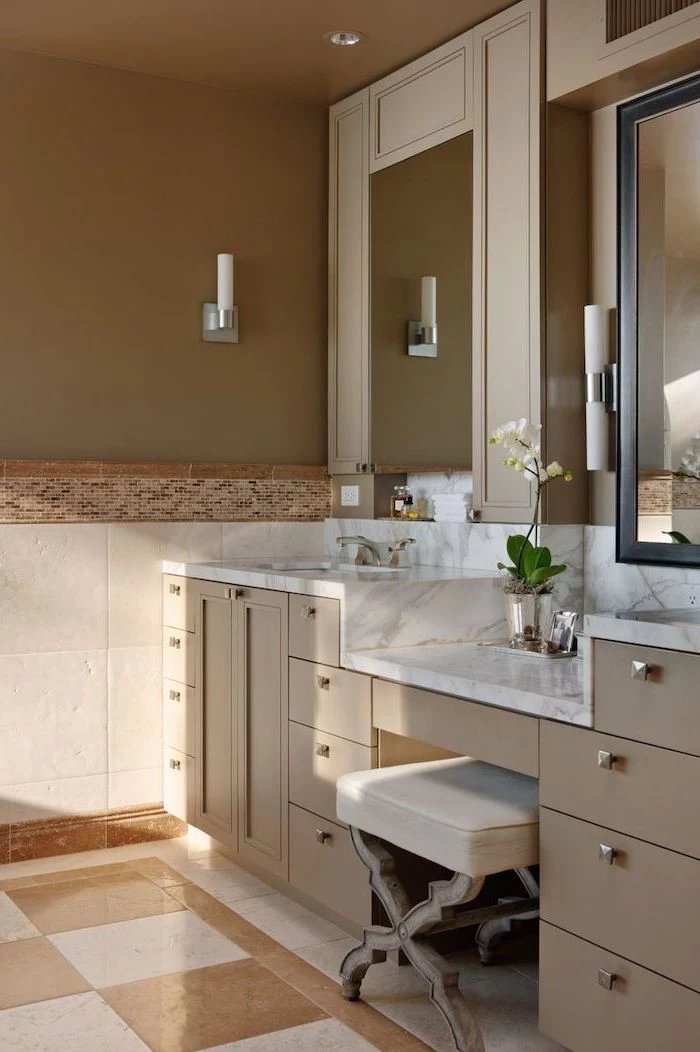
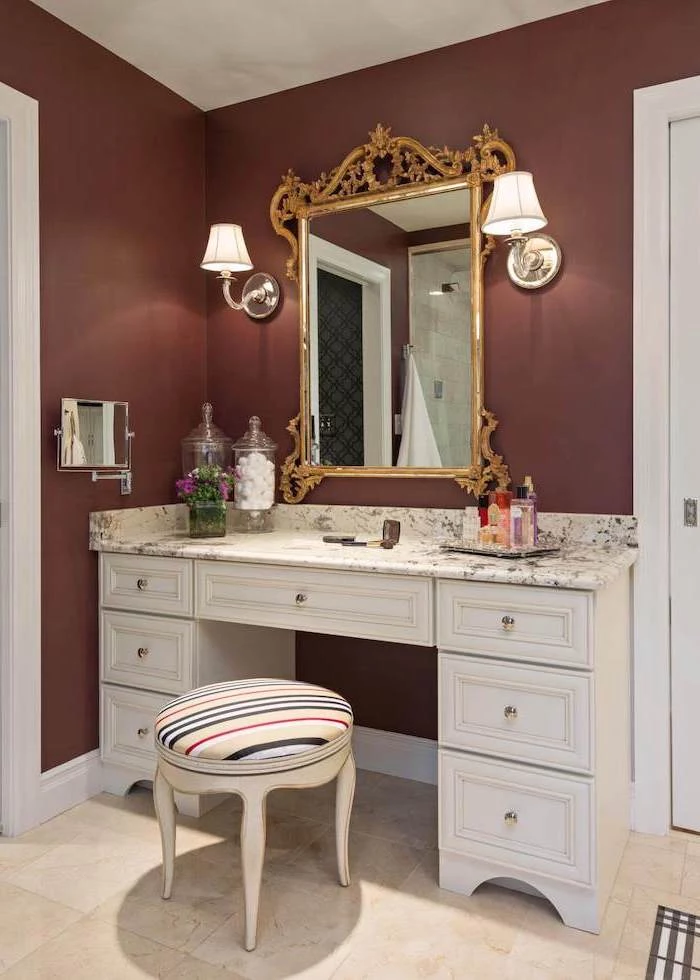
- Chair Height: Your chair is just as important as the table. And please, don’t just grab a spare dining chair! You need something adjustable. Look for a proper vanity stool with adjustable height, or even a stylish, less-bulky office chair. The goal is to have your feet flat on the floor with your knees at about a 90-degree angle to support your lower back.
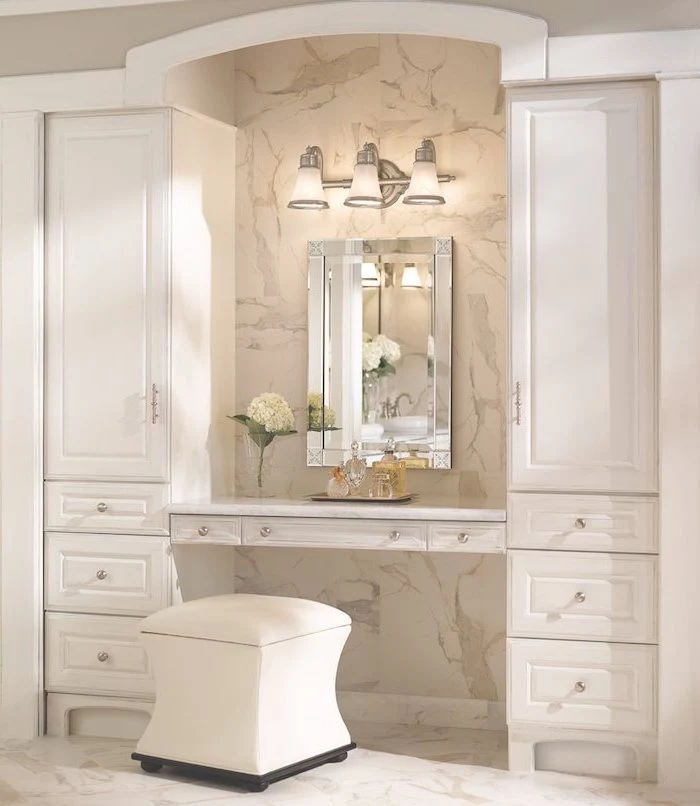
- Mirror Distance: You should be able to see your whole face while sitting up straight, only leaning in a few inches for detailed work. This means the mirror needs to be close enough and big enough for your setup.
Quick tip: Before you commit, test your spot. Put a temporary table and chair where you plan to set up. Sit there for 10 minutes and pretend to do your makeup. Do you feel cramped? Does your back start to ache? This simple test can save you a lot of money and regret.
Lighting Is Everything (No, Really)
If you only take one piece of advice from this entire guide, let it be this: lighting is the whole game. Bad lighting is the #1 reason your foundation doesn’t match your neck and your eyeshadow looks harsh and unblended in the car. I’ve had clients with stunning, expensive vanities who were miserable until we fixed the lighting.
Try This Now: Grab your phone and sit where you normally do your makeup. Open the front-facing camera and look at your face. Now, walk over to your biggest window, face the natural light, and do it again. See that incredible difference in clarity? That’s the power of good, frontal lighting we’re trying to replicate!
The Two Magic Words: CRI and Kelvin
There are two techy terms you need to know, and they make all the difference. They are Color Rendering Index (CRI) and Color Temperature (Kelvin).
Color Rendering Index (CRI) is a scale from 0 to 100 that measures how accurately a light source reveals true colors. Natural sunlight is a perfect 100. For makeup, you absolutely need a CRI of 90 or higher. Cheap LED or fluorescent bulbs often have a low CRI, which distorts color. Your foundation might look fine under that light, but it’ll suddenly look orange or ashy in daylight. Always check the “Lighting Facts” label on the bulb box for “CRI 90+.” You can find high-CRI bulbs from brands like GE Reveal at hardware stores, or look for specialty brands like Waveform Lighting online.
Color Temperature is measured in Kelvin (K) and tells you if the light is warm (yellow) or cool (blue).
- Warm Light (2700K-3000K): This is the cozy, yellowish light of a standard lamp. It’s flattering and relaxing, but it’s terrible for makeup. It hides flaws and makes it impossible to see if colors are blended.
- Cool Light (5500K-6500K): This is a very blue-white light, like an overcast day. It’s often too harsh and can wash you out, causing you to over-apply bronzer or blush to compensate.
- Neutral/Natural Daylight (4000K-5000K): This is your sweet spot. It’s a clean, bright white light that mimics natural daylight, showing you true-to-life color and blending without being unforgiving.
Light Placement: How to Avoid Weird Shadows
The single biggest lighting mistake is a single overhead light. It casts strong, unflattering shadows under your eyes, nose, and chin, making it impossible to blend your foundation. You’ll be fighting shadows the entire time.
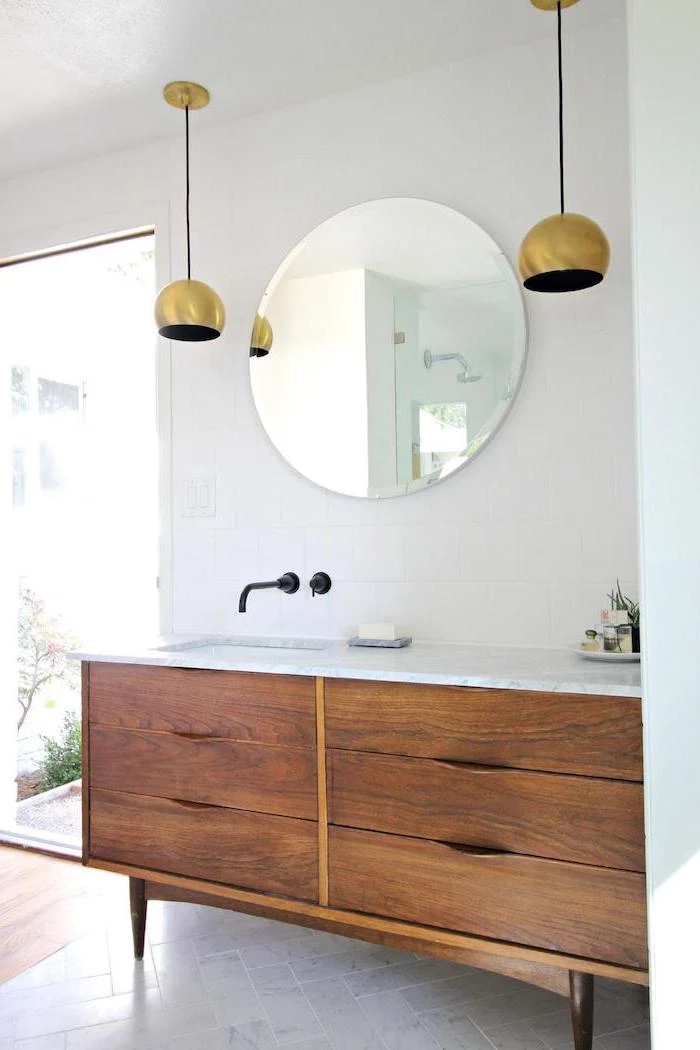
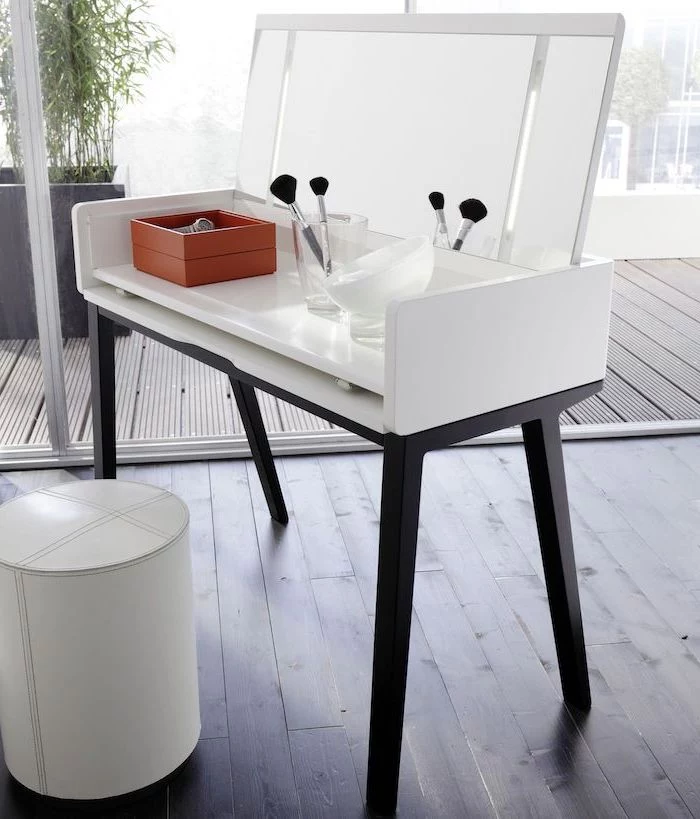
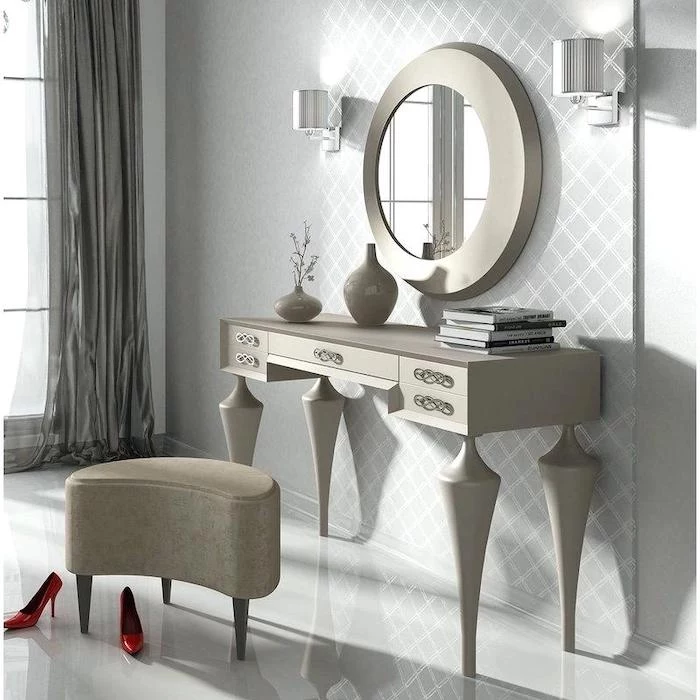
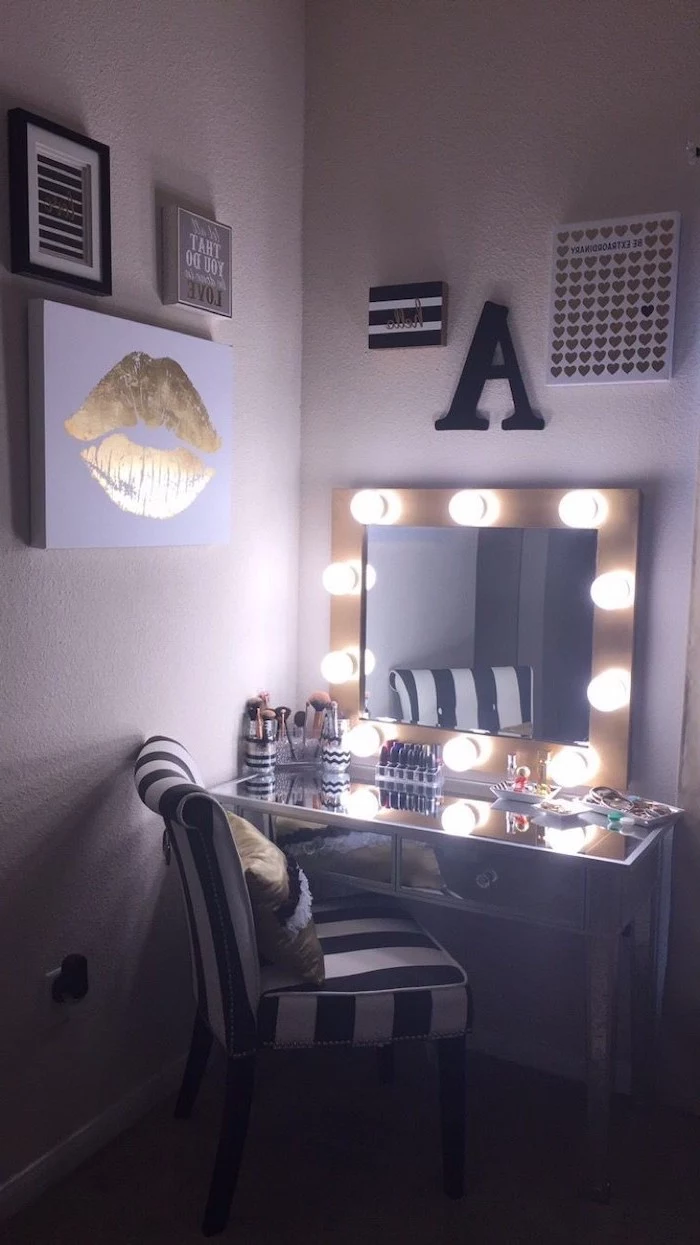
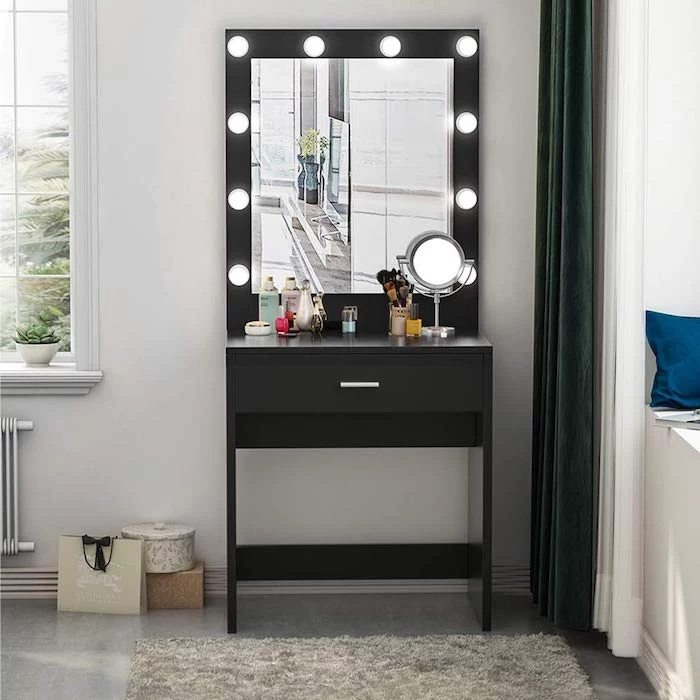
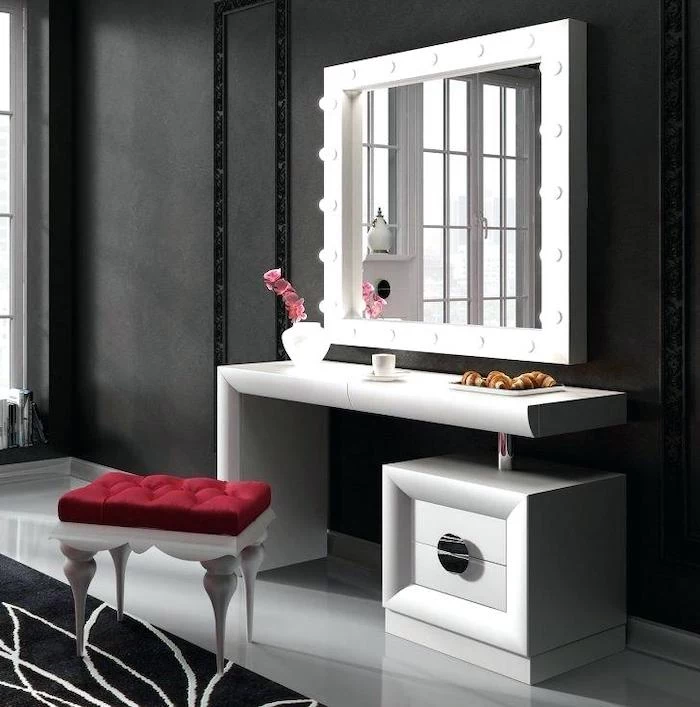
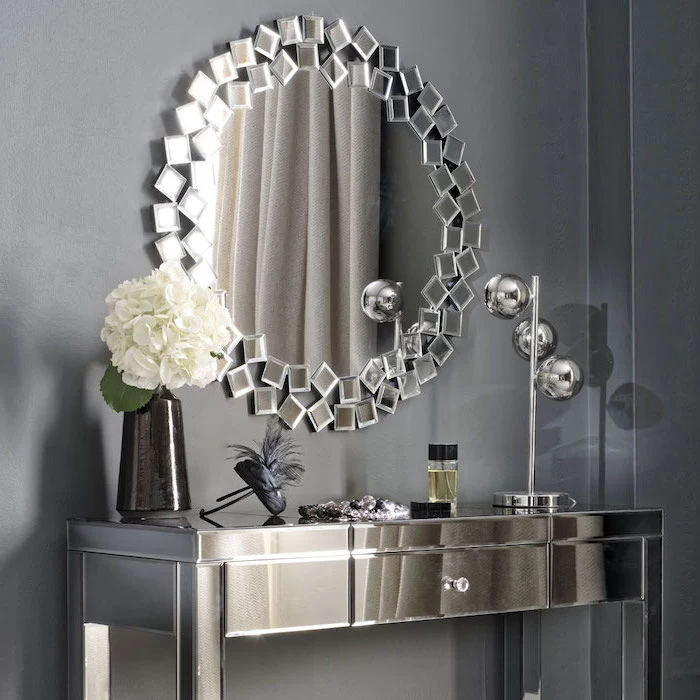
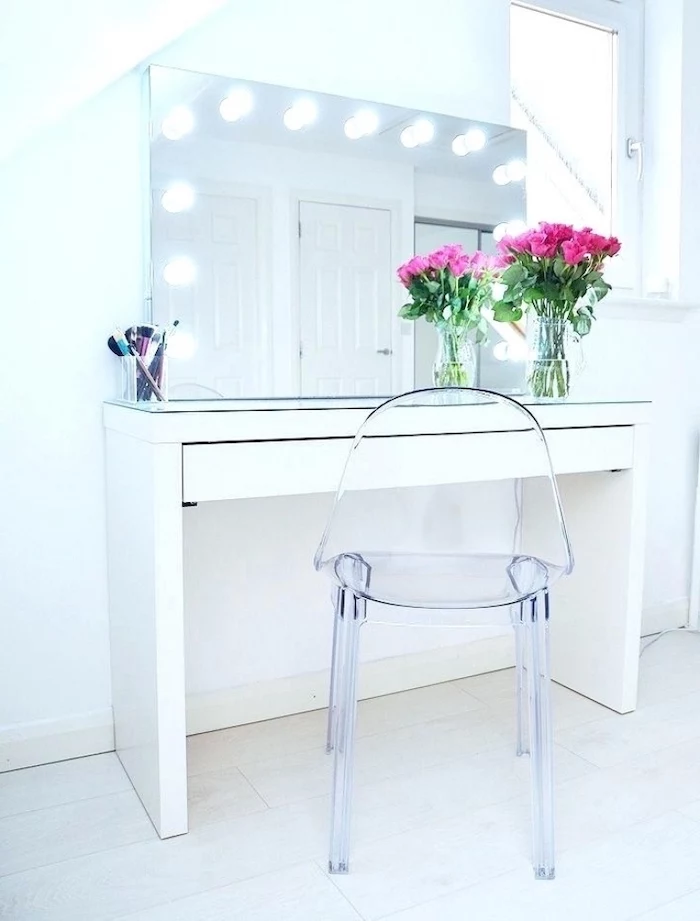
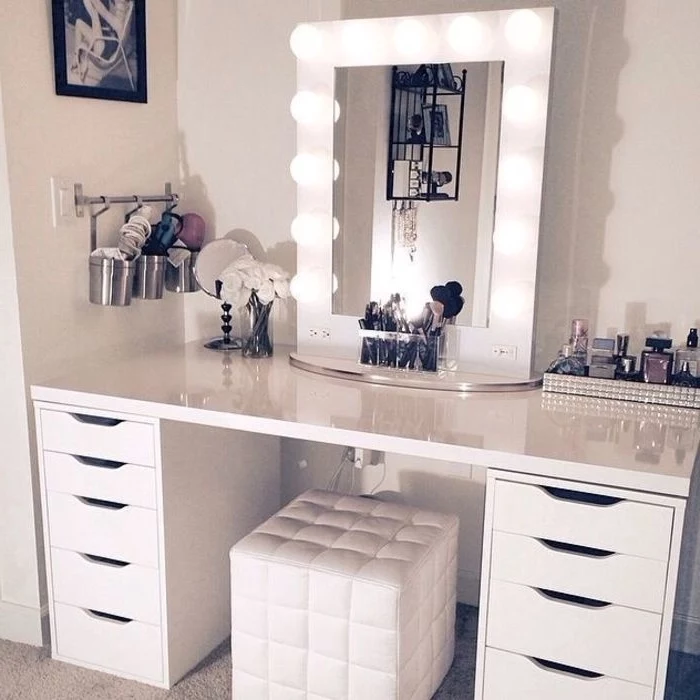
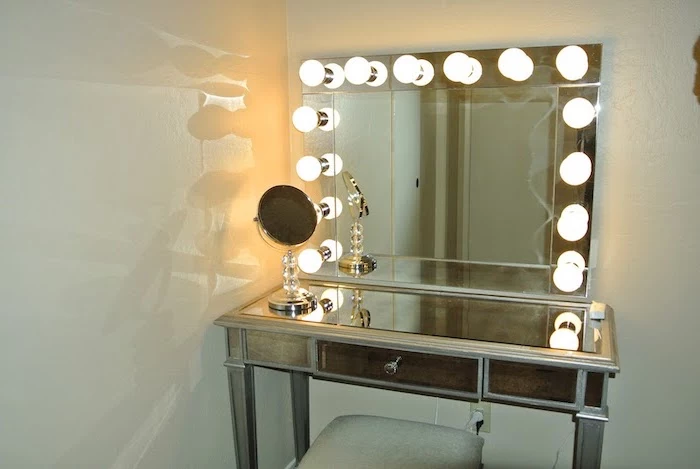
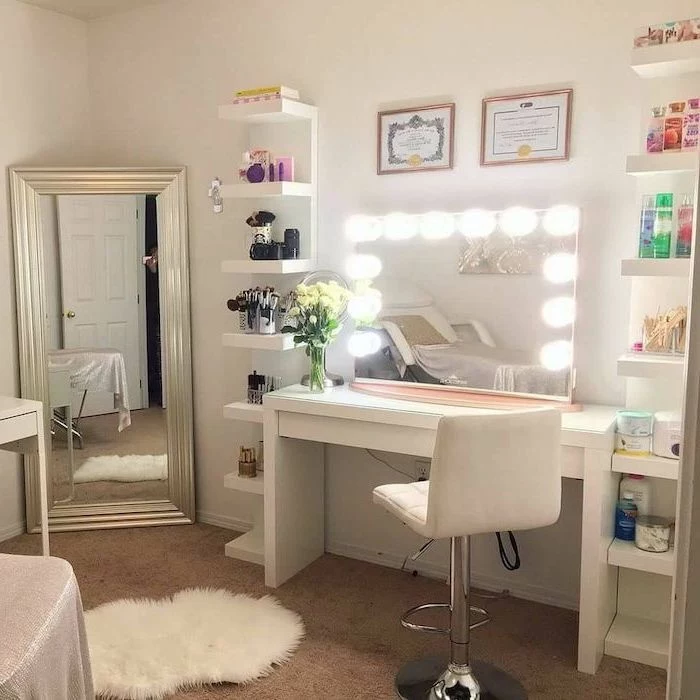
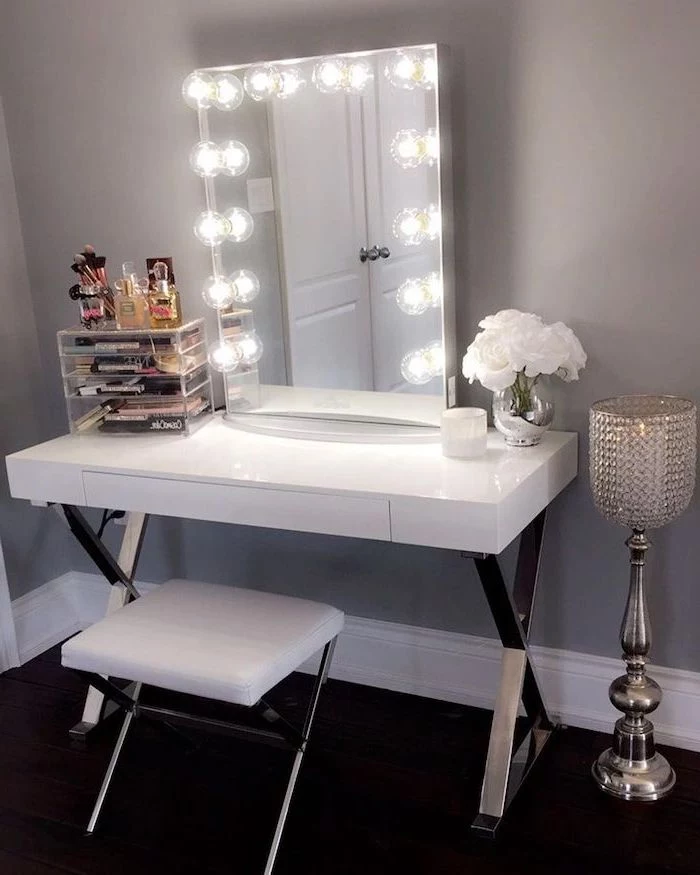
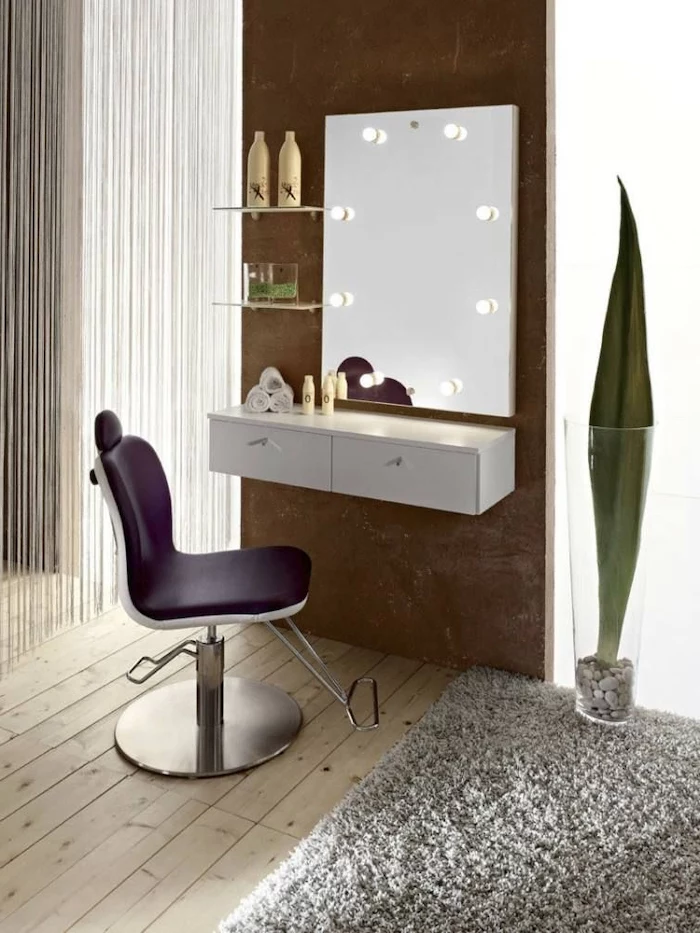
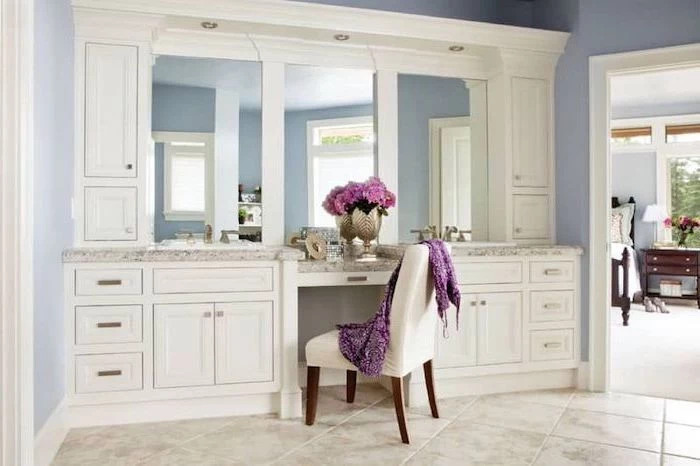
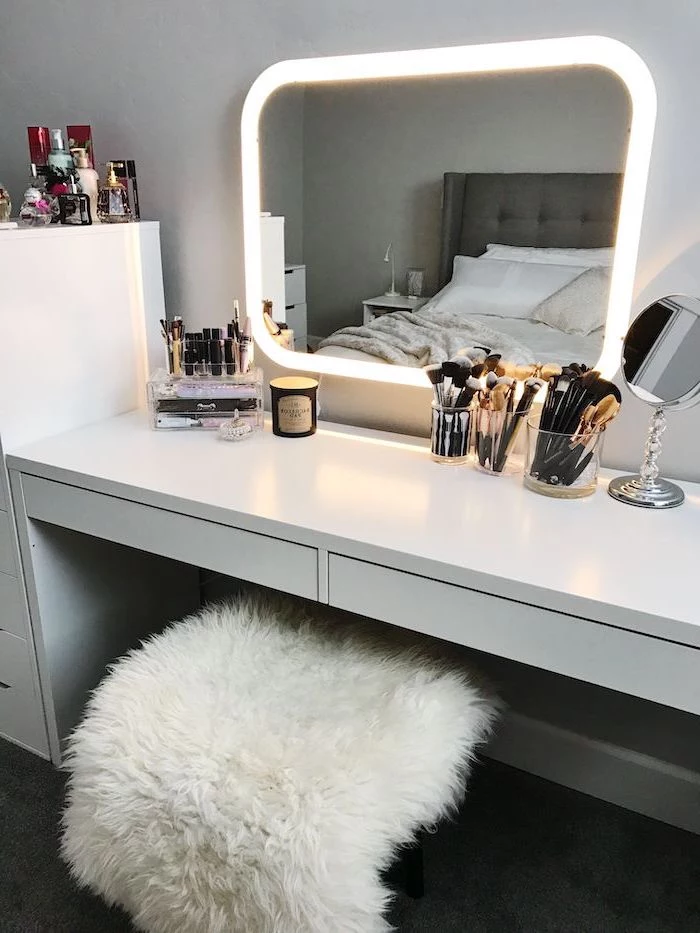
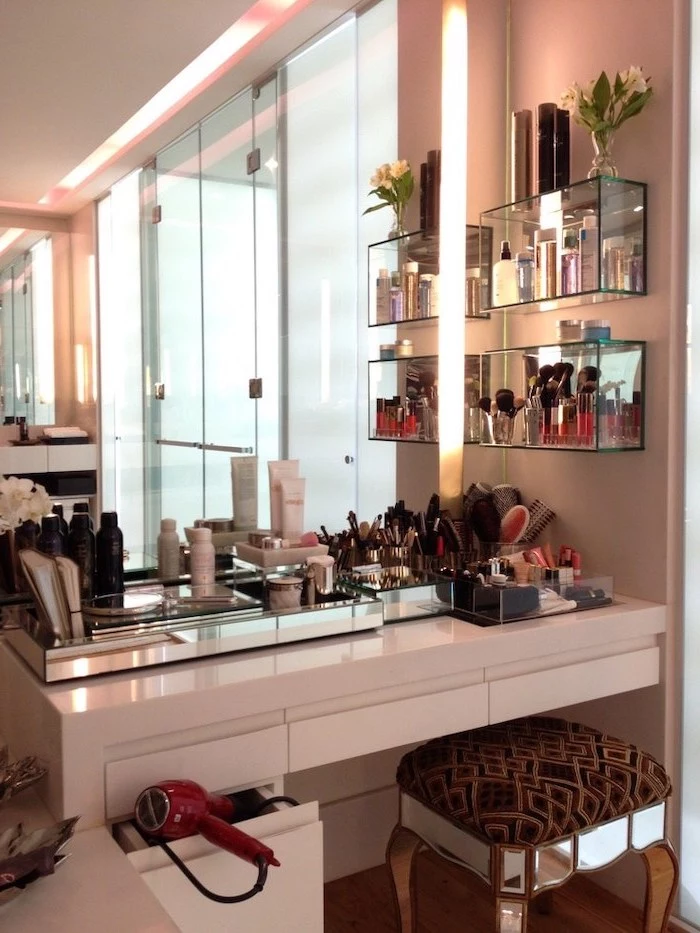
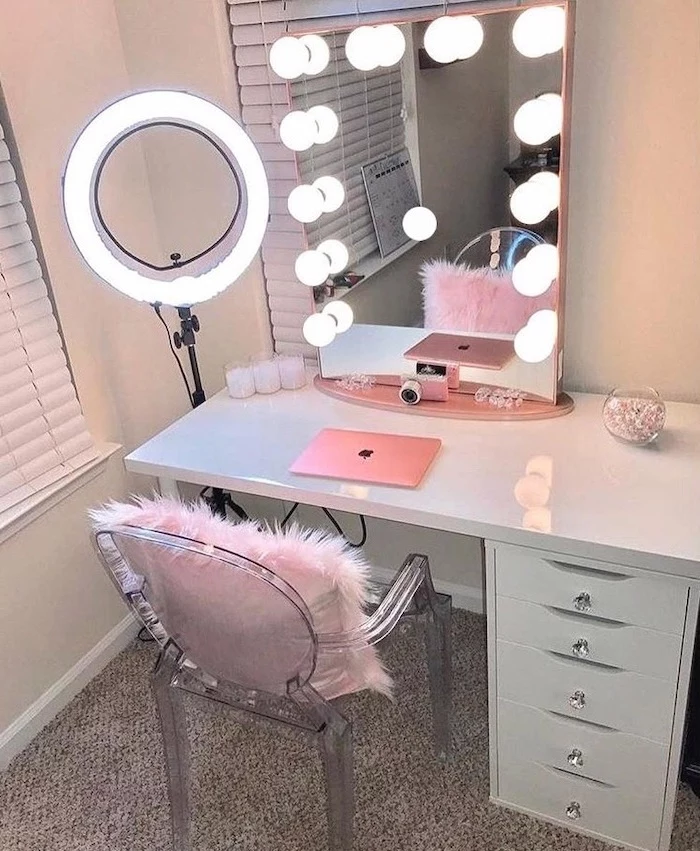
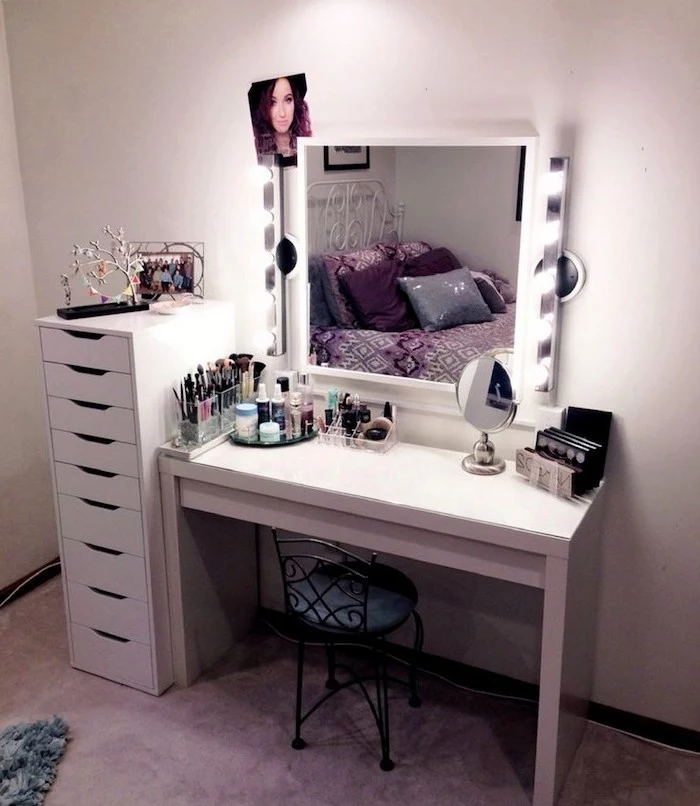
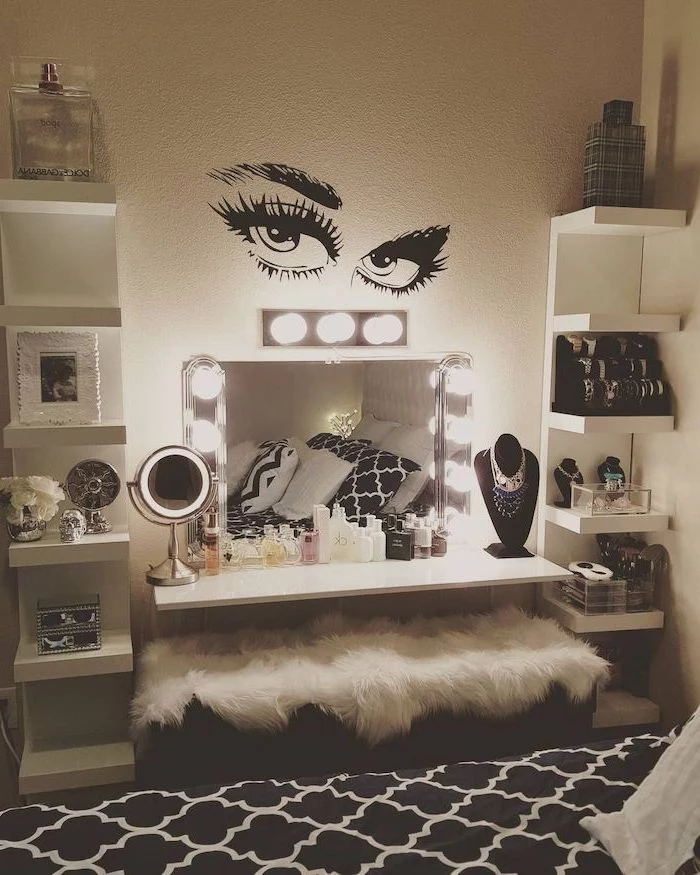
The best light comes from the front, hitting your face evenly from both sides. This is why classic Hollywood-style mirrors with bulbs around the frame work so well—they create cross-illumination that cancels out shadows. Here are a few ways to get it right:
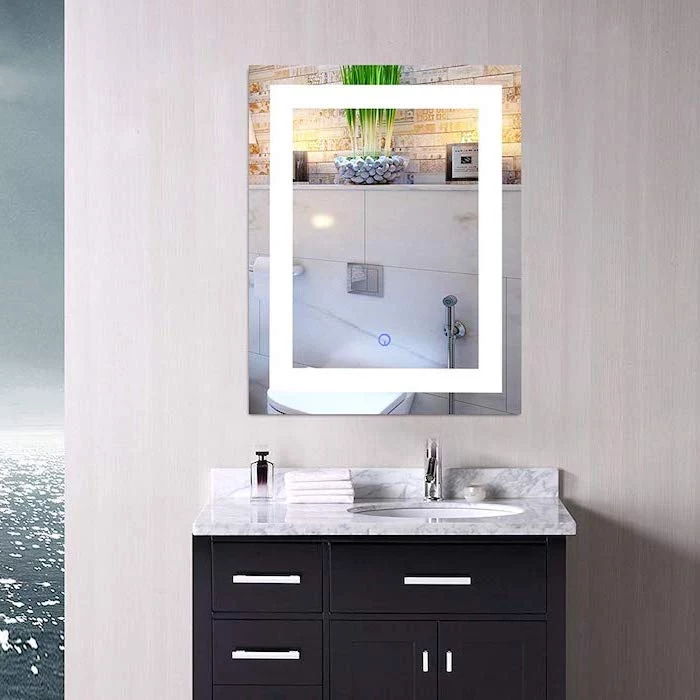
- Integrated Lighted Mirrors: These are sleek, modern mirrors with built-in LED strips. They can be great, but you have to check the specs! Many cheap ones online have a low CRI and are way too cool-toned (blue). Expect to pay a bit more for a quality one.
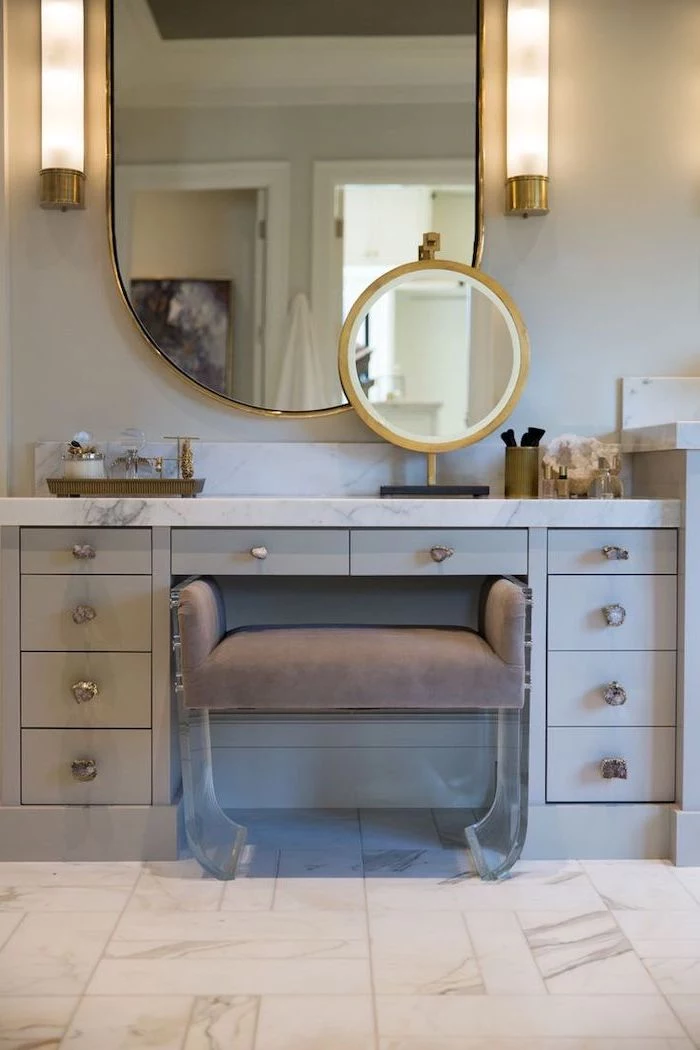
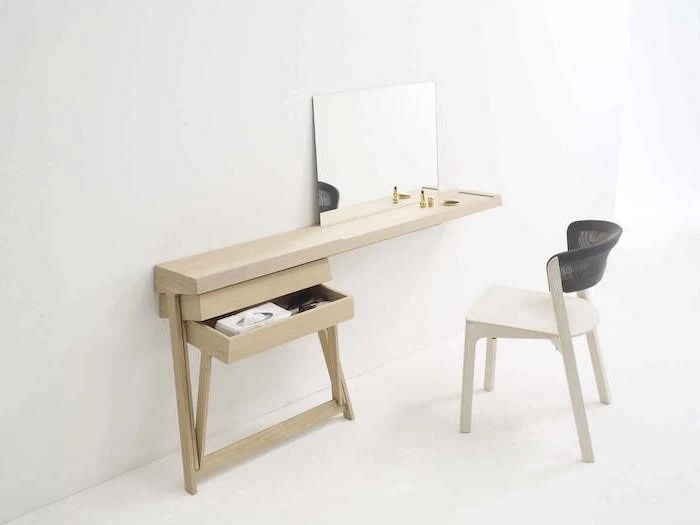
- Vertical Sconces: This is my favorite method for a truly professional setup. Install two vertical sconces on either side of a simple mirror, with the center of each light positioned at about eye level. This gives you a beautiful, even wash of light.
- DIY Light Bars: This is a fantastic budget-friendly solution. You can buy stick-on LED light bars, often for under $40 on Amazon, and attach them to the sides of an existing mirror. Just make sure to put them on the sides, not just at the top!
And one last thing: get dimmable lights! This lets you check your makeup for different environments, from a brightly lit office to a dim restaurant.
Choosing Your Vanity Desk and Storage
Okay, with the planning done, now we can shop. Your vanity desk needs a durable, easy-to-clean surface, and your storage needs to be smarter, not just bigger.
The Best (and Worst) Vanity Surfaces
Let’s be real, makeup is messy. Spilled foundation, powder fallout, and nail polish remover can destroy furniture. You need a surface that can take a beating.
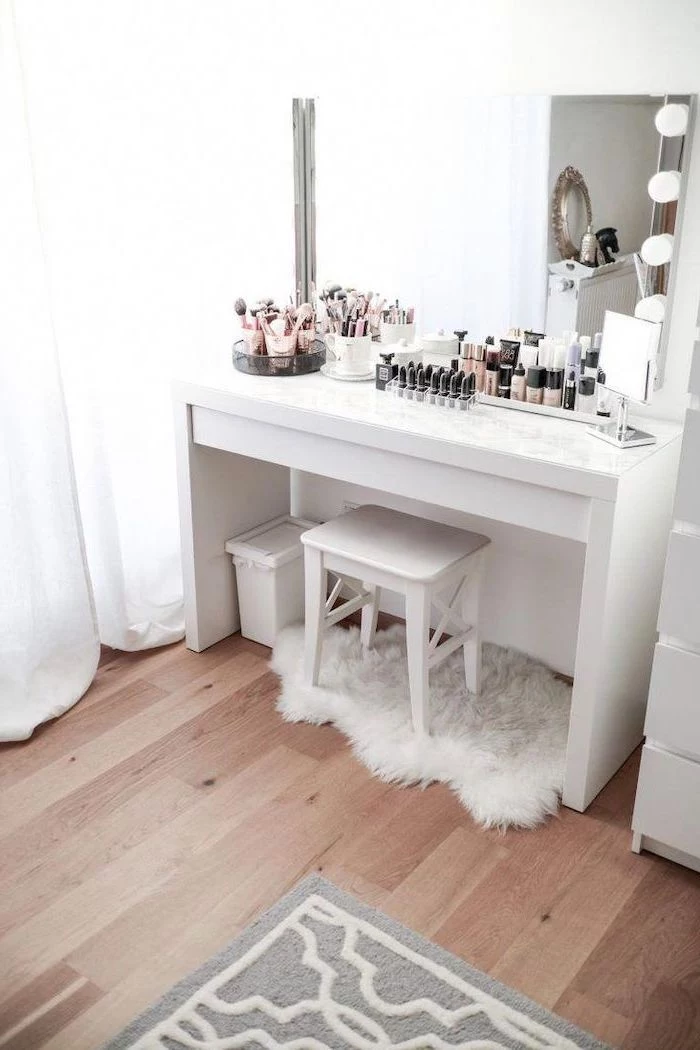
- Laminate: This is an excellent, budget-friendly choice ($). It’s non-porous, highly stain-resistant, and comes in tons of finishes, from faux wood to solid white.
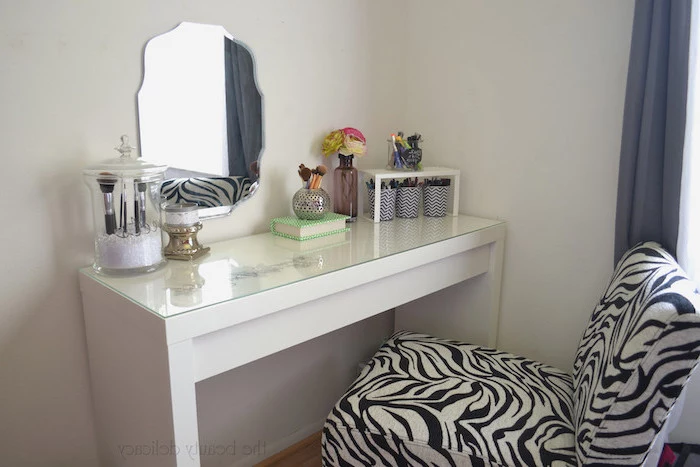
- Glass Top: A simple and effective solution. Placing a piece of tempered glass over a wood or painted desk protects the furniture underneath and is super easy to wipe clean. It does show dust, but it’s worth it.
- Solid Surface: This is a premium option ($$$), like Corian, often used for kitchen counters. It’s incredibly durable and non-porous.
- Sealed Wood: If you love the look of wood, make sure it’s sealed with several coats of a protective finish like polyurethane. An oiled wood finish is not enough to protect against makeup stains.
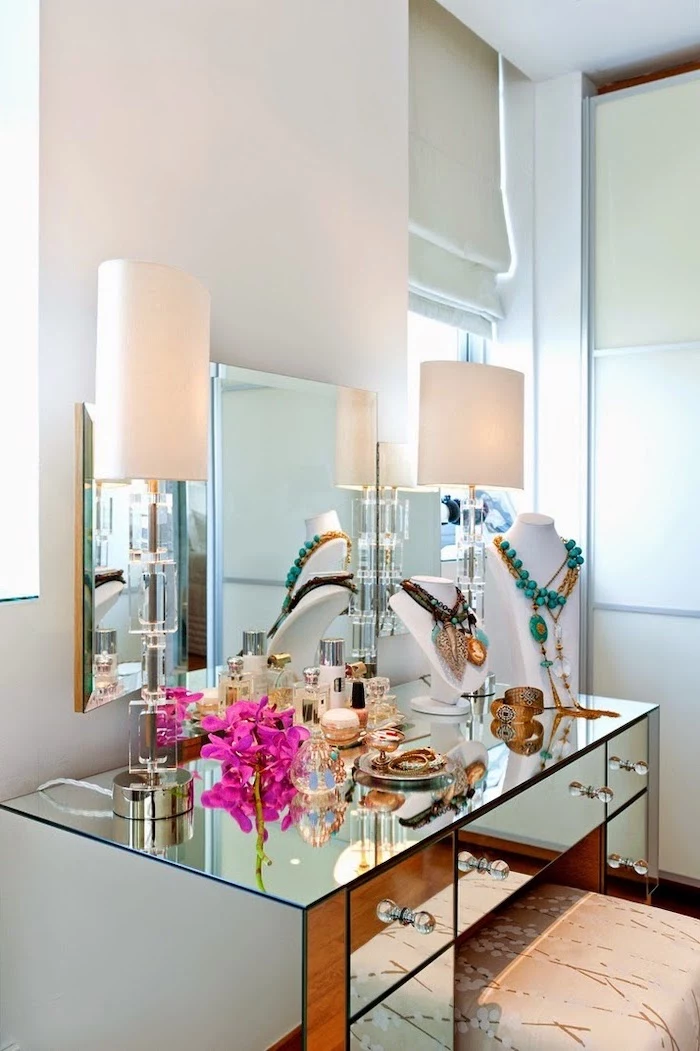
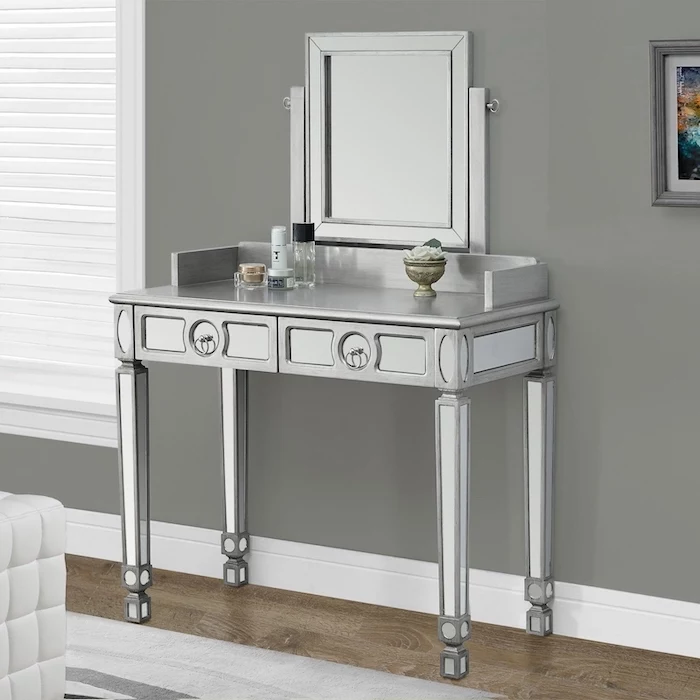
- Stone (Use With Extreme Caution): Materials like marble look luxurious but are porous ($$$). They will stain very easily from liquid makeup and oils unless they are professionally sealed on a regular basis. To be frank, I usually advise against it.
The Secret to Great Organization
Good organization isn’t about buying a hundred clear acrylic boxes. It’s about creating a system based on how you actually use your products.
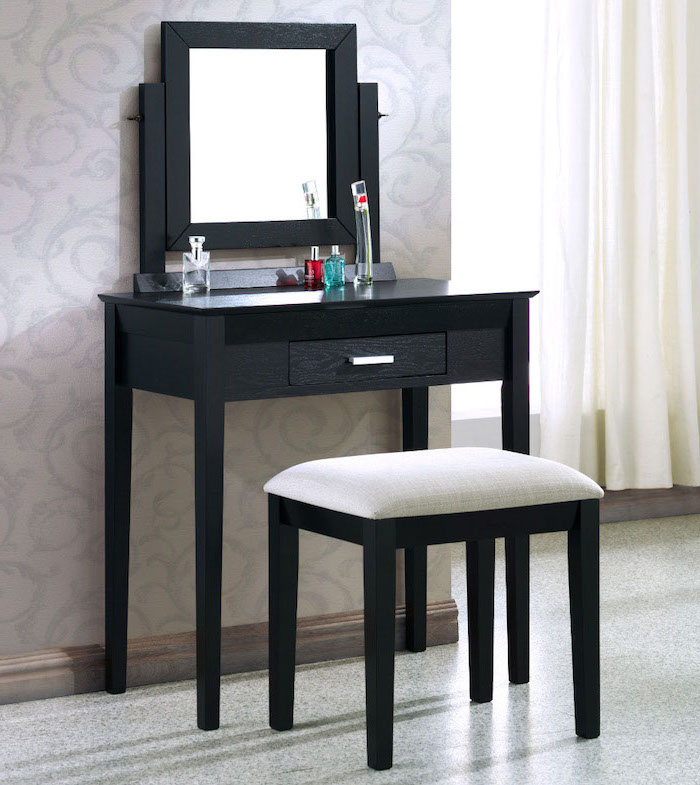
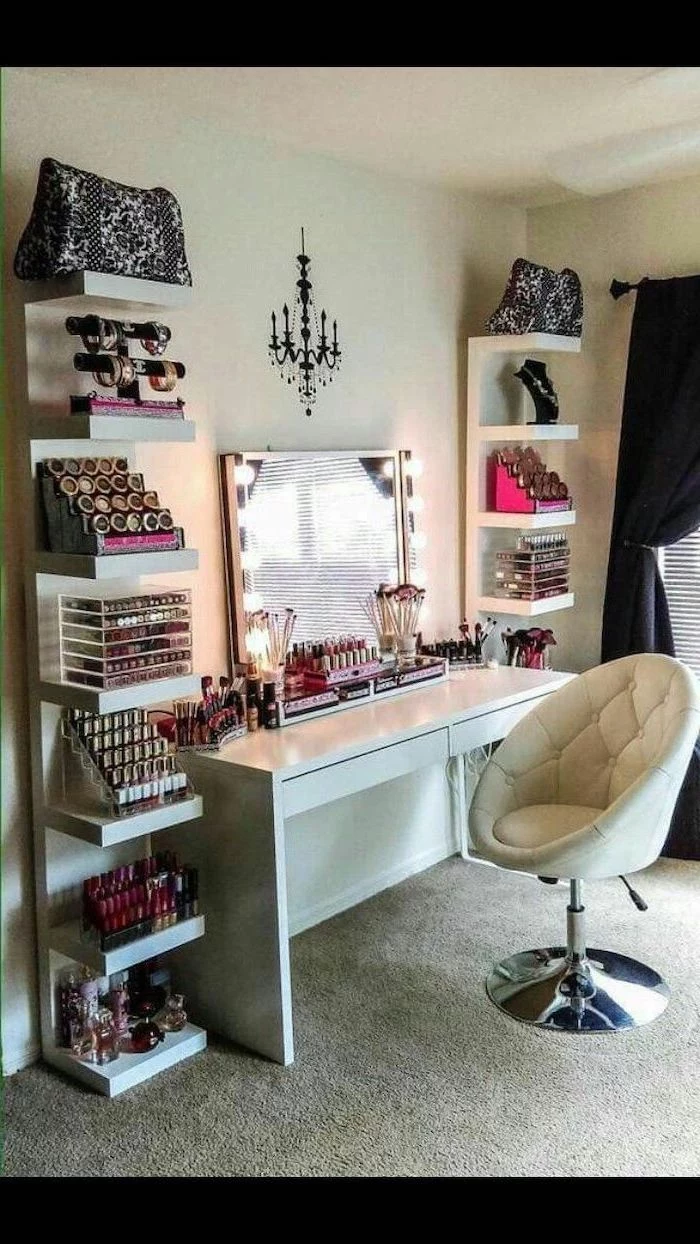
Shallow Drawers Are Your Best Friend
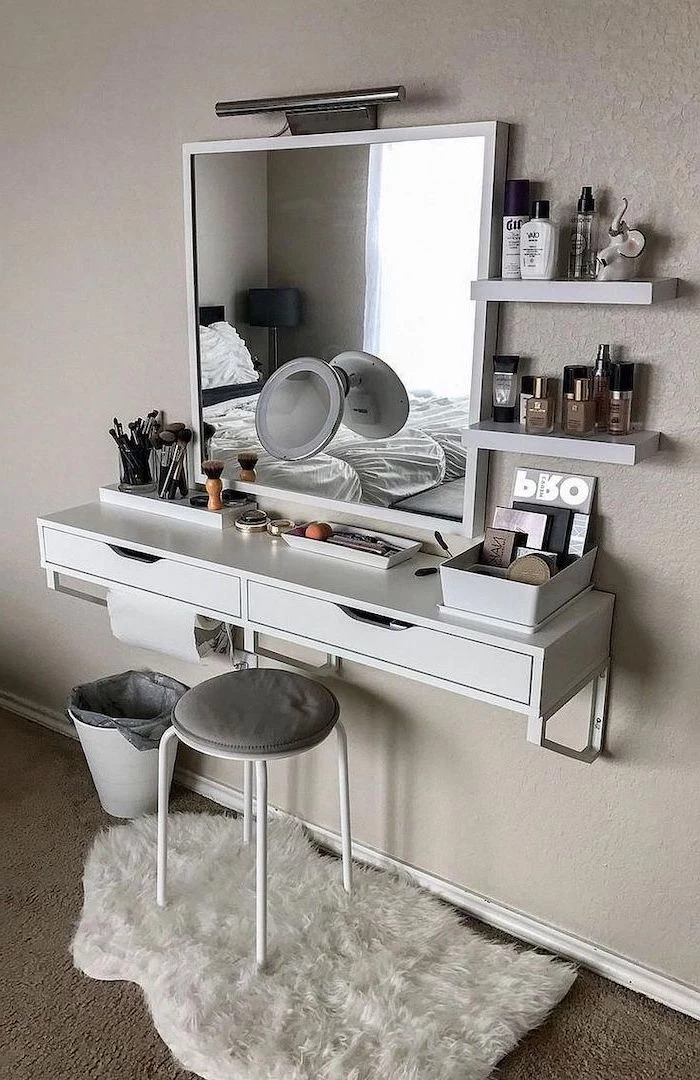
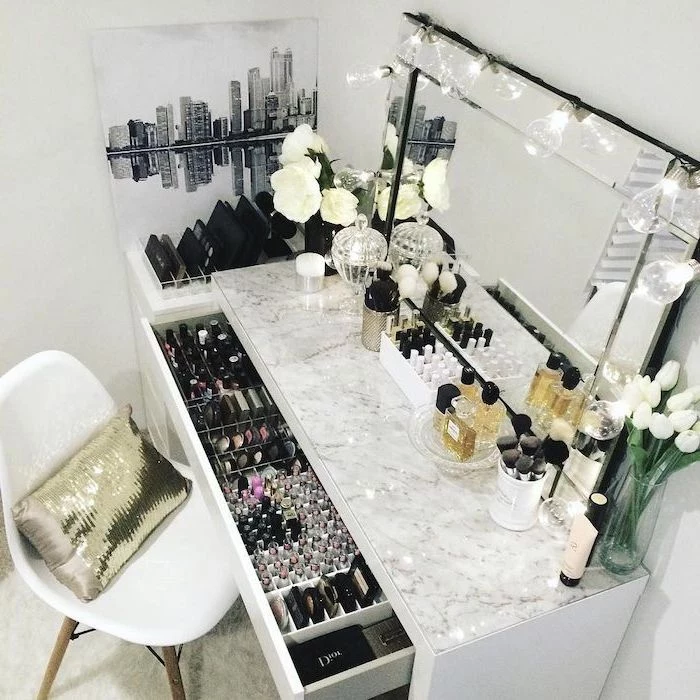
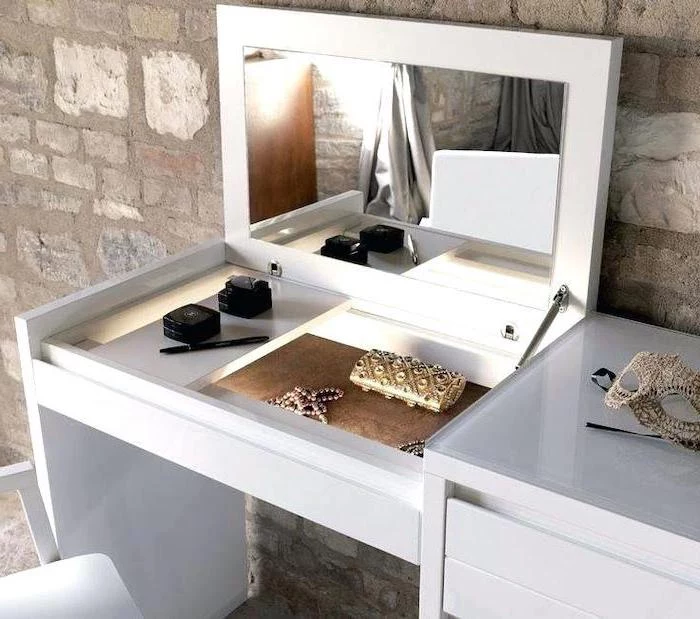
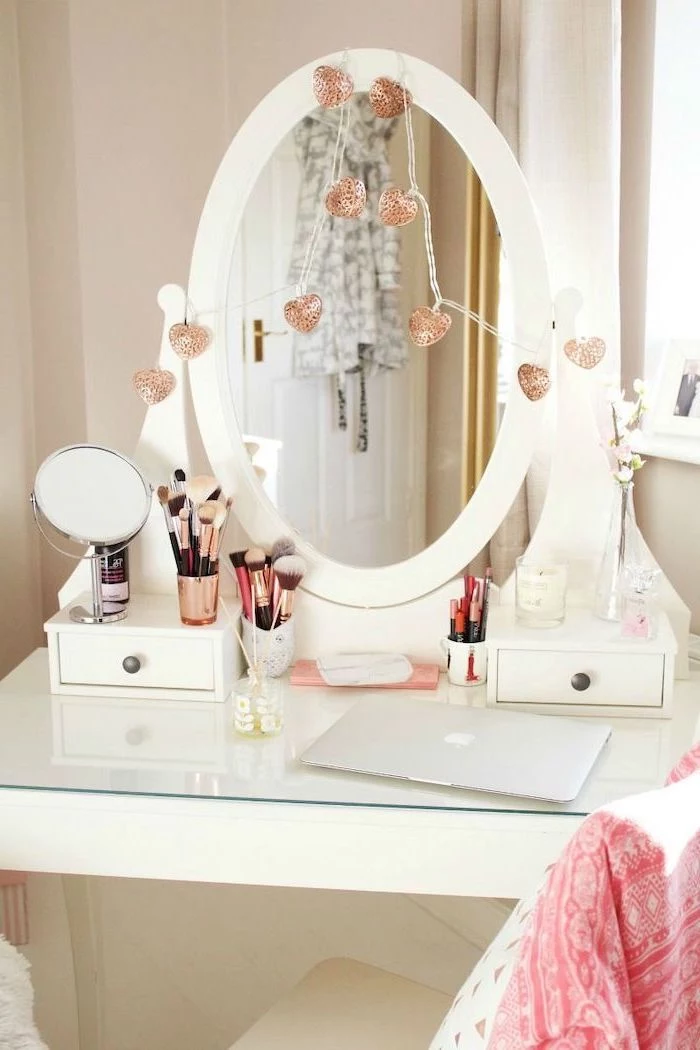
This is one of the biggest lessons I ever learned. I once built a client a beautiful vanity with three deep, roomy drawers. She hated it. Her single eyeshadows and palettes got lost in stacks. For my next project, I made the top drawer only 3 inches deep inside. It was a game-changer. Everything could be laid out in a single layer, visible and accessible. Use shallow drawers for makeup and deeper drawers for bulky hair tools and tall bottles.
The Daily vs. Archive Method
Divide your products into two groups: what you use daily/weekly, and your
Inspiration Gallery
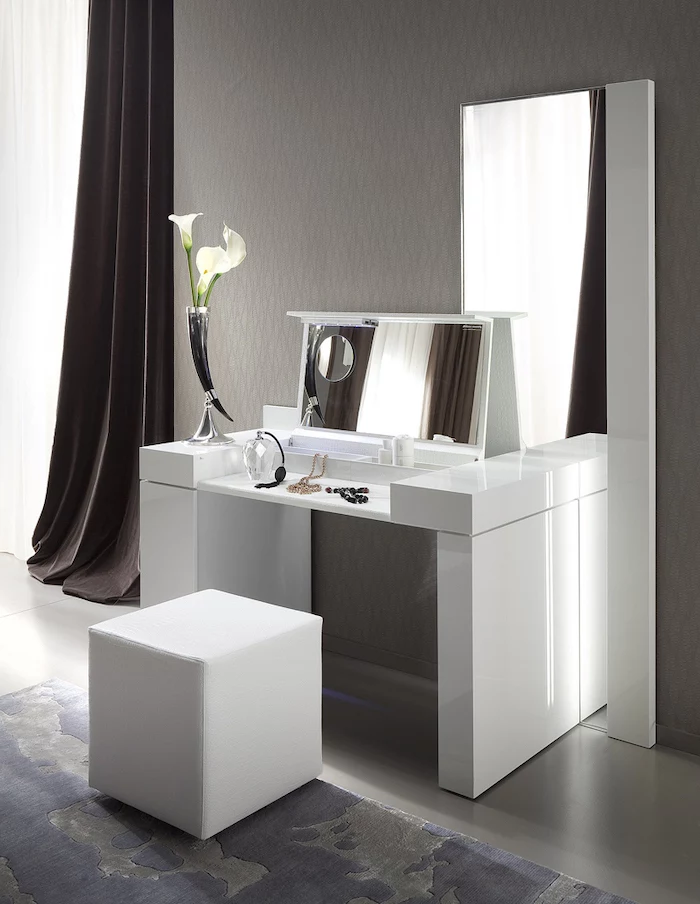
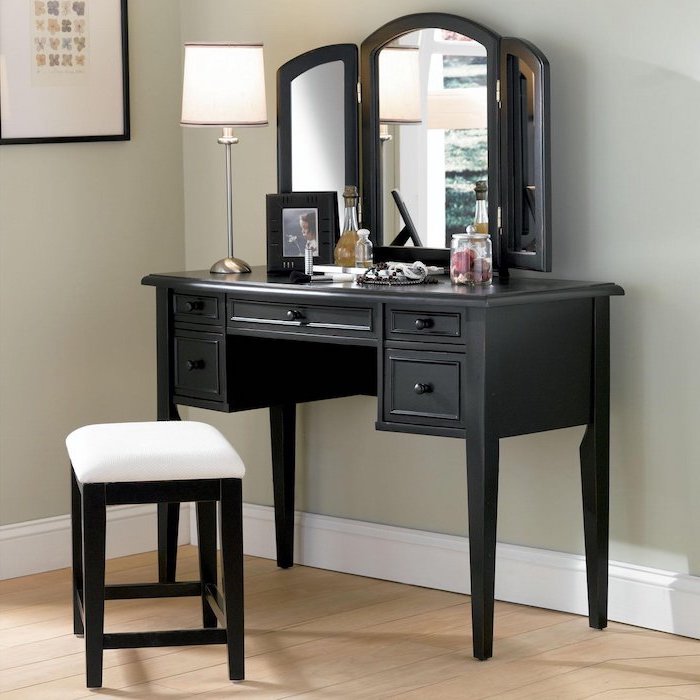
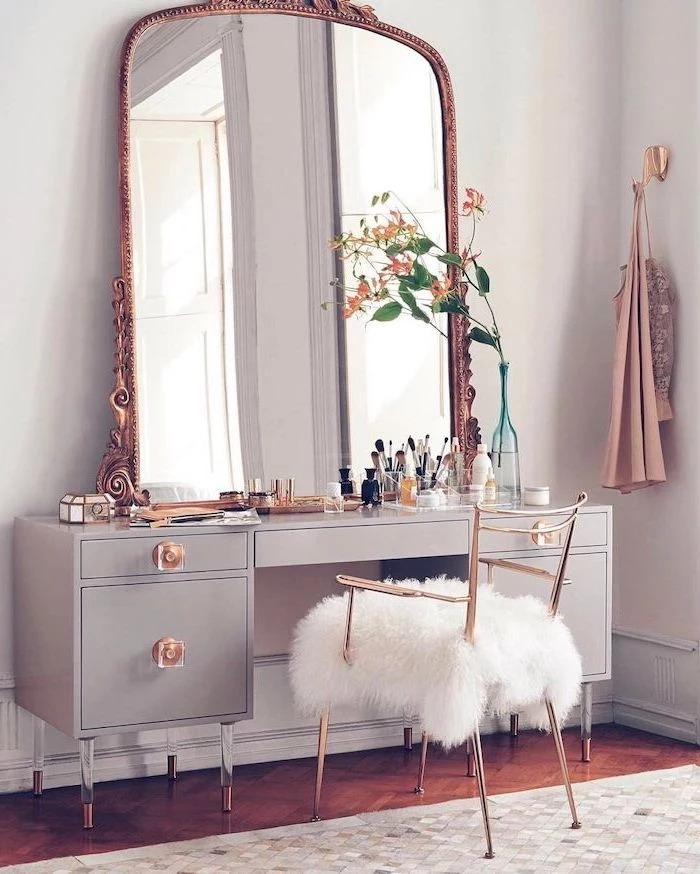
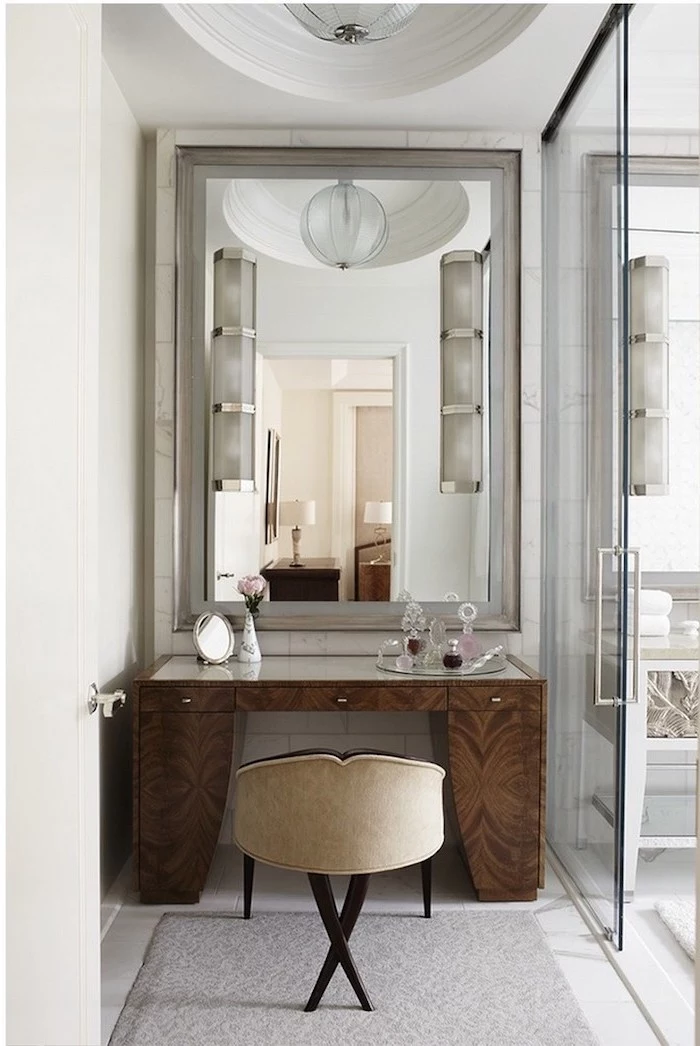
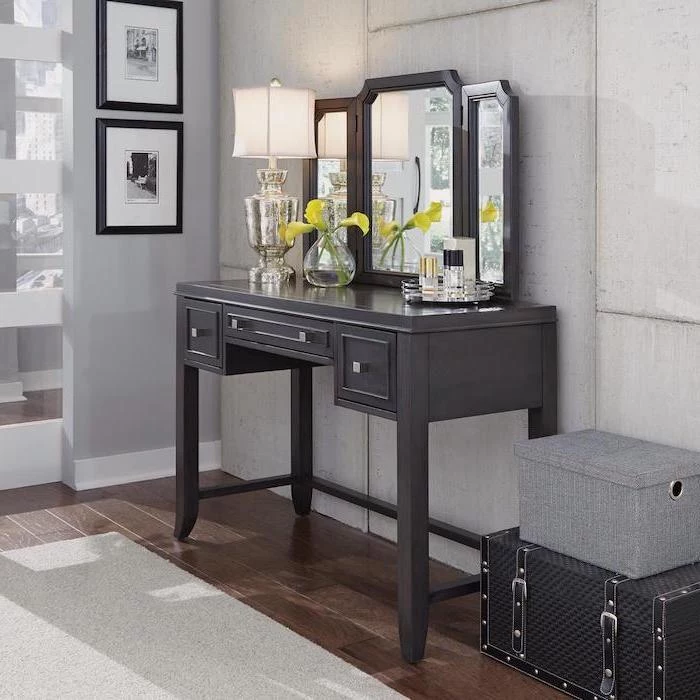
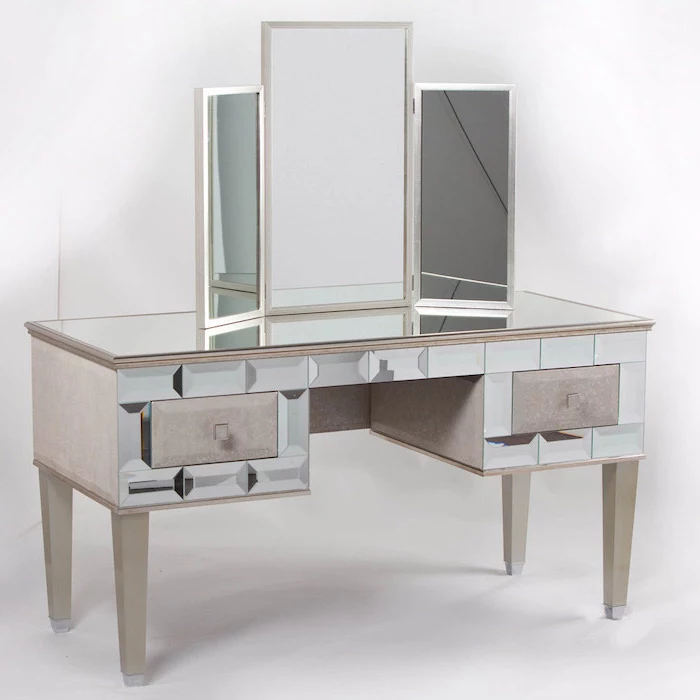
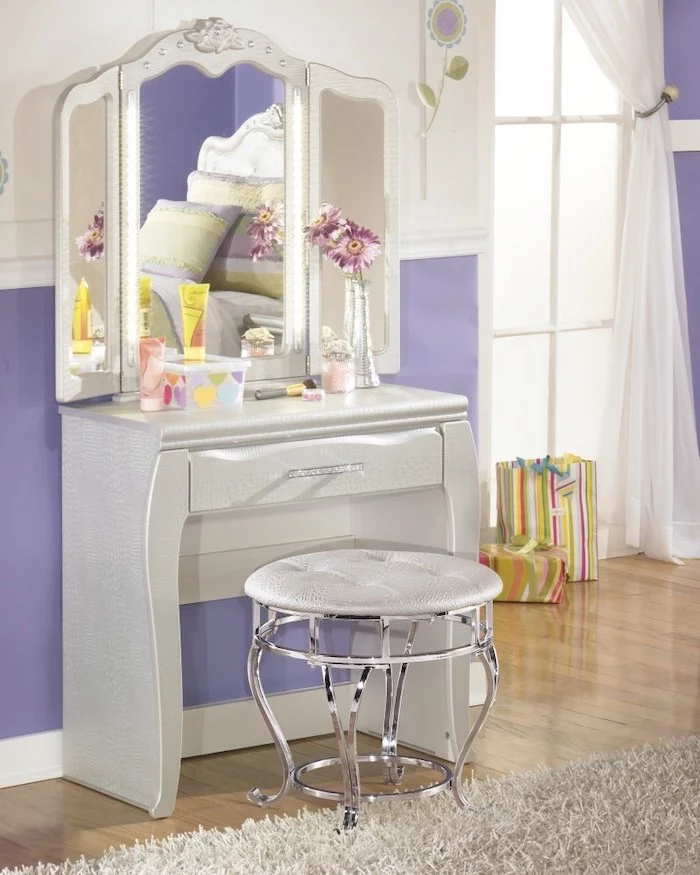
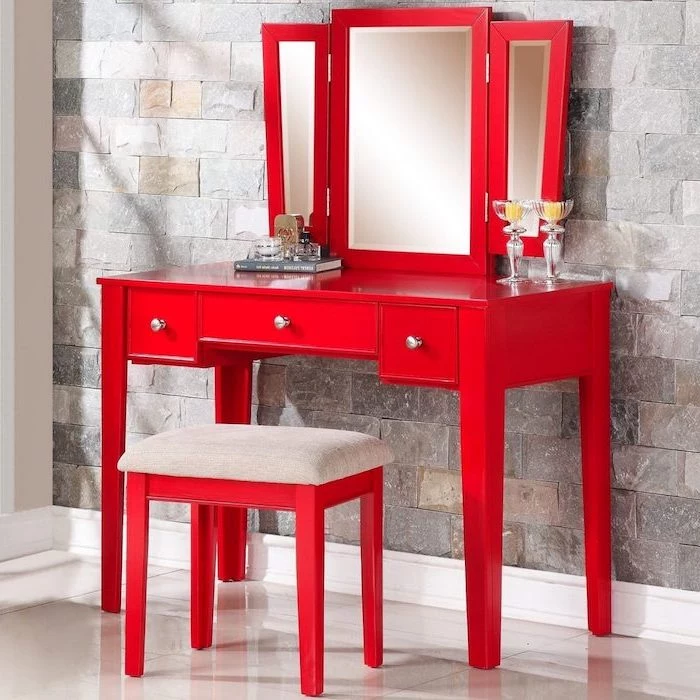
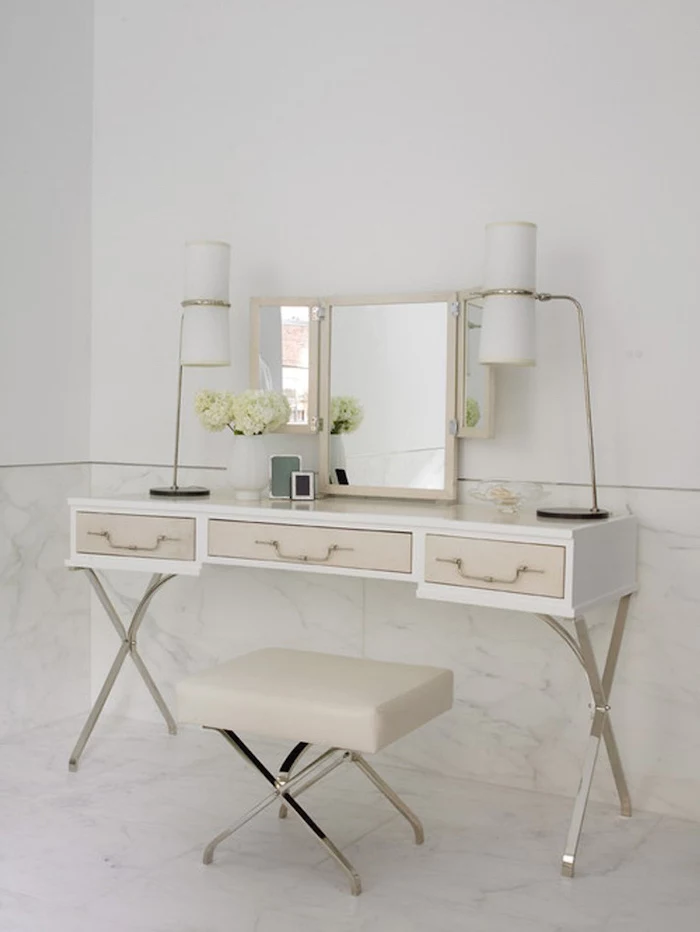
A tri-fold mirror isn’t just for a vintage aesthetic; it’s a strategic tool. It allows you to see your face from multiple angles without having to constantly shift or hold a hand mirror. This is particularly crucial for checking the blend on your jawline, winged eyeliner symmetry, and contouring. It’s a simple upgrade that dramatically improves precision.
- Keep your most-used items (foundation, concealer, mascara) in a low-profile tray or acrylic holder on the tabletop for quick access.
- Dedicate drawers to categories: one for eyeshadow palettes, another for lip products, and a third for base products and powders.
- Use adjustable drawer dividers, like the customizable bamboo options from The Container Store, to keep items from rolling around and getting messy.
The secret to pro-level lighting is Color Temperature. Look for bulbs or fixtures rated between 4000K and 5000K. This range mimics natural daylight, ensuring the makeup you apply indoors looks exactly the same when you step outside. Anything warmer (below 3500K) can make you over-apply bronzer, while cooler tones (above 5500K) can wash you out.


The ideal desk height allows your elbows to rest at a 90-degree angle, with your feet flat on the floor.
The undisputed champion of DIY vanities is the classic IKEA hack. It’s affordable, customizable, and incredibly functional. The most popular combination is:
- Two ALEX drawer units as the base for ample, deep storage.
- A LINNMON or KARLBY tabletop laid across the top to create a generous workspace.
This setup provides more storage and surface area than most pre-built vanities at a fraction of the cost.
Why are clear acrylic organizers so popular?
Beyond the clean, minimalist look, their transparency is a huge functional advantage. You can see everything at a glance, eliminating the need to rummage through opaque boxes or bags. This cuts down on search time and helps you remember to use products you might otherwise forget. Brands like Muji and iDesign have perfected these modular systems for a tidy, efficient setup.

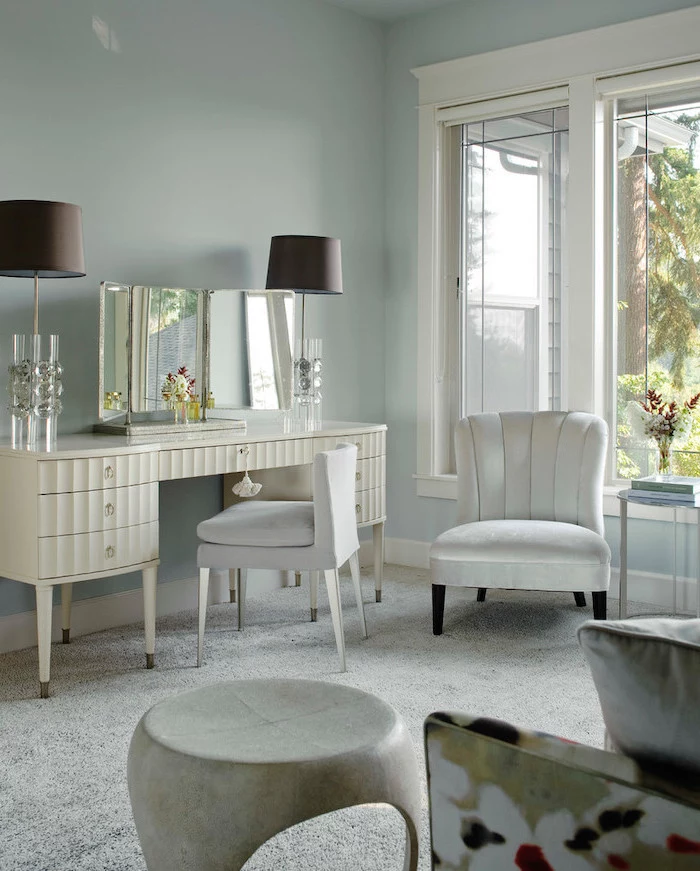
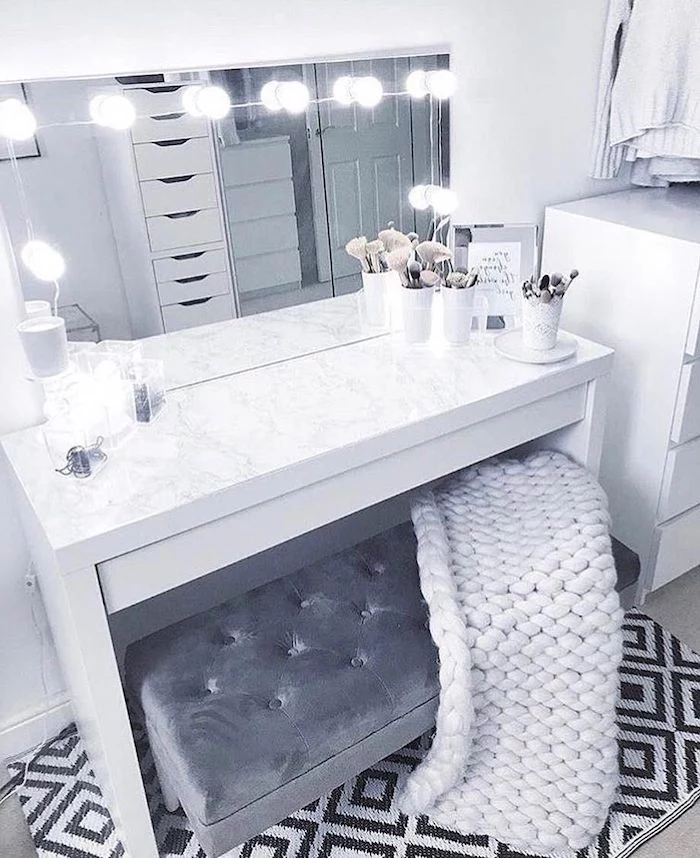
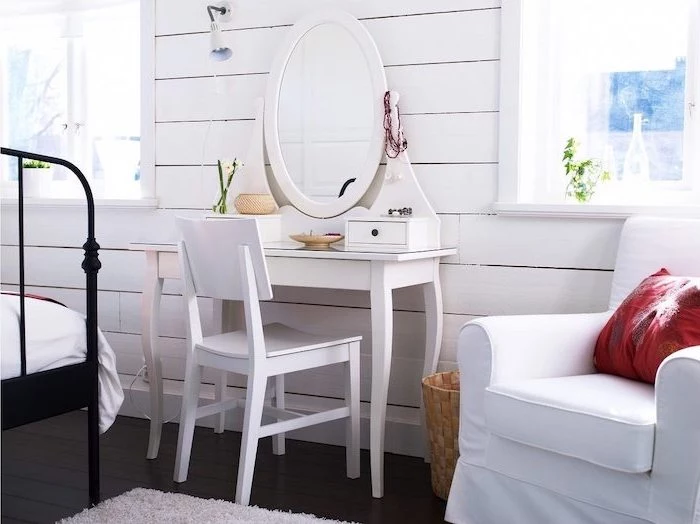
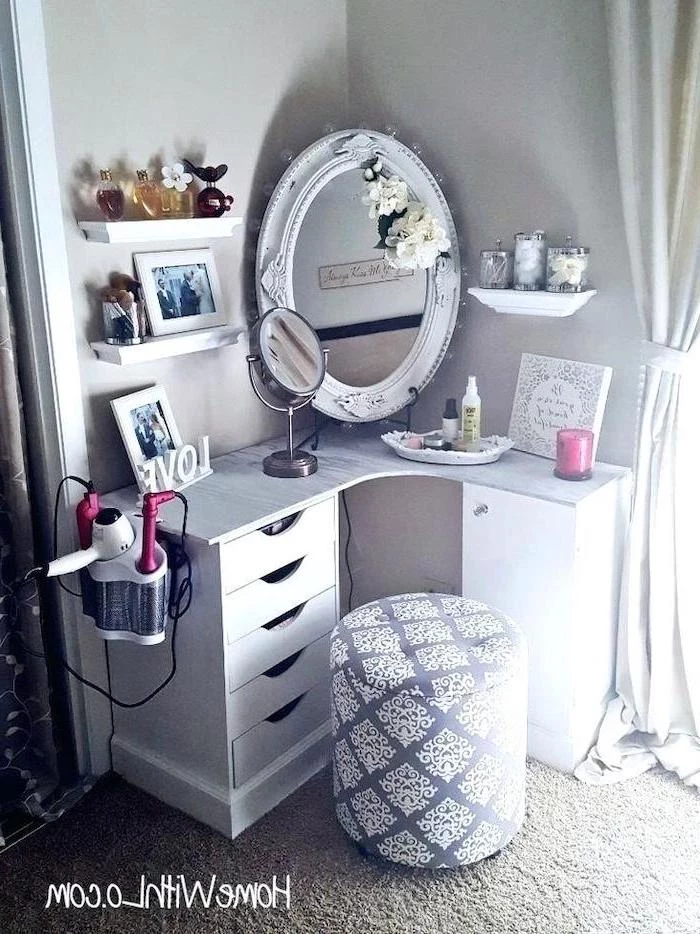
Stool: A backless stool or ottoman is great for small spaces as it can be tucked completely under the vanity. It encourages active posture but may be less comfortable for longer routines.
Chair: A chair with back support provides superior comfort, which is crucial if your beauty routine is a longer, more relaxing ritual. Look for an adjustable-height desk chair with a stylish twist.
Ultimately, the choice depends on space constraints and personal comfort.

A light’s Color Rendering Index (CRI) measures its ability to reveal colors accurately compared to a natural light source. For makeup, a CRI of 90+ is non-negotiable.
This is why makeup applied under poor-quality LED or fluorescent lighting can look ‘off’. A high-CRI light, like those from Glamcor or Simplehuman, ensures that your foundation shade is a true match and your eyeshadow colors appear as vibrant as they do in the palette.
- Maximizes storage in a small footprint.
- Keeps your tabletop clear and uncluttered.
- Displays your prettiest products like decor.
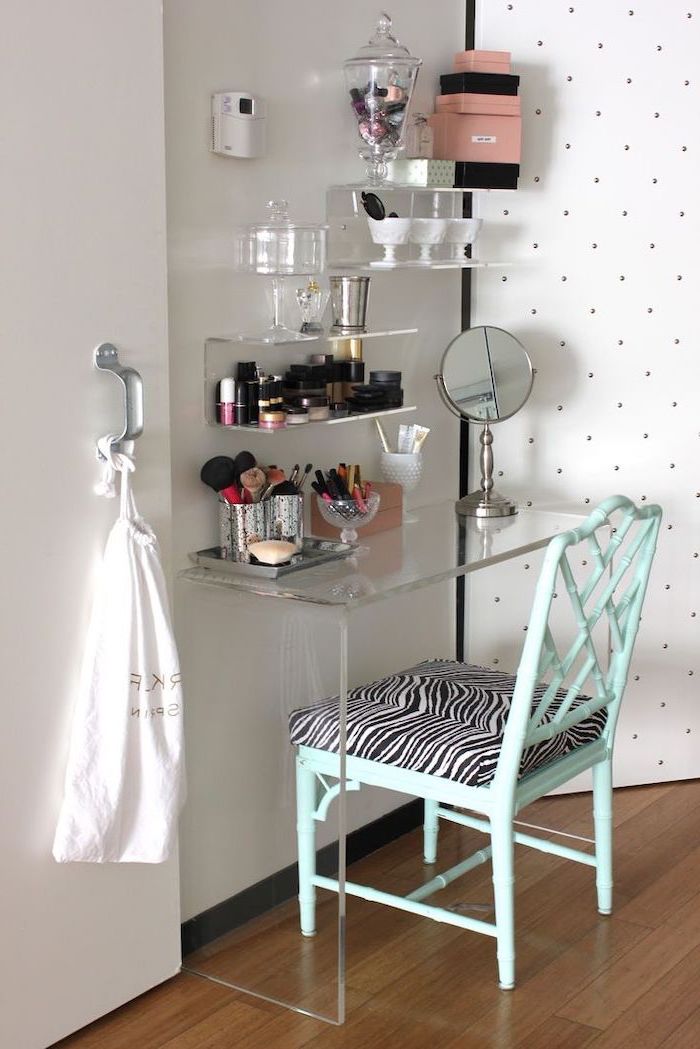
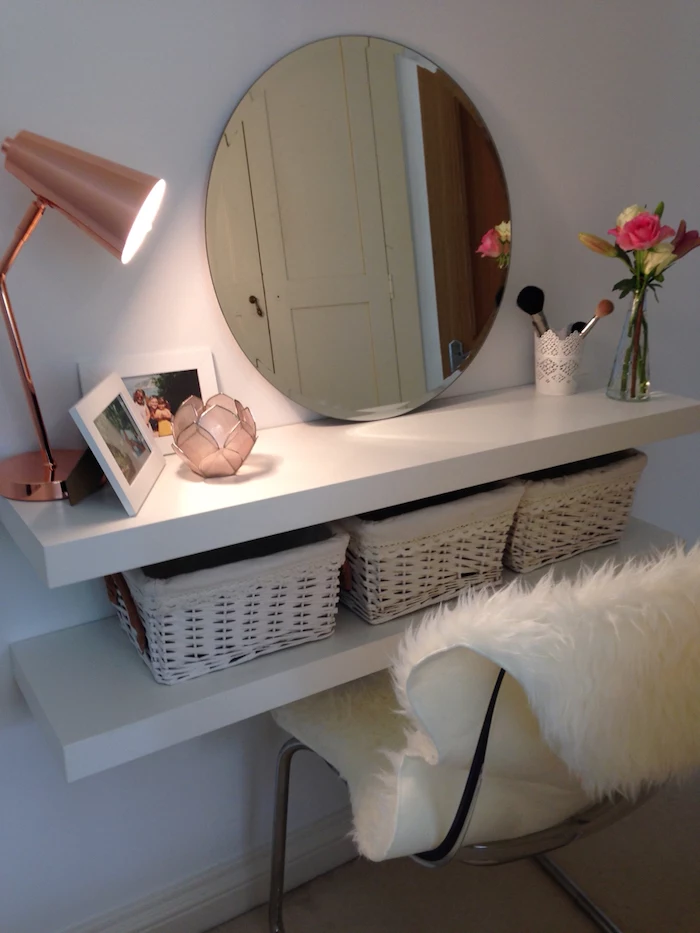
The secret? Go vertical. Use floating shelves (like IKEA’s LACK) or wall-mounted acrylic organizers above your vanity to store palettes, perfumes, and brushes. This draws the eye upward and makes the space feel larger.
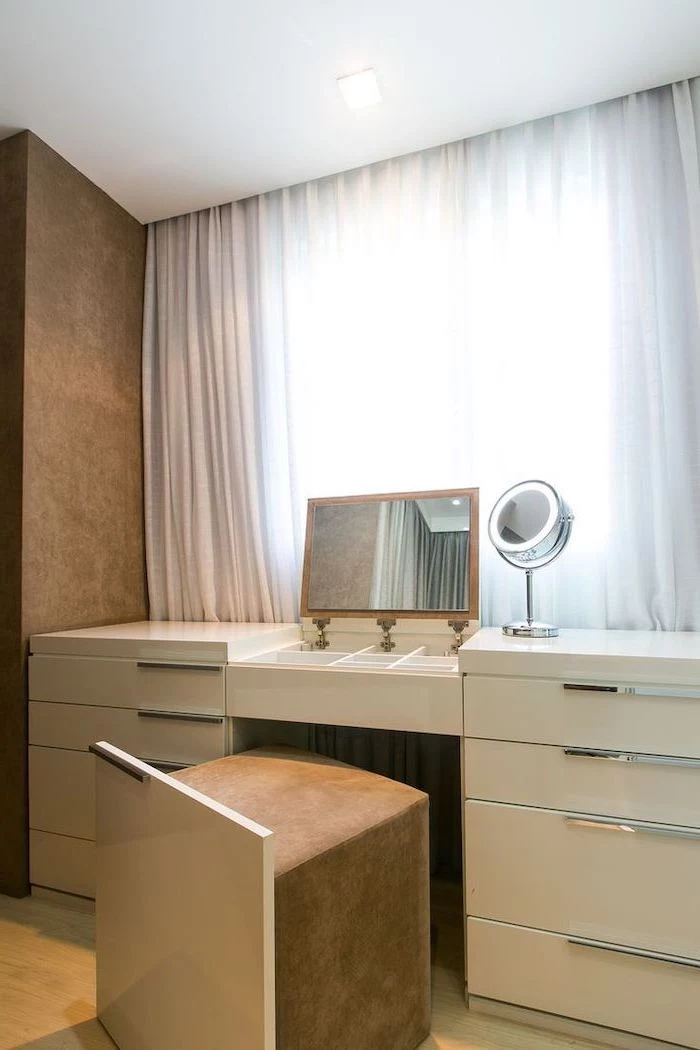
Think beyond traditional vanity tables. A vintage secretary desk can be a brilliant and stylish alternative. The fold-down surface provides an instant tabletop, while the small cubbies and drawers are perfectly sized for organizing lipsticks, eyeliners, and small compacts. It’s a unique piece that hides the clutter when not in use.

Mirrored Surfaces: Use a microfiber cloth with a 50/50 solution of distilled water and white vinegar. Avoid ammonia-based cleaners, which can damage the silver backing over time.
High-Gloss Lacquer: Dust with a soft, dry cloth. For smudges, use a slightly damp microfiber cloth and dry immediately to prevent water spots.
Natural Wood: Dust regularly and use a wood-specific cleaner like Murphy Oil Soap sparingly to maintain the finish and prevent buildup.
The most overlooked detail: easy access to power. Between hair straighteners, curling irons, lighted mirrors, and phone chargers, you’ll need outlets. Plan for a nearby wall outlet or, even better, integrate a power strip with USB ports into a drawer or discreetly mount it to the back of your vanity table for a clean, wire-free surface.
The concept of a dedicated ‘dressing table’ or ‘vanity’ first gained widespread popularity among the European elite in the late 17th century, becoming an ornate status symbol.
Before you buy a single item, create a mood board. This will help you define your desired aesthetic and ensure all your chosen pieces work together harmoniously. Try this process:
- Use Pinterest or tear pages from magazines to gather images you love.
- Pinpoint common themes: Are you drawn to gold accents, minimalist lines, or plush velvet textures?
- Select a core color palette of 2-3 colors to guide your choices for the table, chair, and key accessories.
Are smart mirrors just a gimmick?
While some features are purely for fun, others are genuinely useful. High-end smart mirrors like the HiMirror can analyze your skin condition, track progress, and even simulate makeup looks using augmented reality. Many models also include adjustable light settings, weather forecasts, and Bluetooth speakers, turning your vanity into a true multi-functional command center for your morning.
Integrated Lights: Mirrors with built-in LED strips offer a sleek, seamless, and modern look. The downside is that if the lights fail, you often have to replace the entire unit.
Separate Lights: Hollywood-style bulbs or attachable light bars (like those from anity) offer more customization in placement and bulb type. They’re also easier and cheaper to replace if one burns out.
For flexibility and long-term maintenance, separate lights are often the more practical choice.
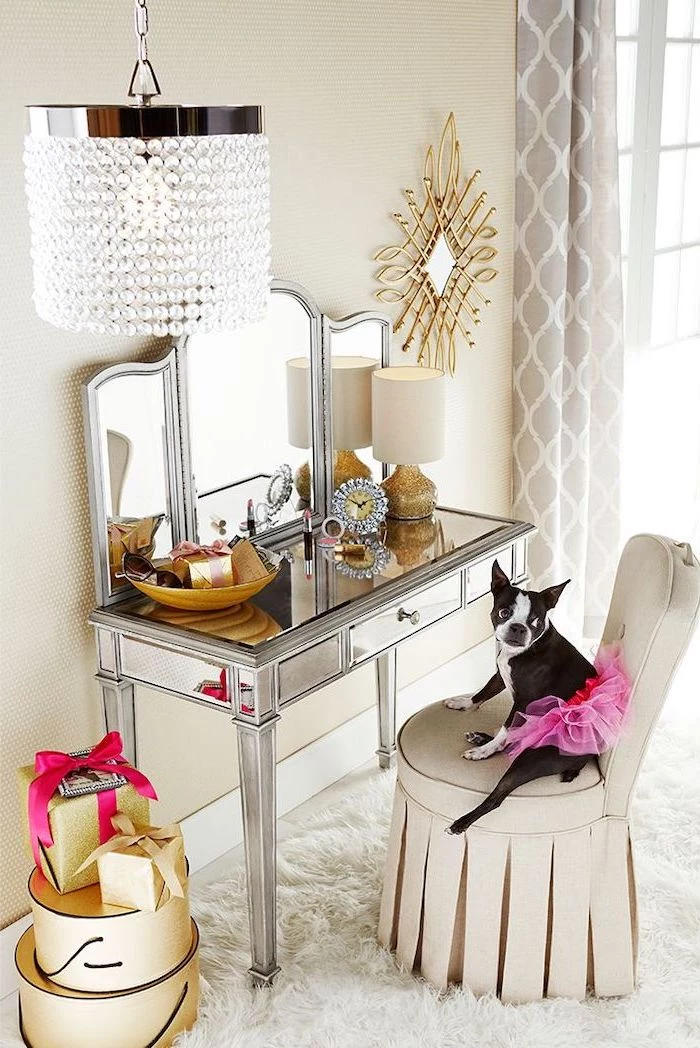
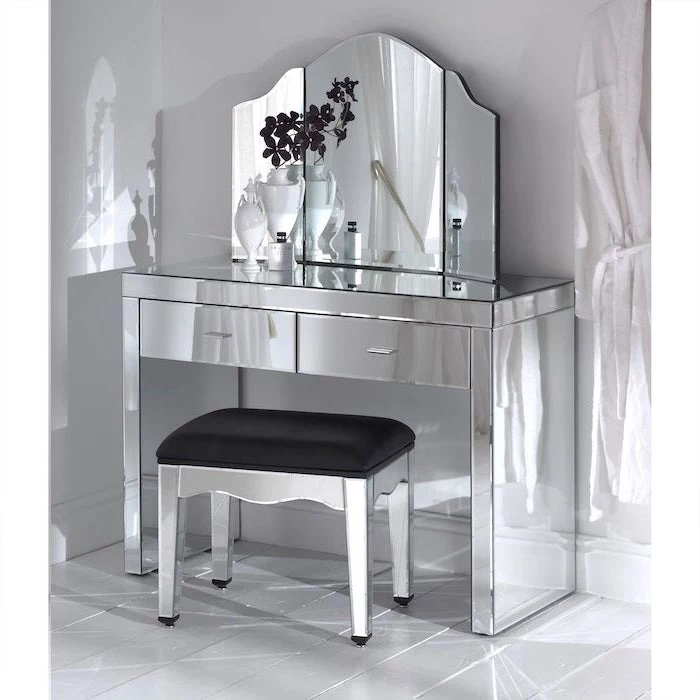
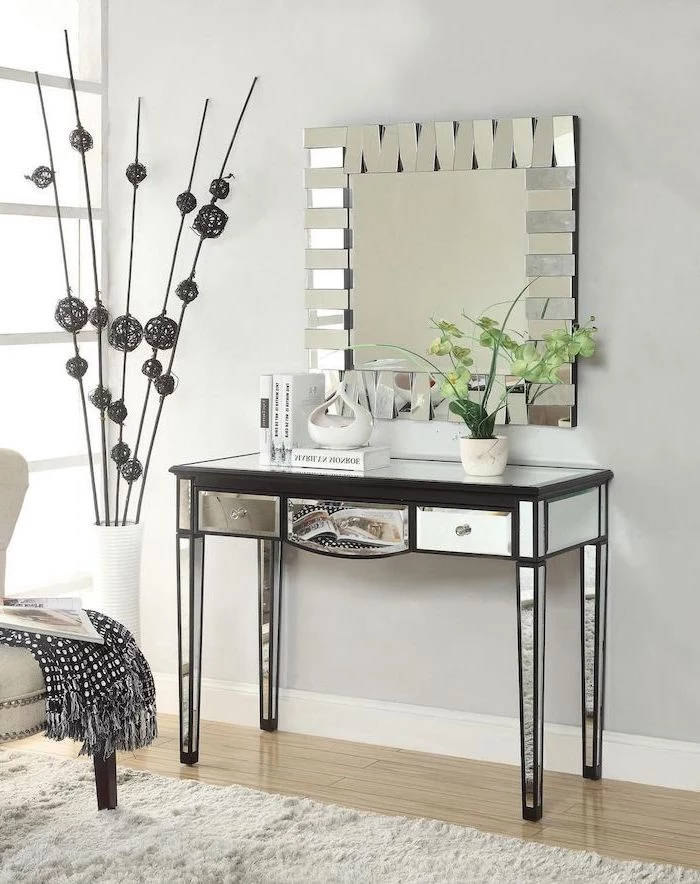
Mirrored furniture can make a room feel larger and more glamorous, but it reflects everything—including clutter.
This means that mirrored vanities require constant vigilance. They show every fingerprint, dust particle, and makeup smudge. If you love the look but hate constant cleaning, consider a piece with mirrored accents (like drawer fronts) rather than a fully mirrored surface.

- Reduces morning stress and frantic searching.
- Transforms a routine chore into a calming ritual.
- Keeps your expensive products safe and organized.
The benefit? Mental clarity. Having a dedicated, well-organized space just for your makeup routine creates a boundary. It’s a place to focus, be creative, and prepare for the day ahead without the chaos of a cluttered bathroom counter.
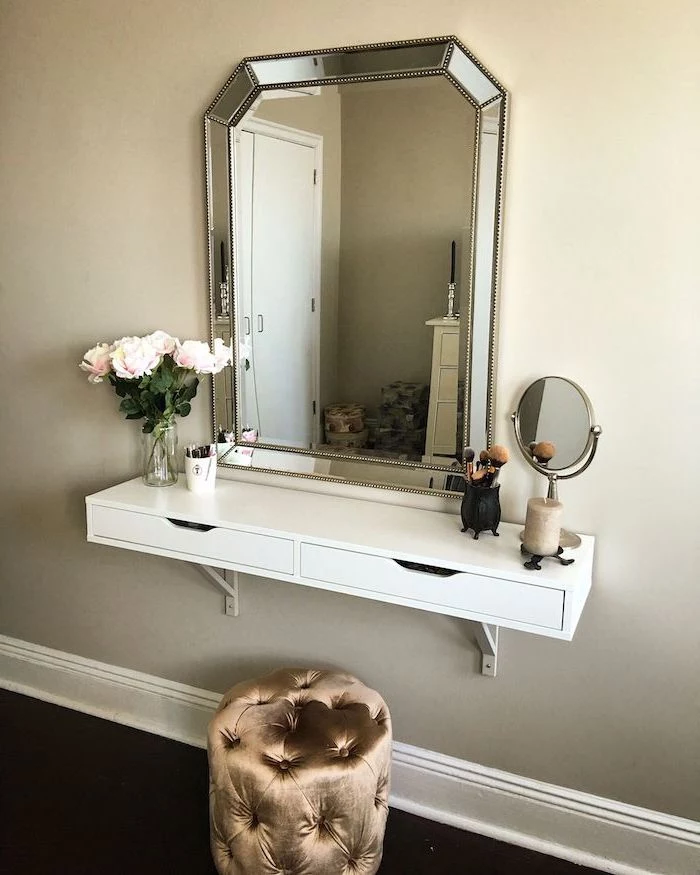
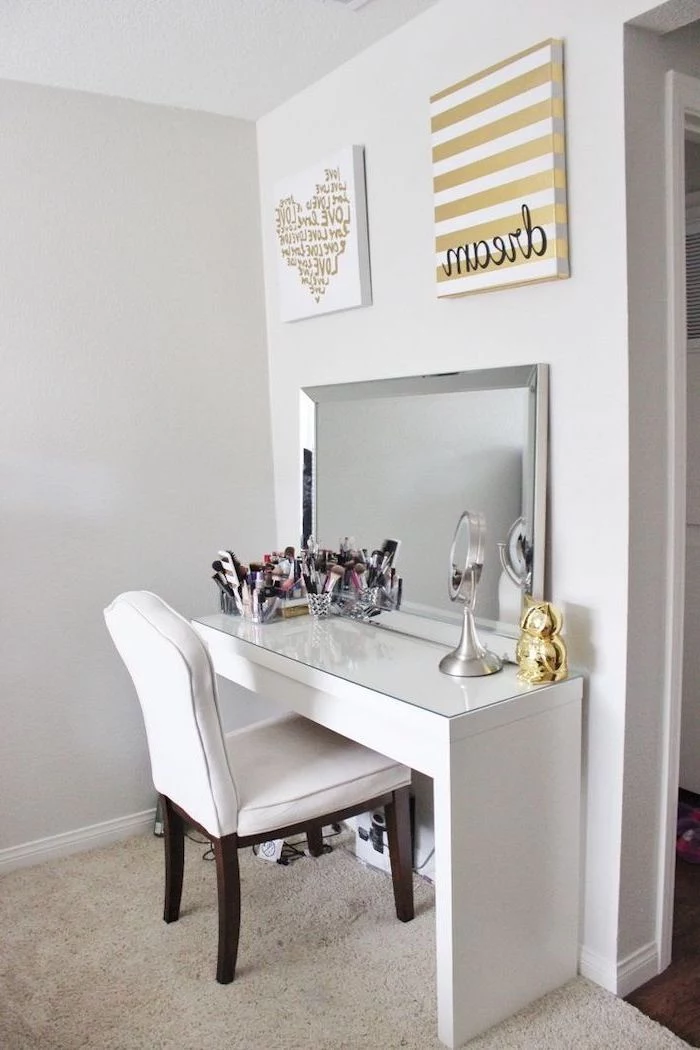
Don’t rely on your main mirror for detail work. A small, powerful magnifying mirror is essential for tasks like tweezing eyebrows, perfecting eyeliner, and detailed eyeshadow work. Look for a model with 5x to 10x magnification. Many, like the popular Simplehuman Sensor Mirrors, are cordless and have their own built-in light for ultimate clarity.
A beautiful vanity can be quickly damaged by heat. Protect your investment with these simple habits:
- Always use a silicone heat-resistant mat for your curling iron or straightener. You can find them for under $10 on Amazon.
- Invest in a dedicated holder or stand for hot tools to keep them from resting directly on the surface.
- Make it a habit to unplug your tools as soon as you’re finished using them.
Where to splurge, where to save: If your budget is tight, allocate the most significant portion to your lighting and your chair. A cheap table can be disguised with accessories, but poor lighting will sabotage your makeup application every single time, and an uncomfortable chair will make you rush. A high-CRI mirror and an ergonomic seat are investments you’ll never regret.
A 2006 Duke University study found that more than 40% of the actions people performed each day weren’t actual decisions but habits.
By designing a vanity where everything has a home and your workflow is logical, you create positive muscle memory. Your morning routine becomes an efficient, automated habit, freeing up mental energy for more important decisions later in the day.
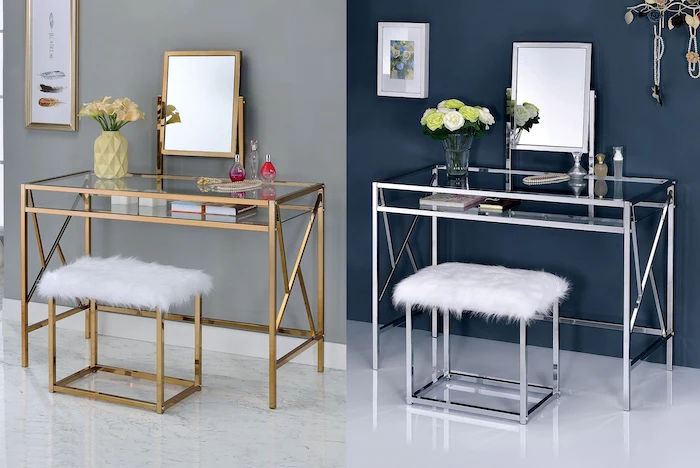
Don’t be afraid to mix your metals. A cohesive, high-end look can be achieved by blending different finishes, which adds depth and visual interest. A good rule of thumb is to:
- Choose one dominant metal (e.g., the brass legs of your vanity).
- Add one or two accent metals (e.g., a chrome-framed mirror and black hardware on your organizers).
This intentional mix feels curated and sophisticated, not mismatched.
My room is too small for a vanity, what can I do?
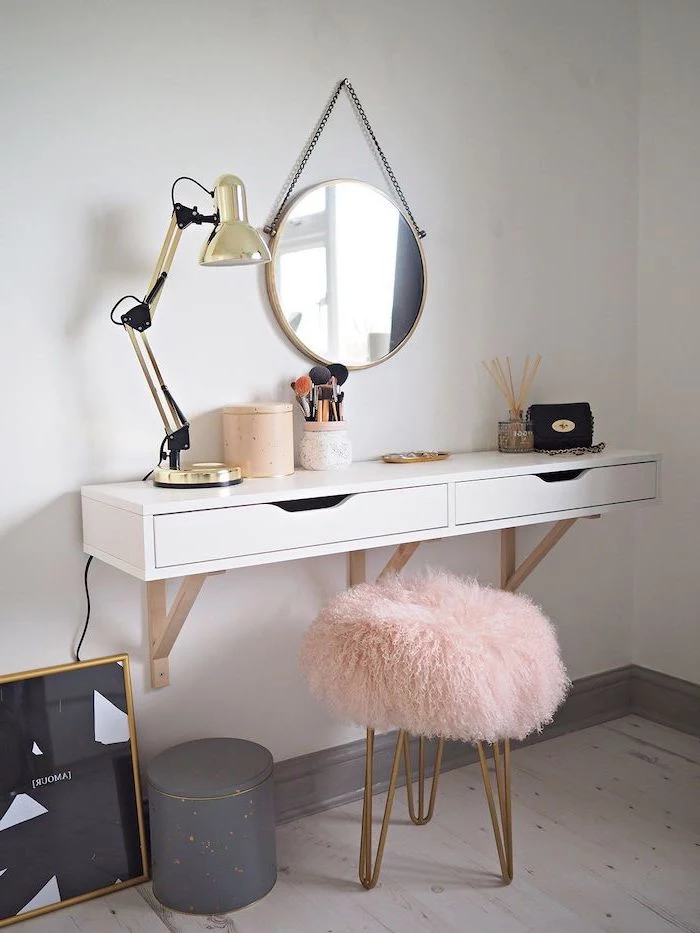
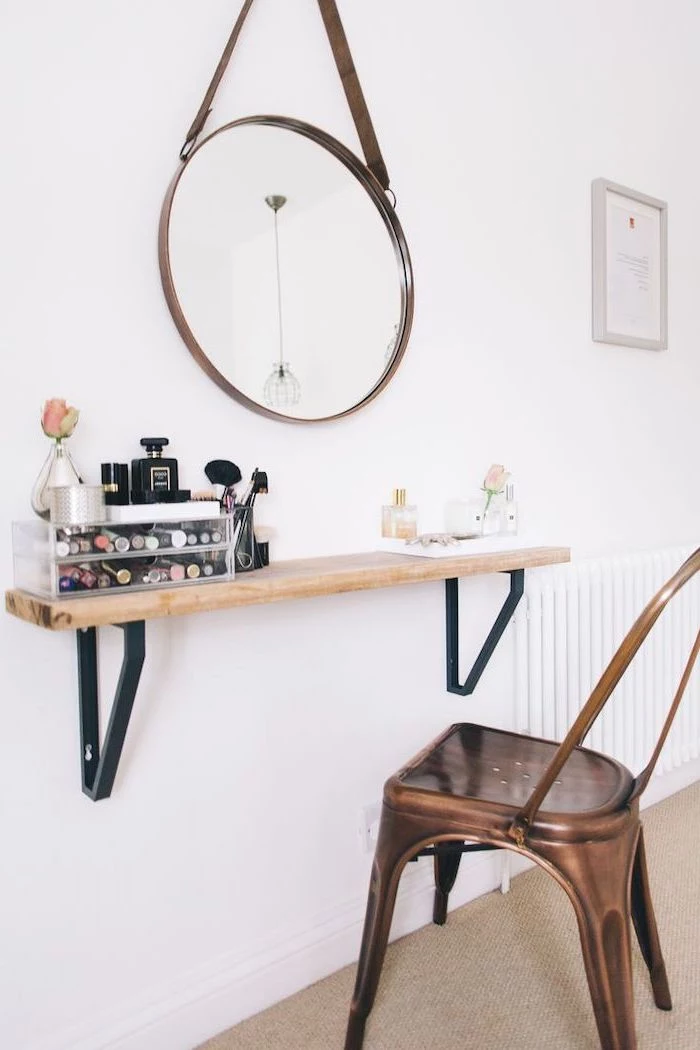
Consider a floating vanity. Mounting a slim drawer unit, like IKEA’s EKET or a simple floating shelf, directly to the wall saves precious floor space. This creates an airy, minimalist look and makes the room feel larger because the floor underneath remains visible. Pair it with a slim chair that can be tucked away easily.
The iconic