Staircases 101: The Pro Guide Most Builders Won’t Share
I’ve been in the home building game for a long, long time. I’ve seen staircases that were genuine works of art, and I’ve been hired to fix ones that were, frankly, terrifying. I’ll never forget the client who bought a house with a gorgeous “floating” staircase. It was a showstopper in the real estate photos. But the first time their kids came thundering down, the entire wall would visibly shake. Turns out, the builder had just bolted the treads into drywall with toggle bolts, not into a properly engineered steel support hidden in the wall. We had to tear the whole thing open and rebuild it from scratch. It was an expensive lesson for the homeowner and a powerful reminder for me: a staircase isn’t furniture. It’s one of the most critical structures in your home.
In this article
So many guides out there just show you pretty pictures. They don’t get into the nitty-gritty of the engineering, the codes, or the real-world headaches that we pros deal with. This is different. I want to give you the inside scoop on how a professional actually approaches a staircase, from the basic physics to the final finishes. This is the stuff I wish every single homeowner knew before they even thought about starting a project.
It All Starts with Physics (Don’t Worry, It’s Simple)
Before we even dream about wood types or railing styles, we have to talk about what a staircase actually does. It’s a system built to carry weight—what we call a “load”—across a gap, both up and over. Getting this right isn’t just for builders; it helps you understand why some rules are absolutely non-negotiable.
A staircase handles two kinds of weight. The “dead load” is just the weight of the stairs themselves. For a simple pine staircase, that’s not a big deal. But for a staircase made of concrete and steel? That’s a massive load the home’s foundation has to be built to support from day one. Then there’s the “live load,” which is you, your family, your pets, and that heavy dresser you’re trying to move upstairs. Building codes demand that stairs handle about 40 pounds per square foot to make sure they don’t bounce or flex in a way that feels unsafe.
To talk the talk, you need to know the key parts:
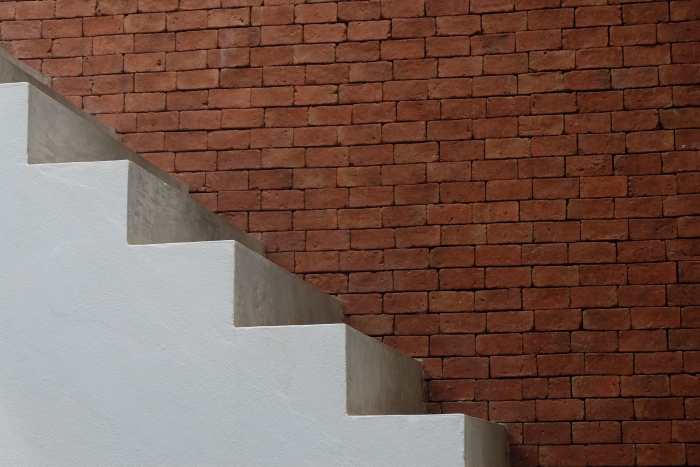
- Stringers: These are the angled beams that form the backbone of the staircase. They support everything. Most stairs have two, but some modern designs use a single “monostringer” down the middle, which needs some serious engineering.
- Treads: The flat part you step on. Simple enough.
- Risers: The vertical bit between the treads. Many modern stairs are “open-riser,” but building codes are very strict about how big that opening can be, usually to prevent a small child from slipping through.
The Secret Formula for Comfortable Stairs
Here it is, the single most important rule in stair design: the relationship between the riser height (the rise) and the tread depth (the run). If it’s too steep, it’s a hazard. Too shallow, and it feels awkward. For generations, carpenters have used a simple guideline: Two risers plus one tread should equal about 24 to 25 inches.
Modern building codes give us firm numbers to follow. Generally, a riser can’t be more than 7 ¾ inches tall, and a tread needs to be at least 10 inches deep. But here’s the detail that trips up so many DIYers: the variation between the tallest and shortest riser in one flight of stairs can’t be more than ⅜ of an inch. Your brain goes on autopilot when you use stairs. One step that’s even slightly off can cause a serious fall. I’ve seen inspectors fail an entire, otherwise beautiful, staircase because of one lazy cut.
Let’s Talk Materials: The Real-World Lowdown
Choosing a material is about way more than just looks. It’s about durability, noise, how it feels, and how much you’ll have to fuss with it later.
Wood: The Classic Choice
Wood is timeless for a reason. It’s strong, versatile, and feels great. But not all wood is the same. For treads, you absolutely need a hardwood. Oak is the industry go-to for its sheer toughness. Hard Maple is another fantastic choice for a clean, modern vibe, though it can be tricky to stain evenly. If you have the budget (think a 20-30% price bump over oak), Walnut is stunning but a bit softer, so it will show dings over time. Pine? It’s fine for parts you’re going to paint, like risers, but please, don’t use it for treads in a busy home.
Oh, and let’s talk squeaks. The number one complaint about wood stairs. This is almost always caused by wood rubbing on wood. A quick pro tip: We ALWAYS apply a thick bead of construction adhesive (something like PL Premium, which you can get at any hardware store for under $10 a tube) on the stringers before we attach the treads. It fills any tiny gaps and prevents squeaks for good.
For finishing, I usually steer people away from basic floor polyurethane. A commercial-grade, two-part water-based floor finish is much tougher. Or, even better, a modern hardwax oil. It soaks into the wood instead of sitting on top, which means you can easily do spot repairs later. You can’t do that with polyurethane without it looking patchy. Expect to do a light re-oiling in high-traffic spots every 2-3 years.
Steel: The Modern Workhorse
Steel lets you create designs that are impossible with wood, like those super-thin monostringers or floating stairs. The cost is a big jump, though. Where a standard contractor-installed oak staircase might run you $8,000-$15,000, a custom steel staircase often starts at $20,000 and can go way up from there.
A common oversight with steel is the noise. It can create a noticeable “clang” with every step. To deal with this, we often use thicker wood treads or add a sound-dampening material between the steel and the wood. For the finish, insist on a powder coat. It’s baked on and creates a hard shell that’s way more durable than any spray paint.
Glass: Open, Bright, and Demanding
Glass railings or even glass treads look amazing. But the safety and technical requirements are huge. Any glass on a staircase MUST be safety glass. For railing panels, that means tempered glass. If it breaks, it shatters into tiny, harmless pebbles. For treads, it must be laminated glass—multiple layers bonded together. If one layer cracks, the whole thing stays intact.
And the biggest complaint? Fingerprints. My go-to cleaning method is just a simple squeegee and a drop of dish soap in water. Forget those fancy sprays that just leave streaks. For treads, you have to get a fritted or acid-etched surface for grip. Don’t let anyone sell you on a non-slip coating; it will wear off.
Stair Shapes: What Works Where and Why
The layout of your staircase depends on your floor plan and budget. Each has real-world pros and cons.
- Straight Stairs: The simplest and cheapest to build. The downside? A fall from the top is a straight shot to the bottom. They also eat up a long, continuous chunk of floor space.
- L-Shaped & U-Shaped Stairs: The turn in these stairs is created by a landing. That landing is a fantastic safety feature—it breaks a potential fall. They are also more compact. I often tuck a powder room or closet under the landing of a U-shaped stair.
- Winder Stairs: These use wedge-shaped treads to make a turn instead of a flat landing. They save space, but they can be a code compliance nightmare. The tread has to be a certain depth at the “walk line,” which is tricky to get right. I once had to inspect a set of winders a homeowner built where the treads tapered almost to a point. They were incredibly dangerous and had to be torn out immediately. Honestly, unless you have a top-tier carpenter, just use a landing.
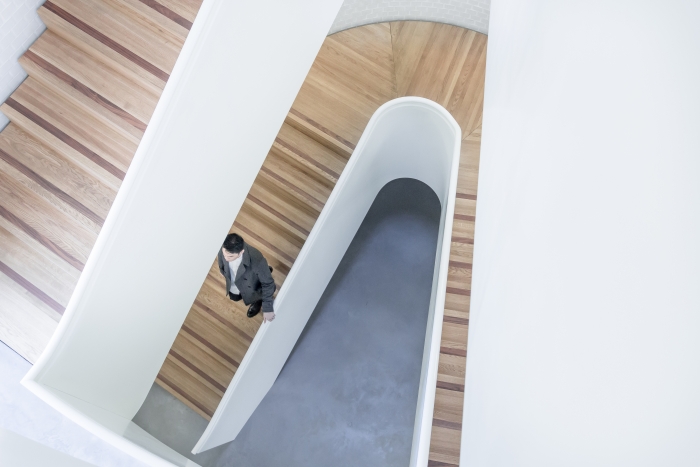
- Spiral Stairs: The ultimate space-saver, but not practical as the main staircase in a house. They’re hard to navigate and you can’t move furniture up them. Think of them as a solution for a specific problem, like getting to a loft.
- Curved & Floating Stairs: This is the luxury tier. A true curved stair is a masterpiece of craftsmanship, often involving laminated wood bent into a perfect curve or heavy fabricated steel. Cantilevered or “floating” stairs require a massive steel stringer hidden in the wall. These projects are complex, take months of planning and fabrication, and often cost $30,000, $50,000, or even more. They absolutely require a structural engineer. No exceptions.
Your 5-Minute Stair Safety Audit
Worried about the stairs in your home or one you’re looking to buy? Here’s a quick check you can do yourself. It’s what I do on a walkthrough.
- The Newel Post Shove Test: Go to the big posts at the top and bottom of your railing. Give them a firm shove. Do they wobble? At all? If so, they aren’t anchored properly to the floor joists, and the entire railing is unsafe.
- The 4-Inch Sphere Rule: This is a key safety code. The gaps between your balusters (the vertical spindles) should be small enough that a 4-inch sphere can’t pass through. This is based on the size of a small child’s head. I literally carry a 4-inch ball for this.
- The Riser Consistency Check: Grab a tape measure. Measure the height of each riser from the top of one tread to the top of the next. Are they all within about ⅜ of an inch of each other? If you find one that’s a half-inch or more off, that’s a serious trip hazard.
- The Handrail Grasp Test: Is the handrail easy to grip? Your hand should be able to wrap around it securely. Codes are specific about this for a reason—in a fall, you need to be able to hang on.
When to DIY and When to Call a Pro (Seriously)
Look, I’m all for empowering homeowners. You can probably handle repainting your risers or even refinishing your treads if you’re patient. But the second you start talking about moving or rebuilding a staircase, you have to bring in a professional team.
A typical stair replacement project for a simple L-shape might take a pro 1-2 weeks from demo to finish. A complex custom job involving engineering and fabrication? Plan for 2-4 months, easy.
When you’re hiring someone, ask them these questions:
- “How many staircases like this have you built? Can I see photos or talk to a past client?”
- “How do you plan on anchoring the newel posts to the floor structure?” (If they say “screws,” run.)
- For complex jobs: “Are you working with a structural engineer on this?” (The only right answer is “yes.”)
Any project involving a new staircase will need a building permit. Don’t skip this. That inspector is your final line of defense, ensuring the work is safe for your family. A well-built staircase is a beautiful, permanent feature. A bad one is a ticking time bomb. Invest in getting it done right.
Inspirational Gallery
Solid Oak Treads: The classic choice. Extremely durable, resists dents, and offers a timeless grain. It can be stained to match any decor, but its real beauty shines with a simple clear oil or varnish.
Black Walnut Treads: A premium, darker option. Softer than oak, so it might show wear more easily in very high-traffic homes, but its deep, rich color and elegant grain provide an unmatched sense of luxury and sophistication from day one.
Ultimately, oak is the workhorse, while walnut is the showpiece.
More than 90% of staircase falls occur when descending. This is why consistent riser height and adequate tread depth are not just design suggestions—they are critical safety features mandated by building codes.
Thinking of adding a runner?
Beyond adding color and comfort, a quality runner significantly dampens the sound of footfalls—a blessing in a busy, multi-level home. For a truly classic look, secure it with metal stair rods. Brands like CarpetStairRods.co.uk offer everything from minimalist polished chrome to ornate brass designs, turning a simple fabric strip into a sophisticated architectural detail. Ensure the carpet pile is low and dense for better footing and durability.
- Adds a dramatic architectural feature.
- Improves safety on dark evenings.
- Creates a warm, welcoming ambiance.
- Highlights the texture of your wall and stair materials.
The secret? A layered lighting plan. Don’t rely on a single overhead fixture. Combine it with low-level LED strips recessed under the nosing of each tread or a series of elegant wall sconces that wash the wall with a soft glow.
Don’t just think about what your staircase looks like; consider how it feels. The handrail is the primary tactile element, the part you physically connect with. A solid wood handrail, like maple or ash, warms to the touch and feels sturdy, while a sleek, cool stainless steel profile offers a more modern, industrial sensation. The diameter and shape—round, square, or ergonomic—drastically change the experience of climbing the stairs.
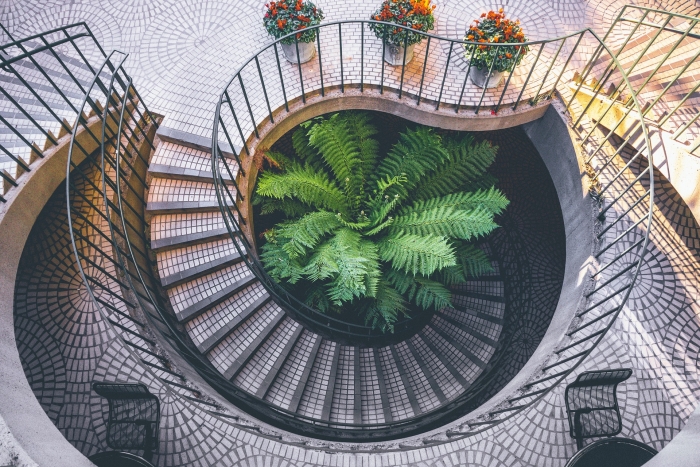
Do spiral staircases actually save space?
Yes, but with a trade-off. Their footprint is undeniably smaller than a traditional straight or L-shaped staircase. However, the usable path on each tread is narrow, making them difficult for carrying large items (like furniture) and less comfortable for daily use, especially for children or the elderly. They are a brilliant solution for secondary access, like to a loft or mezzanine, but think carefully before making one the primary staircase in your home.
The single most common mistake: Choosing a floor finish for your stair treads. Standard polyurethane is not designed for the angled impact and high-stress wear on stair nosings. For a durable, non-slip, and repairable finish on wood, invest in a dedicated two-component water-based floor lacquer like Bona Traffic HD or a hardwax-oil from Osmo. They are formulated to withstand the unique abuse stairs endure.
- Identify the noisy tread. Have someone walk up and down while you listen closely from below or beside the staircase.
- For gaps between the tread (the flat part) and the riser (the vertical part), inject a construction adhesive like No More Nails into the seam.
- If the squeak comes from the tread rubbing against the stringer (the side support), small, lubricated wood screws can be driven at an angle to tighten the connection.
In Japan, the tradition of Kaidan-dansu, or step-chests, dates back to the 17th century. These were staircases ingeniously built from stacked cabinetry, providing massive amounts of storage within a small footprint.
This historical concept is now a major trend in modern design. Architects are integrating everything from pull-out shoe racks and bookshelves to hidden closets and even small wine cellars directly into the structure beneath the stairs, turning this often-wasted space into a highly functional and beautiful feature.
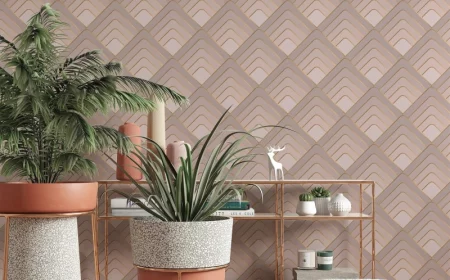
To infuse personality without a full renovation, focus on the risers. A coat of bold, contrasting paint can create a stunning visual ribbon ascending through your home. For a more subtle or whimsical touch, consider applying patterned peel-and-stick wallpaper or ceramic tiles to the riser faces. It’s a low-cost, high-impact DIY project that can completely transform the character of an old staircase.