Thinking About Porcelain Tile? Read This Before You Spend a Dime
I’ve been on my knees setting tile for a couple of decades now, and I’ve worked with everything you can imagine. But I’ll never forget the first time a client handed me a box of high-end porcelain from Italy for a custom job. The second I lifted one out, I knew it was different. It was heavy, incredibly dense, and the edges were razor-sharp. It felt less like a tile and more like a finely engineered piece of stone. That project was a masterclass in why not all tiles are created equal.
In this article
So many people see a gorgeous wood-look plank or a marble-effect slab online and assume all tile is pretty much the same. Honestly, that’s a potentially expensive mistake. Real porcelain stoneware, especially the kind coming from traditional tile-making regions, is a whole different beast. It’s born from incredible pressure and intense heat, and knowing what makes it tick is the secret to an installation that lasts a lifetime.
This isn’t some sales pitch. It’s the hard-won knowledge from years of mixing mud, making precision cuts, and fixing other people’s mistakes. Let’s walk through what this stuff really is, what to look for when you’re shopping, and why the pros use specific techniques to install it right. Because a beautiful floor starts way before the first tile ever touches the mortar.
Why Is This Stuff So Tough (and Expensive)?
First, let’s get the cost question out of the way. Standard ceramic tile from a big box store might run you $2 to $5 a square foot. Good quality porcelain often starts around $6 and can easily climb to $15, $25, or even higher for premium Italian or Spanish products. There’s a very good reason for that price gap.
It all comes down to the ingredients and the manufacturing process. Regular ceramic tiles are usually made from common red or brown clays, which makes them more porous and a bit softer. They’re fine for a bathroom wall, but not ideal for high-traffic floors.
Porcelain, on the other hand, starts with a highly refined recipe of pure white kaolin clays, feldspar, and fine silica sand. This mix gets ground up and pressed with an insane amount of force—we’re talking over 7,500 pounds per square inch (psi). This squeezes out nearly all the air before it even gets cooked.
Then comes the fire. These tiles bake in massive kilns at temperatures soaring past 2200°F. At that heat, the materials literally melt and fuse together into a single, glass-like body. This process, called vitrification, is what makes the tile incredibly hard and almost completely non-porous. It becomes more like a slab of stone than a piece of baked clay.
The Magic 0.5% Rule
The single most important technical spec that separates porcelain from ceramic is its water absorption rate. This is a HUGE deal. A porous tile soaks up moisture, leaving it open to stains and, more critically, damage from freezing and thawing cycles.
By industry standards, a tile can only wear the “porcelain” badge if it absorbs 0.5% or less of its weight in water. To be frank, most of the quality porcelain I see on job sites tests way below that, often around 0.1%. For comparison, a standard ceramic tile might absorb anywhere from 3% to 7% of its weight. This is exactly why I’ll only ever install porcelain outdoors in a cold climate. I’ve seen entire patios of ceramic tile pop loose after a single harsh winter because trapped moisture froze and expanded. It’s a mess.
Understanding Wear Ratings (The PEI Scale)
Okay, so it’s tough. But how will the pretty design on top hold up to your dog’s claws and your kids’ toys? For that, you need to check the PEI rating, which measures how well the surface resists abrasion. It’s a simple 0-to-5 scale:
- PEI 1-2: Think walls or low-traffic bathroom floors where you’re mostly barefoot. Not for main living areas.
- PEI 3: Good for most residential floors. It can handle normal, everyday foot traffic in kitchens and living rooms.
- PEI 4: This is a step up. It’s great for any home and can even handle light commercial use, like a small office.
- PEI 5: The undisputed champion. This is built for heavy-duty commercial spaces—stores, hotels, you name it.
For most homeowners, a PEI 3 or 4 is the sweet spot, giving you tons of design options with plenty of durability for peace of mind.
A Tiler’s Checklist for Buying Porcelain
Walking into a tile showroom can be a sensory overload. But a pro looks past the shiny finishes to check a few technical details that will make or break the installation.
Glazed vs. Through-Body
This is a big one. A tile is either glazed or what we call “through-body” (or full-body).
- Glazed Porcelain: This is what you see most often. The tile has a solid-color porcelain body, and the beautiful wood or marble design is a super-durable, high-definition print on the surface. Modern glazes are incredibly tough. The only potential downside? A really deep chip from a dropped cast-iron pan might reveal the plain body color underneath.
- Through-Body Porcelain: With these, the color and pattern run all the way through the tile’s entire thickness. If it chips, the exposed part looks almost the same as the surface. This makes them the go-to choice for punishing environments like commercial kitchens or auto workshops. The designs tend to be simpler, often with subtle, granular patterns.
For most homes, a quality glazed porcelain is more than enough. But for a mudroom or garage, a through-body tile is cheap insurance.
Rectified vs. Non-Rectified Edges
Pay attention here, because this detail completely changes the final look. After firing, all tiles have tiny natural size variations. How a manufacturer deals with that is key.
- Non-Rectified: These tiles have a slightly rounded, natural edge. Because they aren’t perfectly identical, they need to be installed with a wider grout joint (at least 1/8 inch) to hide those small differences.
- Rectified: These tiles go through an extra grinding step that cuts all sides to a precise, uniform size with a sharp 90-degree edge. The payoff is that you can install them with super-thin grout lines (around 1/16 inch), which creates that sleek, modern, almost-seamless look.
Most people want the clean look of rectified tile. But here’s the warning I give every client: it demands a perfectly flat subfloor. The slightest dip or hump will be magnified by those tight grout lines, causing “lippage” where one tile edge sits higher than its neighbor. A quick tip: a tile leveling system, those little plastic clips and wedges you see pros use, is a lifesaver for getting rectified tiles perfectly flush. They cost about $30-$50 for a small room and are worth every penny.
Don’t Make This $1,500 Mistake
I once had a homeowner buy tile for a huge kitchen. He ran short by just a handful of tiles and ran back to the store for one more box. When I showed up, I spotted the problem from the doorway. The new box was a slightly different size and a barely perceptible—but definitely different—shade.
Every box of quality tile is marked with a caliber (or work size) and a tone (the color lot). Even in a tile called “60cm x 60cm,” one batch might be 59.9cm and the next 60.1cm. They MUST all match. That client had to buy a whole new lot of tile for the entire kitchen—an easily avoidable $1,500 mistake—because we couldn’t match that one odd box.
Rule of thumb: Always buy all your tile for a project at once, plus 10-15% extra for cuts, mistakes, and future repairs. Trust me on this.
Can You Really DIY This? A Reality Check
So, you’re handy. Can you tackle a porcelain tile installation yourself? Let’s be real: this is not a beginner-friendly project. It’s a significant jump in difficulty from standard ceramic tile for a few reasons.
First, the material is incredibly hard. You can’t just score and snap it with a cheap manual cutter. You absolutely need a quality wet saw equipped with a special diamond blade designed specifically for porcelain. A good blade alone can run you $50 to $100. Using the wrong one will lead to chipping, slow cuts, and a whole lot of frustration.
Second, as we discussed, if you’re using large format or rectified tiles, your subfloor has to be pancake-flat—we’re talking no more than a 1/8-inch dip over a 10-foot span. How do you check? Lay a long, straight board across the floor and see if you can slide a quarter underneath it anywhere. If you can, you have a low spot that needs to be filled with a self-leveling compound before you even think about tiling.
And finally, the tile itself is unforgiving. Because it doesn’t absorb water, the mortar bonds to it differently and takes longer to set. This gives you less wiggle room for adjustments. To be frank, unless you’re a very experienced DIYer with the right tools, hiring a pro who specializes in porcelain is money well spent. A pro install for porcelain might cost $10-$20+ per square foot, more than for basic ceramic, but it guarantees the job is done right.
The Pro-Level Install: It’s All in the Details
A flawless tile job is built on a solid foundation. Any pro will tell you they spend almost as much time on prep as they do on actually laying tile.
For a wood-joist floor, we often add an uncoupling membrane. Think of it as a thin, waffle-patterned sheet (you might see brands like Schluter or Ardex) that goes between the subfloor and the tile. It costs about $1.50 to $2.50 per square foot but it’s invaluable, as it absorbs any small movements from the house settling or seasons changing, preventing that movement from cracking your tile and grout.
And you absolutely cannot use a cheap, basic mortar. Remember how porcelain isn’t porous? A standard thinset needs to soak into the tile to create a mechanical bond. With porcelain, there’s nothing to soak into. You need a high-performance, polymer-modified mortar that creates a powerful chemical bond. Look for a product that meets ANSI A118.15 specifications—a pro-grade bag will run you $40 to $60. Skimping on this is a recipe for tile failure.
Keeping It Beautiful
The good news? Once porcelain is properly installed, it’s about as low-maintenance as a floor can get. The non-porous surface resists stains from things like wine, coffee, or mud. For regular cleaning, a simple sweep and a mop with a pH-neutral cleaner is all you need. Just avoid abrasive scrubbers, steel wool, or harsh acidic/ammonia-based cleaners that could dull the surface over time. If you seal your grout lines after installation, you’ll have a floor that looks brand new for decades.
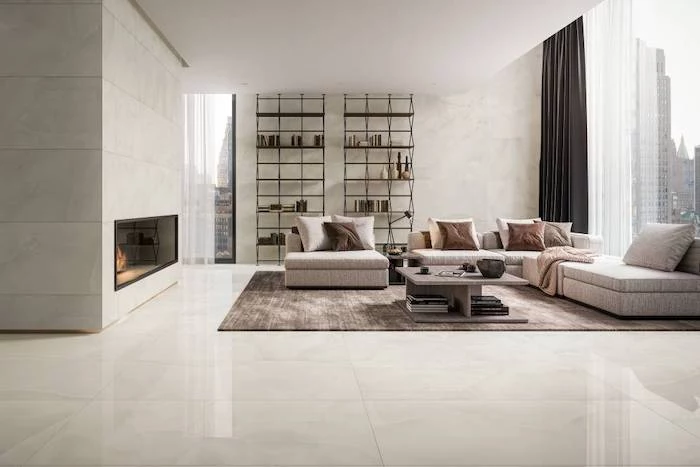
Inspirational Gallery
True porcelain tile has a water absorption rate of 0.5% or less. This is why it’s considered
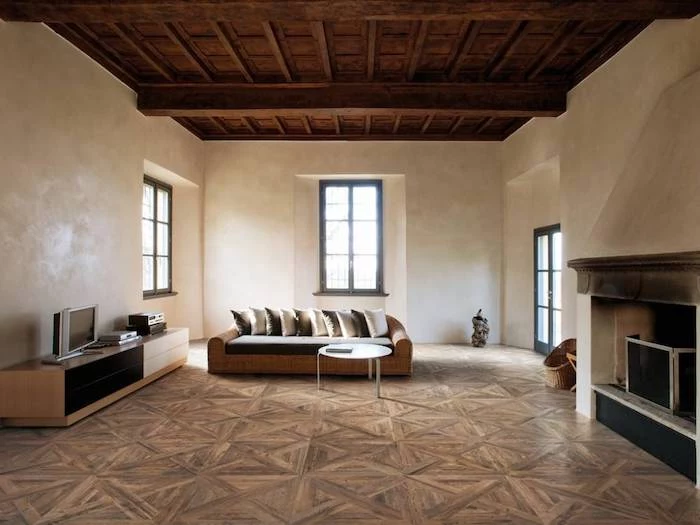
Polished Porcelain: Offers a luxurious, light-reflecting sheen that can make a space feel brighter and more expansive. It’s stunning but can be slippery when wet and may show smudges more easily.
Matte Porcelain: Provides a contemporary, non-slip surface with a softer, more natural look. It’s excellent at hiding footprints and water spots, making it a practical choice for high-traffic zones like kitchens and bathrooms.
For most family homes, a semi-polished (lappato) finish offers a great balance of beauty and practicality.
Ever see the term
- A gentle, consistent warmth underfoot on cold mornings.
- Efficient energy use, as porcelain retains and radiates heat superbly.
- A completely hidden heating system, freeing up wall space from radiators.
The secret? Pairing porcelain tile with an electric radiant floor heating system. Systems like Schluter-DITRA-HEAT or WarmlyYours integrate directly into the tile installation for a touch of luxury that transforms a bathroom or kitchen.
Don’t skimp on the blade: Trying to cut dense porcelain with a standard ceramic tile blade is a recipe for frustration, chipping, and wasted material. Insist on a high-quality diamond blade specifically designed for porcelain, used with a wet saw. Brands like Montolit or Battipav make blades that slice through this tough material cleanly, preserving those perfect edges for a professional finish.
Over 40% of new tile installations now feature Large Format Porcelain Tiles (LFPT), with sizes like 24×48 inches becoming standard.
This trend creates visually expansive, grout-minimizing surfaces, but it’s not a DIY-friendly job. These massive tiles require a perfectly flat subfloor (no more than 1/8
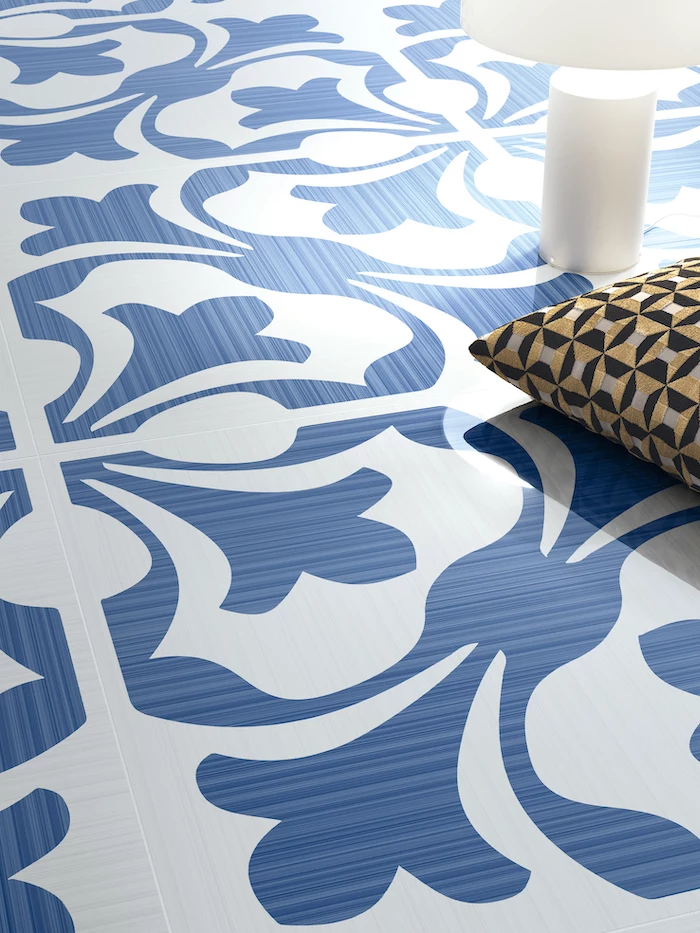
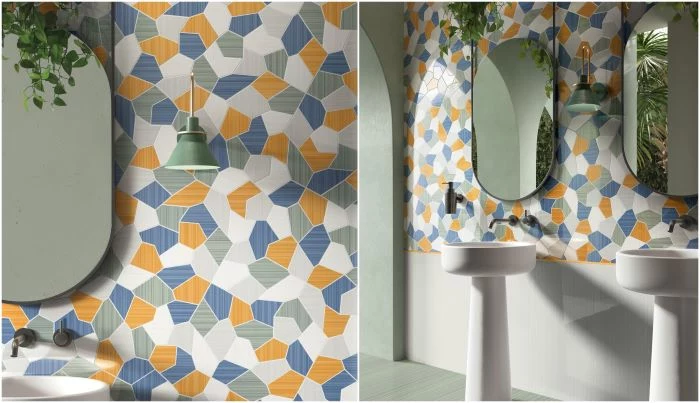
While Italian porcelain is often lauded for its sophisticated mimicry of stone and wood, don’t overlook the vibrant soul of Spanish tile. Brands like Porcelanosa or Aparici often lead with:
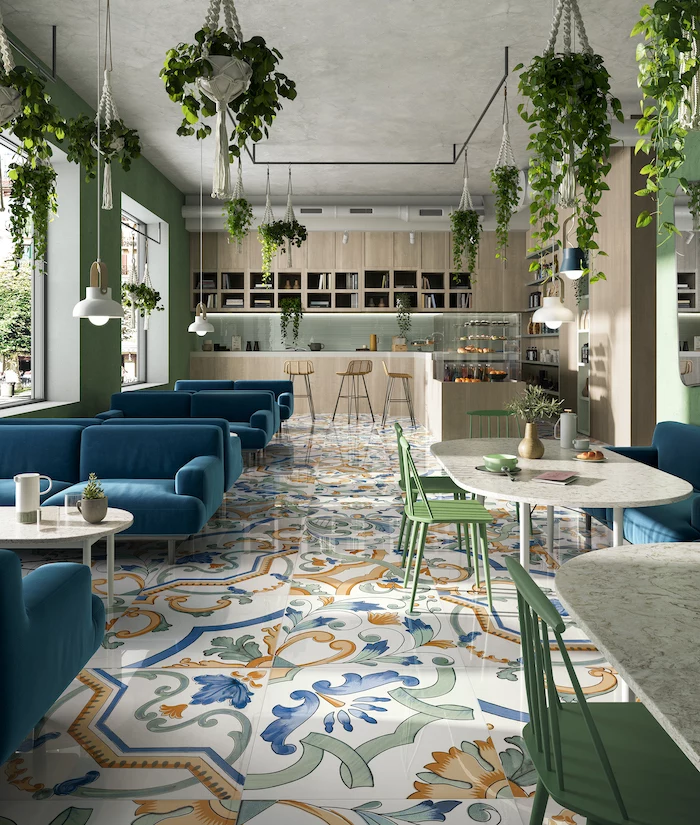
- Bold Patterns: Think colorful hydraulic-inspired designs and intricate geometric mosaics that can create a stunning feature floor or backsplash.
- Rich Textures: Spanish design frequently embraces tactile surfaces, from rustic terracotta effects to glossy, three-dimensional wall tiles.
The most beautiful, expensive porcelain tile will fail if the foundation isn’t right. A common oversight is tiling directly over a flimsy or uneven subfloor. Any flex or bounce will eventually lead to cracked tiles and grout. Professionals insist on a rigid, flat surface, often adding an uncoupling membrane like Schluter-DITRA to absorb micro-movements and ensure the installation is truly permanent.
- For rectified tiles with sharp edges, a minimal 1/16
Beyond its toughness, porcelain is one of the healthiest flooring choices. Fired at over 2,200°F, it’s an inert, stable material that contains no VOCs (Volatile Organic Compounds), PVC, or formaldehyde. It won’t harbor dust mites, pollen, or mold, making it an excellent choice for households with allergy sufferers.