An Installer’s Guide to Choosing Wood Floors (Without a Huge Mistake)
I’ve been on my knees installing and finishing wood floors for what feels like a lifetime. And in that time, I’ve seen it all. I’ve seen gorgeous floors that will probably outlast the house itself, and I’ve seen incredibly expensive floors that were a total disaster in less than a year.
In this article
- First Thing’s First: Your Floor is Alive (Sort Of)
- Solid vs. Engineered vs. Laminate: The Big Showdown
- Where You Live Matters: Climate and Subfloors
- The Finish Line: Pre-finished vs. Site-finished
- Living With Your Floor: A Quick Guide to Not Ruining It
- Budgeting and Knowing When to Call a Pro
- Inspirational Gallery
What’s the difference? It almost always boils down to understanding the wood. It’s not just about picking a color you saw in a magazine. It’s about matching the right material and installation method to your home, your climate, and your actual life. So many people fall in love with a photo online without thinking about whether they have kids, a seventy-pound golden retriever, or a concrete slab foundation. This guide is my attempt to fix that. I want to share what I’ve learned from being on the job, so you can make a choice you’ll love for decades to come.
First Thing’s First: Your Floor is Alive (Sort Of)
Before we even get into oak versus maple, we have to talk about the most important lesson in wood flooring. Wood is a natural material. It came from a tree, and in a way, it still breathes. It reacts to the moisture in its environment. When the air is humid, wood fibers absorb moisture and swell. When the air gets dry, it releases that moisture and shrinks. This isn’t a flaw; it’s just the nature of the beast. Honestly, understanding this one concept is the key to a happy, long-lasting floor.
Acclimation: The Step You Absolutely Cannot Skip
This is why you can’t just pick up flooring from a warehouse and install it the same day. The wood needs time to get used to your home’s unique temperature and humidity levels. We call this acclimation. The process is simple: we bring the boxes of flooring into the rooms where they’ll be installed, open them up, and just let them sit for at least three to five days. It’s that important.

A real pro won’t just guess when it’s ready. We use a tool called a moisture meter to test both the wood planks and the subfloor. Quick tip: you can buy a basic pin-style moisture meter at Home Depot or online for about $50, or even rent one. You just stick the pins into the wood and subfloor to get a reading. For solid wood, we’re looking for their moisture content to be within 4% of each other. For engineered wood, the target is a 2% difference. These aren’t random numbers; they’re industry standards for a reason. I once had to tear out a brand-new hickory floor a homeowner installed himself. He skipped acclimation. The first winter came, the heat kicked on, and the air got dry. The planks shrank so much there were quarter-inch gaps between them. It was a heartbreaking and very expensive lesson for him.
The Janka Hardness Scale: What It Really Means for Your Dog
You’ll see a “Janka rating” on a lot of wood samples. This is basically a score for how well a wood species resists denting and wear. So, what does this actually mean for you? It’s all about your lifestyle.
Think of it like this:
- Softer Woods (For a life of character): These woods are beautiful but will show dings more easily. If you live a quiet life and are diligent about taking shoes off, they’re fantastic. Think American Walnut (around 1010 on the scale) or American Cherry (around 950). They develop a rich patina of life over the years.
- The Gold Standard (The all-arounder): Red Oak is the benchmark for the entire industry, with a Janka rating of about 1290. It’s a great balance of durability and cost, and it takes stain beautifully.
- Harder Woods (Great for pets and kids): If you have a busy household, a harder wood is a smart move. It will resist scratches from dog claws and dents from dropped toys much better. Look at Hickory (a tough 1820) or Maple (a classic 1450).
- Practically Indestructible (The exotics): Then you have the super-hard exotic woods like Brazilian Cherry (around 2350). These floors are incredibly tough, but they also come with a higher price tag and can be more challenging to install.
The Janka scale isn’t about “good” or “bad.” It’s a tool to help you match the wood’s personality to your own.
Solid vs. Engineered vs. Laminate: The Big Showdown
Let’s break down the main options you’ll be looking at. They each have their place, but it’s crucial you know what you’re buying.
Solid Hardwood Flooring
This is the classic. Each plank is one solid piece of wood, usually 3/4 of an inch thick. Its biggest selling point is longevity. A solid wood floor can be sanded down and refinished five, six, maybe even seven times. Each sanding shaves off a paper-thin layer, revealing a brand-new surface. That’s how you get floors that last for a century or more.
- Installation: It’s typically nailed down over a wood subfloor. It absolutely cannot be installed in a basement or directly on a concrete slab. The moisture from the concrete will cause it to swell and buckle.
- The Cost: It’s an investment. For materials, expect to pay anywhere from $5 to $12 per square foot for common species like Oak or Maple. High-end or exotic woods can be more. Professional installation will likely add another $4 to $8 per square foot on top of that.
Engineered Hardwood Flooring
And here’s where the confusion starts. To be clear, engineered wood is REAL wood. It’s just constructed differently. Think of it like a high-tech wood sandwich. It has a core of layered plywood, with the grains running in opposite directions, and a top layer—the part you see—of the pretty hardwood. This construction makes the plank incredibly stable and far less reactive to humidity changes.
Heads up! The lifespan of an engineered floor is tied directly to the thickness of its top veneer. A cheap floor might have a paper-thin 1-2mm layer that can’t be sanded. If you want the option to refinish it down the road, look for a wear layer that’s at least 3mm thick, and ideally 4mm or more. A quality engineered floor can easily last 30 to 50 years.
- Installation: This is its superpower. It can be nailed, stapled, glued directly to concrete, or “floated” over a foam pad. This makes it the go-to choice for basements and homes on a slab foundation.
- The Cost: The price range is wide, but it often overlaps with solid wood, from $4 to $14 per square foot, depending on the brand and veneer thickness.
Laminate Flooring (And Why It’s Not Wood)

Let’s be crystal clear: laminate flooring is not wood. It’s a synthetic product made of a fiberboard core with a high-resolution photograph of wood on top, all protected by a clear wear layer. It’s designed to look like wood.
- Pros: It’s cheap, often just $2 to $5 per square foot. The wear layer is also incredibly scratch-resistant, making it a tempting option for people with very active pets.
- Cons: Once it’s scratched or gouged, you can’t repair it. And water is its mortal enemy. If water gets into the seams and hits that fiberboard core, it swells up like a sponge and is permanently ruined. A slow leak from an ice maker can destroy an entire kitchen floor. It also has a distinct hollow sound when you walk on it.
Where You Live Matters: Climate and Subfloors
A floor that’s perfect for a dry climate might be a disaster in a humid one. Your house’s foundation is just as important.
Before I even start a job, I inspect the subfloor. It has to be flat and sound. The industry standard is flat to within 3/16 of an inch over a 10-foot span. If we find high spots, we have to sand them down. For low spots, we use a cement-based patching compound, something like Henry’s FeatherFinish, to trowel them smooth. You can’t just install over an uneven surface and hope for the best.
And if your home has a crawl space? You better believe I’m going down there. There absolutely must be a thick plastic vapor barrier covering 100% of the dirt floor. Without it, moisture from the ground will constantly travel up, causing the wood to cup and warp over time.
The Finish Line: Pre-finished vs. Site-finished
The finish is the clear protective coat on your floor. You can get it done at the factory (pre-finished) or in your home (site-finished).
Pre-finished flooring comes out of the box ready to install. The factory finish is often incredibly durable. Installation is faster and way cleaner—no dust, no fumes. The downside is that every plank has a tiny bevel on the edge, so you’ll see little grooves in your finished floor.
Site-finished is the traditional way. We install raw wood, then sand the whole thing perfectly flat. This gives you a seamless, tabletop-smooth surface and unlimited stain color choices. But it’s a process. Plan for your home to be a construction zone. A typical 500-square-foot sand-and-finish job can take 4-6 days from start to finish, including drying time. You have to deal with the noise, dust (even with containment systems), and the fumes from the finish.
By the way, when it comes to drying times, there’s a big difference between finish types. Water-based polyurethane is popular because it dries fast; you can often apply a new coat in just 2-4 hours. The old-school oil-based poly gives a warmer amber glow but needs more patience, requiring a good 8-12 hours between coats. And you’ll want to be gentle on it for the first week.
Living With Your Floor: A Quick Guide to Not Ruining It
Getting the floor installed is only half the battle. You have to take care of it!
A common mistake is using the wrong cleaner. For any floor with a modern polyurethane finish (water- or oil-based), you should ONLY use a pH-neutral cleaner specifically designed for wood floors. Never use vinegar, ammonia, or all-purpose cleaners, as they can dull or damage the finish over time. And please, stay away from those popular oil soaps—they can leave a residue that makes future refinishing a nightmare.
If you chose a natural hardwax oil finish, your maintenance is different. These floors are cleaned with a special soap that both cleans and replenishes the protective oils. The huge advantage here is repairability. You can spot-fix a scratch with a bit of oil and a cloth, which is something you just can’t do with a polyurethane film.
Budgeting and Knowing When to Call a Pro
A new floor is a big project, so let’s talk about the real cost. The price on the flooring box is just the start. Your total cost will include underlayment, adhesive or nails, transition pieces, and maybe new baseboards. And don’t forget to add 10-15% to your material order to account for cuts and waste.
A good rule of thumb? Expect your professional installation cost to be roughly similar to your material cost. If you buy wood for $7 per square foot, a realistic all-in budget for the project would be around $12 to $15 per square foot. Be very skeptical of a bid that seems too good to be true. It usually means corners are being cut on subfloor prep or acclimation—mistakes that will cost you dearly later on.
So, can you DIY it? A handy person can probably handle a floating engineered or laminate floor in a simple, square room. But for most other jobs, I strongly recommend calling a certified professional. If the job involves any on-site sanding and finishing, any glue-down installation, or a complex room layout, it’s pro time. We have the specialized tools, but more importantly, the experience to solve the inevitable problems that pop up.
Choosing a new floor is a huge decision. So take your time, think about how you really live, and ask a ton of questions. A floor that’s chosen wisely and installed correctly isn’t just a purchase; it’s an investment that will pay you back in beauty and value for a long, long time.
Inspirational Gallery
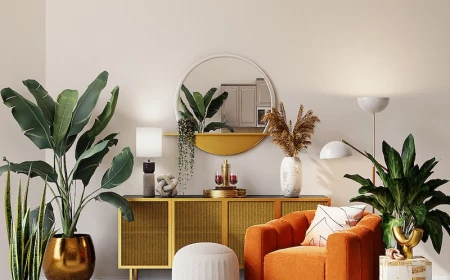
Solid Wood: Milled from a single piece of hardwood, it can be sanded and refinished many times over its lifespan. It’s the classic choice but is more susceptible to humidity changes.
Engineered Wood: A core of plywood or HDF topped with a real wood veneer. It’s far more stable, making it ideal for installation over concrete slabs or in basements.
For below-grade installations, engineered is almost always the only viable wood option.
Don’t just look at color; consider the wood’s resilience. The Janka hardness rating measures a wood’s resistance to denting and wear. A high number, like that of Brazilian Walnut (around 3680), means it’s incredibly durable and great for high-traffic areas. Softer woods like Douglas Fir (around 660) will show marks much more easily, making them better for low-traffic rooms.
Did you know? According to the U.S. Forest Service, American forests grow more than twice the volume of wood than is harvested each year, and the total volume of trees has been increasing for decades.
How do I handle the first inevitable scratch?
For a minor surface scratch on a polyurethane finish, don’t panic. First, clean the area. Then, try a specialized product like a Minwax Stain Marker or a wood repair crayon that matches your floor’s color. Apply sparingly, buff with a soft cloth, and the mark often becomes nearly invisible. This is a quick fix, not a permanent repair, but it’s remarkably effective for everyday wear.
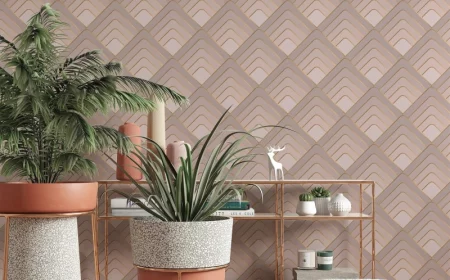
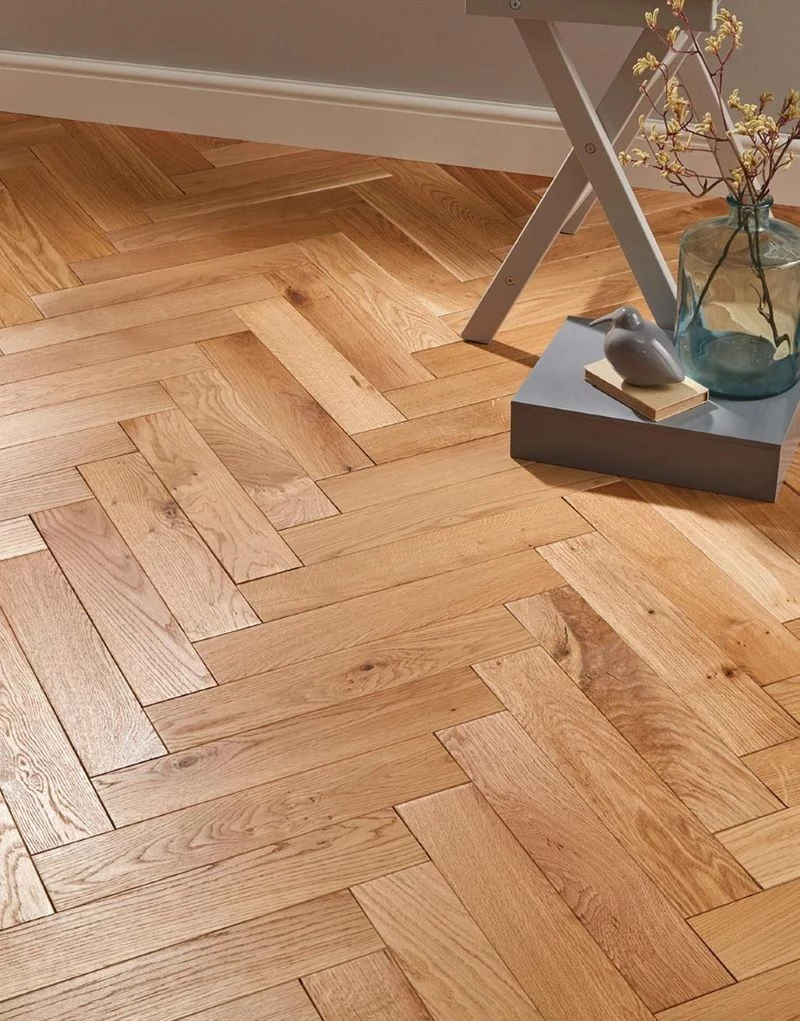
The character of your floor is defined by more than just the type of wood. The cut and finish play a huge role in the final look:
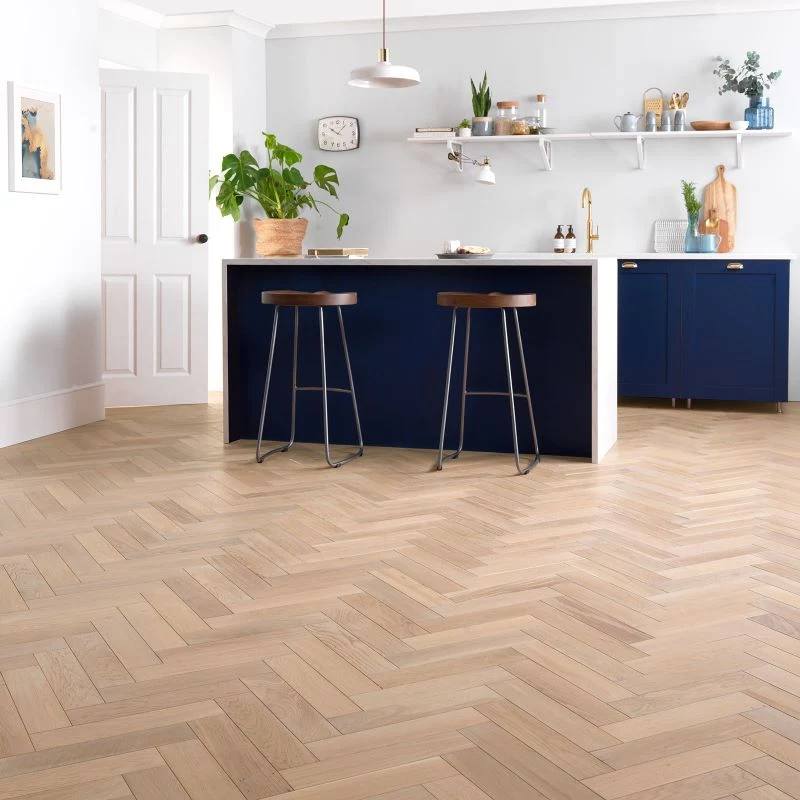
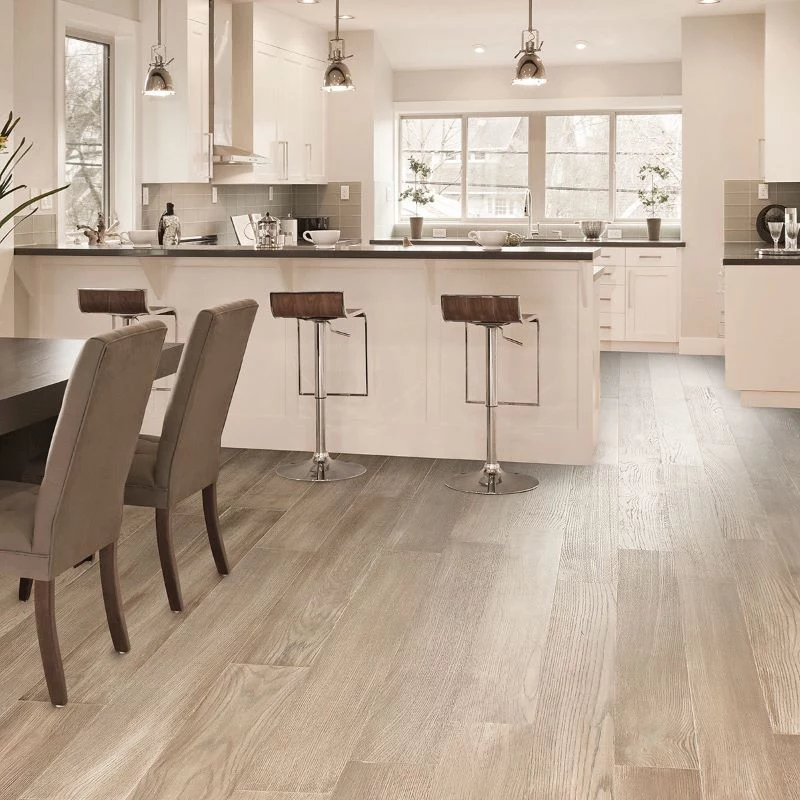
- Plank Width: Narrow strips (2-3 inches) create a traditional, linear look. Wide planks (5 inches or more) feel more modern and rustic, and they show off more of the wood’s natural grain and character.
- Finish Sheen: A matte or satin finish is forgiving, hiding minor imperfections and dust while offering a contemporary feel. A semi-gloss or high-gloss finish, by contrast, is very reflective, highlights every detail, and can show scuffs more easily.
- They prevent permanent damage to your investment.
- They stop your finish from looking cloudy or dull.
- They save you from costly professional deep cleaning or refinishing.
The secret? Avoiding the wrong cleaning products. Never use a steam mop, vinegar and water solutions, or oil soaps on a modern wood floor finish. They can strip the finish or leave a residue that dulls the surface. Stick to a pH-neutral cleaner specifically made for wood floors, like those from Bona or Pallmann.
Oil-Based Polyurethane: Gives a warm, amber glow that deepens over time. It’s extremely durable but has a strong odor during application and a longer drying time.
Water-Based Polyurethane: Dries crystal clear, preserving the natural color of the wood. It has low VOCs and dries quickly, allowing for faster job completion. Brands like Loba and Bona are industry leaders in this category.
The National Wood Flooring Association recommends maintaining an indoor humidity level between 35% and 55% year-round.
This isn’t just a casual suggestion; it’s the key to preventing problems. In dry winters, wood shrinks, which can create gaps between planks. In humid summers, it swells, which can cause ‘cupping’ where the edges of the boards are higher than the center. A whole-home humidifier/dehumidifier system is the best defense against these seasonal shifts.
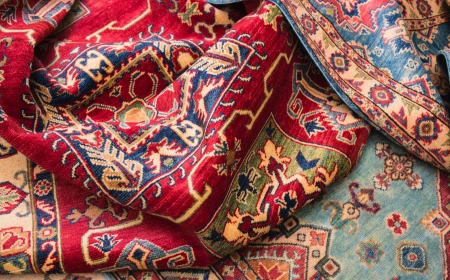
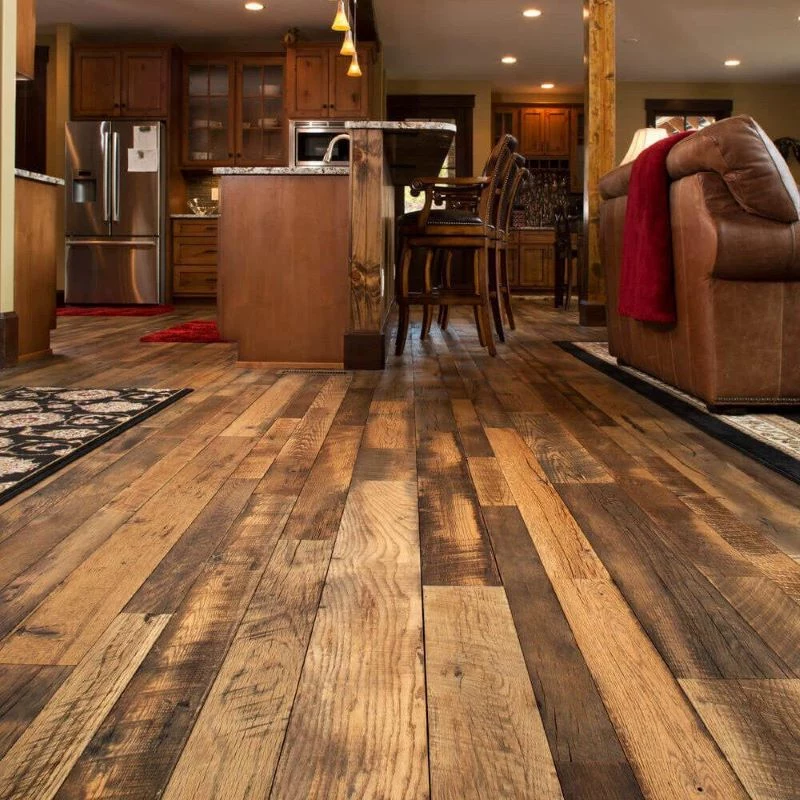
Reclaimed wood from old barns or factories isn’t just a style choice; it’s a piece of history. Each plank tells a story through its nail holes, saw marks, and deep, aged color. While it requires expert installation to handle inconsistencies, the result is a floor with unparalleled character that simply can’t be replicated with new materials. Brands like Pioneer Millworks specialize in sourcing these unique materials.