A Repair Tech Spills: How to Pick a Vacuum That Actually Works
I’ve spent the better part of my career with vacuums. Not just using them, but taking them apart on my workbench. I’ve had my hands inside just about every make and model you can imagine, from old-school machines that are still kicking to brand-new ones that gave up the ghost in six months.
In this article
And the most common thing I hear from people? Pure frustration. They drop good money on a machine that scratches their new floors, clogs every other week, or just seems to push dirt around. But here’s the secret: the problem usually isn’t a faulty vacuum. It’s that they bought the wrong vacuum for their home.
Choosing a vacuum isn’t about the flashiest design or the longest list of features. It’s about matching the tool to the job. You wouldn’t use a sledgehammer to hang a picture, right? Same idea. This guide isn’t here to sell you on a specific brand. It’s here to pull back the curtain and share what I’ve learned from thousands of repairs, so you can pick a machine that will serve you well for years, not just until the warranty expires.
First Things First: Your 30-Second Home Audit
Before you even start browsing online, grab a notepad. Seriously. Answering these three questions will give you a personal spec sheet and save you a ton of headaches.
- What’s your floor situation? Write down a rough percentage. Is your home 80% thick carpet and 20% tile? Or is it 90% hardwood with a few area rugs? This is the single most important factor.
- What’s your biggest cleaning headache? Be honest. Is it mountains of pet hair? Tricky stairs? Dust bunnies that trigger your allergies? A house full of shag rugs?
- What’s your realistic budget? A durable, effective vacuum is an investment. In my experience, a decent upright that won’t die in two years will run you $250-$500. A quality canister built to last a decade? You’re often looking at $400-$900+. And those high-end, sealed-system allergy machines can top $1,000, but they’re built like tanks.
Got your answers? Great. Now you know what to look for.
More Than Just Suction: What Really Cleans Your Floors
Everyone says they want a vacuum with “good suction.” But “suction” is a pretty vague term. In the repair world, we care about two specific forces that work together, and understanding them is key.
First up is Airflow, measured in Cubic Feet per Minute (CFM). This is the sheer volume of air moving through the hose. Think of it as the force that grabs surface-level stuff like pet hair, crumbs, and dust. High airflow is great for making light debris disappear from a hard floor.
The other side of the coin is Water Lift (or sealed suction). This measures the raw, concentrated pulling power of the motor. It’s the force that can pull heavy, embedded grit from deep inside your carpet fibers. Imagine trying to drink a thick milkshake through a straw—that’s water lift in action.
Why does this matter? Because a vacuum designed for hard floors might have awesome airflow but lack the water lift to clean a plush carpet. The best vacuums find a good balance. You won’t always see these numbers on the box, but this principle dictates how different vacuums are designed.
Don’t Forget Agitation (The Brush Roll)
For carpets, suction alone isn’t enough. You need agitation. That’s the job of the spinning brush roll (some call it a beater bar). Its bristles vibrate the carpet, knocking deep-down dirt and grit loose so the airflow can whisk it away.
But—and this is a big one—that same brush roll can be your enemy on hard floors. A stiff, fast-spinning brush will eventually create tiny scratches that dull your hardwood or laminate finish. It can also chew up delicate area rugs. This is why a non-negotiable feature for any multi-surface home is a brush roll shut-off. You absolutely need to be able to stop it from spinning.
Filtration: Are You Cleaning Your Floors or Just Your Air?
A vacuum is basically an air-processing machine. It sucks in dirty air, traps the gunk, and spits out clean air. If the filtration is garbage, it’s just a fancy dust-recirculator. This is critical for anyone with allergies or asthma.
A good system has a few parts:
- Pre-Motor Filter: This is the first line of defense, catching big particles before they can choke your motor. A clogged pre-motor filter is probably the #1 reason I see vacuums lose suction or overheat.
- Post-Motor Filter: This is the last stop. It cleans the air just before it leaves the vacuum. This filter determines the air quality in the room after you’re done.
- HEPA Filtration: If allergies are a concern, look for a machine with a true, sealed HEPA system. HEPA filters are designed to capture 99.97% of tiny particles like pollen and pet dander. But watch out for marketing fluff like “HEPA-like.” The key is the “sealed system.” It means all the air is forced through the filter, with no dirty air leaking out of cracks in the casing.
Matching the Machine to Your Home
Okay, with the tech stuff out of the way, let’s talk about the actual vacuums you’ll see on the shelf. Here’s the real-world breakdown of what they’re good for.
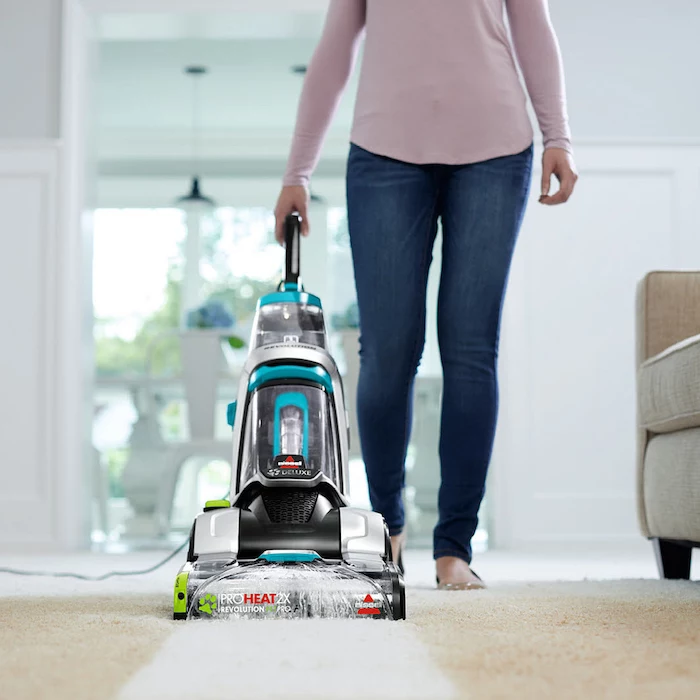
Upright Vacuums: The Carpet Kings
This is the classic workhorse, especially for homes with lots of wall-to-wall carpet. The all-in-one design often provides powerful agitation and deep-cleaning muscle.
- Best For: Large areas of medium to high-pile carpet. They’re built for that deep-down clean.
- What to Look For: Manual height adjustment is a must. You need to be able to raise or lower the cleaning head to match your carpet. Too low, and you’ll damage the fibers; too high, and you won’t pick anything up. Also, check for a long cord (at least 25 feet is a good benchmark) and easy-to-use attachments for furniture and corners.
- The Downside: They can be heavy and clunky on stairs, and their bulky profile makes it tough to get under low furniture.
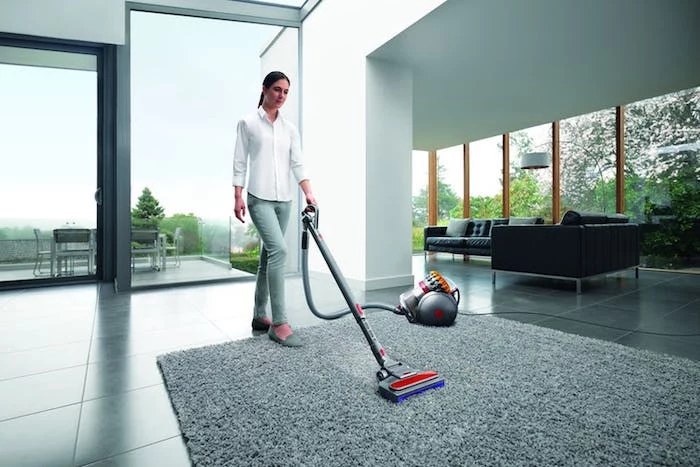
Canister Vacuums: The Versatile Specialists
These machines keep the motor and dustbin in a canister that you pull behind you, giving you a lightweight hose and wand. They are fantastic for homes with a mix of flooring.
- Best For: Homes with lots of hard floors, delicate area rugs, and a need for above-the-floor cleaning (stairs, drapes, cars). The magic is all in the attachments.
- What to Look For: The power head is everything! A good canister should come with two main tools: a soft-bristled brush for hard floors and a separate motorized power head with its own spinning brush for carpets. Without that motorized head, a canister is basically useless on anything but low-pile rugs. Oh, and check for soft rubber wheels to protect your floors.
- The Downside: Storing them can be awkward, and some people find it annoying to pull the canister body around. It takes some getting used to.
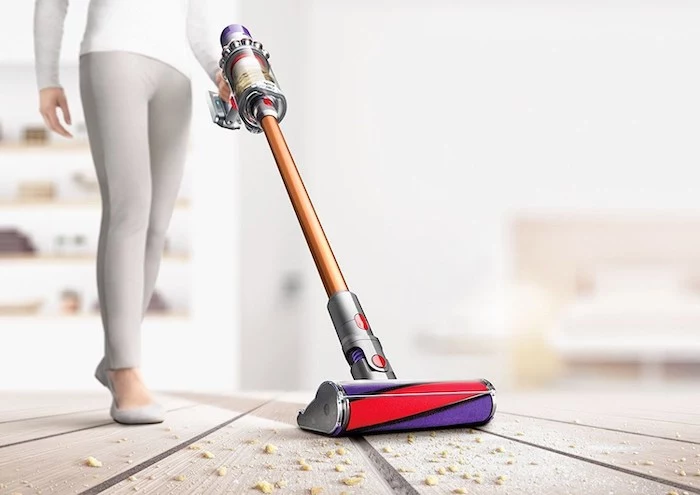
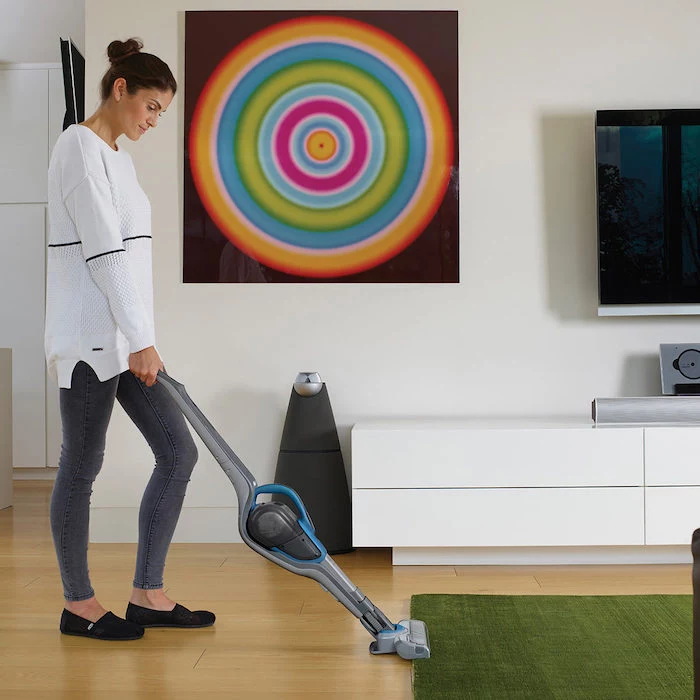
Stick Vacuums: The Quick-Cleanup Crew
These lightweight, grab-and-go vacuums have exploded in popularity. They’re amazing, as long as you have realistic expectations.
- Best For: Daily maintenance and quick cleanups. Perfect for kitchen crumbs, entryway dirt, and small apartments. They shine on hard floors and low-pile carpets.
- What to Look For: With cordless models, it’s all about the battery. Look for the runtime with the motorized tool on high power, not the marketing number. 15-25 minutes is pretty typical. Heads up! A replacement battery can cost anywhere from $80 to $150, so check that price before you buy the vacuum.
- The Downside: A cordless stick is not a full-power replacement for most homes. They just don’t have the deep-cleaning power for thick carpets. Think of it as an essential secondary vacuum, not your only one.
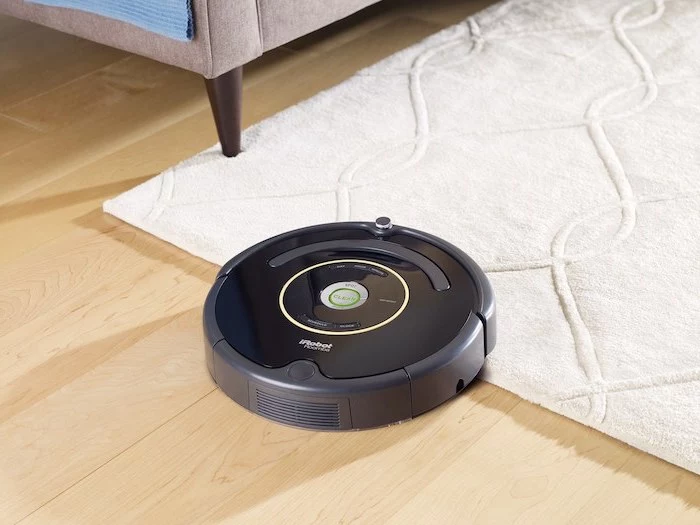
Robotic Vacuums: The Automated Assistants
These aren’t just a novelty anymore. A good robot can seriously cut down on your weekly cleaning chores, especially if you have pets.
- Best For: Daily, automated touch-ups on hard floors and low-pile carpets. They are fantastic at managing pet hair and dust between your deeper cleaning sessions.
- What to Look For: Navigation is the key. Basic “bump-and-turn” models are inefficient. Look for smarter navigation (like LiDAR or camera-based systems) that maps your home and cleans in neat, straight lines. App controls that let you set “no-go zones” are also a lifesaver.
- The Downside: They are strictly for maintenance. They can’t clean stairs or upholstery, and your home needs to be reasonably tidy so they don’t get stuck on phone chargers or socks. I’ve pulled a lot of Lego bricks out of these things.
Let’s Talk About Bags: Bagged vs. Bagless
This is a huge debate, but from an air quality and maintenance standpoint, the answer is pretty clear to me.
Bagged Vacuums: Cleaner and Better for Allergies
Honestly, for performance and health, I almost always point people toward a high-quality bagged vacuum. When you remove the bag, all the dirt, dust, and allergens are sealed neatly inside. You just toss the whole thing. It’s far and away the better choice for allergy sufferers.
The only downside is the ongoing cost of bags, which might run you $15-$25 for a pack. But for a machine that lasts a decade, it’s a small price to pay for cleaner air and less mess.
Bagless Vacuums: The Convenience Caveat
The appeal of bagless is obvious: no bags to buy. But there’s a trade-off. Emptying the bin can release a cloud of fine dust right back into the air you just cleaned. You just spent 20 minutes sucking allergens out of your carpet; don’t dump them back into the air you’re about to breathe! I always tell people to empty their bagless bins directly into an outdoor trash can.
Bagless models also rely on filters you have to wash. If you don’t clean them regularly (usually once a month), the vacuum will lose power fast. And they have to be 100% dry before you put them back in, or you’ll get mildew and a nasty smell.
A quick tip: If you go bagless, buy a second set of filters. You can find them online for maybe $20-$40. That way, you can pop in a clean, dry set while the other one air-dries for a full 24 hours. No downtime.
How to Keep Your Investment Running
A little TLC can easily double the life of your vacuum. If you notice a problem, don’t panic. Check these things first.
- Loss of Suction? Check three spots before calling for help. 1) Is the bin or bag full? 2) Are the filters clean? 3) Is there a clog? Disconnect the hose and try dropping a coin through it. If it gets stuck, you’ve found your clog. Use a broom handle—gently!—to push it out.
- A Funky Smell? This is almost always pet hair or old food bits. Change the bag, wash the filters, and wipe down the bin. You can also vacuum up a tablespoon of baking soda to help.
- Brush Isn’t Spinning? Unplug the vacuum! Then use scissors or a seam ripper to carefully cut away all the tangled hair and string. If it’s still not moving, you might have a broken belt. Belts are usually cheap (under $10) and pretty easy to replace yourself.
Choosing a vacuum is an investment in your home’s health. Forget the marketing hype and focus on the basics: your floors, your family’s needs, and the engineering that suits your space. A well-chosen machine is a tool that will serve you well for a long, long time.