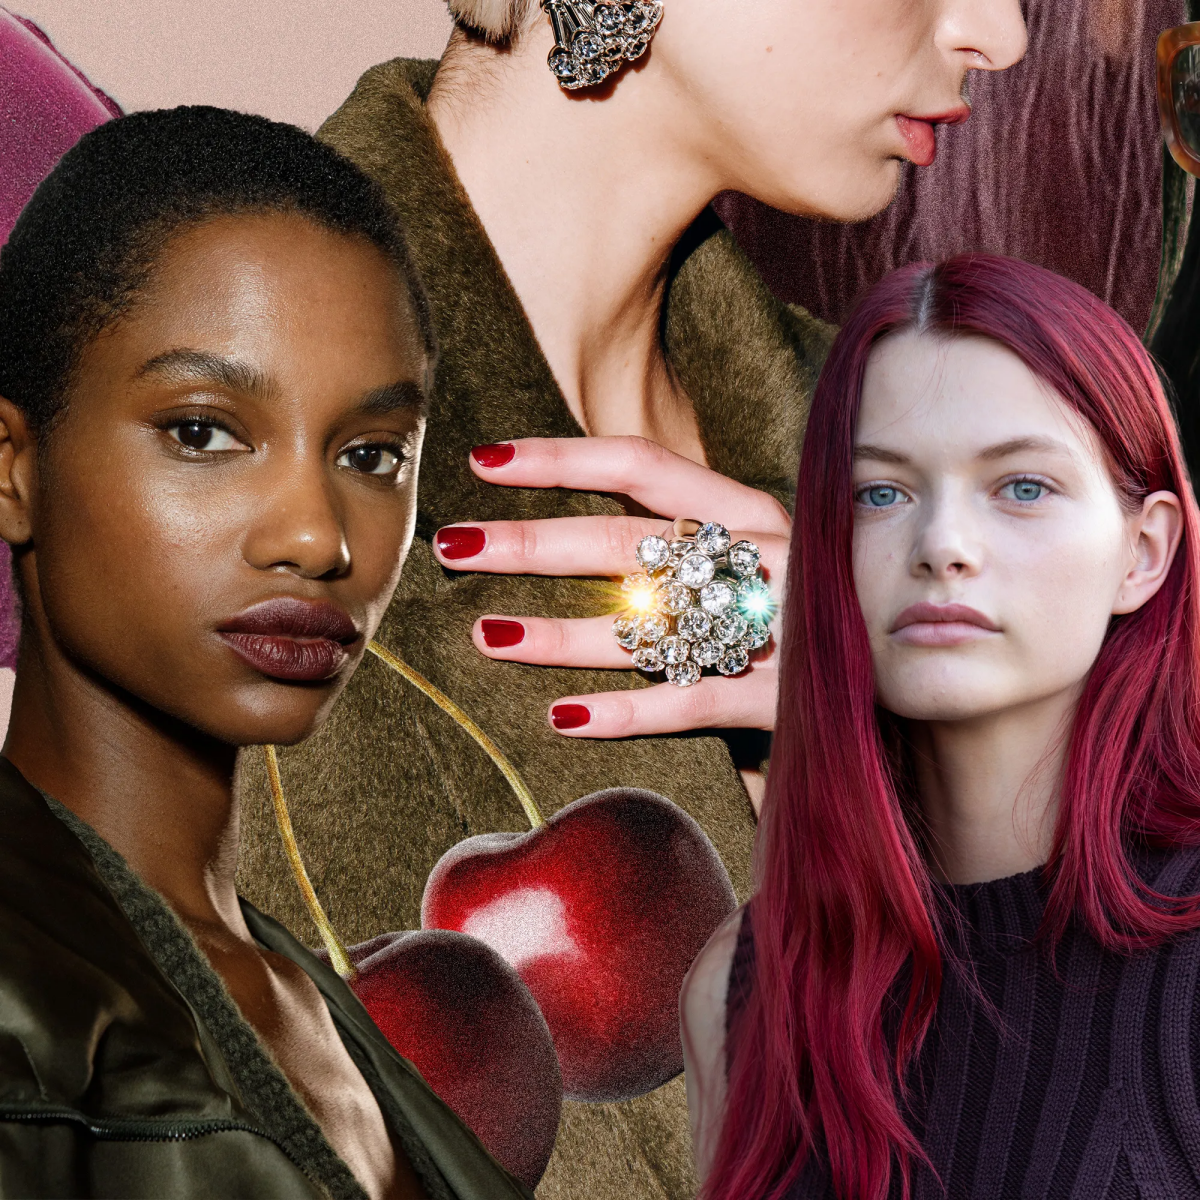
The Real Deal on Cherry Cola Hair: What Your Stylist Wants You to Know
Alright, let’s talk about the hair color that’s been all over social media: “cherry cola” hair. As a colorist who’s been behind the chair for a good long while, I see these trend names pop up all the time. And honestly? Most of them are just catchy marketing for beautiful, classic shades we’ve been mixing for ages. Cherry cola is a perfect example of this.
In this article
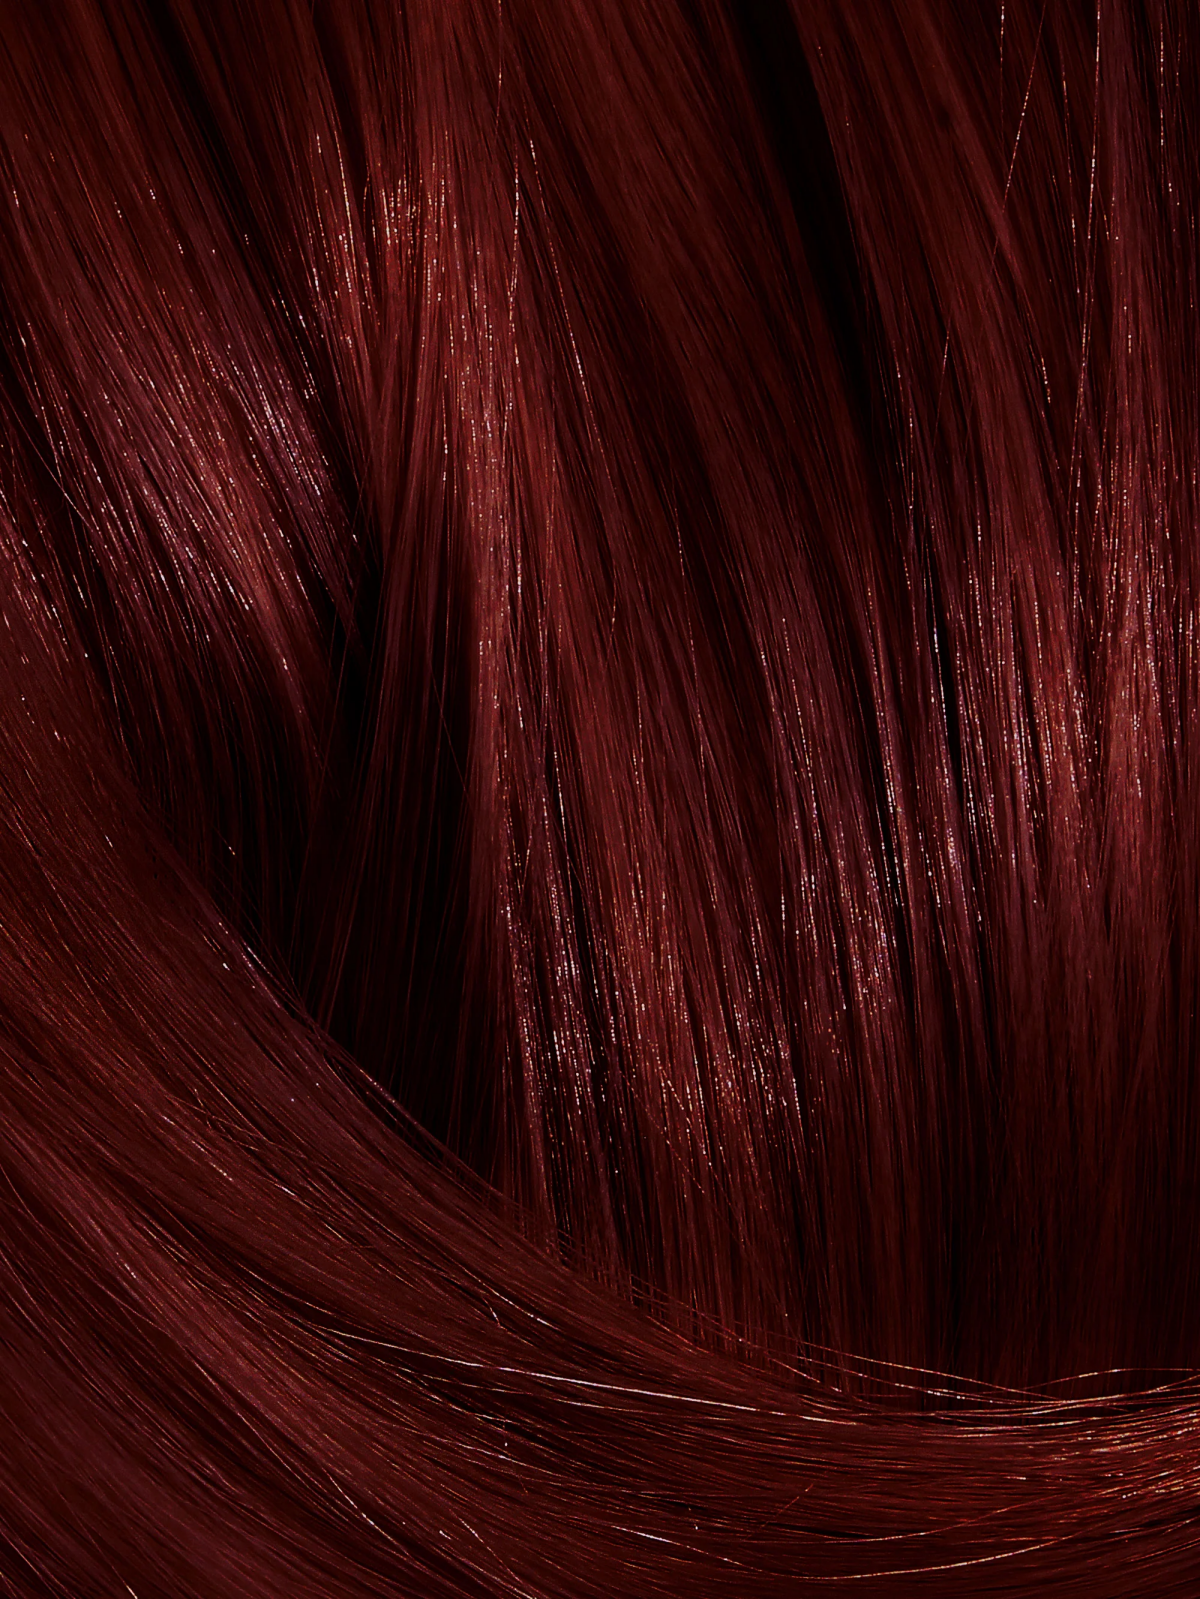
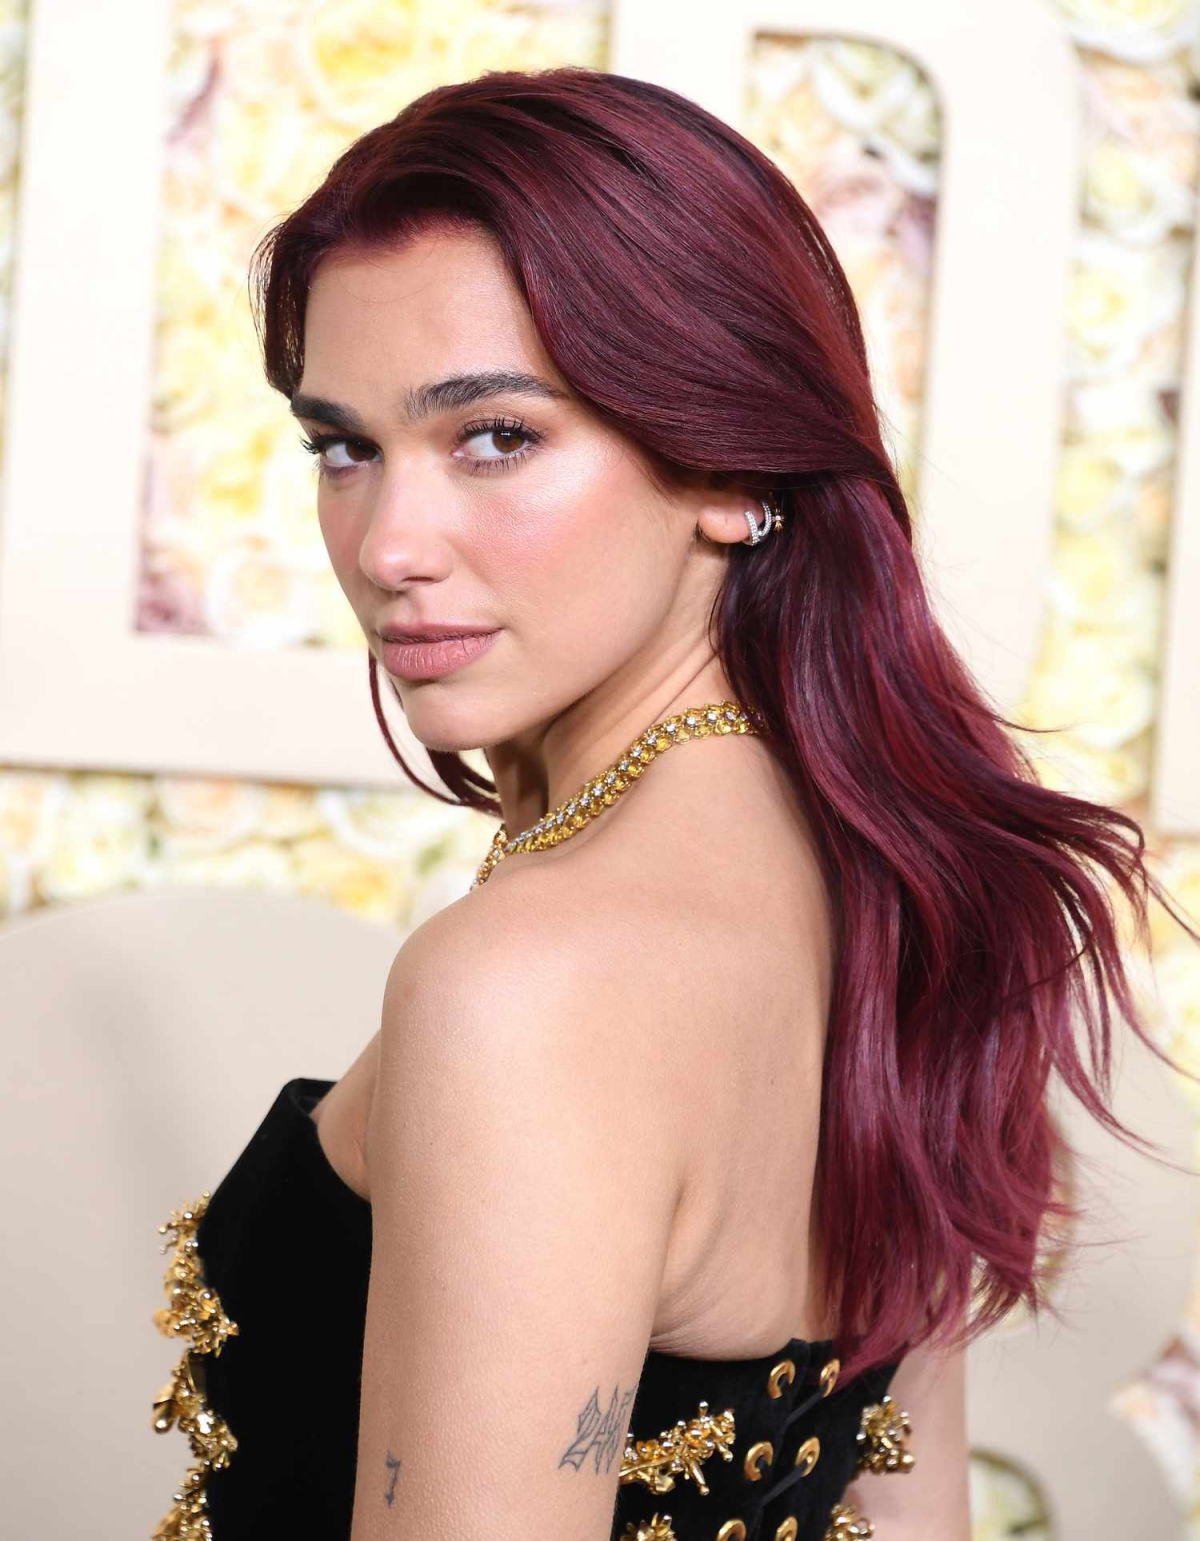
When a client shows me a picture, I see a gorgeous, deep color—usually a dark brown or even a soft black base that’s saturated with a rich violet-red tone. It’s one of my favorite colors to create because it has so much depth and reflects light in a really stunning way. Plus, it can be customized for almost anyone.
But here’s the thing: what the internet makes look like a simple trend is actually a careful balancing act of color theory and application skill. Getting that specific, luscious shade without it going flat, looking too much like a purple cartoon, or fading into a brassy orange mess takes a bit more than a box kit from the drugstore. It takes understanding what’s going on inside the hair itself.
My goal here isn’t to sell you on a trend. It’s to pull back the curtain and share what I’ve learned from thousands of hours of mixing and applying color. I want to break down how this color actually works, how a pro builds it from the ground up, and—most importantly—how you can take care of it.
The Secret Recipe for That Perfect Shade
To get why this color can be tricky, you need to know a tiny bit about hair color science. It all boils down to your hair’s starting point and the pigments we add.
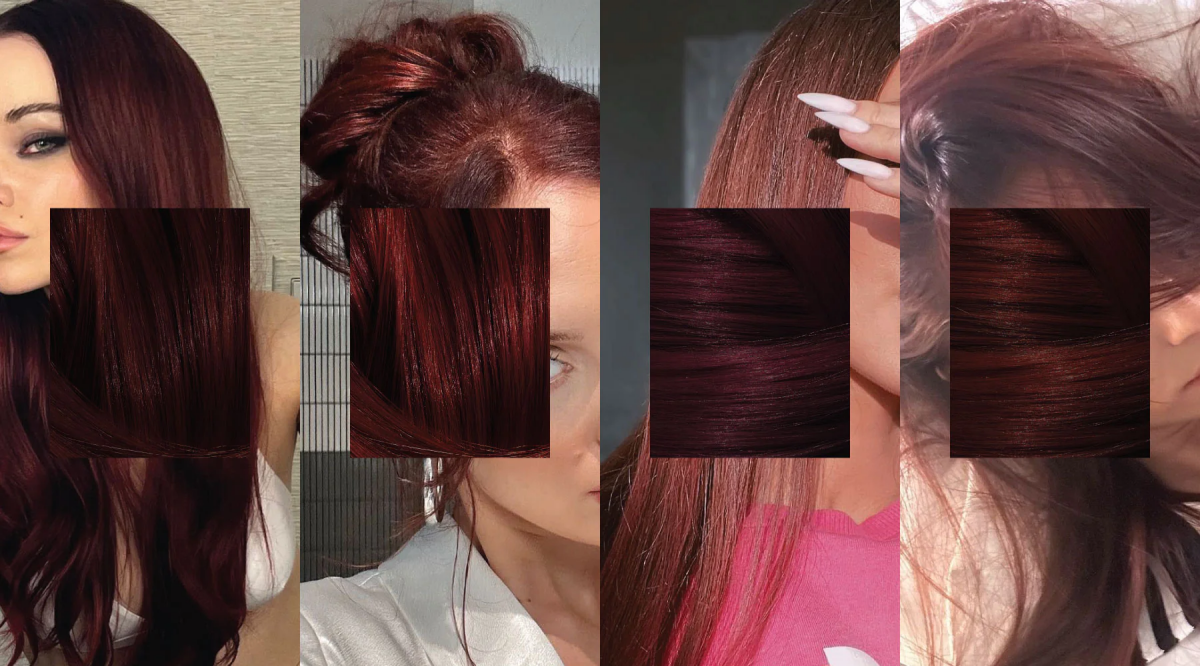
The “cherry cola” look is usually created on hair that’s naturally a Level 3 (a dark brown, think coffee beans) to a Level 5 (a light-to-medium brown, like a bar of milk chocolate). The magic isn’t just in slapping on some red; it’s in the sophisticated blend of tones.
Think of it like this:
- The Base: This is the foundation, the primary darkness of the color. For a true cherry cola, we often start with a Neutral (N) or Gold-Brown (GB) base. A neutral base provides a pure, deep canvas. Personally, I often lean towards a gold-brown base because it adds this subtle warmth that helps the red tones look more integrated and less like they’re just sitting on top of the hair.
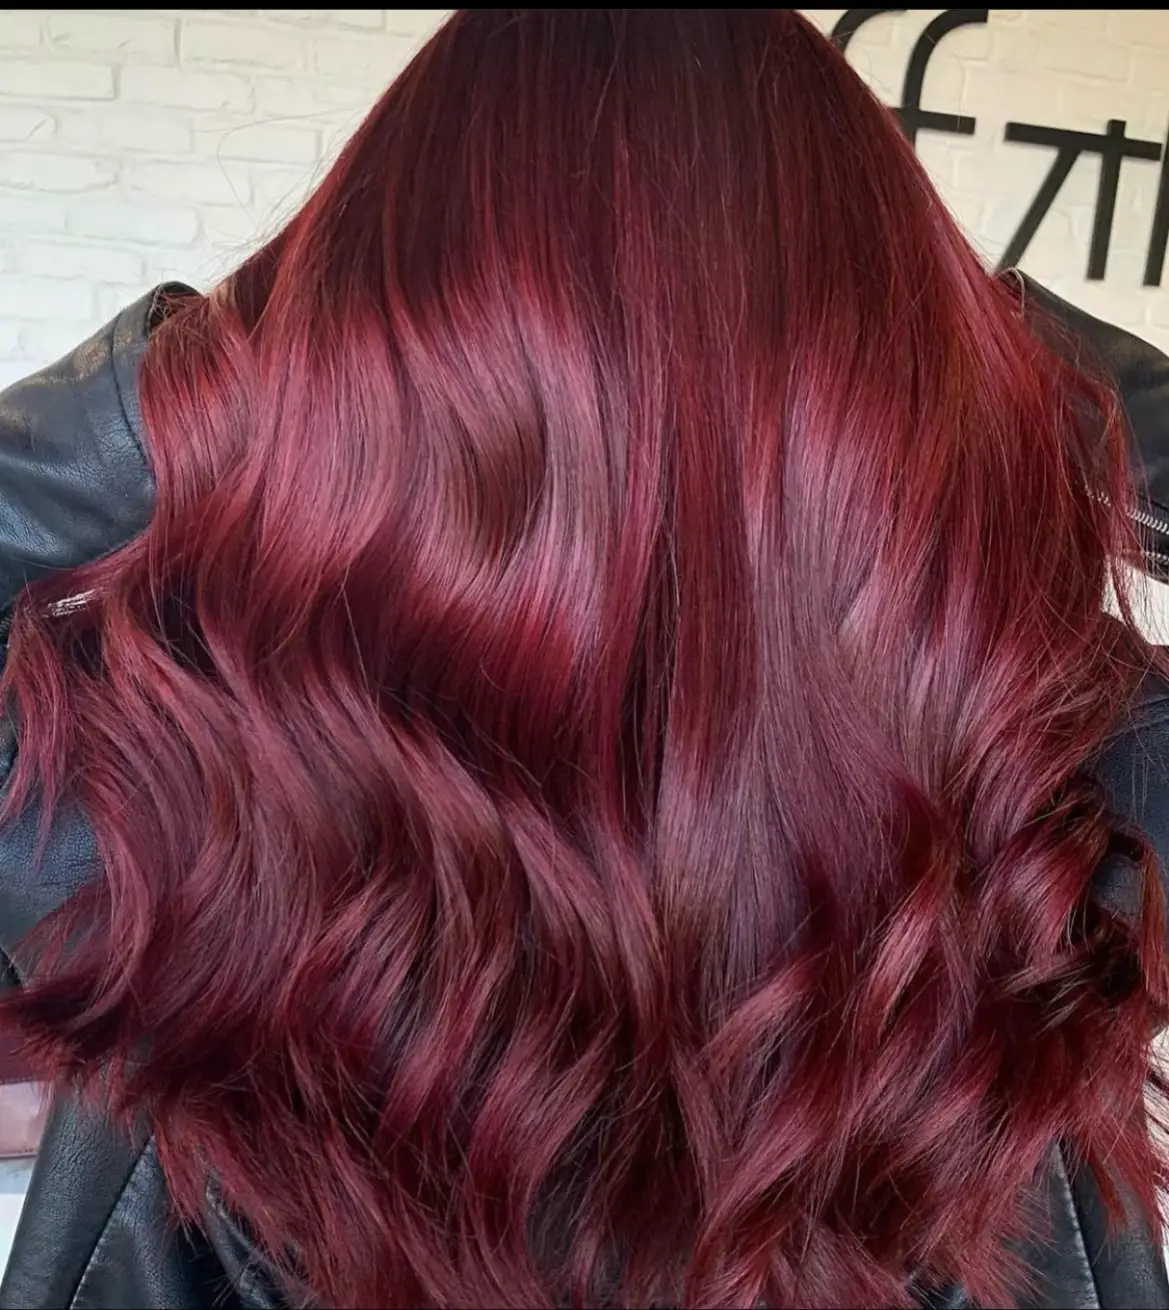
- The Reflect: This is the tone you see when the light hits. For this look, we’re talking about a Violet-Red (VR). That little bit of violet is the secret ingredient! It cools the red down, preventing it from looking coppery or like a fire engine. It’s what gives the color that deep “cherry” or wine-like feel.
A typical professional formula might be something like a Level 4 Neutral base mixed with a strong Violet-Red reflect, using a gentle developer that just deposits color. But here’s a heads-up about red dye in general…

The red color molecule is a big fella. It’s the largest of all the artificial color molecules, which means it has a tough time getting deep into the hair shaft. It tends to hang out closer to the surface, which leads to two things: First, it fades faster than any other color. Those big molecules get washed away easily. Second, if your hair is porous from damage, it can grab that red pigment unevenly, leading to a splotchy result.
How We Build the Color in the Salon
Getting a rich, dimensional color like this isn’t about just painting on some dye. The process is methodical and starts way before a brush even touches your hair.
It all begins with a good chat and a close look at your hair. I need to know your hair’s story. What have you done to it in the last few years? That black box dye from two years ago? Oh yeah, it’s probably still living in your ends and will create a dark band if we’re not careful. Honesty here saves you from a pricey color correction later.

Next, we choose our tools. Not all color is the same, and we pick the right one for the job.
- Permanent Color: The Heavy Lifter. This is what we use when we need to cover grays or lighten your natural hair a bit. It opens up the hair cuticle to deposit pigment deep inside. We’d use this on your roots for a first-time application or a touch-up, typically with a gentle 10 or 20-volume developer. Anything stronger can create what we call “hot roots”—a brassy, overly bright root area. No thanks.
- Demi-Permanent Color: The Glossy Finisher. This is my go-to for refreshing color on the ends. It’s an acidic, deposit-only color, which means it adds tone and shine without damaging the hair. A common pro technique is to apply permanent color to the new growth at the roots, and then run a demi-permanent gloss through the mids and ends for the last 15 minutes. This keeps the color vibrant without causing the ends to get darker and more damaged over time. It’s a level of customization you just can’t get from a box.
The application itself is a craft. We section the hair cleanly, applying the color to thin sections to ensure every single strand is saturated. We always apply to the scalp area last, since the heat from your head makes it process faster. It’s a thoughtful process designed to give you a seamless, rich result.
Customizing the Color Just for You
A one-size-fits-all formula is a recipe for disappointment. A great stylist will tweak the tones to make sure the color flatters you perfectly.
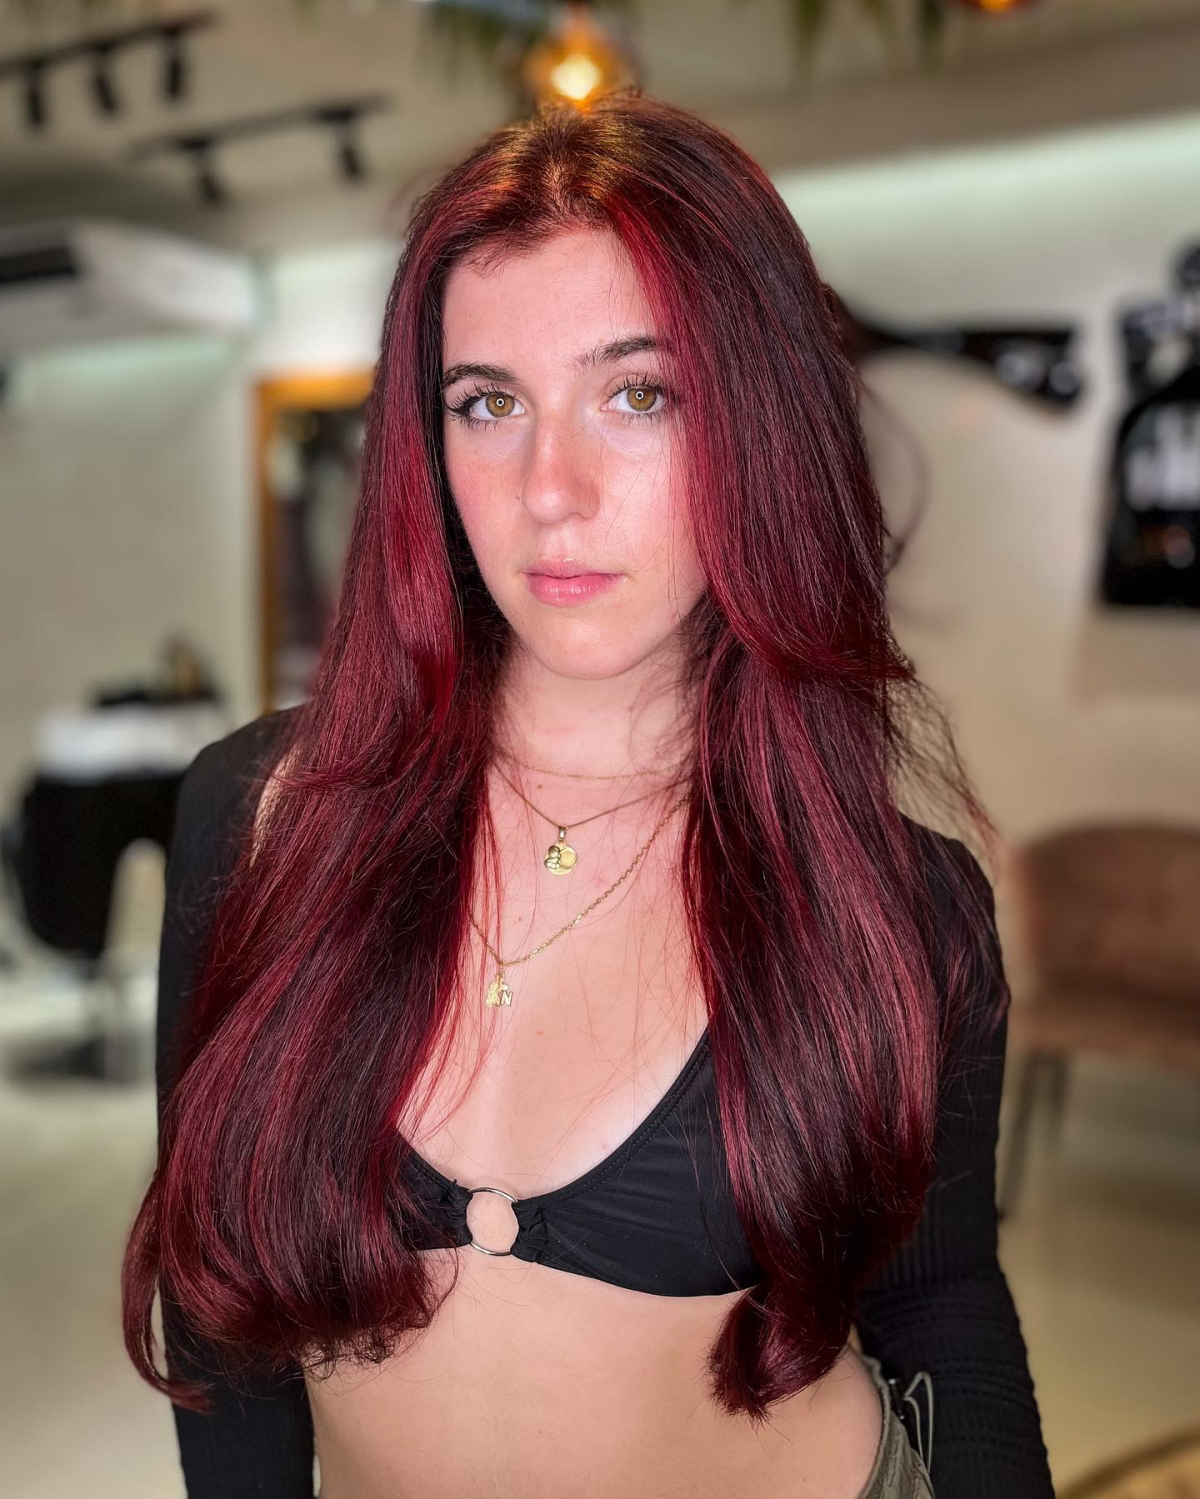
For clients with cooler skin tones (pink or blue undertones), I lean into the “cherry” and might add an extra dash of violet. This creates a deep, wine-red that is absolutely stunning against their complexion.
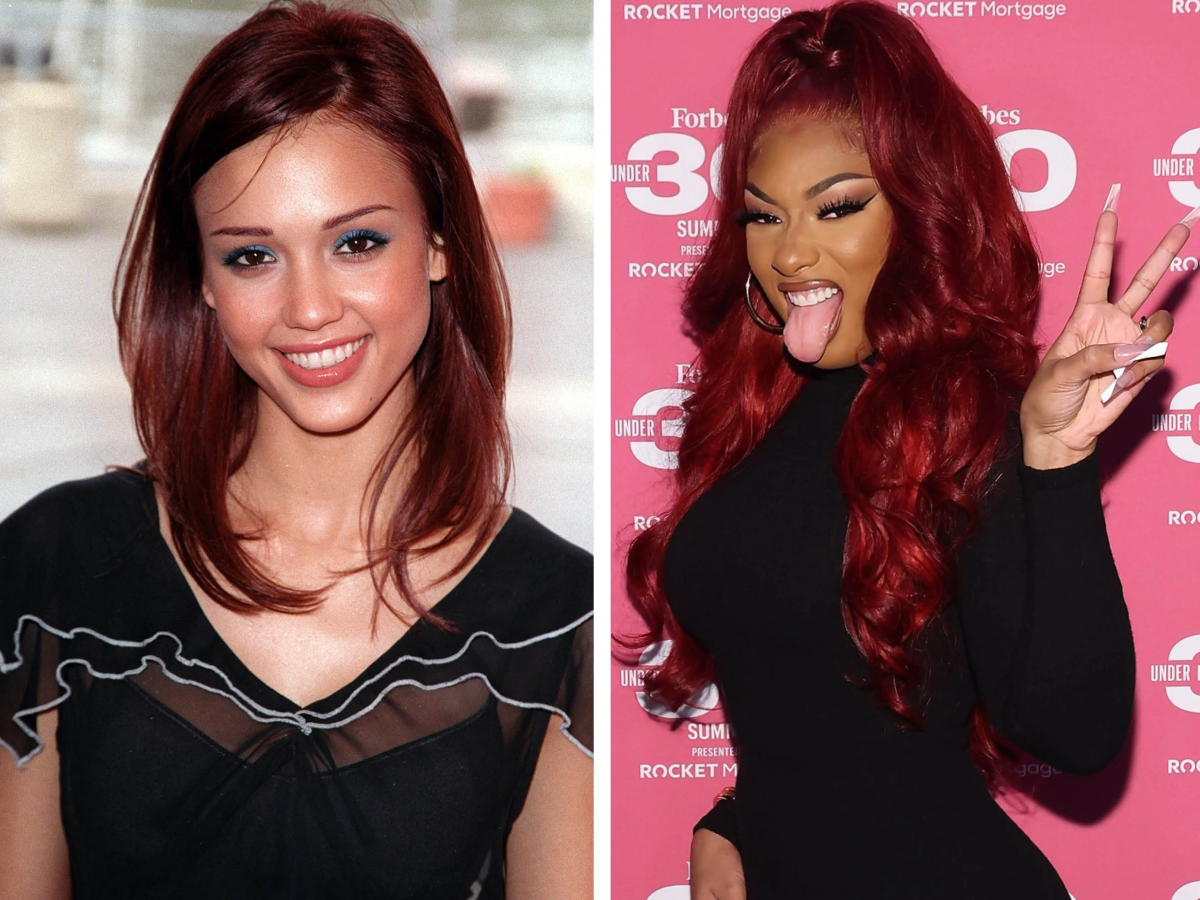
But for clients with warmer skin tones (golden or olive), too much violet can make them look a bit sallow. For them, I’ll shift the formula towards a Red-Brown or even a Red-Copper mix. It brings out more of a rich mahogany note that harmonizes with their natural warmth. I once had a client with beautiful olive skin who was terrified of going red. We used a warmer Red-Brown formula, and it made her skin just glow. She looked incredible! It’s all about the customization.
The Big Question: At-Home vs. the Salon
I get it. A trip to the salon is an investment. A full, first-time cherry cola service can run anywhere from $200 to $400+, depending on your hair’s length and history. But trying this at home is a huge gamble.
The most common DIY mistakes I see are:
- Uneven Color: You’ll almost certainly get bright roots and dark, muddy-looking ends if you have any previous color in your hair. Box dye is a blunt instrument.
- Wrong Tone: Put this color on light brown hair, and you’ll get a shocking, bright cherry red. Put it on dark hair, and you’ll barely see it. The box can’t adjust for your starting canvas.
- The Cost of a Fix: A color correction to fix a DIY job gone wrong? You’re easily looking at $300 to $500 or more, and it can take multiple appointments. Suddenly, that professional service looks like a bargain.
If you absolutely must try it at home, please be smart. Look for a demi-permanent kit, which is more forgiving. You can find lines like Wella Color Charm Demis at Sally Beauty Supply. And for the love of all that is good, DO A STRAND TEST. It’s the only way to know what you’re getting into.
Help! What if Something Goes Wrong?
Let’s talk about some common “what if” scenarios I see all the time.
- What if my hair is already bleached blonde? Don’t just put the color on top! Your hair is like an empty canvas, and it will soak up the red-violet tones and look pink. A pro would first “fill” the hair with a warm gold or copper tone to create a proper base before applying the final cherry cola formula.
- What if I have black box dye on my hair? This is a major project, not a simple color job. We would need to use a specialized color remover (not bleach) to gently strip out the old artificial pigment. This is a delicate process that is best left to a professional to avoid damaging your hair.
- What if my roots are bright red but my ends are almost black? Classic hot roots and color banding. The fix is complex, often involving that gentle color remover on the ends to even out the canvas before we can apply the new color correctly.

Keeping Your Cherry Cola Looking Fresh
This color is an investment in time and money, so you want to protect it! For your first appointment, plan to be in the salon for about 2.5 to 3 hours. After that, maintenance is key.
The red tones will fade—that’s just chemistry. To keep them vibrant, you’ll need a root touch-up every 6-8 weeks (around $100-$200) and a glossing service every 4-6 weeks. A gloss is a quick, damage-free demi-permanent color application that only takes about an hour and costs between $75 and $150. It’s the best way to refresh your color and shine.
Here’s a quick shopping list for at-home care:
- Sulfate-Free Shampoo for Color: This is non-negotiable. Look at brands like Pureology or Redken Color Extend Magnetics. (Expect to spend $20-$40).
- Color-Depositing Conditioner: A conditioner with a hint of red can work wonders between glosses. (Around $25-$35).
- Heat Protectant: Heat is the enemy of red hair color. Always use a protectant before blow-drying or ironing. (About $20).
And here’s a quick win: The easiest thing you can do to save your color is to turn down the water temperature. Washing with lukewarm, not hot, water helps keep the hair cuticle sealed, so those pricey red molecules don’t go right down the drain.
Finally, a word on safety. Any reputable salon will insist on a patch test 48 hours before your first service to check for allergies. I’ve seen horrific reactions from box dyes because people skip this step. Trust me when I say some jobs are only for the pros, especially if your hair is already compromised. It’s your hair—it’s worth doing right.
Galerie d’inspiration
Will cherry cola hair suit my skin tone?
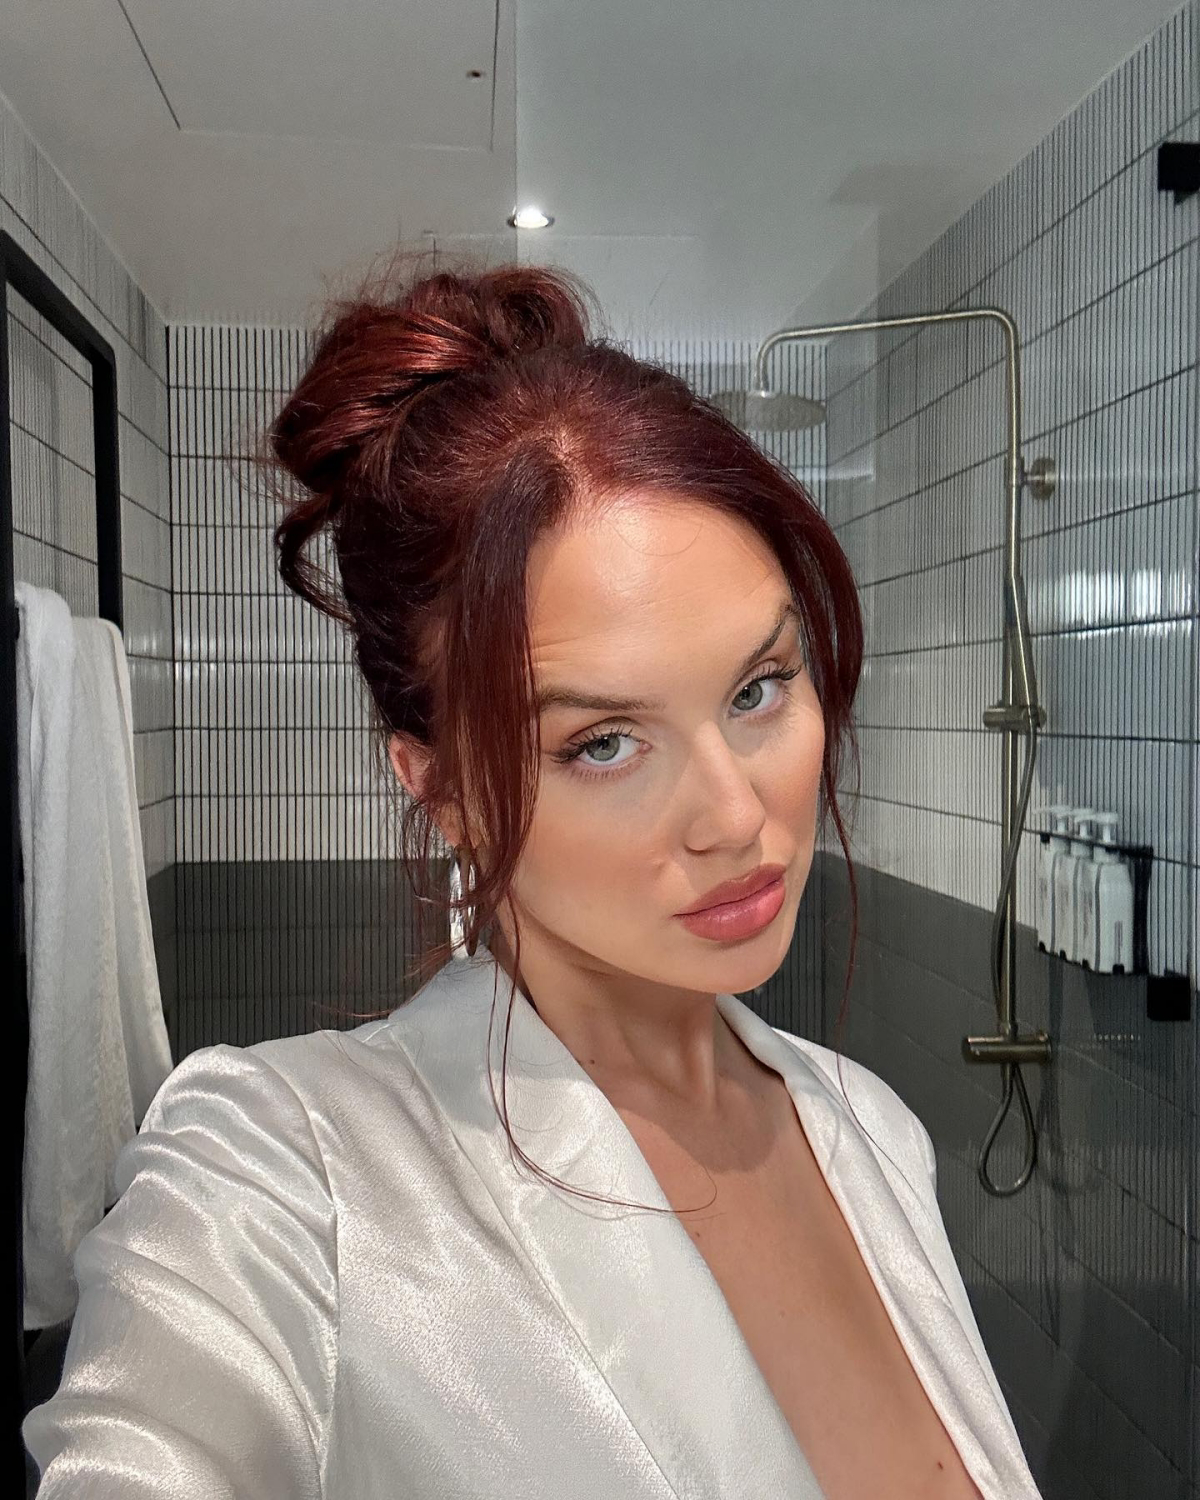
Absolutely. The beauty of this trend is its customizability. For cooler or fair skin tones with pink undertones, your stylist might lean into the violet-red aspects to create a vibrant contrast. For warmer, olive, or deeper skin tones, enhancing the rich, warm mahogany and deep cherry notes will create a stunning, harmonious glow. It’s all about adjusting the balance of red and violet to complement your unique complexion.

Did you know that the red dye molecule is larger than other color molecules? This is why it has a harder time penetrating the hair’s cortex and tends to wash out faster.
This scientific reality is why aftercare is non-negotiable for cherry cola shades. Frequent washing with hot water and harsh shampoos will strip that beautiful red-violet sheen, leaving a duller, brassier brown behind. Protect your investment!
The secret to keeping that multidimensional shine: A color-depositing conditioner or mask. This is your at-home insurance policy. Once a week, swap your regular conditioner for a product like Maria Nila’s Colour Refresh in

- Your inspiration photos (at least 3-5).
- A photo of your hair in natural light.
- Your hair color history from the last two years.
- An honest account of your daily styling routine.
Bringing this to your consultation allows your colorist to create a realistic plan for achieving and maintaining your perfect cherry cola shade.
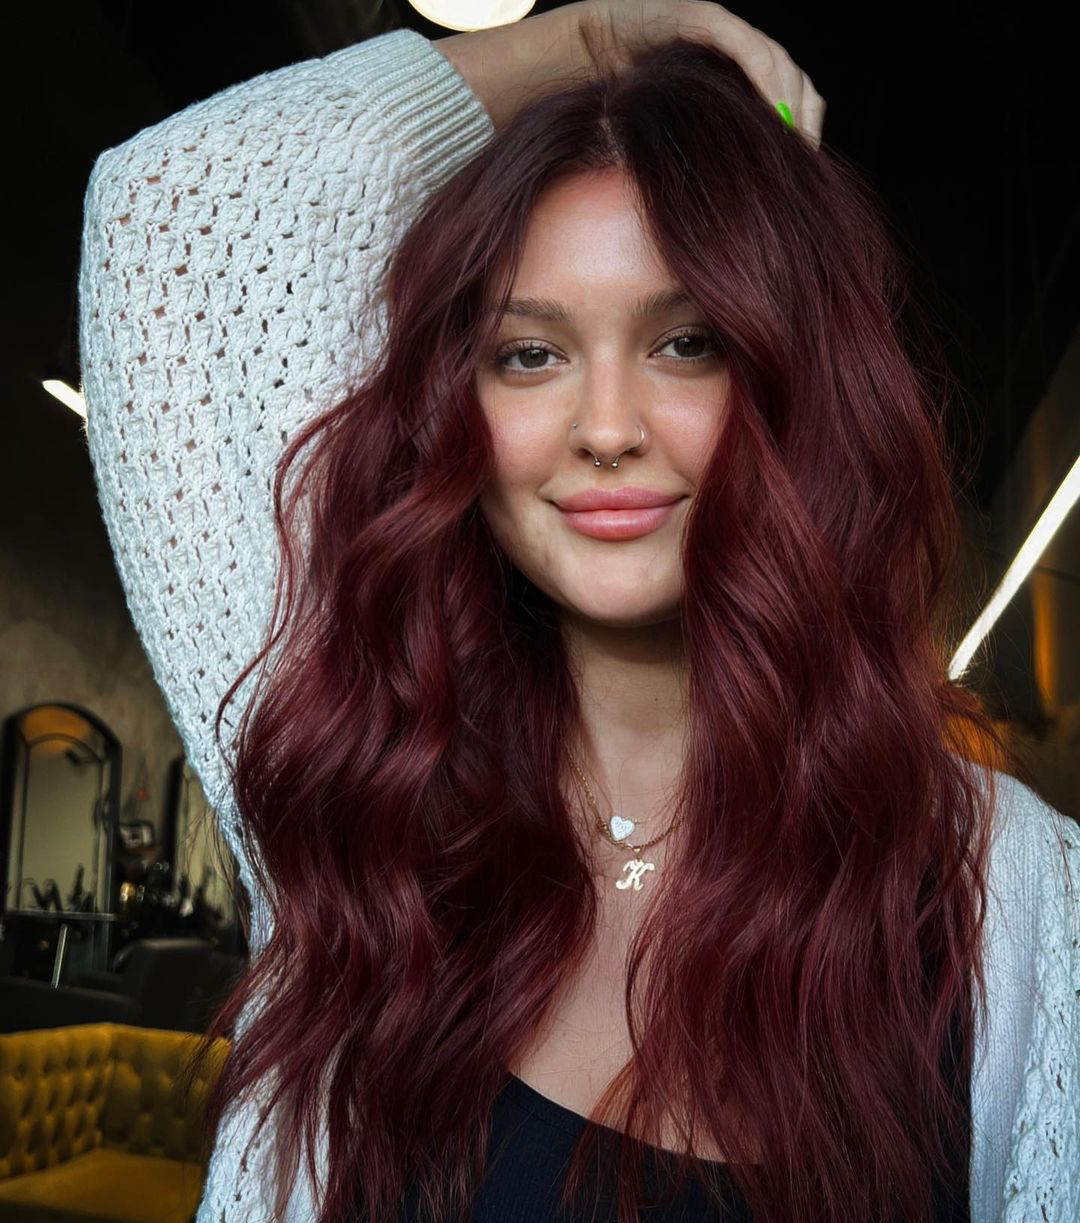
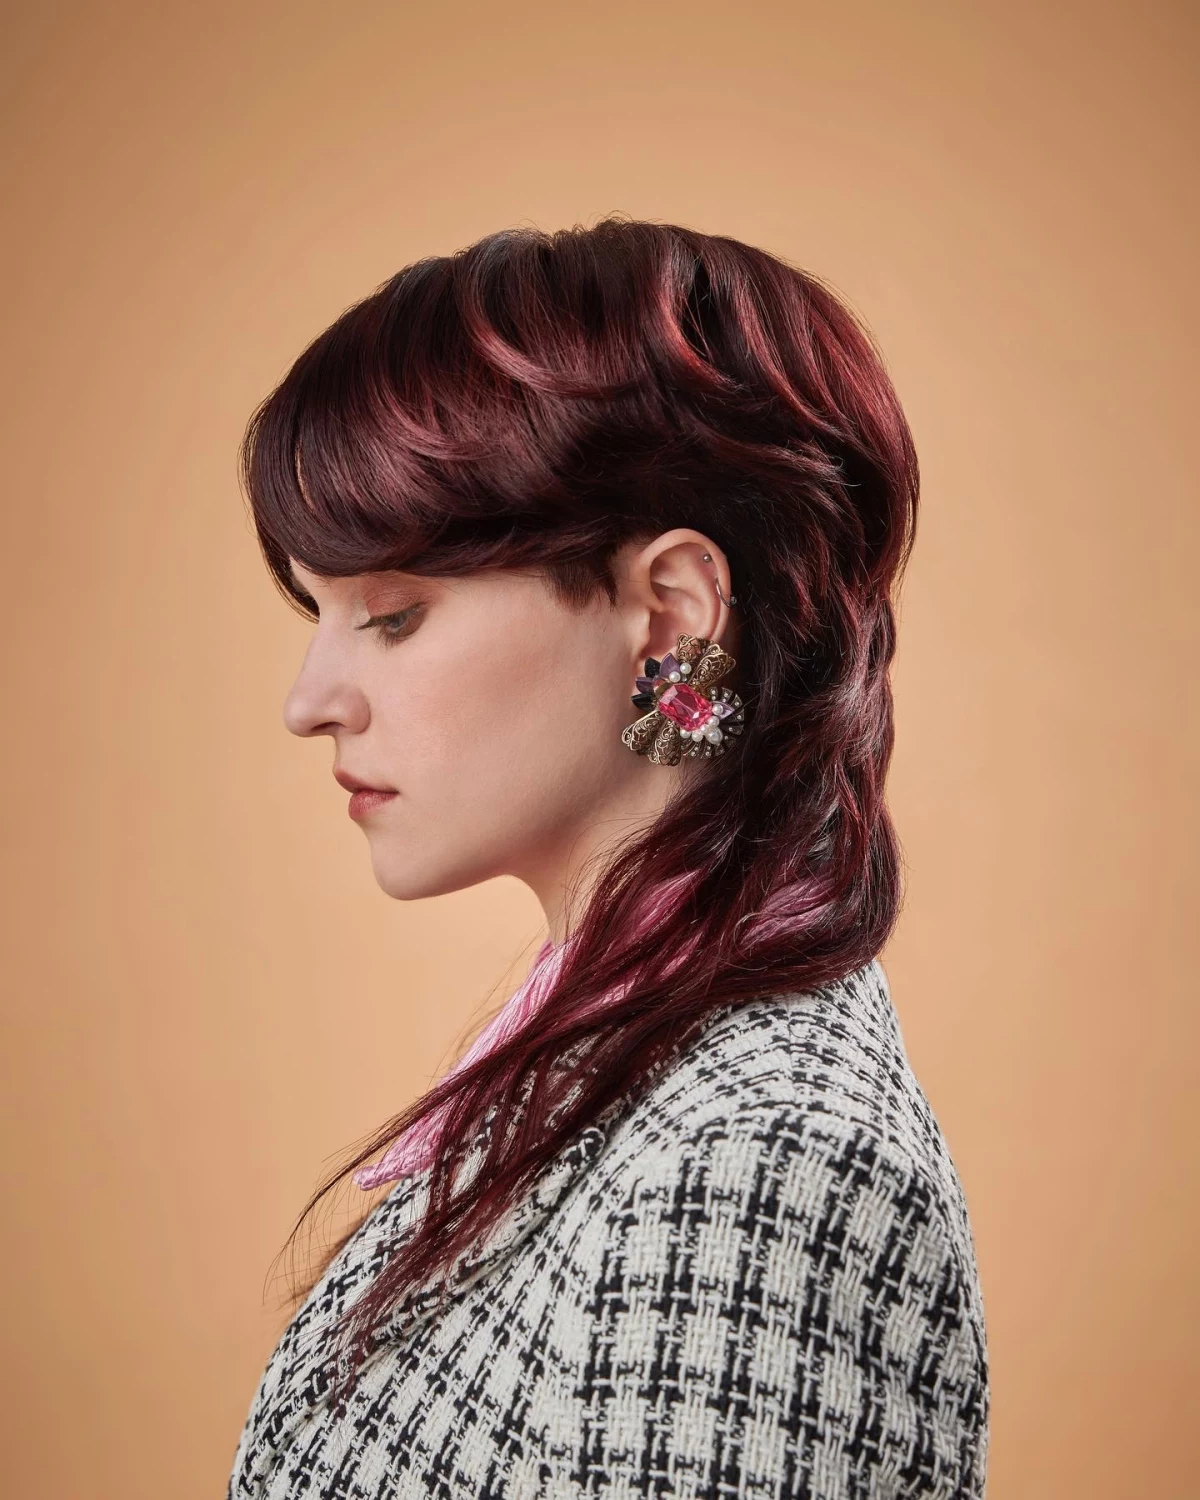
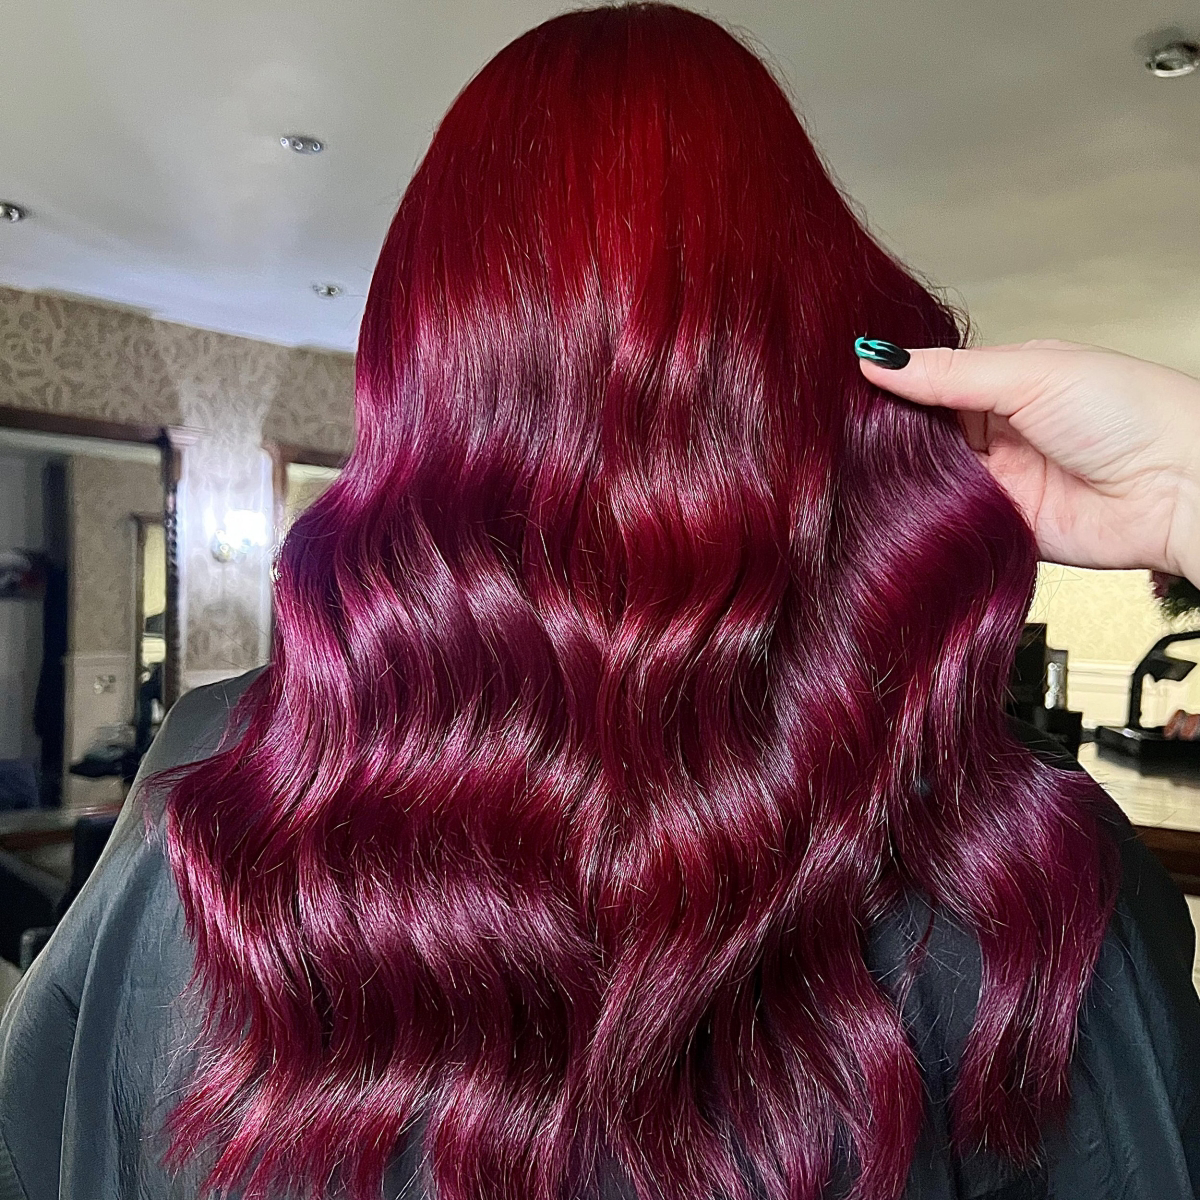
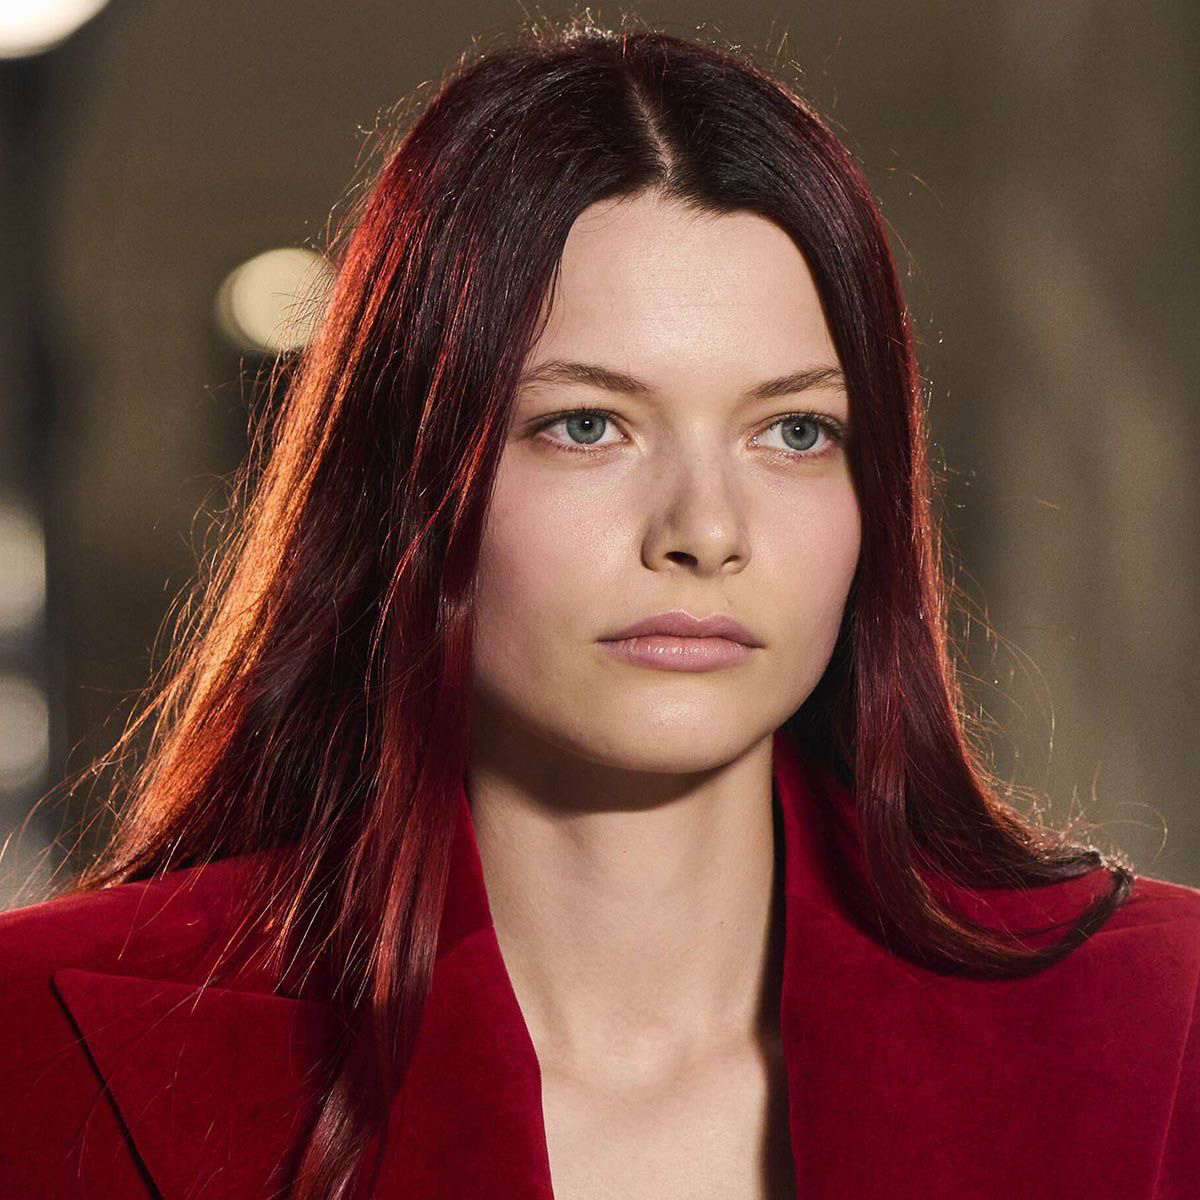
Don’t underestimate the power of light. In direct sunlight, your cherry cola hair will come alive with fiery red and bright violet reflections. Indoors, it settles into a sophisticated, deep brunette with intriguing flashes of cherry. It’s a color with a dual personality, offering both bold energy and subtle elegance.
Permanent Color: This is the initial, foundational service where your stylist expertly formulates and applies the color to achieve the target cherry cola shade. It’s a higher initial investment and a longer appointment.
Color Gloss/Toner: A quicker, more affordable service done between full-color appointments. It uses a demi-permanent formula, like Redken Shades EQ, to refresh the tone, boost shine, and counteract any fading without altering the base color. It’s the key to long-term vibrancy.
Just 2% of the world’s population has naturally red hair, making it the rarest of all. This scarcity has culturally associated red tones with boldness, passion, and individuality.
To avoid the number one color-killer, a little prep before your salon visit goes a long way. For 24-48 hours before your appointment, avoid washing your hair. The natural oils on your scalp create a protective barrier that can reduce sensitivity to the color chemicals, making the experience more comfortable without affecting the final result.


