Tired of Flat Hair Color? Lowlights Might Be Your Secret Weapon
I’ve spent more years than I can count behind a salon chair, and let me tell you, I’ve seen every hair trend imaginable come, go, and sometimes even come back again. But through it all, one technique has remained a total game-changer for creating gorgeous, believable hair color: lowlights.
In this article
- First Off, Highlights vs. Lowlights: What’s the Real Difference?
- A Little Hair Science (The Fun Part, I Promise)
- In the Salon: The Consultation, The Craft, and The Cost
- A Word of Warning: The DIY Lowlight Disaster
- Finding the Perfect Lowlight for Your Hair Color
- Your New Job: Keeping Your Lowlights Looking Fresh
- Galerie d’inspiration
Most people immediately think of highlights when they want a change. And that makes sense! Highlights lighten things up and add that sun-kissed brightness. But lowlights are their sophisticated, mysterious cousin. Instead of lightening, we strategically add strands of darker color. This simple trick is the key to creating incredible depth, texture, and richness that just looks… expensive.
But don’t get it twisted—lowlights aren’t just “reverse highlights.” They’re a precision tool. When done right, they can make fine hair appear twice as full, break up a blocky, one-dimensional color, and even help you blend grays in the most graceful way possible. It’s not about painting on stripes; it’s about understanding how light and shadow play on the hair. So, let’s get into it. I’m going to walk you through how we pros think about lowlights, from the science to the real-world advice I share with my clients every single day.
First Off, Highlights vs. Lowlights: What’s the Real Difference?
It’s the first question everyone asks, so let’s clear it up. Think of it this way:
- Highlights: The goal here is brightness. We use a lightener (like bleach) to lift your natural pigment and create lighter strands. It’s all about adding pops of light.
- Lowlights: The goal is depth. We use a deposit-only color to add darker strands. This creates shadows and contrast, making your base color look richer and your hair appear fuller.
One adds, the other subtracts (light, that is). Both are awesome, but they serve totally different purposes.
A Little Hair Science (The Fun Part, I Promise)
To get why lowlights work so well, you have to know a tiny bit about your hair. Each strand has an outer shield called the cuticle. Inside that is the cortex, where all the color pigment lives. To change your hair color, we have to gently nudge open that cuticle door to get to the cortex.
Permanent color often uses ammonia to swell the hair and throw that door wide open. But with lowlights, we’re not trying to kick the door down; we’re just politely knocking. We don’t need to remove your natural color, we just want to deposit a darker shade.
This is why most pros reach for a demi-permanent color for lowlights. It’s much gentler because it uses a super low-volume developer—think 6 to 10 volume, compared to the 20, 30, or 40 volume used in permanent color. It has just enough oomph to slightly open the cuticle, let the new color molecules sneak in, and add that rich new tone. The best part? It fades more naturally over time because it hasn’t permanently messed with your hair’s base structure.
Oh yeah, and we have to talk about porosity. That’s just a fancy word for how much of a sponge your hair is. Hair that’s been lightened a lot in the past is super porous—its cuticle is already open and thirsty. If we put a standard brown lowlight on porous blonde hair, it will slurp up that color and often turn a muddy, sad shade of murky green. Yikes. To prevent this, we have to formulate the color a bit lighter or add some warm tones (like gold or copper) to fill in the missing pigment first. It’s this kind of know-how that separates beautiful, dimensional color from a salon mishap.
In the Salon: The Consultation, The Craft, and The Cost
Applying lowlights is an art form. The placement, the formula, and the application all have to work together. It all starts the moment you sit in my chair.
The Chat is The Most Important Step
Before a single drop of color is mixed, we talk. I need your hair’s entire life story. Box color last year? Bleached it two years ago? What do you love about your color now, and what do you hate? This helps me understand the canvas I’m working on. We’ll also chat about your lifestyle. How often are you willing to come to the salon for upkeep?
By the way, this is your chance to ask questions, too! Don’t be shy. A good stylist will love that you’re invested. Here’s a quick checklist of things you should absolutely ask:
- How will you adjust the formula for my hair’s porosity, especially my ends?
- What will the maintenance and cost be like for the placement we’re discussing?
- What tones are you using to make sure the lowlights look natural and not muddy?
- How long do you expect this service to take today?
The Application: Weaving and Slicing
Once we have a plan, it’s time to mix and apply. We almost always use foils for lowlights to keep everything clean and precise.
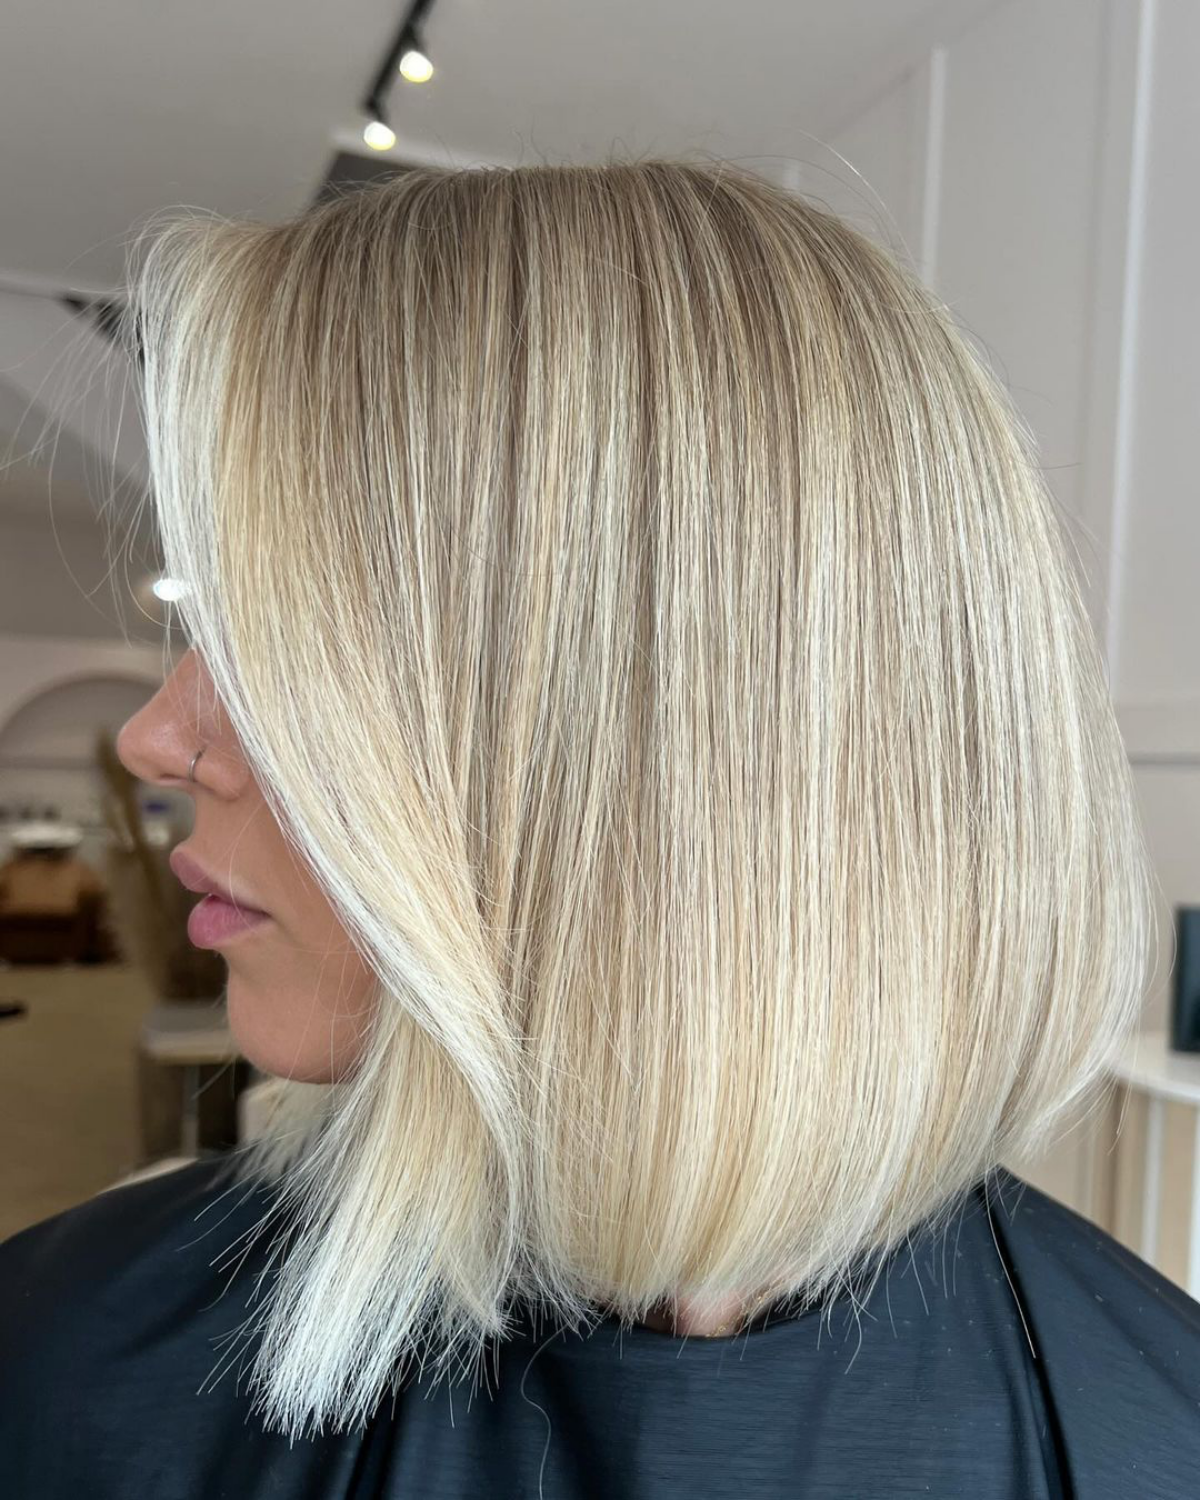
- Weaving is the most common method for that soft, natural look. We take a thin section of hair and use a tail comb to weave out tiny, alternating pieces. The finer the weave, the more blended it looks. Perfect for breaking up a solid blonde.
- Slicing is a bit bolder. We take a thin, straight slice of hair and paint that entire piece. This creates more of a ribbon of color. We use this carefully to add drama without looking like a throwback to chunky stripes.
Heads up! A common mistake that leads to that stripy look is placing foils in straight, predictable rows. A pro will almost always use a diagonal or brick-lay pattern. This staggering ensures the color blends seamlessly as your hair moves, and you won’t get any harsh grow-out lines.
So, what should you plan for? A partial lowlight service (usually the top and sides) can run you anywhere from $90 to $175+ and take about two hours. A full head of lowlights will obviously be more, often in the $200-$300+ range, and you should block off at least three hours. Of course, this varies wildly depending on your city and the salon’s pricing, so always confirm during your consultation!
A Word of Warning: The DIY Lowlight Disaster
I can’t tell you how many times a client has come in after a home-hair-color experiment gone wrong. Please, I’m begging you, leave lowlights to the pros. Box dye is a one-size-fits-all product that can’t possibly account for your unique hair type, color history, or porosity.
Just last month, a new client came in with spotty, almost-black stripes she’d tried to create with a box kit. The color took way too dark on her porous ends, but barely showed up near her scalp, creating a blotchy mess. We spent the next four hours and a few hundred dollars carefully correcting it. Save yourself the headache and the money—just book the salon appointment.
Finding the Perfect Lowlight for Your Hair Color
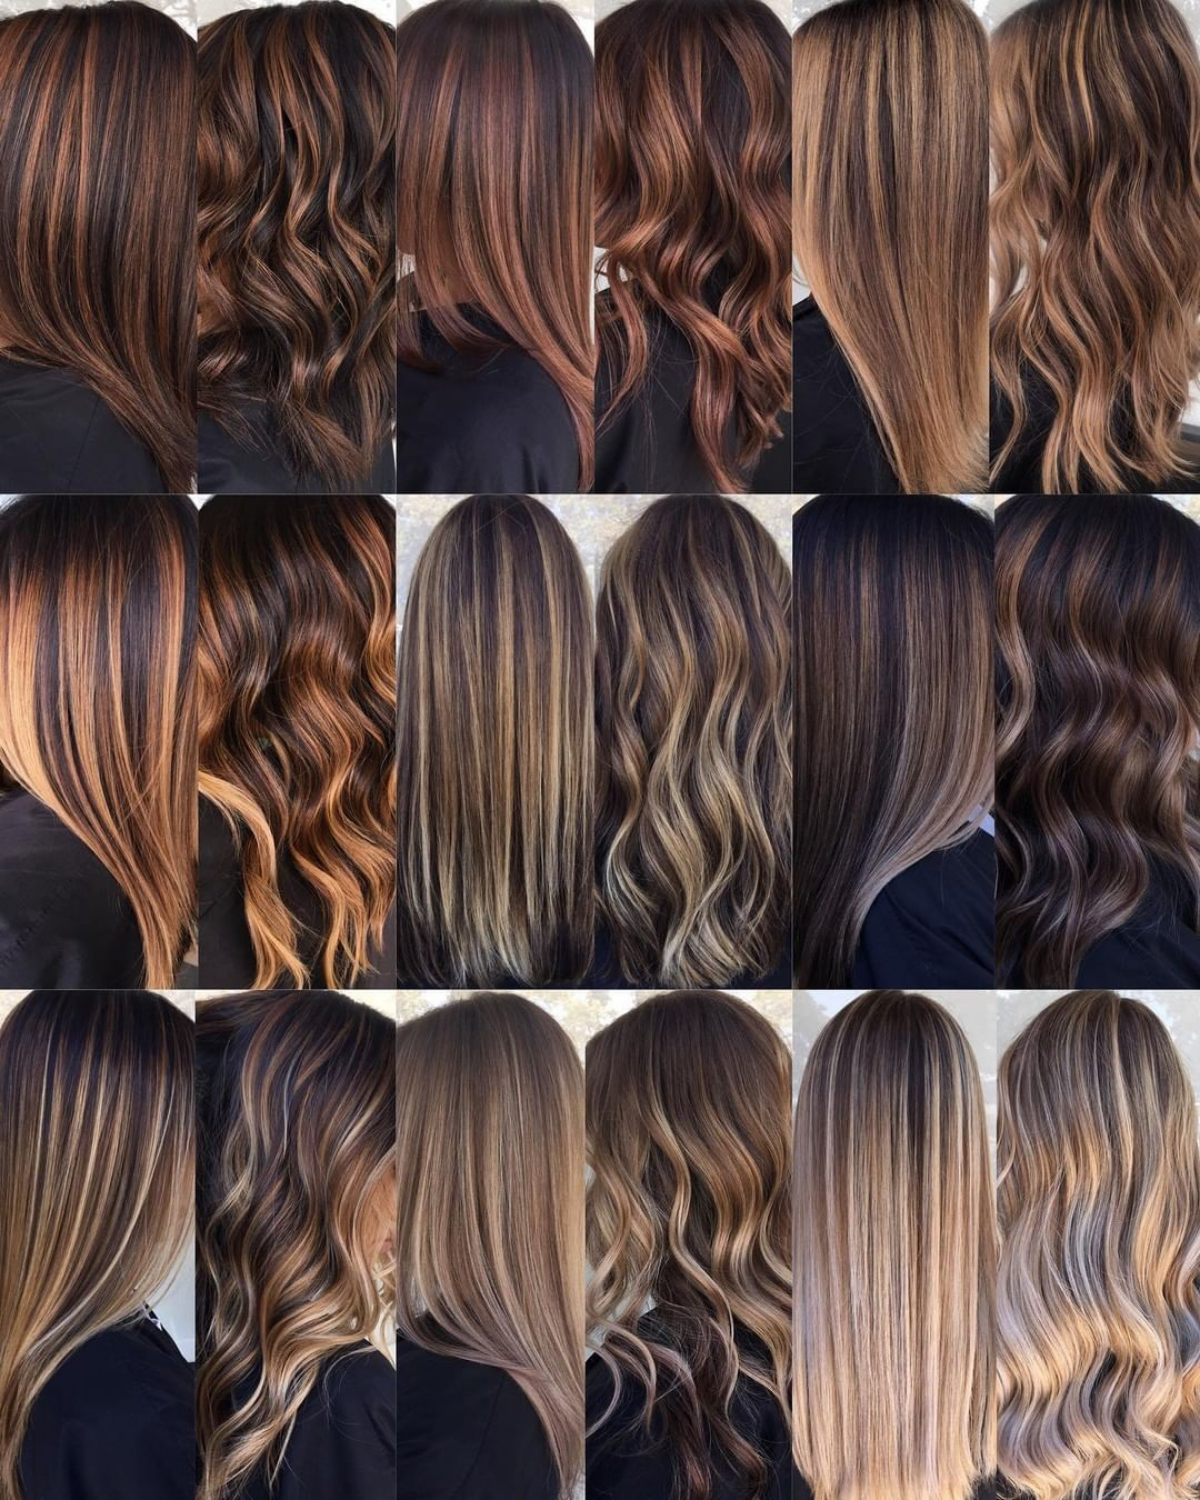
Lowlights are incredibly versatile. Here’s how we might approach them for different starting colors:
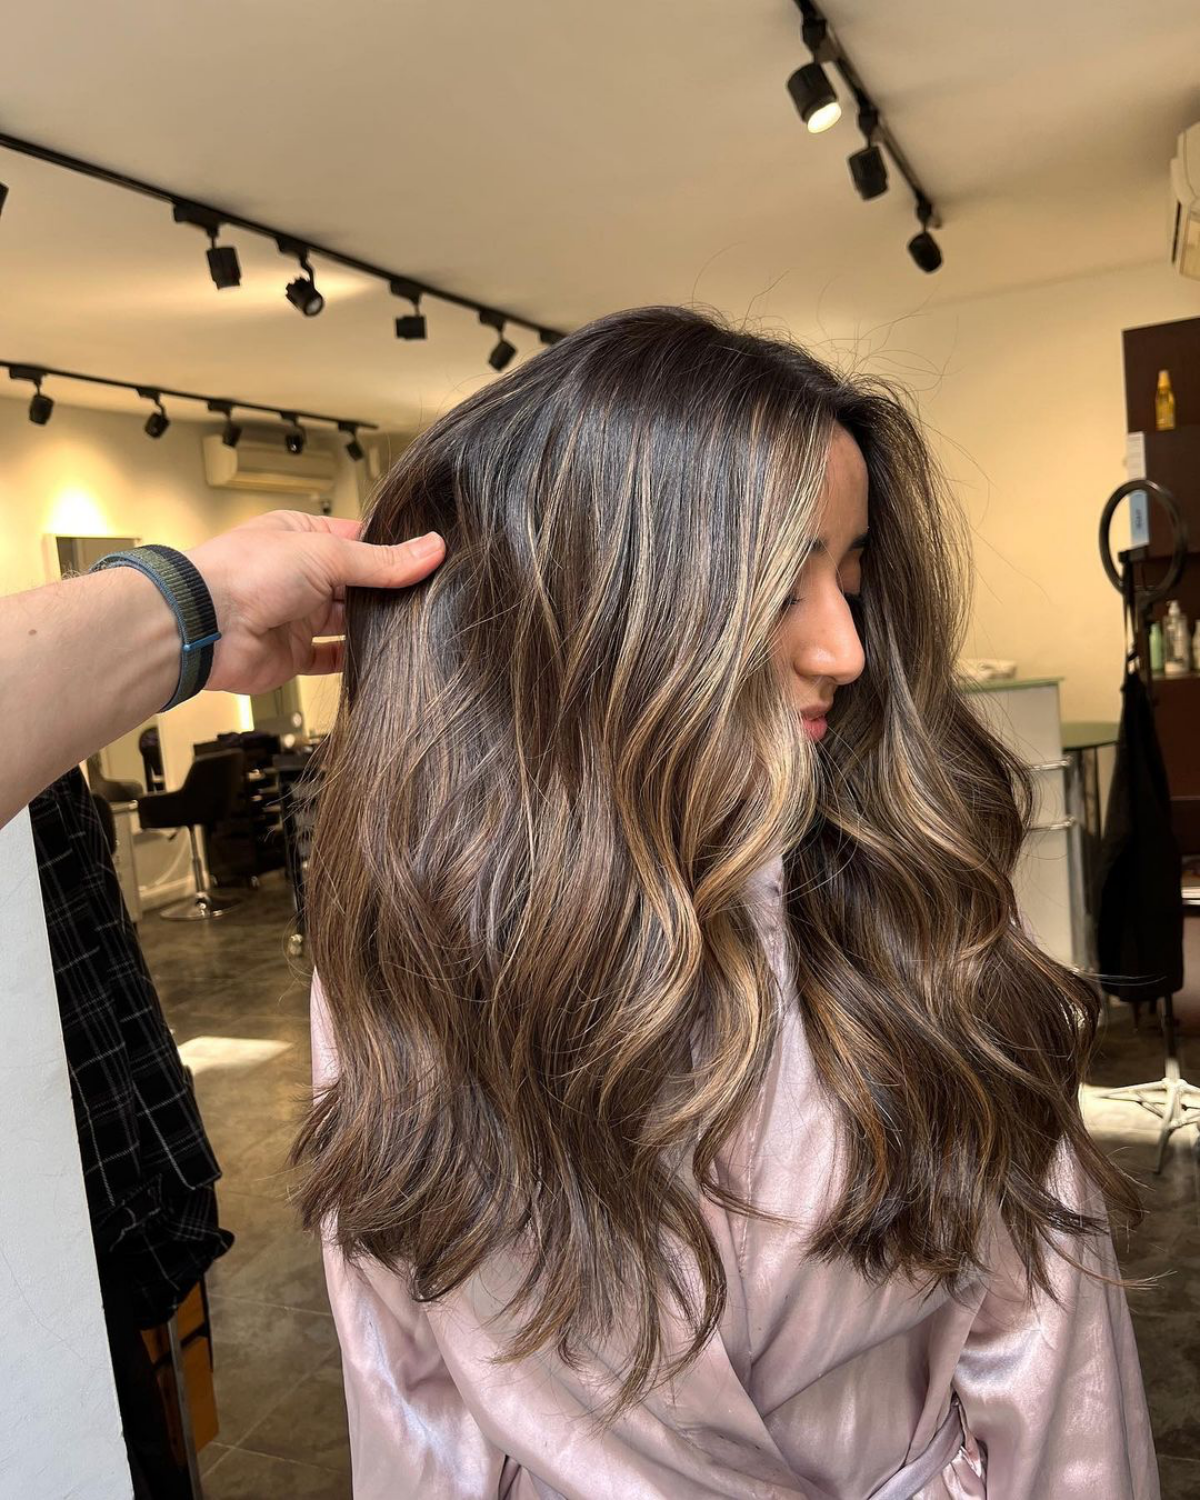
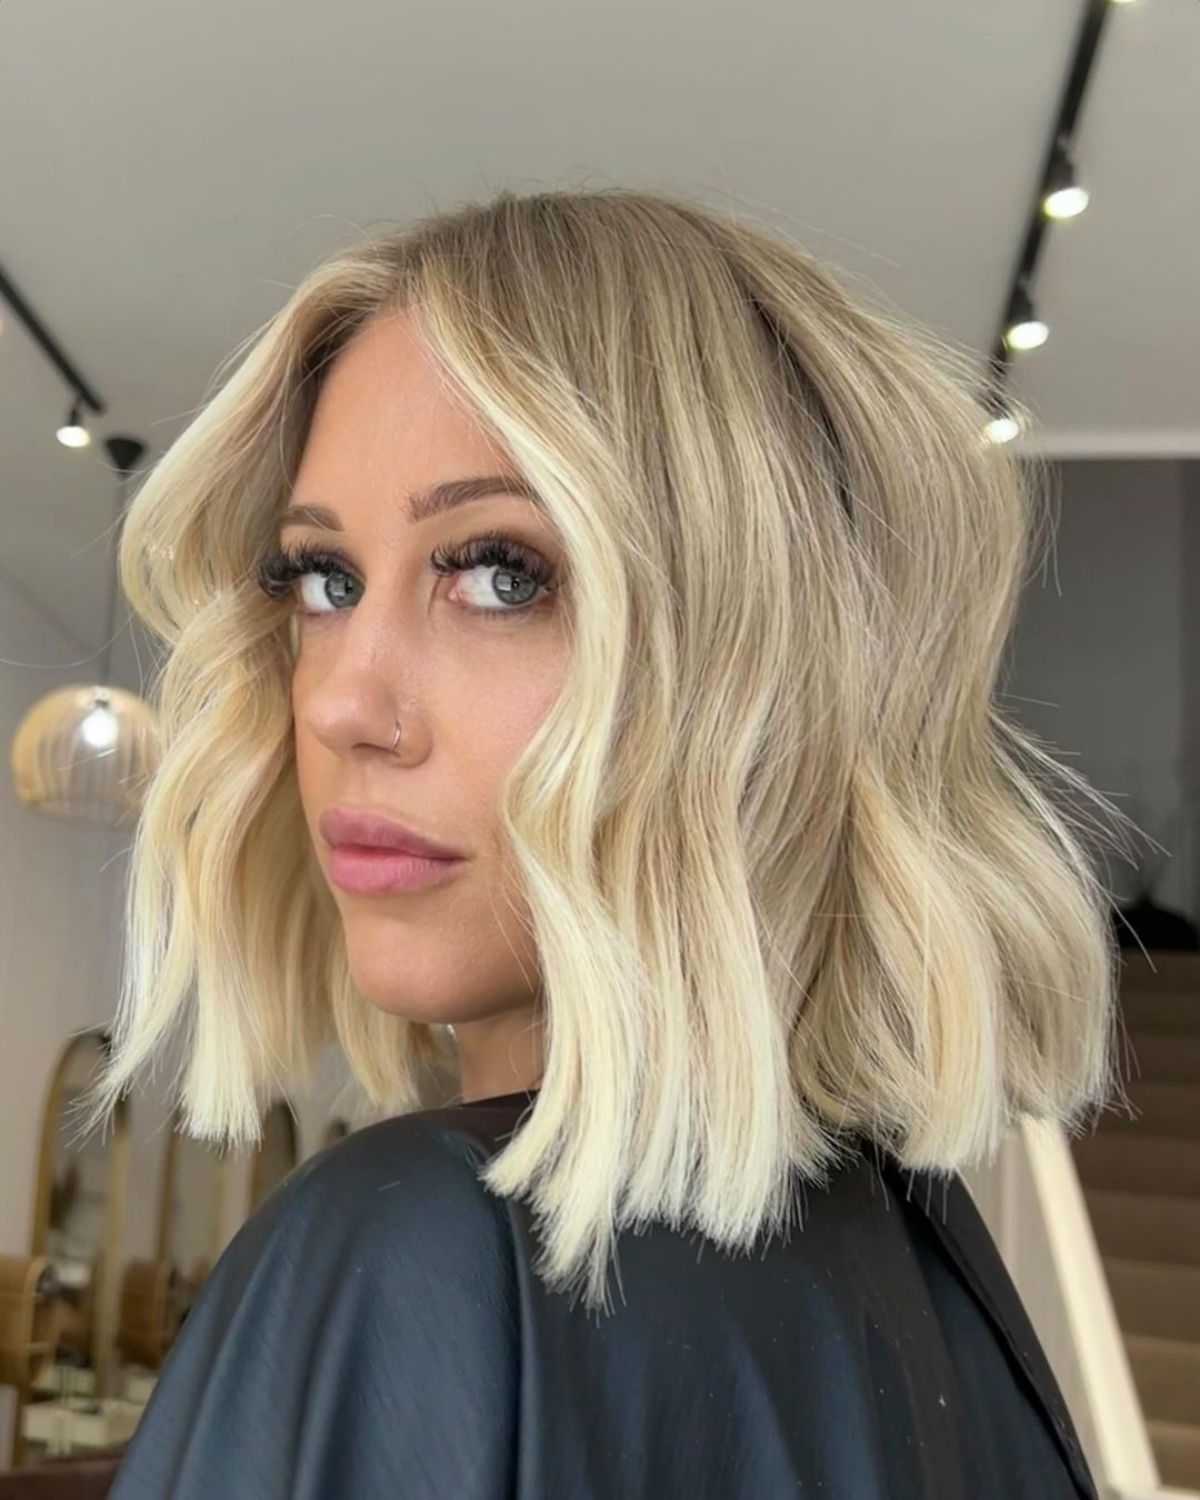
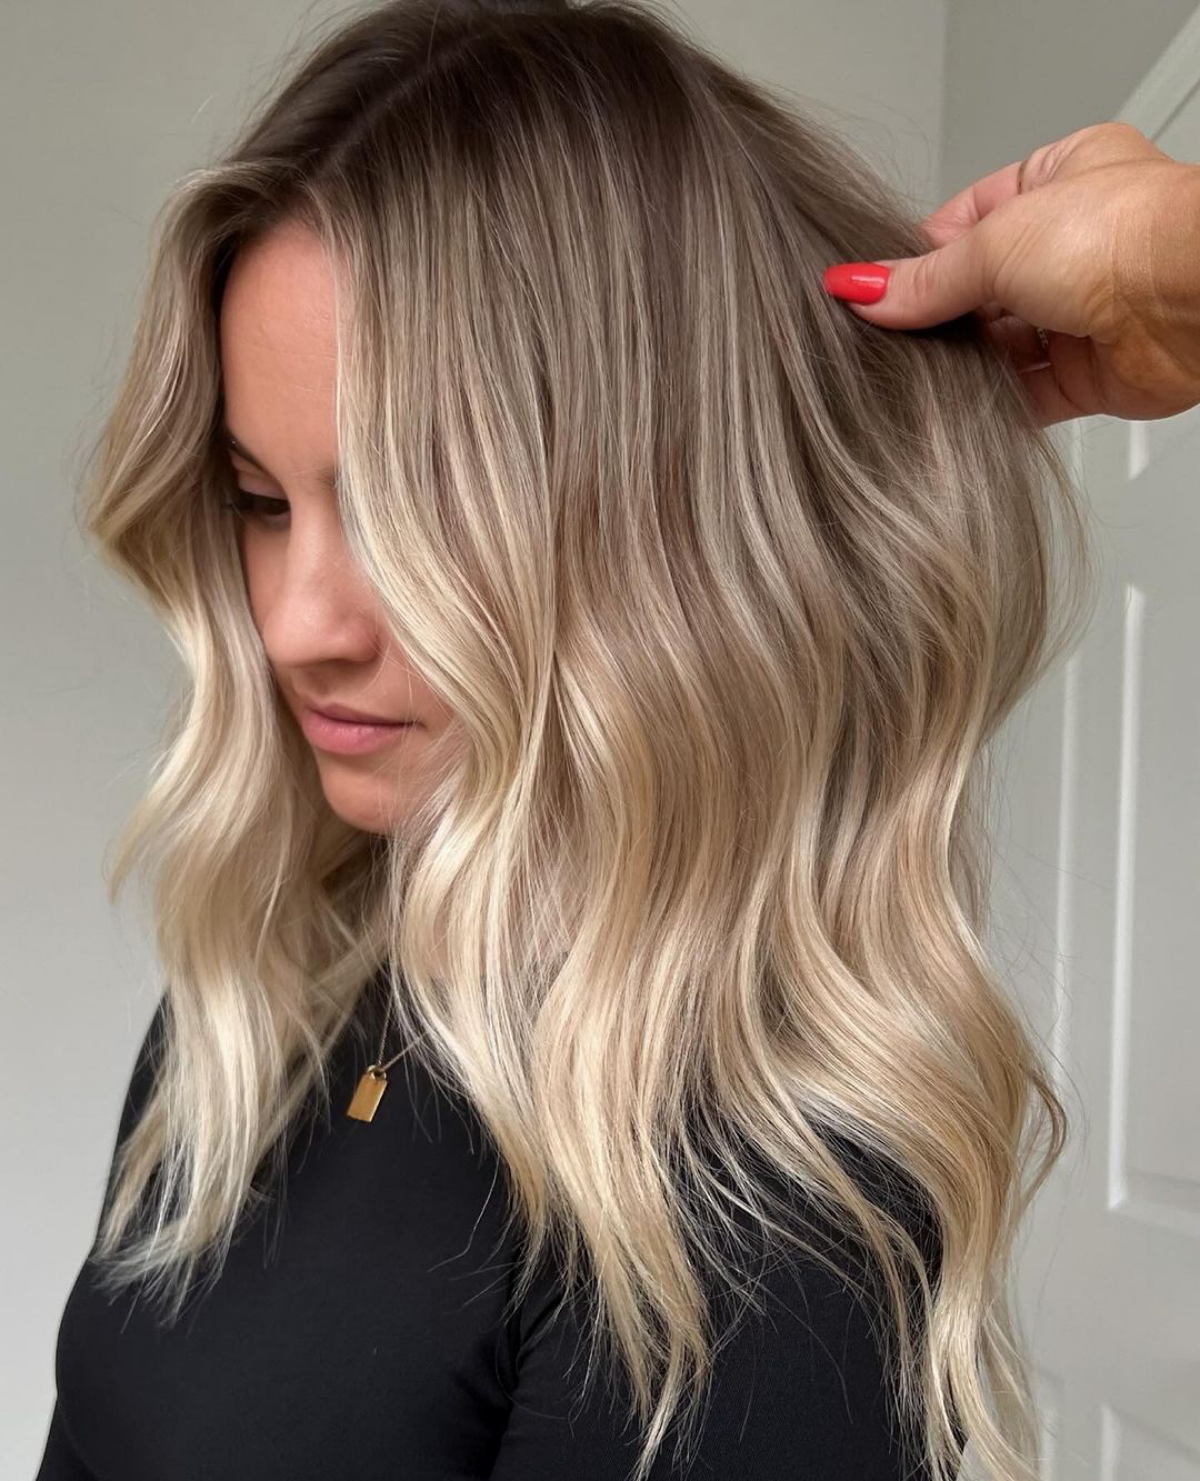
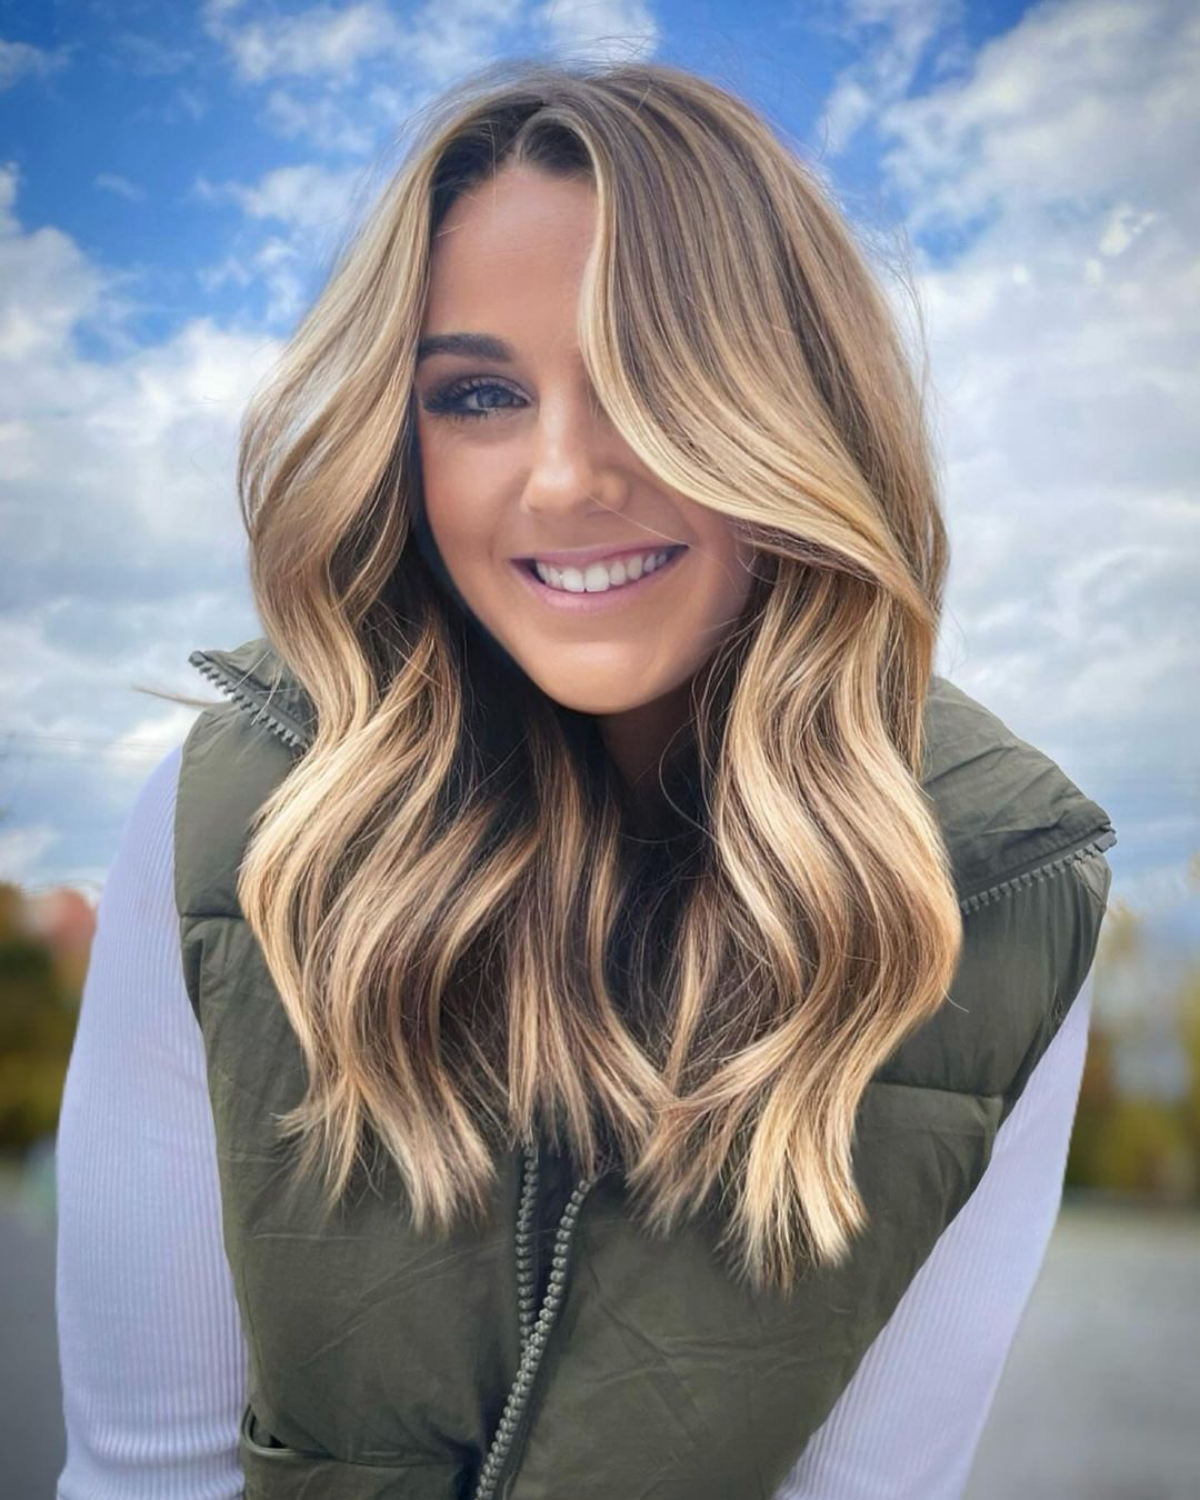
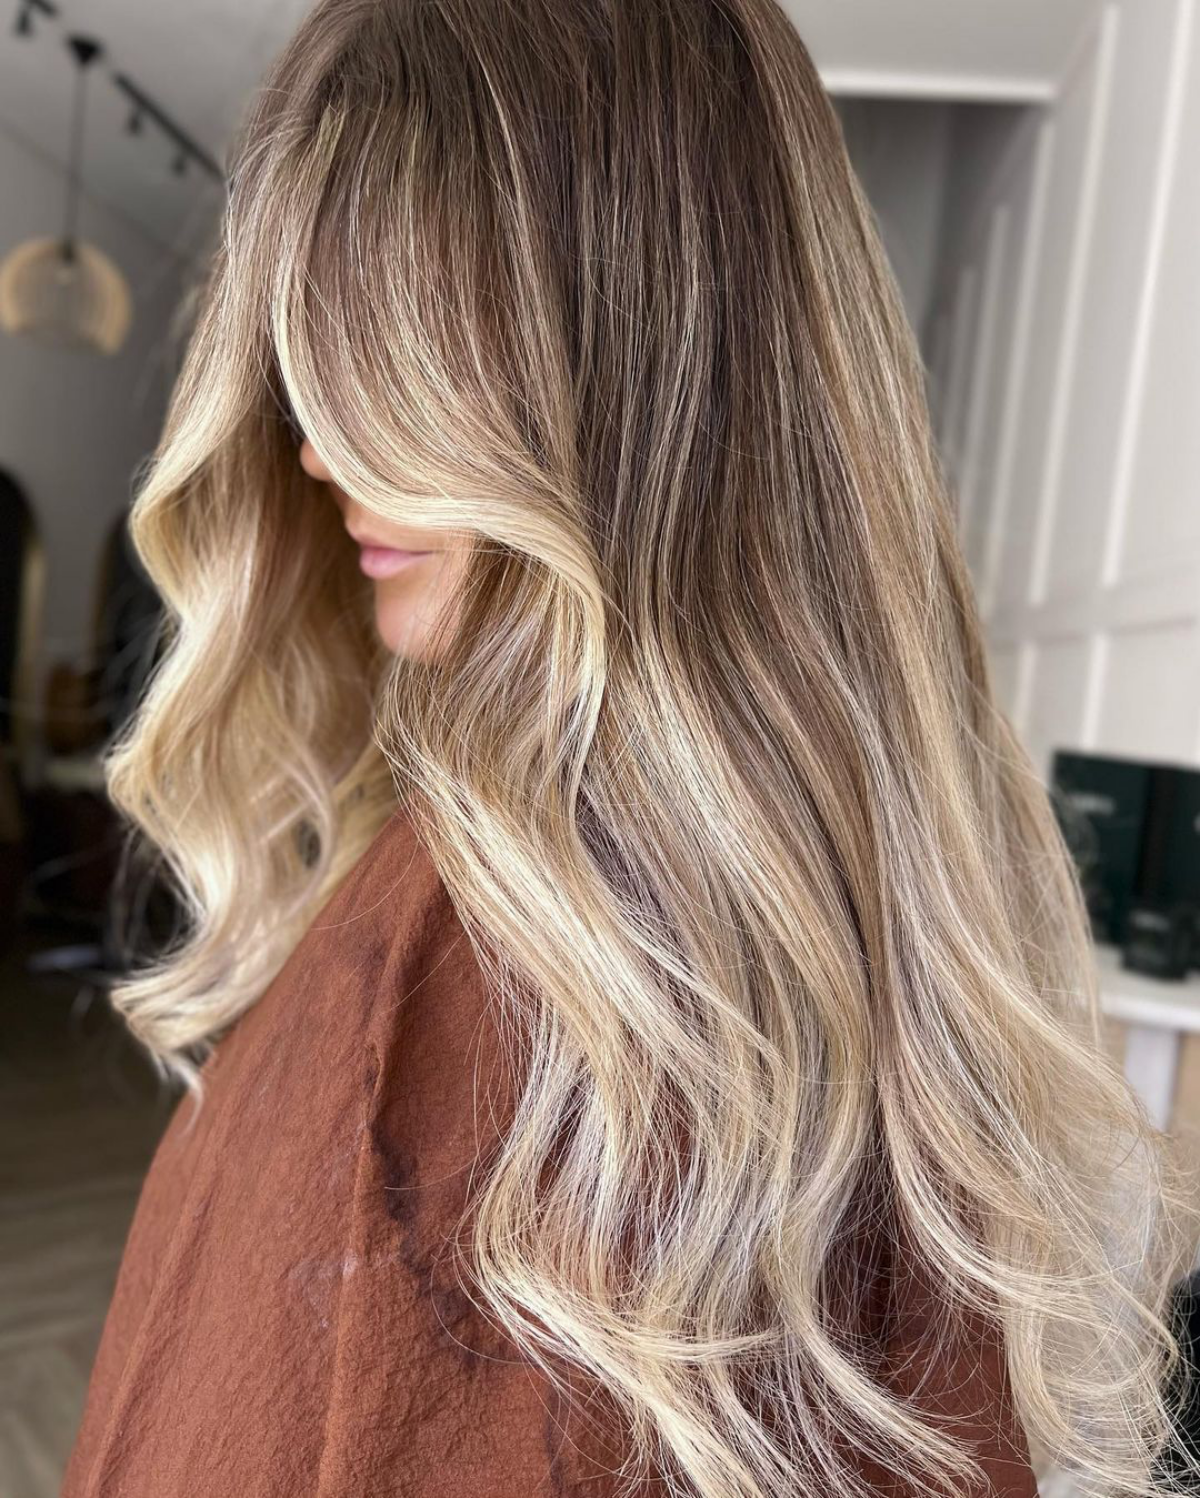
- For Blondes: As we covered, the biggest challenge is avoiding mud. A good stylist will always add a touch of gold or copper to the formula to create a rich, believable darker blonde or light brown.
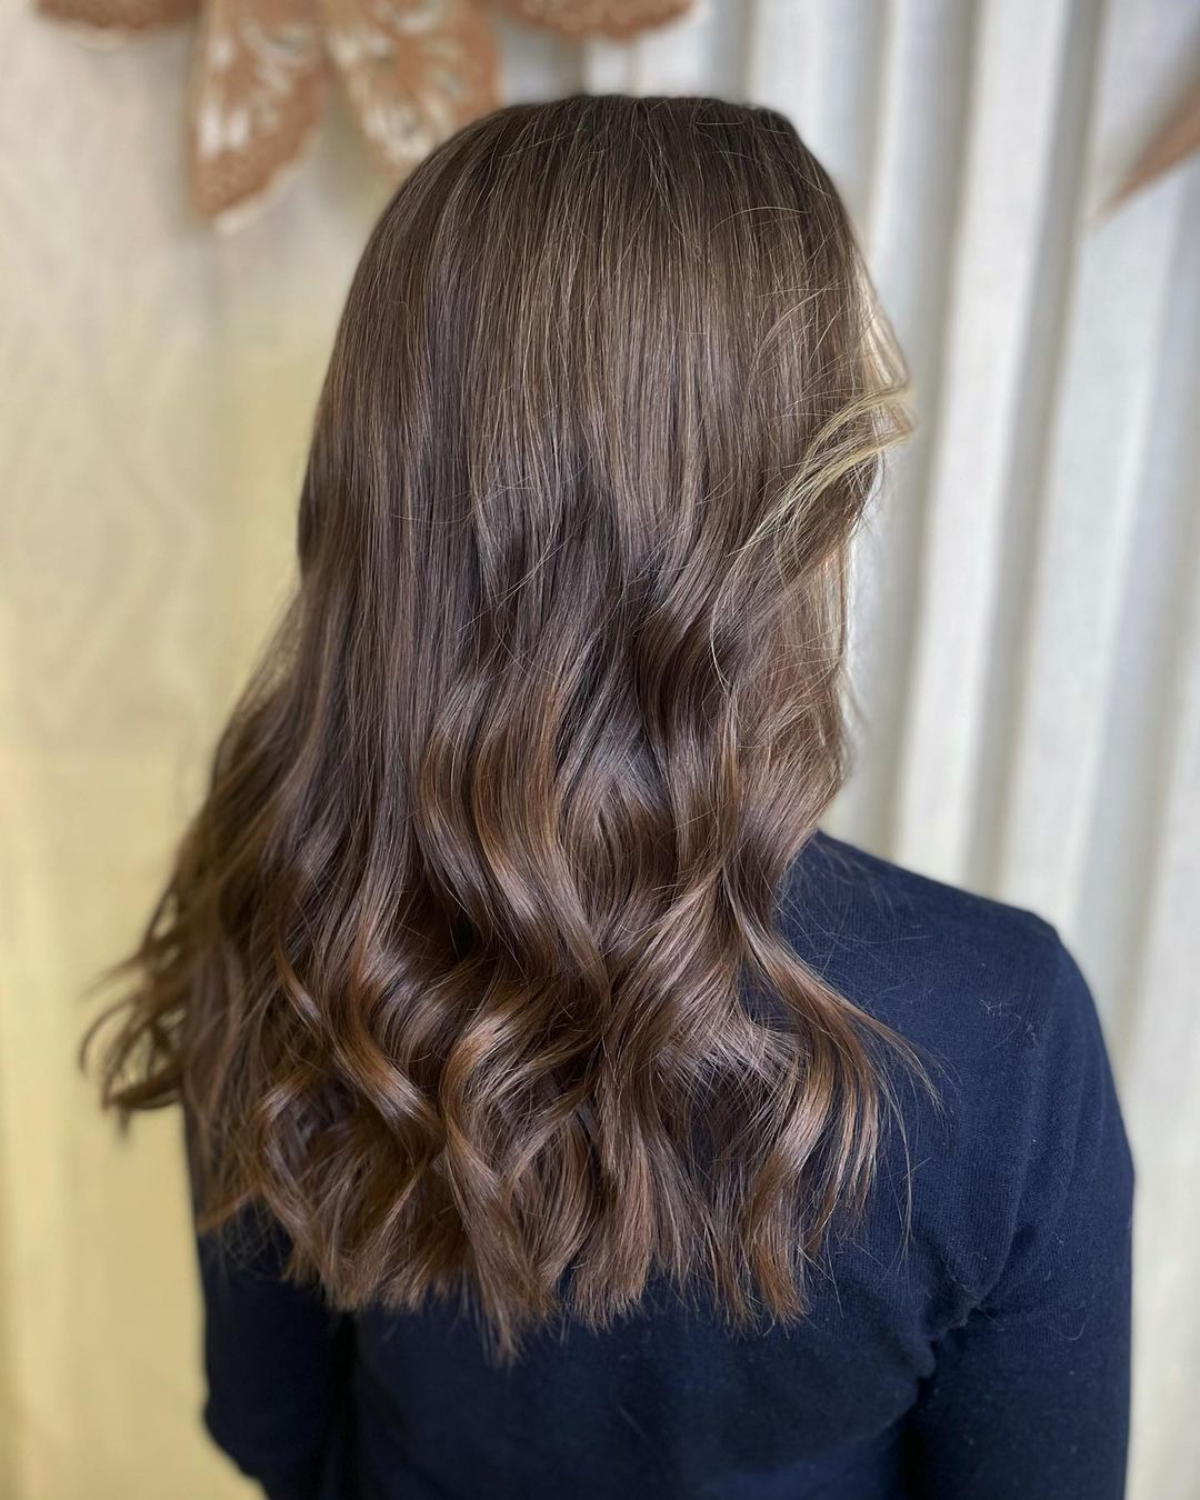
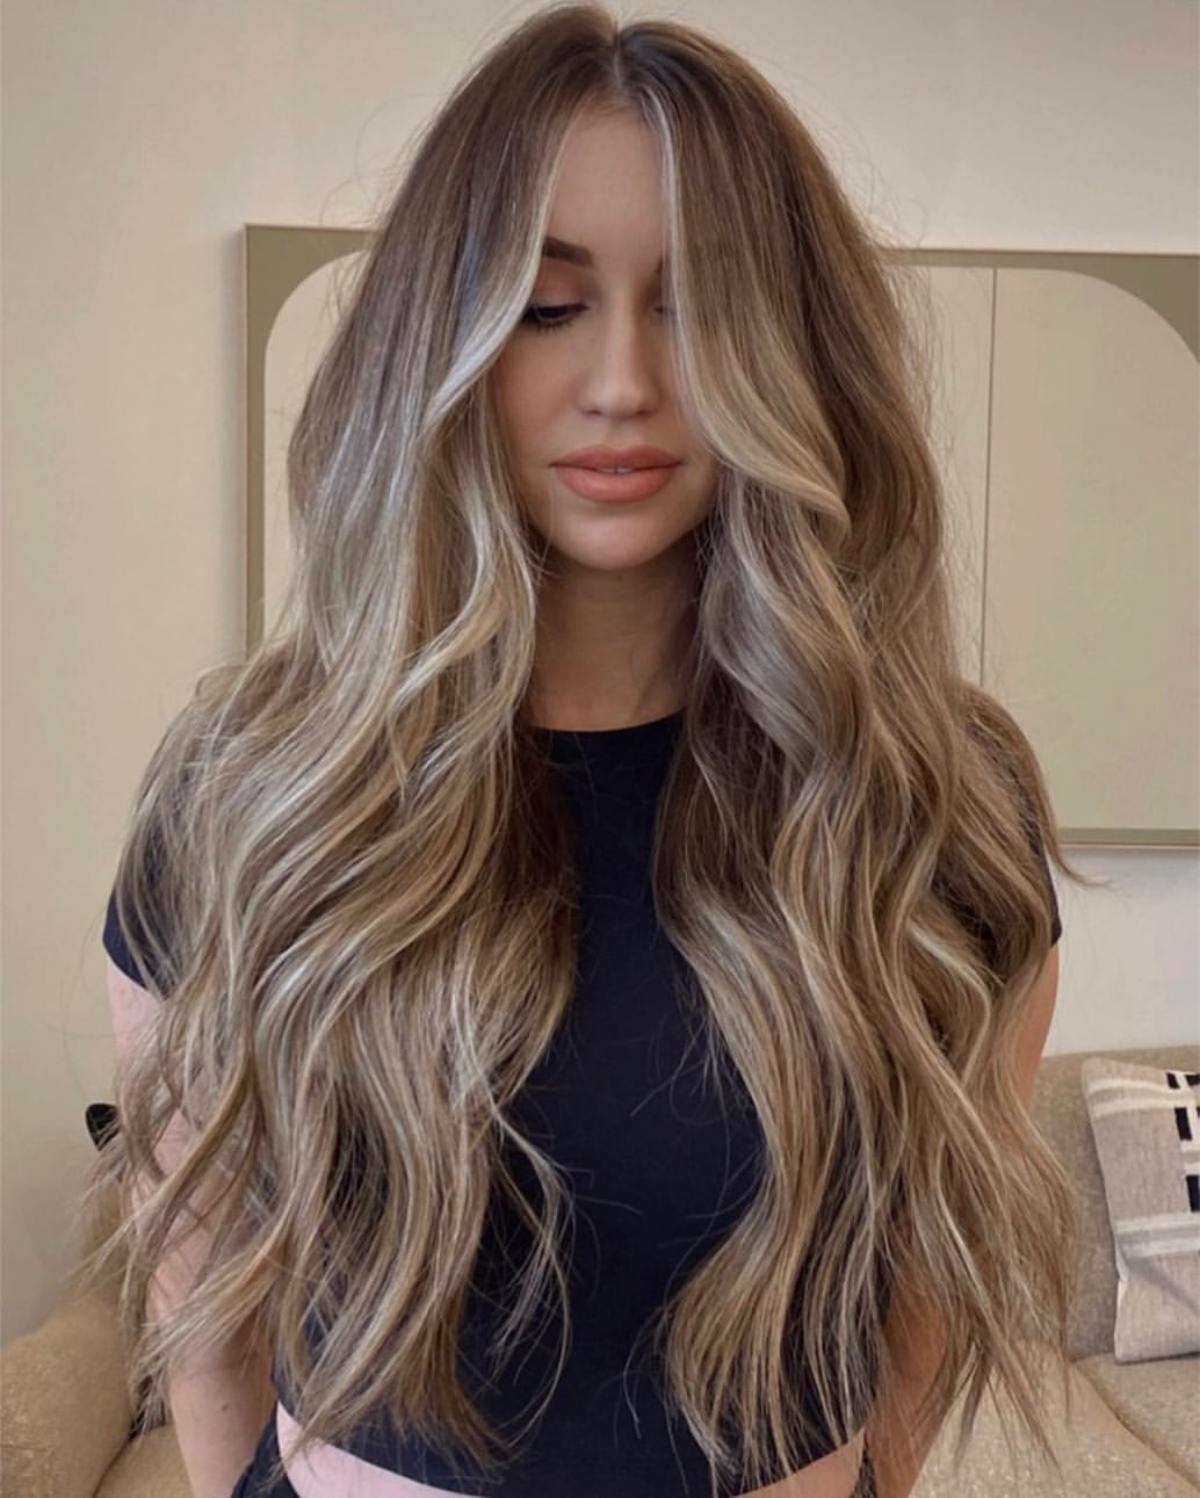
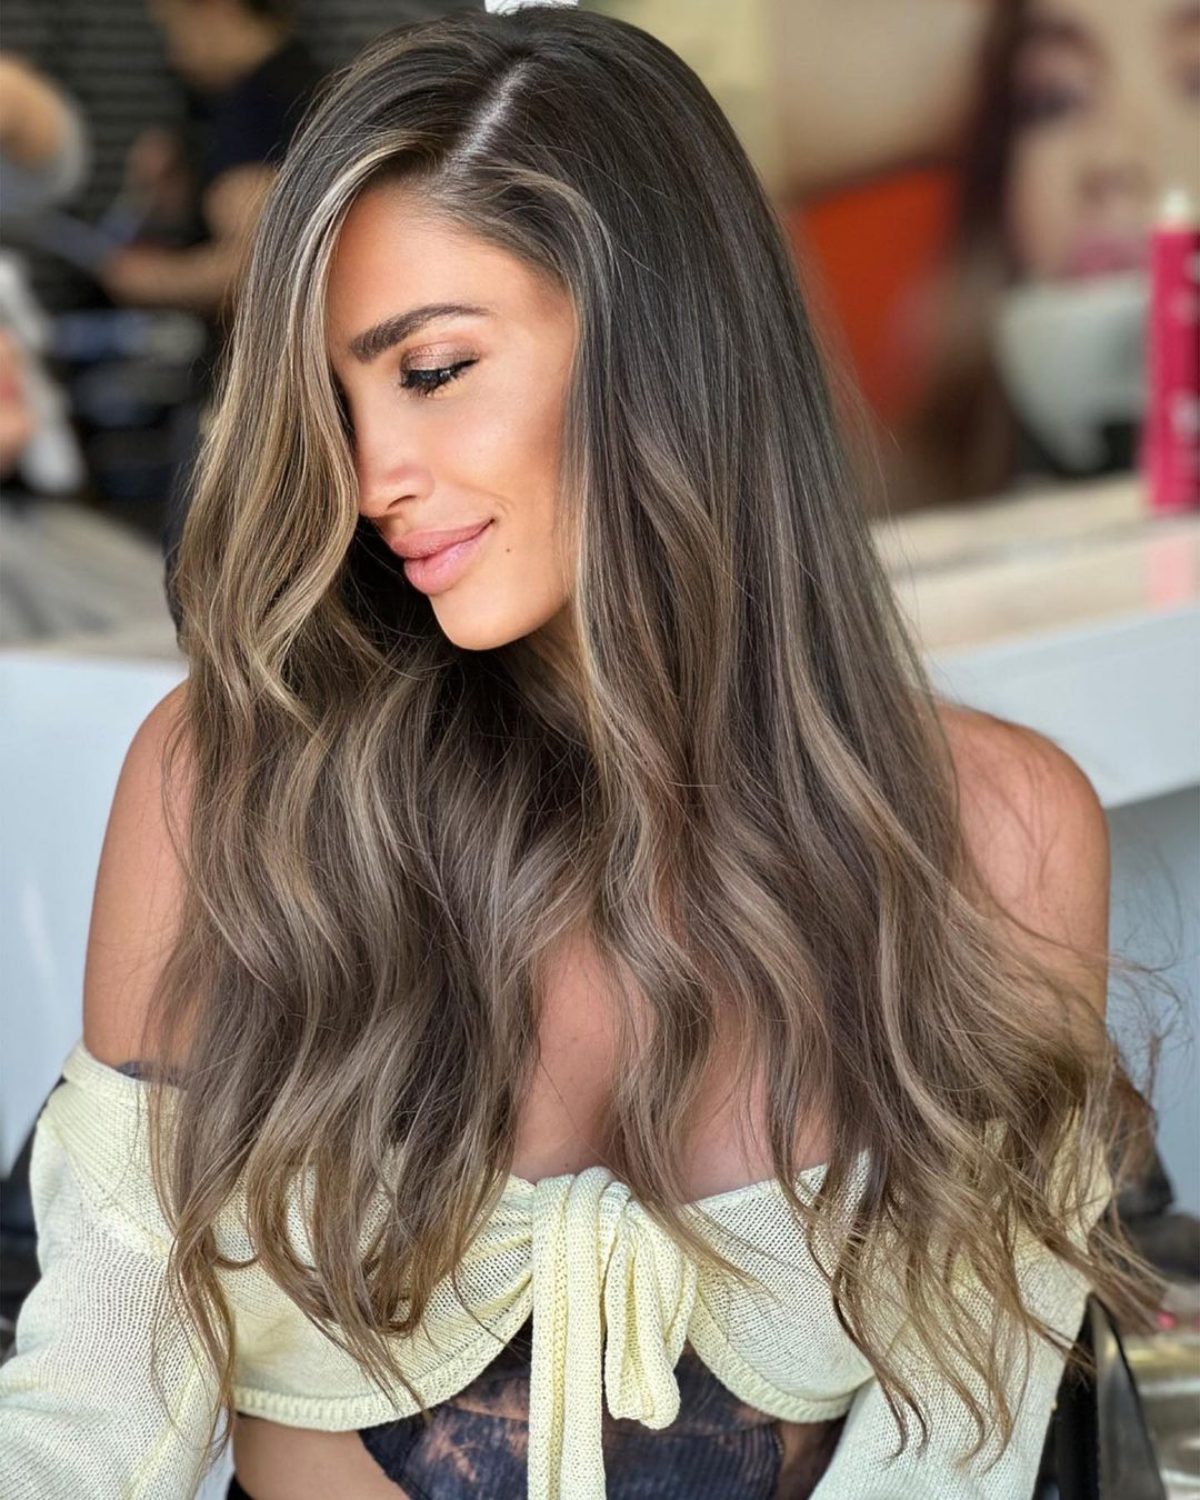
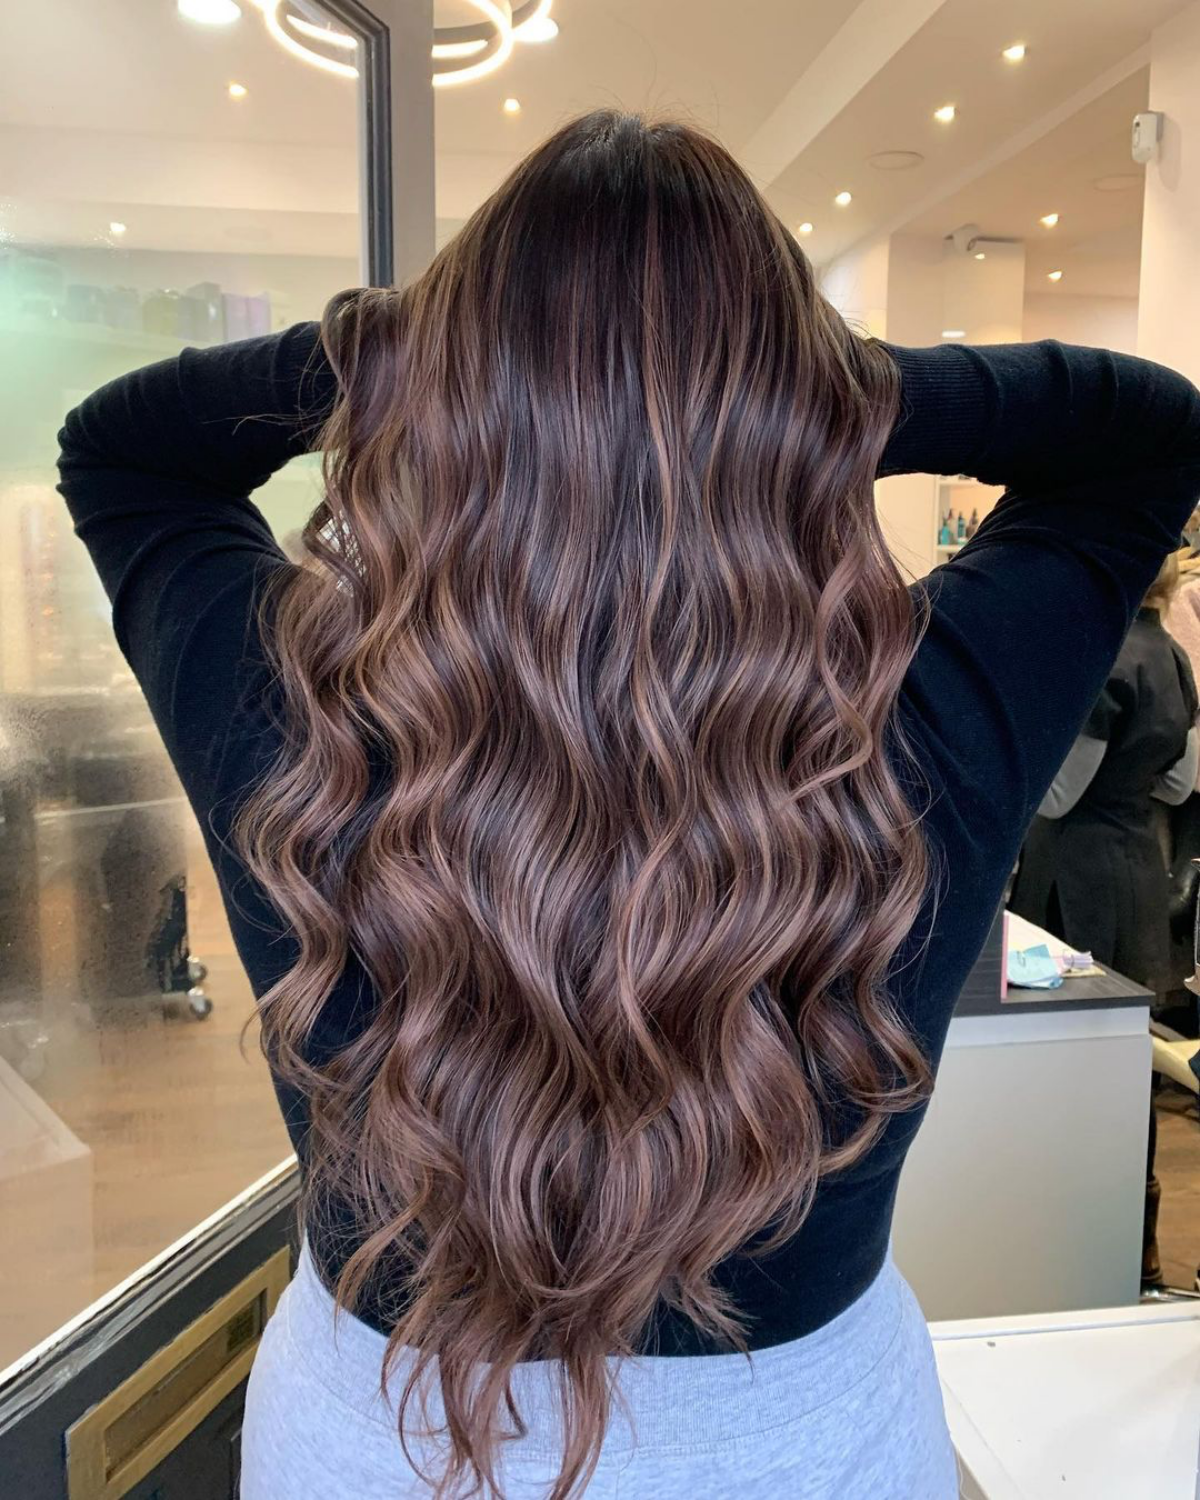
- For Brunettes: Lowlights are a brunette’s best friend! Adding shades of caramel, toffee, or rich chocolate a shade or two darker than your base can create stunning dimension that looks incredibly natural. It’s the perfect way to spice up brown hair without a huge commitment.
- For Redheads: To keep red hair vibrant and exciting, we can weave in deeper tones of auburn, copper, or rich cinnamon. This boosts the overall richness and stops the color from looking flat.
- For Blending Gray: Lowlights are fantastic for gray blending. By adding darker pieces back into the hair, it breaks up the solid line of silver regrowth. This creates a much softer, more natural-looking grow-out than a single all-over color.
Your New Job: Keeping Your Lowlights Looking Fresh
Okay, you’ve got your gorgeous, dimensional color. Now how do you keep it from fading?
First, switch to a sulfate-free shampoo. Sulfates are harsh detergents that will strip that beautiful demi-permanent color right out of your hair. You can find great options at any price point, from drugstore brands like L’Oréal EverPure to salon brands like Pureology.
Second, wash your hair less often and use lukewarm water. Super hot water opens the cuticle and lets color escape. And from my experience, a good color-depositing conditioner used once a week can be a lifesaver for refreshing your tones at home.
The good news? The upkeep is way easier than with highlights. Since lowlights are darker and blend with your base, the grow-out is much softer. Most of my clients come back for a touch-up every 8 to 12 weeks, and sometimes we just do a simple gloss in between to boost shine and tone. It’s a low-maintenance way to get high-impact hair.
Galerie d’inspiration
How do I make sure my lowlights look blended and natural, not like obvious stripes?
It’s all about the conversation with your stylist! The key is to ask for very fine, delicately woven sections. Use terms like “babylights” or “microweave” to signal you want subtlety. Also, specify that you want the placement to feel organic and not perfectly symmetrical. Bringing a few inspiration photos where the dimension looks soft and seamless is the best way to get on the same page.
Once you’ve invested in gorgeous, dimensional lowlights, protecting them is everything. The goal is to prevent the darker tones from fading or turning brassy, which can happen with harsh shampoos and sun exposure. Your new at-home ritual should include:
- Sulfate-Free Shampoo: Switch to a gentle, color-safe formula. Products like Pureology’s Strength Cure or Kérastase Chroma Absolu are specifically designed to preserve salon color without stripping it.
- Cool Water Rinses: Hot water opens the hair cuticle, allowing color molecules to escape. A final rinse with cool water helps seal the cuticle, locking in your lowlights’ richness.
- UV Protection: Just like skin, hair needs sun protection. On sunny days, use a UV protectant spray for hair to shield it from color-fading rays.
Did you know? Most professional stylists prefer using demi-permanent color for lowlights over permanent options.
There’s a good reason for this choice. Demi-permanent formulas, like the industry-favorite Redken Shades EQ, are acidic and deposit-only. This means they gently stain the outside of the hair shaft without harshly opening the cuticle. The result is a richer tone with incredible shine that fades gracefully over time, avoiding a sharp line of regrowth. Permanent color, on the other hand, can create a more dramatic, opaque result that is harder to blend out as your hair grows.


