The Real Secret to Hairstyles That Last for Days (Hint: It’s Not Your Curling Iron)
I still remember my first few months in cosmetology school, totally captivated by the vintage styling mannequins in the back corner. While everyone else was practicing modern, choppy cuts, I was obsessed with figuring out how to create a perfect, sleek pageboy. Thankfully, one of my instructors—an amazing old-school stylist—took me under her wing. She taught me that true vintage hair wasn’t just about heat. It was a craft built on a solid foundation: the wet set. And honestly, it’s a technique that’s become my secret weapon for creating styles with incredible structure and control, both in the salon and for photoshoots.
In this article
- The Simple Science of a Bulletproof Style
- Your Vintage Styling Toolkit (On a Budget!)
- The Art of the Brush-Out: This is Where the Magic Happens
- Core Vintage Styles: A Breakdown
- The Quick & Dirty Version: The ‘Hot Set’
- Wet Set vs. Hot Set: Which Should You Choose?
- Making It Last: Day 2 and Day 3 Hair
- Final Thoughts & Your First Challenge
- Galerie d’inspiration
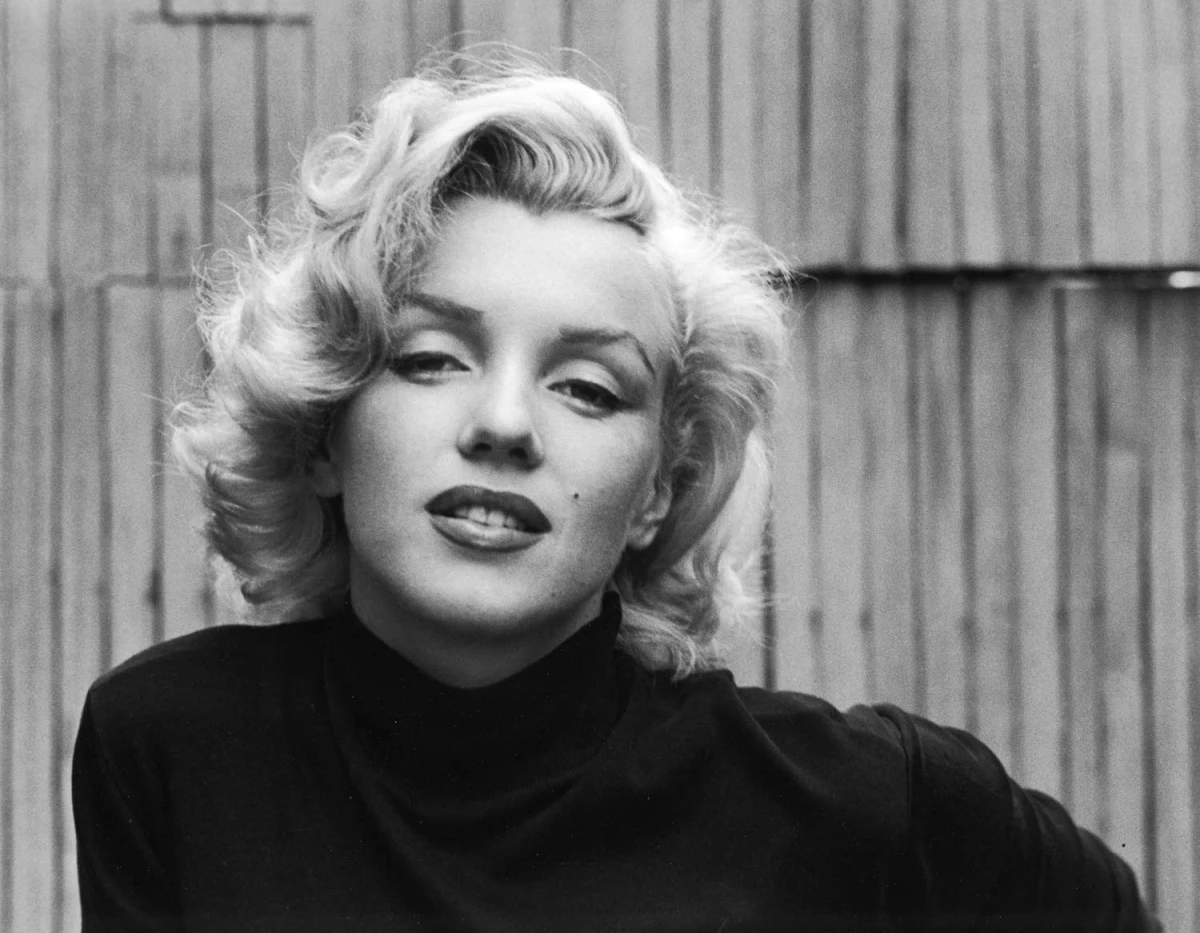
Getting these looks right means going beyond just copying a picture. You have to know the ‘why’ behind the method. Back in the day, the goal was glamour, and new products gave people more styling options than ever. A look seen on a silver-screen icon could become a global sensation overnight. But achieving it relied on one universal technique: setting the hair to completely rebuild its shape. This guide is all about blending those time-tested methods with practical advice that works for today’s hair types.
The Simple Science of a Bulletproof Style
Before we even think about touching a roller, let’s talk about what’s actually happening to your hair. This is the stuff that separates a pro from an amateur and makes a style last all day instead of falling flat in an hour. Your hair strands are made of protein chains held together by bonds. The strong ones can only be broken by chemicals like perms.
The bonds we care about for styling are the much weaker hydrogen bonds. They break when your hair gets wet. So, when you wrap damp hair around a roller, you’re breaking the old bonds. As the hair dries completely, new hydrogen bonds form, locking your hair into the shape of the roller. That’s it. It’s a simple but powerful process that creates a ‘curl memory’ far stronger than anything you can get from a hot tool. A curling iron just uses a blast of dry heat to temporarily shape the hair, so the style falls out much faster.
Oh yeah, and a good wet set is way gentler on your hair. Constant high heat from flat irons and wands can fry your hair’s cuticle, leading to dryness and breakage. Wet setting is a slow, low-temp process that keeps your hair healthy. It’s how women maintained such polished looks without the dozens of reparative masks and oils we have today.
Your Vintage Styling Toolkit (On a Budget!)
I’ve seen a million gadgets come and go, but for these classic looks, the original tools are still the best. Having the right stuff makes everything easier. Here’s a little shopping list to get you started—you can get everything for around $50.
- Magnetic Rollers: These smooth plastic rollers are my go-to for a clean, frizz-free curl. A common mistake is thinking roller size determines curl tightness—it actually determines the size of the wave. You can get a multi-size pack for about $15-$25 on Amazon or at Sally Beauty. For most styles, the medium 1- to 1.5-inch rollers are your workhorses. Use smaller ones for tighter curls (like at the nape of the neck) and larger ones for soft volume on top.
- Setting Lotion: This is NOT optional. It gives your hair the memory and hold it needs. A classic like Lottabody is perfect; it’s a concentrate you dilute with water. A bottle costs under $10 and will last you ages. My usual ratio is one part lotion to five parts water in a spray bottle. Too much makes hair crunchy; too little and your style will disappear.
- End Papers: So many people skip these, and it’s a huge mistake. These little papers wrap around the very tips of your hair to prevent ugly ‘fishhooks’ or crimped ends. A professional finish is all in the details! A box is usually around $5.
- A Soft Bonnet Dryer: While you can air-dry, a hooded dryer gives the best, longest-lasting results. It creates a ‘hard set’ that won’t quit. A soft bonnet attachment that fits onto your regular blow dryer is a great home option and usually costs between $20 and $40.

The Art of the Brush-Out: This is Where the Magic Happens
Setting the hair is just the prep work. The brush-out is what transforms a head full of tight curls into a polished, cohesive style. It takes patience, so put on some music and settle in.
First, get yourself a good boar bristle brush. The natural bristles are amazing at smoothing the hair cuticle for a glossy shine and are gentler on the scalp. Once you take the rollers out, please don’t panic. You will look like a poodle or Shirley Temple. This is normal and exactly what you want!
Gently break up the ringlets with your fingers first. Then, start brushing with purpose. You aren’t just detangling; you’re shaping the hair and encouraging the separate curls to merge into a uniform wave. For a pageboy, you’ll brush everything down and under, using your other hand to cup the hair and guide it. For a style with more volume, you’ll brush up and back before smoothing everything into place.
Core Vintage Styles: A Breakdown
Let’s get practical. Here’s how to approach some of the most iconic looks, with tips I’ve learned from years behind the chair.
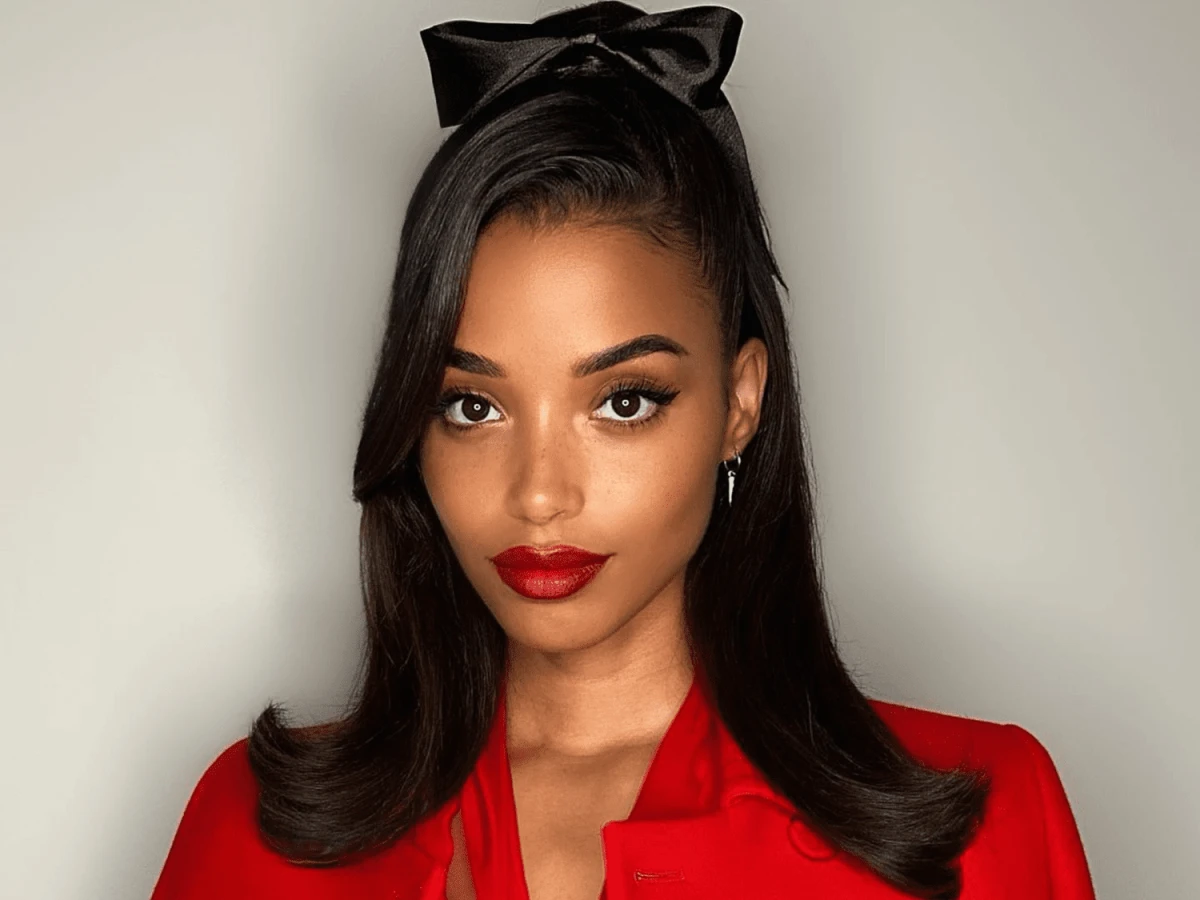
1. The Pageboy & Brushed-Under Bob
This is that quintessential smooth, sleek look with ends that curve perfectly inward. It’s all about uniformity.
- The Set: Use medium-sized rollers and make sure every single one is rolled ‘under’ and toward your face. Using a brick-lay pattern (offsetting the rows) helps prevent splits in the final style.
- Troubleshooting: If your ends are flipping out, you probably skipped the end papers or your hair wasn’t 100% dry. If the style looks limp, your setting lotion was too weak or your rollers were too big for your hair length.
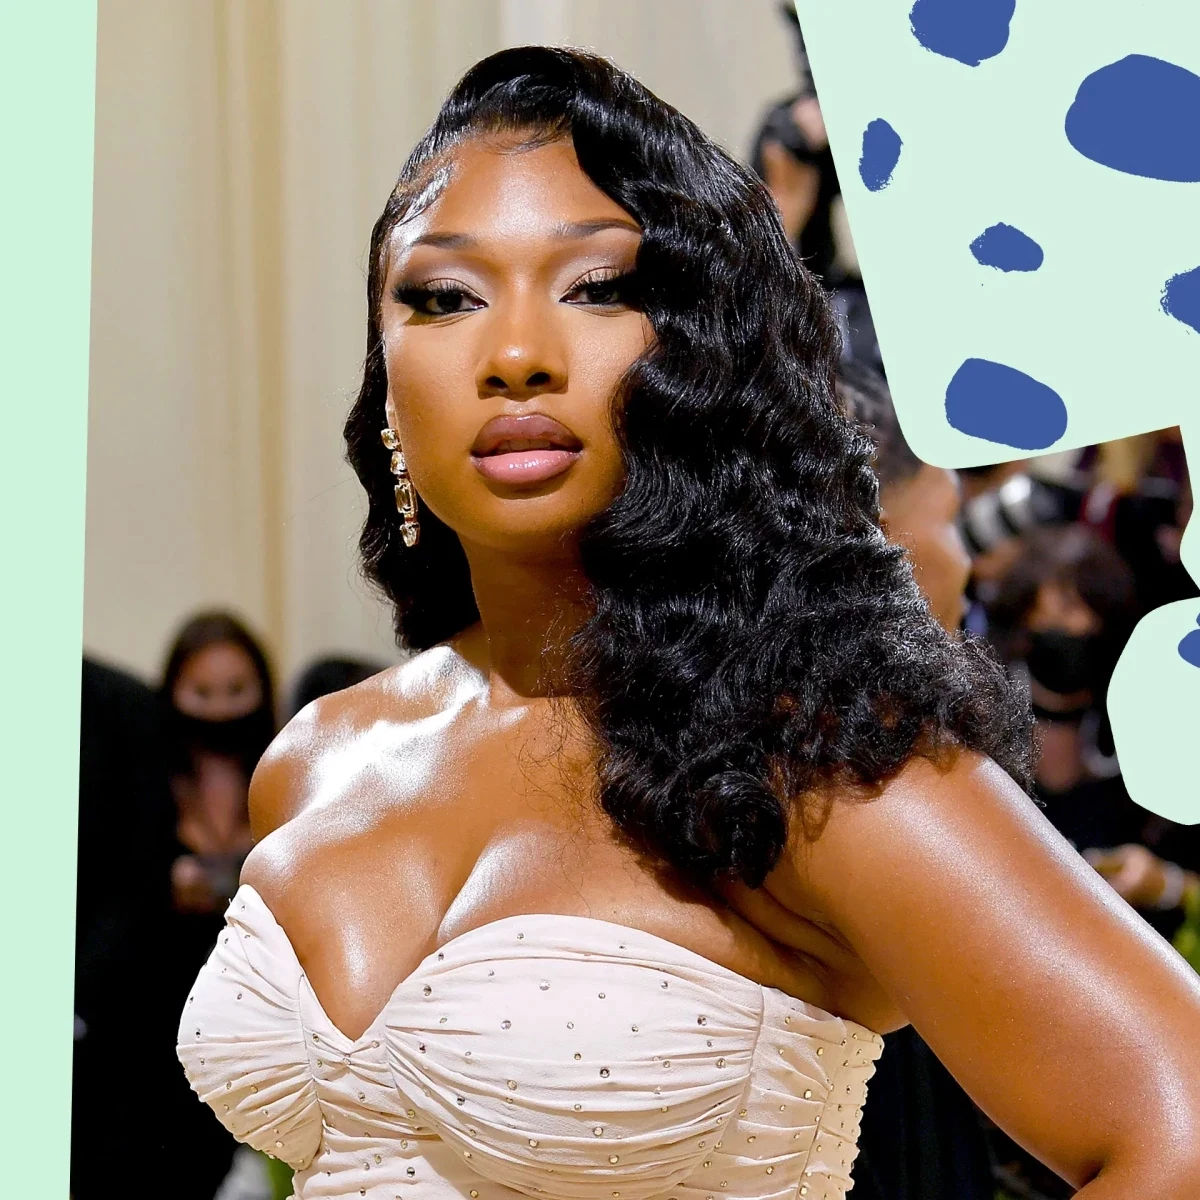
2. The Bouffant
The bouffant is all about that gorgeous volume at the crown. The secret here is proper teasing (or backcombing).
- The Set: Focus on the crown. Use medium rollers on the top section of your head and roll them straight back to create lift at the root.
- The Technique: Work with small, 1-inch sections. Hold a section straight up, place a teasing comb about two inches from the scalp, and push it down toward the scalp in one smooth motion. Do this 2-3 times per section to build a ‘cushion’ at the root.
- Common Mistake Alert: A lot of people say their teasing just looks like a messy knot. This usually means you’re trying to tease too big of a section at once or you’re being too aggressive. The goal is to build a dense cushion, not a bird’s nest! After teasing the underneath layers, you gently smooth the top layer of hair over it for a polished finish.

The Quick & Dirty Version: The ‘Hot Set’
Let’s be real: a full wet set takes time. For a beginner at home, you should realistically block out 3-4 hours, including about an hour or more for drying under the bonnet. If you don’t have that kind of time, you can get a similar vibe with a curling iron.
This is called a ‘hot set,’ and it’s a great shortcut.
1. Start with dry hair. Curl a 1-inch section with your curling iron.
2. While the curl is still piping hot, slide it off the iron and roll it up with your fingers.
3. Pin the rolled-up curl flat against your head with a duckbill clip or a bobby pin.
4. Repeat all over your head. Let everything cool down completely—I mean for at least 20 minutes. The cooling part is what sets the style!
5. Once cool, take out the clips and follow the same brush-out principles.

Wet Set vs. Hot Set: Which Should You Choose?
So, what’s the better option for you? It really depends on your goals.
A traditional wet set is, without a doubt, the champion for longevity. We’re talking about a style that can genuinely last for several days. It’s also much healthier for your hair since it uses low, gentle heat. The downside? It takes a lot more time and planning.
A hot set, on the other hand, is your best friend for speed. You can get a pretty, vintage-inspired look in under an hour. However, the style is much softer and typically only lasts for a day or evening. It also involves high heat, so it’s more damaging over time. Think of it as a great option for a party, but not a sustainable weekly routine.
Making It Last: Day 2 and Day 3 Hair
You did the work, now make it last! To preserve your beautiful set overnight, the best thing you can do is wrap your hair in a silk or satin scarf. This reduces friction and prevents your style from turning into a frizzy mess while you sleep. In the morning, you can just unwrap, give it a light brush to reshape, and you’re good to go. A little dry shampoo at the roots can also help absorb oil and bring back some volume.

Final Thoughts & Your First Challenge
Remember, this is a skill. My first few brush-outs were a disaster! Be patient and learn how your own hair responds. The beauty of these classic hairstyles is their structure and elegance.
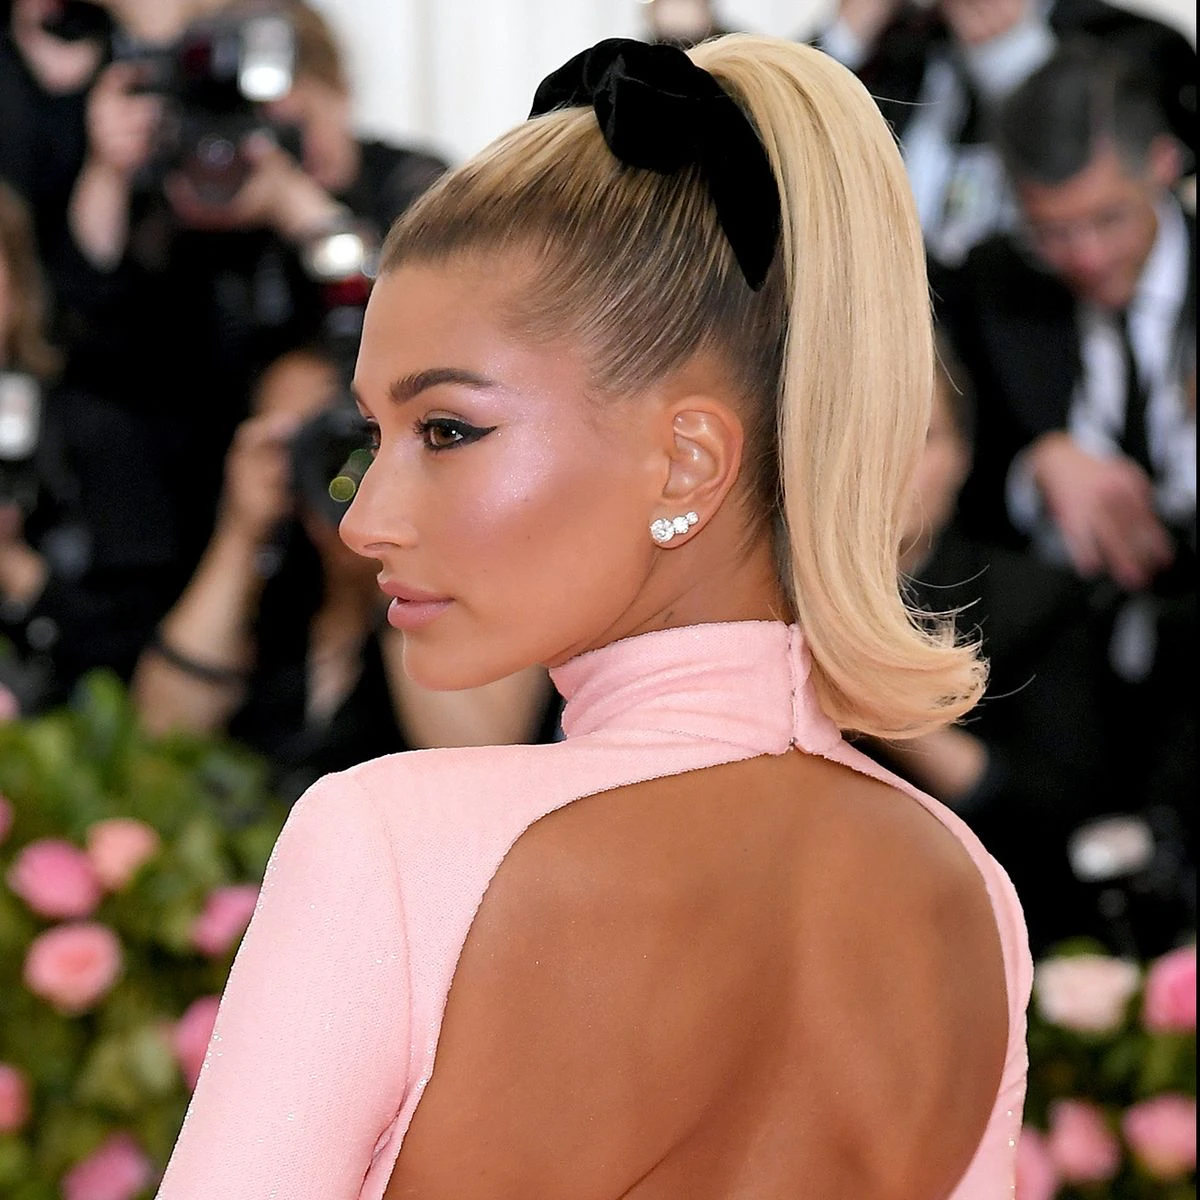
Not ready for a full set just yet? No problem. Try this 5-minute quick win tonight: Do the polished high ponytail. Brush your hair up high on the crown, almost in line with the tops of your ears. To get it super sleek, spray a little hairspray on your boar bristle brush for one final pass. After securing it, take a tiny strand of hair from the ponytail, wrap it around the elastic to hide it, and pin it underneath. It’s an instant touch of that timeless polish.
Galerie d’inspiration


Is a setting lotion truly necessary, or can I just use water?
While water is what breaks the hair’s hydrogen bonds, a quality setting lotion is the secret to a professional, long-lasting result. It provides essential ‘slip,’ allowing you to wrap hair around the roller smoothly without snagging. More importantly, classic formulas like Lottabody’s add polymers that create a firm ‘cast’ as the hair dries, giving your style superior memory and humidity resistance. It’s the difference between a style that lasts hours and one that lasts for days.
The iconic ‘Victory Rolls’ of the 1940s were more than a fashion statement; they were a practical solution to keep women’s long hair safely away from factory machinery during the war.
This gravity-defying style was impossible without the solid foundation of a wet set. Hair was meticulously sectioned and wrapped to create a rigid structure, which was then sculpted into the famous upward-sweeping rolls. The style needed to be glamorous yet tough enough to last through a full workday, a true testament to the durability of this setting technique.
Plastic Magnetic Rollers: The professional’s choice for an ultra-smooth, glossy finish. Their non-porous surface prevents frizz, and they create a very firm ‘hard set’ when used under a bonnet or hooded dryer.
Foam or Sponge Rollers: The key advantage here is comfort. These soft, pliable rollers are ideal if you plan to sleep on your wet set, allowing the hair to dry overnight. They’re brilliant for creating volume and a softer, less defined curl pattern.


