The Ultimate Guide to Textured Bangs (And How to Not Mess Them Up)
After years behind the chair, I can tell you one thing for sure: nothing changes up a look faster than a new fringe. In less than fifteen minutes, you can go from same-old to seriously stylish. But let’s be honest, bangs (or a fringe, if you prefer) are front and center. When they’re good, they highlight your eyes and perfectly frame your face. When they’re bad… well, there’s no hiding them.
In this article
The textured fringe is still one of the most popular requests, and it’s easy to see why. It’s got that soft, versatile vibe that a super-blunt cut just can’t match. You can style it to look polished or perfectly messy. But getting that “effortless” look takes a whole lot of effort and know-how. It’s not just a quick snip; it’s about building a shape that works with your hair, not against it.
So, let’s pull back the curtain. I’m going to walk you through how the pros approach it, and—more importantly—how you can manage it at home without a major disaster.
First Things First: Know Your Hair
Before a single strand gets cut, a good stylist is doing a full-on assessment. This is the step most people skip at home, and it’s why so many DIY fringes end up looking… off. You have to understand the material you’re working with. It really comes down to three things: density, texture, and those pesky growth patterns.
Hair Density vs. Texture
Okay, quick lesson. Density is how many hairs you have, while texture is how thick each strand is. You can have fine hair that’s super dense, or coarse hair that’s on the thinner side. This is a huge deal because it determines how much texturizing your fringe can actually handle.
- For Fine Hair: The goal here is to create texture without making the bangs look stringy or weak. The baseline has to stay strong. Any texturizing is done very lightly, mostly just on the tips. Going too wild with texturizing shears will just make it look see-through.
- For Medium Hair: This is pretty much the sweet spot for a textured fringe. It has enough natural body to hold the shape and can handle techniques like point cutting to create that perfect piecey movement.
- For Coarse Hair: This hair type can get bulky fast. To avoid a heavy, blocky look, a lot of weight needs to be removed from the inside of the fringe. This creates space and allows the strong strands to lay softer instead of fighting each other.
Cowlicks Are Not the Enemy

This is where most DIY trims go horribly wrong. A cowlick is just hair that grows in a different direction, and you can’t fight it—you have to outsmart it. If you cut a fringe too short over a strong cowlick, that piece of hair is going to stand straight up. The weight of the hair is what keeps it down.
A quick pro tip: Wet the hair and see how it wants to fall naturally. That tells you exactly where the trouble spots are and helps determine the minimum length needed to keep things under control.
Heads up on Tension!
Wet hair stretches. I learned this the hard way as an apprentice. If you pull the hair down tight before you cut it, it’s going to spring up when you let go—sometimes by a whole half-inch! The result is always a fringe that’s way shorter than you wanted. For bangs, the rule is to use almost zero tension. Comb the hair into place and hold it gently. What you see is what you get.

The Pro-Level Cut: Tools and Game Plan
A great textured fringe is a combination of several techniques, not just one. It starts with a clean section, moves to creating a soft baseline, and ends with personalized texturizing.
The Right Tools for the Job
Seriously, step away from the kitchen scissors. They don’t slice the hair; they bend and chew it, which leads to split ends and a jagged line.
- Pro Shears: Pros often use smaller shears, around 5.5 inches, made from high-quality steel. The smaller size gives you way more control for detail work, meaning you’re less likely to accidentally snip off a huge chunk.
- Texturizing Shears: The kind with lots of tiny teeth (around 40) are great for fine hair because they remove very little hair, creating a soft, blended effect. Shears with fewer, wider teeth (20-25) remove more bulk and are better for creating chunky texture in thick hair.
- For the rest of us: You don’t need to spend a fortune. You can find a pair of decent styling shears at a beauty supply store like Sally Beauty for $25 to $50. They will be a massive upgrade and are worth the small investment.
The Triangle Blueprint

The foundation of any good fringe is a triangle section. But how do you find the right starting point? Here’s a trick the pros use: Lay a comb flat on the top of your head. The spot where the comb starts to rock forward and lift off your scalp? That’s your apex—the perfect top point for your triangle.
From there, the sides of the triangle typically extend down to the outer corners of your eyebrows. For a narrower, face-framing fringe, you’d make the triangle smaller. For a wider look, you’d take it further back. Always, always, always clip the rest of your hair back securely. You don’t want any long stragglers falling into the line of fire.
Cutting Methods that Make a Difference
Cutting dry is the secret. It lets you see the hair’s natural fall and texture without water messing with the length.
First, a guideline is cut—usually a small piece in the very center, cut a little longer than the desired final length. You can always take more off!
Instead of cutting a blunt line straight across, the best technique is Point Cutting. This is where you hold the scissors vertically and snip into the ends of the hair. It instantly creates a softer, more broken-up line. For even more movement, stylists might use Slide Cutting (gliding open shears down the hair shaft) or Channel Cutting (cutting small channels within the hair) to remove internal bulk on thicker hair types.
Quick Guide: The At-Home Maintenance Trim
Okay, so your fringe is growing out, and you just need a tiny trim to hold you over. A full-on cut is best left to the pros (a fringe trim at a salon usually runs between $15 and $40), but you can do a little maintenance if you’re careful.
1. ALWAYS Cut Dry: I can’t say this enough. Your hair must be 100% dry and styled how you normally wear it. 2. Use the Right Scissors: Grab those styling shears you bought, not the craft scissors. 3. Start Small: Take the section of your fringe you want to trim and hold it lightly. Don’t pull it taut. 4. Point Cut, Don’t Blunt Cut: Hold your scissors vertically and snip up into the ends, one tiny snip at a time. Do not cut straight across. You are just dusting the ends to bring the length up. 5. Check Your Work: After a few snips, drop the hair, brush it, and see how it looks. It’s easy to take off more but impossible to add it back.

Styling and Damage Control
Got your fringe? Great. Now how do you style it?
If you have a cowlick, the blow-dryer is your best friend. Use a brush to dry the fringe in the opposite direction of its growth first. Then, dry it in the direction you actually want it to go. This simple trick confuses the root and helps it lay flat.
For products, less is more. A puff of texturizing spray or dry shampoo at the roots gives it that lived-in, airy feel. If you want more definition, rub a tiny bit of matte pomade or wax between your fingertips and piece out the ends. A little goes a long way!
Common Fringe Fails & Easy Fixes
- You cut it too short: Don’t panic. For the next two weeks, embrace the side-swept look. Use a little wax or pomade to direct the hair to the side. It’ll be back to a wearable length before you know it.
- It looks too blunt and heavy: You can fix this. When it’s dry, go back in with the very tip of your scissors and snip vertically into the ends. This will soften the line instantly.
- It’s uneven: Stop cutting. Seriously. The more you try to
Galerie d’inspiration

The secret to that coveted ‘lived-in’ texture often lies in the product you use right after blow-drying. A light mist of a quality texturizing spray, like Oribe’s Dry Texturizing Spray or R+Co’s ZIG ZAG Root Teasing + Texture Spray, can make all the difference. It adds grit and separation without the stickiness of a traditional hairspray, giving your fringe that perfectly imperfect look.
- Keep your fringe fresh, not flat, by targeting the roots with a volumizing dry shampoo.
- Avoid touching them! The oils from your fingers can make bangs look greasy in no time.
- Sleep with a silk headband to gently push them back, preventing odd kinks by morning.
The key? Minimal intervention for maximum effect.

How do I style my fringe if I have a cowlick?
Don’t fight it, work with it. The moment you’re out of the shower, grab a fine-tooth comb and a blow dryer with a nozzle. Blast the roots of your fringe, combing them back and forth—left, right, then straight down. This ‘confuses’ the root and neutralizes the cowlick’s direction. Only then should you use a round brush to style, locking in the new, smoother shape.

The Golden Rule of DIY Trims: Never, ever cut your bangs when they are wet. Hair stretches when damp, and what looks like the perfect length will shrink as it dries, often becoming much shorter than you intended. For textured bangs especially, cutting them dry allows you to see exactly how the pieces will fall and where to snip for that soft, feathered effect.
Considering an at-home trim? Your kitchen scissors won’t make the cut. A professional result requires the right tools. Here’s a mini-kit for maintenance:
- Professional Hair Shears: Brands like Equinox or Tweezerman offer sharp, precise options for clean lines.
- A Fine-Tooth Comb: Essential for creating even tension and separating strands.
- Texturizing or Thinning Shears: Use these sparingly on the very tips to soften the ends and avoid a blunt, heavy line.
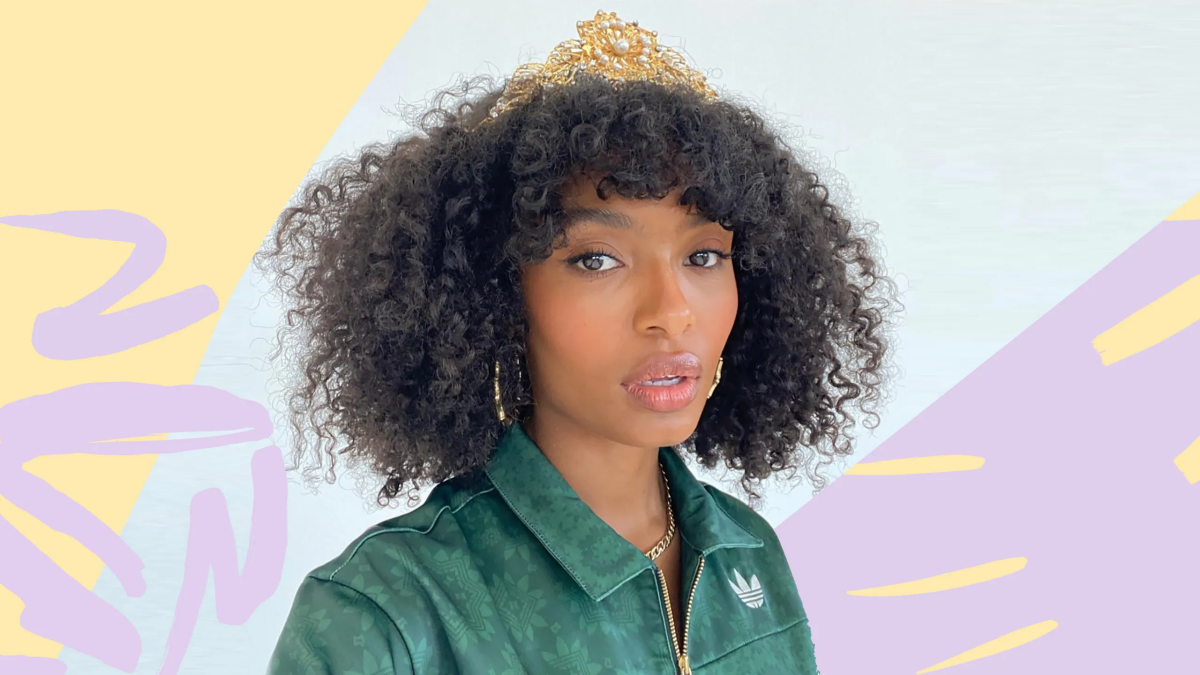
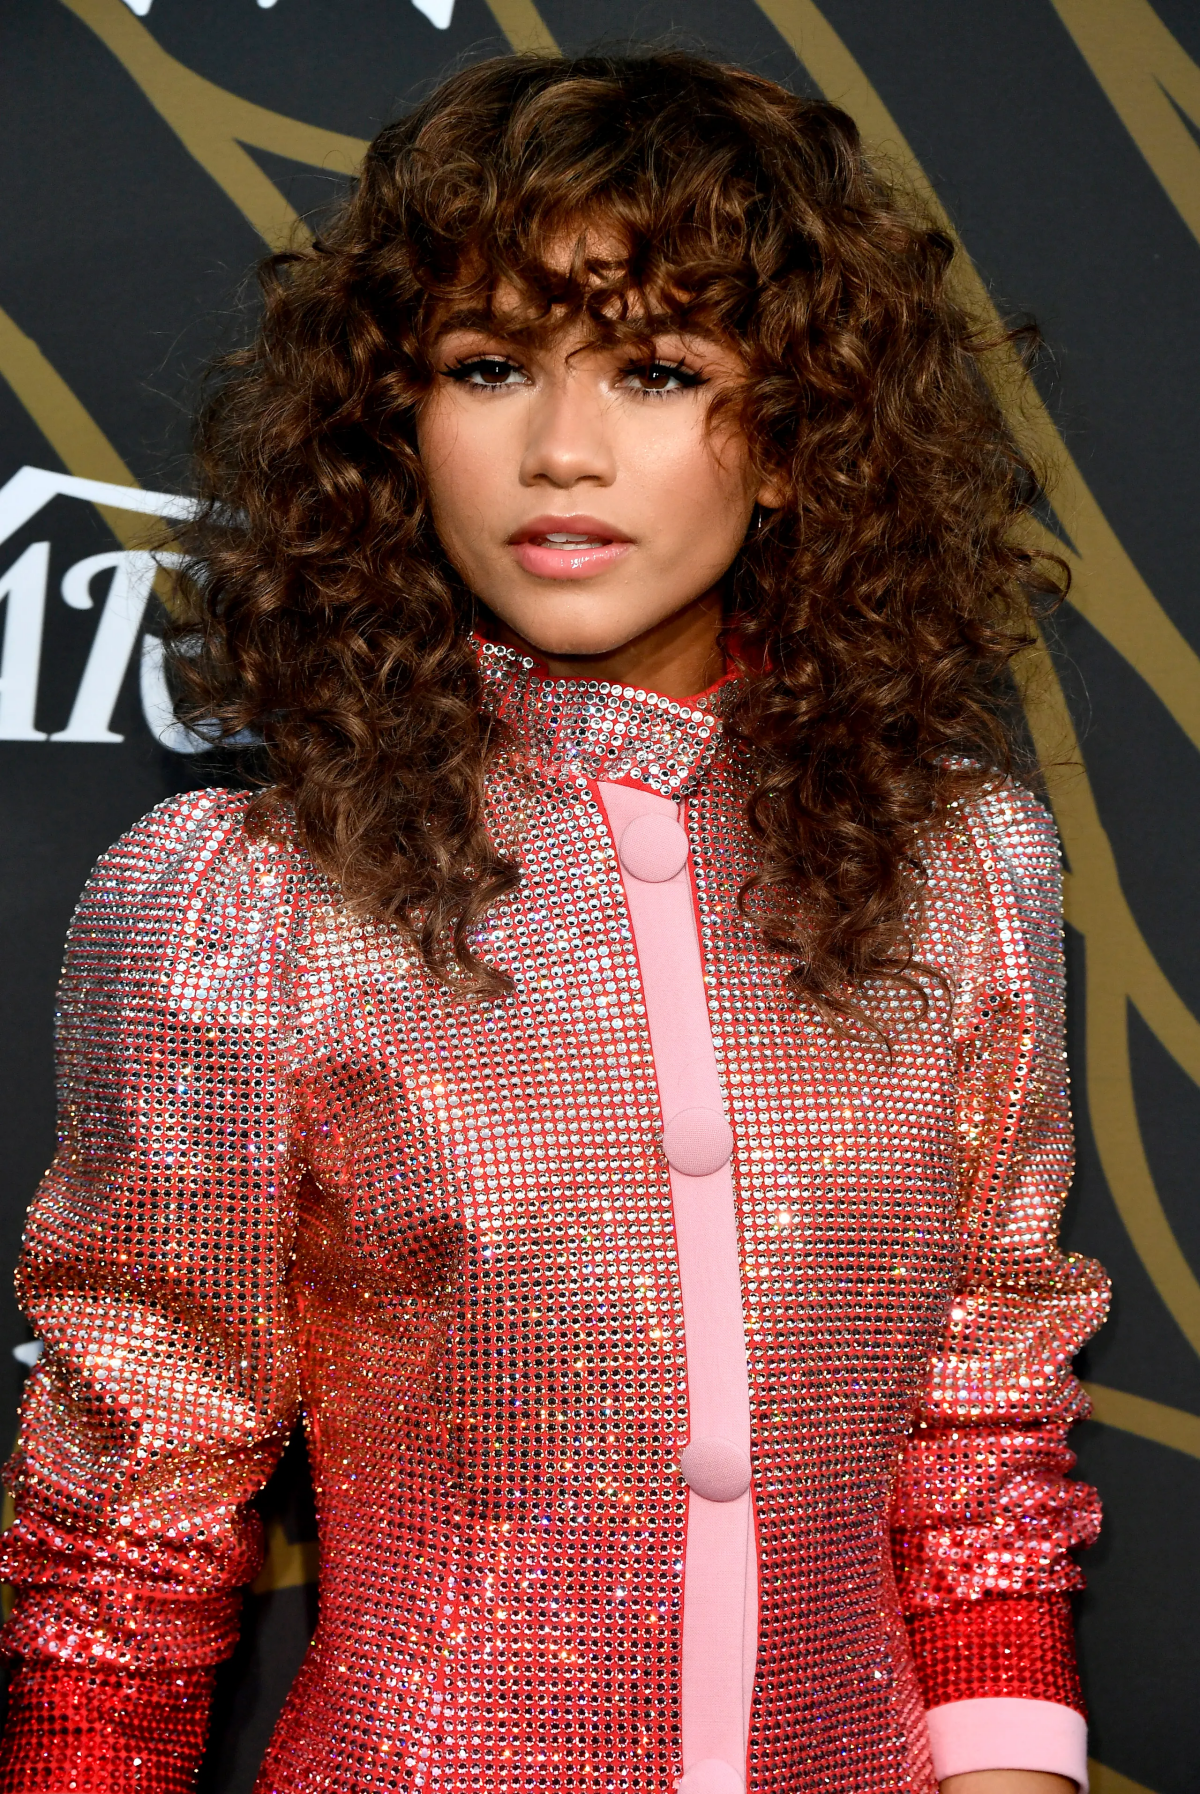
For Curls & Coils: A textured fringe is absolutely possible! Ask your stylist for a ‘dry cut’ to see how each curl will naturally fall. The goal isn’t a solid curtain of hair, but rather strategically placed tendrils that frame the face. Zendaya is a perfect example of how beautifully this works.
For Pin-Straight Hair: The challenge is creating movement. Point cutting is essential to break up the bluntness. At home, a texturizing paste like Kevin Murphy’s ROUGH.RIDER, warmed up in your palms and worked through the ends, will create piecey separation that lasts.

On average, hair grows about 1/2 inch (or 1.25 cm) per month.
What does this mean for your fringe? It’s a high-maintenance relationship. To keep that perfect, eye-grazing length, you’ll likely need a micro-trim every 3 to 4 weeks. Many salons offer complimentary or low-cost bang trims between full haircut appointments, making it an affordable way to keep your style sharp.
Don’t overlook your face shape when choosing the style of your textured fringe. The right cut can balance your features beautifully.
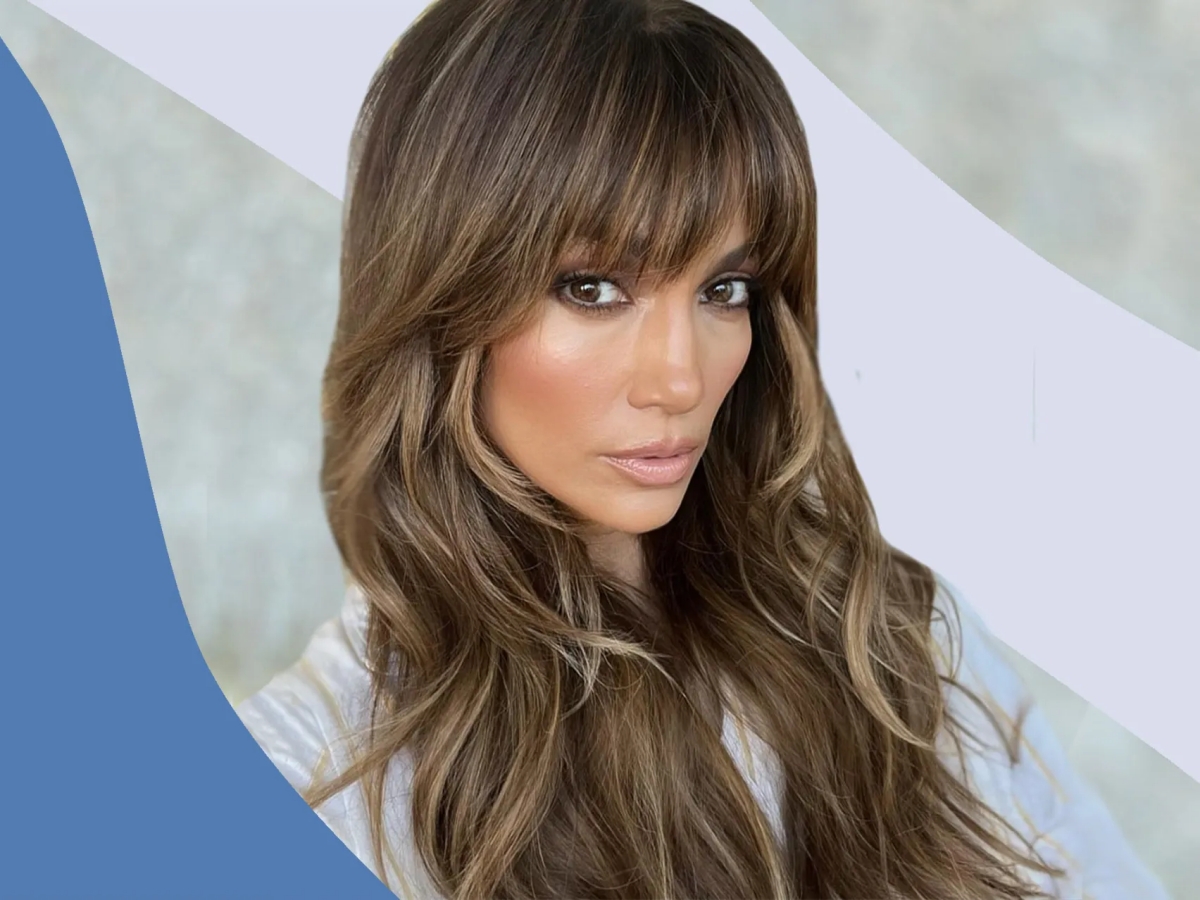
- Round or Square Faces: A longer, sweeping side fringe or a ‘curtain bang’ that splits in the middle helps to elongate the face and soften strong jawlines.
- Heart or Oval Faces: You can pull off almost anything! A classic, brow-skimming textured fringe or even trendy micro-bangs will highlight your features without overwhelming them.


