Your Ultimate Guide to the Perfect Ponytail (That Won’t Wreck Your Hair)
More Than Just a Hair Tie: A Pro’s Take on the Perfect Ponytail
After more than a decade of working with hair for everything from magazine covers to brides, there’s one style that never, ever goes away: the long ponytail. It looks so simple, right? But honestly, a truly great ponytail—one that doesn’t droop, give you a headache, or slowly destroy your hairline—is a serious skill. It’s less about just yanking your hair back and more about creating a comfortable, lasting shape that actually keeps your hair healthy.
In this article
- More Than Just a Hair Tie: A Pro’s Take on the Perfect Ponytail
- First Things First: Getting to Know Your Hair
- The Pro Toolkit: What You Actually Need
- The 2-Minute Ponytail Upgrade: An Instant Fix
- Building the Perfect Ponytail Base: Step-by-Step
- Common Ponytail Problems & Quick Fixes
- Styling Second-Day Hair
- Ponytail Variations: From Sleek to Textured
- The Most Important Rule: Ponytail Health
- Galerie d’inspiration
So many people sit in my chair frustrated with their ponytails. They talk about lumps they can’t smooth out, a base that sags after an hour, or that dreaded scalp-pulling pain. And I’ve seen the long-term damage from bad habits, too. We’re talking about real breakage and thinning around the hairline, a condition called traction alopecia. It’s no joke, and it comes from putting constant, heavy tension on your hair follicles.
This is my answer to all that frustration. We’re going to break down how the pros build a flawless ponytail, from the foundation up. We’ll get into the right tools, the best products (without needing a million of them), and the techniques for different looks. My goal? For you to be able to whip up a gorgeous, comfortable ponytail that looks amazing and keeps your hair strong and safe.
First Things First: Getting to Know Your Hair
Before you even think about grabbing a brush, you have to understand what you’re working with. Every head of hair is different, and its unique qualities will totally change how you should approach your ponytail. Knowing your hair is step one to avoiding that sad, droopy look.
Hair Density vs. Texture
Okay, let’s clear this up, because everyone mixes these up. Density is how many individual hairs you have on your head (a lot or a little). Texture is how thick each individual strand is (fine, medium, or coarse).
Why does this matter? It’s all about weight. If you have high-density, coarse hair, that ponytail is going to be heavy. A super-high pony might start pulling and cause a headache pretty fast. For heavier hair, I usually suggest a low or mid-height ponytail to distribute that weight. On the flip side, if you have low-density, fine hair, you might struggle with volume. A sleek, high style can sometimes make hair look even thinner, so we focus on tricks to fake some fullness.
Quick at-home test: Not sure what your density is? Try this. Gather your dry hair into a ponytail and measure the circumference. Is it less than 2 inches around? You likely have low-density hair. Between 2 and 3 inches is pretty average, or medium density. And if it’s 4 inches or more? Welcome to the high-density club!
A Serious Chat About Traction Alopecia
Every time you pull your hair back, you’re putting tension on the follicles. A little bit is fine, but constant, aggressive pulling is a recipe for disaster. This is what causes traction alopecia—the follicle gets so stressed and inflamed that it eventually just gives up and stops producing hair. I’ve seen it happen most often with clients whose jobs require a tight, slicked-back look every single day. The first sign is usually those little broken bits around the hairline. They look like baby hairs, but they’re actually a warning signal. This is why I’m always telling my clients: switch it up! Don’t wear the same tight, high ponytail day after day. Give your scalp a break with a loose, low style or just wear it down.

The Pro Toolkit: What You Actually Need
Getting the right tools isn’t about buying the most expensive thing on the shelf. It’s about using things that protect your hair while getting the job done. The wrong brush or hair tie is genuinely one of the biggest causes of damage I see.
Brushes That Make a Difference
- Boar Bristle Brush: This is the secret weapon for that impossibly sleek, glass-hair finish. The natural bristles grab every single strand, smoothing them down and distributing your scalp’s natural oils for incredible shine. Expect to pay anywhere from $15 for a solid drugstore version to over $100 for a high-end one.
- Paddle Brush: Your everyday workhorse. Use this for general detangling and brushing before you start styling. Its wide base makes quick work of getting knots out.
- Tail Comb: An absolute must for precision. The long, pointy “tail” is perfect for creating clean parts, and the fine teeth are what you need for teasing to build volume. You can find these for just a few bucks at any beauty supply store.
Hair Ties That Won’t Wreck Your Hair
Please, I’m begging you, throw out any hair ties with that little metal connector piece. It’s a snagging machine that just loves to rip out your hair. Instead, let’s talk about some hair-safe alternatives:
- Best for Fine/Fragile Hair: Fabric-Covered Elastics. Think simple scrunchies or those seamless fabric bands. The cloth acts as a soft buffer, which means way less friction and breakage. Damage risk is low.
- Best for All Hair Types: Spiral Hair Ties. These plastic coils look like old-school telephone cords and are fantastic. They distribute pressure unevenly, so you get a strong hold without that harsh crease in your hair. Damage risk is lowest.
- Best for Thick/Heavy Hair: Bungee Hooks. This is a total pro move, but they are a game-changer. It’s an elastic cord with a hook on each end. You hook one end into the hair, wrap the cord around the base, and hook the other end in. It gives amazing support without having to pull a thick ponytail through a tiny elastic over and over. You can find them at beauty supply stores like Sally’s or online for about $5 a pack. Damage risk is low when used correctly.
A Minimalist’s Product Lineup
You don’t need a shelf full of stuff. A few key players will get you through almost any style.
- Heat Protectant: Non-negotiable if you use hot tools. It’s like oven mitts for your hair. A decent one will run you $10-$25.
- Smoothing Serum: A tiny, pea-sized amount of a silicone-based serum fights frizz and adds that glossy finish.
- Hairspray: A flexible-hold hairspray is a must. Pro tip: Instead of spraying your whole head, spray a little directly onto your boar bristle brush and then smooth it over your hair. It tames flyaways without that stiff, crunchy feeling.
- Texturizing Spray: This is the key to volume and grip, especially on clean, silky hair. Think of it as dry shampoo’s grittier cousin. A spritz at the roots gives your hair some guts, making it easier to style.
The 2-Minute Ponytail Upgrade: An Instant Fix
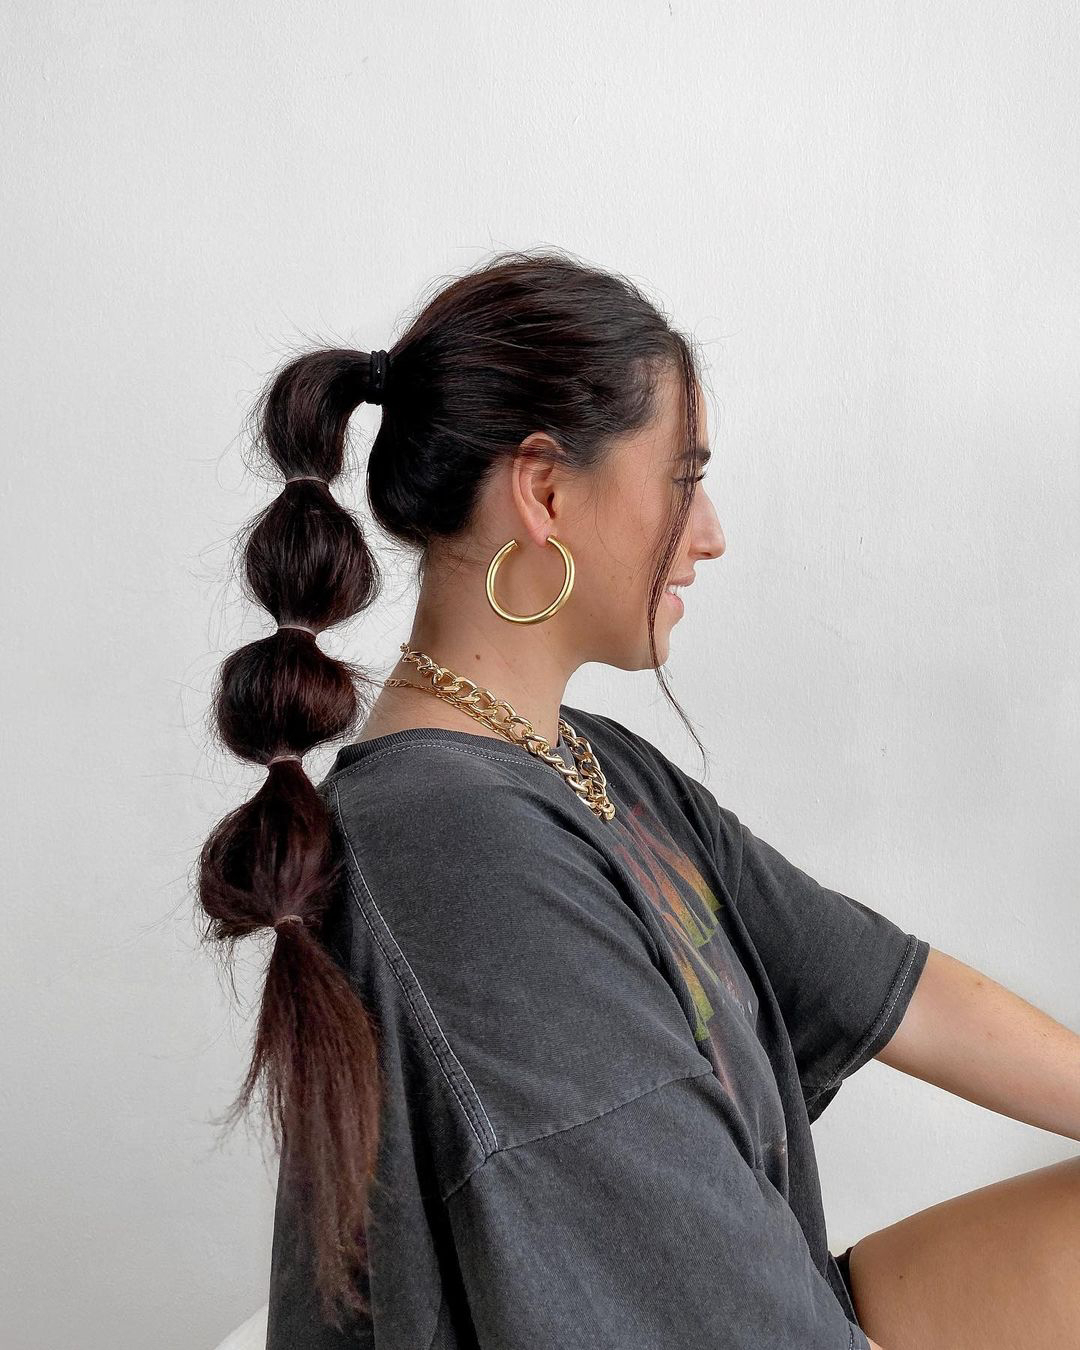
Don’t have time for a full styling session? Here’s the one trick you can do right now to make your ponytail look instantly fuller and more polished. It’s the double-pony trick.
First, create a small ponytail using only the top half of your hair (from your ears up). Then, gather the remaining bottom half of your hair and create a second ponytail directly underneath the first one. The top ponytail will fall over the bottom one, completely hiding it. The result? It looks like one super-thick, voluminous ponytail. It’s a classic illusion that works every time.
Building the Perfect Ponytail Base: Step-by-Step
Okay, ready for the main event? The secret to any great ponytail is a solid, smooth base. Here’s how we do it in the salon.
- Start Dry and Detangled: Never, ever tie up soaking wet hair. It’s at its most fragile and prone to snapping. Brush through everything first with a paddle brush.
- Choose Your Placement: A low pony at the nape is chic, a mid-height pony is sporty, and a high pony at the crown is pure drama.
- Direct the Hair: Tilt your head back slightly when gathering for a high pony. This simple move prevents that annoying bubble of hair that can form at the nape of your neck. Use your paddle brush to guide all the hair in the direction it needs to go.
- Gather and Smooth: Once you have the hair roughly gathered in one hand, switch to your boar bristle brush. Use your other hand to brush the surface of the hair from your hairline back towards the base. This is what creates that clean, professional finish.
- Secure It (But Not Too Tight!): It should feel secure, but if you can’t move your eyebrows without your scalp pulling, it’s WAY too tight. Loosen it up a bit.
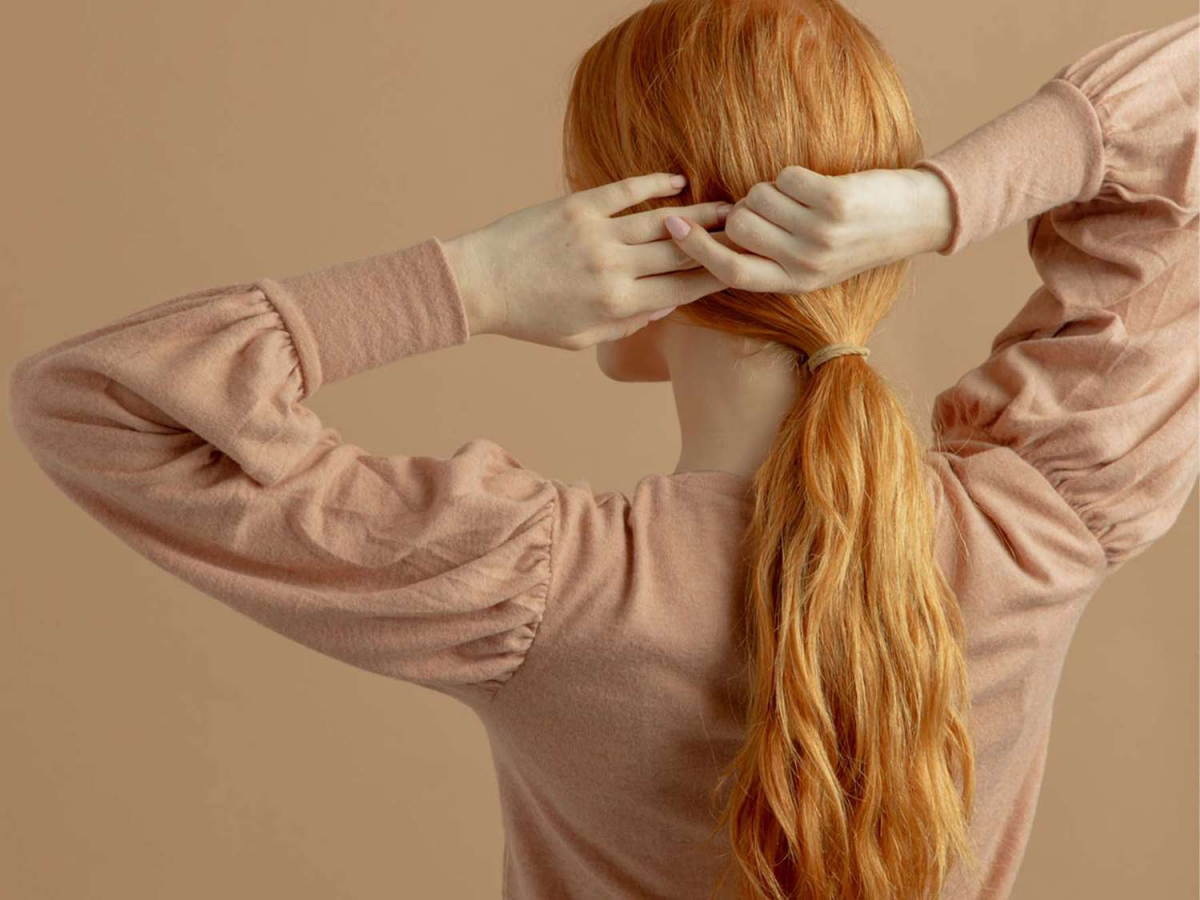
- The Hair Wrap Trick: This is what makes a ponytail look expensive. Take a small, half-inch piece of hair from the underside of your ponytail and wrap it around the elastic until it’s hidden. To secure it, stick a bobby pin upwards into the base of the ponytail. It’ll be invisible and locked in place.
Common Ponytail Problems & Quick Fixes
Even with the best technique, sometimes things go wrong. Here are some quick solutions to the most common ponytail woes.
- The Problem: An annoying bump at the back of your head.
The Fix: This usually happens because you’re holding your head level. For a high pony, tilt your head back as you brush and gather. For a low pony, tilt your head slightly forward. This keeps the hair at the nape of your neck taut and smooth. - The Problem: Layers and short pieces are sticking out everywhere.
The Fix: A little bit of pomade or styling wax on your fingertips can work wonders. Just warm it up between your fingers and gently smooth down those rebellious pieces. For really stubborn spots, a bobby pin that matches your hair color can discreetly tuck them away. - The Problem: My ponytail looks flat and lifeless.
The Fix: Before you gather your hair, spray some texturizing spray or dry shampoo at the roots. It gives the hair some grit and lift. For extra oomph, use the double-pony trick mentioned earlier!
Styling Second-Day Hair
Oh yeah, let’s talk about second-day hair. A lot of people think it’s ‘dirty,’ but from a styling perspective, it’s often better! That slight bit of natural oil gives your hair more grip and texture, making it hold a style much more effectively than squeaky-clean, slippery hair. If it feels a little greasy at the roots, just hit it with some dry shampoo to absorb oil and add volume, then proceed as usual. You’ll probably find your ponytail stays put much better.
Ponytail Variations: From Sleek to Textured
Once you’ve nailed the base, the fun begins. Here are a few popular styles and the secrets to getting them right.
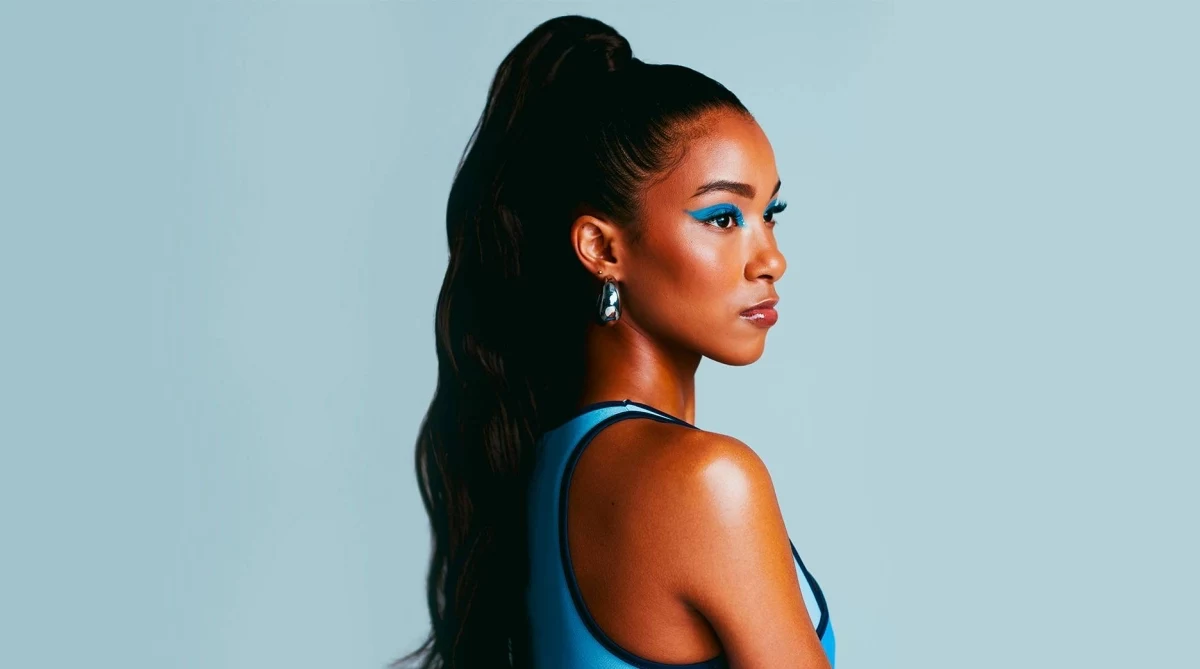
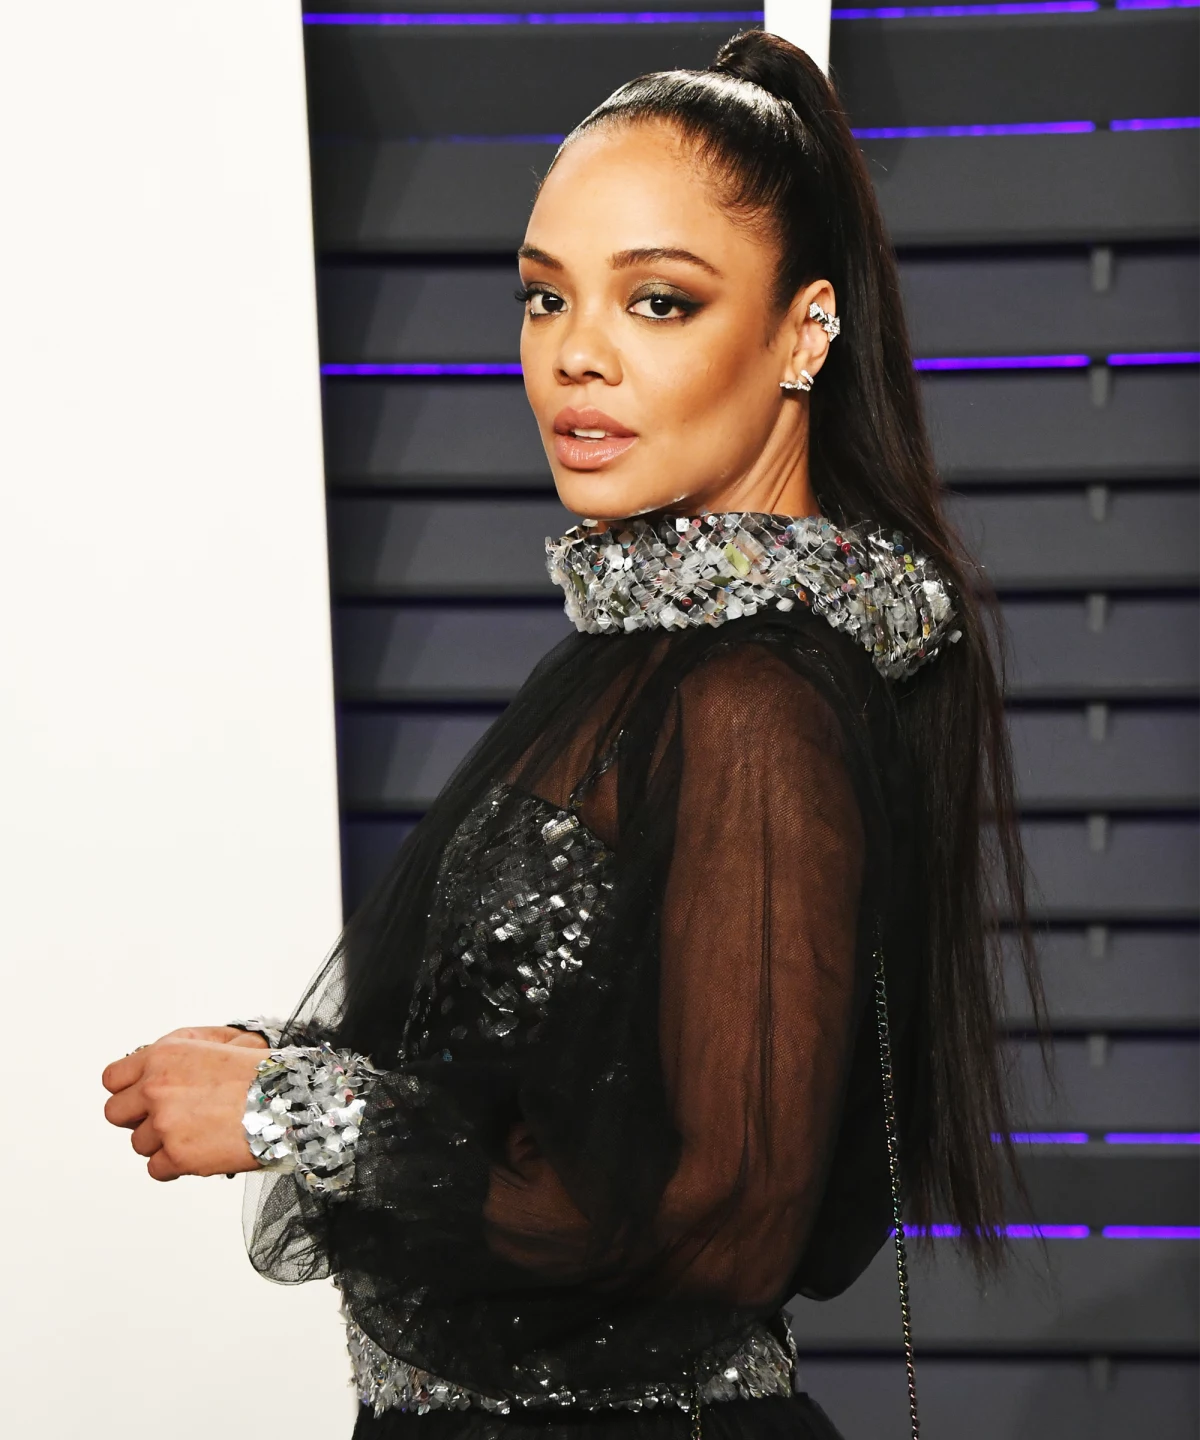
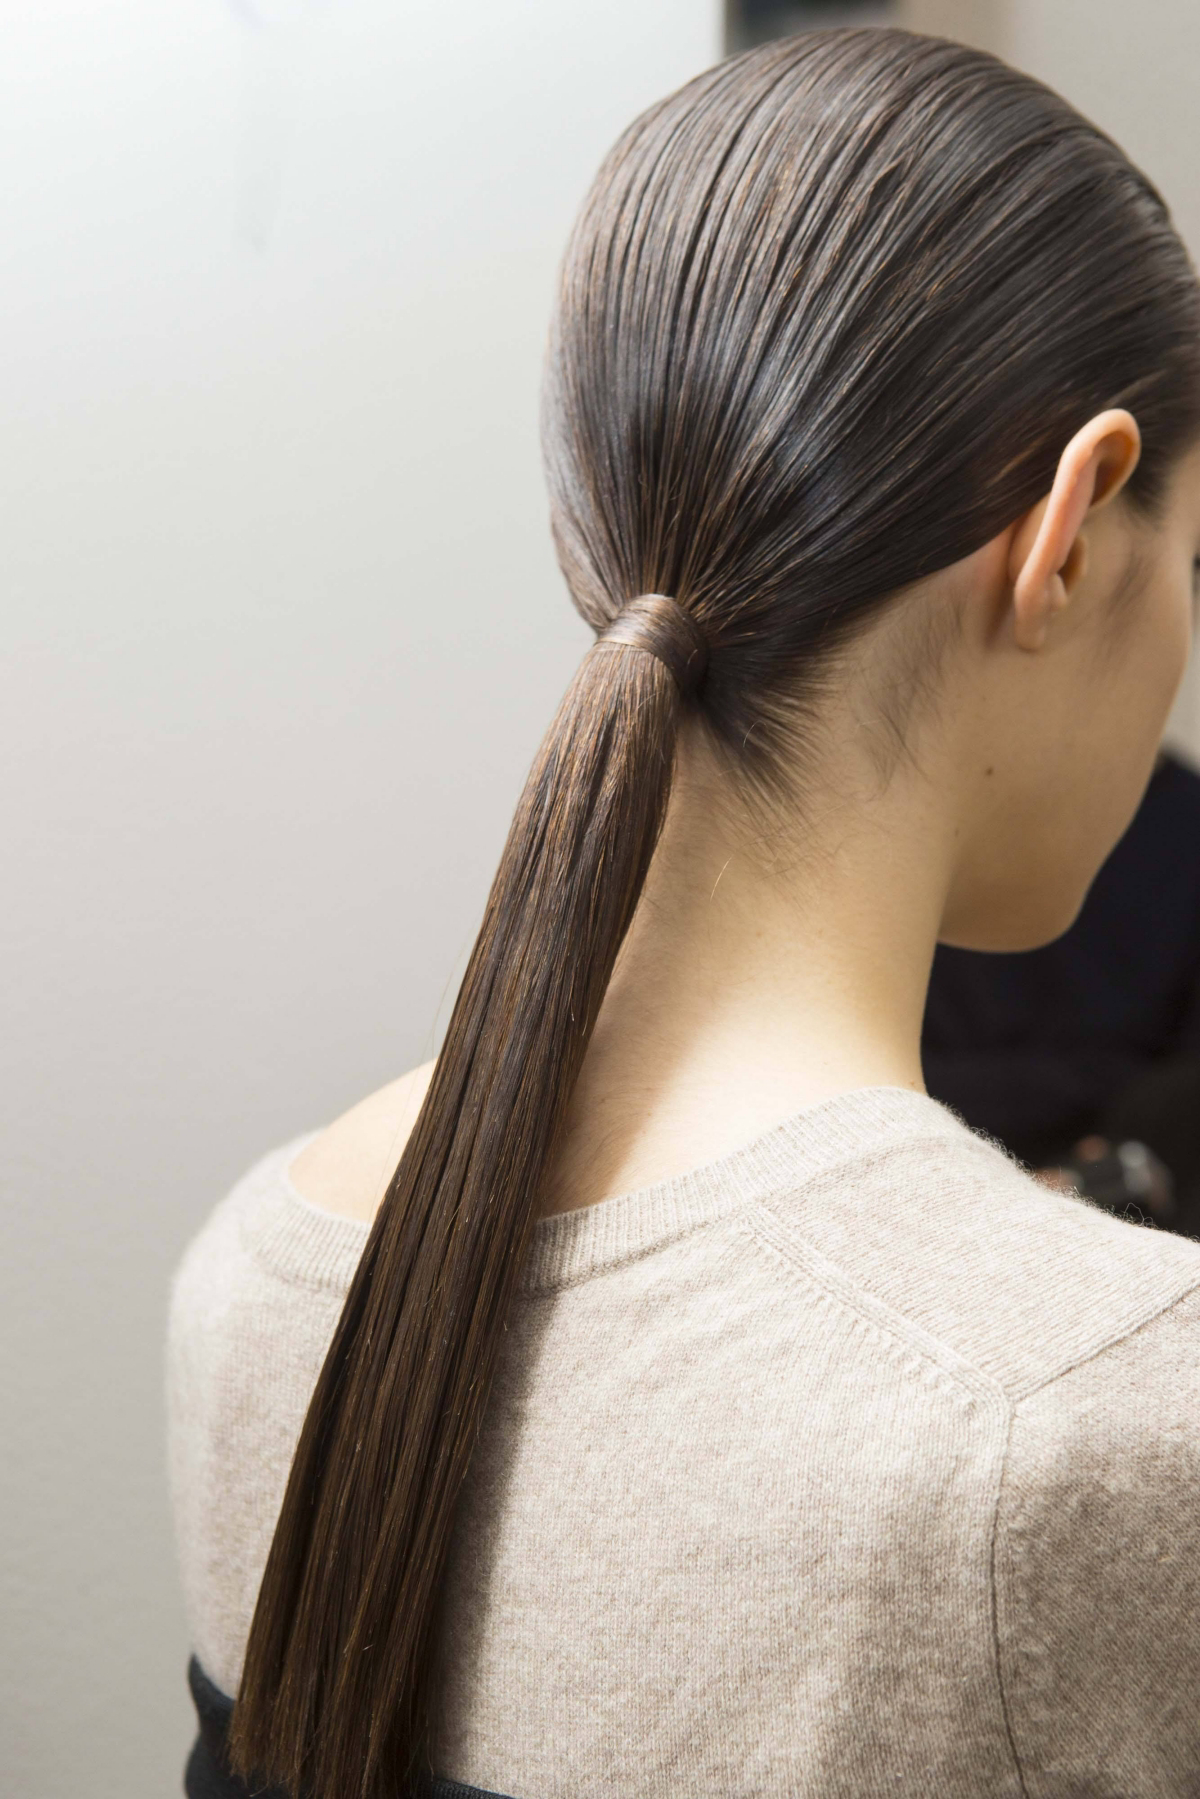
The Sleek, Glass-Hair Ponytail
This is all about a flawless, shiny finish. The key is product and heat. After you’ve created a super-smooth base, run a flat iron over the ponytail’s length to seal the cuticle. Follow up with a silicone serum (applied with your palms) and a mist of high-shine hairspray.
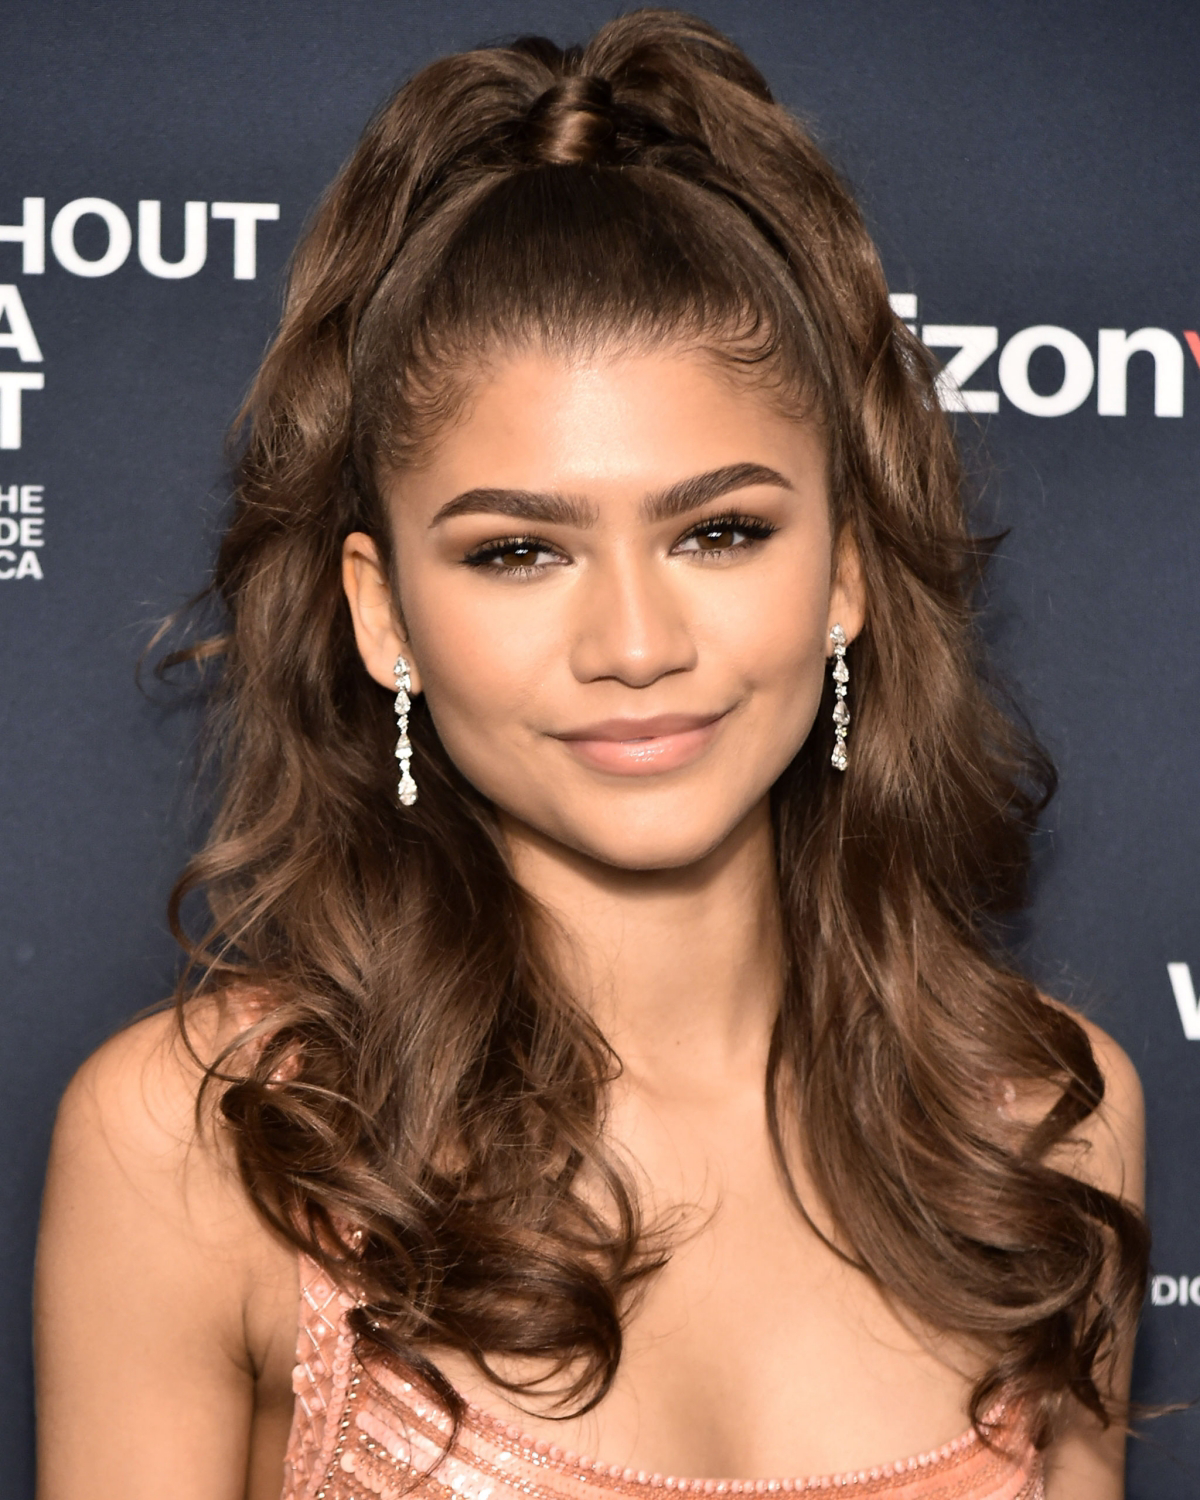
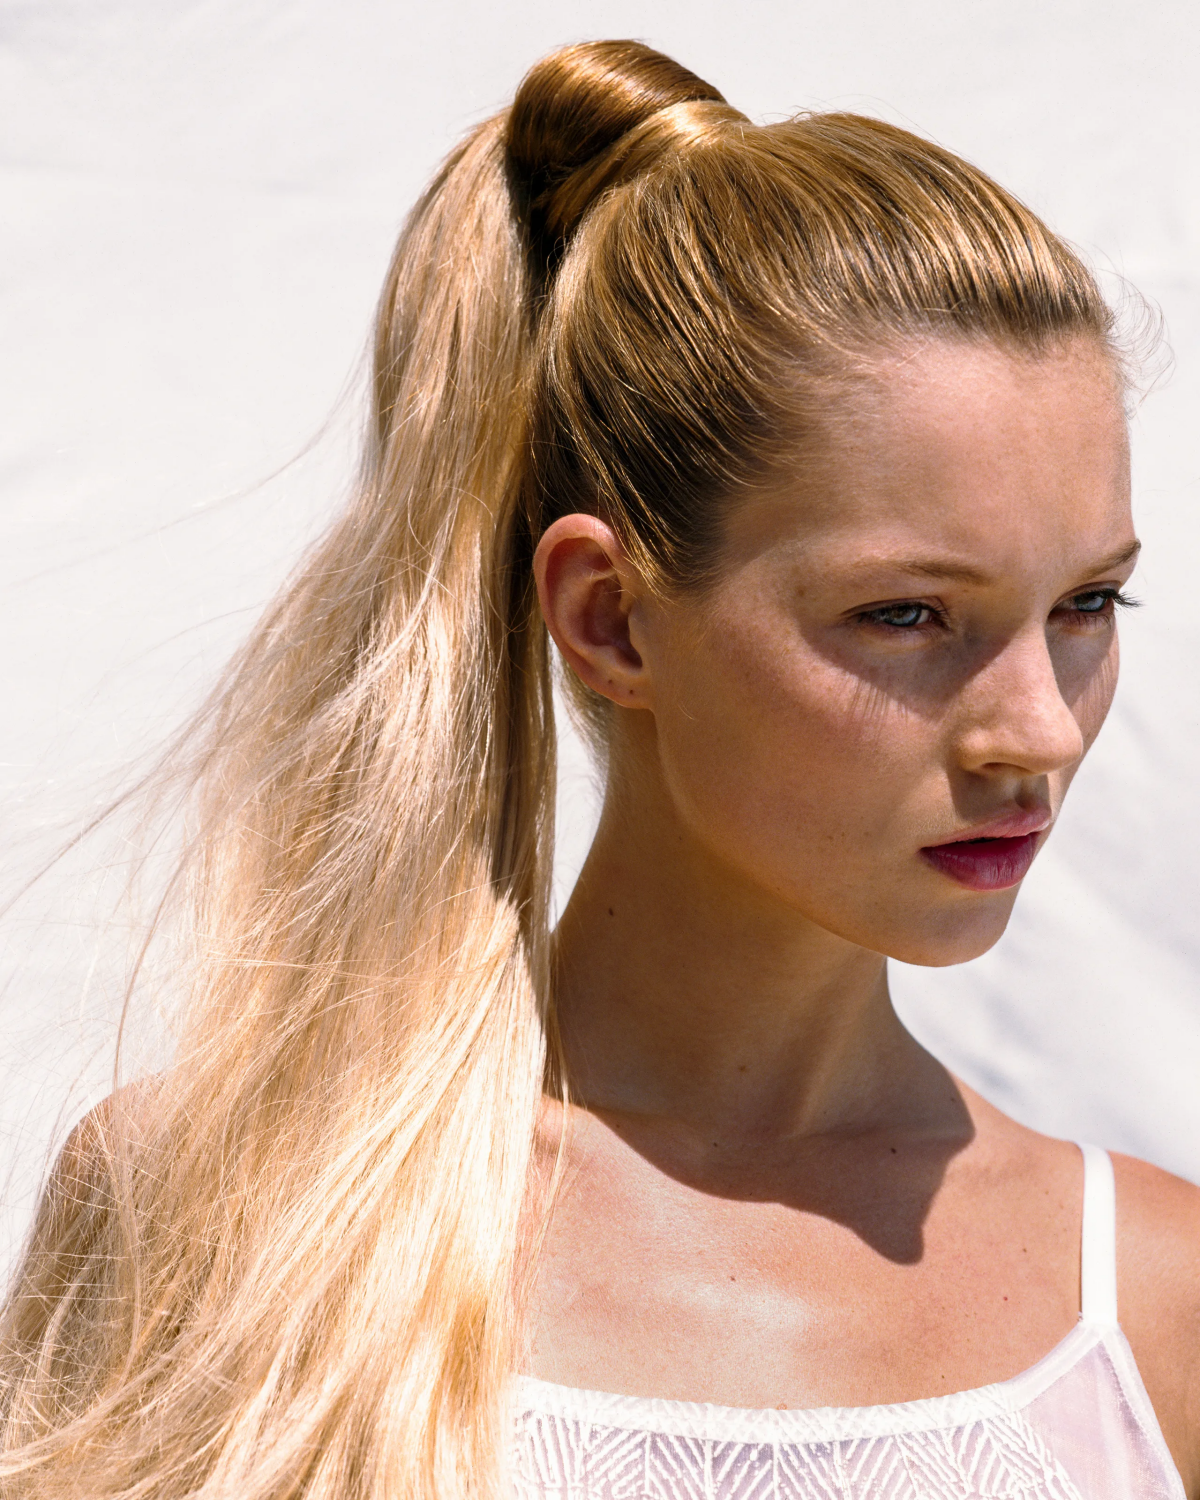
The High-Volume Ponytail
For this look, you need to build a cushion of volume at the crown before you gather your hair. Section off the top part of your hair and gently backcomb or tease the underneath layers at the root. Heads up! If teasing feels scary or you have fine hair, try spraying texturizing spray on the section first. It gives the comb something to grip, so you get volume without feeling like you’re creating a tangled mess. Then, gently smooth the top layer of hair over your teased section and gather it all into a high ponytail.
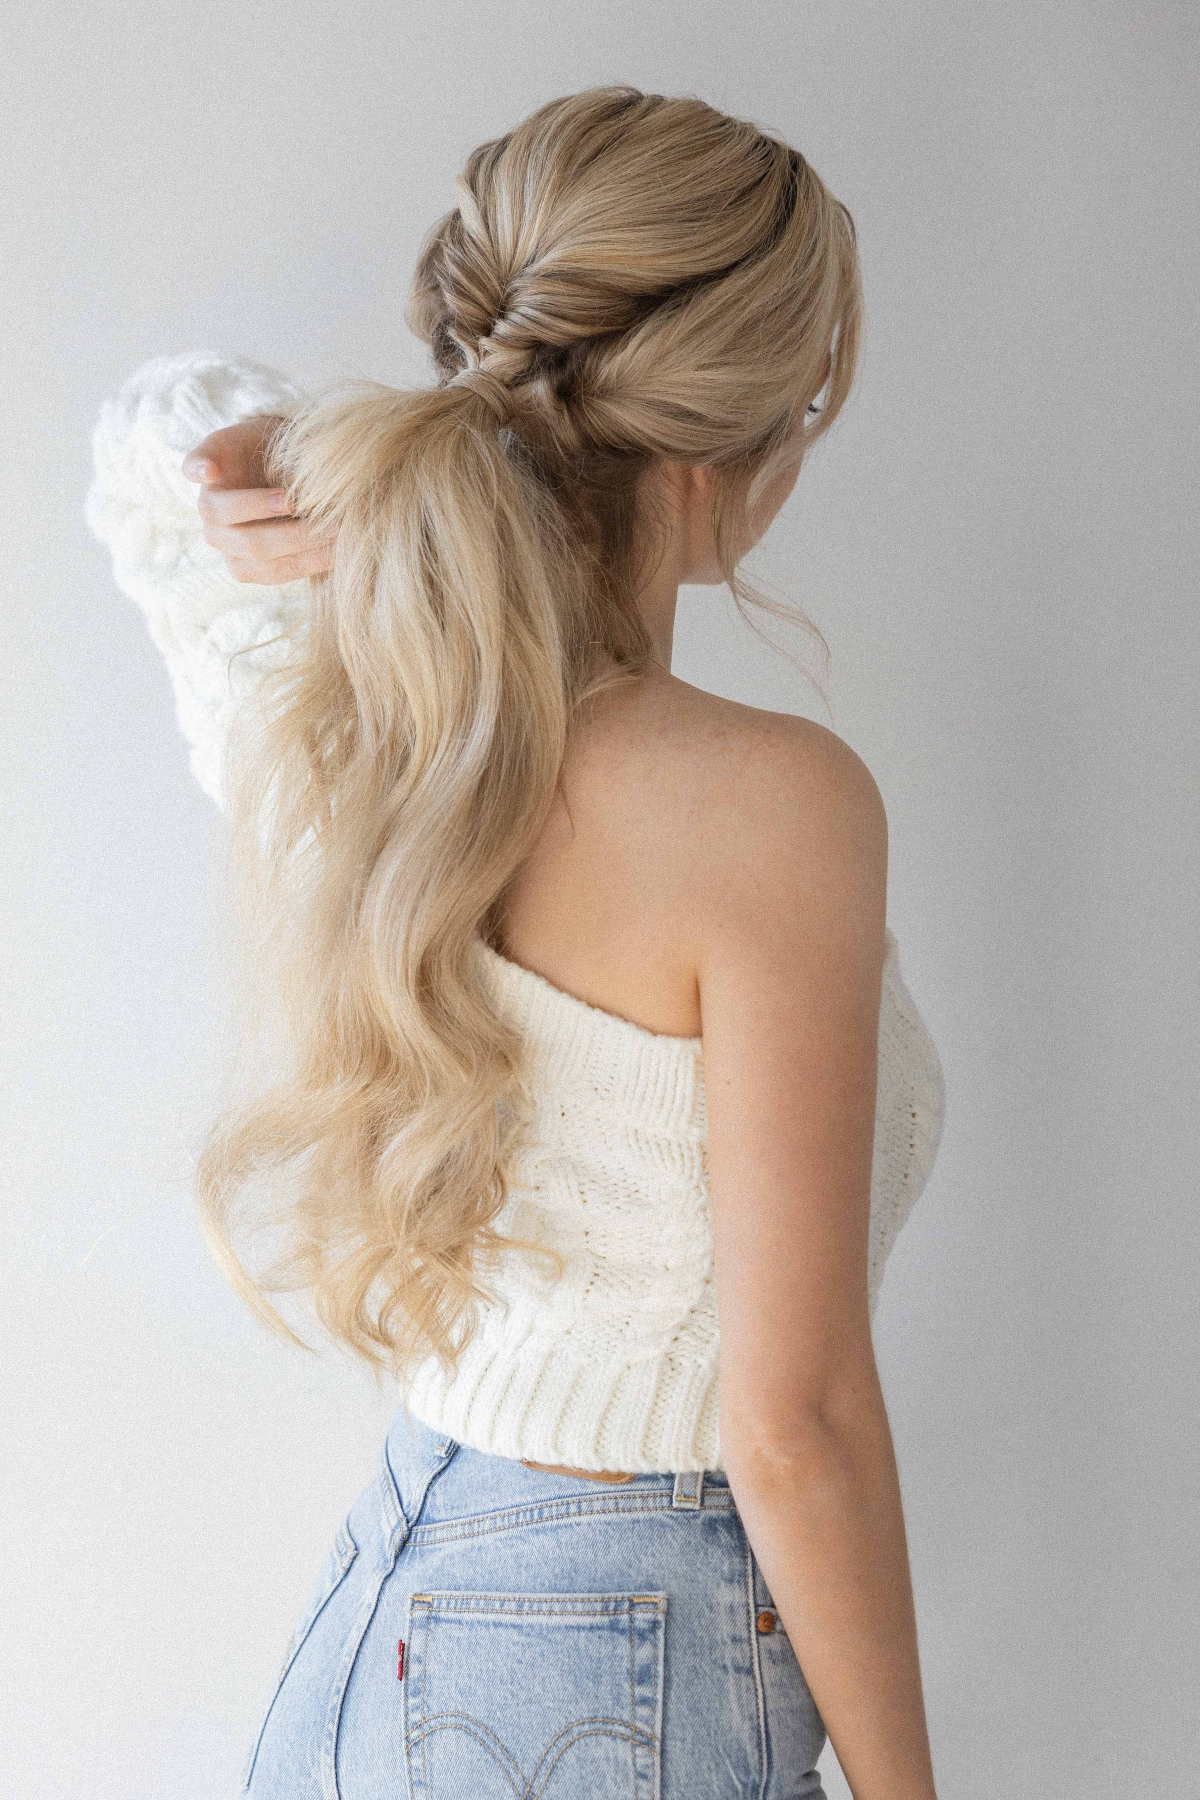
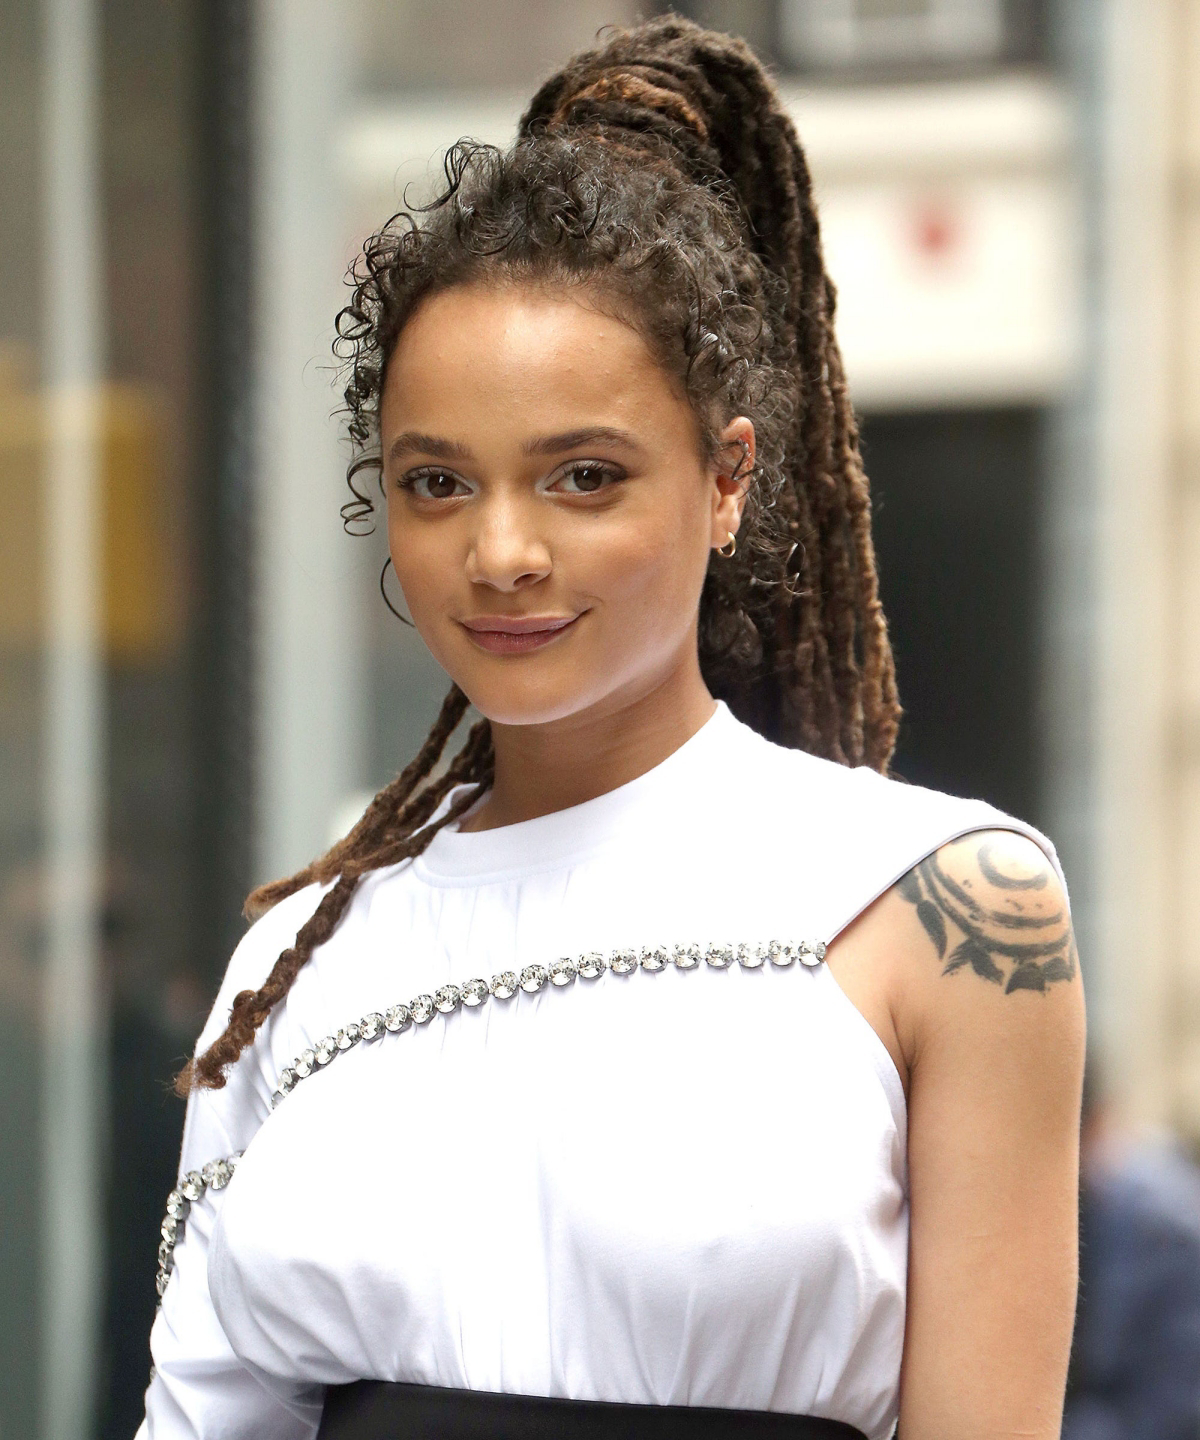
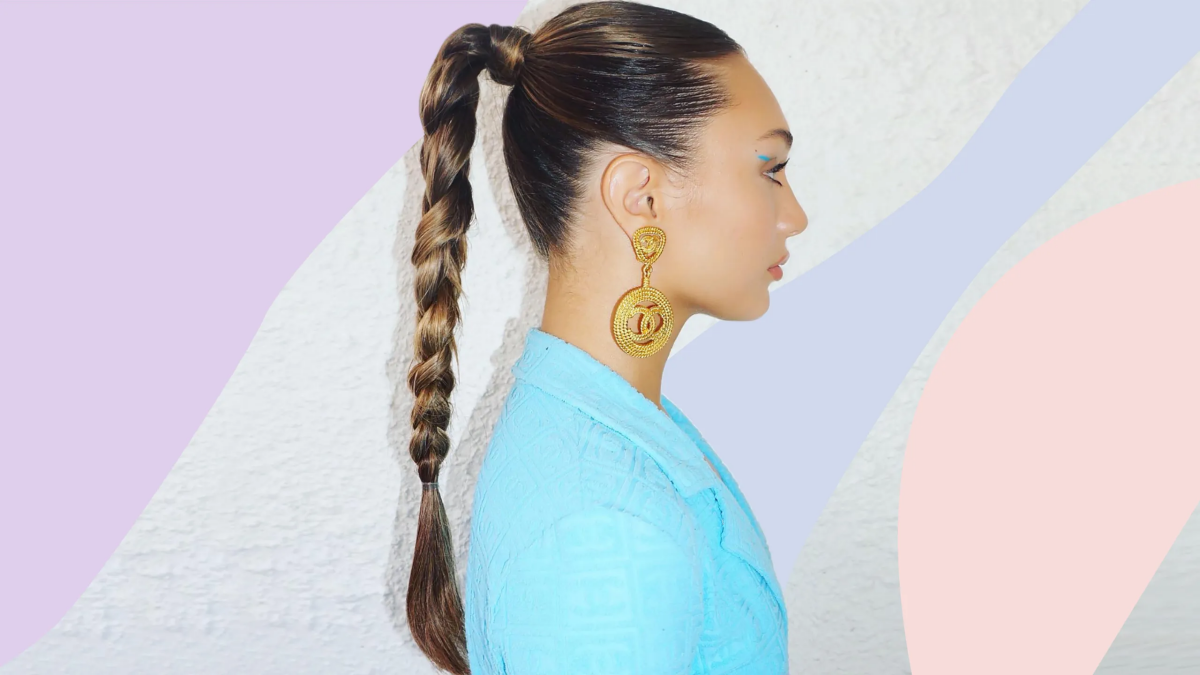
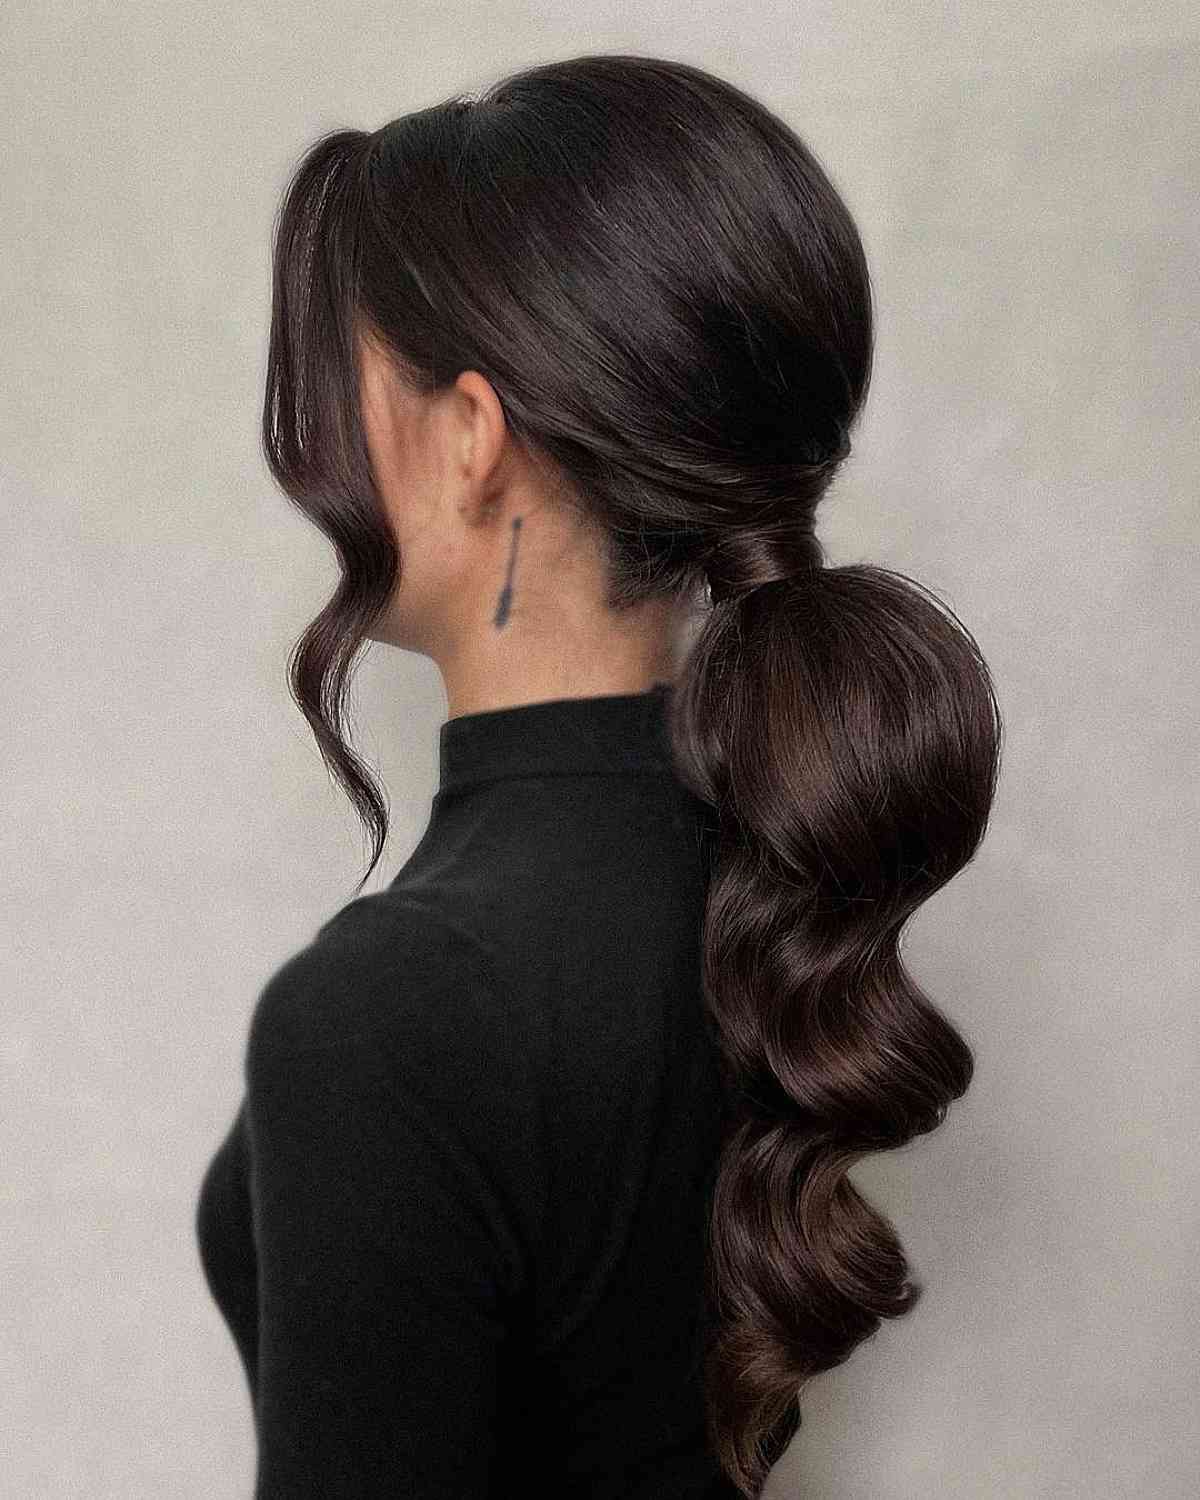
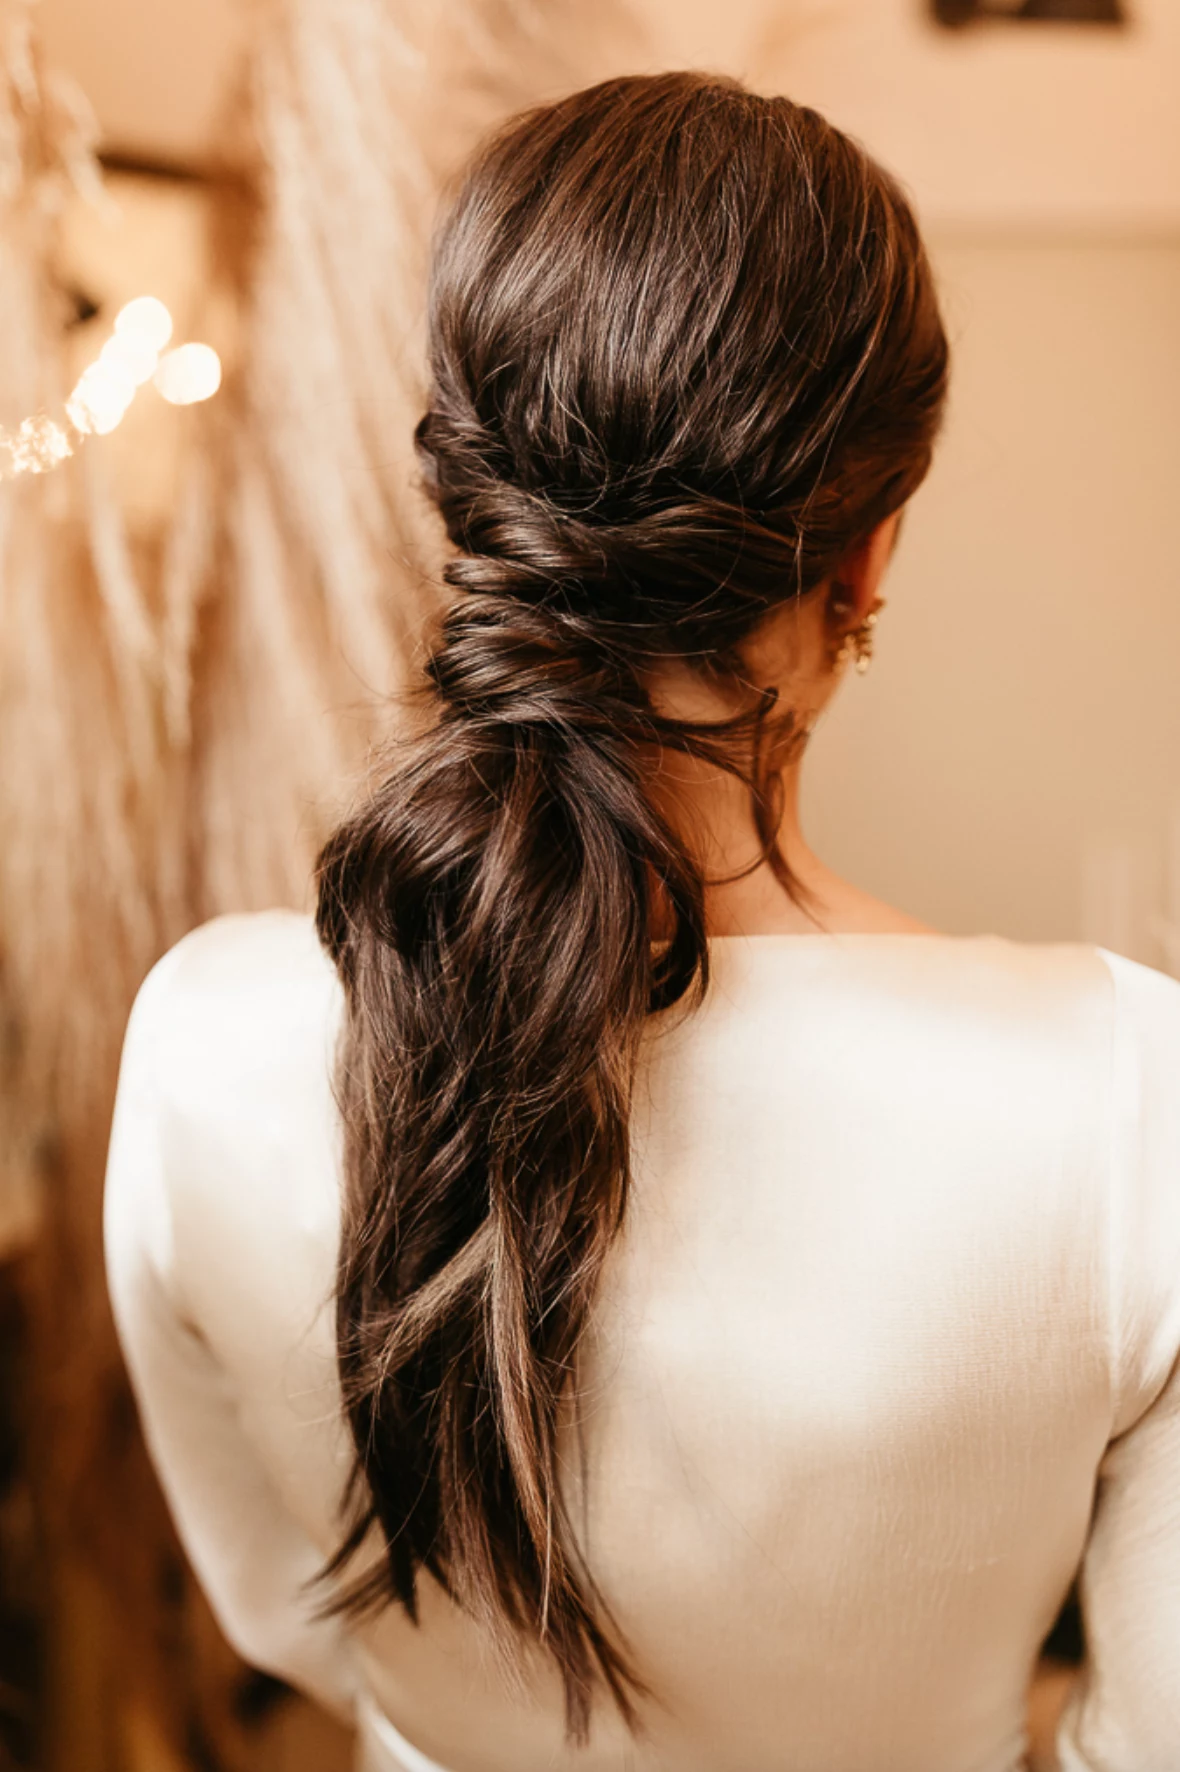
The Textured Wavy Ponytail
This is my favorite for a soft, romantic vibe. If your hair is straight, use a 1- to 1.5-inch curling wand to create loose waves, alternating the direction you wrap the hair for a more natural look. Once the ponytail is secured, gently pull on the sides to loosen it and give it some width. Pulling out a few face-framing tendrils is a must.
The Most Important Rule: Ponytail Health
I can’t say this enough: A cool style is never worth your hair’s health. My responsibility as a stylist isn’t just to make hair look good today, but to make sure it’s still healthy tomorrow.
I once had a client, a nurse, who came to me with significant thinning around her temples from wearing a tight bun every day for work. It was classic traction alopecia. We created a ‘hair schedule’ for her—Monday was a high, secure pony; Tuesday was a low, loose braid; Wednesday was hair down; Thursday was a mid-height pony, and so on. Just by varying the placement and giving her follicles a break, we saw a huge improvement in just a few months. It really works.
Your Healthy Ponytail Checklist
- Vary the Placement: High, low, mid, braids… mix it up! Don’t stress the same spot every day.
- Never Sleep in a Tight Pony: The tension plus friction from your pillow is a recipe for breakage. A loose braid or a silk bonnet is your best friend at night.
- Schedule Rest Days: Give your hair at least one or two days a week to be completely down and free.
- Be Gentle Taking It Down: Don’t just rip the elastic out. Carefully unwrap it, every single time.
The ponytail is a true classic for a reason. It’s versatile, elegant, and powerful. And when you do it with the right technique and a focus on health, it’s one of the best styles in your arsenal. Take care of your hair, and it’ll give you the confidence to rock any look you want. That’s the real secret.
Galerie d’inspiration
Standard Elastic Tie: Can create a single point of intense pressure, leading to that all-too-familiar ponytail headache and potential breakage upon removal.
Hair Bungee Cord: The professional’s secret weapon. It’s an elastic with hooks on each end. You hook one end into the base, wrap the cord around the ponytail to your desired tightness, and hook the other end in. Brands like Kitsch and Bunzee Bands make them accessible to everyone. The result is perfectly distributed tension and a hold that doesn’t slip, especially for very heavy or silky hair.
- Gives your hair instant body and a thicker appearance.
- Provides light, touchable grip so the style holds without slipping.
- Helps mask oily roots if you’re on day two or three.
The trick? It’s all in the prep. Before you even gather your hair, flip your head over and mist a dry texturizing spray from roots to ends. Products like Oribe’s Dry Texturizing Spray or the more affordable Batiste Texturizing Spray create the perfect foundation for a fuller, more robust ponytail.
According to a study published in the Journal of the American Academy of Dermatology, hairstyles that exert sustained tension on the scalp are a primary cause of traction alopecia.
This isn’t just a warning against overly elaborate styles. A daily, tight ponytail worn in the same spot can be enough to cause gradual thinning around the hairline. The best prevention is simple variation: alternate between high, low, and mid-height ponytails, and incorporate loose styles or days where you wear your hair down to give your follicles a rest.
Is your sleek ponytail leaving you with a sore scalp by the end of the day?
This often happens when the weight isn’t distributed correctly. A simple fix is the double-pony technique. First, section your hair horizontally at ear level. Create a small, half-up ponytail with the top section. Then, gather the remaining bottom section and merge it with the first ponytail, securing both together with a second hair tie. This creates an internal scaffold that lifts and supports the weight, preventing the painful pulling at the crown.


