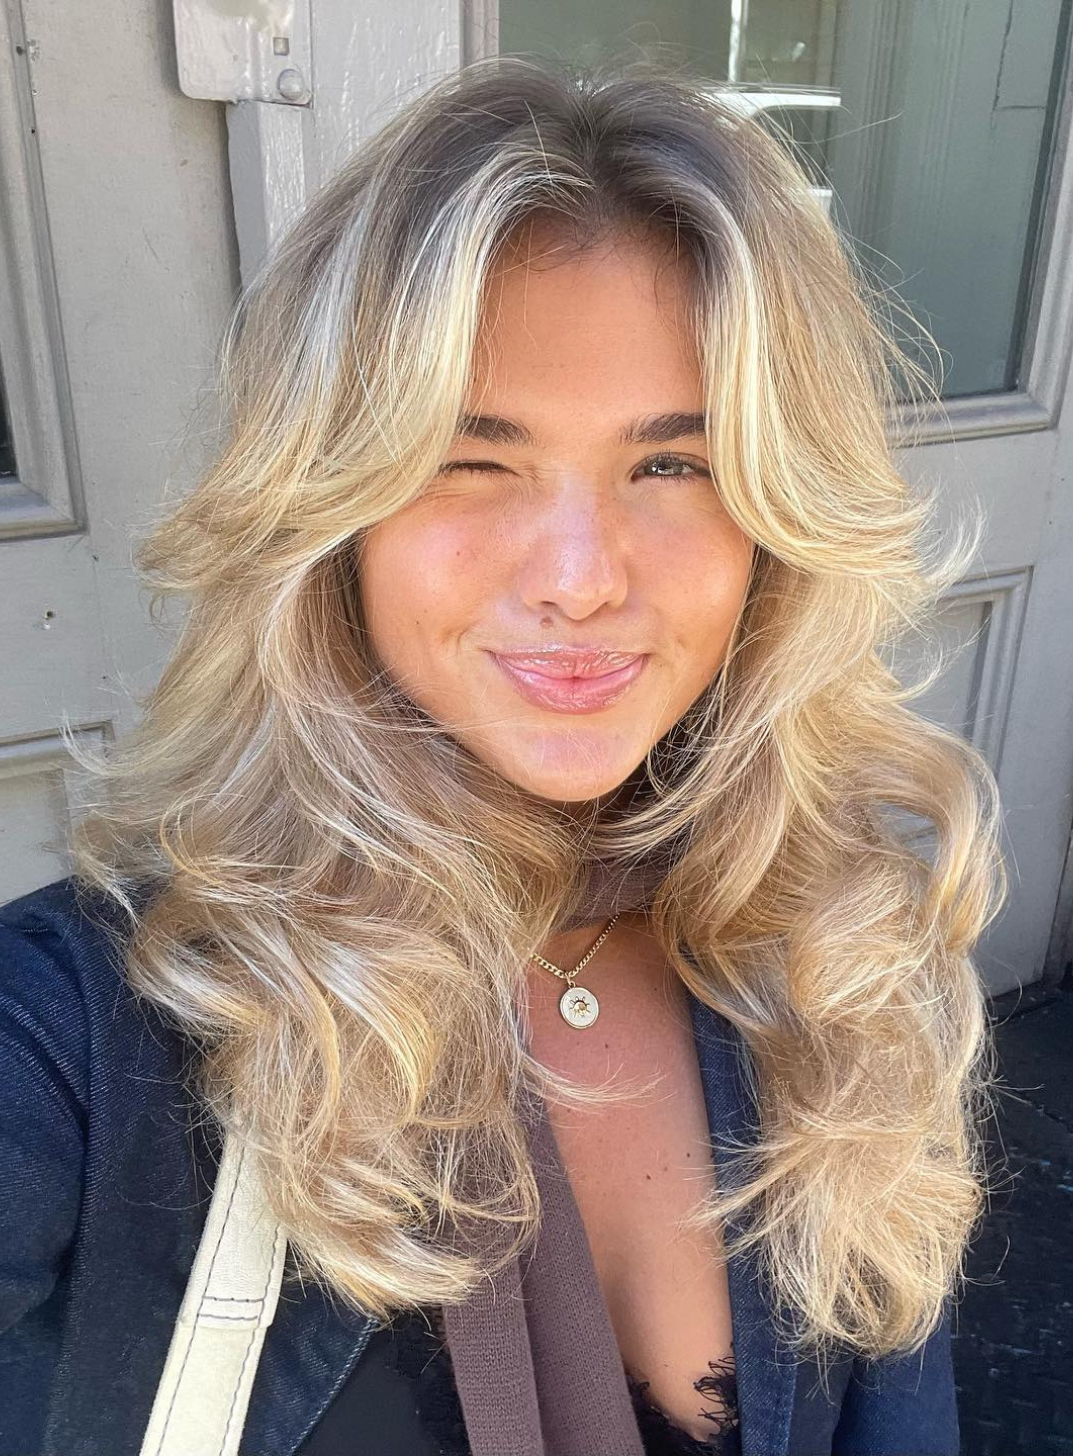
The At-Home Guide to That Big, Bouncy, Salon-Worthy Blowout
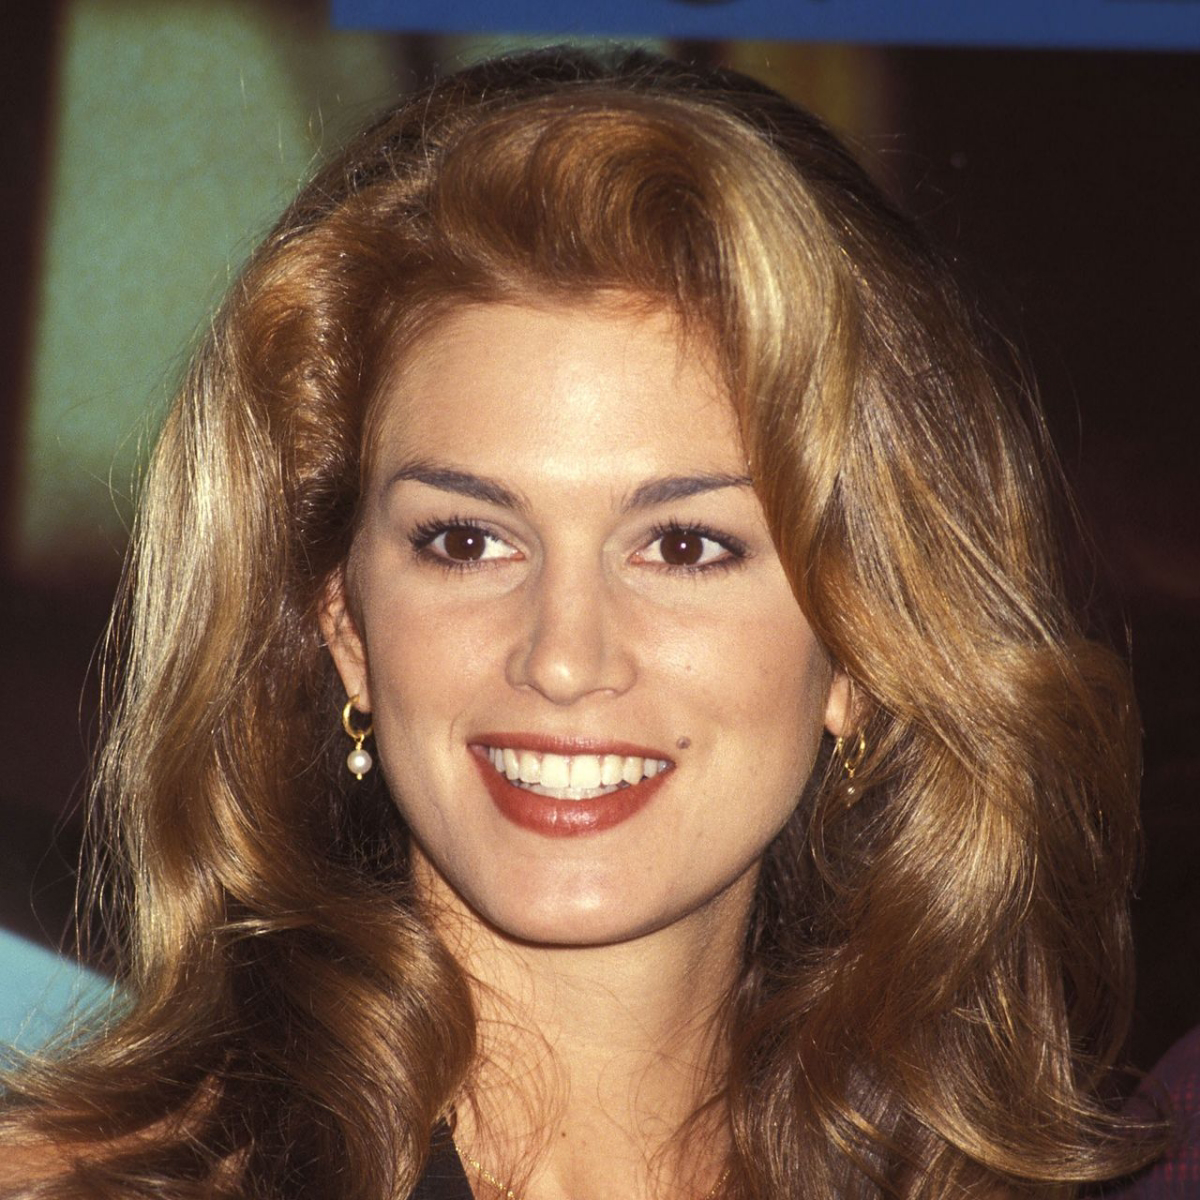
I’ve spent more years behind a salon chair than I can count, and let me tell you, some styles are just timeless. That gorgeous, full-of-life blowout with bouncy, curved-under ends? It’s a classic for a reason. Back in the day, it was the ultimate sign of a great haircut and an even better stylist. And today, it’s back in a big way.
In this article
But honestly, trying to get that same look at home can be… frustrating. You see photos of hair with incredible movement and volume, but your attempt ends up with flat roots, a bit of frizz, and curls that surrender within an hour. Sound familiar? It’s not you, I promise. You’re likely just missing a few key techniques that we pros learn and perfect over years. It’s not about magic; it’s about building a solid foundation, starting from the moment you step into the shower.
So, let’s break it down. I’m going to walk you through the professional method, no secrets held back. We’ll cover the tools that actually matter, the products that do the heavy lifting, and the step-by-step process that builds a style that lasts. This is a skill, and it definitely takes a little practice. But once you get the hang of it, you’ll be able to nail that beautiful, bouncy look all on your own.

First Things First: Prep is Everything
You can’t build a great house on a shaky foundation, right? Same goes for your hair. A stunning blowout doesn’t start with the dryer; it starts with the right cut and the right wash. Skipping this part is the #1 mistake I see people make.
Your Haircut is the Blueprint
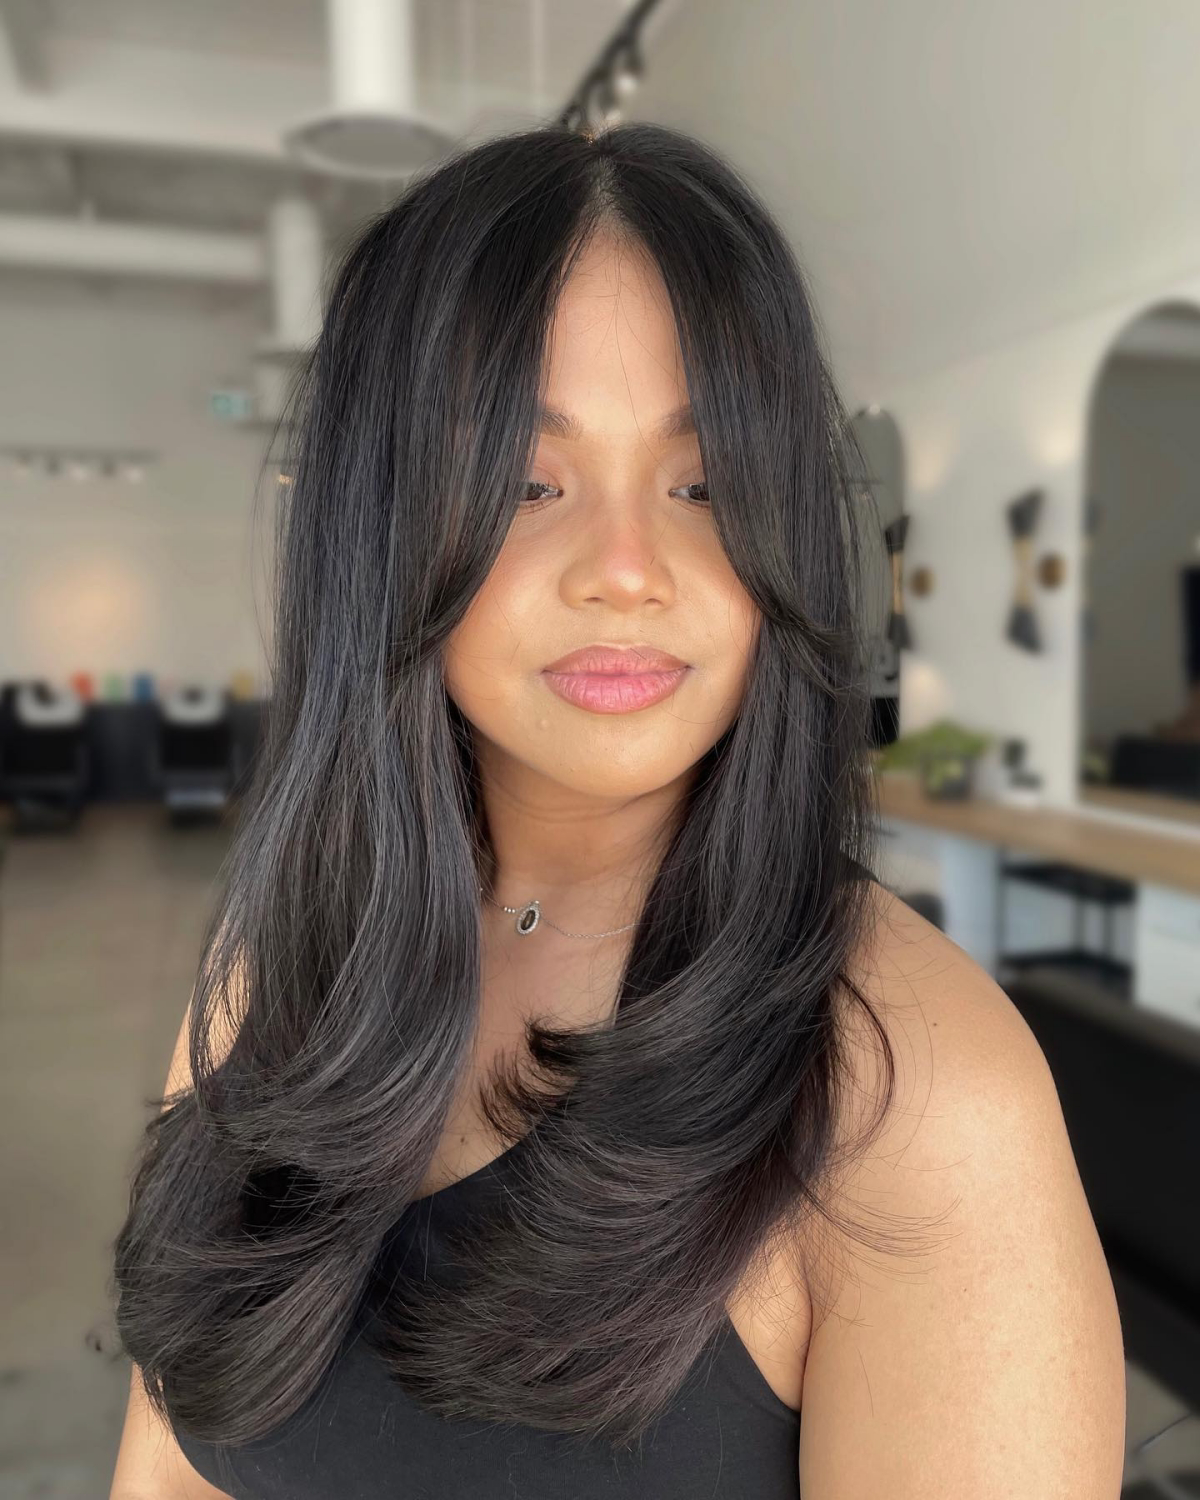
Let’s be direct here. This style really comes to life on hair with layers. If your hair is all one length, it’s heavy. All that weight will pull the volume right out of your roots and flatten the beautiful shape you just worked so hard to create. If you have thick hair and wonder why your style never holds, this might be why.
When you talk to your stylist, ask for “long, weight-removing layers” and “soft, face-framing pieces” that start around your chin or collarbone. Those shorter bits around the face are what create that signature, swoopy effect. A good cut does half the work for you by creating the scaffolding for all that volume.
Washing with a Purpose
How you wash your hair has a massive impact on your blowout. If your hair gets greasy or goes flat fast, you might be using conditioner wrong. Here’s the pro method:
- Shampoo Twice: Yep, twice. The first wash is like a pre-rinse—it breaks up the oil and product buildup. The second wash actually cleans your hair and scalp. A quarter-sized amount each time is plenty.
- Condition the Ends ONLY: Conditioner is your friend, but it’s heavy. Applying it to your roots will weigh them down and kill your volume before you even start. Work it through from your mid-lengths to the ends, where your hair is older and needs that moisture.
- Add a Clarifying Wash: Once a week or every couple of weeks, swap in a clarifying shampoo. Product, minerals from hard water, and daily grime can build up, leaving hair dull and heavy. A good clarifying treatment, which you can find from brands like Neutrogena or Paul Mitchell for under $15, gives you a clean slate so your hair can really respond to styling.
The Right Way to Towel Dry
Please, I’m begging you, stop rubbing your hair with a rough towel! When hair is wet, its outer protective layer is open and fragile. Rubbing it creates friction that leads to frizz and damage. I can literally feel the difference on a client’s hair.
Instead, gently squeeze the excess water out with your hands. Then, use a soft microfiber towel or even an old, clean t-shirt to gently blot and squeeze. Your goal is to get your hair about 60-70% dry before you even think about picking up a blow dryer. This saves you time and prevents a world of damage.
Why This Method Actually Works (A Little Hair Science)
Okay, stick with me for a second, because understanding the why will change your whole game. Your hair’s shape is controlled by internal bonds. The super strong ones can only be changed by chemicals (like perms), but the weaker ones, called hydrogen bonds, break every time they get wet.
When you wash your hair, you’ve broken all those bonds. As your hair dries, they reform into whatever shape the hair is in at that moment. This is the whole secret to a blowout! By using a brush and a dryer, you’re applying heat to make the hair flexible and using tension from the brush to hold it in a new, smooth, curved shape as it dries and those bonds lock back into place.
And here’s the most critical part that everyone skips: the cool-down. If you release a hot section of hair from the brush, it’s still soft and will go limp almost instantly. You HAVE to cool it down to lock the style. That “cool shot” button on your dryer? It’s not a gimmick. It’s arguably the most important button for a style that actually lasts.
The Tools You Actually Need
The right tools make all the difference. You don’t need a hundred gadgets, but a few quality items are non-negotiable. A good dryer and the right brushes will make your life so much easier.

Your Blow Dryer
That old dryer you’ve had forever probably isn’t doing you any favors. When you’re ready to upgrade, look for a few key things. A solid, reliable dryer will run you between $40 and $80 at places like Ulta or Target. Look for brands like Conair InfinitiPro or BaBylissPRO. If you want to go all-out on a pro model, expect to pay $150+ for something like a Dyson or Bio Ionic.
- Power: Look for at least 1875 watts. A powerful motor dries hair faster, which means less time under the heat.
- Multiple Settings: You need high/low options for both heat and speed. You don’t always need to blast your hair on high heat.
- A Concentrator Nozzle: This is that flat plastic attachment. DO NOT throw it away! It focuses the airflow for precision and smoothness. Without it, you’re just blowing air everywhere and creating frizz.
- The Cool Shot Button: We’ve covered this, but it’s essential. Make sure it’s easy to press while you’re working.

Round Brushes: The Real MVPs
The brush is what actually shapes your hair. The size and material are key to the final look.
- For Smoothness and Shine (Boar Bristle): These natural bristles are fantastic for creating tension. They grip the hair perfectly, smoothing the cuticle down for incredible shine. They’re a great choice for fine to medium hair.
- For Speed and Curl (Ceramic or Tourmaline): These brushes have metal barrels that heat up like a low-key curling iron. They hold heat from the dryer, which speeds up styling and sets a stronger, more defined curve. This is my go-to for thick, coarse, or stubborn hair. Many pro brushes now mix boar and nylon bristles on a ceramic barrel, giving you the best of both worlds.
Good to know: The barrel size determines your curl. For that classic bouncy look on shoulder-length or longer hair, a 2-inch barrel is your workhorse. A smaller barrel will give you a tighter curl, while a bigger one gives more gentle bend and volume. Expect to spend between $15 and $30 for a quality brush that will last.
Products: Your Style Insurance
Product isn’t optional; it’s what protects your hair and gives your style memory and hold.
- Heat Protectant: Non-negotiable. It creates a buffer between your hair and the heat. Spray it on damp hair from roots to ends. Tresemmé and Chi make great, affordable options.
- Volumizing Mousse: This is your key to all-over body. A golf-ball-sized amount of a product like L’Oréal’s Boost It Mousse, focused on the roots, will give you lift that lasts.
- Finishing Touches: After you’re done, a light-hold, flexible hairspray keeps the movement. A single dime-sized drop of shine serum, warmed up in your palms and smoothed over the ends, tames flyaways for that polished finish.
The Step-by-Step Professional Method
Alright, let’s do this. Heads up: Set aside a solid 45-60 minutes for your first few tries. The pros you see on social media can do this in 25 minutes, but you’re learning. Put on a good podcast and be patient with yourself!
Step 1: Pre-Dry & Section Your Hair
After applying your heat protectant and mousse, flip your head upside down and rough-dry your hair with just your hands until it’s about 80% dry. This gets most of the water out and builds in volume at the root for free. Then, section your hair. A classic four-quadrant section works best: part down the middle, then from ear to ear. Clip up each of the four sections.
By the way, here’s a Tired Arms Hack: Your shoulders will get sore! Do the back sections first, then take a 2-minute break before you tackle the front and top. Your body will thank you.
Step 2: Start at the Bottom
Always start at the nape of your neck and work your way up. Let down the first back section and take a 1- to 2-inch horizontal subsection (no wider than your brush). Place the round brush at the root, underneath the hair, and pull it taut. Aim the dryer (with the nozzle on!) downwards along the hair shaft. This makes the cuticle lie flat, which equals major shine.
Step 3: The Motion & The Cool Shot
Slowly glide the brush from root to tip, with the dryer following it. As you reach the ends, roll the brush under to create that signature ‘C’ shape. Once the section is fully dry and hot, pull the dryer away but KEEP the hair on the brush. Now, hit it with the cool shot for 5-10 seconds until the hair on the barrel feels cool to the touch. This locks everything in place.
Step 4: The Pin Curl Trick (For MAXIMUM Volume)
Gently unwind the hair from the brush. To make your style last all night, use the classic pin curl set trick. Once the section is hot, slide the brush out and, using two fingers, roll that warm hair up into a little curl, keeping the shape. Secure it against your scalp with a metal duckbill clip. It sounds fussy, but it’s the number one secret for bulletproof volume. Repeat this process, working your way up your head.
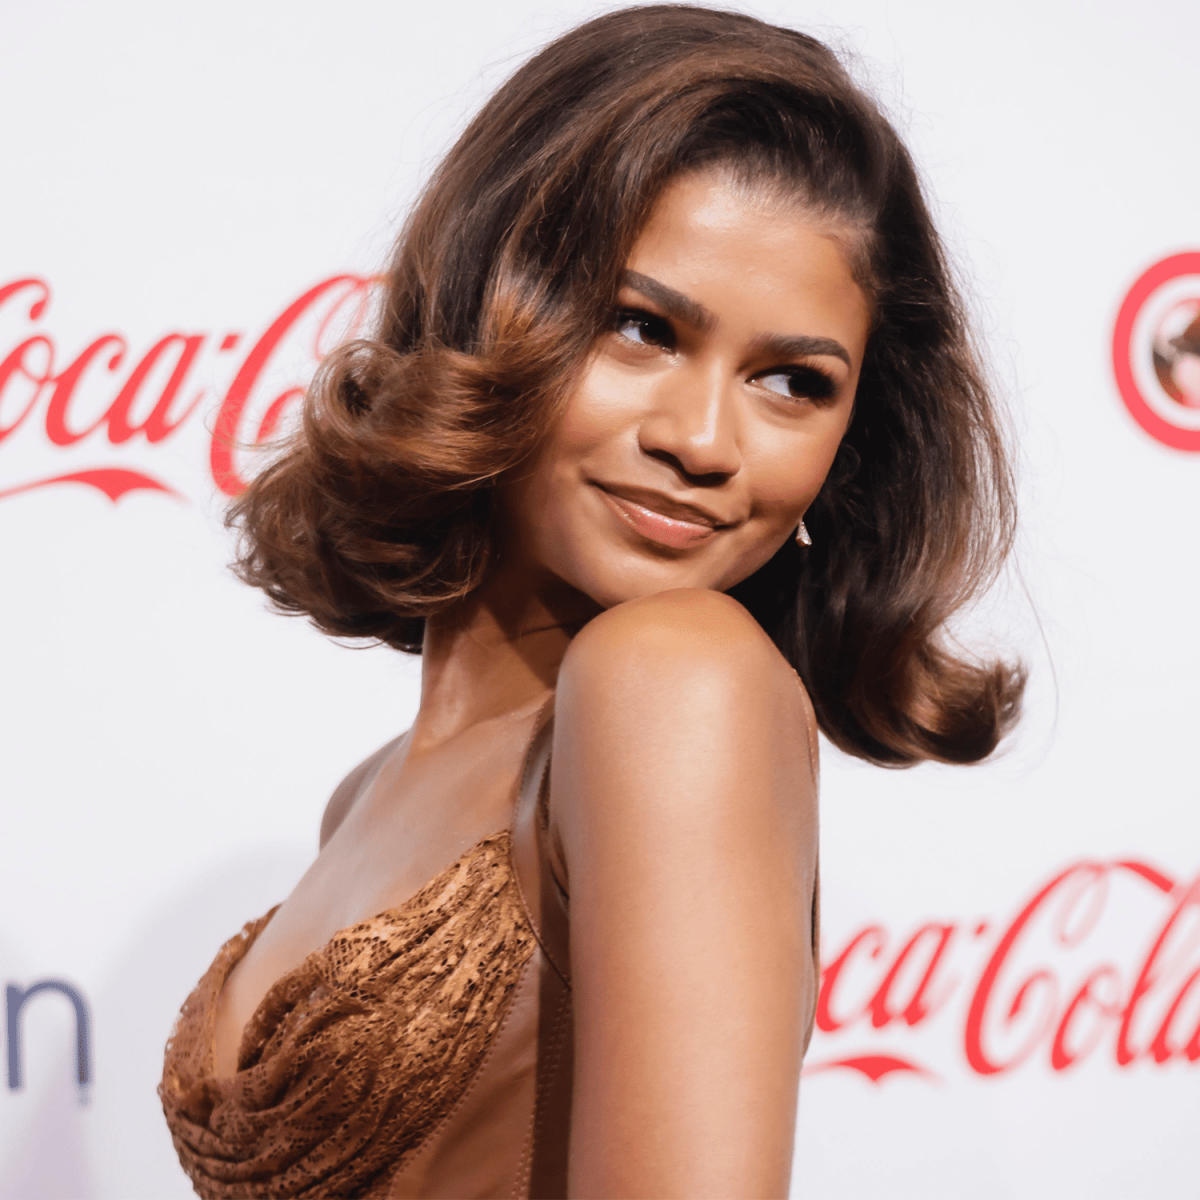
Step 5: The Crown & Face-Framing Pieces
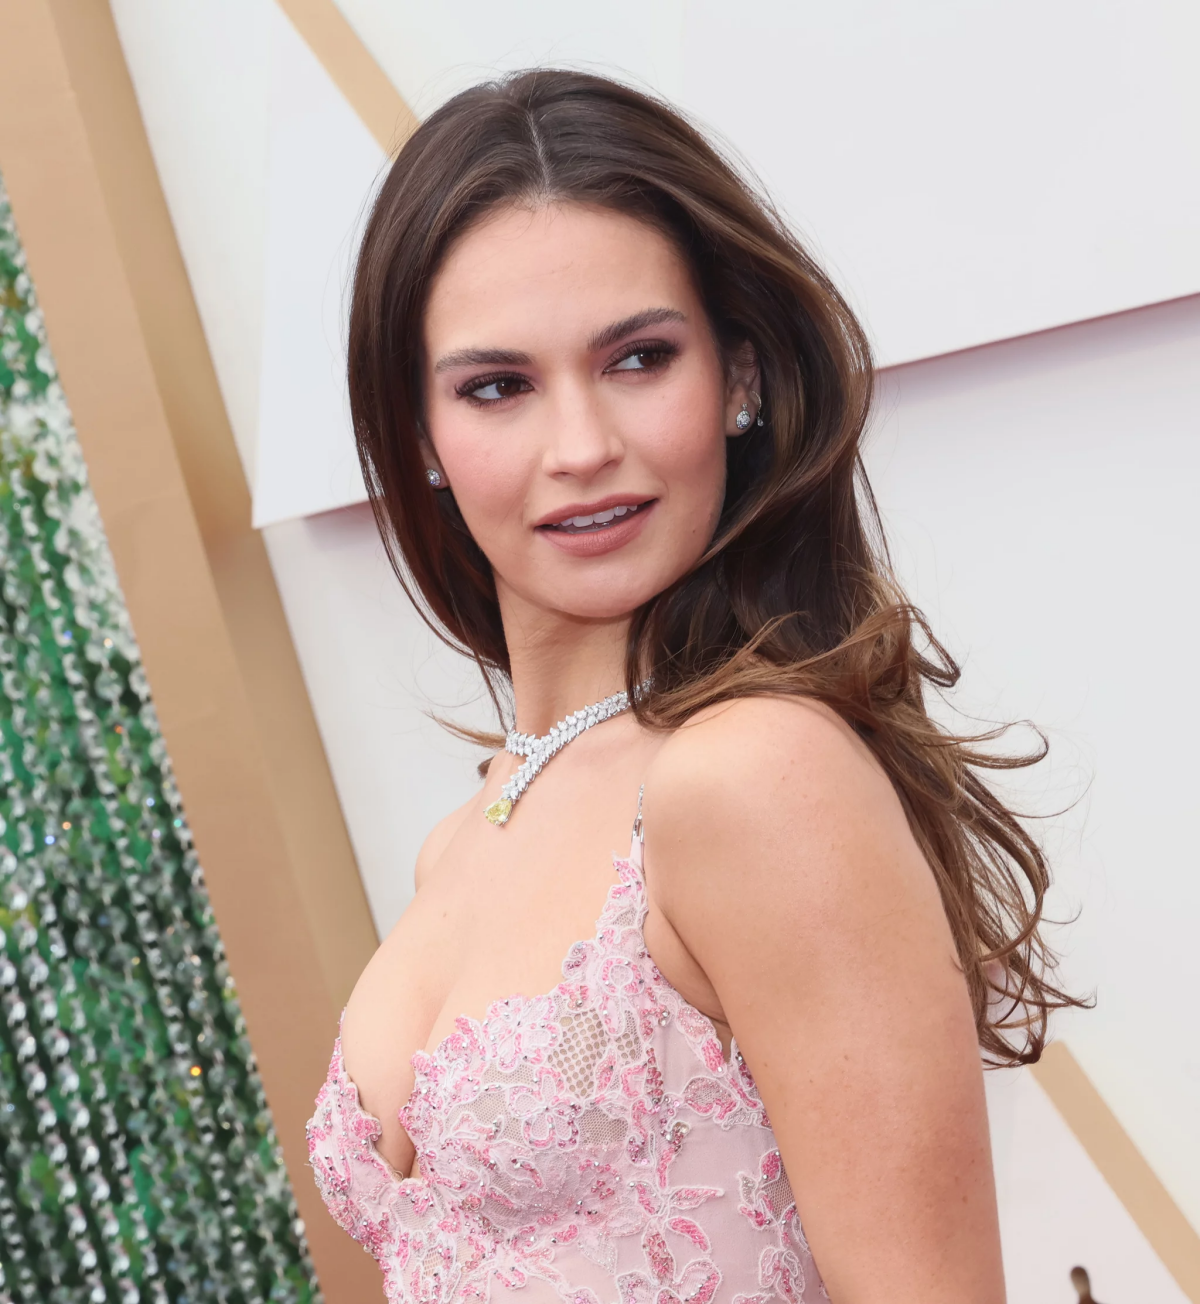
For that iconic volume on top, you need to pull the hair up and forward. Take a section from the crown, place the brush at the root, and pull it up toward the ceiling and slightly forward (over your forehead) as you dry. Hit it with the cool shot while it’s still held high. For the pieces around your face, roll the brush backwards and away from your face to get that soft, sweeping effect.
Step 6: The Finish
Once every section is cool, take out the clips. Gently rake through your hair with just your fingers to blend the sections. Using a brush now will just pull out the volume you worked so hard for! Flip your head over one last time and mist with a flexible-hold hairspray.
Troubleshooting Common Problems
It happens! Here’s how to fix the most common issues.
- It went flat immediately. Either your hair wasn’t 100% dry, you skipped the cool shot, or you didn’t use a hold product like mousse.
- My hair is a frizzy mess. You probably forgot the concentrator nozzle or aimed the dryer up instead of down the hair shaft. Tension is also key here—make sure you’re pulling the hair taut with the brush.
- Help! My hair is tangled in the brush! First, don’t panic and DON’T PULL. Turn off the dryer. Gently try to unwind the hair in the opposite direction you rolled it. If it’s really stuck, a tiny drop of hair serum or oil on the tangled spot can give it enough slip to come free.
How to Make Your Blowout Last for Days
You did all that work, let’s make it count! To preserve your style overnight, a silk or satin pillowcase is a game-changer because it reduces friction. You can also loosely gather your hair on the very top of your head in a “pineapple” with a gentle scrunchie.
For day two or three, dry shampoo is your best friend. Lift sections and spray it right at the roots to absorb oil and bring back some of the lift. You can even use your dryer on the cool setting to quickly blast the roots and revive the volume. Sometimes, all you need is to quickly re-smooth the front pieces with your round brush to look totally refreshed.
Galerie d’inspiration
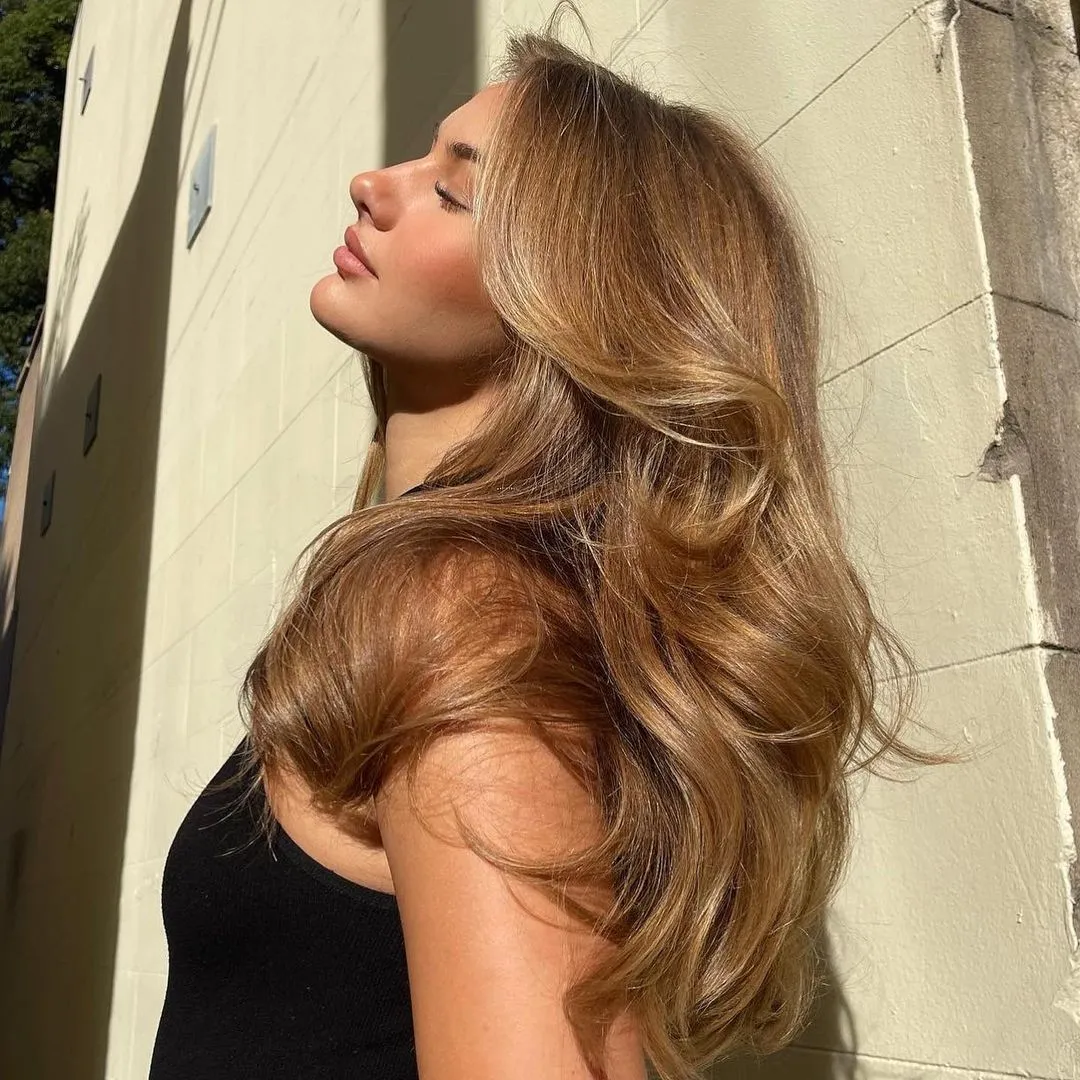
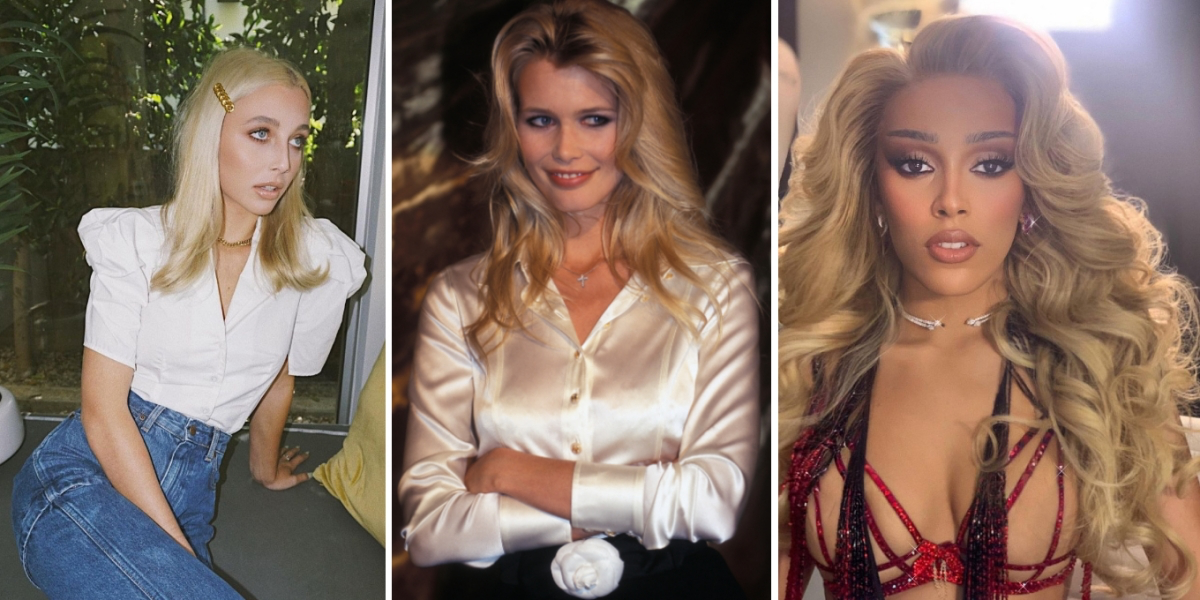
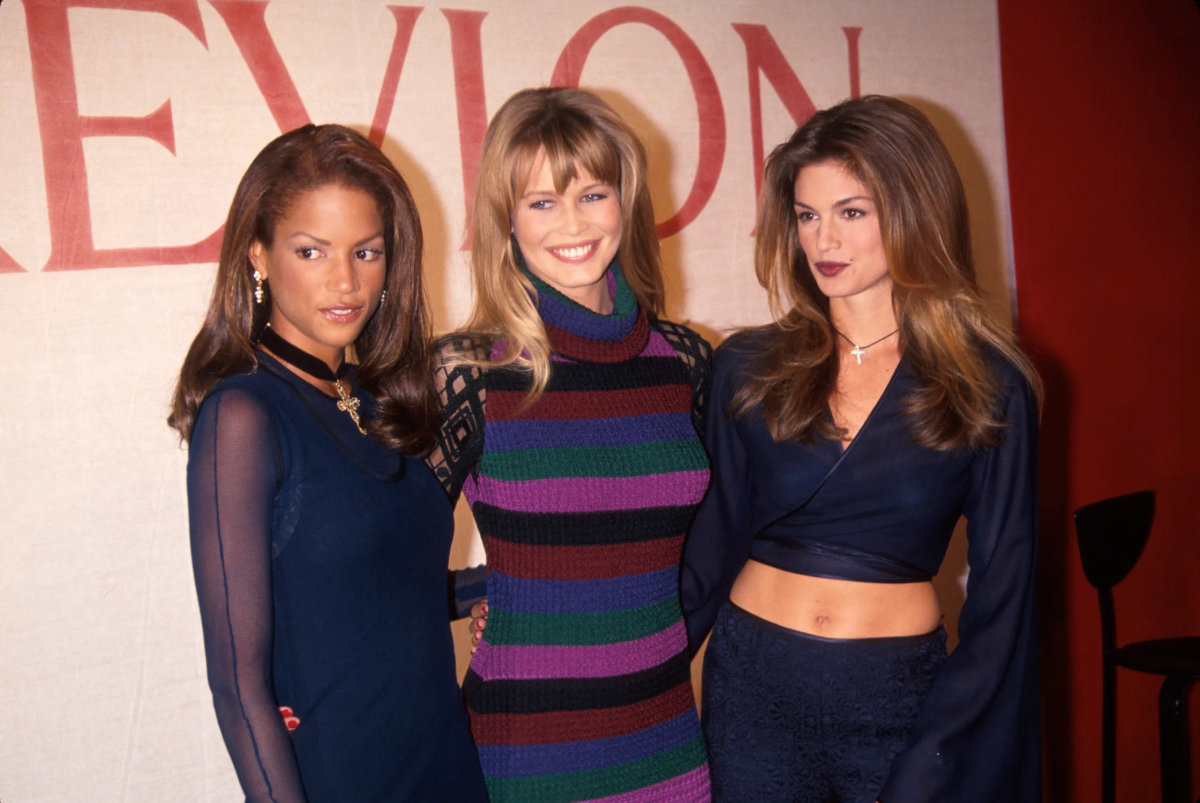
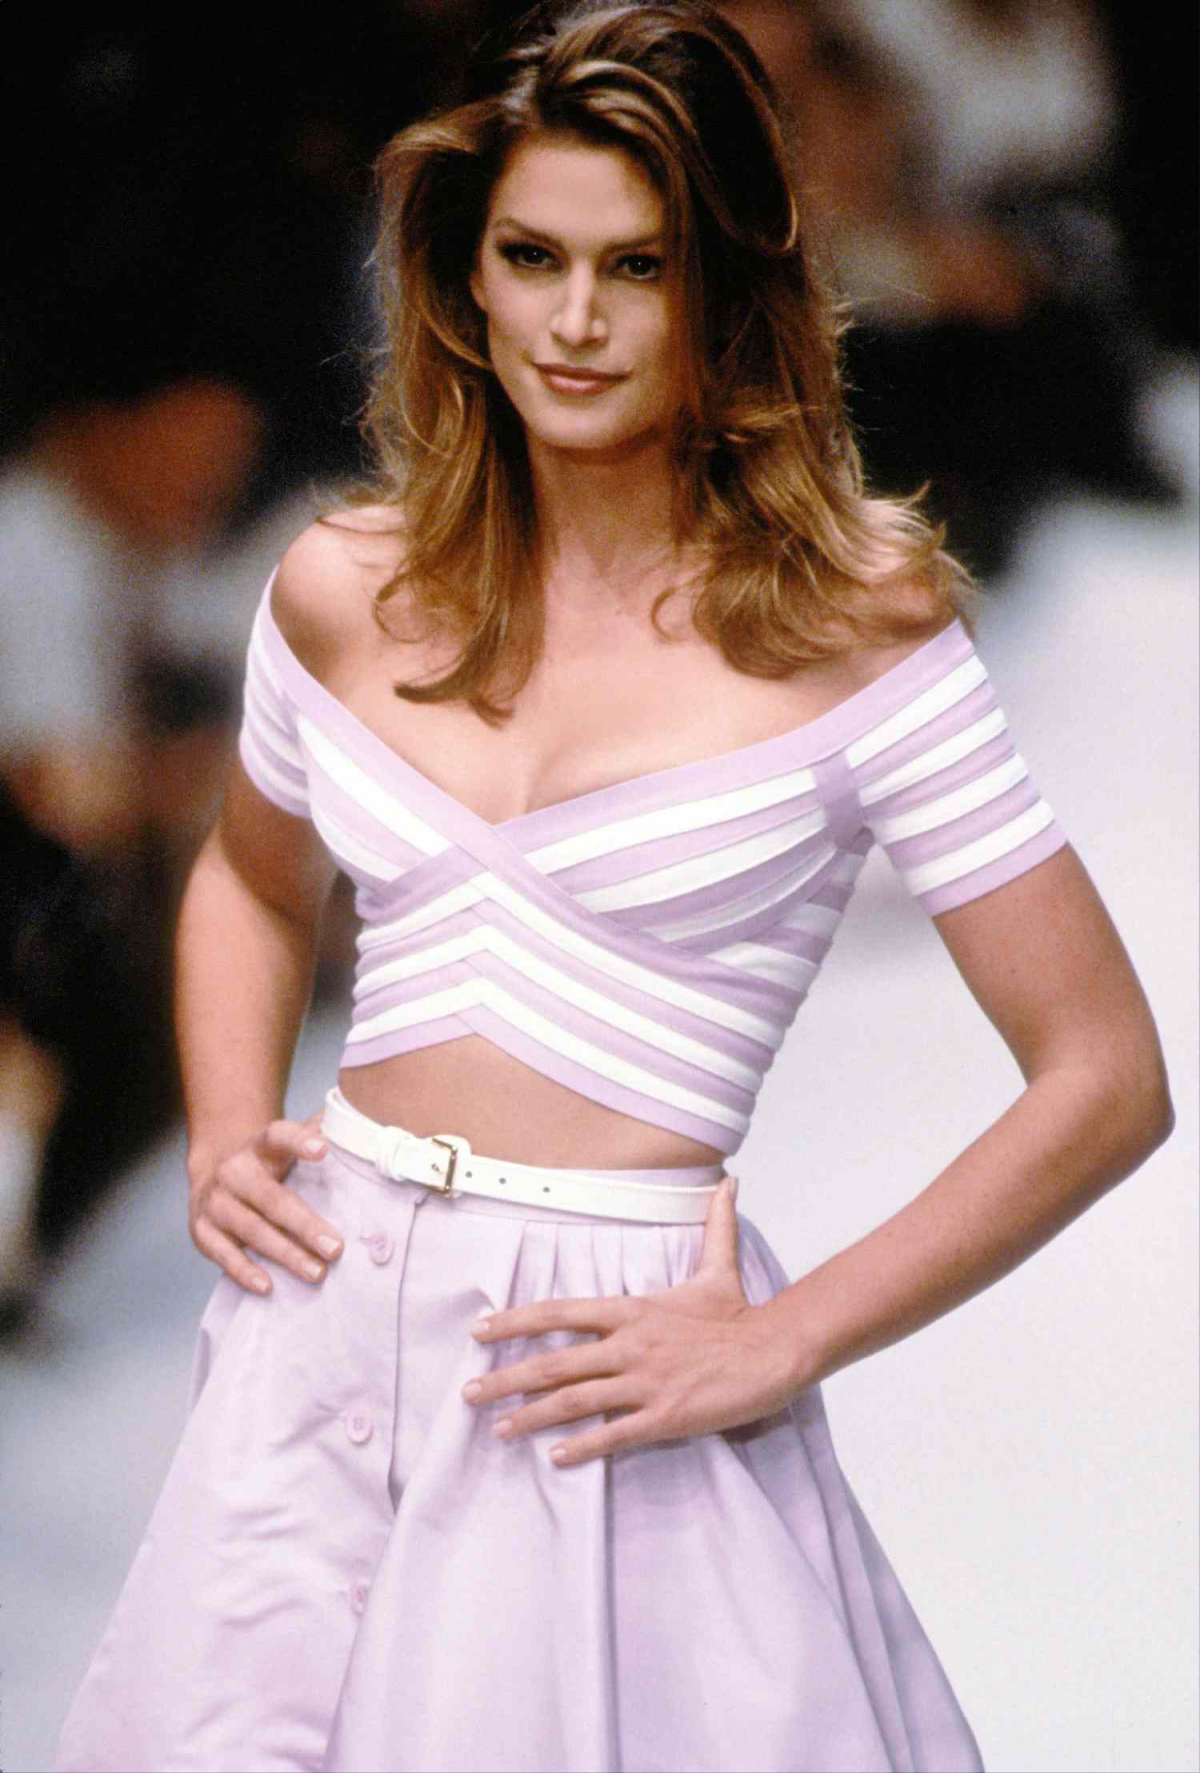
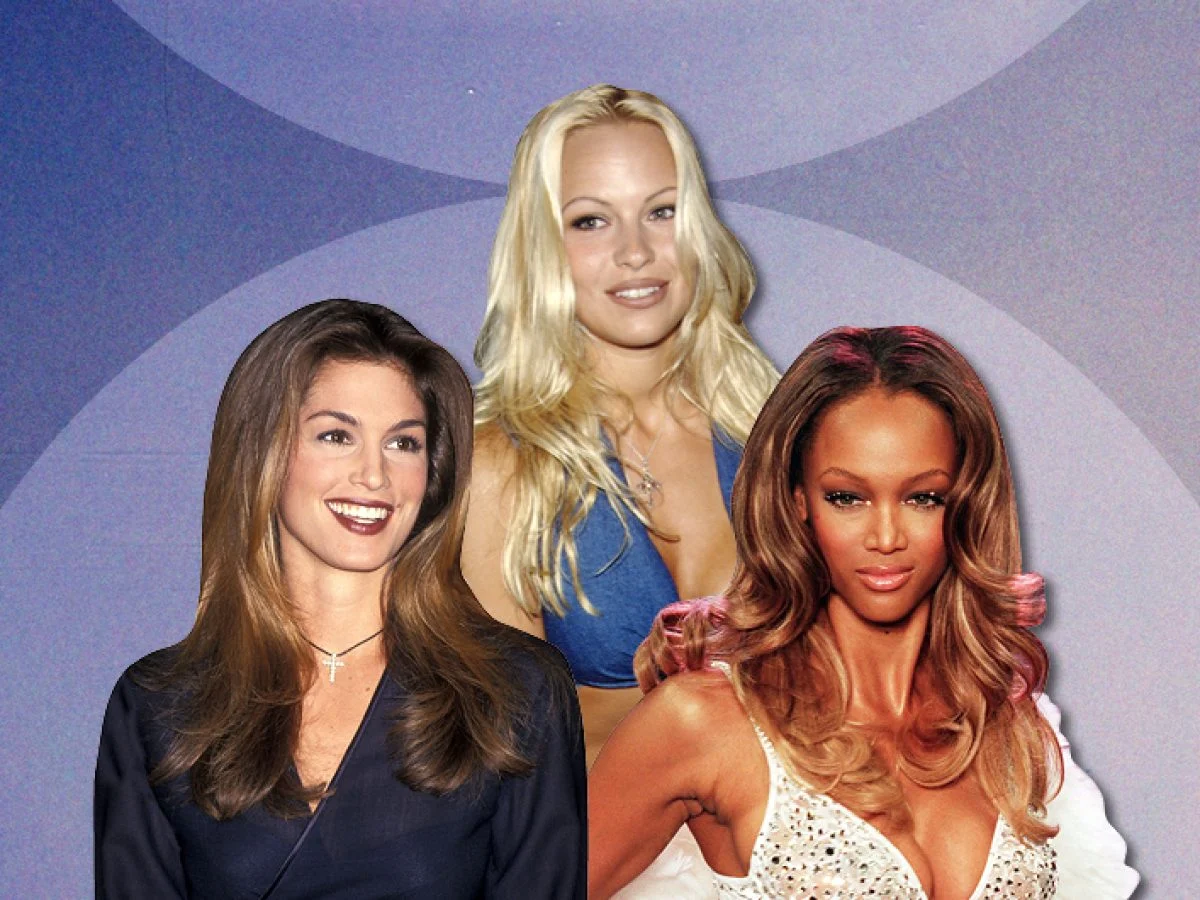
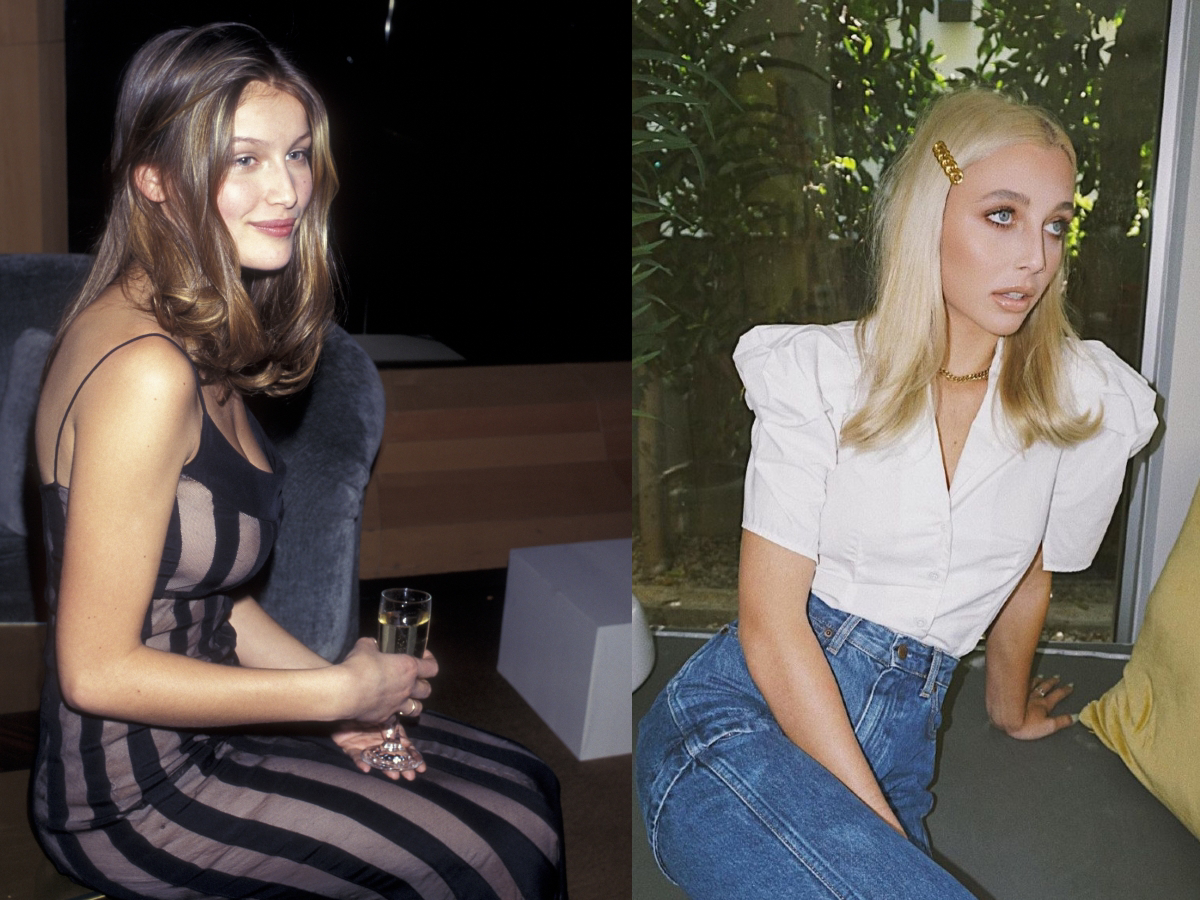
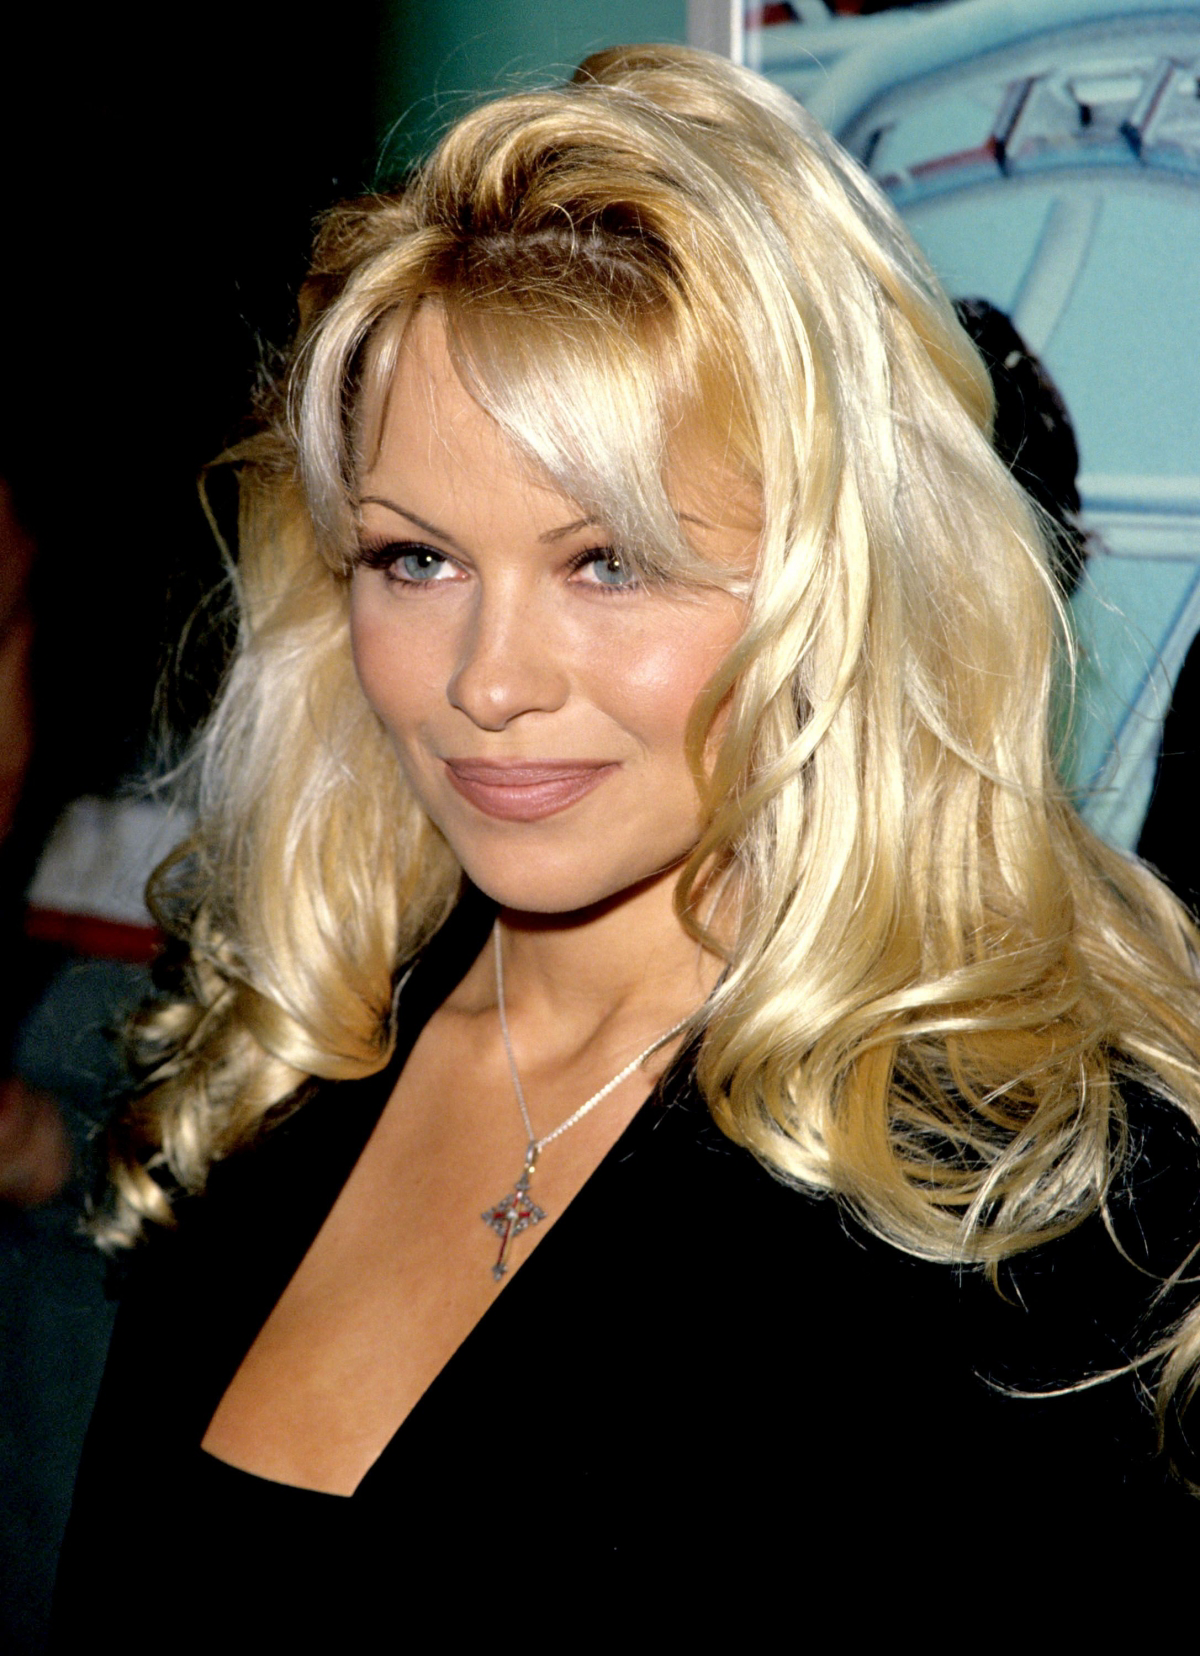
The ’90s supermodel blowout is more than a hairstyle; it’s an attitude. It’s about celebrating healthy, voluminous hair that has life and movement. – Celebrity Hairstylist, Chris Appleton
Why does my perfect blowout deflate before I even leave the house?
The secret isn’t just heat; it’s the cool-down. After you’ve shaped a section of hair around your round brush and blasted it with heat, don’t immediately release it. Hit the “cool shot” button on your dryer for 5-10 seconds. This sudden drop in temperature sets the hair cuticle in its new, curved shape, locking in both volume and bounce for hours longer. It’s the step most people skip, but it’s what gives a style its professional staying power.
The nozzle is non-negotiable: That flat plastic piece that came with your blow dryer? Use it! The concentrator nozzle is crucial for directing the airflow precisely down the hair shaft. This not only speeds up drying but also seals the hair cuticle, which dramatically reduces frizz and creates a polished, glossy finish. Without it, you’re just blowing hot air everywhere, creating chaos instead of control.
To truly nail that airy, ’90s volume, the right mousse is your best friend. Forget the crunchy, sticky formulas of the past. Modern volumizers are weightless. Apply a golf-ball-sized amount of a quality mousse, like Color Wow Xtra Large Bombshell Volumizer or L’Oréal Professionnel Tecni.ART Full Volume Extra, to your damp roots before you even think about picking up the dryer. It provides the memory and structure your roots need to stand tall.

Dyson Supersonic: Famous for its powerful digital motor and intelligent heat control that prevents extreme heat damage. It’s lightweight, quiet, and dries hair incredibly fast. A true luxury investment for hair health.
Revlon One-Step Volumizer PLUS: A cult classic for a reason. This hair dryer brush combines drying and styling into one easy step, making it fantastic for beginners. It excels at creating root lift and smooth, curved ends, perfectly mimicking the blowout shape with less coordination required. A budget-friendly powerhouse for achieving the look.
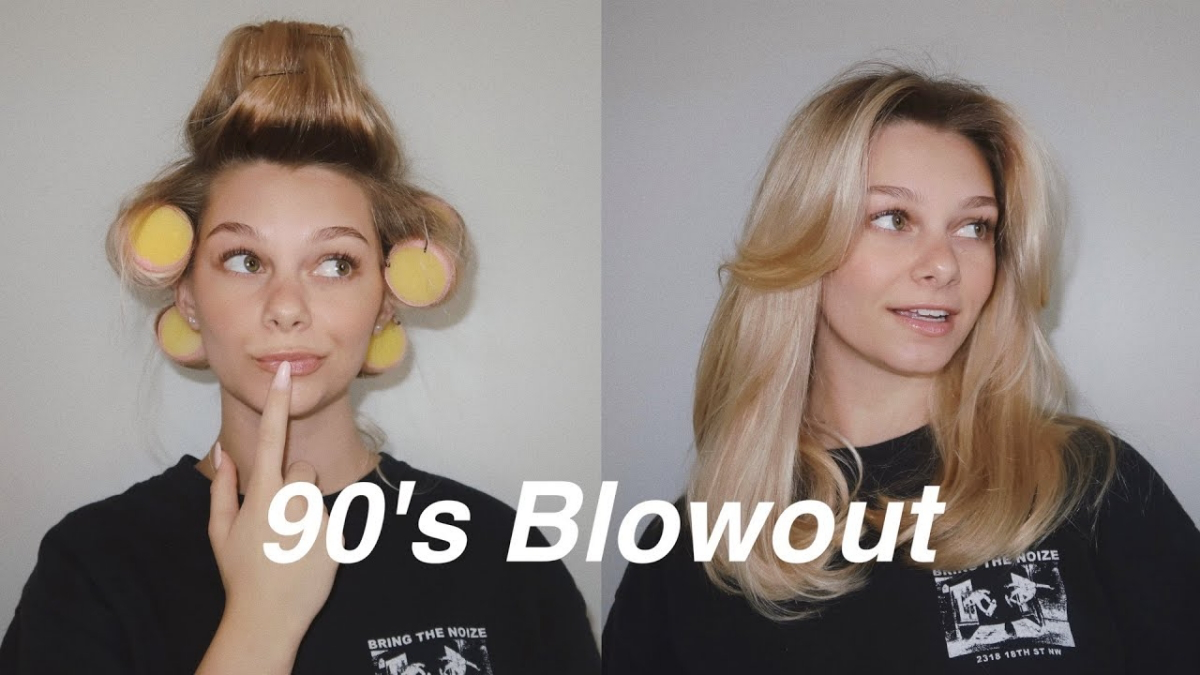
Once your hair is about 90% dry, give your blowout a professional boost with velcro rollers. They are the secret to that lasting, bouncy curve.
- While the hair is still warm from the blow dryer, wrap a 2-inch section around a large velcro roller, starting from the ends and rolling up to the root.
- Focus on the top sections of your head (the “mohawk” section) and the pieces framing your face.
- Let them sit and cool completely for at least 15-20 minutes. The longer they stay in, the more volume and shape you’ll get!
A survey revealed that nearly 40% of people rarely or never use a heat protectant when styling their hair.
This is a critical misstep for achieving a salon-worthy blowout. Heat protectants do more than just shield from damage; products like Kérastase’s Genesis Defense Thermique also contain polymers that help to smooth the cuticle and often provide light hold, contributing to a silkier, more durable final result. It’s your first line of defense and a key player in the quest for shine.
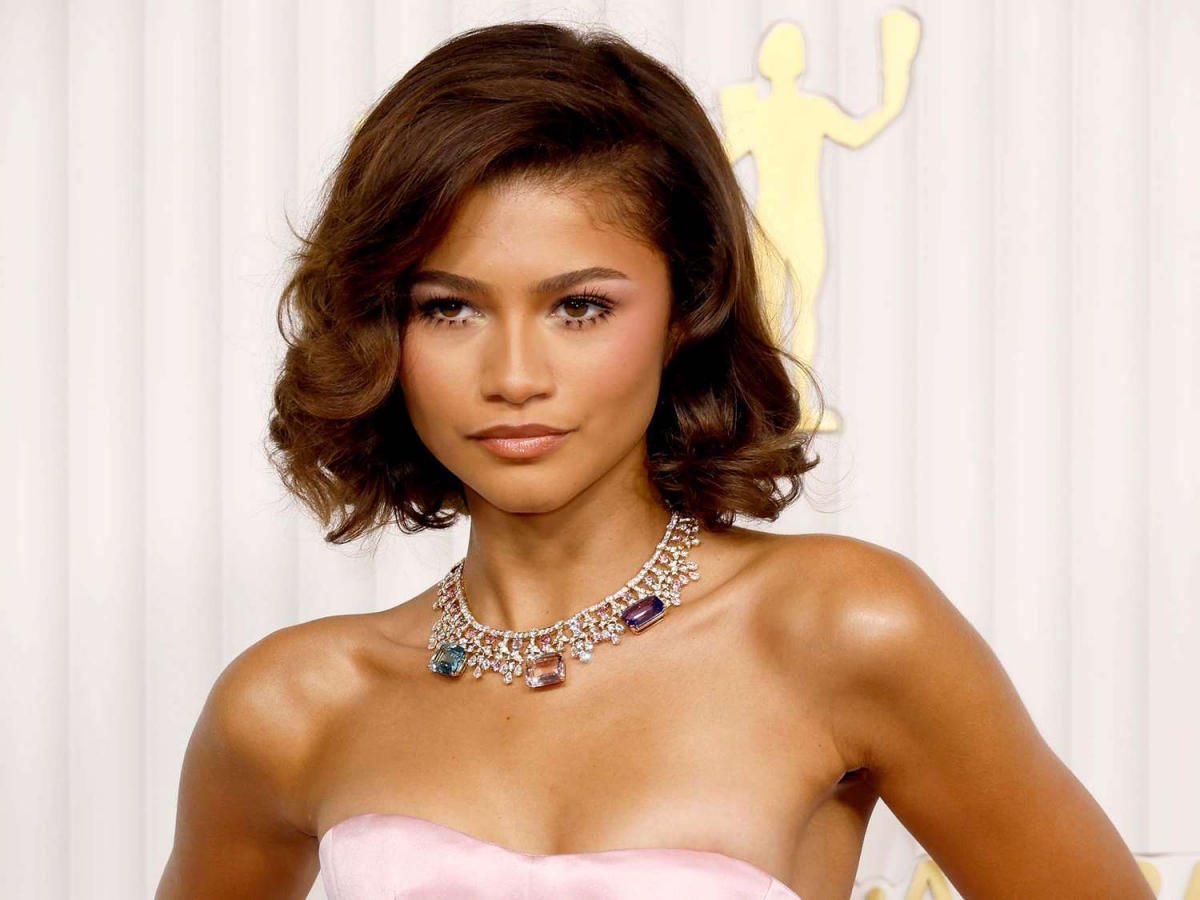
- A frizz-free second day.
- Volume that doesn’t quit.
- A style that holds its beautiful, curved shape.
The secret? Preserve your work overnight. Swap your cotton pillowcase for a silk or satin one to reduce friction and frizz. Loosely gather your hair into a high ponytail on top of your head (a “pineapple”) using a gentle silk scrunchie, like one from Slip or Kitsch. This prevents the hair from getting crushed while you sleep.
Making your blowout last is an art in itself, saving you from daily heat styling. On day two, revive your roots with a targeted spray of a high-quality dry shampoo. We love Living Proof’s Perfect hair Day™ (PhD) Dry Shampoo because it actually cleans the hair. For the ends, a single drop of hair oil warmed between your palms and lightly smoothed over can restore shine and softness without weighing the style down.


