Your Ultimate Guide to Glass Hair (Without Wrecking It)
Over my career as a stylist, I’ve seen countless trends come and go. But one look is absolutely timeless: that incredibly sleek, straight hair that looks like liquid silk. You know the one—it’s like polished glass, reflecting light with every move. It’s the kind of hair that just looks so healthy.
In this article
I remember a client who came to me feeling totally hopeless after a bad experience somewhere else. Her hair was damaged, and she was convinced that super-sleek hair was just not in the cards for her. We started a careful journey of treatments, proper trims, and, most importantly, technique. Seeing her finally leave the salon with the shiny, healthy hair she’d always dreamed of… well, that’s a feeling that never gets old. It’s not about fighting your hair; it’s about finally understanding how to work with it.
And let’s be honest, achieving this look is way more than just clamping a hot iron on your hair and hoping for the best. That’s the very last step of a much bigger process. True sleekness is a mix of science, smart technique, and the right products. In this guide, I’m going to walk you through everything I teach my own apprentices, from the basic science to the exact tools you need. We’ll get real about the risks, the costs, and when you absolutely need to leave it to the pros.

First Things First: Understanding Your Hair
To get your hair perfectly smooth, you need to know what you’re dealing with. Every single strand of your hair is covered in an outer layer called the cuticle. The easiest way to picture it is like shingles on a roof. When your hair is healthy and happy, those shingles lie down flat and tight. This smooth surface reflects light beautifully, which is what we see as shine.
But when hair gets dry, damaged, or hit with a blast of humidity, those shingles lift up. That creates a rough surface that absorbs light instead of reflecting it, making hair look dull. That, my friends, is frizz. So, the main goal of any sleek-styling method is to get those cuticle “shingles” to lie down flat and stay that way.
Your hair’s porosity plays a huge part in this. Porosity is just a fancy word for its ability to soak up and hold onto moisture. A lot of people don’t know their hair’s porosity, and it’s a game-changer for picking the right products.

Good to know: You can test this at home. Just drop a clean, dry strand of your hair into a glass of water.
- If it floats on top, you have low porosity hair. The cuticle is tight, making it naturally shinier but also resistant to products.
- If it sinks slowly, you have normal porosity. Your hair is pretty balanced.
- If it sinks right away, you have high porosity hair. The cuticle has gaps, so it sucks up moisture (and humidity!) like a sponge but loses it just as fast. This type is the trickiest to get sleek.
Once you know your porosity, you can avoid common mistakes, like using a heavy cream that just makes low-porosity hair greasy or a lightweight spray that does nothing for high-porosity hair.
Two Paths to Sleek: Temporary Heat vs. Long-Term Chemicals
Okay, so you have two main options for getting that pin-straight look. You can temporarily style it with heat, which lasts until your next wash, or you can go for a chemical service that changes your hair’s structure for months. They are very different paths, so let’s break them down.

Path 1: The Art of Heat Styling (The DIY Route)
This is what most of us do at home. It starts with a great blowout—and no, just blasting your hair with a dryer doesn’t count. A pro-level blowout is the foundation for a sleek finish.
The Blowout Breakdown:
First, on damp, towel-dried hair, you absolutely MUST apply a leave-in conditioner and a heat protectant. This is not optional! I recommend a spray like Tresemmé’s Thermal Creations for a budget-friendly pick (around $7 at drugstores) or Kenra Professional’s Platinum Blow-Dry Spray if you want to splurge (about $25 at Ulta).
Next, section your hair with clips. You can’t dry a whole head of hair properly at once. Create four to six clean sections. Make sure your blow dryer has a concentrator nozzle—that’s the flat plastic piece that snaps onto the end. It directs the airflow down the hair shaft, forcing the cuticles flat. Without it, you’re just creating a frizzy mess.
Your brush matters, too. For a super smooth finish, I love a mixed-bristle round brush (boar and nylon). The key here is TENSION. You have to pull the hair taut as you move the brush and dryer down the hair, from root to tip. A good blowout should take some time—plan for a solid 30-45 minutes for medium-length hair if you’re doing it right.
Flat Ironing Like a Pro:
A quality flat iron is an investment that pays off. Cheap ones with uneven heating plates are notorious for creating hot spots that scorch hair. Look for ceramic or titanium plates. Brands like BaBylissPRO or GHD are the gold standard in salons and run between $150 and $250, but they last forever. For a fantastic budget option, the Conair InfinitiPro line is usually under $50 and does a great job.
Heads up! The temperature is EVERYTHING. I’ve seen more hair destroyed by irons set way too high than by almost anything else. Here’s a quick guide:
- Fine or fragile hair: Stay below 325°F. Seriously.
- Healthy, medium-textured hair: 325°F to 375°F is your sweet spot.
- Coarse or very curly hair: 375°F to 425°F. I almost never go higher than this.
Your goal is the “one-pass” rule. With the right heat and tension, you should be able to straighten a small section in one single, smooth glide. How fast? Move the iron at a steady pace, about the speed you’d use to smoothly draw a line with a marker. Never stop and hold it in one place. Going over the same piece again and again is what boils the hair from the inside out and leaves it feeling crunchy.
Path 2: Chemical Services (Leave This to the Pros)
For a longer-lasting fix, chemical treatments can be amazing, but please, I’m begging you—this is not a DIY project. I’ve seen chemical burns and hair literally melting off from at-home kits or untrained applications. Go to a licensed professional. Always.

Keratin Treatments (The Frizz Killer)
This is the most popular smoothing service right now. A keratin treatment doesn’t permanently straighten your hair. Instead, it coats the hair shaft with protein, filling in all the porous gaps and sealing the cuticle shut. The result? Insanely smooth, shiny hair that resists humidity and cuts blow-dry time in half. It’s not for pin-straight results, but it makes your hair incredibly manageable. It lasts 3-5 months and fades out gradually. To maintain it, you’ll need to use sulfate-free shampoos.
- Best For: Frizzy, wavy, or unruly hair that you want to smooth out, not permanently straighten.
- Cost: Typically $250 – $500, depending on your salon and hair length.
- Biggest Risk: Some older formulas contained formaldehyde. Modern salons use much safer, regulated formulas, but it’s always something to discuss with your stylist.
Japanese Straightening (The Permanent Solution)
This one is a total game-changer, but it’s a huge commitment. It permanently breaks your hair’s internal bonds and then re-forms them in a straight pattern. The hair that is treated will be pin-straight forever. The challenge is the regrowth. You’ll have a very obvious line where your natural texture grows in, and that transition point is extremely fragile and prone to breakage. This is a serious process.

- Best For: People with very curly but otherwise strong, healthy hair who are 100% committed to being straight. Not for heavily bleached or damaged hair.
- Cost: This is a big one, often $500 – $1,000+.
- Biggest Risk: Damage at the regrowth line is the main concern. It requires very careful maintenance.
Traditional Relaxers (The Original Straightener)
These are the most potent chemical straighteners, usually for very coily hair textures. They are incredibly effective but can be harsh, using chemicals that break down the hair’s bonds very quickly. The timing must be perfect to avoid over-processing or, worse, chemical burns on the scalp. While they still have their place, many people have shifted to keratin treatments for a less aggressive, more conditioning approach.
- Best For: Very coarse and coily hair textures.
- Cost: Generally more affordable, around $75 – $200 in a salon.
- Biggest Risk: High potential for scalp irritation and hair damage if not applied by a very experienced professional.

Your Sleek Hair Shopping List
Using pro-quality products isn’t about snobbery; it’s about getting ingredients that actually work. Here’s a quick rundown of what you’ll need in your arsenal.
- Sulfate-Free Shampoo: Cleans without stripping natural oils. ($10 – $30)
- Moisturizing Conditioner: To restore moisture and seal the cuticle. ($10 – $30)
- Heat Protectant: A non-negotiable cream or spray. ($7 – $25)
- Professional Sectioning Clips: Strong clips make the job so much easier. (A pack is about $5)
- Mixed-Bristle Brush: A boar and nylon blend is ideal for smoothing. ($20 – $40)
- A Quality Flat Iron: Ceramic or titanium plates. ($50 – $250)
- Finishing Serum or Oil: A silicone-based serum to lock out humidity and add shine. ($15 – $40)
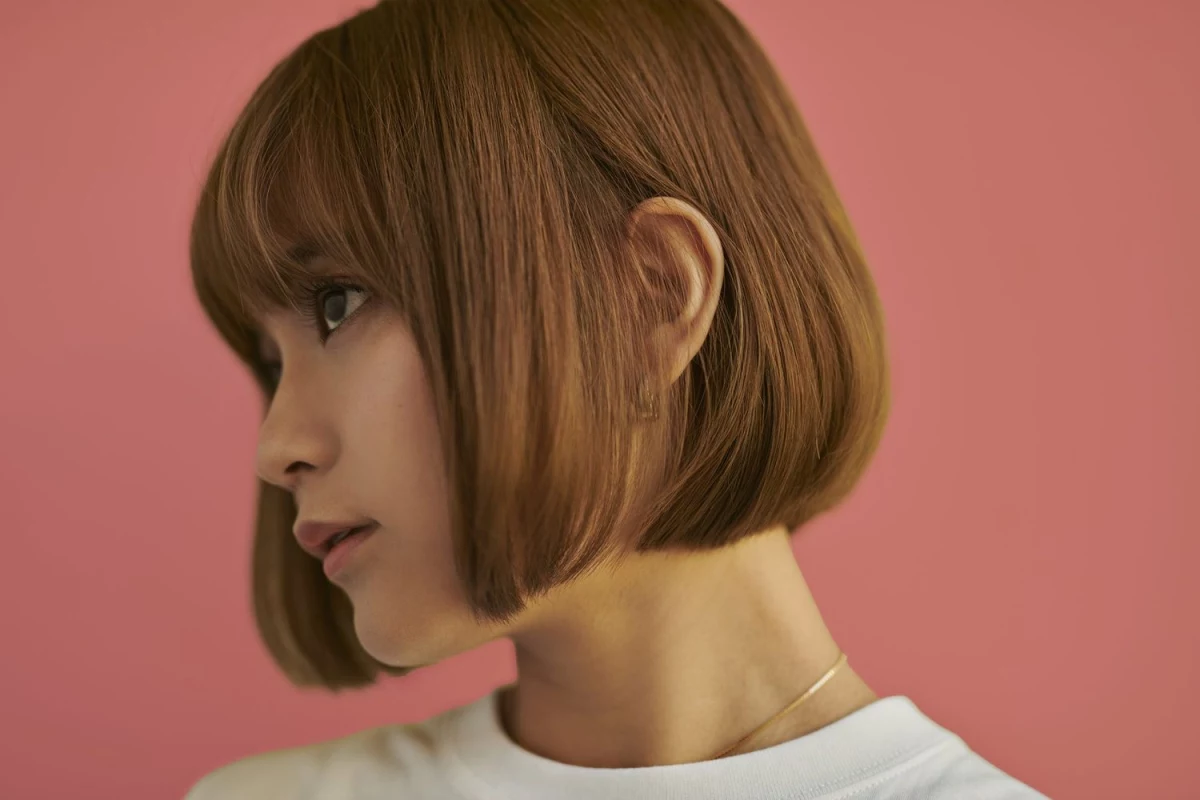
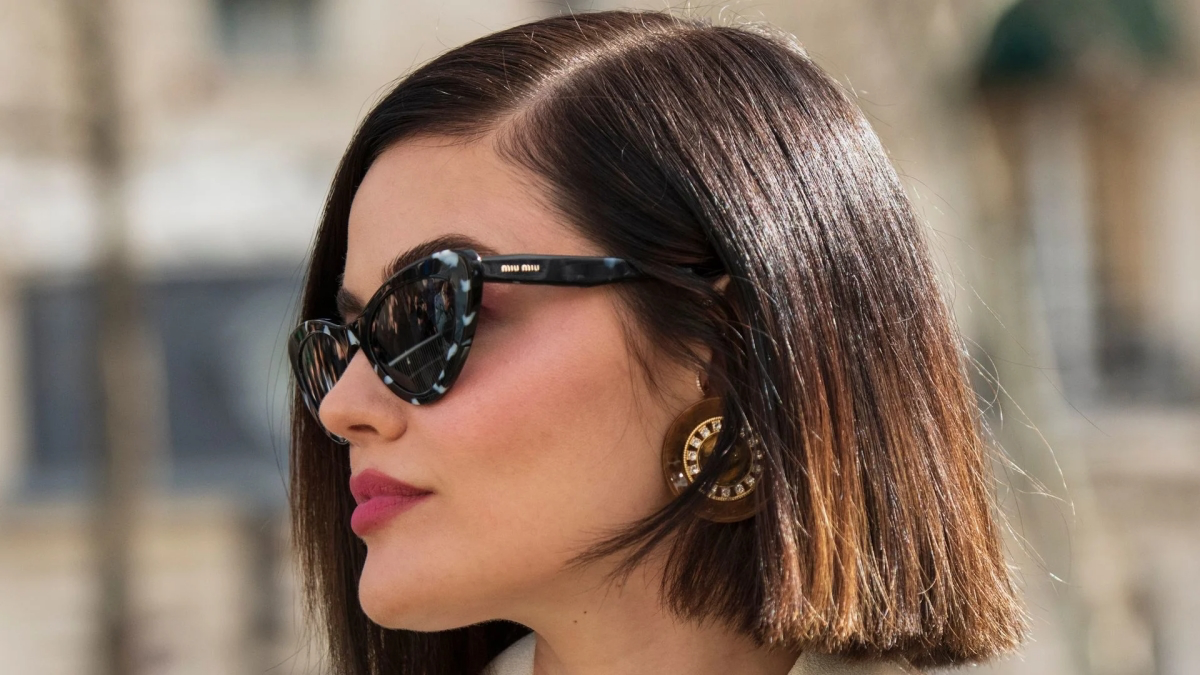
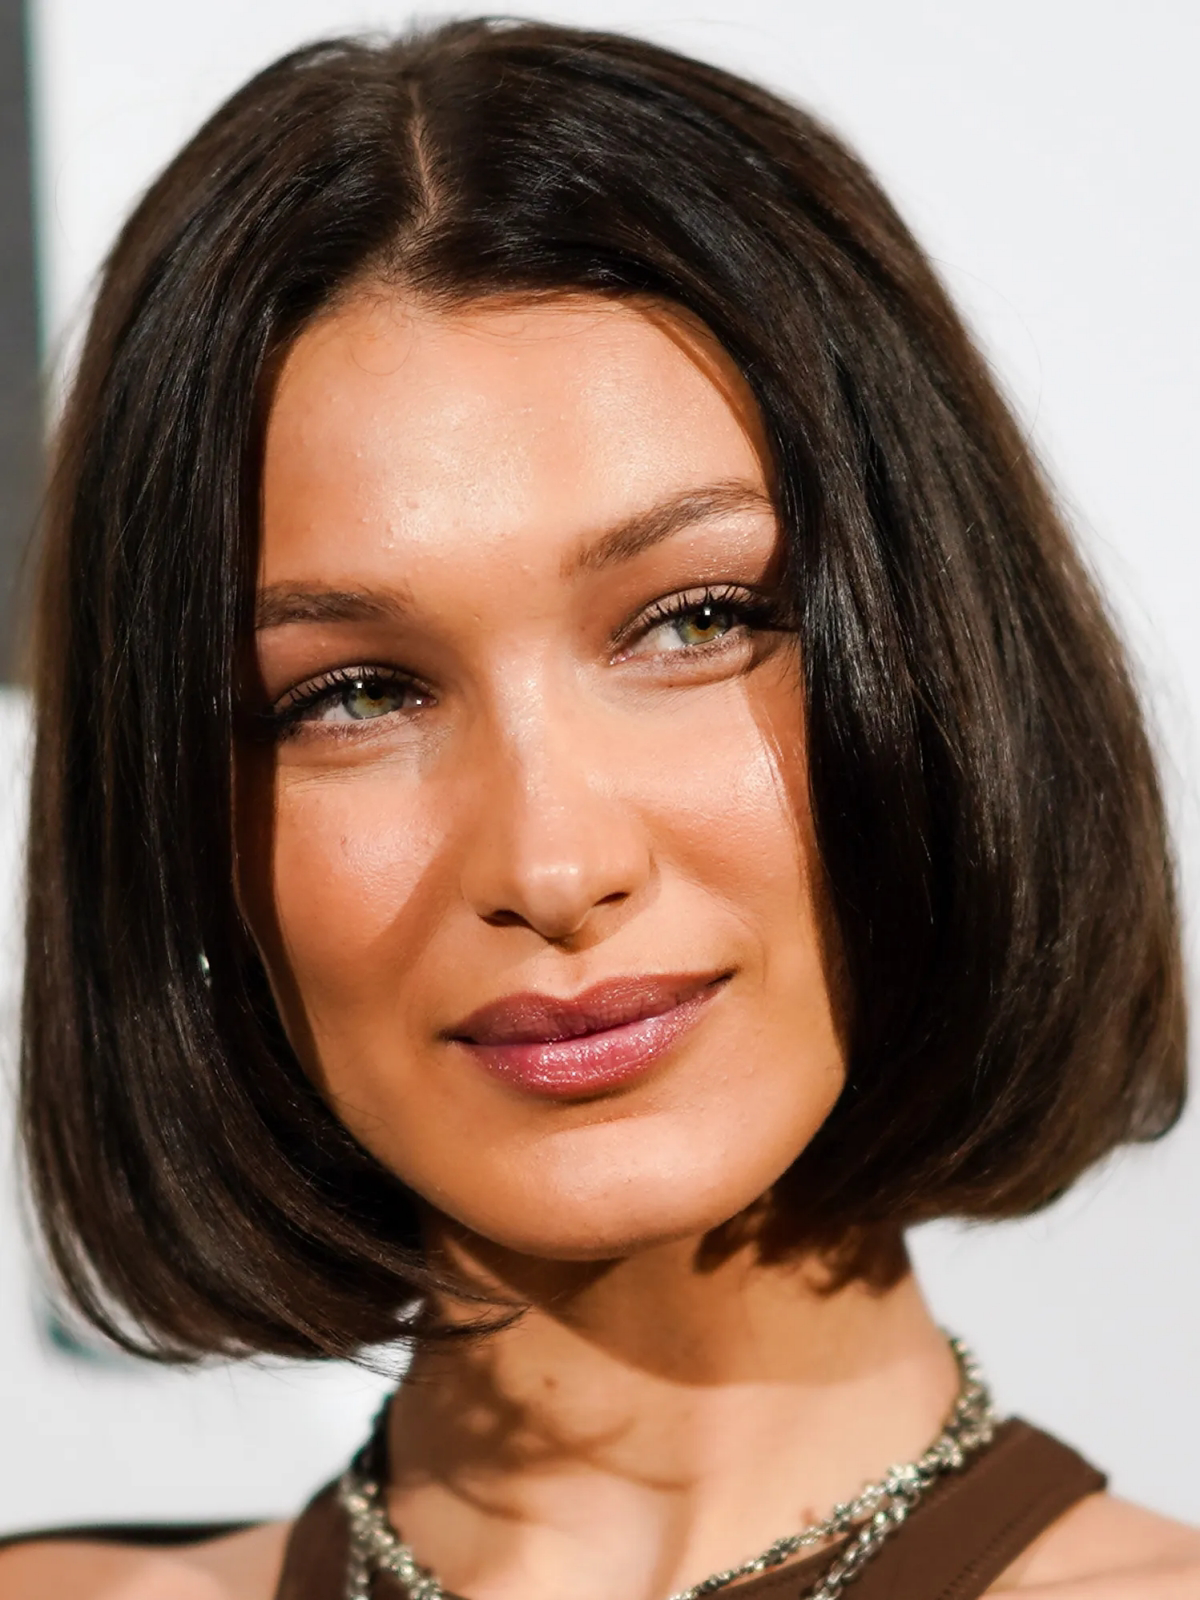
The Right Cut Makes All the Difference
The perfect sleek style starts with a great haircut. A sharp, blunt bob, for example, looks incredibly powerful when styled straight because the solid line emphasizes the precision. For clients with long, thick hair, I often use “invisible” layers cut on the inside of the style. This removes bulk and adds movement without breaking up that smooth, sleek surface on the outside.

Keeping It Sleek: Maintenance and Troubleshooting
Okay, you did it! Your hair is sleek. Now, how do you keep it that way?
- Sleep on Silk or Satin: A cotton pillowcase creates friction that ruffles the cuticle overnight. A silk or satin pillowcase lets your hair glide, preserving your style. A quick win? If you don’t have a silk pillowcase, just wrap your hair in a silk or satin scarf before bed. Easiest trick in the book.
- Don’t Over-wash: Try to stretch the time between washes. A good dry shampoo at the roots will be your best friend.
- Get Regular Trims: A trim every 6-8 weeks isn’t about losing length; it’s about cutting off split ends before they can travel up the hair shaft and cause more damage.
Common Problems and Quick Fixes:
- “My hair feels greasy and weighed down!” You’re probably using too much product, or a product that’s too heavy for your hair type. Try a clarifying shampoo once a month and switch to lighter-weight sprays.
- “My flat-ironed hair still looks frizzy!” This usually points to two things. First, your blowout foundation might have been weak. Second—and this is a common one—your hair wasn’t 100% dry before you ironed it. Even a tiny bit of dampness will turn to steam and cause the cuticle to frizz up the moment the iron hits it.
- “My ends look dry and fried.” That’s heat damage, plain and simple. Lower your iron’s temperature immediately and never skip your heat protectant. A deep conditioning mask can help, but honestly, the only real cure for fried ends is to cut them off.
At the end of the day, that gorgeous, glass-like hair is totally achievable. It just requires a little knowledge, the right tools, and a healthy respect for what your hair can handle. With a bit of care and the right technique, you can absolutely get the sleek, stunning hair you’re looking for.

Galerie d’inspiration


The Final Polish: Choosing Your Finishing Serum
For Fine Hair: A lightweight mist is your best friend. Look for products that fight humidity without weighing hair down. A light spritz of Color Wow Extra Mist-ical Shine Spray provides a glossy finish without the greasy feel.
For Thick or Coarse Hair: You can opt for a richer oil-based serum. Apply a single drop of Kérastase Elixir Ultime Original Hair Oil to your palms, rub them together, and then smooth it over the mid-lengths and ends. This tames any last flyaways and adds that liquid-like shine.
The key is to apply it *after* heat styling, never before, to avoid frying your strands.
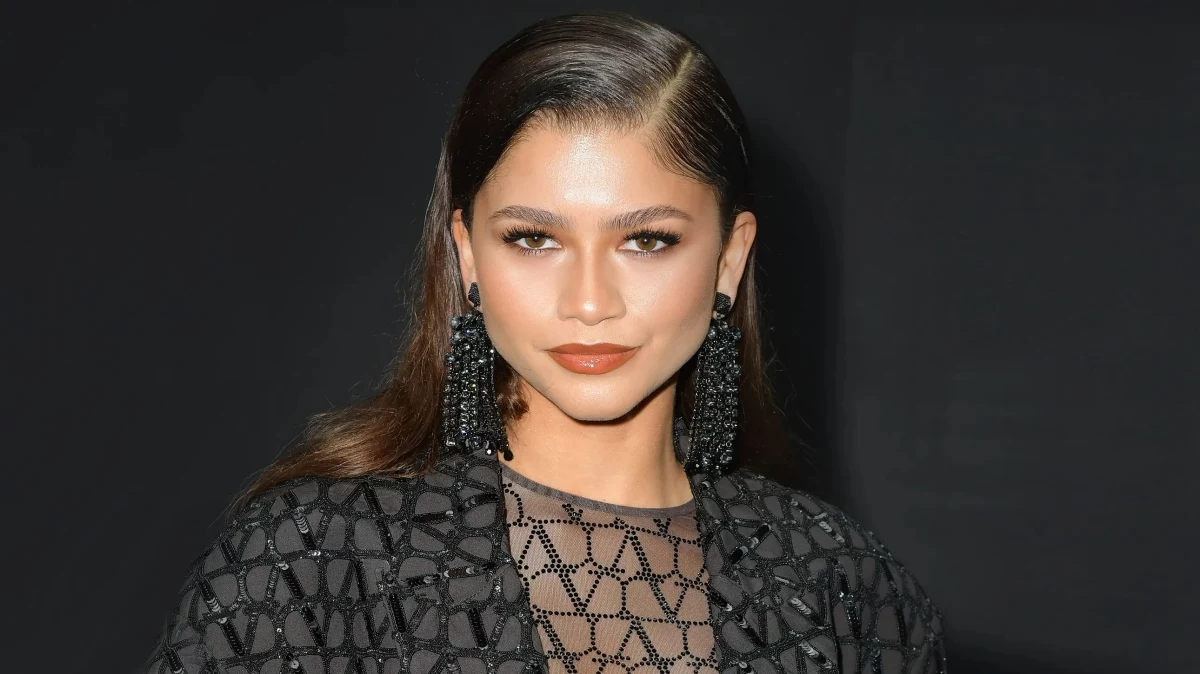
“The inspiration was that super-shiny, 90s model, fresh-out-the-shower look. It’s all about the condition of the hair.” – Chris Appleton, Celebrity Stylist
This isn’t just a trend; it’s a statement about hair health. Appleton, who regularly creates the look for stars like Kim Kardashian and J.Lo, emphasizes that the stunning shine is a result of hair that is deeply hydrated and well-cared-for. The heat styling is merely the final step to align the cuticles, not the source of the shine itself.
My sleek style never lasts. Why does it puff up the minute I step outside?
This is almost always a battle against humidity. Your hair, especially if it’s porous, is desperately trying to absorb moisture from the air, causing those smooth cuticles to lift and swell. The solution is to create a waterproof barrier. Before you even think about hairspray, use a dedicated anti-humidity sealant. Products like the Oribe Impermeable Anti-Humidity Spray or the Living Proof No Frizz Instant De-Frizzer work by creating an invisible shield that blocks moisture from penetrating the hair shaft, preserving your hard work.
- A shine that looks like it’s lit from within.
- Hair that feels impossibly soft and moves like liquid.
- A sleekness that lasts for days, not hours.
The secret is lamellar water technology. Used as an in-shower rinse-out treatment on wet hair, like L’Oréal’s 8 Second Wonder Water, it deposits ultra-fine caring agents directly onto damaged areas of the hair fiber, creating a super smooth, reflective surface before you even pick up a blow dryer.

The one tool that changes everything: the boar bristle brush. Before you even touch the straightener, a tension blow-dry is crucial. Using a dense boar bristle paddle brush, like a classic Mason Pearson, allows you to grip the hair and pull it taut as you direct the hairdryer’s nozzle down the hair shaft. This single step does 80% of the smoothing work, meaning less time and less damaging heat from your flat iron.
Don’t let your quest for sleekness lead to sizzled ends. The temperature on your flat iron is not one-size-fits-all. Fine, color-treated, or damaged hair should stay in the 150-175°C (300-350°F) range. Healthy, medium-textured hair can handle up to 190°C (375°F). Only very thick, coarse, or resistant hair might require temperatures up to 210°C (410°F). Starting lower is always the safest bet.


