My Go-To Rosemary Water Recipe for Stronger, Healthier Hair
I’ve been in the hair world for a long, long time, and I’ve seen trends come and go. But some things just stick around for a reason—because they actually work. Rosemary water is one of those timeless secrets. It’s a classic remedy passed down through generations, long before we had fancy labs to tell us why it’s so good for our scalp and hair.
In this article
Now, let’s be real. This isn’t some magic potion that will give you a new head of hair overnight. Healthy hair is a big-picture thing that involves your diet, genetics, and how you treat your body. Think of this guide as me, your hair-obsessed friend, sharing the professional method I’ve perfected over the years. We’re going to cover how to make it potent, how to use it right, and what’s actually happening on your scalp when you do. And I’ll be straight with you about what it can’t do and the safety stuff you absolutely can’t skip.

So, How Does This Stuff Actually Work?
To really get why rosemary water is worth your time, it helps to know what’s going on at a microscopic level. It’s pretty cool, honestly. When you simmer rosemary, you’re basically creating a nutrient-rich tea (a hydrosol, technically) that’s packed with beneficial compounds.
The main power players you’re extracting are things like carnosic, rosmarinic, and ursolic acids. Don’t worry about the names—what you need to know is that they’re a powerhouse trio of antioxidants and anti-inflammatories. Here’s what they do for your scalp:
- They calm things down. A lot of us have low-grade scalp inflammation without even knowing it, thanks to product buildup, stress, or just environmental gunk. This irritation can stress out your hair follicles, leading to more shedding. These compounds help soothe the scalp, creating a happier environment for hair to grow.
- They boost circulation. This is a big one. Better blood flow means more oxygen and nutrients delivered directly to your hair follicles. Think of it like feeding your hair at the root. Some clinical research has even shown that rosemary can be surprisingly effective for stimulating growth, holding its own against some common over-the-counter treatments but with less of the annoying scalp itching.
- They offer protection. Your scalp is skin, and it ages. Oxidative stress from things like pollution and UV rays can weaken the hair follicles over time. The antioxidants in rosemary help fight that damage, keeping your follicles healthier for longer.
My Pro-Level Method for Making Rosemary Water
Making rosemary water is easy, but making it potent and safe requires a little attention to detail. The quality of your stuff matters. I’ve tweaked this method for years to get the most bang for my buck.
First, Your Shopping List
You only need two things, but choosing the right ones makes a difference.
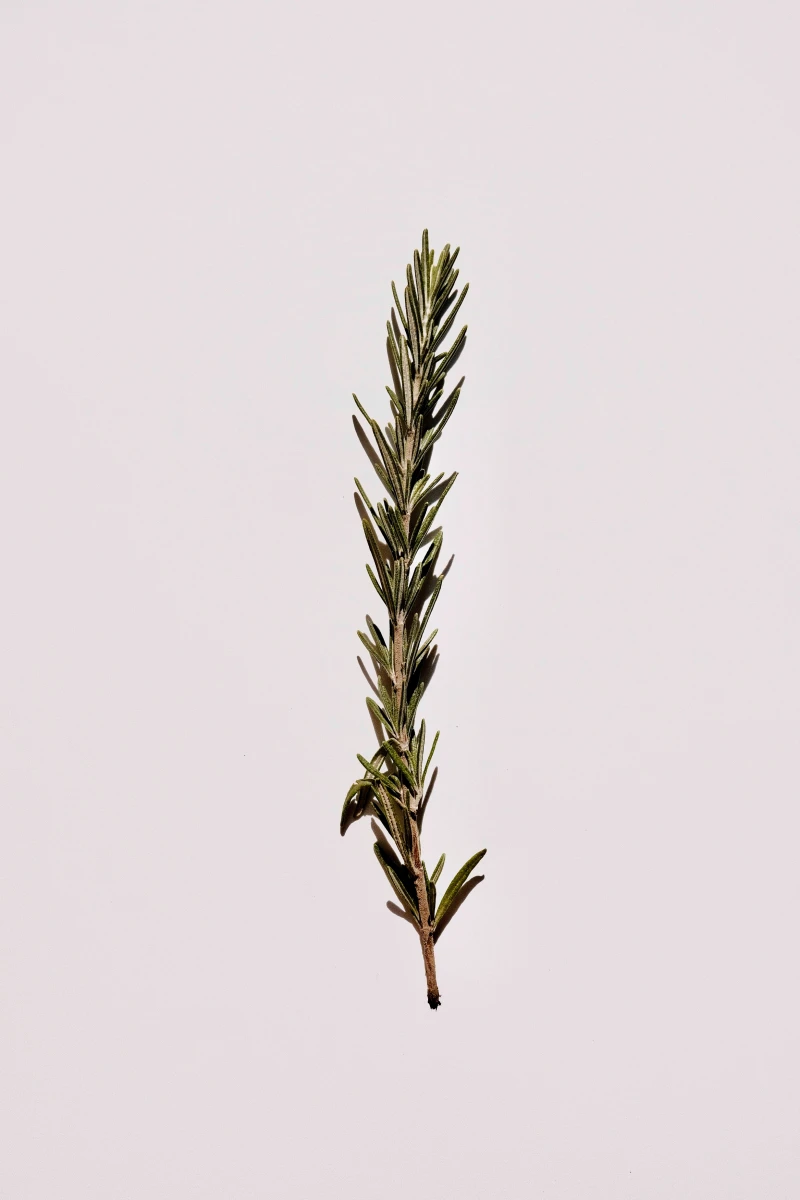
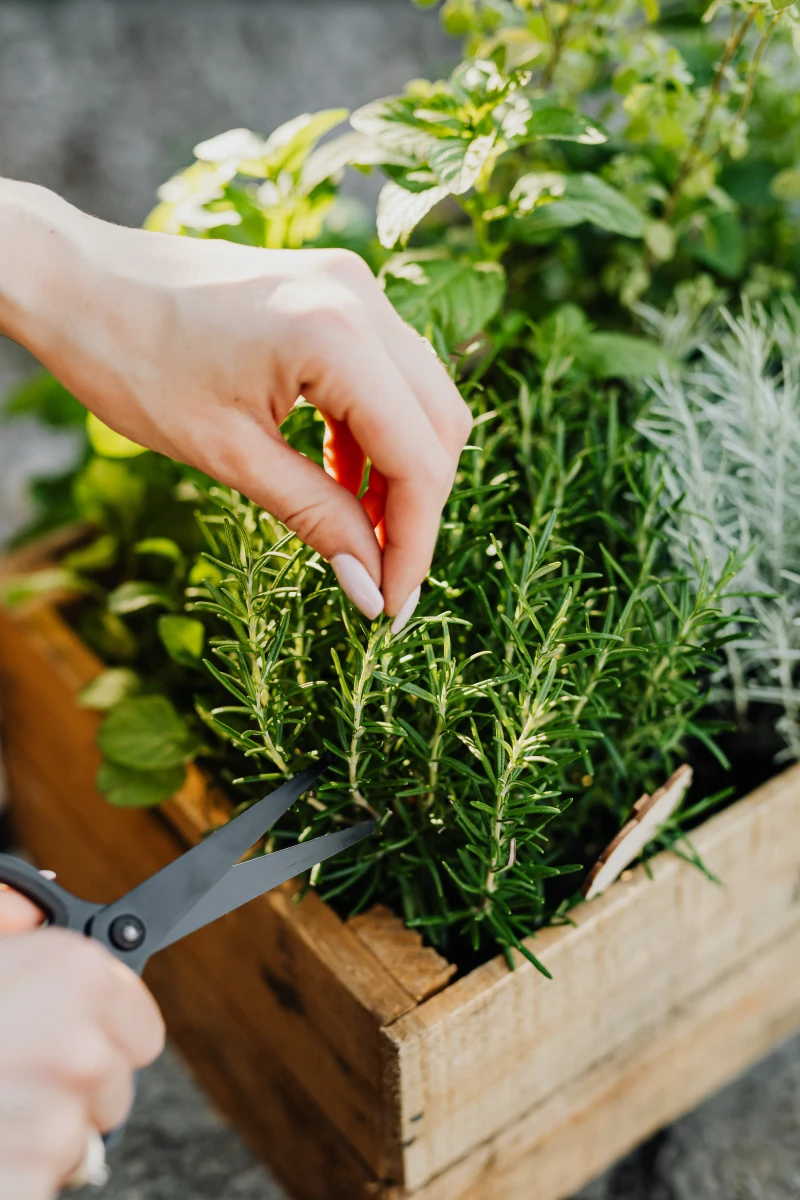
- Rosemary: Fresh, organic sprigs are hands-down the best choice. They’re full of the good stuff. You can find a bundle at most grocery stores for about $2-$4. Even better? Buy a small rosemary plant for your windowsill for around $5-$10 and you’ll have an endless supply. If you can only find dried rosemary, that’s okay too, just use about half the amount.
- Water: This is a non-negotiable for me. Use distilled or purified water. You can grab a gallon at any supermarket for a dollar or two. Why? Because tap water has minerals and chlorine that can build up on your hair and even mess with the stability of your rosemary water.

The Recipe: Hot Infusion Method
This is the most reliable way to pull all those beneficial compounds out of the plant and into the water.
What you’ll need:
- A stainless steel or enamel pot (try to avoid aluminum)
- A fine-mesh strainer or some cheesecloth
- A clean glass jar for storage and a spray bottle for applying it
The Easiest Ratio: The super-precise method is 1 part rosemary to 10 parts water by weight, but honestly, who wants to break out a food scale? A much simpler way is to use a big handful of fresh rosemary—about 4-5 sprigs—for every 2 cups of distilled water. The consistency of using it is more important than getting the ratio perfect to the gram.
Instructions:
- Prep: Give your fresh rosemary a quick rinse under cool water to get any dust off. No need to pull the leaves off the stems.
- Heat Gently: Toss the rosemary and distilled water into your pot and bring it to a GENTLE simmer over medium heat. This is key! Do not let it come to a rolling boil. If you do, all those wonderful aromatic compounds will just evaporate into your kitchen instead of infusing into the water. You want to see just small, soft bubbles breaking the surface.
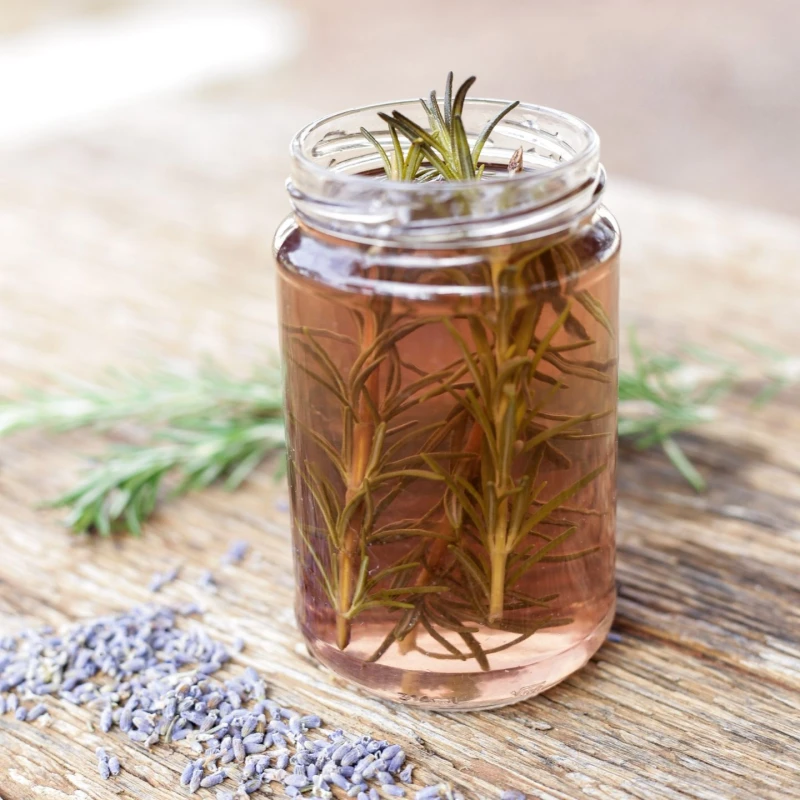
- Simmer & Cover: Once you hit that gentle simmer, turn the heat down to low, pop a lid on the pot, and let it steep for 15-20 minutes. Any less isn’t enough time; any more and you can start to degrade the good stuff. Your water will turn a lovely amber or pinkish color.
- Cool Down: Turn the heat off completely but leave the lid on. Let the mixture cool down in the pot for at least 30 minutes. I often just leave it on the stove for a few hours. This off-heat steeping really helps pull out every last bit of goodness.
- Strain: Pour the cooled water through your fine-mesh strainer into a clean jar or bowl. Press down gently on the rosemary sprigs to squeeze out any extra liquid.
- Bottle It: Pour your finished rosemary water into a glass jar for storage in the fridge, and fill up a small spray bottle for daily use. I prefer glass spray bottles, which you can find online for $10-$15 a pair, as they’re endlessly reusable and don’t leach plastics.
The Two Most Important Rules: Storage and Shelf Life
Okay, listen up, because this part is critical for safety. You just made a fresh, preservative-free plant infusion. That means it’s a perfect home for bacteria and mold if you’re not careful.
- Rule
1: Refrigerate Immediately.
No exceptions. It belongs in the fridge, not on your bathroom counter. - Rule
2: Use It or Lose It (Within 7 Days).
I’m serious about this. After a week, toss whatever is left and make a fresh batch. If you ever see it get cloudy, smell sour, or look a bit slimy, pour it down the drain immediately. Your scalp will thank you.
Lesser-known trick: Can you freeze it? Yes! This is a total game-changer if you make a big batch. Pour the cooled rosemary water into an ice cube tray and freeze it. Each morning, just pop one or two cubes into a small cup or your spray bottle and let them melt. This way, your batch lasts for months and you have a perfect single serving ready to go. So much less waste!
How to Actually Use It for the Best Results
Spraying it on is just the first step. How you apply it makes all the difference.
- Target the Scalp: You can do this on dry or damp hair, but a clean scalp absorbs it best. I like to do it right after I’ve washed my hair and towel-dried it. Part your hair into a few sections.
- Spray, Don’t Mist: Get that spray nozzle right up against your scalp and spritz directly onto the skin. The goal is to saturate your scalp, not your hair strands. Focus on the areas you’re most concerned about.
- The Magic Step: Massage! Do not skip this. After you’ve sprayed your scalp, use the pads of your fingertips (not your nails!) to massage your entire head for a good 2-5 minutes. Use firm, circular motions. You’re trying to move the skin on your scalp to really boost that blood flow. It feels amazing and turns a simple spray into a real treatment.
- Leave It In: Don’t rinse it out! Let it air dry. The rosemary scent is strong at first but fades away once your hair is dry.
Quick Tip for Busy People: In a rush? Even if you don’t have time for the full massage, a quick 30-second spritz and a brief rub-in after your shower is a thousand times better than skipping it.
A Note on Frequency and What to Expect
You’ve got to be consistent. Aim to use it daily, or at least 4-5 times a week. And please, be patient. Natural remedies are a long game. You might notice less shedding in the first month or two. By months 3-6, you could start to see some fine new “baby hairs” popping up. It’s a slow and steady process!
Common Questions I Always Get
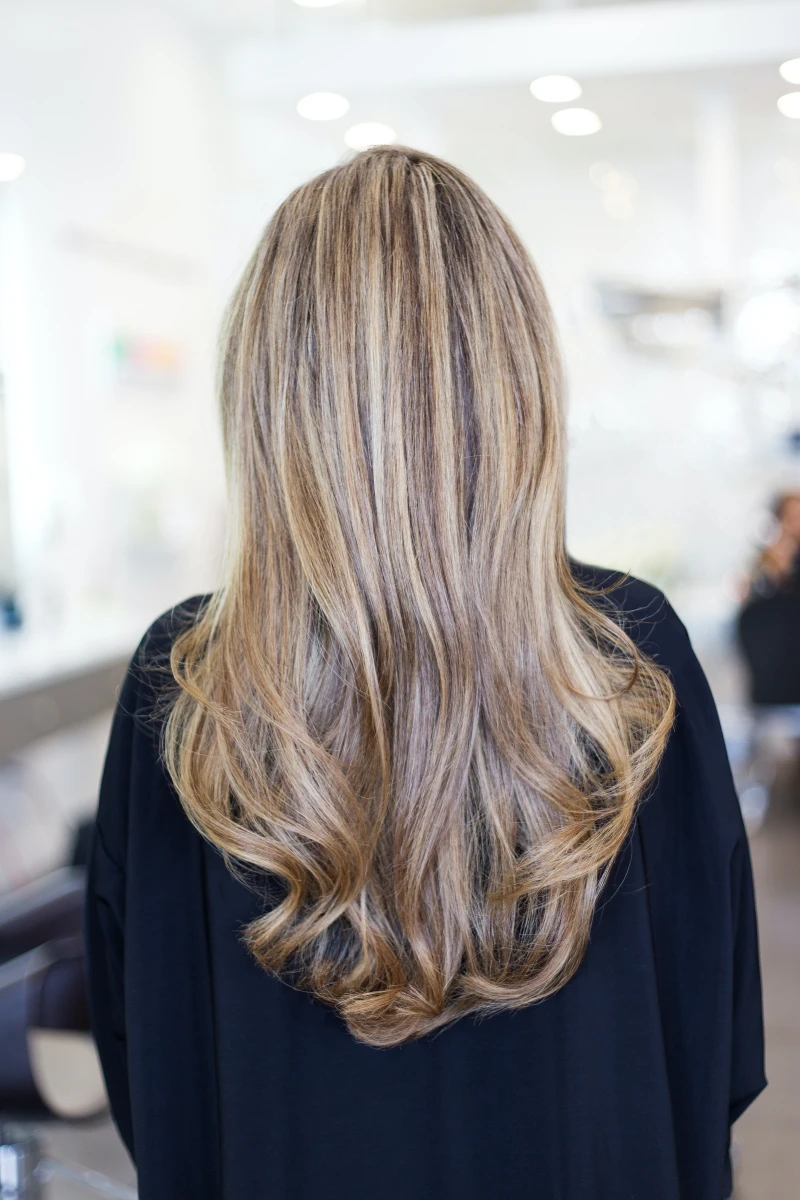
Will this darken my light blonde or gray hair?
It can. The liquid has a reddish-amber tint. On dark hair, it’s unnoticeable. But on platinum blonde, white, or gray hair, it might leave a very faint, temporary stain. I always suggest doing a quick patch test on a hidden strand of hair first to see how it affects your color.
Rosemary Water vs. Rosemary Oil: What’s the deal?
Great question, because they are totally different! They are not interchangeable.
Think of Rosemary Water as your daily, lightweight scalp tonic. It’s water-based, non-greasy, and perfect for spritzing on every day to soothe the scalp and stimulate follicles without weighing your hair down. It’s ideal for all hair types, especially fine or oily hair.
Rosemary Oil, on the other hand, is a super-concentrated essential oil. It’s far too strong to use on its own and must be diluted in a carrier oil like jojoba or coconut oil. It’s heavy, oily, and best used as a once-a-week deep conditioning scalp treatment that you massage in and then wash out after a few hours.
Can I just add it to my shampoo bottle?
You could, but it’s a waste of good rosemary water, to be frank. It gets so diluted in the shampoo and then you wash it down the drain in 60 seconds. For it to work, it needs to sit on your scalp for hours. A leave-in spray is way more effective.

Help! I accidentally boiled it too hard. Is it ruined?
Not totally ruined, but it’s definitely less potent. A hard boil destroys some of those delicate compounds we’re trying to capture. Don’t throw the batch out! Just use it up and aim for a gentler simmer next time. It’s a learning process!
Final Word: A Little Perspective
Okay, real talk. This is a fantastic, supportive hair treatment, but it’s not a medical cure. If you’re dealing with sudden, significant, or patchy hair loss, please go see a doctor or a dermatologist. Sometimes hair loss is a sign of an underlying health issue that needs proper medical attention.
By following these steps, you’re embracing a time-tested botanical practice. It’s a simple, powerful, and affordable way to give your scalp the support it needs for healthier, more vibrant hair. Happy simmering!
Inspiration:
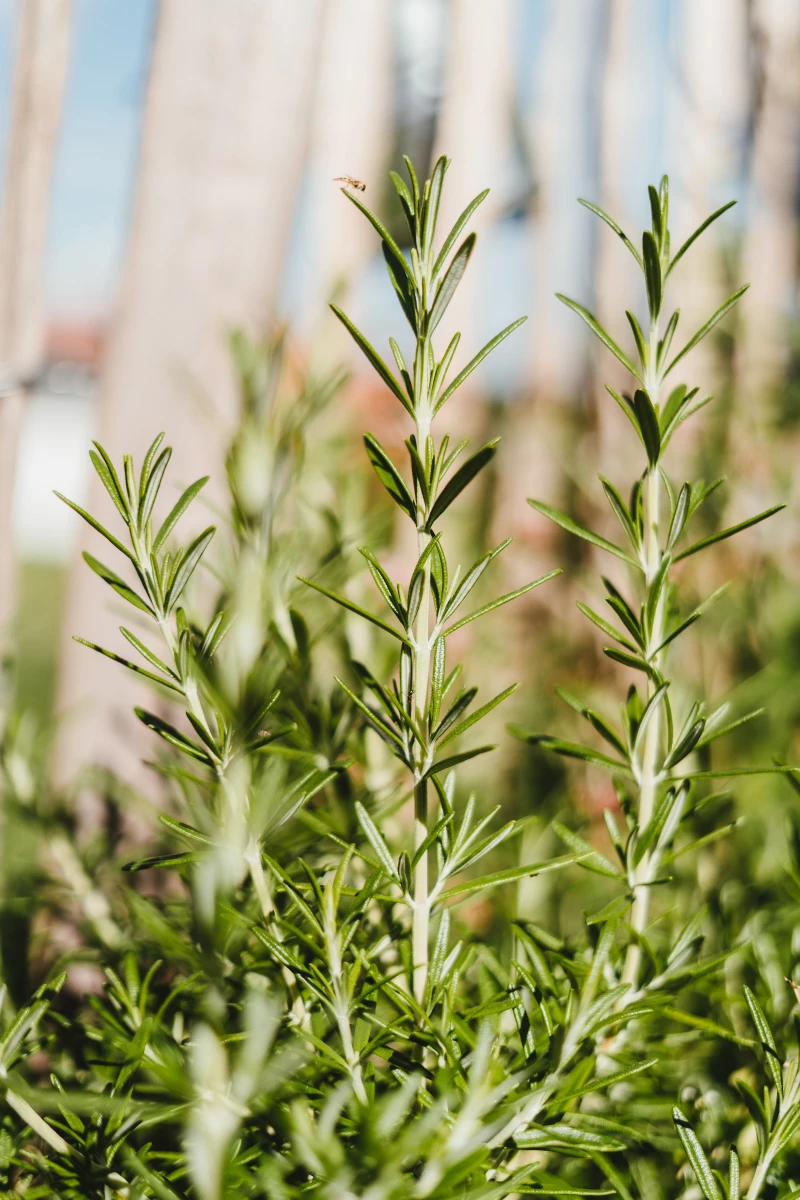

Fresh Rosemary: Best for potency. The fresh leaves contain a higher concentration of volatile oils, leading to a more fragrant and powerful infusion. It’s the top choice if you have a garden plant or access to fresh sprigs.
Dried Rosemary: A fantastic and convenient year-round alternative. You may need to use slightly more than you would fresh (a good rule of thumb is one tablespoon of dried for every three tablespoons of fresh). Opt for organic, like the kind from Frontier Co-op, to ensure it’s free from pesticides.
Ultimately, both work well, but for maximum freshness and a longer shelf-life for your final product, always use distilled or filtered water.
Once you’ve mastered the classic rosemary infusion, you can think of it as a base for a more personalized treatment. Creating a custom herbal blend is simple and can target your specific hair concerns.
- For an invigorating tingle: Add a handful of fresh mint leaves to the simmering water. The menthol helps boost circulation and leaves your scalp feeling incredibly refreshed.
- For added strength: Toss in a tablespoon of dried nettle leaf. Nettle is a traditional powerhouse for fortifying hair, rich in silica and sulfur which help reduce breakage.
- For soothing and shine: A few lavender buds will not only calm an itchy scalp but will also leave your hair with a beautiful, relaxing scent.


