Salon Secrets: How to Create a Flawless Top Knot That Lasts All Day
I’ve worked in the hair industry for a long, long time, and I’ve seen countless trends come and go. But the top knot? That one has some serious staying power. So many people just think of it as a quick, last-ditch effort to get their hair out of their face on a lazy day. But in the salon world, we see it as a true foundational style. It can be sleek and minimal, or it can be the starting point for something way more intricate. Honestly, getting it right has very little to do with having “perfect” hair. It’s all about technique.
In this article
- First, Why Your Updos Might Be Giving You a Headache
- Step 1: The Foundation – Prepping Your Hair Like a Pro
- Step 2: The Anchor – Why Your Ponytail is Everything
- Step 3: Building the Knot’s Shape and Structure
- The Secret Weapon: How to Pin Your Knot for All-Day Hold
- Common Problems & Quick Fixes
- Your Top Knot Toolkit
- Galerie d’inspiration
Forget those 30-second videos where someone just twists their hair up and hopes for the best. We’re going to break down the professional approach—the kind that creates a balanced, secure style that won’t give you a splitting headache by lunchtime or, even worse, damage your hair over time. This is the good stuff, the knowledge that turns a simple hairstyle into your most reliable, beautiful, and healthy go-to.
First, Why Your Updos Might Be Giving You a Headache
Before you even think about grabbing a hair tie, let’s talk about a little bit of physics. A top knot is a game of tension and weight distribution. When a client tells me their updos always hurt, it’s almost always a tension problem. They’ve pulled one single point way too tight, and all that force is straining a small section of their scalp.
Think about it: each strand of hair is anchored in a follicle. Pull them all together, and you’re creating a pretty significant force. A well-made top knot spreads that force evenly across the base of the ponytail. A sloppy one concentrates it all in one spot. Over time, that constant, focused pulling can lead to something called traction alopecia, which is a type of hair loss from hairstyles that are too tight. A good rule of thumb? A hairstyle should NEVER hurt. If you feel pinching or soreness, take it down and start over with a lighter touch.

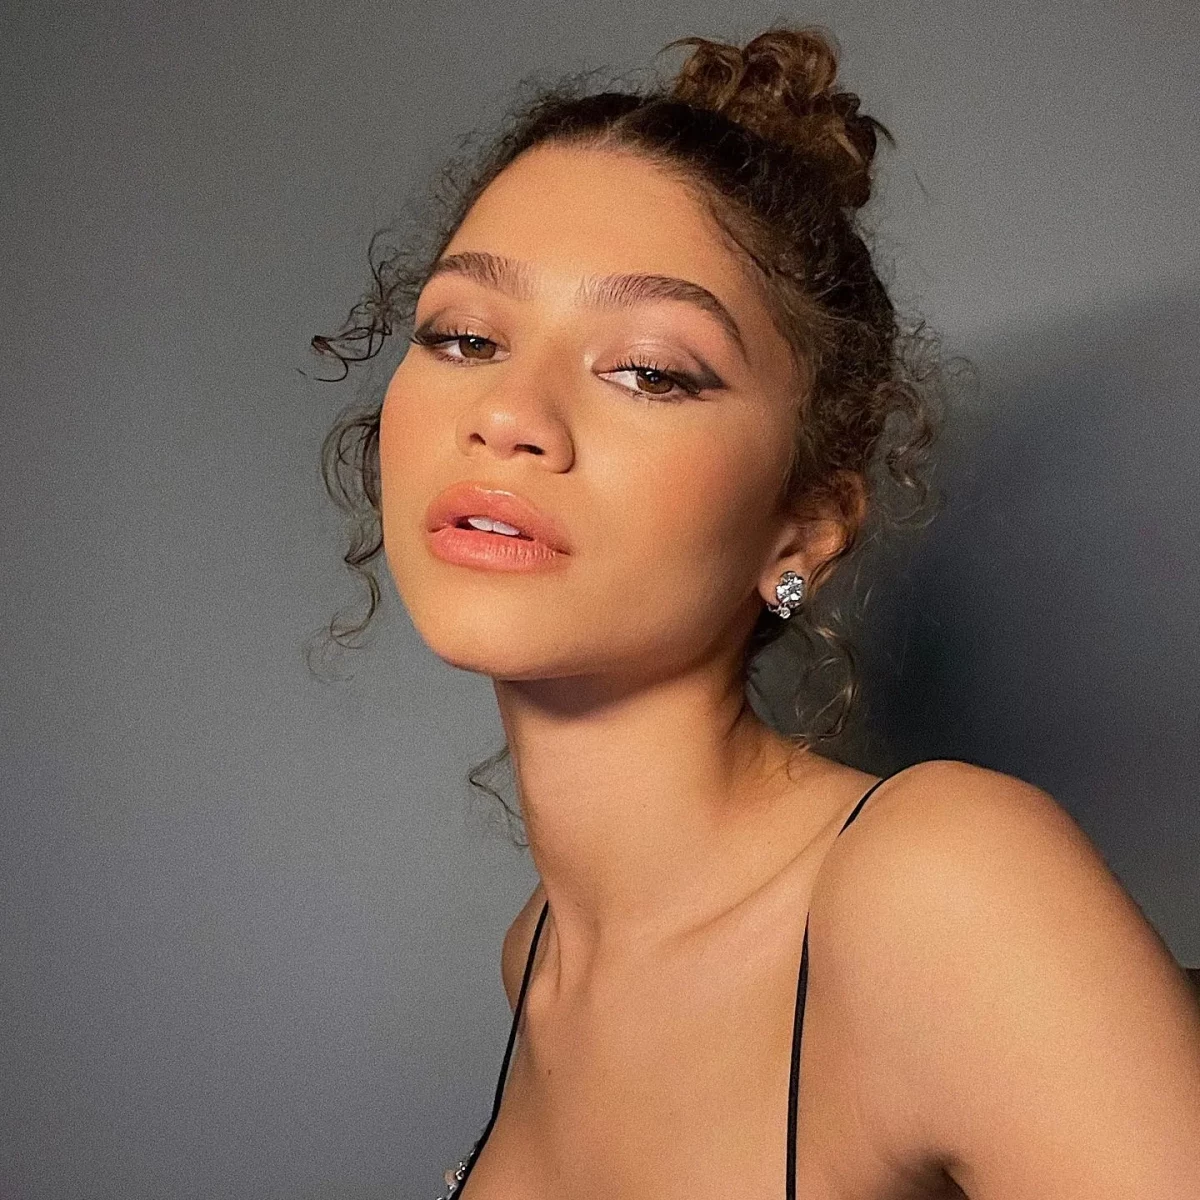
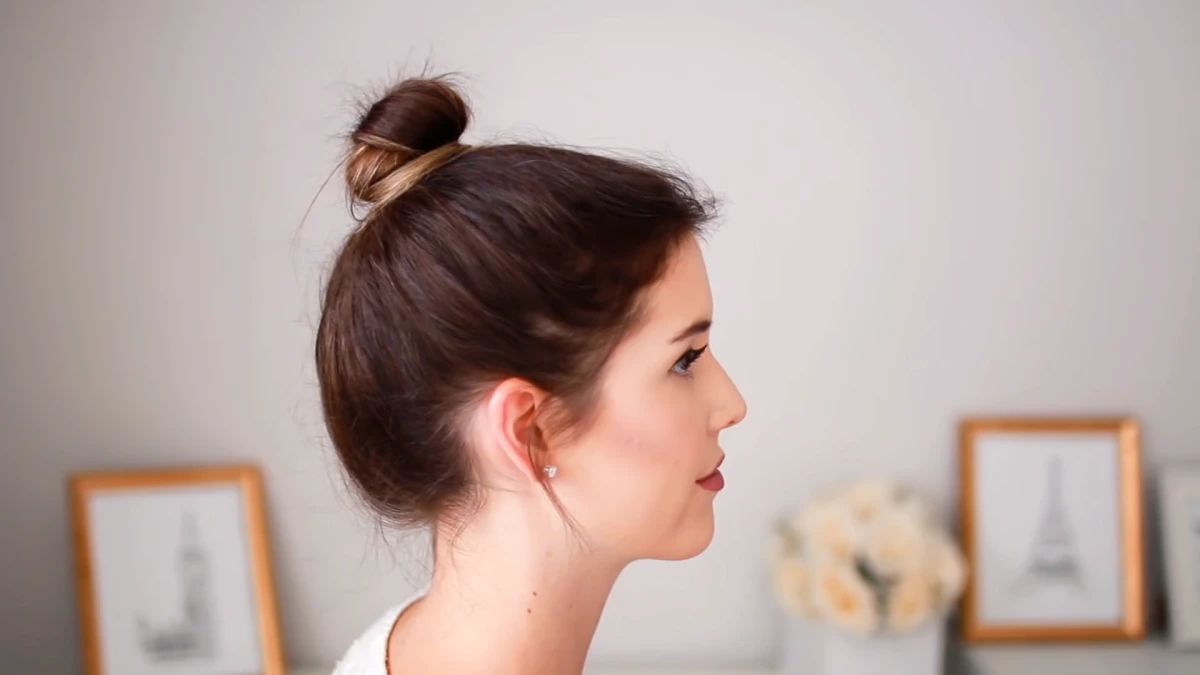
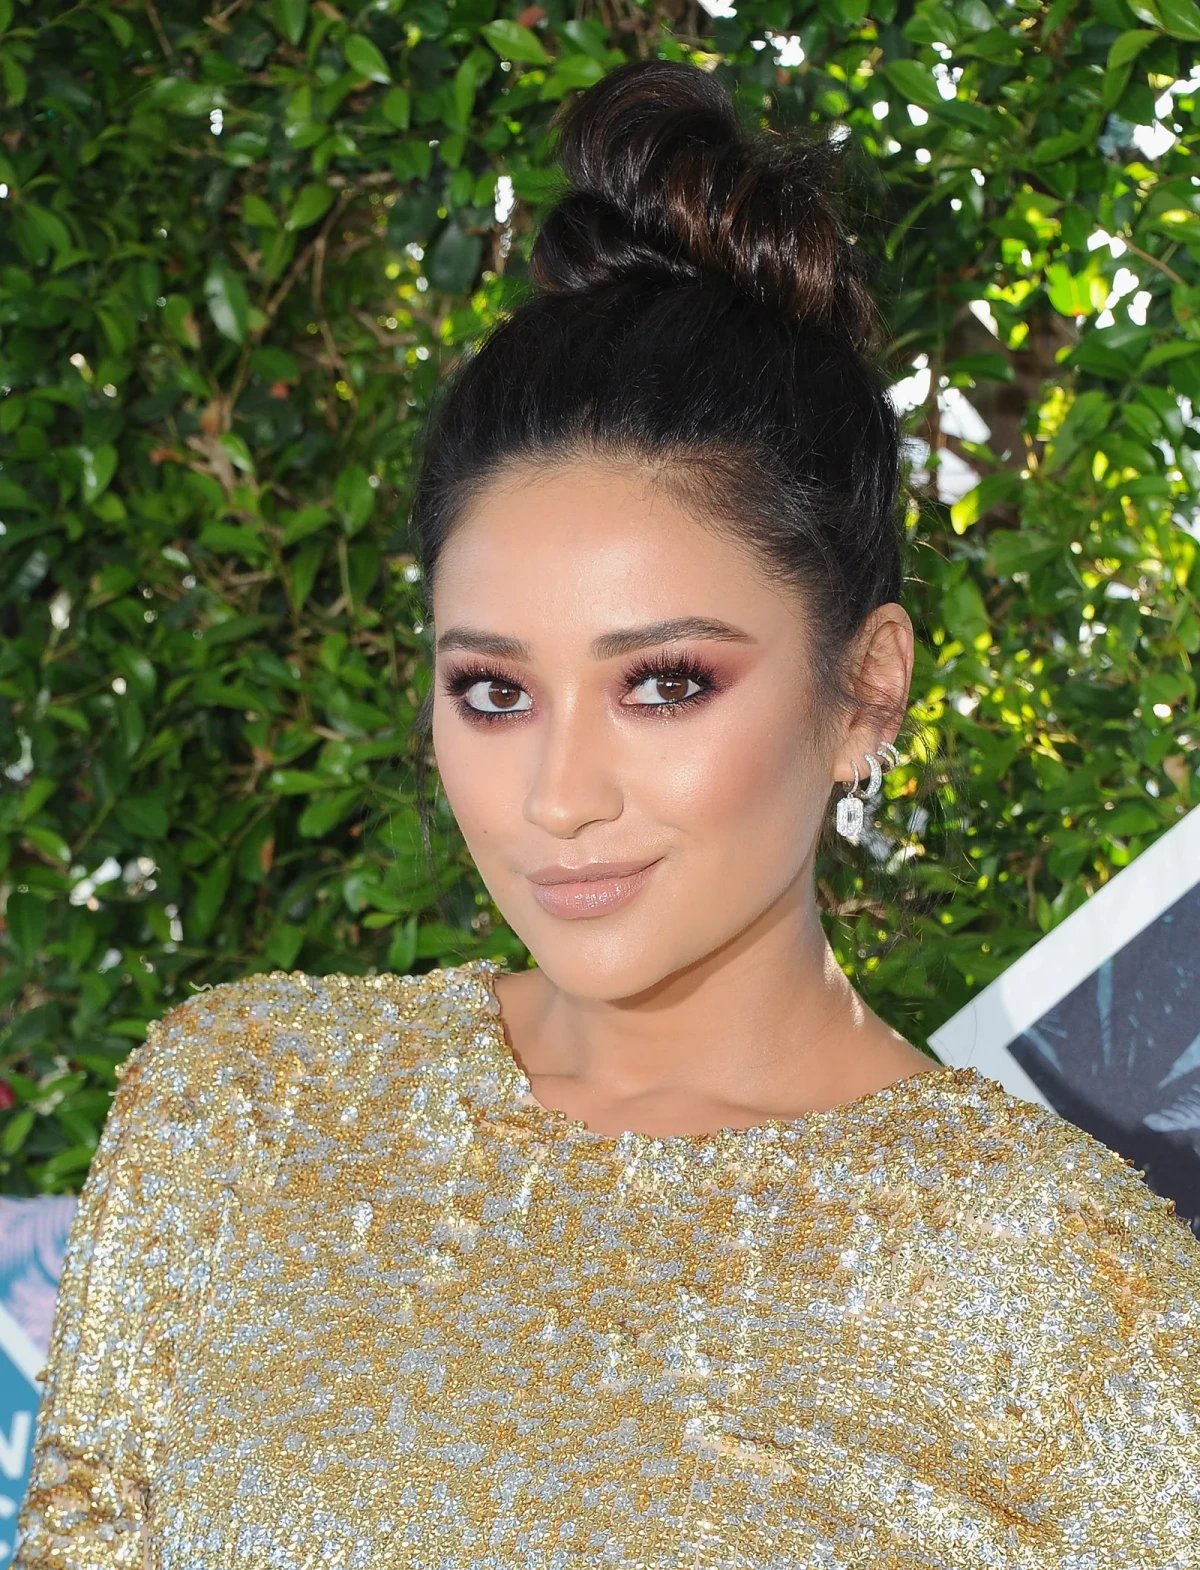
Placement is also a huge deal. A knot that sits right at the crown of your head—the very top—will feel surprisingly light and balanced. If it’s too far back, it will constantly pull on your neck and the front of your hairline. A quick pro tip for finding the perfect spot: imagine a line going straight up from the back of your ears and another going from your chin over the top of your head. Where those two lines meet is the sweet spot. Getting this right is the first step to a better updo.
Step 1: The Foundation – Prepping Your Hair Like a Pro
You can’t build a solid house on a shaky foundation, and the same goes for your hair. Prepping your hair with the right product for its texture is non-negotiable if you want the style to last. For a beginner, this whole process should take about 10-15 minutes, but the prep itself is only a minute or two.
- For Fine or Silky Hair: This hair type is notoriously slippery and lacks the natural grip needed to hold a style. Your secret weapon is adding a bit of grit. Lightly mist a texturizing spray or even a dry shampoo from roots to ends. For a drugstore find, Batiste is a classic that costs around $7. If you want a salon-quality splurge, a texturizing spray from a brand like Oribe is fantastic. Just avoid heavy waxes that will weigh your hair down.
- For Thick or Coarse Hair: Here, the main challenge is managing frizz and bulk. Work a small, pea-sized amount of a smoothing cream or a light-hold gel through your hair. This tames flyaways and makes the hair much more cooperative without feeling stiff.
- For Curly or Coily Hair: The goal is to work with your beautiful texture, not against it. Unless you’re going for a super sleek look, don’t brush out your curls. Instead, use a leave-in conditioner or curl cream to hydrate and define your coils. This keeps the knot from looking frizzy and protects your delicate curl pattern.
Step 2: The Anchor – Why Your Ponytail is Everything
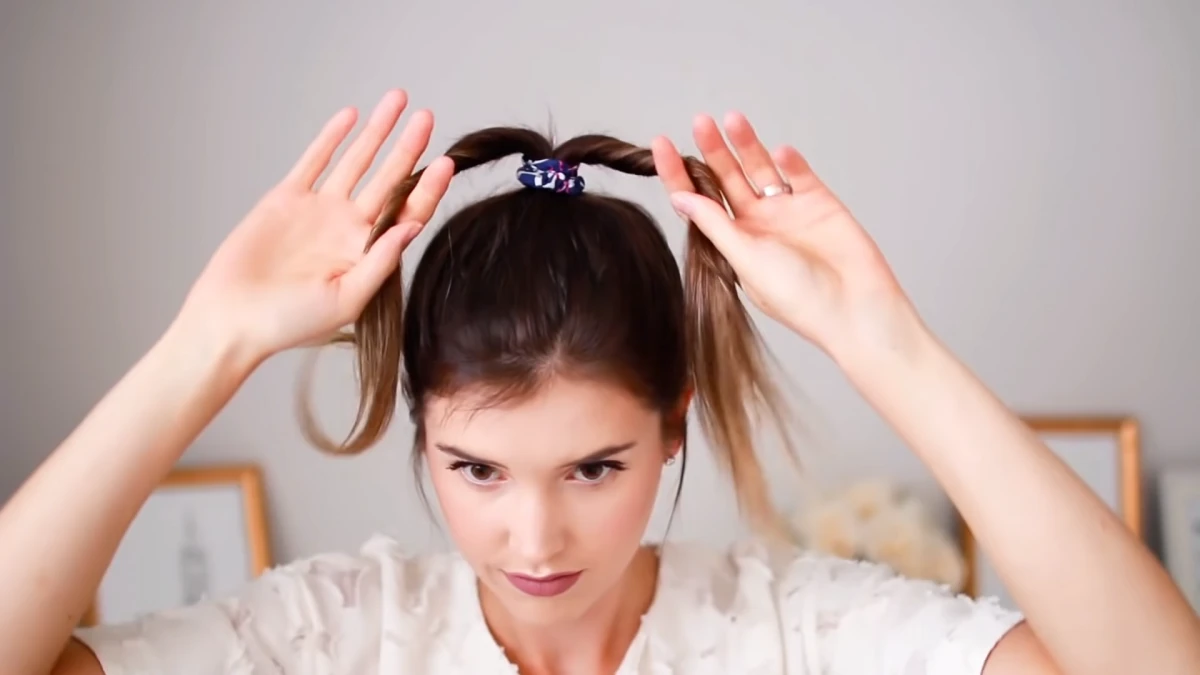
The ponytail is the anchor for your entire style. If it’s loose or bumpy, the whole thing is destined to fail. For a perfectly smooth base, flip your head upside down and gather your hair. If your hair is straight or wavy, a boar bristle brush is amazing for smoothing everything down. For curly hair, just use your fingers to guide it into place to keep the texture intact.
And here’s the single most important trick I can give you. Seriously, if you do nothing else, do this:
The Quick Win: Use the double-elastic method. Instead of one thick hair tie, use two thinner, fabric-covered elastics (the kind without any metal clasps, which are guaranteed to snag and break your hair). Secure the ponytail with the first elastic, looping it just until it’s snug but not painfully tight. Then, take the second elastic and wrap it directly over the first one. This gives you incredible security without having to stretch that first elastic to its breaking point. It’s a 30-second change that makes all the difference.
Step 3: Building the Knot’s Shape and Structure
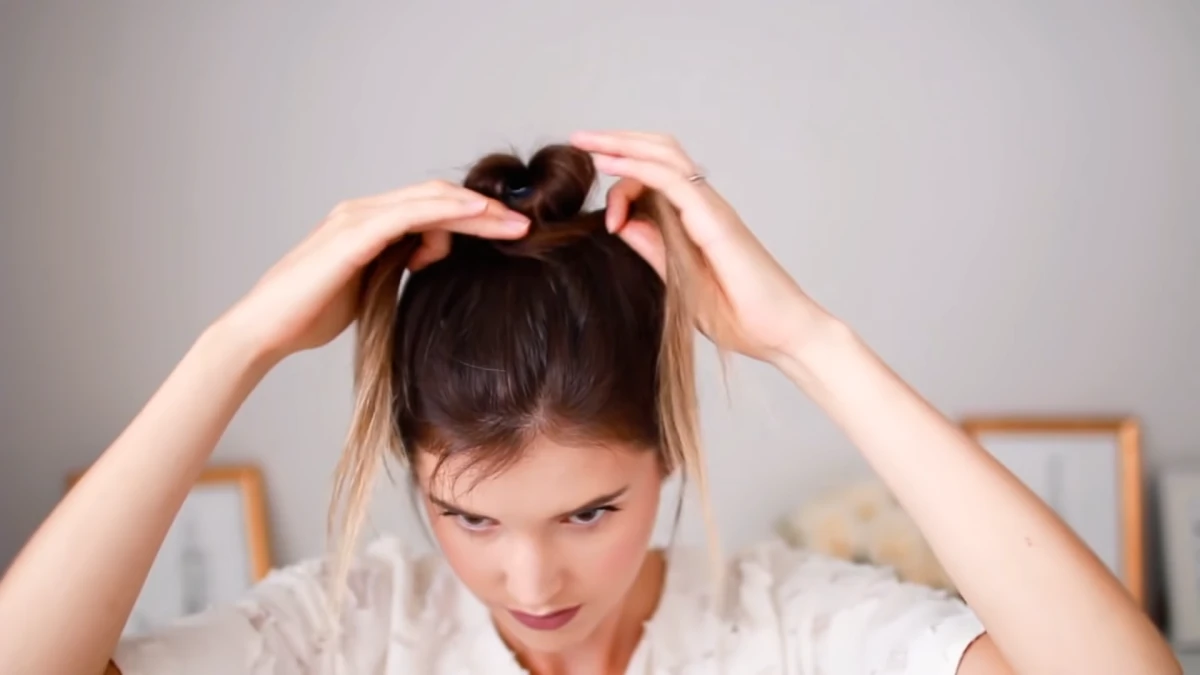
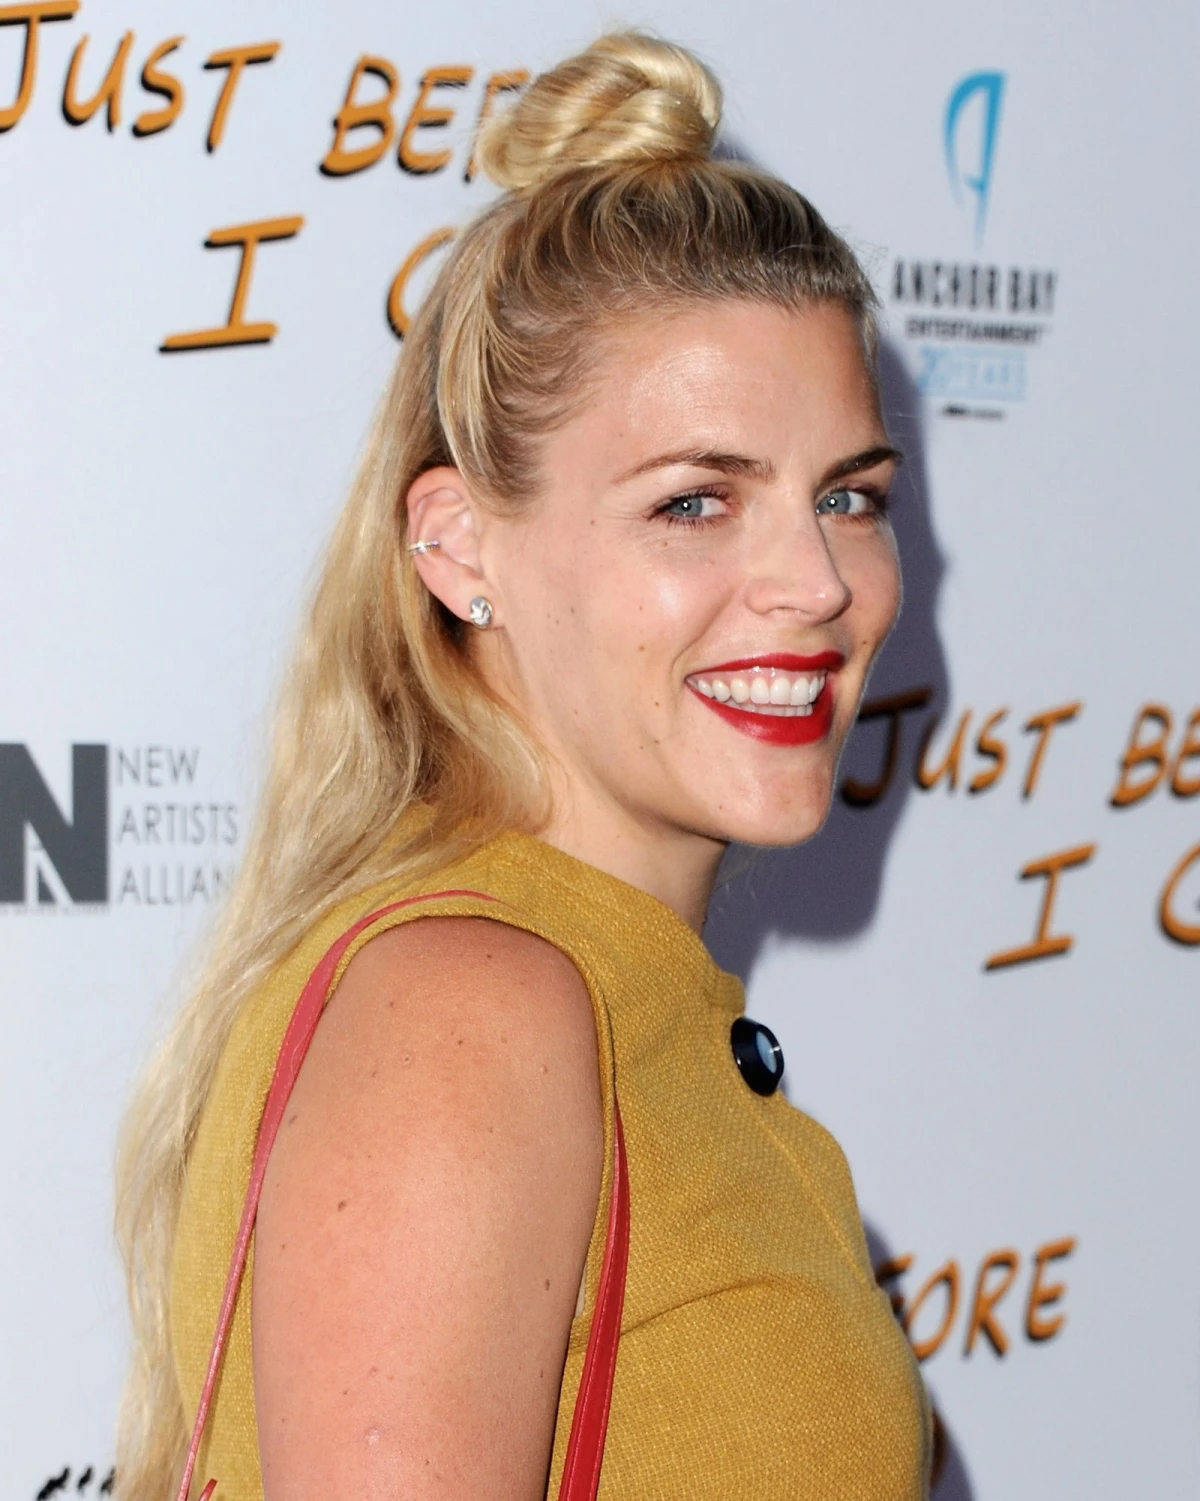
This is where the artistry happens. Ditching the simple twist-and-wrap allows you to control the shape and size of your bun for a much more polished look.
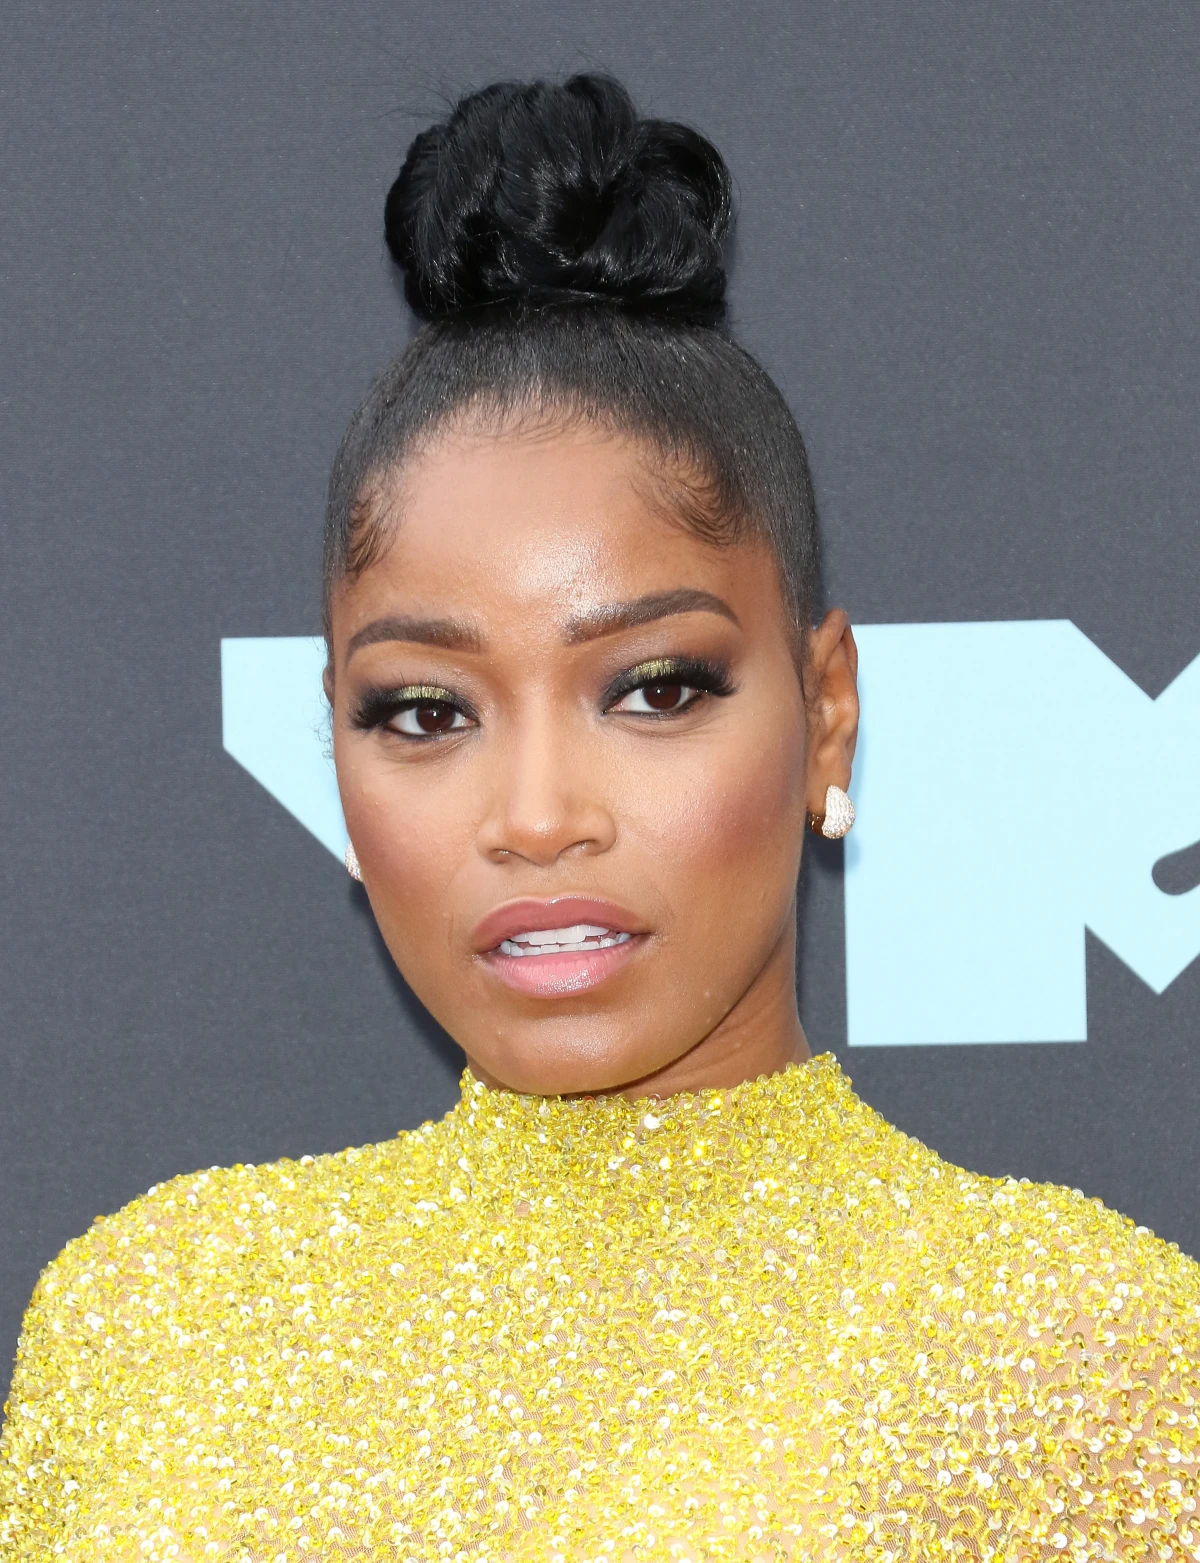
My go-to technique for a fuller, softer knot is the Loop and Tuck. On the final pull-through of your ponytail elastic, don’t pull the hair all the way through. Leave it in a loop, with the ends sticking out. Then, take those ends and wrap them around the base of the elastic to hide it. You can gently tug and “pancake” the loop to make it look bigger and more voluminous before you pin it in place.
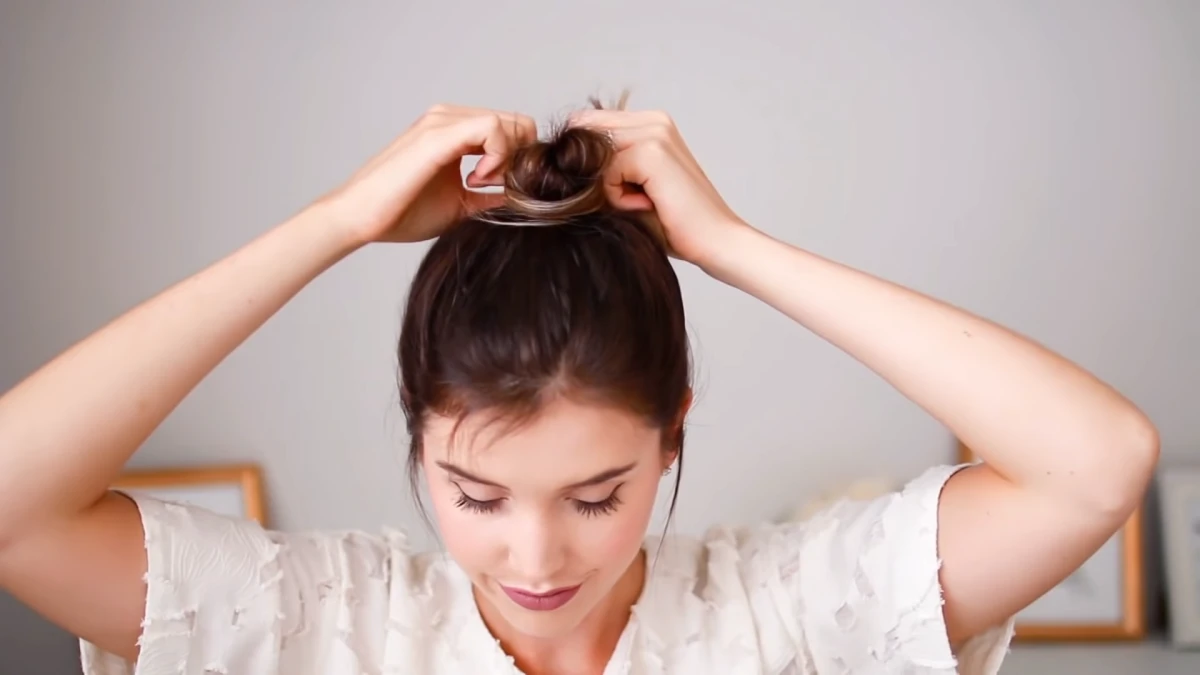
The Secret Weapon: How to Pin Your Knot for All-Day Hold
The right pins, used the right way, are what separate an amateur knot from a professional one. I once did a top knot for a bride at 9 AM, and she texted me at 2 AM saying it hadn’t budged after a full night of dancing. The secret was the prep and the pinning!
Heads up: there are two main types of pins, and they do different jobs.
- Bobby Pins: These are for clamping. You use them to press and hold small, flat sections of hair against your head. They’re great for securing the wrapped ends of your bun.
- U-Pins (or Hairpins): These are the real MVP for updos. They look like big, open ‘U’s and are for anchoring. You use them to connect the bun to the base hair on your scalp. To use one, point the open end into the outer edge of your bun, catch a bit of the bun’s hair, then flip the pin so it points toward the center of the bun and push it into the base. It creates a secure anchor without any pinching. A pack of these costs less than $5 at a beauty supply store.
Common Problems & Quick Fixes
Even pros hit a snag sometimes. Here’s how to fix the most common issues without having to start all over.

- Problem: “My layers are sticking out everywhere!”
Solution: Before you even put your hair up, work a tiny dab of pomade or styling wax onto the ends of your layers to help them stick together. If they still poke out, don’t panic. Just use a bobby pin or a U-pin to gently tuck and secure them into the base of the knot. - Problem: “My top knot looks sad and flat.”
Solution: This is the “pancaking” trick I mentioned! Once your knot is pinned and secure, gently pull on the sides of the loop or bun with your fingertips. Pull it outward, not upward. This will instantly add volume and create a fuller, more relaxed shape. - Problem: “It feels too tight and is already hurting.”
Solution: Take it down. I know, it’s frustrating, but a painful bun is a bad bun. The culprit is almost always the ponytail anchor. When you redo it, make sure you can comfortably fit a finger between the elastic and your scalp. The double-elastic trick helps a ton here because you don’t have to pull either one so tight.
Your Top Knot Toolkit
You don’t need a ton of fancy equipment, but having the right tools makes a world of difference. Here’s a quick shopping list:
- A Good Brush: A boar bristle brush is a great investment for smoothing, and they can range from $15 to $40 depending on the brand.
- Texturizing Spray or Dry Shampoo: Essential for fine hair. Expect to pay between $6 and $30.
- No-Damage Hair Elastics: A pack of these is usually under $5 at any drugstore. Always have these on hand!
- U-Pins and Bobby Pins: You can get multi-packs of both for around $5-$10 at places like Ulta or even Target.
And that’s it! With a little practice, these techniques will become second nature. You’ll be able to create a beautiful, stable, and comfortable top knot that looks like you just stepped out of a salon.
Galerie d’inspiration
To achieve that effortless hold without the dreaded midday slump, your toolkit is key. Pros often rely on a specific combination for a bun that’s both secure and gentle on your strands.
- Spiral Hair Ties: Brands like Invisibobble or Kitsch offer spiral ties that distribute pressure evenly, preventing the ponytail dent and reducing tension headaches.
- U-Shaped Hair Pins: Unlike bobby pins that clamp hair down, French-style U-pins, like those from Dioche, are used to anchor the bun’s shape by weaving them into the base. They provide incredible hold without pulling.
- A Boar Bristle Brush: For smoothing flyaways around the hairline for that sleek finish, nothing beats a classic Mason Pearson or a more affordable alternative from Briogeo.
A single strand of hair can support up to 100 grams of weight. An entire head of hair could theoretically support several tons.
While that’s a fun fact, it also highlights the immense potential force you’re putting on your follicles. When creating a top knot, the goal isn’t to test this strength! It’s to work with it gently. Spreading the weight of the bun over a wider base and using pins to secure it—rather than just tightening the elastic—prevents that focused pull that leads to damage and the very real risk of traction alopecia over time.
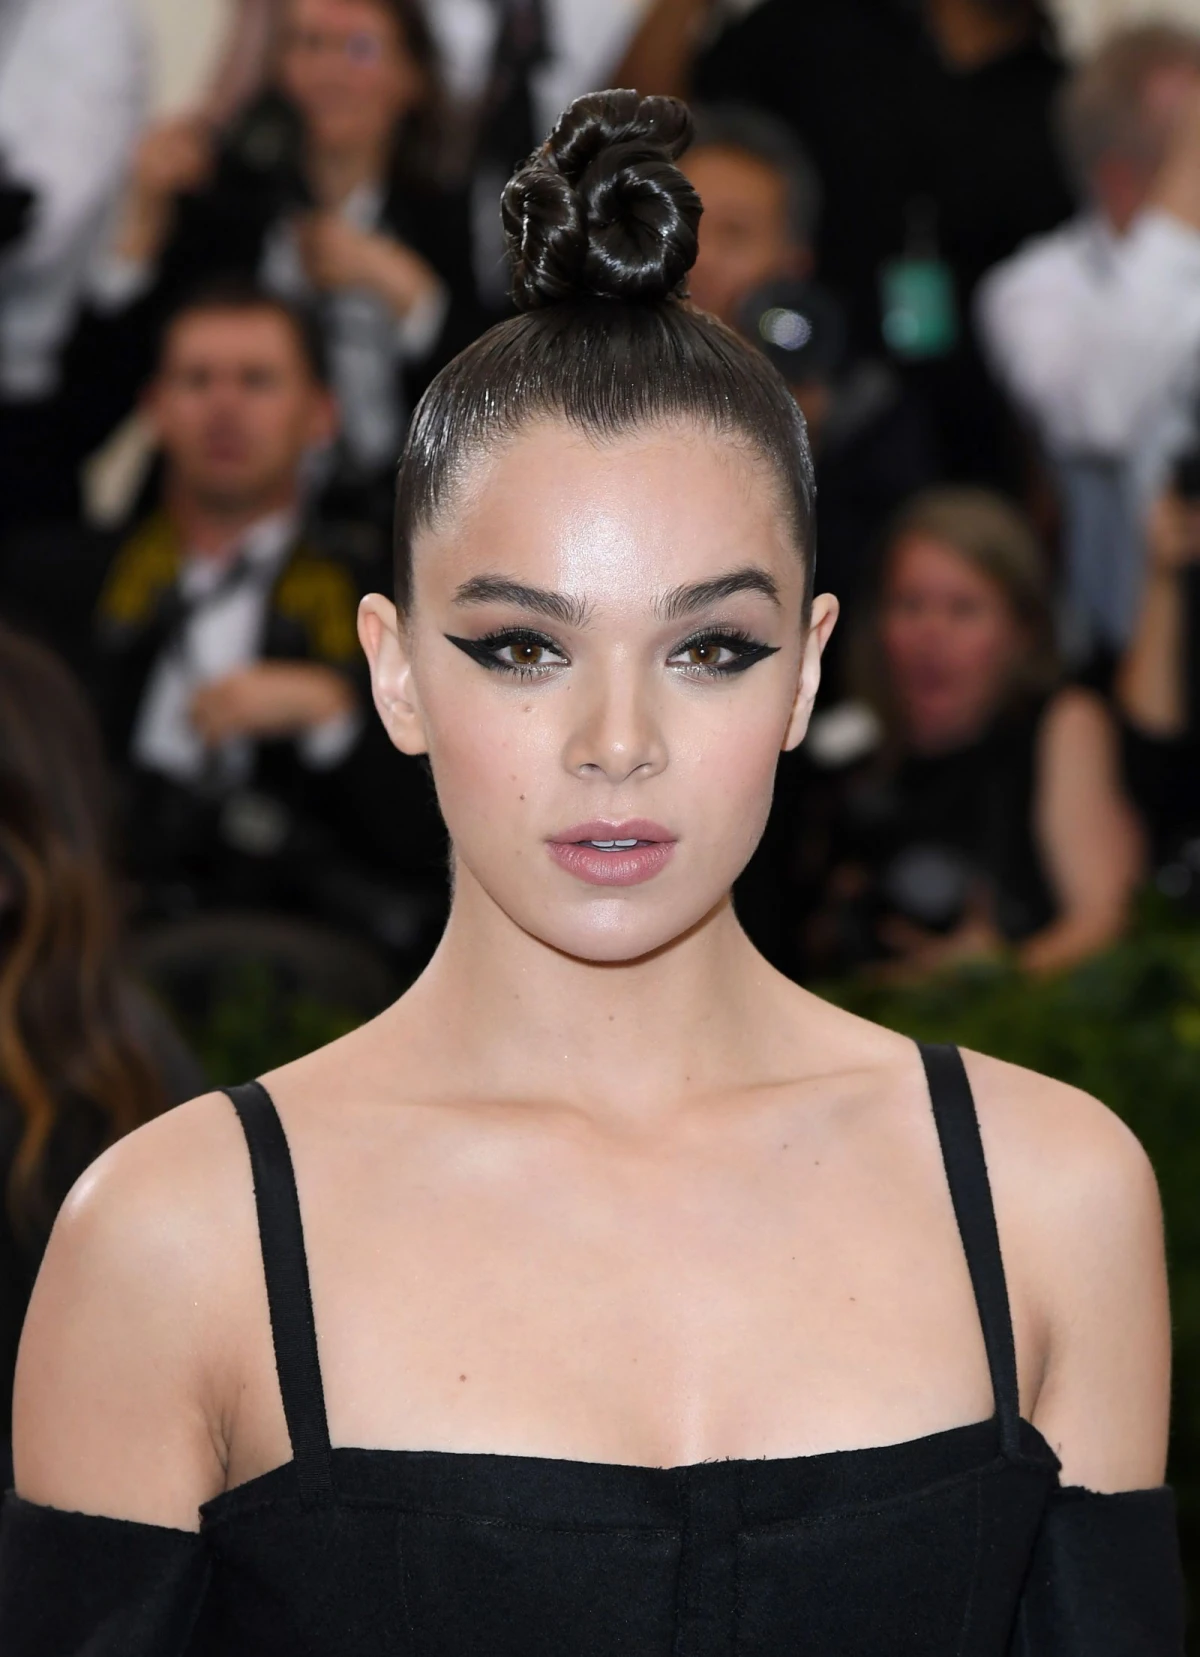
For a Sleek, Glass-Like Finish: You’ll need a strong-hold, anti-humidity hairspray. A light mist of L’Oréal’s Elnett Satin Hairspray over the finished bun and around the hairline will lock everything in place without stiffness. The micro-diffusion technology keeps it touchable.
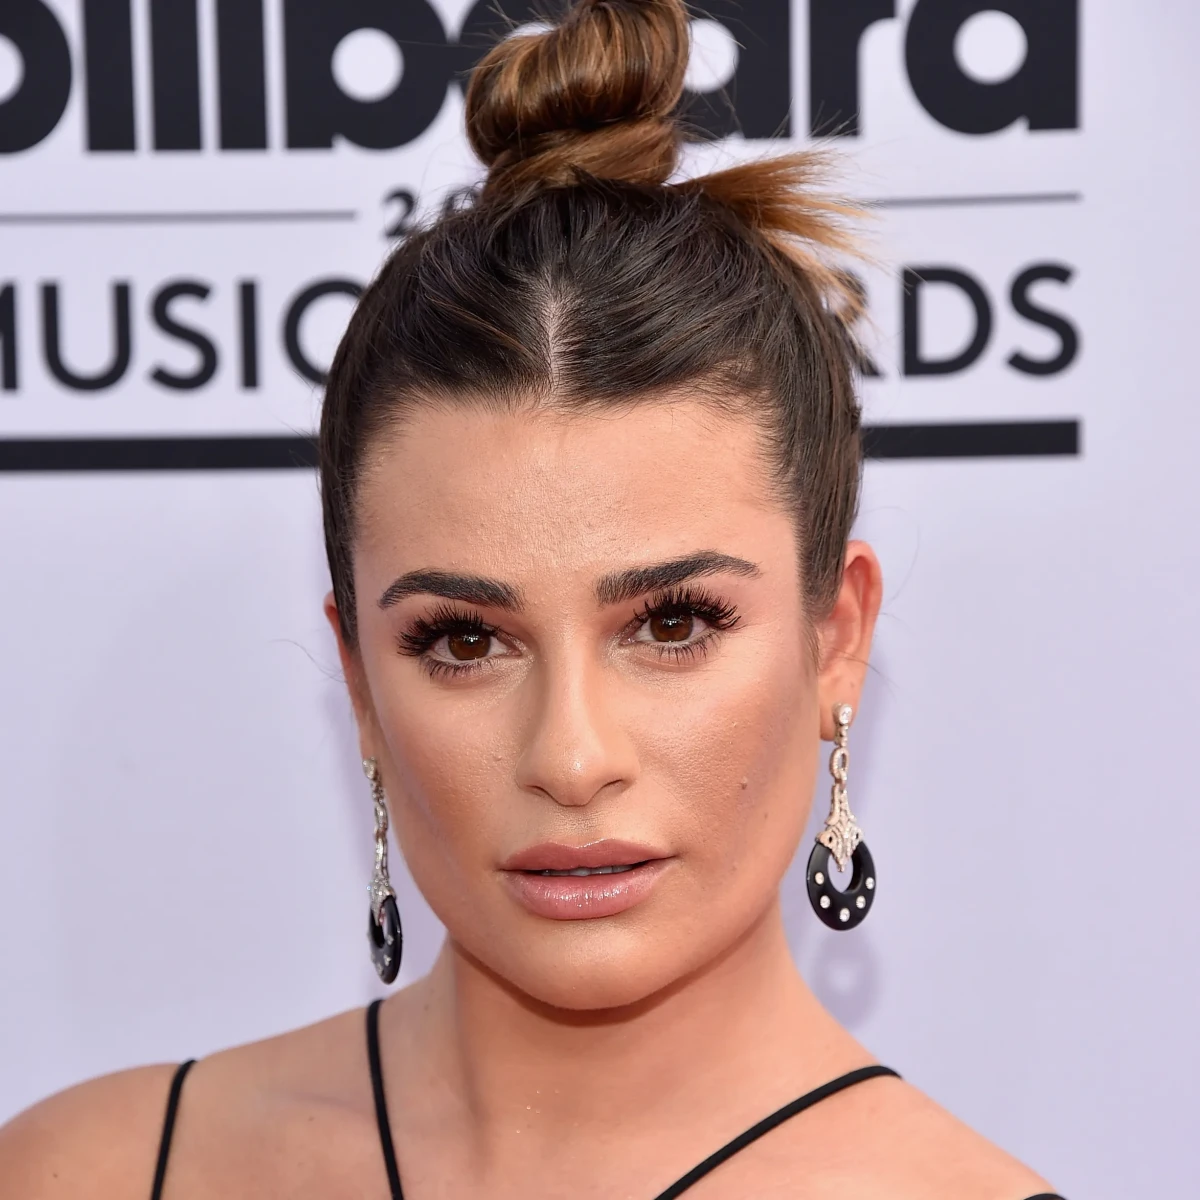
For a Textured, Undone Vibe: The goal is volume and piecey-ness. Before and after twisting the bun, use a dry texturizing spray. Oribe’s Dry Texturizing Spray is the iconic choice for adding airy volume and grip, making the hair easier to shape into a fuller, more romantic knot.

Is the top knot just a modern trend?
Not at all! Its roots run deep through history and across cultures. Ancient Greek statues depict women with their hair piled high in elaborate knots, a style known as the ‘korymbos.’ In Japan, the Samurai’s ‘chonmage’ top knot was a symbol of status and readiness. The modern top knot borrows from this long lineage, blending practicality with a timeless statement of elegance.
- Feel completely put-together in seconds.
- Enjoy a subtle, face-lifting effect.
- Move through your day without a single hair in your face.
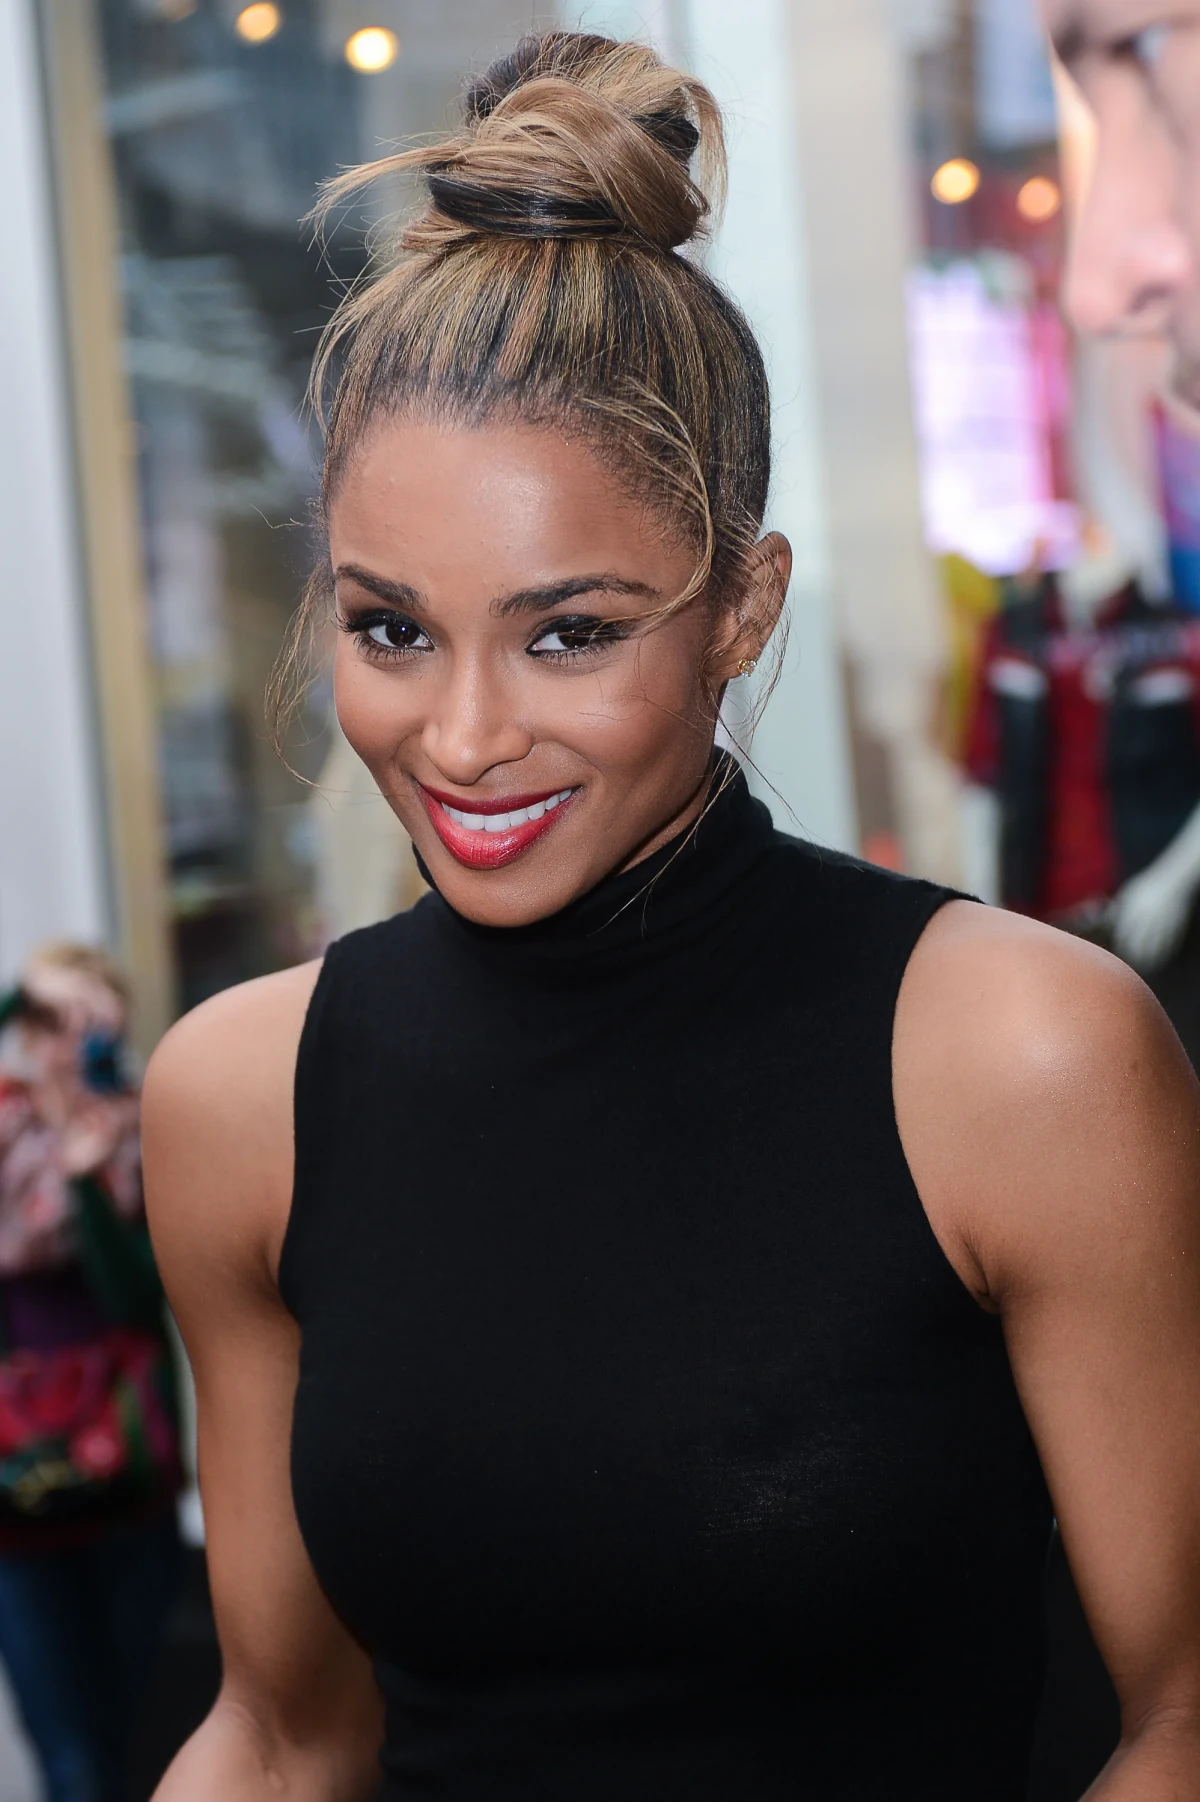
The secret? Starting with the right texture. Perfectly clean, silky hair is often too slippery for a knot to hold. Stylists almost always prefer second-day hair. If your hair is freshly washed, add some grip with a salt spray or a puff of a quality dry shampoo like Klorane at the roots before you begin.
A common mistake: Focusing only on the bun itself and forgetting the foundation. If you start with a lumpy or off-center ponytail, your final top knot will never look balanced or polished. Take the extra minute to brush your hair smooth, directing it precisely to your chosen spot on the crown before securing the ponytail. This single step is the difference between a homemade look and a salon-quality style.
For the red carpet, we often secure the base of the ponytail with a hair bungee instead of a regular elastic. It allows for a tighter, cleaner base without snagging a single hair on the way in or out.
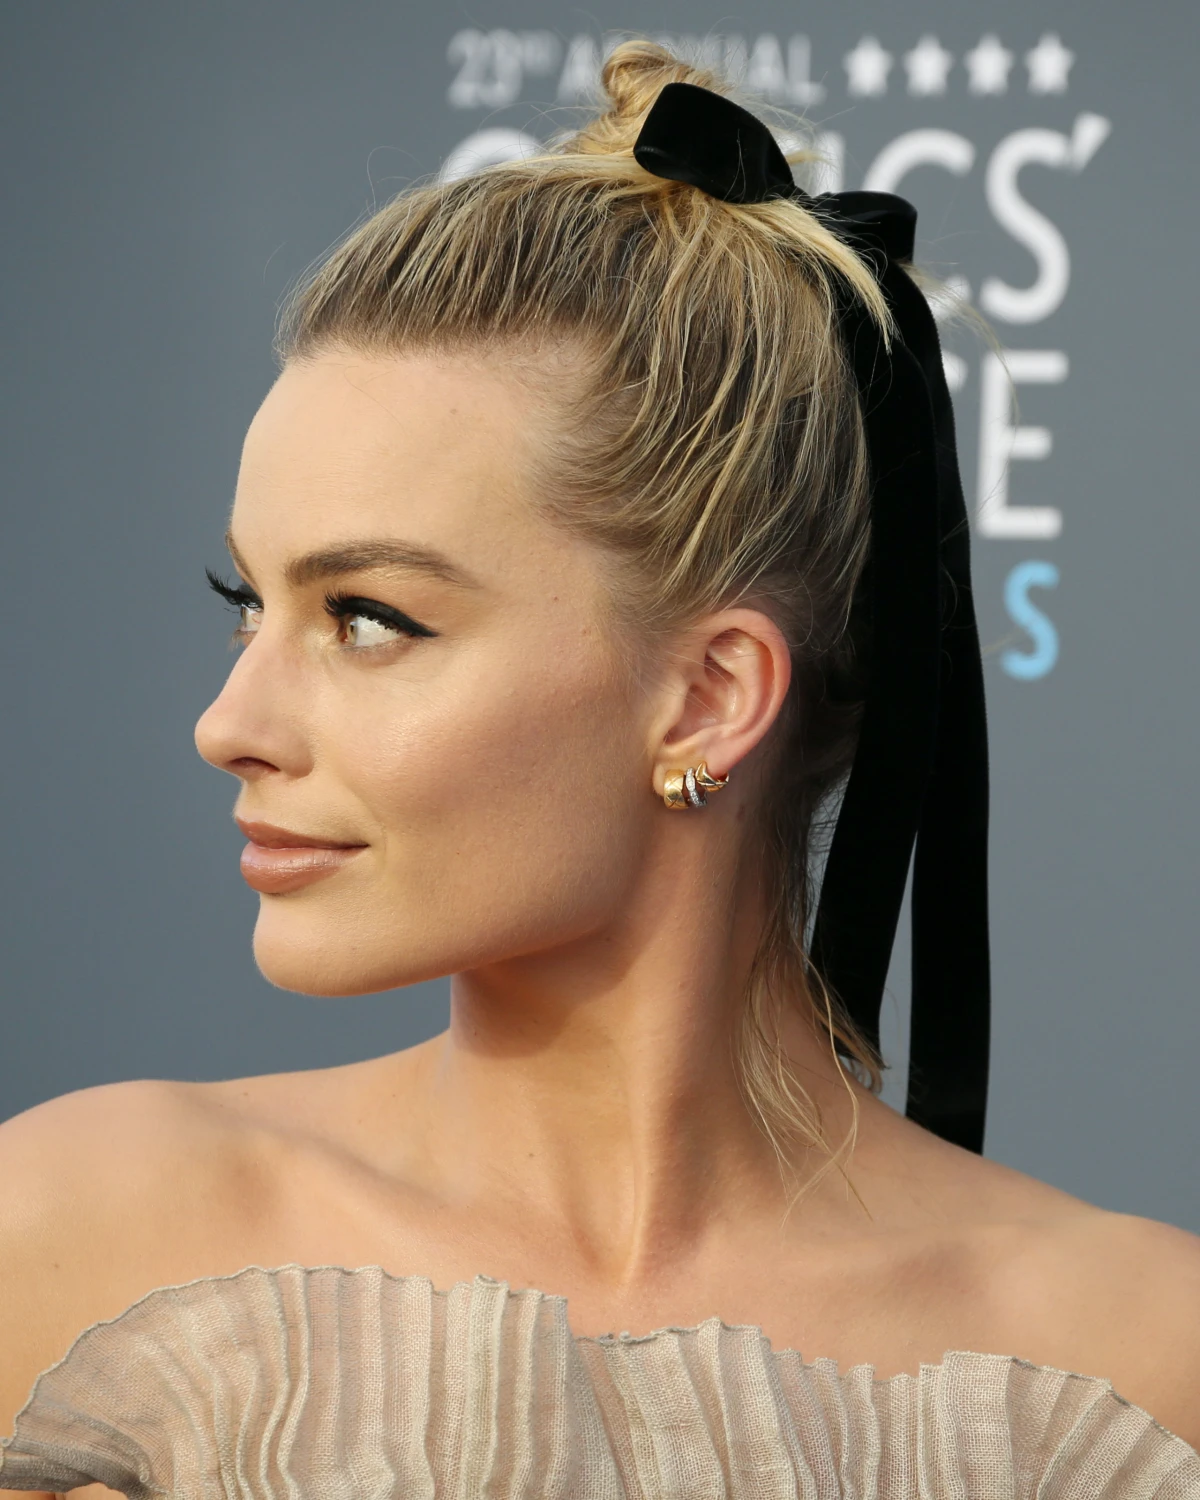
Don’t let your perfect knot feel plain. Transforming it from a daytime convenience to an evening statement is as simple as adding a single, well-chosen accessory. Try wrapping a thin silk scarf from a brand like A.P.C. around the base, or slide in a pair of statement jeweled pins from Lelet NY for an unexpected touch of sparkle. The bun becomes your canvas.


