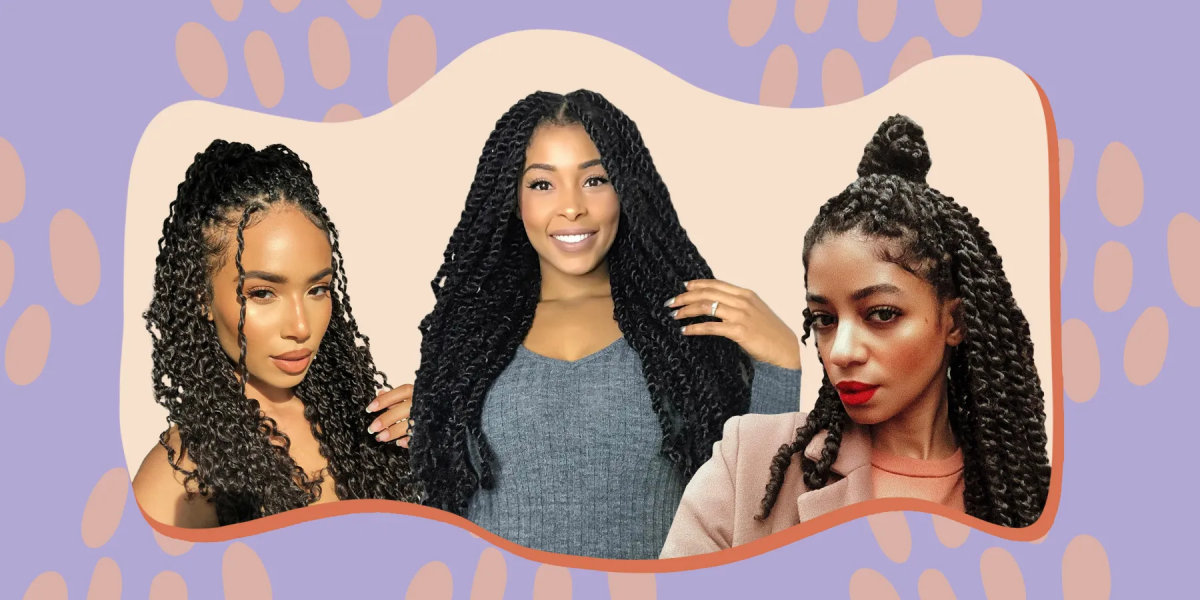
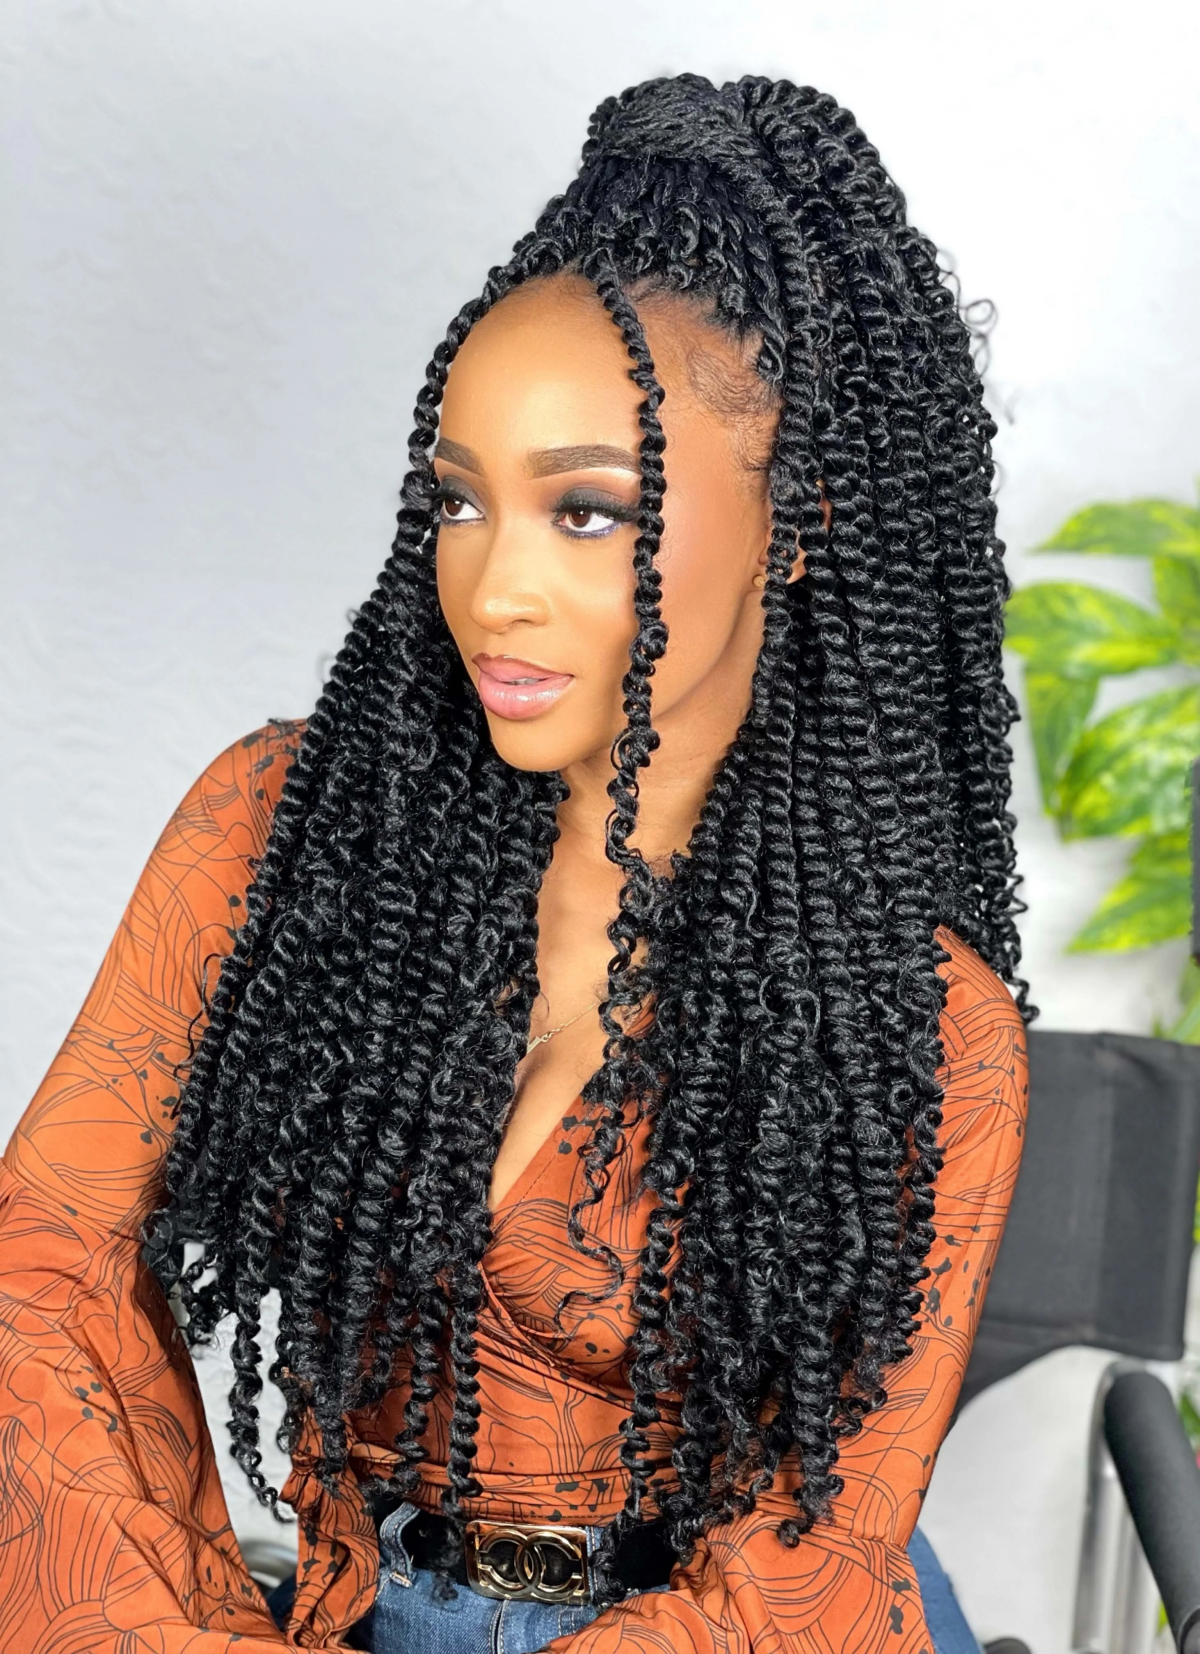
The Real Deal on Passion Twists: Your Complete Guide to Getting Them Right
I’ve been in the hair game for a long time, and I’ve seen styles come and go. But let’s be real, some just have that magic. Passion Twists are definitely one of them. When they’re done right, they’re gorgeous, easy to manage, and a fantastic way to give your natural hair a break. But when they’re done wrong? Oof. It can be a nightmare of damage and frustration.
In this article
So, my goal here is to cut through the fluff and give you the insider info I’ve picked up from countless hours behind the chair. We’re going to talk about more than just pretty pictures—we’re diving into what makes a style last, keeps your hair healthy, and is actually worth your money. Let’s get into it.
First Things First: Are Passion Twists Actually a Good Fit for You?
Before you even add a single pack of hair to your online cart, we need to have an honest chat about your own hair. A protective style is supposed to protect, not punish. This is always the first conversation I have with a client, because your hair’s health is way more important than any trend.

Your Hair’s Current Situation
Be honest with yourself: how’s your hair feeling? If you’ve recently bleached or relaxed it, you need to hit the pause button. Chemically treated hair is more fragile, and even the gentle tension from twists can lead to serious breakage. I once had a new client who insisted on getting twists just three weeks after a bleach job. I had to refuse the service. She went somewhere else, and a month later, she was back in my chair asking for help with the breakage around her hairline. It’s just not worth the risk. I always recommend waiting at least 8-10 weeks after a major chemical service and doing plenty of deep conditioning treatments in between.
Hair Density and Length Check
Density is just about how much hair you have, not how thick the individual strands are. It makes a big difference in the final look.
- For lower-density or fine hair, where you can see your scalp pretty easily, we have to be smart. Making the parts too small or the twists too numerous can look sparse and, worse, put too much stress on your roots. The better move is to go for slightly larger sections. This creates a look of fullness without weighing your hair down.
- If you have high-density, thick hair, the main challenge is managing the weight. We can get away with smaller parts, but you have to be mindful of how heavy the final style will be. A head full of super long, heavy twists can literally be a pain in the neck and cause tension alopecia over time.
And for length? You’ll need at least 4 inches of natural hair when stretched out. Anything shorter, and the twists just don’t have enough to hang onto. They’ll likely slip out in a week, and that’s a total waste of your time and money.
Who Should Probably Skip This Style
To be frank, Passion Twists aren’t for everyone. I would strongly advise against them if you’re dealing with:
- Active hair loss: If you’re shedding more than usual or have traction alopecia, adding any extra weight or tension is a recipe for disaster. Let your scalp heal first.
- Extremely fragile hair: If your hair snaps easily when you comb it, it’s not ready to support extensions. Focus on a routine of strengthening treatments for a while.
- A very sensitive scalp: Some people are just prone to folliculitis (those little red bumps) from tension. If a tight ponytail makes your scalp angry, this style might be too much unless your stylist is a true expert in low-tension techniques.
The Nitty-Gritty: Hair, Tools, and Finding a Good Stylist
The signature look of Passion Twists comes down to two things: the right kind of hair and the specific twisting technique. Knowing this helps you understand what you’re paying for.
The Best Hair for the Job (and What It’ll Cost)
The gold standard for this style is a specific type of synthetic hair called Water Wave. The most well-known and, honestly, still the best is from the Freetress brand. It has a silky feel and a defined wave pattern that helps it grip your natural hair while still looking fluid and bouncy. A coarser hair (like Marley hair) will give you a different look, more like a spring twist. Hair that’s too silky will just unravel.
Heads up on cost: Expect to pay about $6 to $9 per pack for good quality Water Wave hair, which you can find at most beauty supply stores or online. For a full head of shoulder-to-mid-back length twists, you’ll probably need 5-7 packs. For waist-length, you’re looking at 8-10 packs. That means you should budget between $40 and $90 just for the hair. My advice? Always buy one more pack than you think you’ll need. Running out mid-install is the worst.
How to Spot a Pro (and Avoid a Disaster)
Finding a good stylist is key. Here are some green flags and red flags to look for when you’re scrolling through their work:
- Red Flag: Every single client photo shows an unnaturally tight, shiny scalp, especially around the hairline. That shine isn’t product—it’s skin being pulled taut. This means pain and potential damage. Messy, inconsistent parts are another bad sign, as they lead to uneven tension.
- Green Flag: The stylist shows photos of the twists after a few weeks of wear, not just fresh out of the chair. This shows they’re confident in their work’s longevity. Clean, consistent parting is a must. And even better, look for a stylist who requires a consultation. It shows they care about your hair’s health.
The Installation: Pro vs. DIY
A quality installation takes time. I typically block out 5 to 7 hours for a full head. Rushing is not an option.
The Pro Installation Process
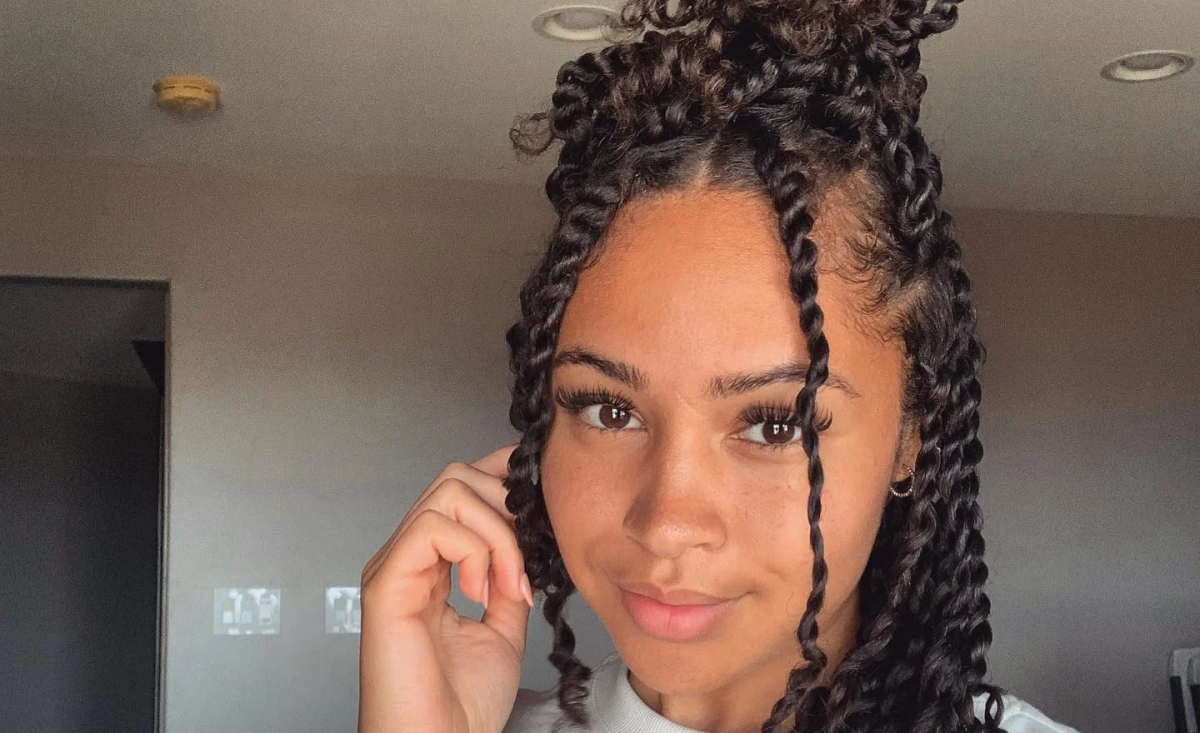
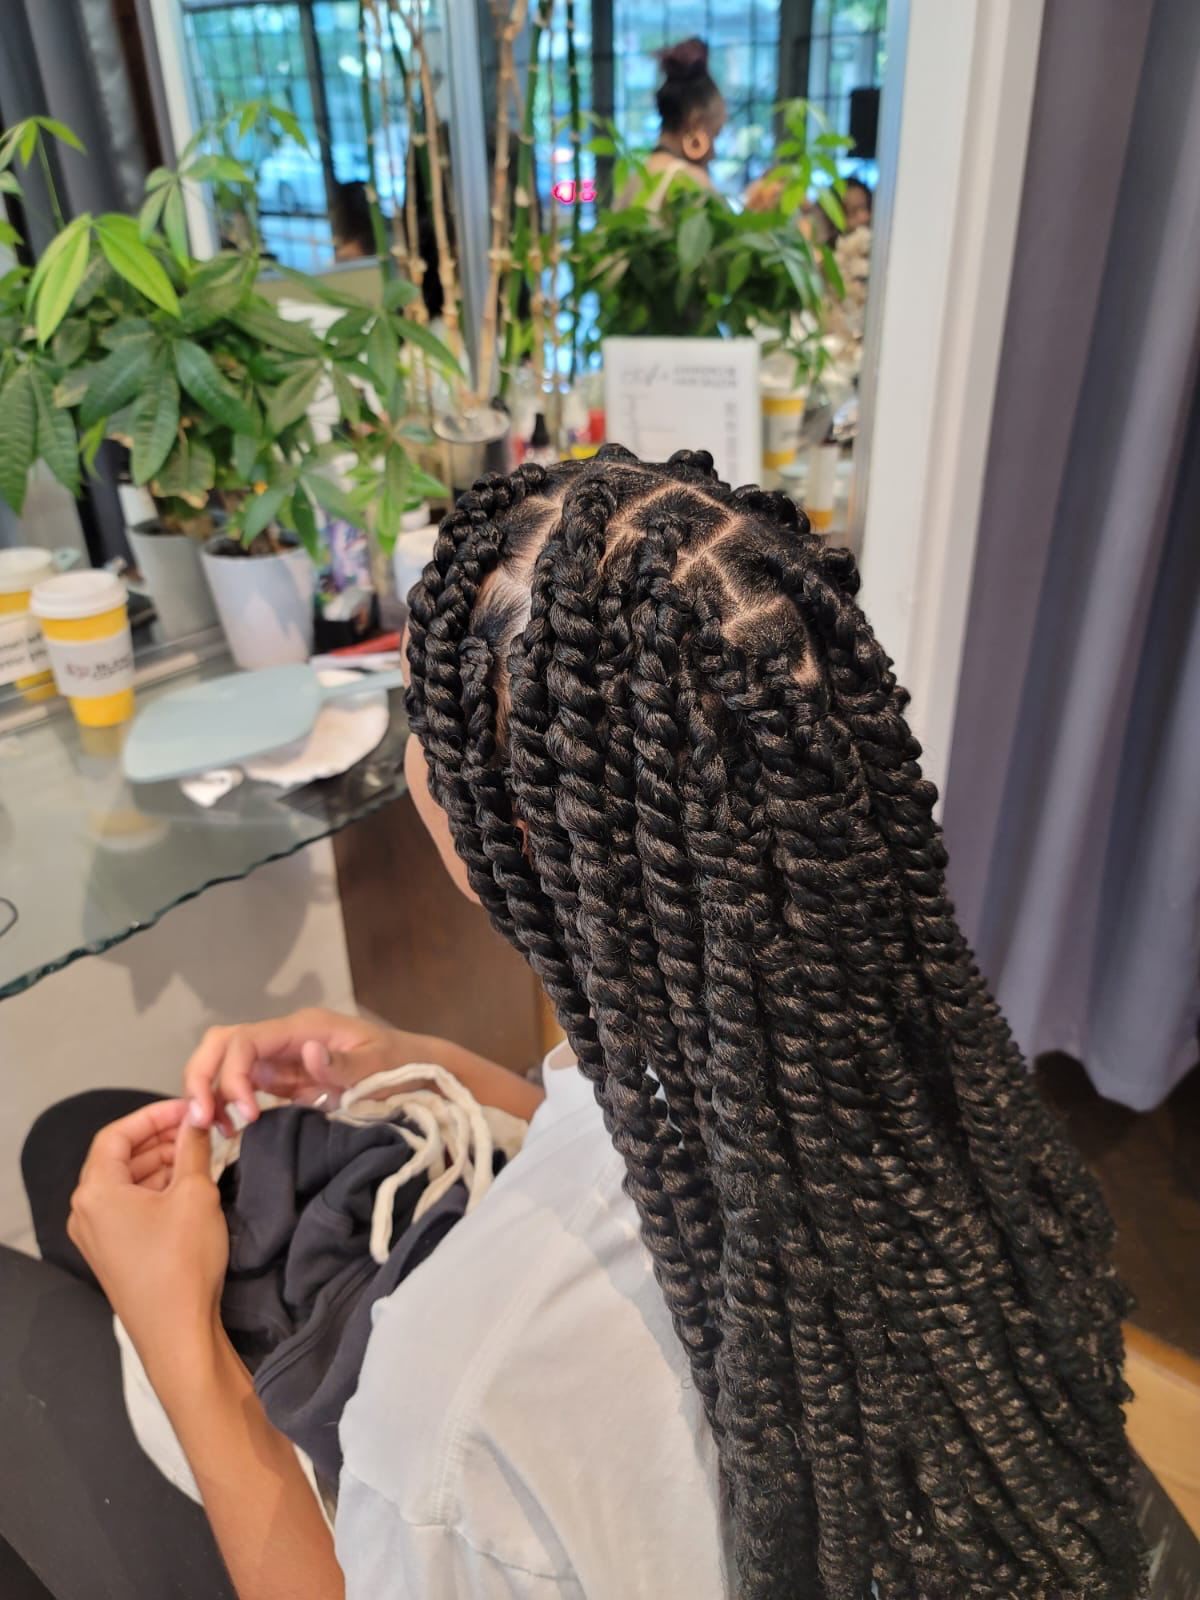
First, your hair should be freshly washed, deep-conditioned, and gently blown out to stretch it. This makes parting clean and minimizes tangles. The stylist will then create a neat grid of parts and, for each twist, start with a small, flat braided base (sometimes called an “invisible root”). This anchors the twist securely without pulling. Then comes the secret sauce: the “twist-and-roll” method. As they twist the two main strands around each other, they’re also twisting each individual strand in their fingers, like making a rope. This is what creates that unique, slightly undone look that won’t unravel. Finally, the ends are dipped in hot (not boiling!) water to seal them.
So, what’s the bill? A professional installation can run you anywhere from $150 to over $400, depending on where you live, the stylist’s experience, and the desired length and size of your twists. Always get a price quote during your consultation!

Thinking of Doing It Yourself?
I get it. You’re looking at the price and thinking, “Can I just do this myself?” The honest answer is: maybe, but it’s tough. Parting the back of your own head neatly is a workout, and getting the tension right is tricky. The hardest part for beginners is mastering that twist-and-roll motion. My description is a good start, but it’s hard to visualize. My best advice for brave DIY-ers is to search on YouTube for “passion twist finger roll technique” to see it in action. Be patient, and don’t pull too tightly on your own scalp!
Your Maintenance Plan: Keeping Twists Fresh
Once you leave the salon, the ball is in your court. Good care can make the difference between a style that lasts four weeks and one that lasts eight. This is a lower maintenance style, not no maintenance.
Nighttime is Non-Negotiable
You absolutely must protect your hair while you sleep. The friction from a cotton pillowcase will cause frizz faster than anything. Gather your twists into a loose high ponytail (often called a “pineapple”) and tuck it all into a large satin or silk bonnet. A satin pillowcase is great extra protection. You can find bonnets and pillowcases for around $15, and it’s the best money you’ll spend.
Quick Troubleshooting FAQ
- “Help, my scalp is so itchy!” This is usually from dryness. Mix some water with a few drops of tea tree oil in a spray bottle and spritz it directly on your scalp for relief. Avoid thick, heavy greases that just clog your pores.
- “My twists feel super heavy and stiff.” This is normal for the first day or two, especially if they’re long. They’ll loosen up and feel more flexible after a couple of days. If they are genuinely painful, however, call your stylist.
- “How do I control the frizz?” Some frizz is inevitable. You can smooth a light styling mousse (like The Doux Mousse Def or Lotta Body’s setting lotion) down the length of the twists to tame flyaways.
- “My own hair is starting to poke out!” This happens. You can try to smooth it back down with a bit of edge control (Style Factor Edge Booster is a popular one that doesn’t flake) or, very carefully, snip the fuzzy bits with small scissors.

The Exit Strategy: Taking Them Down Safely
This is the most important rule: a protective style isn’t protecting anything if you leave it in too long.
The 6-to-8-Week Rule
I tell all my clients not to wear their Passion Twists for more than eight weeks, and honestly, six is even better. As your hair grows out, that new growth can start to tangle and lock up with neighboring sections. The weight of the twist hanging from that small, tangled section can cause some serious breakage.
Pro Tip: To make your style last the full 8 weeks, consider getting a “refresh.” Around week 4 or 5, you can have a stylist redo just the twists along your hairline and down your main part. It costs much less than a full install and makes the entire style look brand new.
The Right Way to Remove Them
Set aside a couple of hours for this—don’t rush it. First, cut each twist an inch or two below where your own hair ends. Then, gently unravel the twist. You’ll see a little ball of buildup and shed hair at the root. This is normal! Do NOT try to comb this out dry. Douse that section with a conditioner that has a lot of slip and gently work it apart with your fingers first, then a wide-tooth comb. Only after every single twist is out and detangled should you even think about shampooing.
Afterward, treat your hair to a clarifying wash to get rid of all the buildup, followed by a deep moisturizing conditioner. Give your hair a break for at least a week before jumping into another long-term style. Your scalp will thank you for it!
Galerie d’inspiration
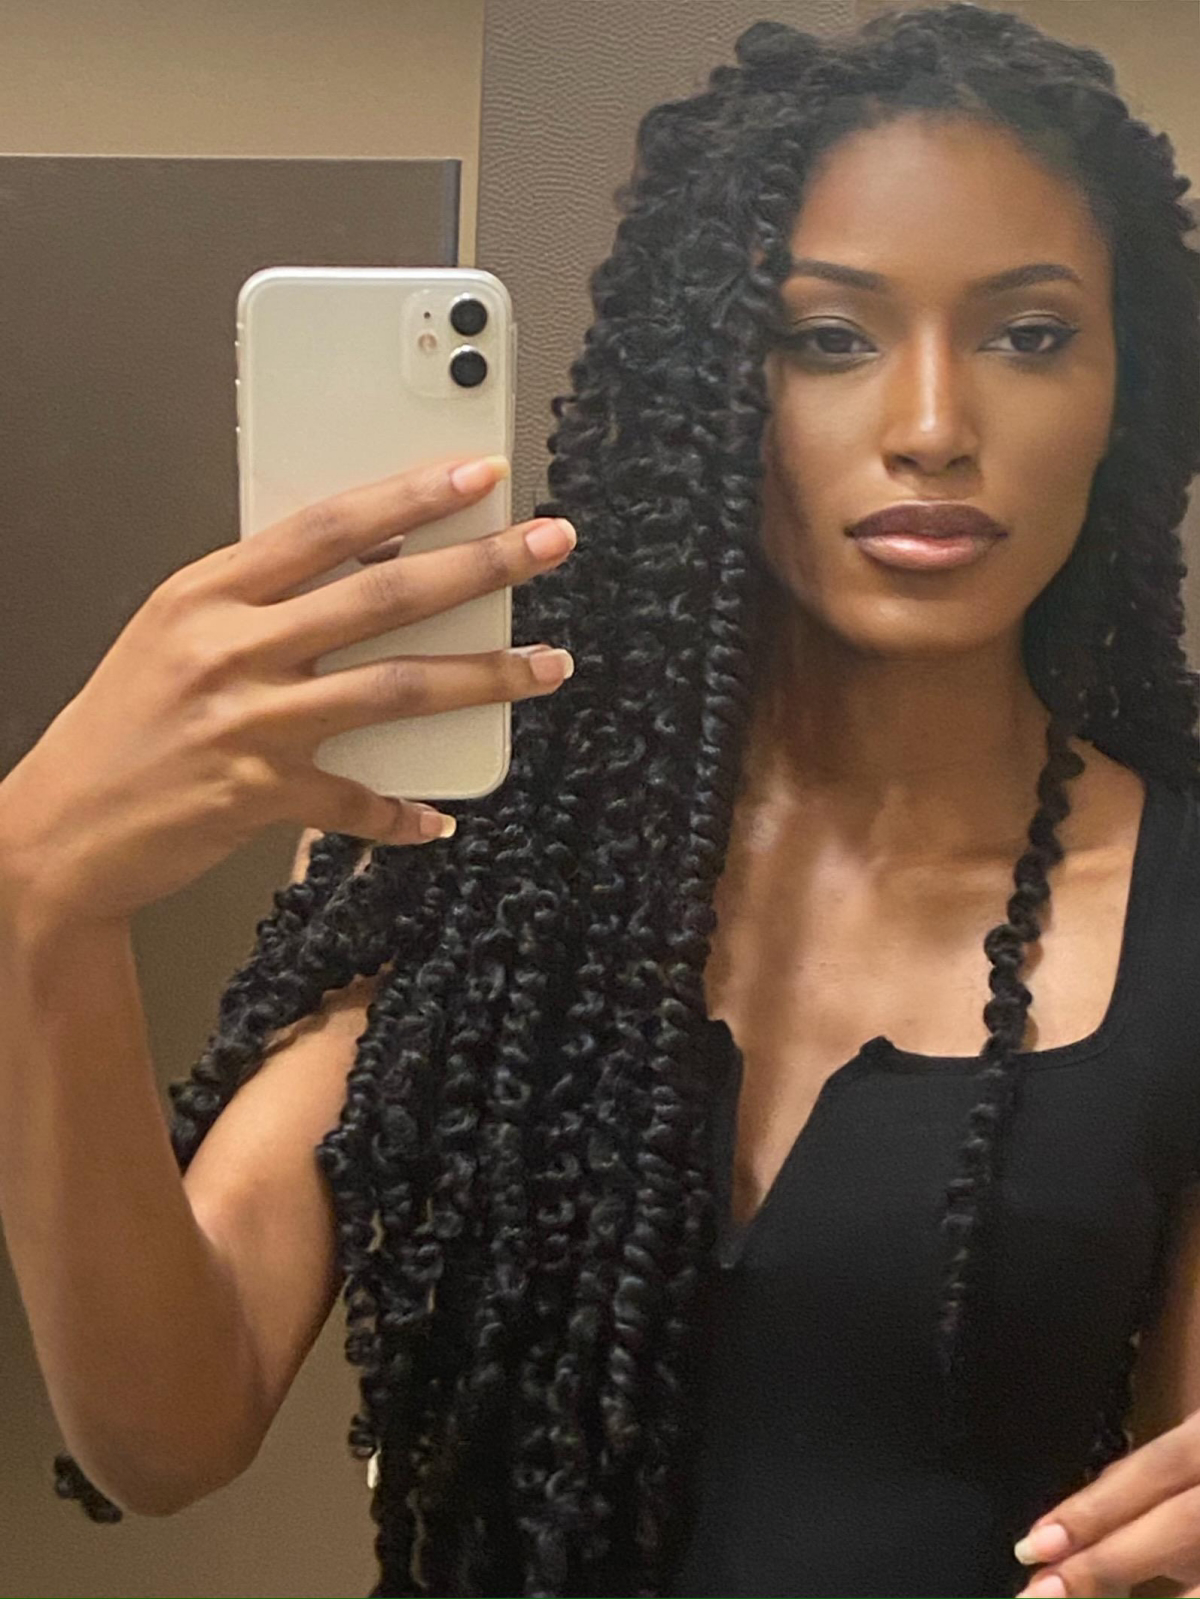
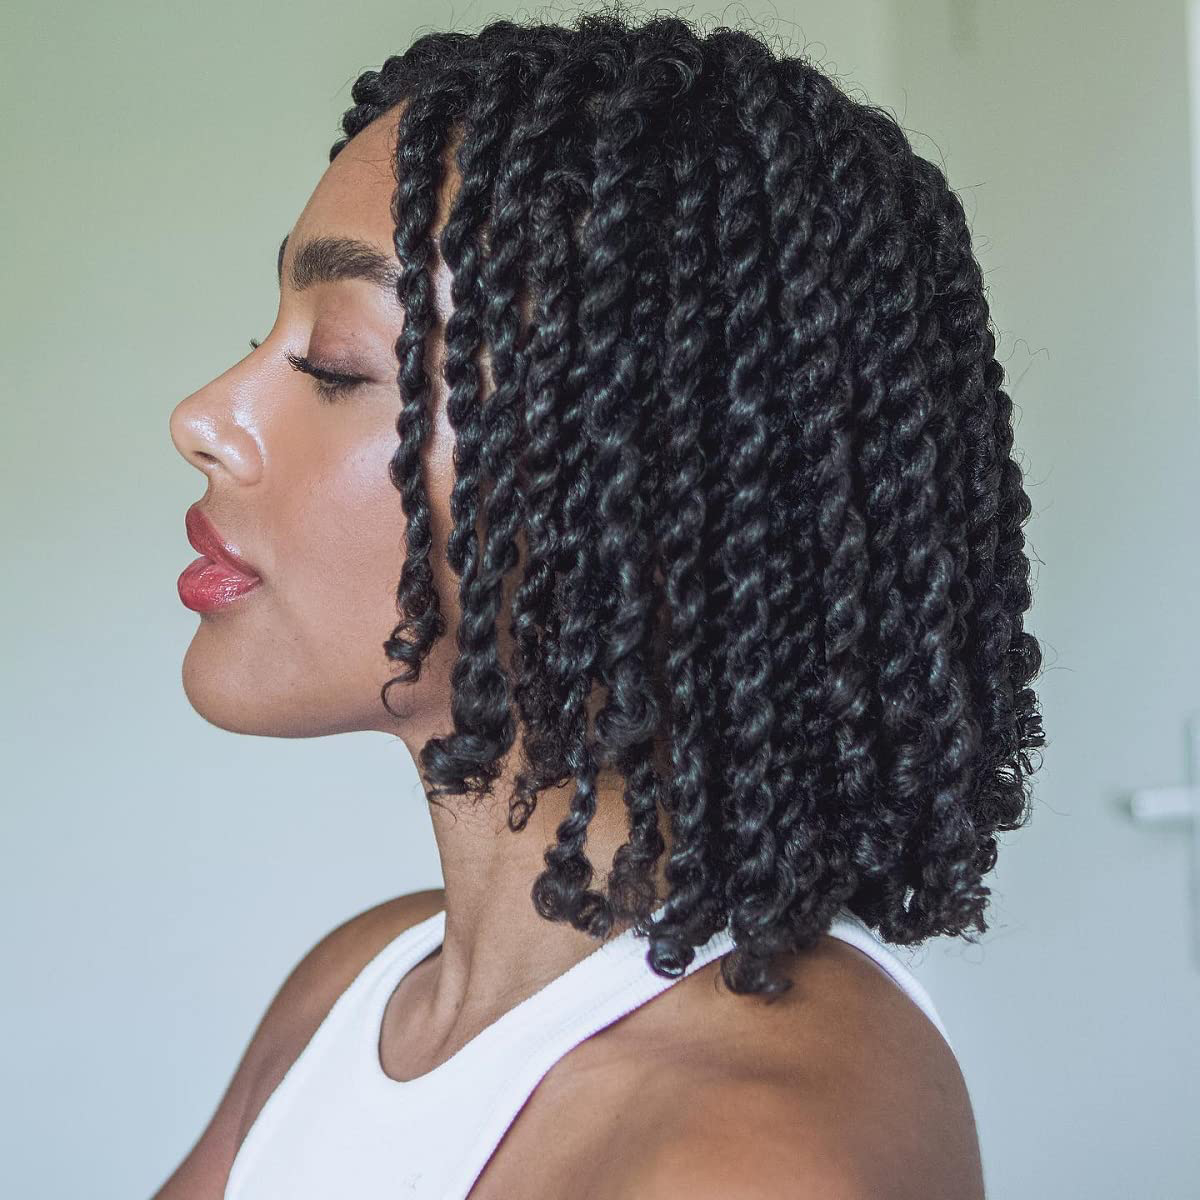
Freetress Water Wave: This is the gold standard for achieving the classic, silky, and defined curl pattern of Passion Twists. It’s lightweight and designed specifically for this style.
Lulutress Bohemian Braid: If you’re aiming for a fuller, more textured, and slightly less uniform look, this hair is a fantastic alternative. It gives a more free-spirited, ‘undone’ vibe right from the start.
Your choice depends entirely on the final aesthetic you’re after.
The average professional installation of Passion Twists takes between 4 and 8 hours.
Patience is key, both for you and your stylist. This time allows for precise parting, consistent sizing, and healthy tension application. Rushing the process often leads to scalp stress and a style that won’t last as long, so settle in with a good book or your favorite podcast!

Feel like your twists are getting frizzy too fast?
Don’t panic, a little frizz is part of the style’s charm! To manage it, smooth a bit of mousse (like LottaBody’s Wrap Me Foaming Mousse) down the length of the twists and trim any excessive flyaways with small scissors. At night, always gather your twists into a loose high ponytail and protect them with a silk or satin bonnet to minimize friction.
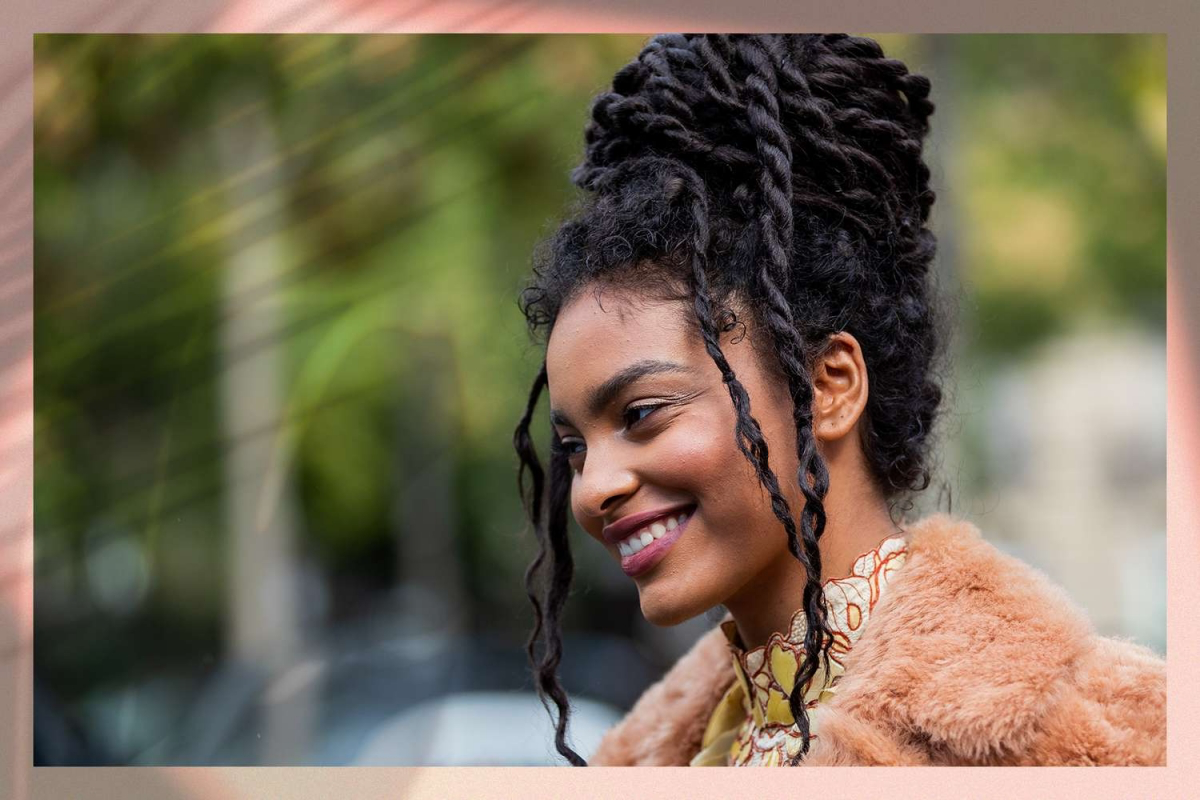
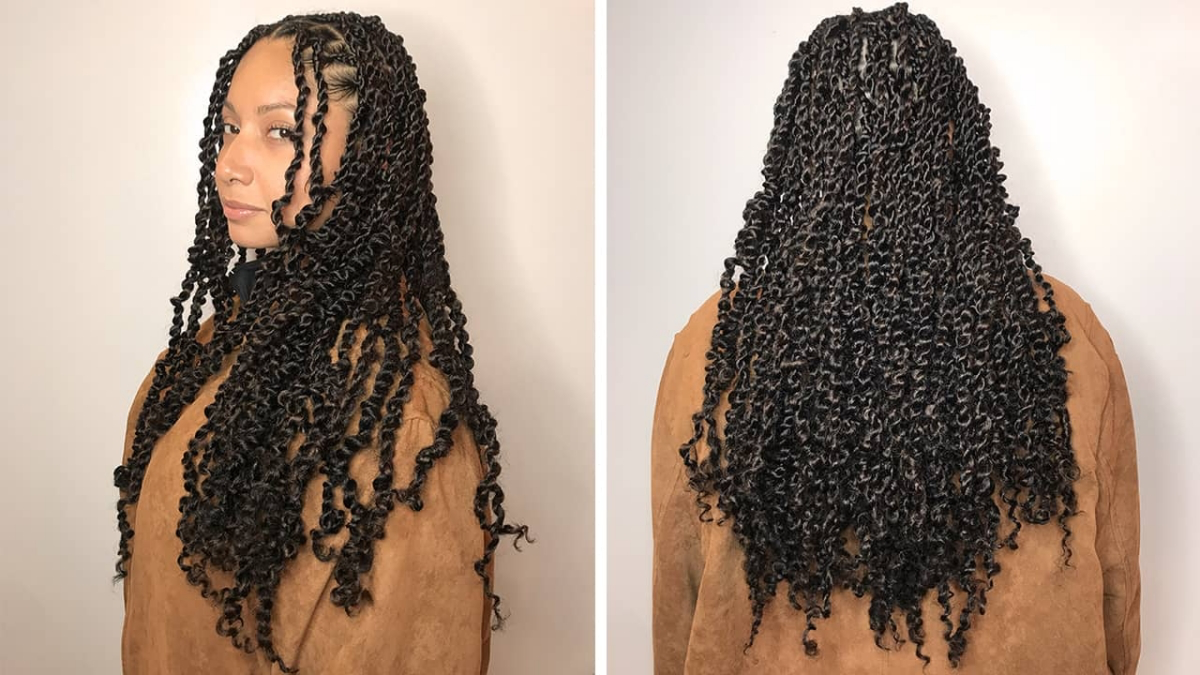
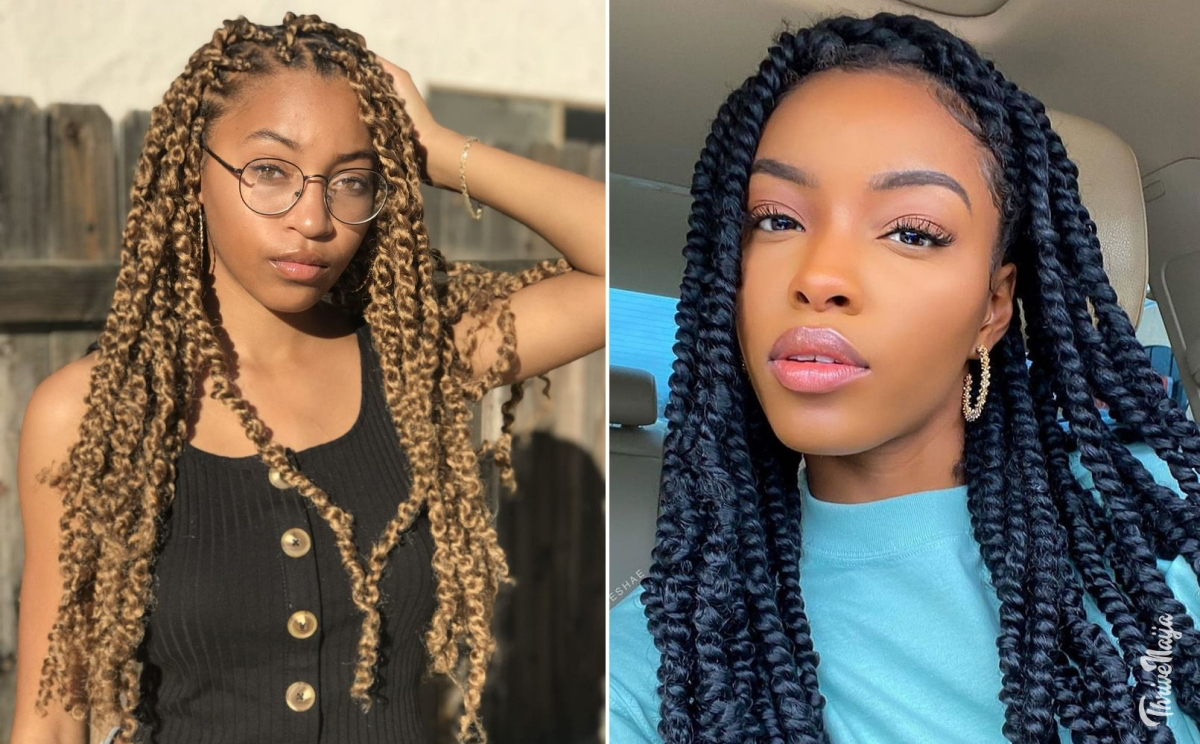
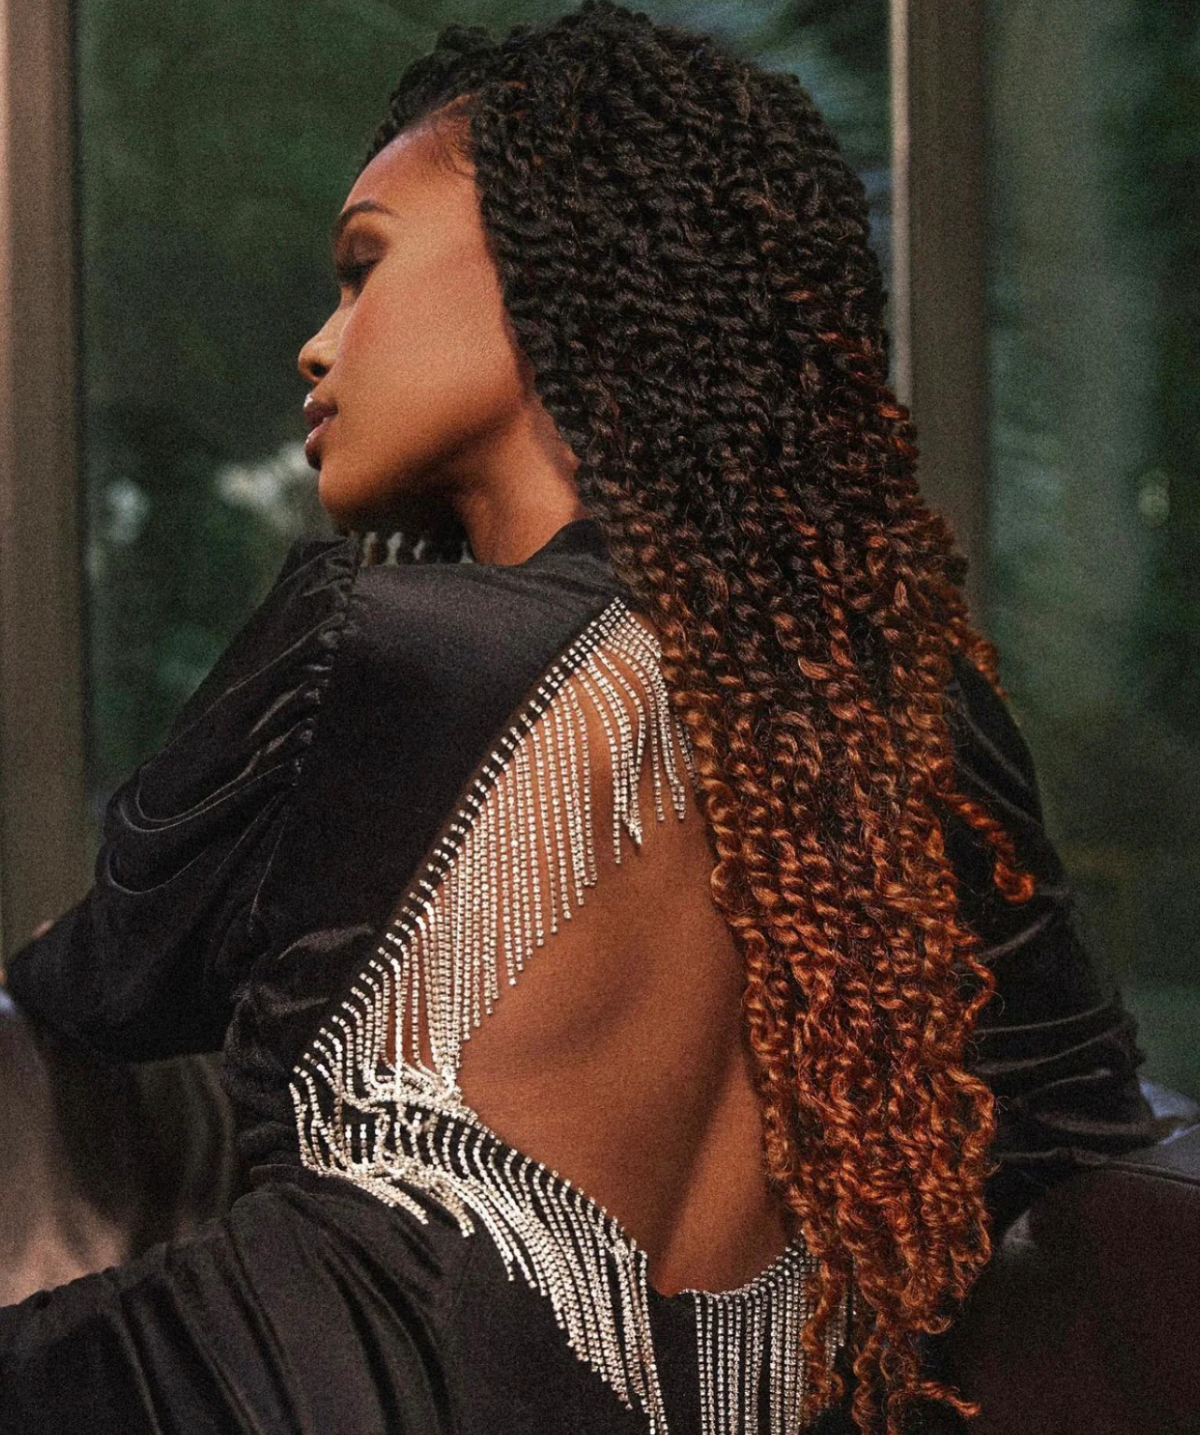
For a truly sun-kissed, dimensional look, ask your stylist to blend two different colors. Instead of a solid 1B (natural black), mixing in strands of a T27 (honey blonde) or a T30 (light auburn) creates incredible depth and movement. It’s the secret to making the style look less like extensions and more like your own hair, but enhanced.

- Reduced daily styling time and manipulation.
- Protection for your natural ends, leading to length retention.
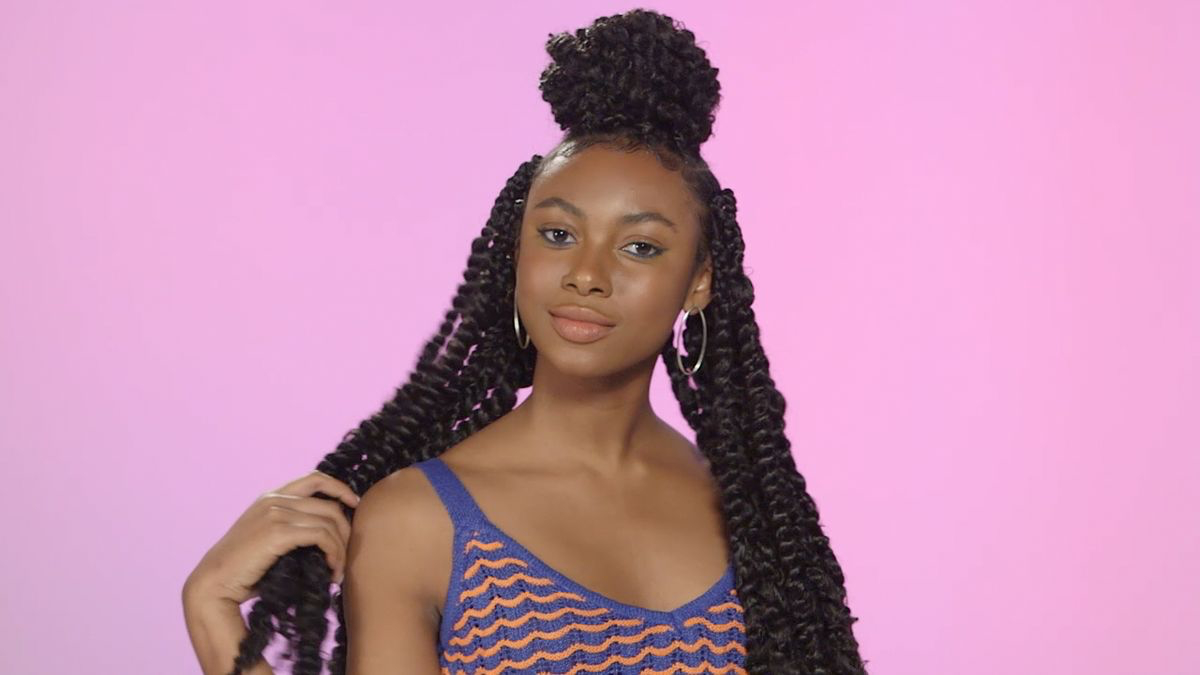
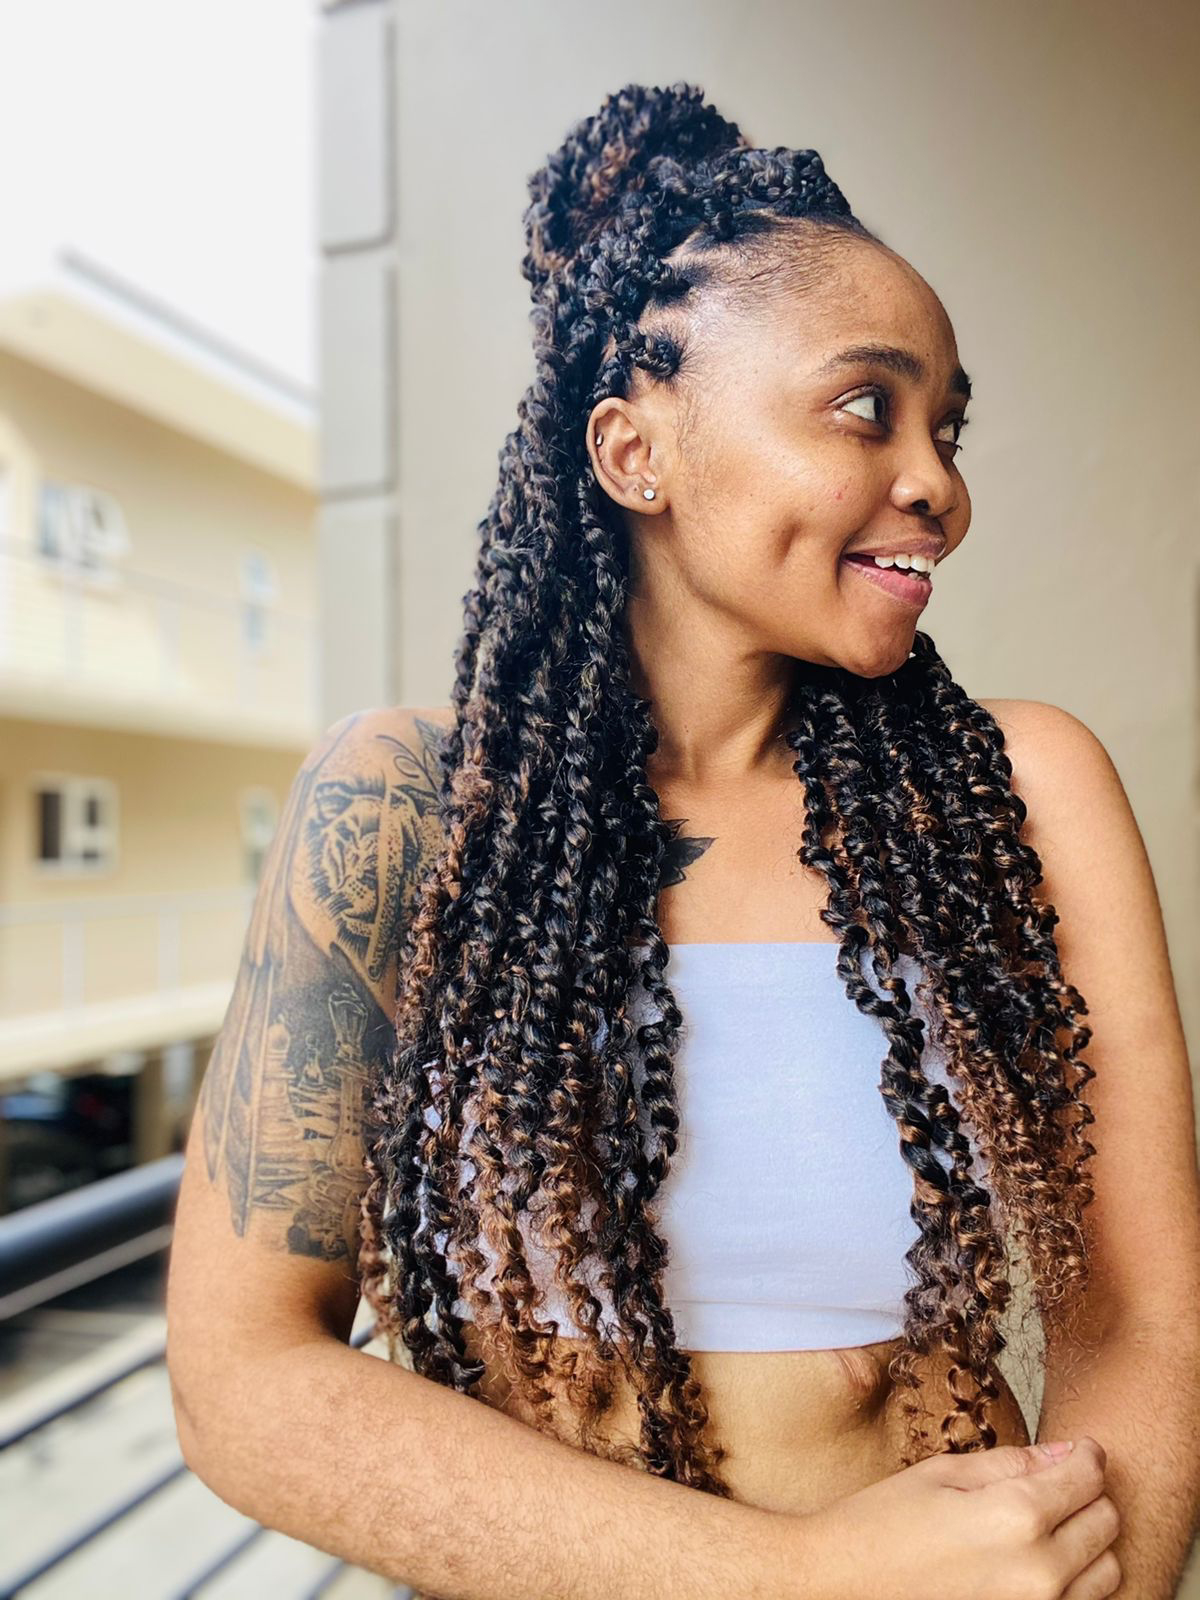
- A versatile look that can be styled in buns, ponytails, or worn down.
The key to unlocking these benefits? A proper takedown. Be gentle, use a product with slip like conditioner mixed with water, and detangle your natural hair in sections *after* each twist is removed, not all at the end.
The #1 Mistake to Avoid: Neglecting your scalp. Just because your hair is in a protective style doesn’t mean your scalp care goes on vacation. Use a nozzle-tip bottle to apply a lightweight oil like jojoba or grapeseed oil directly to your scalp 2-3 times a week to prevent dryness and itching. A clean, moisturized scalp is the foundation of a healthy style.
Thinking of adding some flair? Accessories can completely transform your twists.
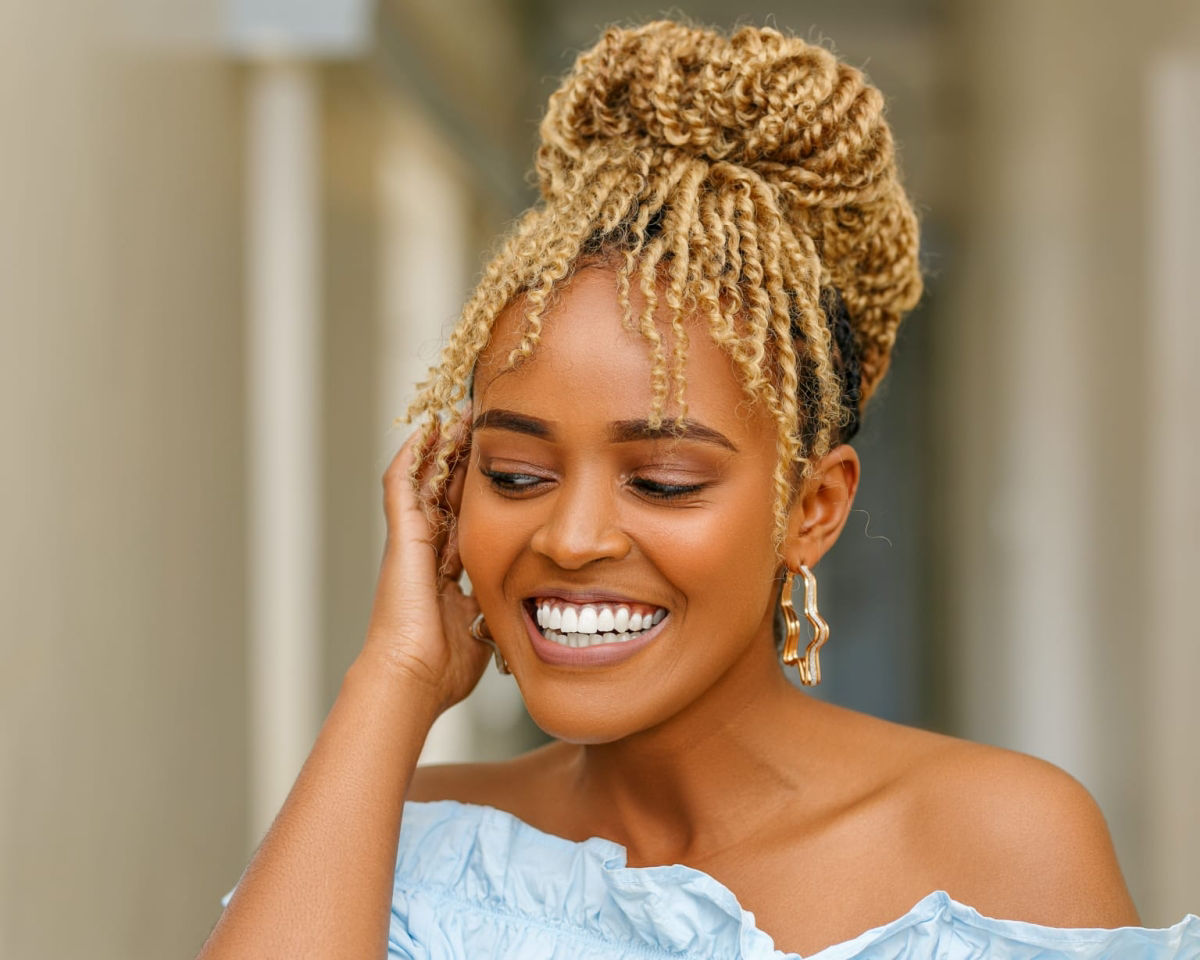
- Gold or silver hair cuffs are classic for a reason—they add an instant touch of elegance.
- For a bohemian vibe, try wrapping a few twists with colorful embroidery thread.
- Tiny wooden beads or cowrie shells attached to the ends give a beautiful, earthy feel.
A single pack of Freetress Water Wave hair typically contains about 22 strands. You’ll need 5-8 packs for a full head.
If you’re doing your twists yourself and find the ends are unraveling, there’s a simple fix. Once the twist is complete, apply a small amount of an edge control gel to the last inch of the twist and coil it tightly around your finger. This, combined with dipping the ends in hot water, will create a much more secure seal.


