The Real-Deal Guide to Mermaid Waves That Actually Last
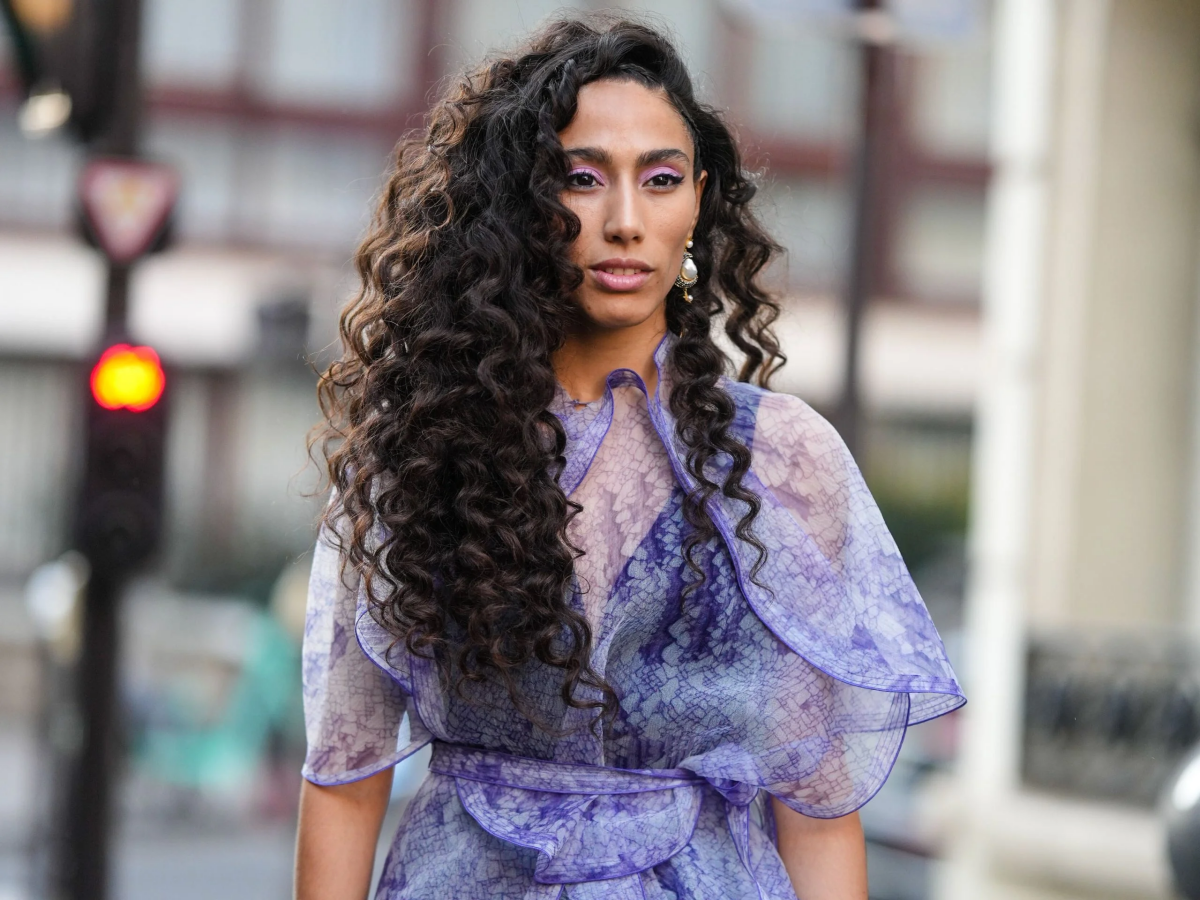
I’ve spent years behind the chair, and if there’s one style that never, ever goes away, it’s those soft, undulating S-waves people call “mermaid hair.” Clients bring in photos of this look constantly. They want that gorgeous, I-just-strolled-off-the-beach texture, not realizing that “effortless” is usually anything but. It takes a very specific technique to get it right.
In this article
Honestly, when I was first starting out on editorial shoots, my waves were a total disaster. They’d fall flat before the camera was even set up. I learned the hard way that the secret isn’t some magic finishing spray—it’s all in the prep, the tools, and understanding what you’re actually doing to the hair. So let’s skip the fantasy and get into the real, hands-on method that works.
First, A Quick Hair Science Lesson (I Promise It’s Not Boring)
Before you even think about plugging in a hot tool, you gotta know what’s happening on a microscopic level. It’s the difference between creating stunning waves and creating permanent damage. Think of it this way: your hair is made of proteins held together by bonds. Heat styling is all about temporarily breaking the weaker hydrogen bonds, reshaping the hair, and letting those bonds reform as it cools.

This is why letting each section cool down completely is the most critical part of the whole process. Seriously. If you rake your fingers through a wave while it’s still warm, the bonds haven’t set, and all your hard work will just… poof. Gone.
Heads up on the heat! Most styling tools can get screaming hot, but your hair starts to suffer permanent protein damage around 410°F (210°C). You can’t fix that with a deep conditioner. I almost always keep my tools between 350°F and 385°F (175°C – 195°C). You should never, ever hear a sizzle or see steam. If you do, that’s the water inside your hair boiling, and it’s basically game over for that hair strand.
Your Mermaid Wave Toolkit: What to Buy
Products are your foundation. A good heat protectant is non-negotiable. It creates a buffer that slows down heat transfer, kind of like using oil in a hot pan so your food doesn’t burn. After that, you need something for hold and texture. Here’s what I recommend clients actually go out and buy:

- For Hold (Fine/Flat Hair): You need a volumizing mousse. It creates a lightweight scaffold around each strand. Look for something like John Frieda Volume Lift Mousse (around $9). Use a golf-ball-sized dollop on damp hair before blow-drying.
- For Hold (Thick/Frizzy Hair): A smoothing cream is your best friend here. It tames frizz from the start.
- For Texture (The Finishing Touch): A dry texturizing spray is what gives you that piecey, lived-in feel. It’s not the same as hairspray. If you want to splurge, the Oribe Dry Texturizing Spray is iconic for a reason, but it’s pricey. A fantastic, more affordable option is the Kristin Ess Dry Finish Working Texture Spray, which you can find at Target for about $15.
- Heat Protectant: Don’t overthink this one. A solid drugstore option like Tresemme Thermal Creations (around $7) works perfectly well.
Choosing Your Weapon: The Right Tool for the Job
The tool you pick really dictates the final look. Let’s break down the main three options so you can figure out what’s best for you.
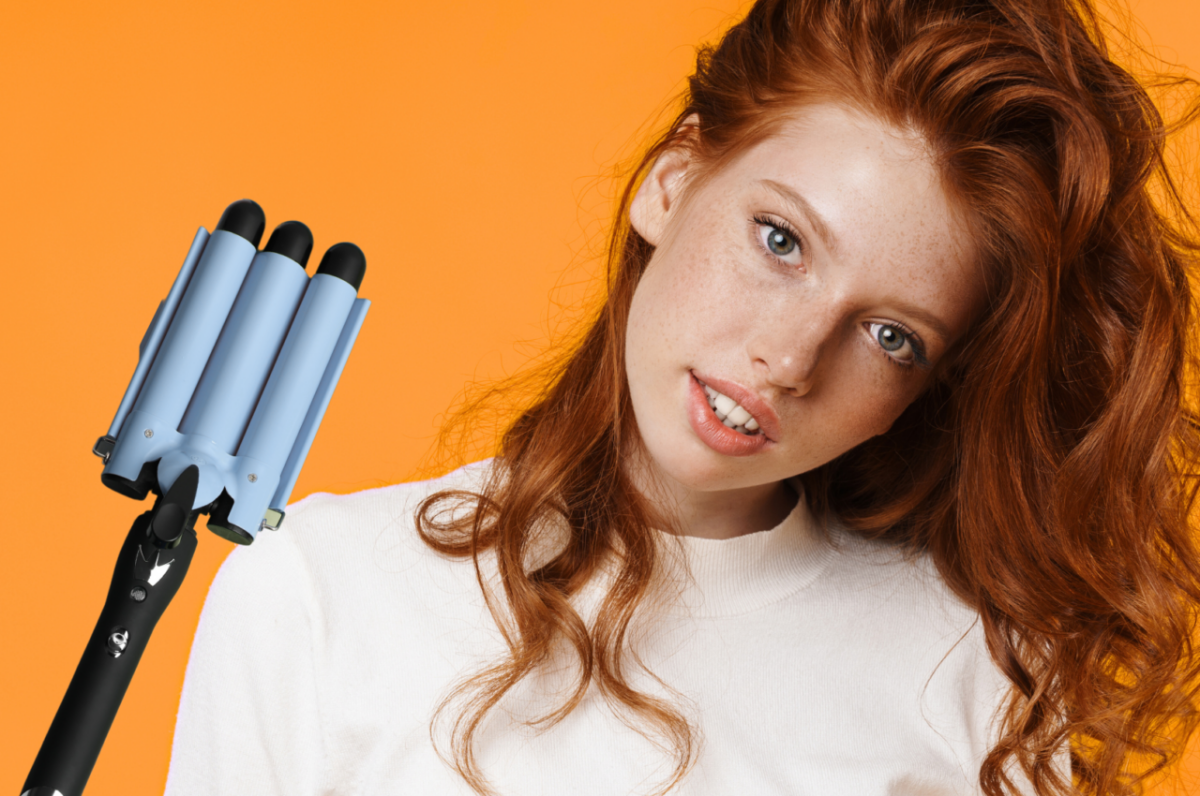
The 3-Barrel Waver is, by far, the easiest for beginners. It’s a clamp-and-go tool that creates a very uniform, classic S-wave. The Bed Head Wave Artist is a super popular and affordable choice, usually running about $30. The only trick is to overlap your clamping spots to avoid harsh lines.
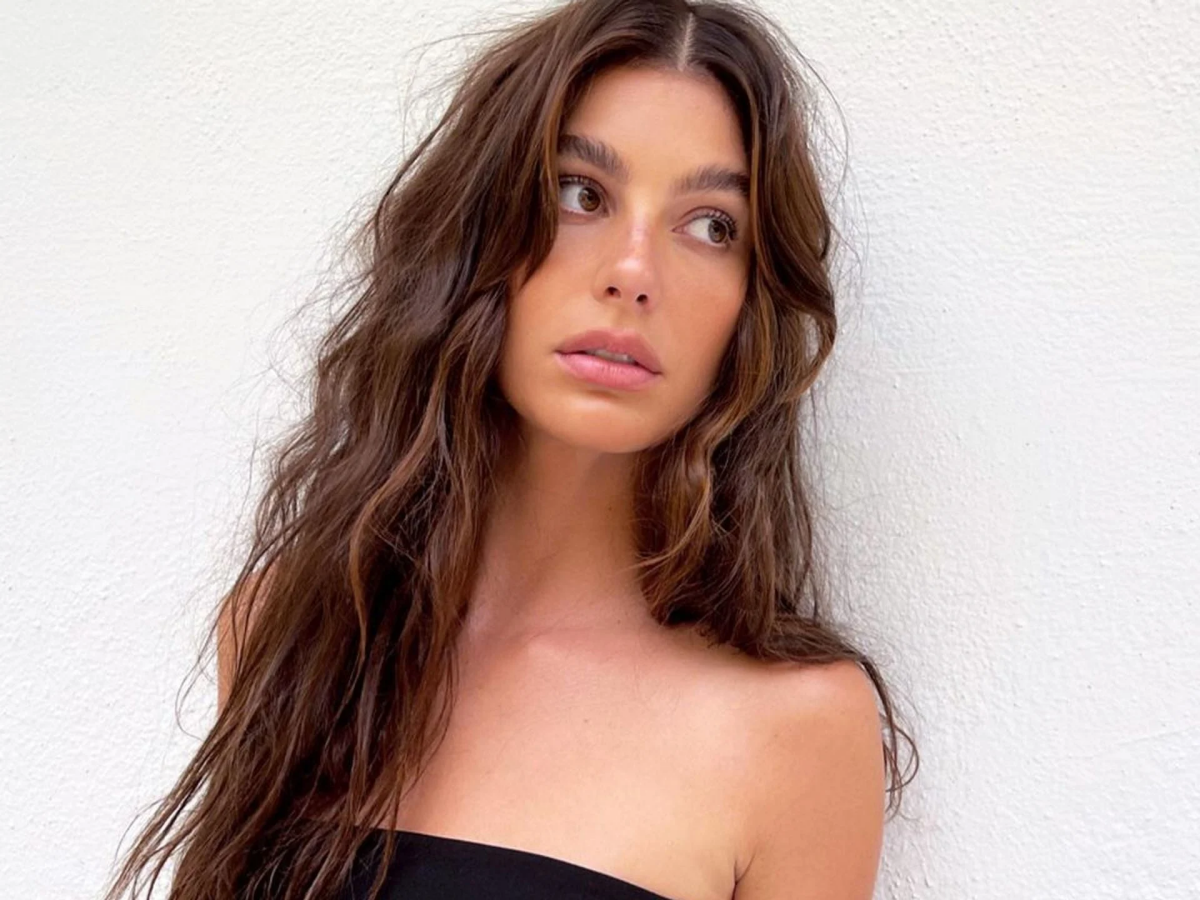
My personal favorite for a more modern, less uniform look is a 1.25-inch Curling Wand. This gives you a looser, more natural wave. It takes a bit more practice, but the results are gorgeous. A good starter wand from Conair might cost you $25, while a professional one like a Bio Ionic wand is more of an investment at around $140, but it heats evenly and is kinder to the hair.
Finally, there’s the Flat Iron. This tool gives you the most control but also has the steepest learning curve. If you can master it, you can create a huge variety of wave styles. The technique involves creating a C-shape bend in one direction, then immediately bending it back in the other direction as you glide down the hair shaft.

The Step-by-Step Method: Let’s Get Waving
Alright, let’s get to the good part. If you’re trying this for the first time, block out about 45 minutes to an hour. Don’t rush it!
Step 1: The Prep Work
I can’t say this enough: start with 100% dry hair. If your hair is even a little damp, you’re just steaming it into oblivion. Blow-dry it using a nozzle to direct the air down the hair shaft—this smooths everything out and fights frizz from the get-go. And yes, this is when you should have already applied your mousse or smoothing cream.
Step 2: Sectioning is Your Friend
Don’t just grab random chunks of hair. For an even result, you have to section. I like the “hot cross bun” method: part your hair down the middle, then again from ear to ear, giving you four main sections. Clip three of them up and out of the way. You’ll be working with small, 1- to 2-inch subsections from the bottom up.
Step 3: The Waving Process
Grab a small subsection and give it a quick spritz of heat protectant. Now, here’s the pro wand technique:
- Hold the wand vertically, with the tip pointing down.
- Take your section and, starting a few inches from the root, flat-wrap it around the barrel. Don’t twist the hair as you go—that creates a spiral curl, not a wave.
- This is crucial: Leave the last 1-2 inches of your ends completely off the wand. This creates that modern, undone finish and saves your ends from extra damage.
- Hold for just 5-8 seconds. Let the hair drop into your hand to cool for a moment before you let it go completely.
- Alternate the direction you wrap for a more natural look (one section away from your face, the next toward your face).
Do this until your whole head is done. And then… walk away. Don’t touch it for at least 10 minutes. Let it get totally, completely cool.

Step 4: The Finishing Touches
Once everything is cool, it’s time to bring the style to life. Tilt your head back and gently rake your fingers through from the roots to break up the waves. Don’t use a brush unless you want to soften them significantly. Give your hair a good shake. Now, use your texturizing spray, lifting sections and spraying at the root and mid-lengths to create that awesome piecey volume.
Troubleshooting & Quick Fixes
So what happens when it goes wrong? It happens to everyone.
- “My waves fell out in 20 minutes.” This is almost always a prep issue. Your hair was either too clean and silky, or you skipped the mousse. Your hair needs a little bit of grit for the style to grab onto.
- “It just looks frizzy, not wavy.” You probably used too much heat or brushed the waves out while they were still warm. A tiny drop of hair oil warmed up in your palms and smoothed over the ends can help tame minor frizz.
- “My hair smells burnt.” Whoa there! Your heat is way too high, or you’re holding the sections on the iron for too long. Turn the temperature down by 20 degrees and stick to the 5-8 second rule.
Lesser-known trick for Day 2 hair: The next morning, don’t re-wave your whole head. Just hit your roots with some dry shampoo, then grab your wand and touch up the 4-5 pieces that frame your face and a few on the very top layer. It gives the illusion of a full refresh in a fraction of the time.
Oh, and for those days you have literally no time? Try the 5-Minute Mermaid Hair cheat: only wave the top layer of your hair and the front face-framing pieces. It’s surprisingly effective!
A Final Word on Hair Health
Remember that heat styling tools are, well, hot. The little heat-resistant glove that comes in the box isn’t a suggestion—use it! I’ve got a few tiny scars on my fingers from moments of inattention over the years.
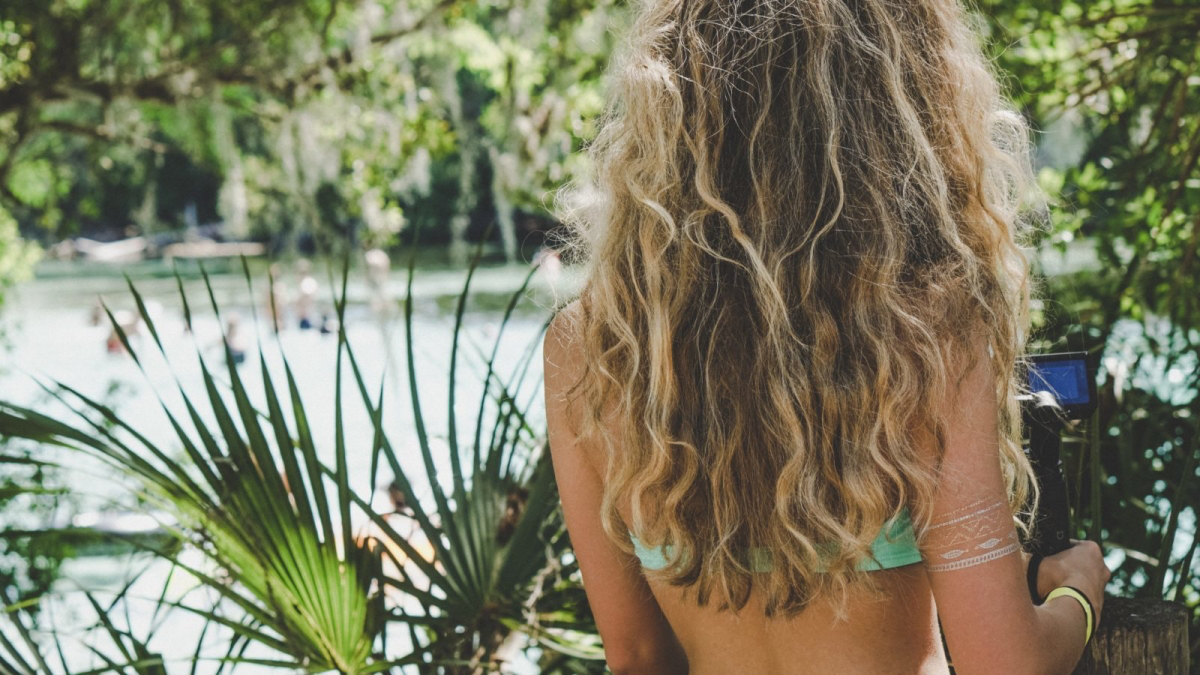
And remember that heat damage adds up. Give your hair a break sometimes with a heatless style. On hair that’s about 80% dry, try putting it in two loose braids overnight. You’ll wake up with a soft, natural wave pattern. And please, use a clarifying shampoo every week or two to get rid of all the product buildup. It makes a huge difference.
Ultimately, every head of hair is different. It takes a little practice, but once you get the hang of these techniques, you’ll be able to create those beautiful, lasting waves all on your own.

Galerie d’inspiration

My waves look more like a 90s crimp than a soft mermaid ripple. What am I doing wrong?
This is a common frustration! The key is movement and section size. A crimped look often comes from holding the tool stationary for too long in one spot. Instead, think of creating a fluid ‘S’ shape. If using a flat iron, gently glide it down the hair, bending your wrist back and forth. If using a three-barrel waver, don’t clamp down hard and hold. Lightly press and release, ensuring you overlap each new section with the last wave to create a seamless flow, not a series of disconnected dents.
More than 80% of people report that humidity negatively affects their hairstyle, causing frizz and loss of shape.
On humid days, your beautifully crafted waves are in a battle against moisture in the air. To win, you need an anti-humidity shield. After styling, and once your hair is completely cool, lightly mist a dedicated anti-humidity spray. Products like Color Wow Dream Coat or Living Proof’s No Frizz Humidity Shield create an invisible, weightless barrier that repels water molecules, preserving your waves from turning into a frizzy halo.
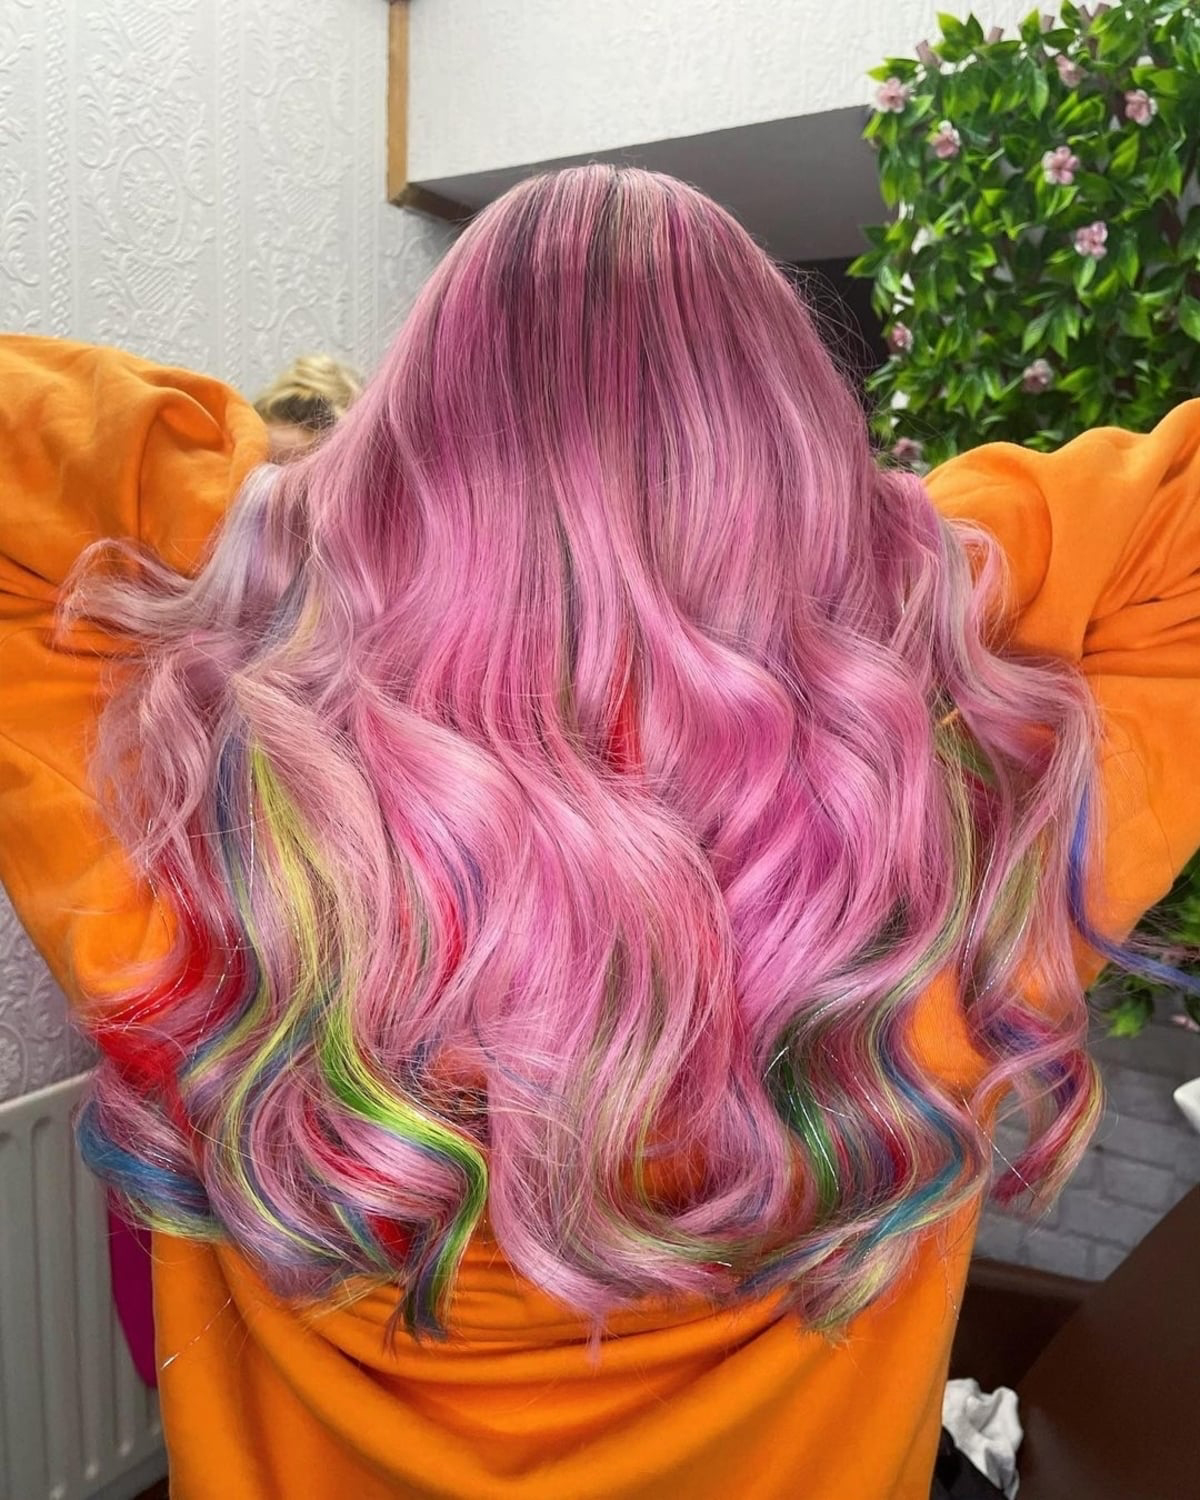
For Deep, Uniform Waves: The 3-barrel waver, like the popular Mermade Hair PRO Waver, is your go-to. It clamps down on hair to create a consistent, defined S-pattern. It’s fast and almost foolproof, delivering that classic, dramatic mermaid texture.
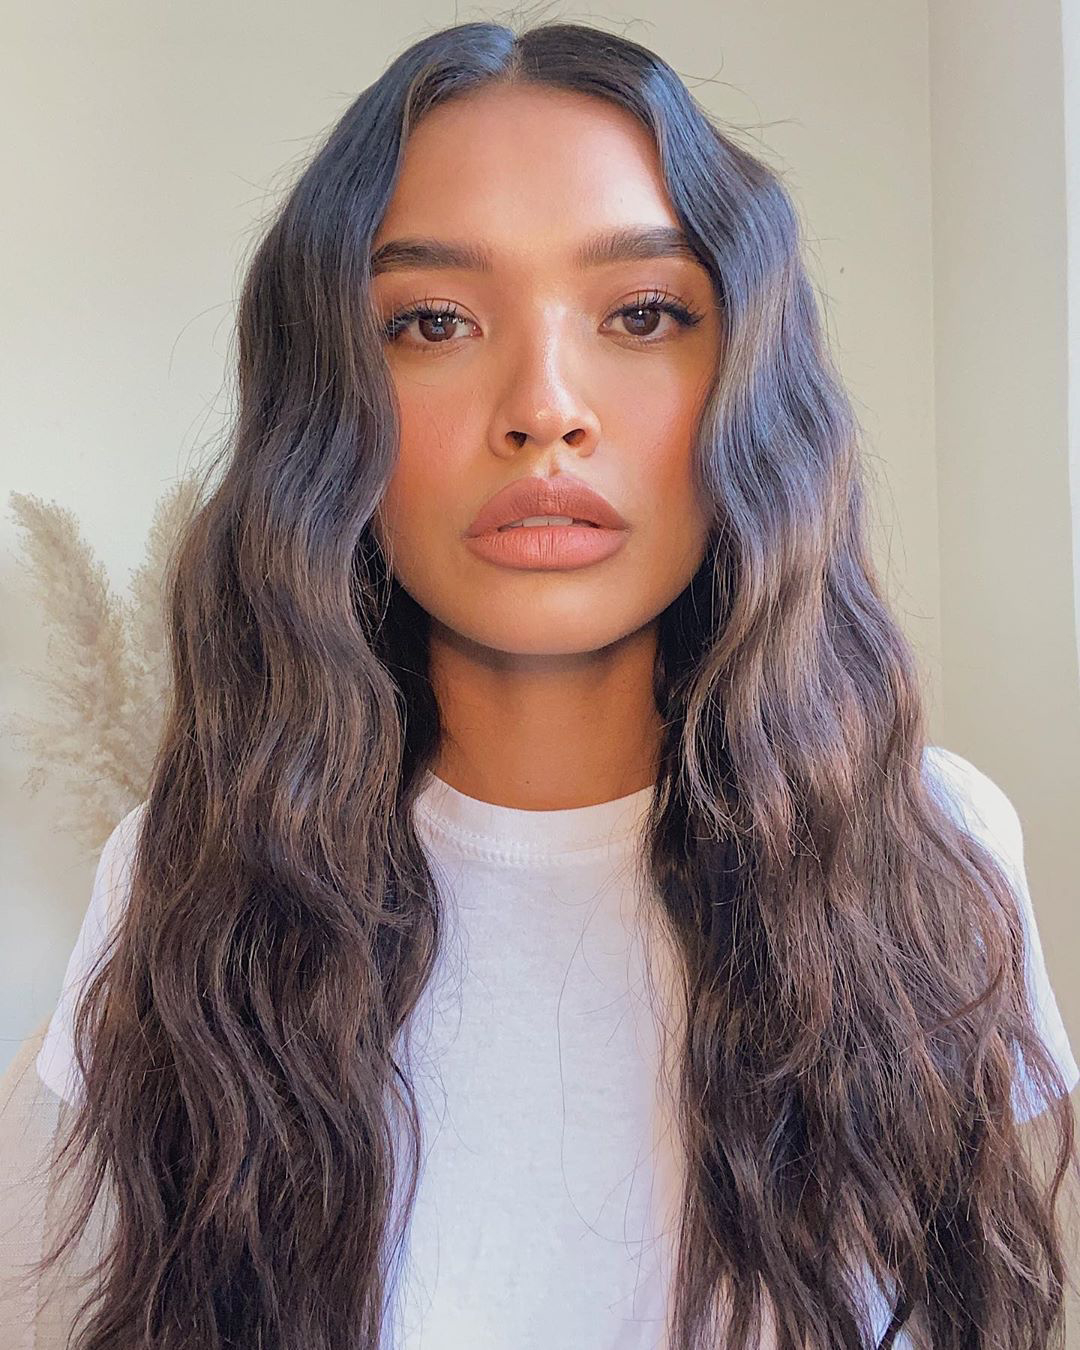
For Softer, Natural Waves: A quality flat iron, such as the ghd Platinum+, offers more control and a more organic finish. By twisting your wrist as you glide down the hair shaft, you can create looser, less uniform waves that look more naturally tousled.
The choice depends on your desired finish: bold and graphic, or soft and beachy.

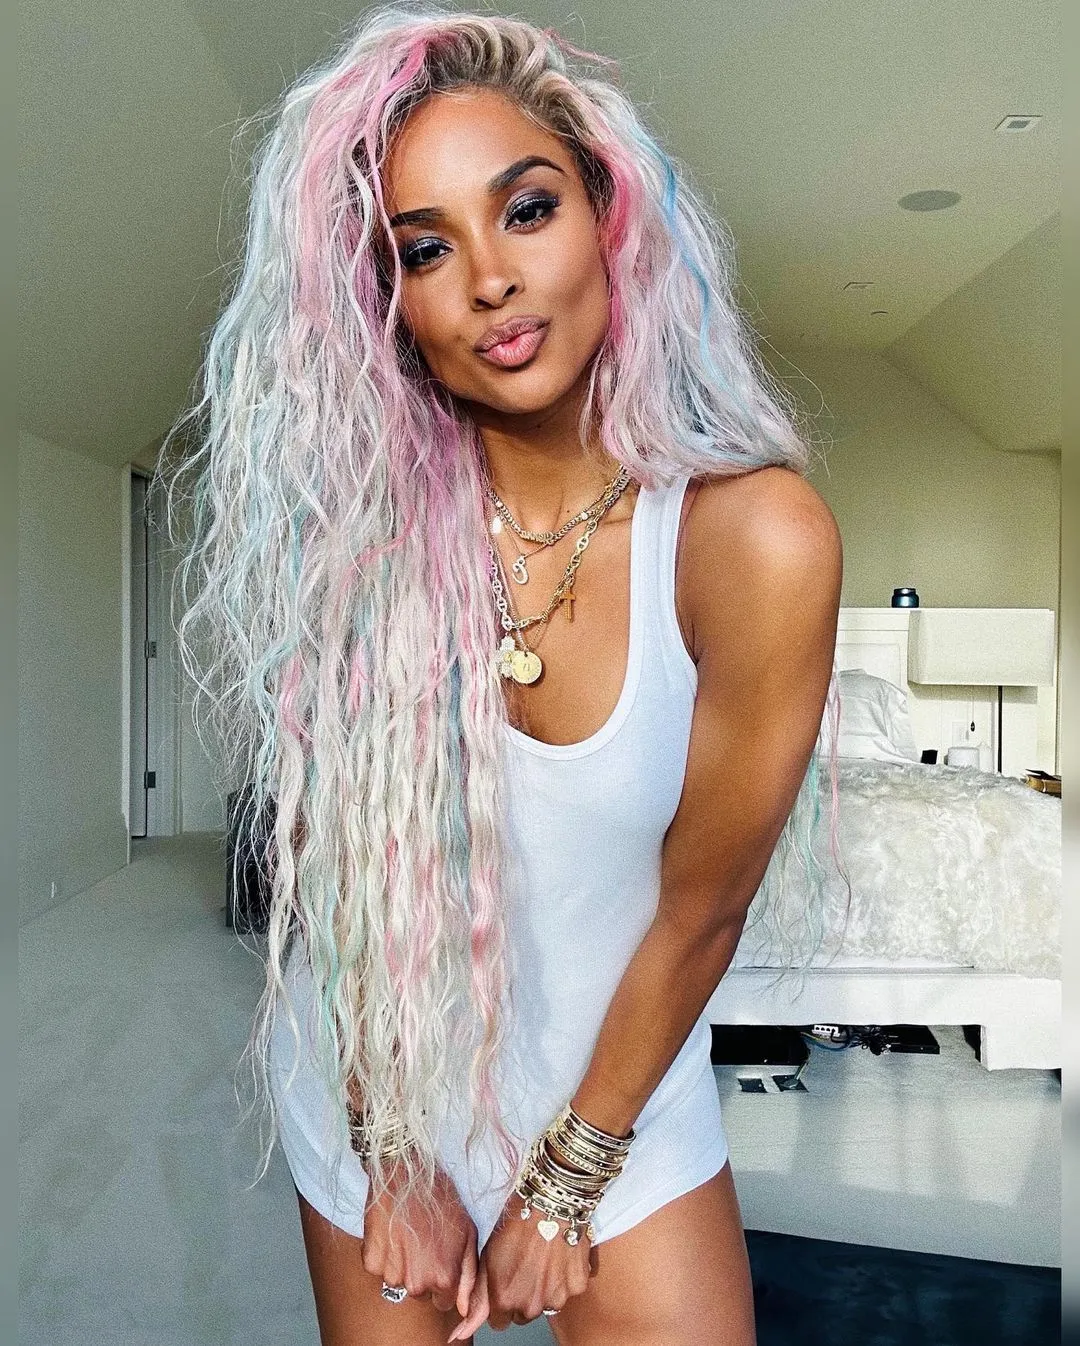
- Avoids any potential heat damage.
- The waves develop while you sleep.
- Creates a soft, natural-looking texture.
The secret? The heatless braid method. On slightly damp (not wet!) hair, apply a touch of leave-in conditioner or mousse. Create one or two loose Dutch or French braids. The key is “loose”—braiding too tightly will result in crimps. Secure the ends and let your hair dry completely overnight. In the morning, gently undo the braids and tousle with your fingers for effortless, damage-free waves.
The biggest mistake isn’t the tool; it’s the prep and the finish. Even the best technique will fail if you make these simple errors.
- Styling on damp hair: This literally boils the water in your hair strands, causing irreversible damage and a frizzy result. Your hair must be 100% dry.
- Forgetting to section: Working with random, chunky pieces of hair leads to an inconsistent, messy look. Use clips to create clean, manageable sections of about 1-2 inches.
- Brushing out waves while warm: Patience is everything. Let each wave cool completely before touching it. This sets the hydrogen bonds and locks in the shape for hours.
Day 2 Wave Revival: Don’t let your hard work go to waste after one day. To bring your mermaid waves back to life, flip your hair upside down and blast the roots with a dry shampoo like Batiste or Kérastase Fresh Affair to absorb oil and restore volume. Then, lightly mist a texturizing sea salt spray, such as the one from Bumble and bumble, from the mid-lengths to ends and gently scrunch. This re-activates the texture without adding crunch.
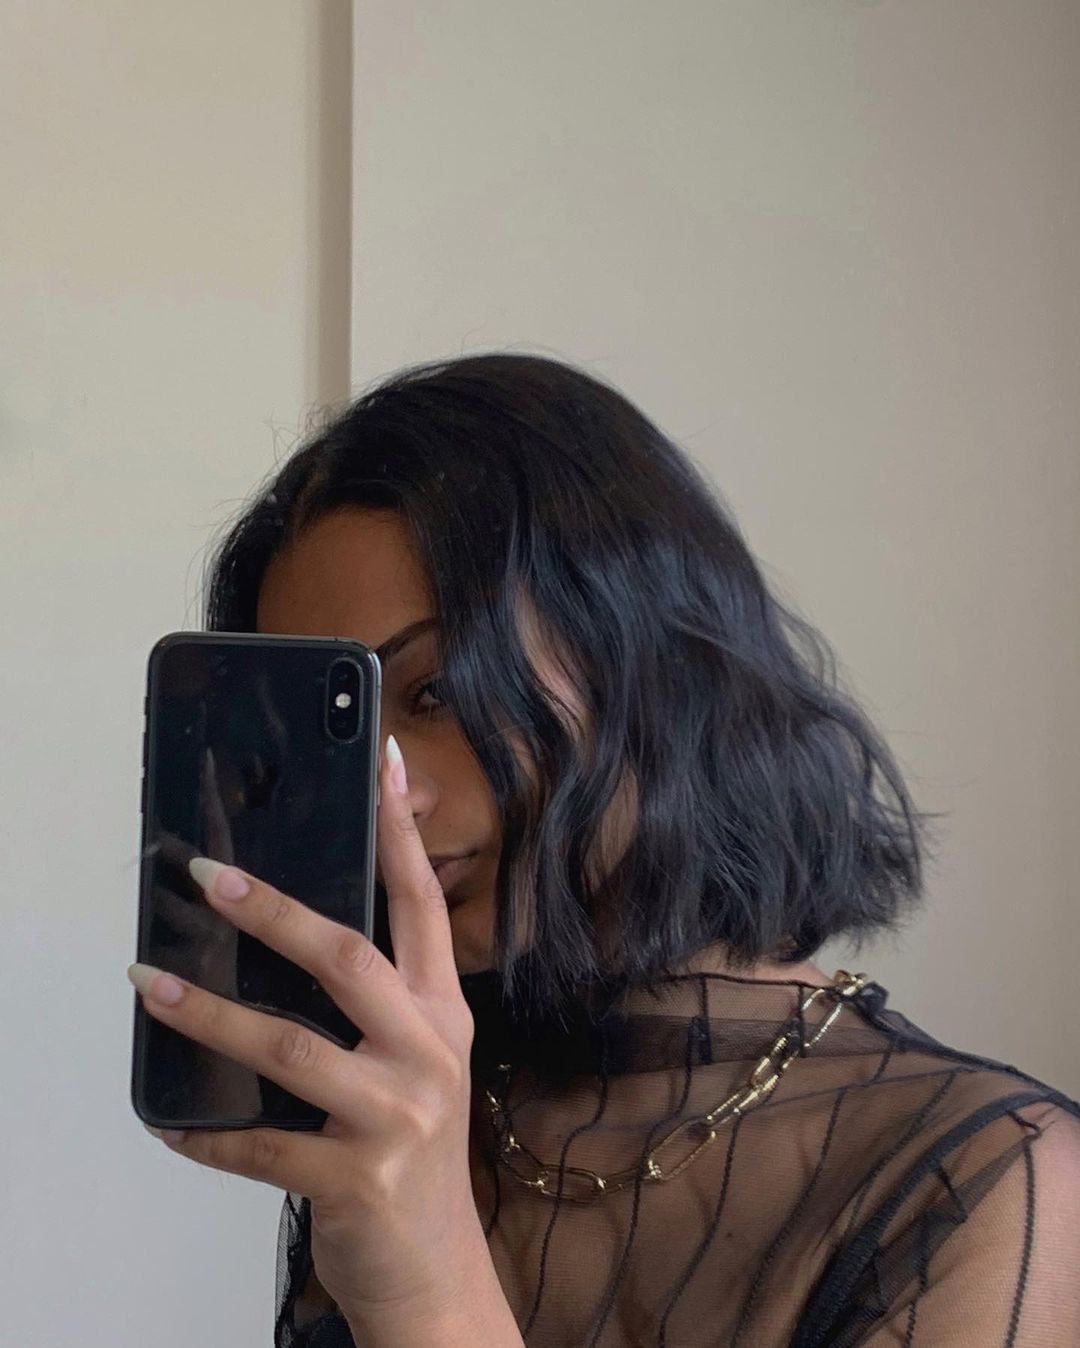
Think scale. The shorter the hair, the subtler the wave should be. A dramatic, deep wave that looks stunning on long hair can overwhelm a chic bob, making it look wide and dated. For short hair, focus on creating a slight bend in the middle of the hair shaft, leaving the roots and ends relatively straight for a modern, effortless feel.


