The Ultimate Guide to Medium-Length Hair (From a Stylist Who’s Seen It All)
After years of working in the salon, I can tell you one thing for sure: trends are fun, but some styles are forever. And the one request that never, ever leaves my chair? The medium-length cut. It’s the absolute sweet spot. So many people come in feeling weighed down by long, heavy hair or just plain frustrated with that awkward phase of growing out a short style. A great cut that lands somewhere between your chin and collarbones isn’t a compromise—it’s a total game-changer.
In this article
But let’s be real. A truly fantastic medium haircut isn’t just about copying a photo you found online. It’s about understanding the hair you actually have, your lifestyle, and the technical skill to bring it all together. It’s a delicate dance of balancing weight and creating movement. So, we’re going to skip the fluff and get right into the stuff that matters: the building blocks of a great cut, the techniques we pros use, and how you can actually keep it looking amazing at home.
First Things First: Get to Know Your Own Hair
Before a single scissor snip, the most important part of any appointment is the chat we have beforehand. And the first thing I look at isn’t your face shape; it’s your hair’s personality. Its texture, density, and weird little growth patterns are what dictate the perfect cut for you—one that looks good even when you roll out of bed late.
Not sure what you’re working with? Let’s do a quick DIY analysis right now.
- To check your TEXTURE: Pluck a single strand of hair and roll it between your thumb and index finger. Can you barely feel it? You’ve got fine hair. Can you feel a distinct strand, like a piece of thread? That’s medium hair. Does it feel noticeably thick or wiry? You’re in the coarse hair club.
- To check your DENSITY: Stand in front of a mirror with dry hair, parted as you normally would. Now, without moving the part, look at your scalp. Can you see it pretty easily? You likely have low-density hair. If you have to work a bit to see your scalp, you’ve got medium density. If it’s tough to see your scalp at all, you have high-density hair.
Okay, now that you have a better idea, here’s why it matters so much.
How Texture Changes the Game
Texture—the thickness of each strand—is a huge deal for mid-length styles.
- For Fine Hair: The biggest challenge is making it look full, not stringy. My go-to move is a blunt perimeter. That sharp, solid line at the bottom creates an illusion of weight and thickness. Piling on too many layers is a classic mistake; it just makes the ends look see-through. We can sneak in some soft, “invisible” layers inside for movement, but the power is in that strong baseline.
- For Medium Hair: Honestly, you hit the jackpot. This texture is the most versatile and can pull off pretty much anything, from a sharp, one-length lob to a heavily layered shag. The choice really comes down to your density and what look you’re going for.
- For Coarse Hair: You’ve got natural volume for days, which is great! But at this length, it can easily puff out into a pyramid shape if it’s not handled right. A blunt cut on dense, coarse hair is almost always a mistake. For you, internal layering and texturizing aren’t just nice-to-haves; they are absolutely essential to remove bulk and help the hair fall into a softer shape.
Why Density (How Much Hair) Matters
Remember, density is about the number of hairs on your head. You can have fine, high-density hair (a ton of silky strands) or coarse, low-density hair (fewer, thicker strands).
- Low Density: When you have less hair, the goal is to make it look like more. Strong, one-length styles like a classic long bob (the “lob”) are your best friend. They make the hair appear much thicker. I almost never use thinning shears or a razor here, as it can weaken the ends and make them look wispy.
- High Density: If your main complaint is that your hair feels like a helmet, we need to strategically remove weight. This doesn’t mean chopping in a bunch of chunky layers. Pro-level techniques like slide cutting or deep point cutting remove bulk from the inside of the haircut, allowing it to collapse on itself beautifully. It creates a lighter, airier shape without sacrificing that lovely length.

The Salon Consultation: How to Get the Cut You Actually Want
That 15-minute chat before the shampoo is everything. A good stylist wants your input, so don’t be shy! Here’s how to make it count.
Bring those photos! They’re a fantastic starting point. But when you show them to your stylist, be ready to answer: “What exactly do you love about this picture?” Is it the choppy texture? The way the front pieces sweep across the face? The length? So often, the model has a completely different hair type, and our job is to translate the vibe of that photo into a cut that works for you.
Heads up: a good stylist will be honest. If you have fine, straight hair and bring a picture of a super-voluminous, wavy shag, they should explain what it would take to get there (hello, daily hot tools and a ton of product!). It’s all about managing expectations.

Questions to Ask Your Stylist
Walk in there feeling empowered. A stylist who loves their craft will be thrilled to answer these.
- “Honestly, how much daily styling will this cut take?” Get the real scoop on blow-drying, flat-ironing, and product time.
- “What exact products do I need to make it look like this at home?” Don’t settle for “mousse.” Ask what kind of mousse (volumizing? texturizing?) and where to put it (roots? ends?).
- “How often will I need a trim to keep this shape?” This has real budget implications. A sharp bob needs a visit every 6-8 weeks. A softer shag can stretch to 10-12 weeks.
- “Can you walk me through styling one piece?” Seriously, pull out your phone and ask if you can record it. It’s a free lesson!
And by the way, if a stylist doesn’t touch your hair, feel its texture, or ask you about your routine, that’s a bit of a red flag. A great haircut has to fit the person, not just the chair.

How to Find a Great Stylist
Looking for someone new? Social media is your friend. Look for stylists who post before and after photos. Even better, look for video clips where they run their hands through the finished cut. A perfect, static photo can hide a lot, but hair in motion tells the truth. Seeing their work on clients with hair similar to yours is a huge green light.
The Big Three: A Look Inside the Most Popular Mid-Length Cuts
“Medium-length hair” can mean a few different things. Here are the foundational cuts we build from and a peek behind the curtain at the techniques involved.
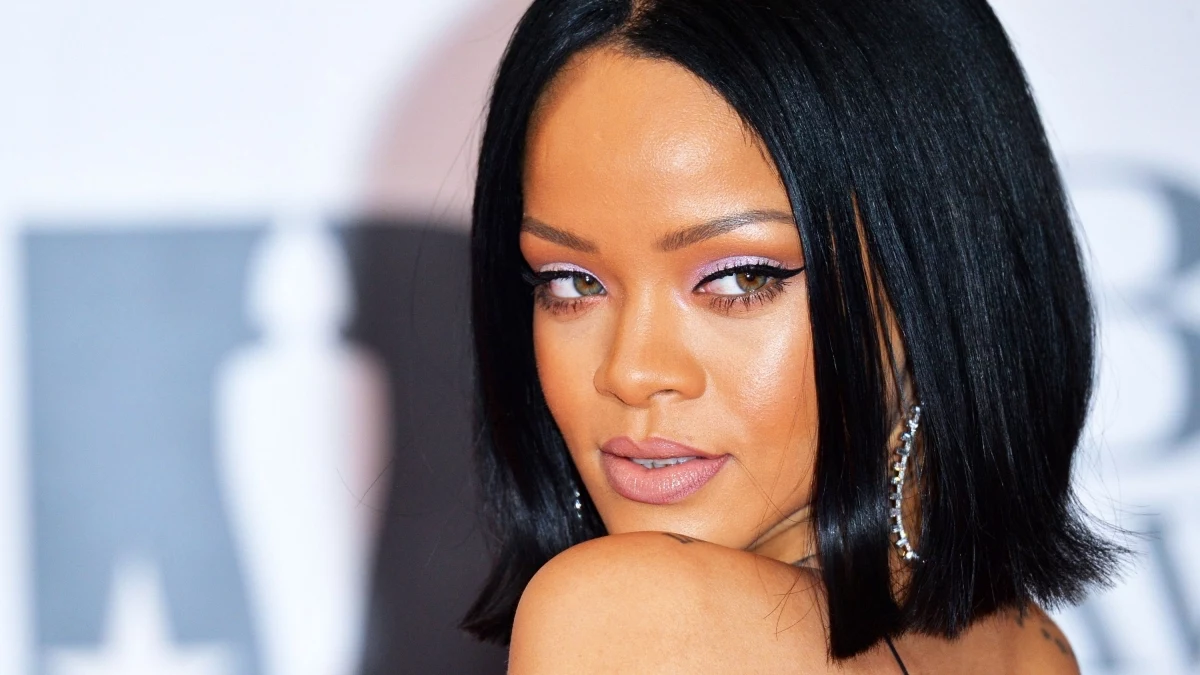
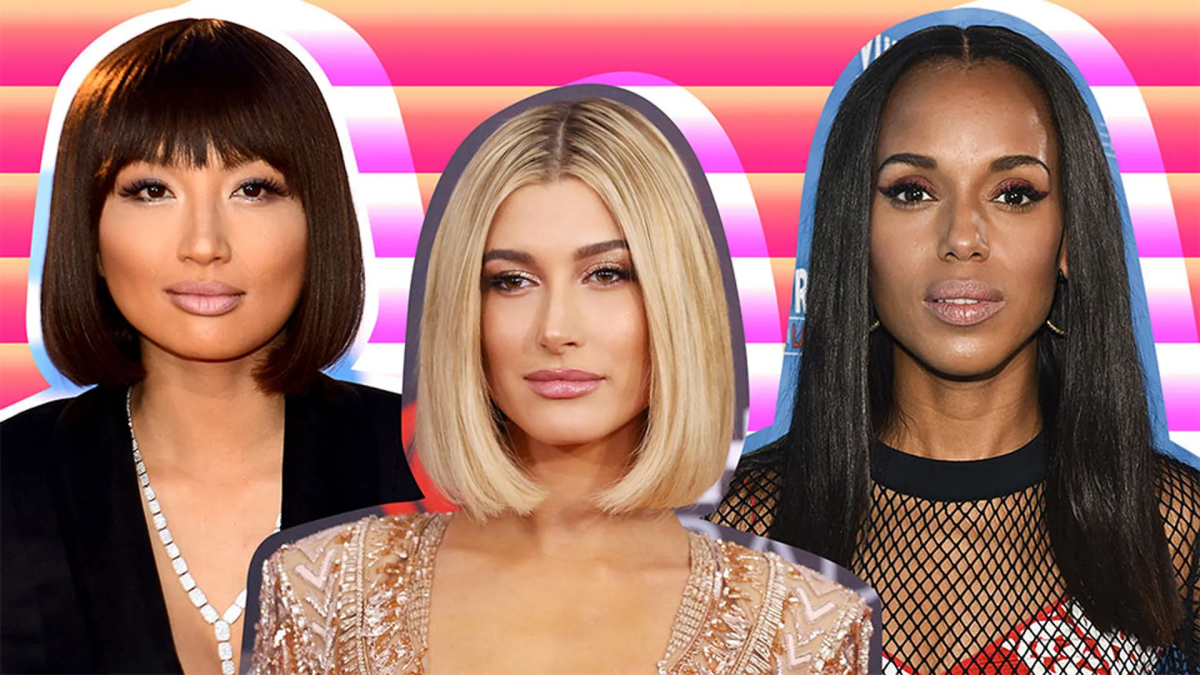
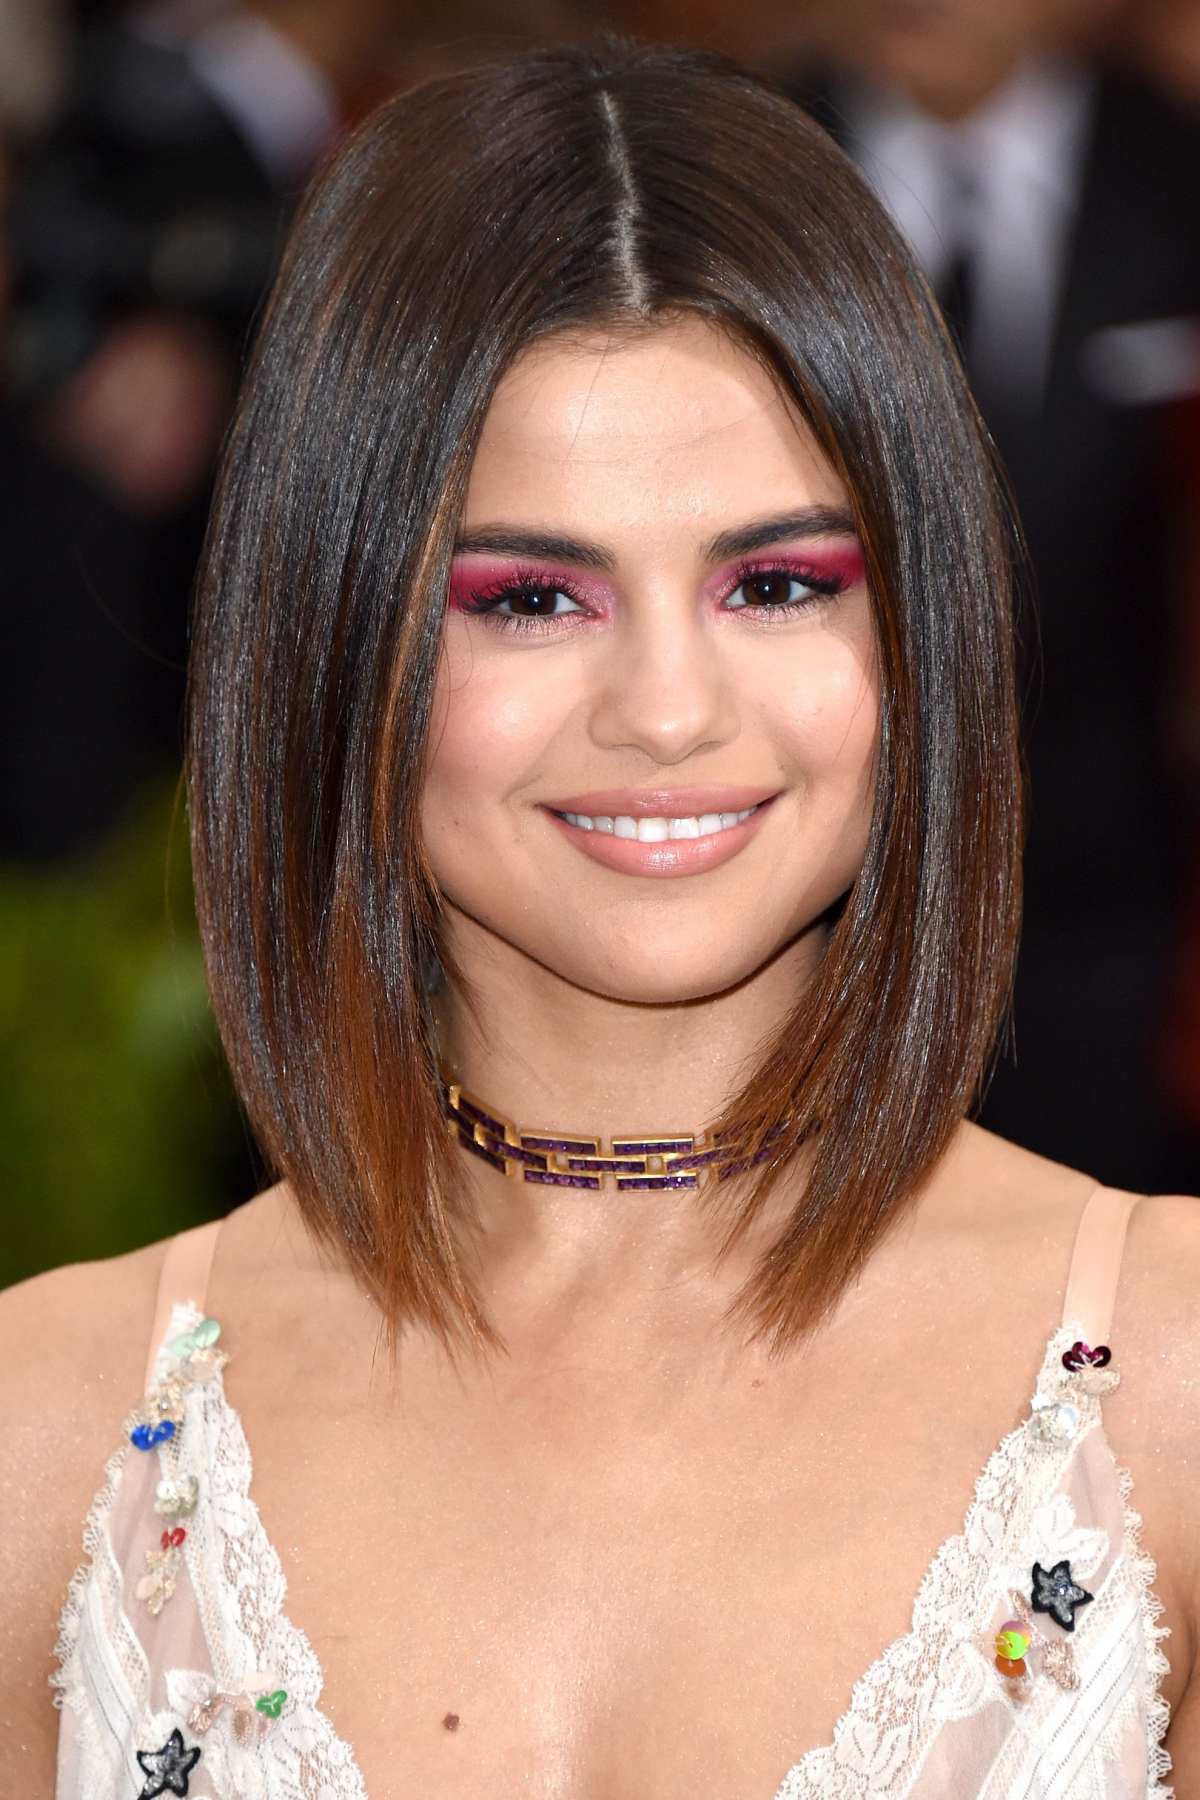
1. The Long Bob (The Lob)
This is the undisputed queen of medium cuts for a reason. It’s chic, versatile, and the perimeter typically falls somewhere between the chin and the collarbones.
- The Vibe: Polished, sharp, and intentional.
- Best For: Amazing on fine to medium hair, especially with low to medium density, as the strong line creates fullness.
- Styling Time: Can be quick (5-10 minutes) for a simple, smooth blow-dry, or longer if you’re adding waves.
- Maintenance: Needs a trim every 6-8 weeks to keep that line looking sharp.
- How It’s Done: For that super blunt look, we comb the hair straight down with zero lift and cut a clean line. A pro tip: we often do a final check once the hair is dry, because some hair textures shrink or wave up unexpectedly. For thicker hair, we might “point cut” vertically into the ends to soften the line and remove a tiny bit of weight without creating a visible layer.
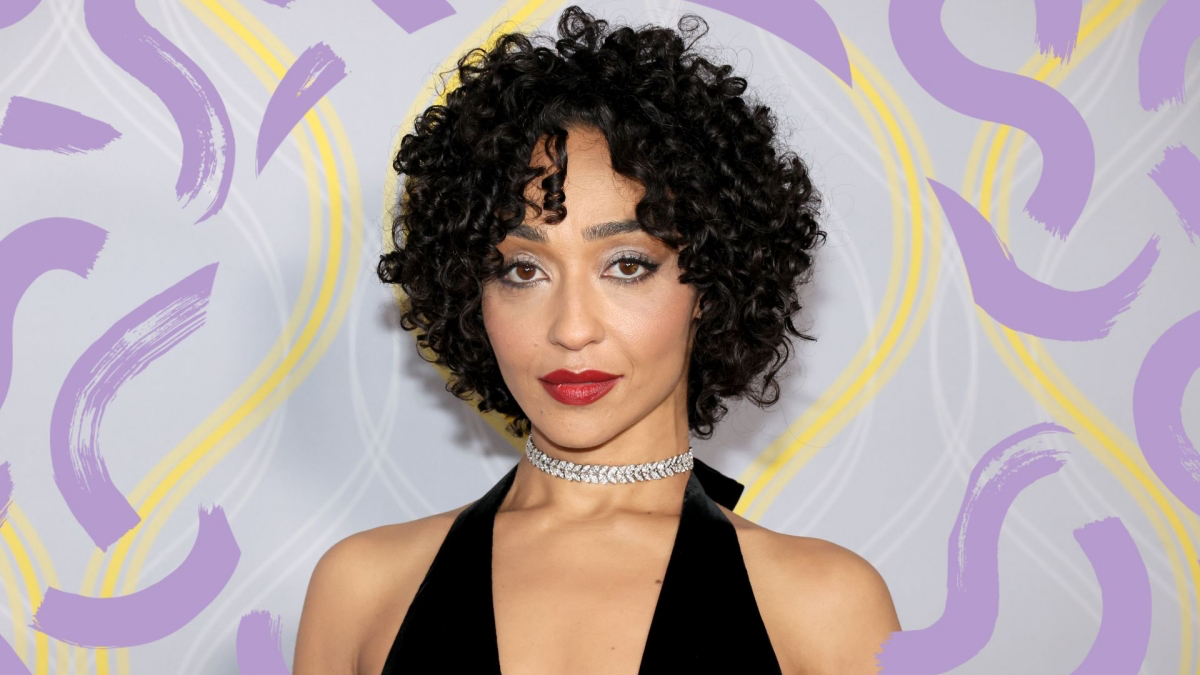
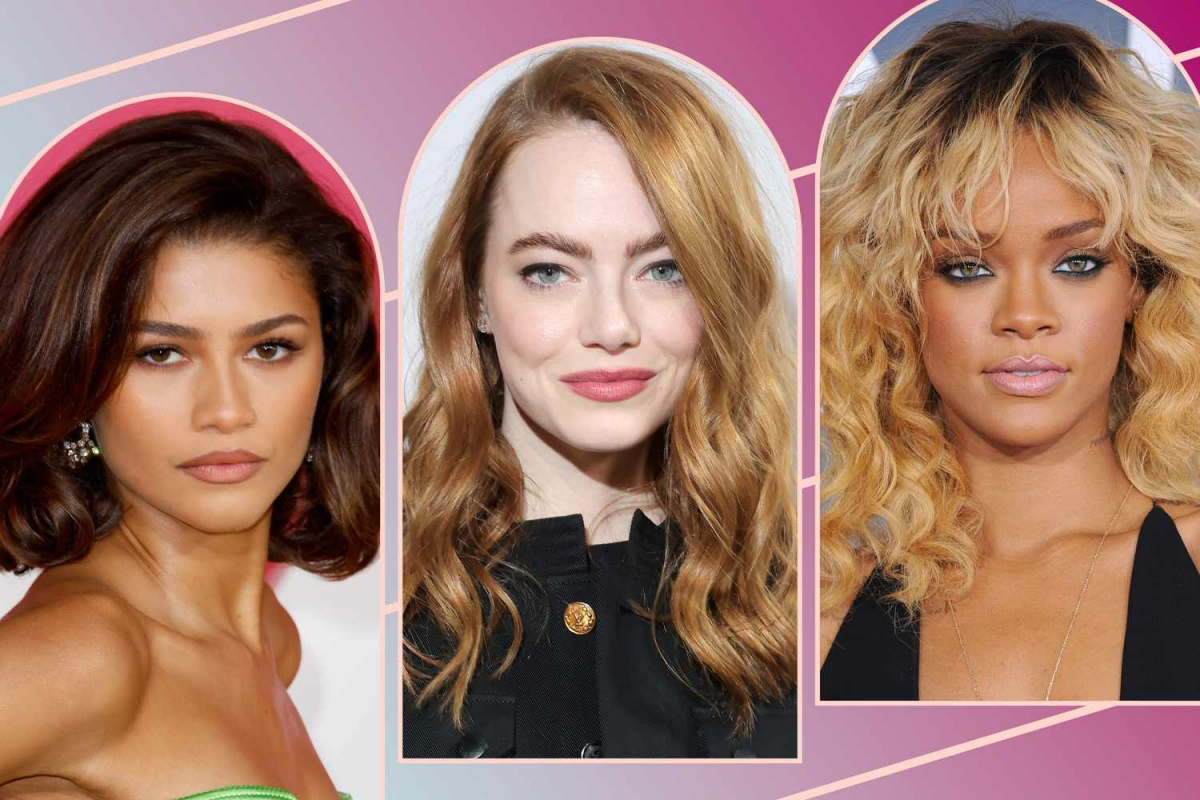
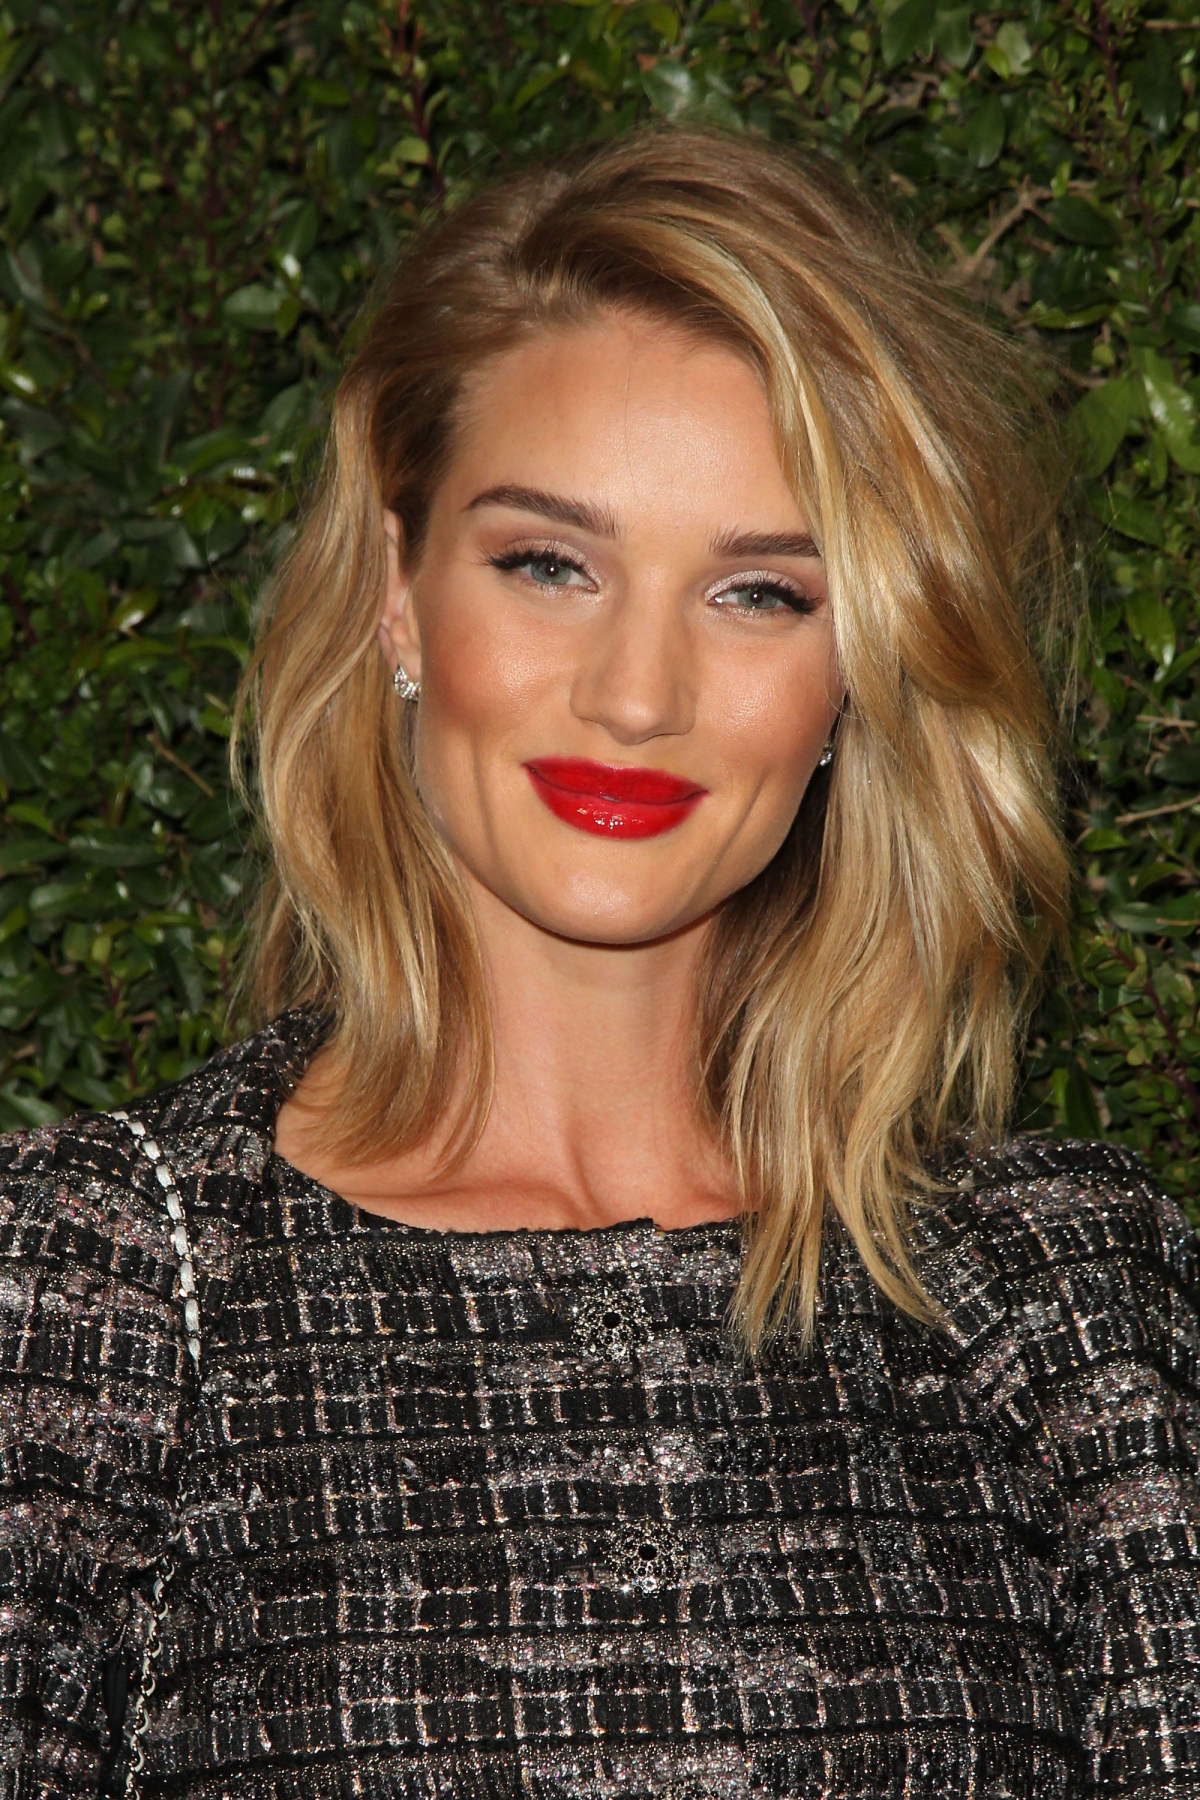
2. The Modern Shag
Think less retro rock-and-roll, more soft, modern texture. It’s all about creating blended movement, usually paired with a curtain bang or face-framing layers.
- The Vibe: Effortless, lived-in, and a little bit edgy.
- Best For: Fantastic for medium to coarse hair with medium or high density that can support the layers.
- Styling Time: Surprisingly low-maintenance day-to-day (10-15 minutes). It’s designed to look good a little messy. A little salt spray and you’re out the door.
- Maintenance: Very forgiving. You can often go 10-12 weeks between trims.
- How It’s Done: The shag is all about controlled, seamless layers. A razor is often the tool of choice here, as it lets us slide down the hair to create soft, melted layers. The key is connecting the shorter layers on top with the length at the bottom. If they’re disconnected, you get that dreaded “jellyfish” look, which is… not the goal. I once had to fix a cut where the layers were so short on top and long on the bottom, it looked like two separate haircuts. We had to create a new, blended shape that, while shorter, looked intentional and grew out beautifully.
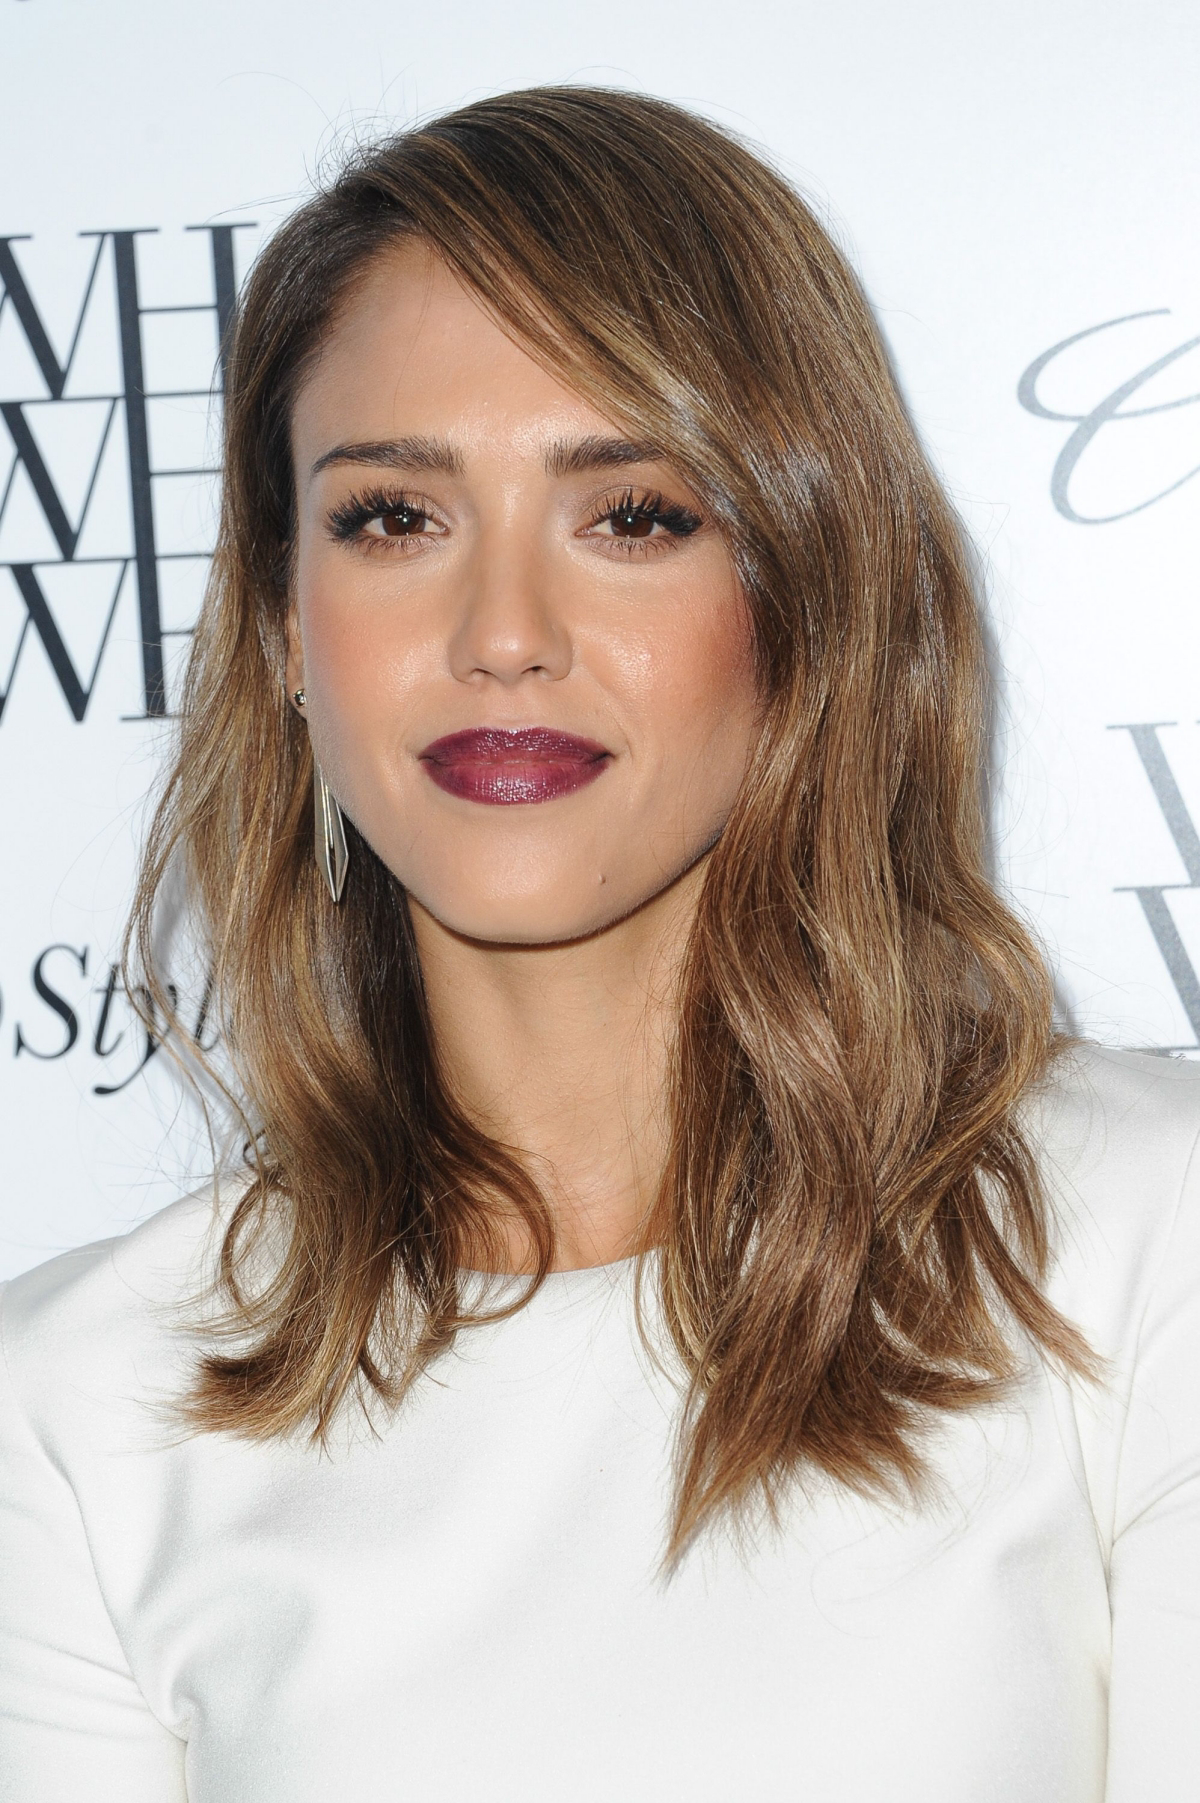
3. The Collarbone Cut with Invisible Layers
This is for the person who says, “I want movement, but I hate the look of layers!” The goal is to make the hair feel lighter and have body while looking like a one-length cut.
- The Vibe: Understated, classic, and full of hidden body.
- Best For: A miracle worker on high-density hair of any texture. It removes weight without sacrificing the look of a strong perimeter.
- Styling Time: Pretty standard (10-15 minutes), but the blow-dry feels easier and has more natural volume.
- Maintenance: Can go 8-10 weeks, as the layers are internal and don’t look choppy as they grow.
- How It’s Done: This is a cool trick. We section off the top layer of hair and clip it away. Then, we cut subtle, shorter layers into the hair underneath. When the top section is dropped back down, it falls like a smooth curtain over the hidden structure, creating airiness and swing. It’s like the support beams in a building—you don’t see them, but they create the entire shape.

Keeping it Fresh: Styling and Maintenance at Home
A great haircut is only half the battle. So much of my job is just teaching people how to make it look good themselves. It really boils down to three things: good tools, the right products, and a tiny bit of technique.
Your Toolkit
- A Good Blow Dryer: You don’t need a $400 machine. A solid ionic dryer from a brand like Conair or Revlon will run you about $50-$75 at Target or on Amazon, and it will change your life. And that little nozzle attachment? It’s not optional. It focuses the air to smooth your hair and fight frizz.
- The Right Brushes: A ceramic round brush helps create volume and that soft bend on the ends. A paddle brush is for getting a super sleek, straight finish.
- A Curling Iron/Wand: A 1.25-inch barrel is the most versatile size for creating modern waves. Expect to spend between $40 and $60 for a decent one. ALWAYS use a heat protectant spray first!
Product Smarts: Less is More
- Volumizing Mousse: A golf-ball-sized puff, applied only to the roots on damp hair, is all you need for lift.
- Texturizing or Salt Spray: This is your secret weapon for that “undone” look. Mist it lightly from the middle to the ends on dry hair and give it a good scrunch. A bottle usually costs between $15 and $30.
- Serum or Oil: A single, pea-sized drop is enough. Rub it between your palms and just skim the surface of your hair to kill flyaways. Too much, and you’ll look greasy, fast.
Oops! Quick Fixes for Common Styling Goofs
We’ve all been there. Here are some quick fixes:
- The Mistake: You went overboard with the serum and now your hair is a greasy mess.
- The Fix: Don’t re-wash it! Grab your dry shampoo and blast the roots and any oily spots. It will soak up the excess oil in seconds.
- The Mistake: Your waves look like tight, perfect ringlets from a school dance.
- The Fix: While the curl is still warm from the iron, gently pull on the very end of the strand. This will relax it into a looser, more modern wave.
- The Mistake: You blow-dried your hair, and now it’s a frizzy, poofy cloud.
- The Fix: You probably didn’t dry it all the way. Hair has to be 100% dry to be smooth. Hit it with the dryer again, using the nozzle and a brush to direct the heat downward along the hair shaft. Finish with a tiny bit of smoothing serum.
A Stylist’s Honest Advice
Let’s wrap up with some real talk.
First, I cannot stress this enough: heat is the #1 enemy of healthy hair. I can feel heat damage the second I touch it. It’s brittle and rough, and that damage is permanent—it has to be cut off. Please, trust your stylist when they recommend a temperature setting for your tools. For most hair, 350-375°F is plenty hot.
Second, as tempting as it is, please don’t cut your own hair (beyond a tiny bang trim). I’ve spent countless hours fixing home haircuts. That $20 you think you’re saving can easily become a $150+ correction cut that’s much shorter than you ever wanted. It’s just not worth the months of regret.
Ultimately, a great haircut is a partnership. My expertise is in the technique and the understanding of hair. Your expertise is in your own life—your style, your routine, your personality. When we work together, we can create something that isn’t just a style, but a part of you that makes you feel incredible. And that’s what this is all about.

Galerie d’inspiration

How do you prevent a great medium-length cut from falling flat by lunchtime?
The secret is in your prep, not just your finishing spray. It’s about building a foundation. Before you even think about blow-drying, work a volumizing product through your roots on damp hair. We’re not talking about crunchy 80s mousse. Modern formulas like the L’Oréal Professionnel Tecni.ART Full Volume Extra Mousse or the Color Wow Xtra Large Bombshell Volumizer create lift and memory in the hair. This step gives your style a structural base to hold onto, ensuring that the body your stylist created in the salon lasts all day long.


