Historical Hair That Actually Works: A No-Nonsense Guide
I’ve spent years deep in the world of historical clothing, and let me tell you, hair is a huge part of the puzzle. I’ll never forget the first time I tried to recreate a classic braided style I saw on an old statue. It was a total disaster. My modern, squeaky-clean hair was just too slippery. The braids looked great for about thirty seconds, and then the whole thing just… deflated. It taught me a vital lesson right then and there: getting historical hair right isn’t about copying pretty pictures from movies. It’s about understanding the raw materials and the clever engineering that held it all together.
In this article
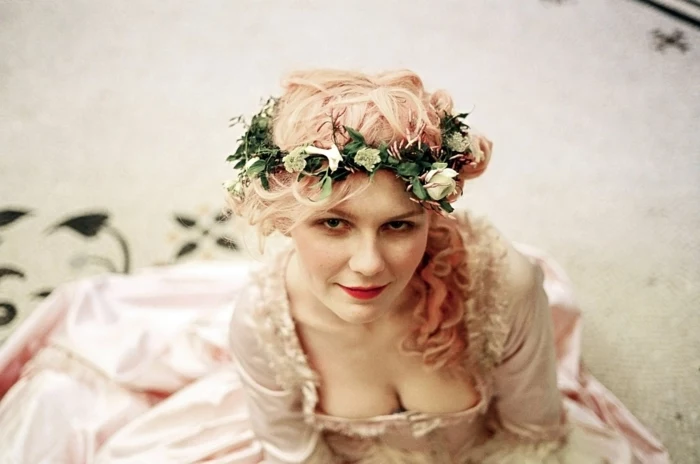
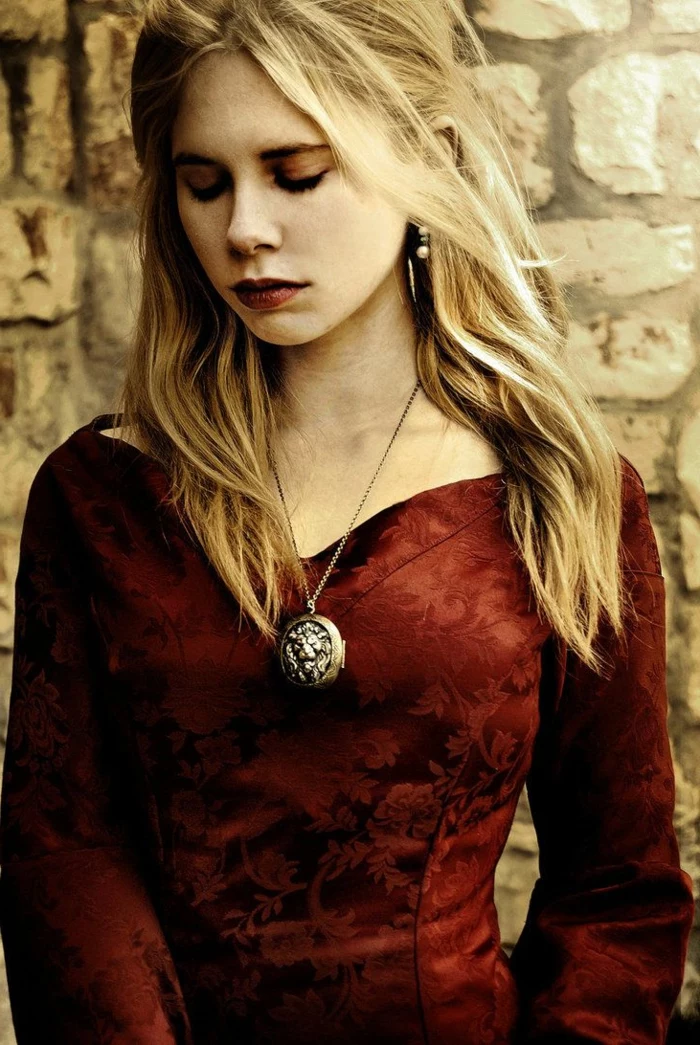
Let’s be real, most TV shows give us a very romantic, and very wrong, idea of old-school hair. We see tons of characters with long, flowing locks, which just wasn’t the norm. For most of European history, especially in the medieval period, hair was managed. It had to be, for basic hygiene, for safety around fires and machinery, and to signal your place in society. Married women, in particular, almost always covered their hair in public. And underneath those veils and wimples? Often a seriously complex foundation of braids, twists, and buns.
So, this guide is for anyone who wants to learn the real techniques. We’re going to skip the fantasy stuff and get right into the tools, braids, and structural tricks that made these styles last all day. This is the practical craft, perfect for historical reenactors, theater folks, or anyone who’s just curious about how they did it.
The Foundation: Getting Your Hair Ready
Before you even think about braiding, you need to get your canvas right. Hair back then was just different. Washing routines and the lack of modern products gave it a texture that was, frankly, much better for styling.
People did wash their hair, but not with the daily detergents we use that strip away every last bit of natural oil. They used things like harsh lye soaps or herbal rinses with ingredients like rosemary and nettle. These left the hair clean, but with a certain amount of grip and texture. This is a game-changer for recreating the styles.
Your freshly washed, silky-smooth hair is the enemy of a stable updo. Seriously. The natural oils that build up after a day or two are your best friend; they give the hair strands the friction they need to lock together in a braid. I always tell people to work with second-day hair. If your hair is just too clean, you can cheat a bit. A light spray of a basic dry shampoo, like Batiste, or a dusting of a texturizing powder like Got2b’s Volumizing Powder will give you that perfect, slightly gritty feel.
The Magic of a Good Comb
The number one tool for daily hair care was the comb. These were made from wood, bone, or horn, and they often had two sides: coarse teeth for detangling and fine teeth for smoothing and cleaning. Methodical combing was the main way to distribute the scalp’s oils down the hair shaft, which is basically nature’s conditioner. It protected the hair and gave it a healthy sheen without making it slippery.
By the way, did you know that some archaeological digs have found double-sided combs where the fine-toothed side was extremely fine? The experts think it was specifically for removing lice and nits. It just goes to show how practical these tools were!
Your Historical Hair Toolkit: What You Actually Need
To build these styles, you need the right gear. Modern bobby pins and elastics just won’t cut it; they don’t provide the right kind of structural support. The authentic toolkit is simple but incredibly effective. I learned the hard way that a flimsy bobby pin can’t do the job of a solid, 6-inch bone pin. One is for light holding; the other is like a nail in a wooden frame.
Here’s a beginner’s shopping list to get you started. You can find most of this stuff on Etsy or at online reenactment suppliers like Jas. Townsend & Son. Just search for terms like “hand-forged bronze hairpin” or “boxwood comb.”

- Pins: These are your primary fasteners. Look for straight pins made of bone, wood, or metal, usually 3 to 6 inches long. They work by spearing through a coiled braid and anchoring it to the scalp hair. A good starter set of four might cost you between $20 and $40.
- Linen or Silk Thread: Forget hair elastics. You’ll use strong thread to tie off the ends of your braids. Linen thread is fantastic because it’s strong and grippy. A spool is usually under $10 and will last you ages.
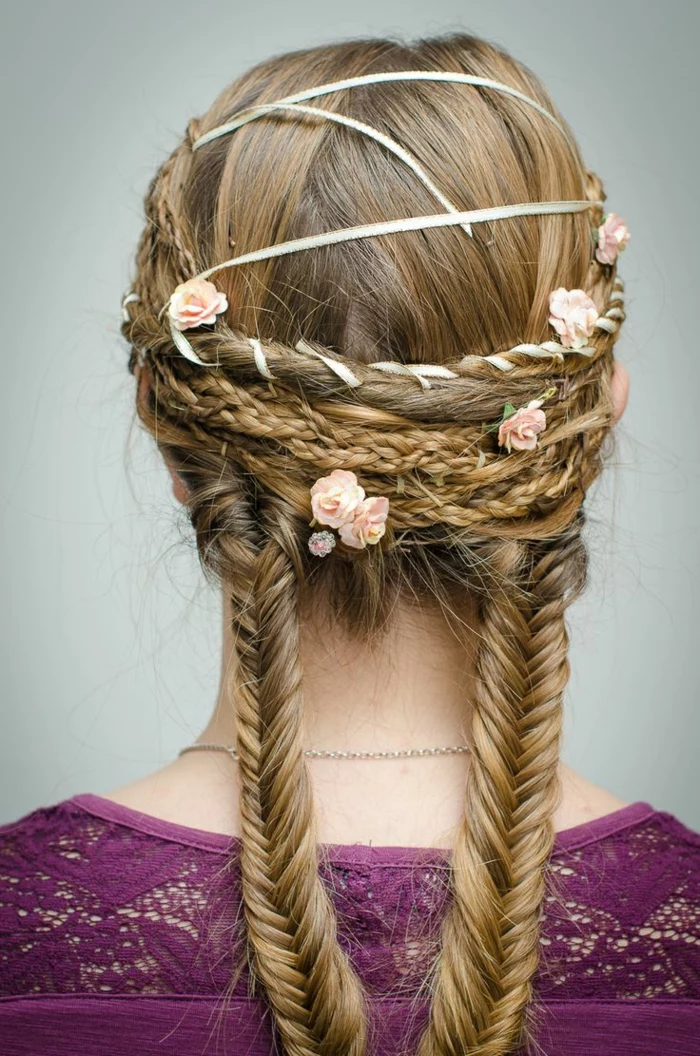
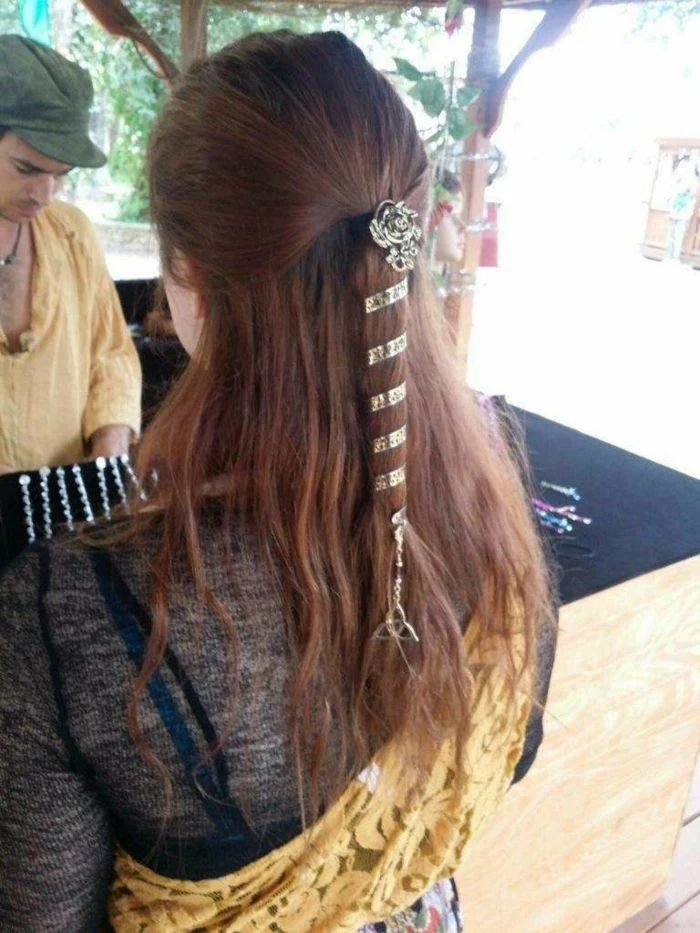
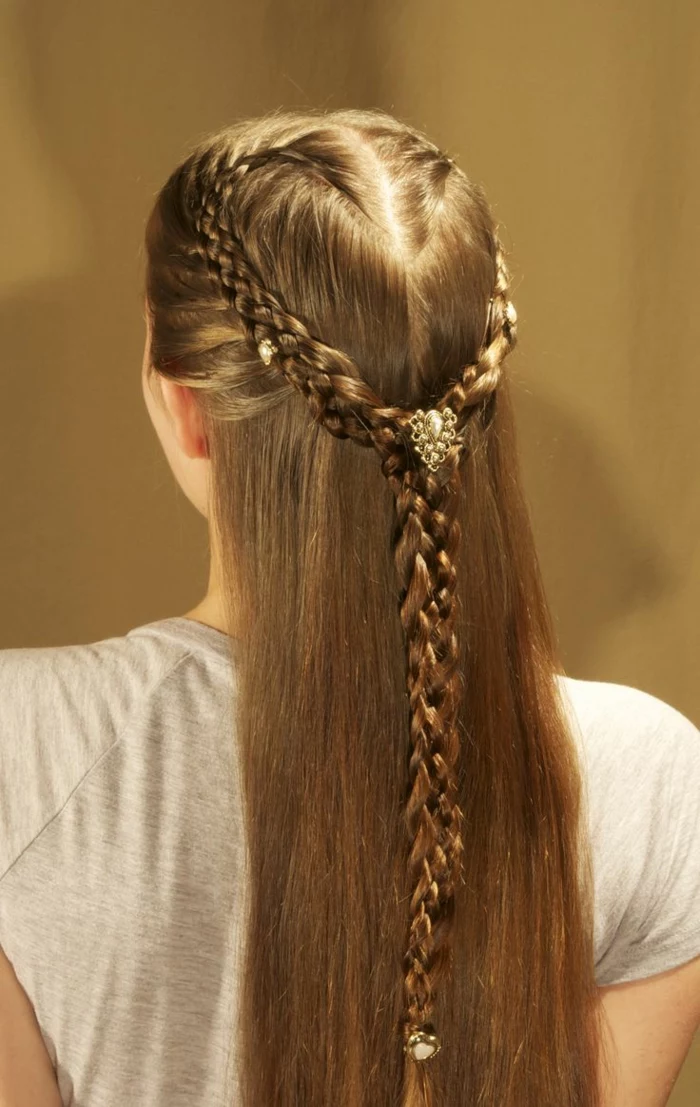
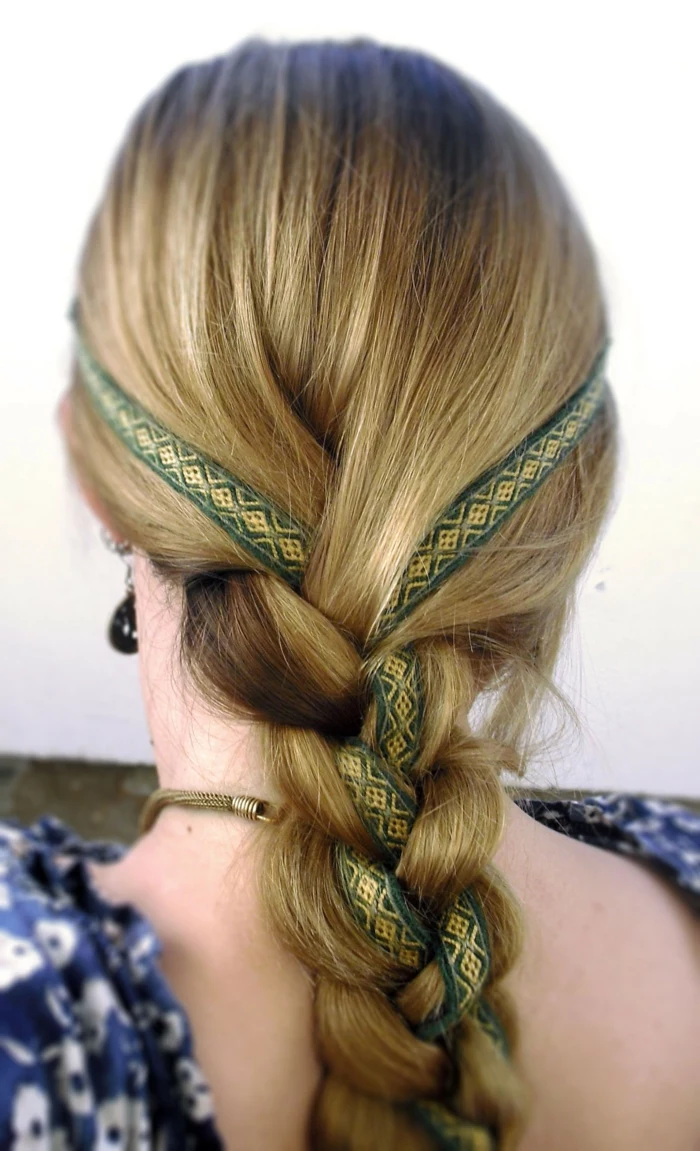
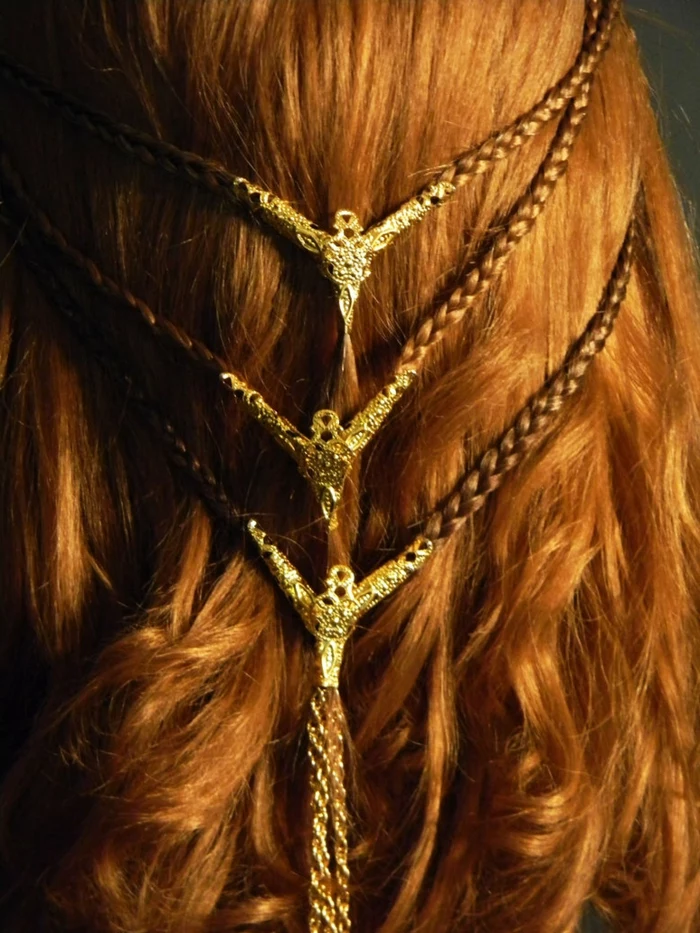
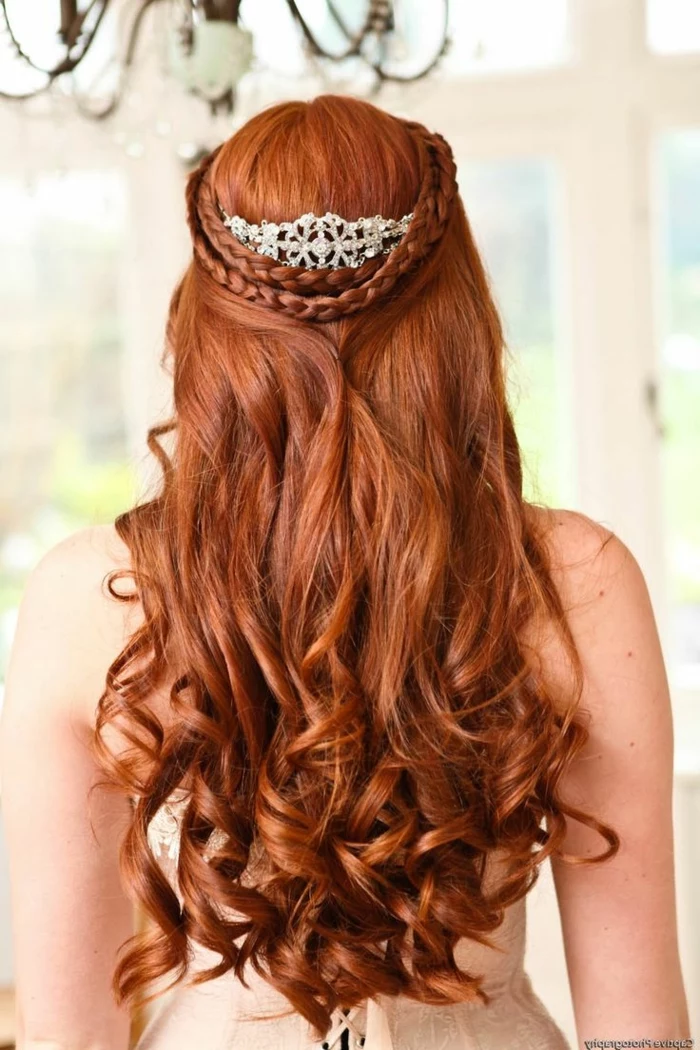
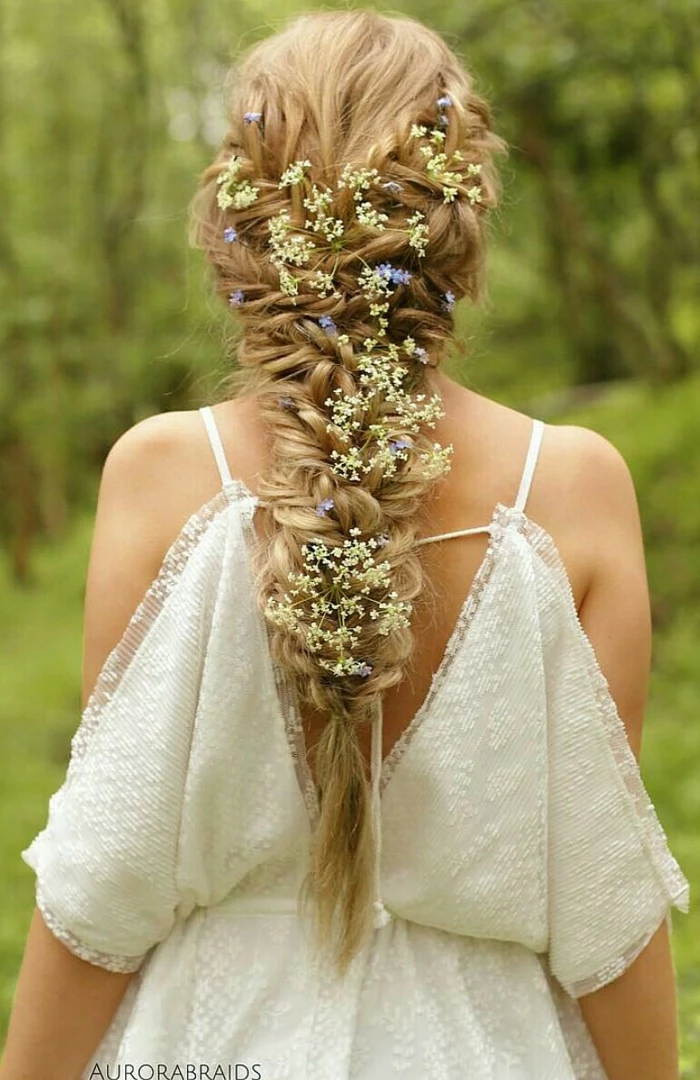
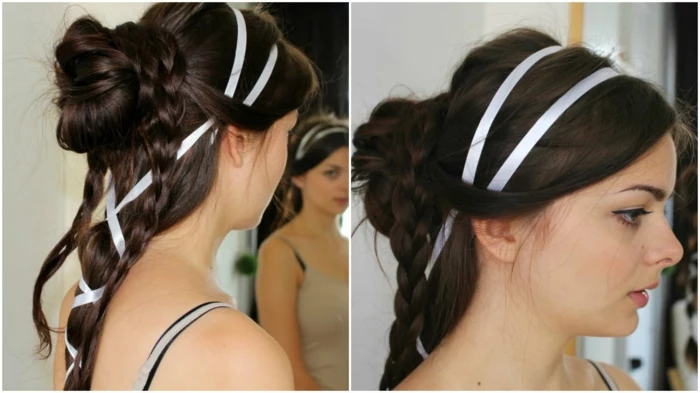
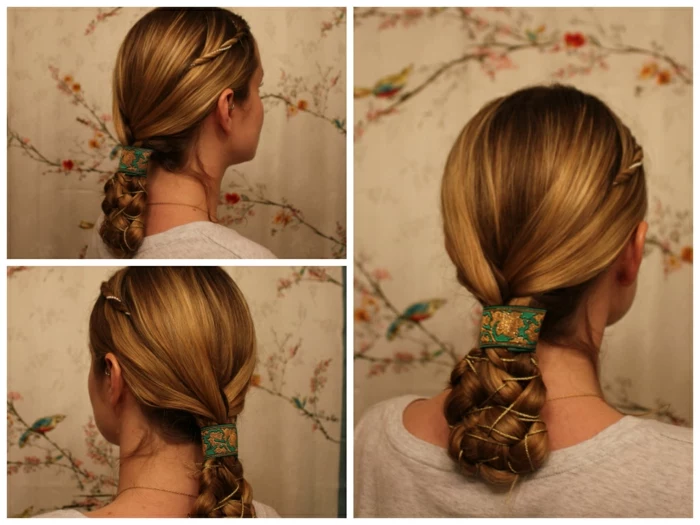
- Ribbons or ‘Tapes’: Woven ribbons (wool or silk are great) are for more than just decoration. Weaving a ribbon into a braid or wrapping it adds bulk, strength, and makes the braid much easier to shape into coils.
- A Good Comb: A wooden comb, like one made from boxwood, is a great investment. It doesn’t create static like plastic and feels amazing to use. Expect to pay around $15 to $25 for a quality one.

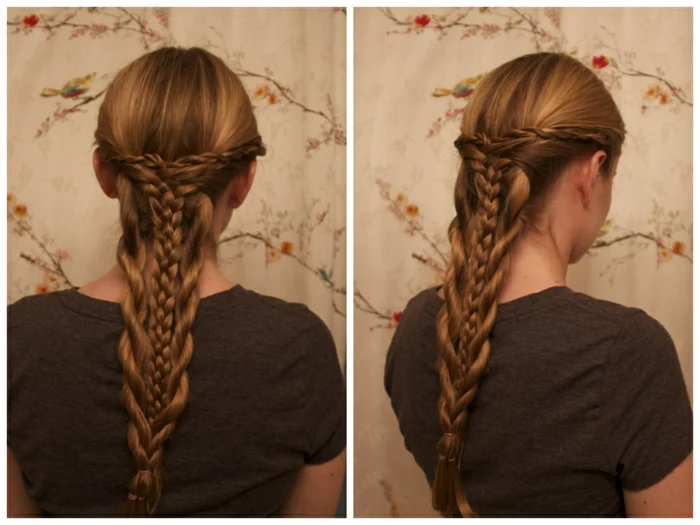
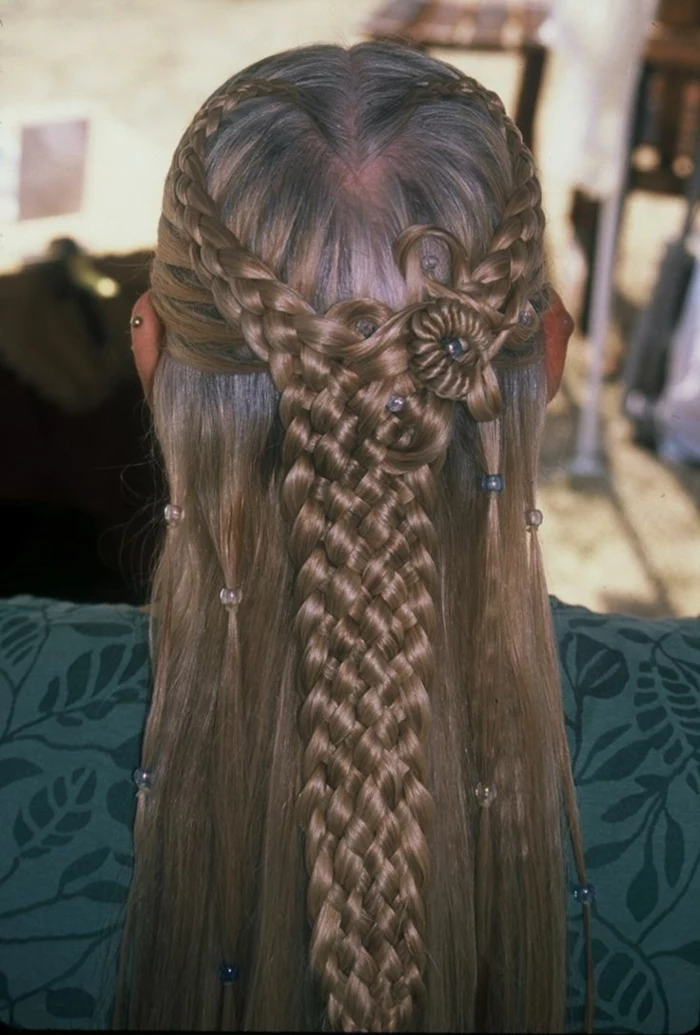
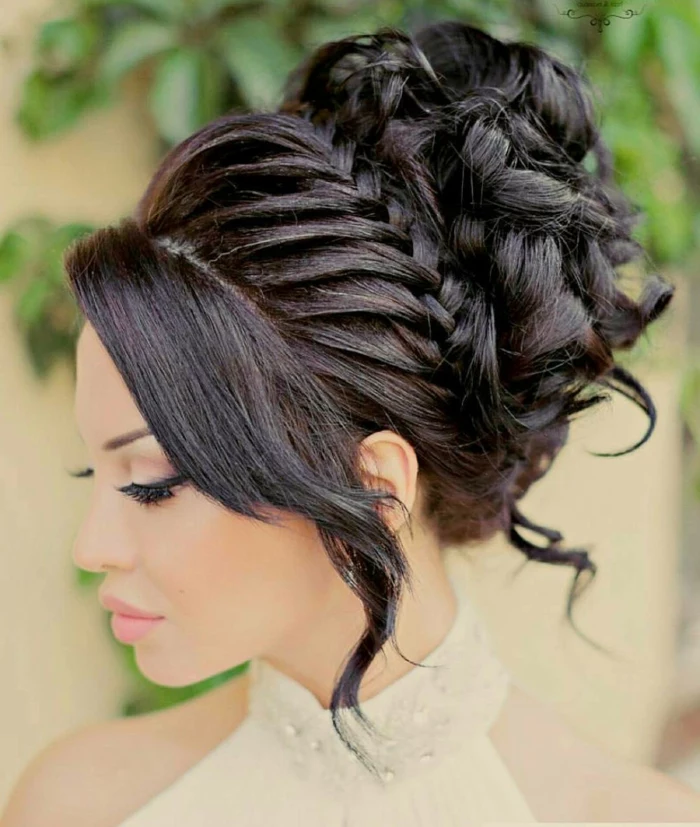
Core Techniques: The Building Blocks
The most elaborate styles look intimidating, but they’re all built from a few fundamental techniques. Once you master these, you can construct almost anything. Practice on a friend or a mannequin head until it feels like second nature.
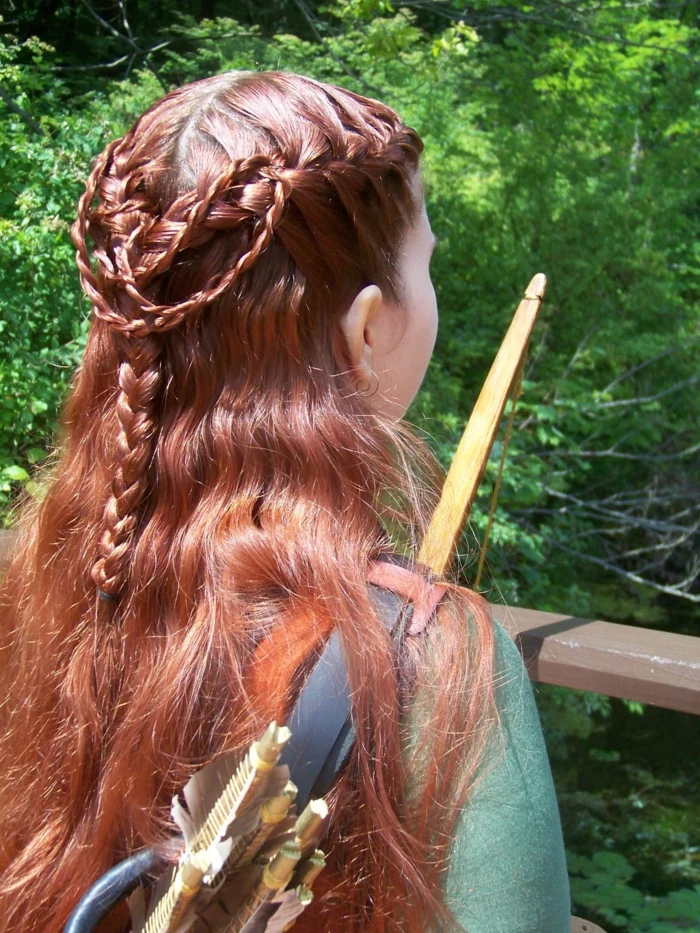
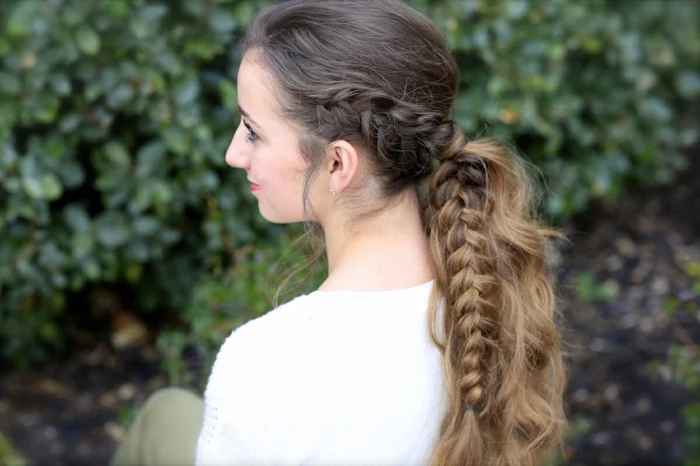
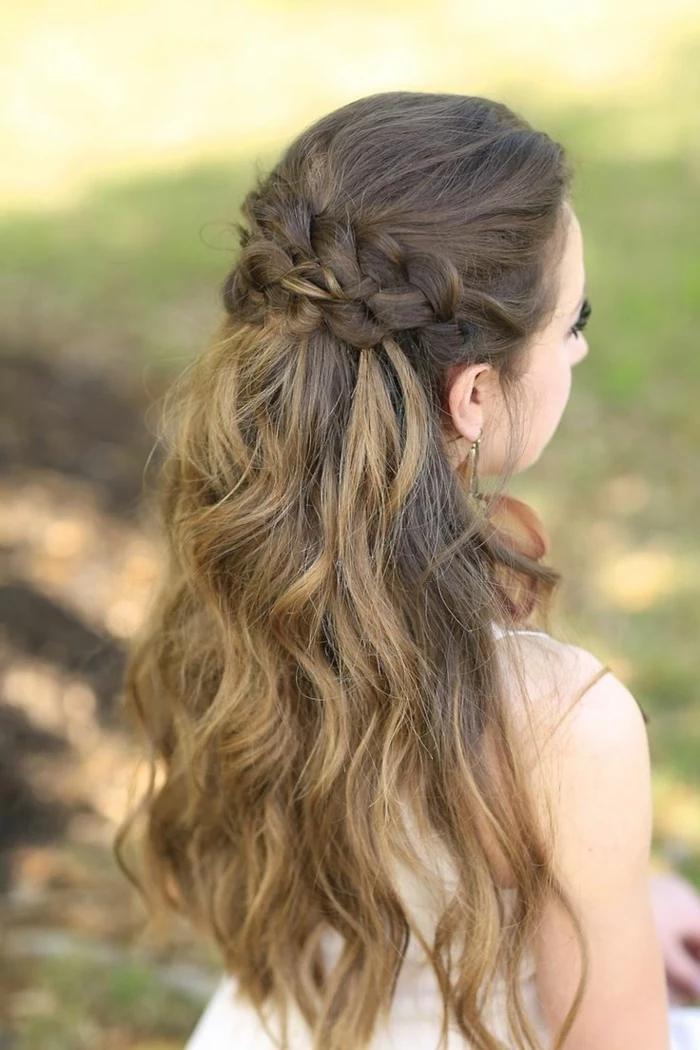
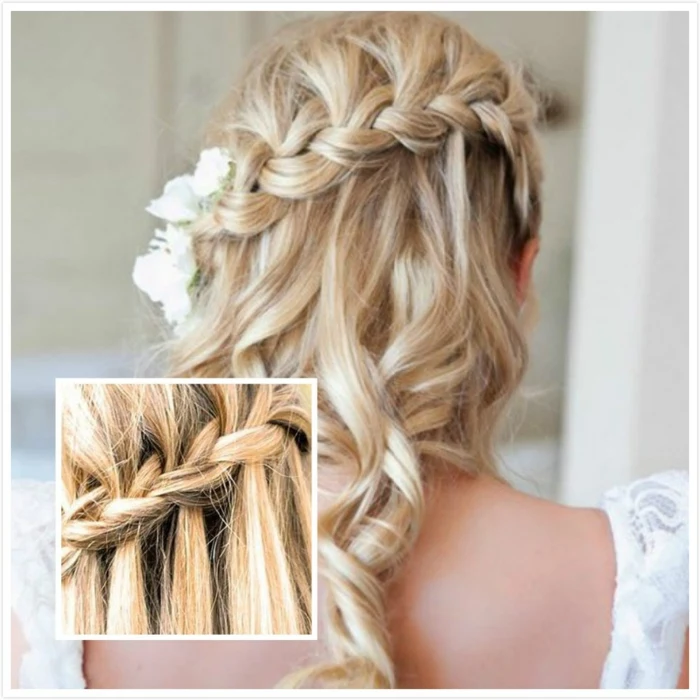
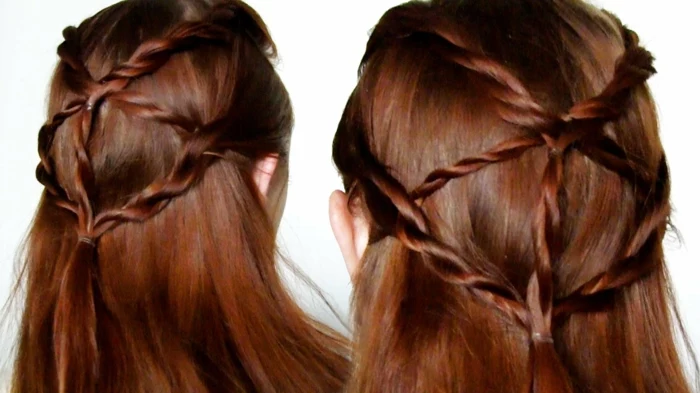
The simple three-strand braid is your foundation, but for that classic, wide-band-of-hair look, you’ll want to learn a few others.
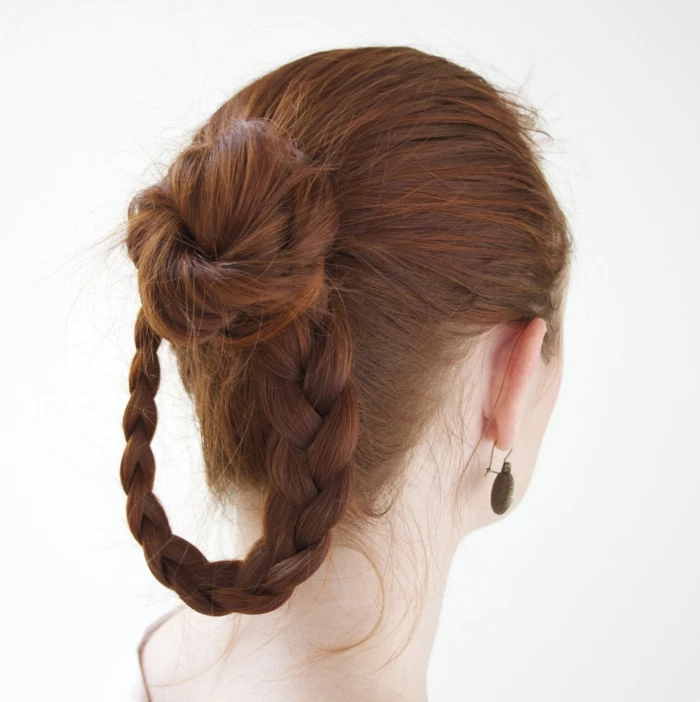
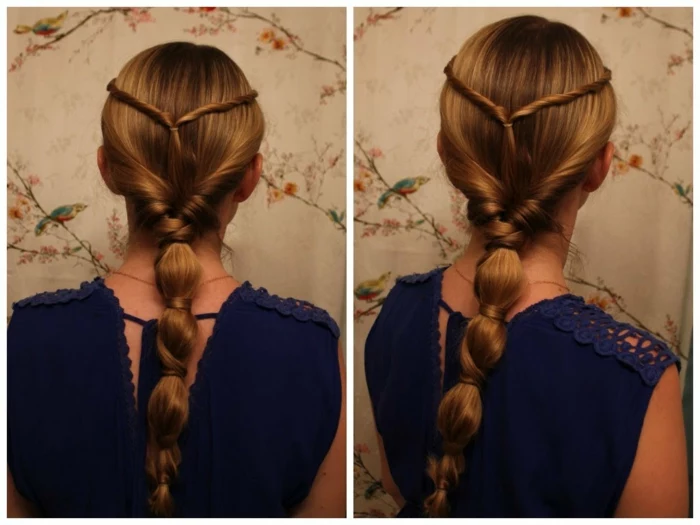
- Three-Strand Braid: You know this one. Right over middle, left over middle. It’s the starting point.
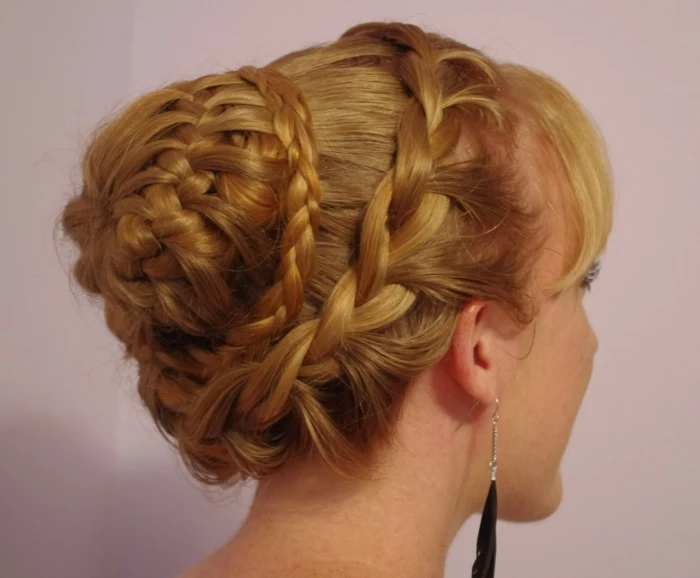
- Four-Strand Braid: This one creates a lovely, almost square-shaped braid. The rhythm I use is: outer strand over its neighbor, then the other outer strand under its neighbor. It takes a second to get, but it’s very sturdy.
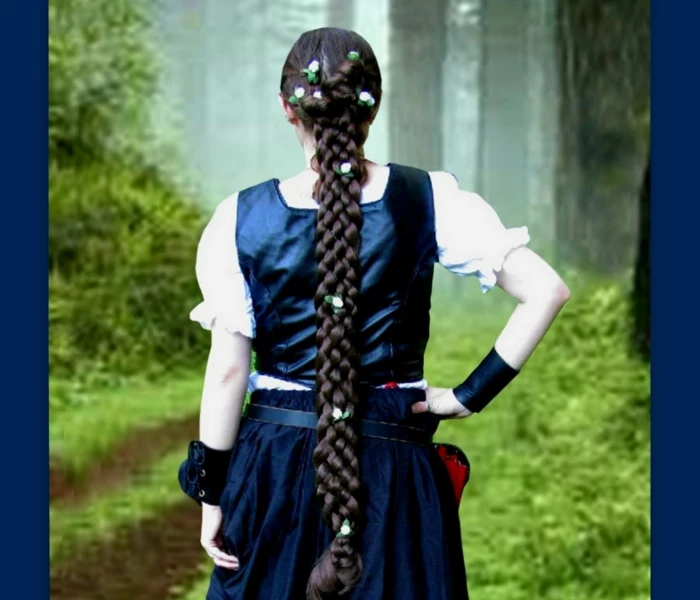
- Five-Strand Braid: This is the one for creating a stunning, wide, flat plait that looks like a woven strap. You take the outermost strand on one side and weave it over, then under, towards the center. Then repeat on the other side. Honestly, it might feel like you need a third hand at first, but the result is so worth it.
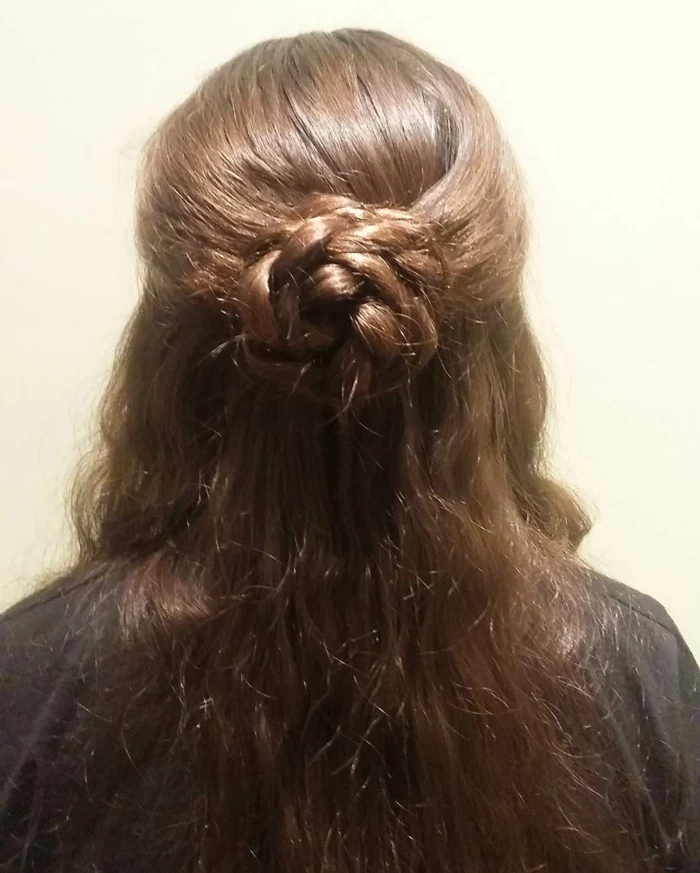
Finishing and Assembling
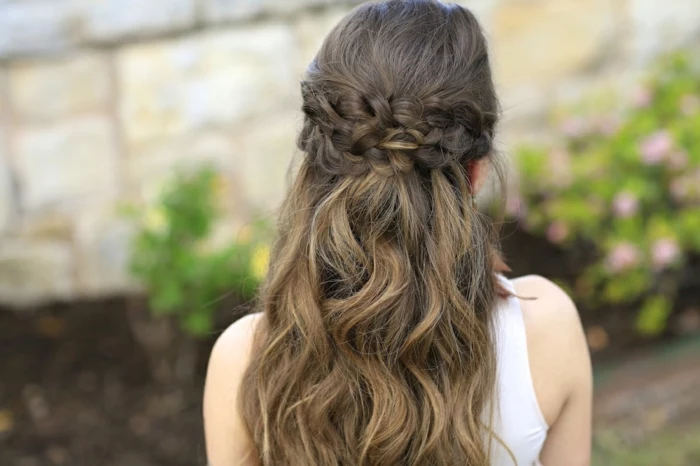
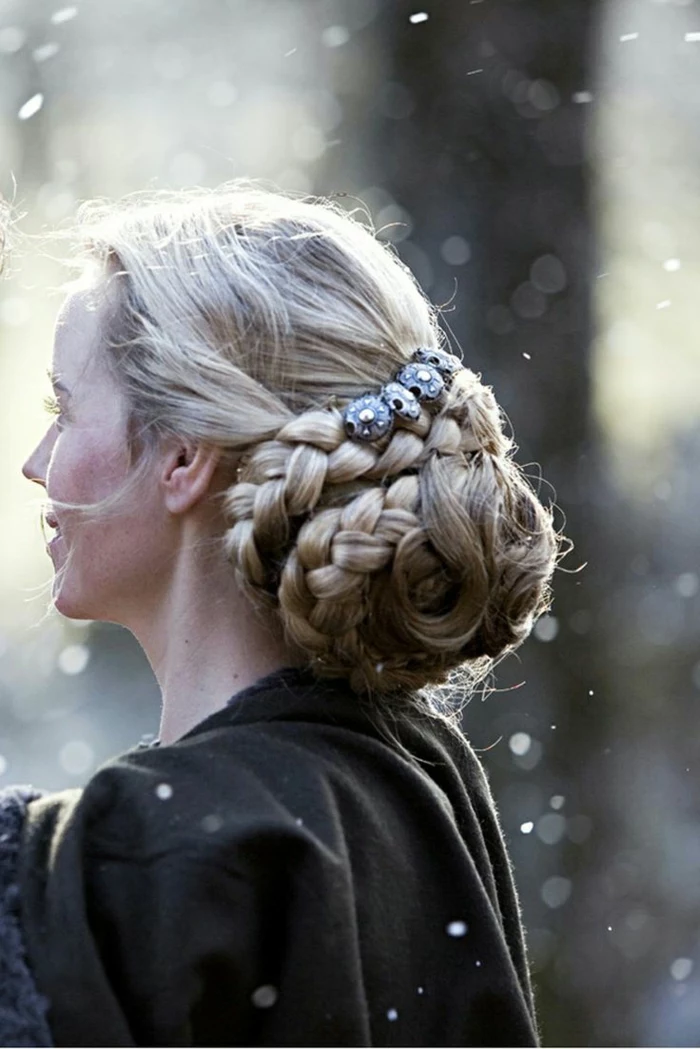
A finished braid is a structural element. Here’s how you assemble the final look. A heads up for beginners: plan for about 30-45 minutes the first time you try to create and pin up two coiled braids. Once you get the hang of it, you can knock it out in 15 minutes.
- Tying Off: Take a long piece of linen thread. When you get to the last inch of your braid, wrap the thread tightly dozens of times and then tie a secure knot. That braid isn’t going anywhere.
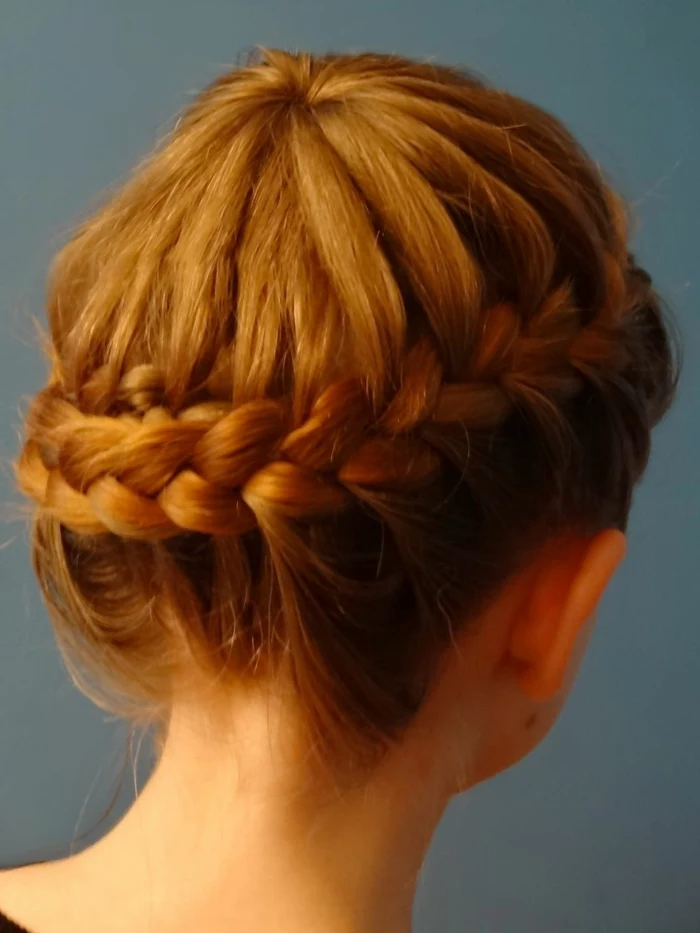
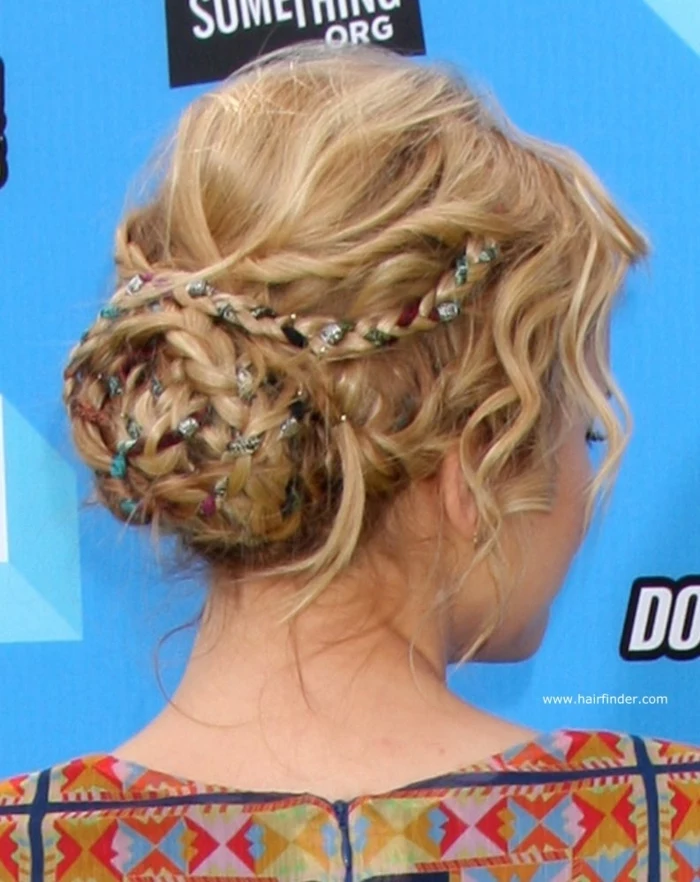
- Taping: To add rigidity, wrap a ribbon in a spiral down the length of your finished braid. This makes it hold its shape when you coil it.
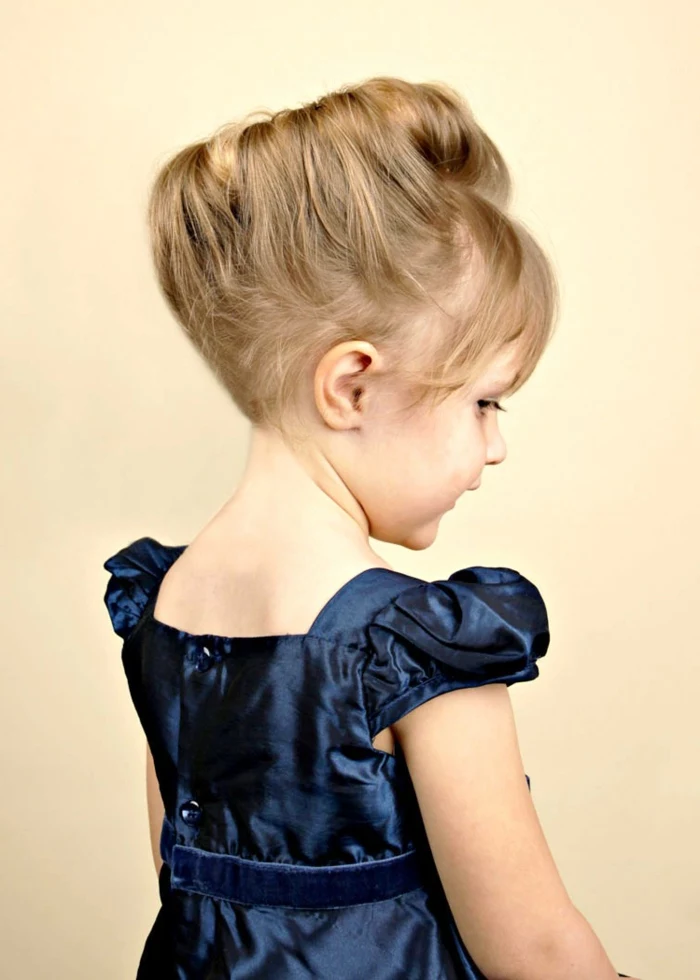
- Coiling and Pinning: Coil your taped braid into a flat bun, maybe over your ear or at the nape of your neck. Now, hold it flat against your head. Take one of your long hairpins and push it down through the outer edge of the bun. Here’s the trick: angle the pin so it scoops up a good bit of the scalp hair underneath, then push it back up through the bun. You’re basically sewing the bun to your head. One or two pins done right will hold all day.
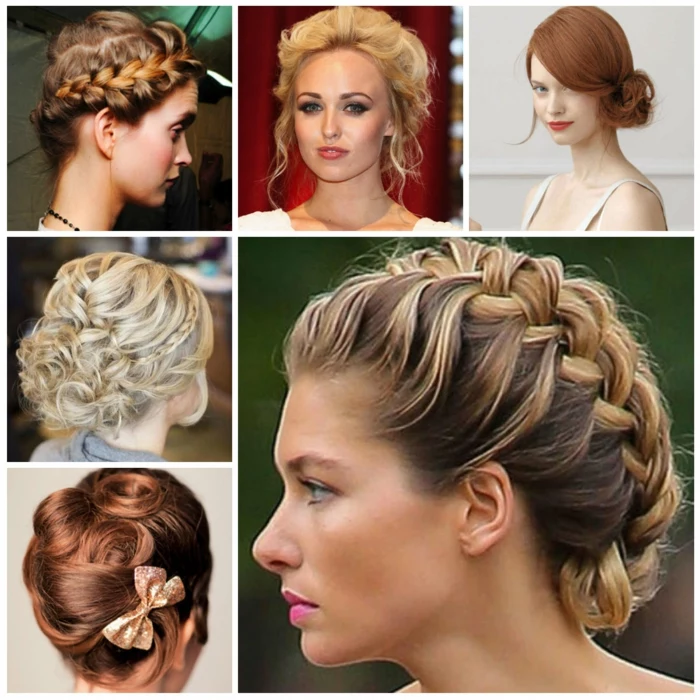
A Quick Guide to Different Styles
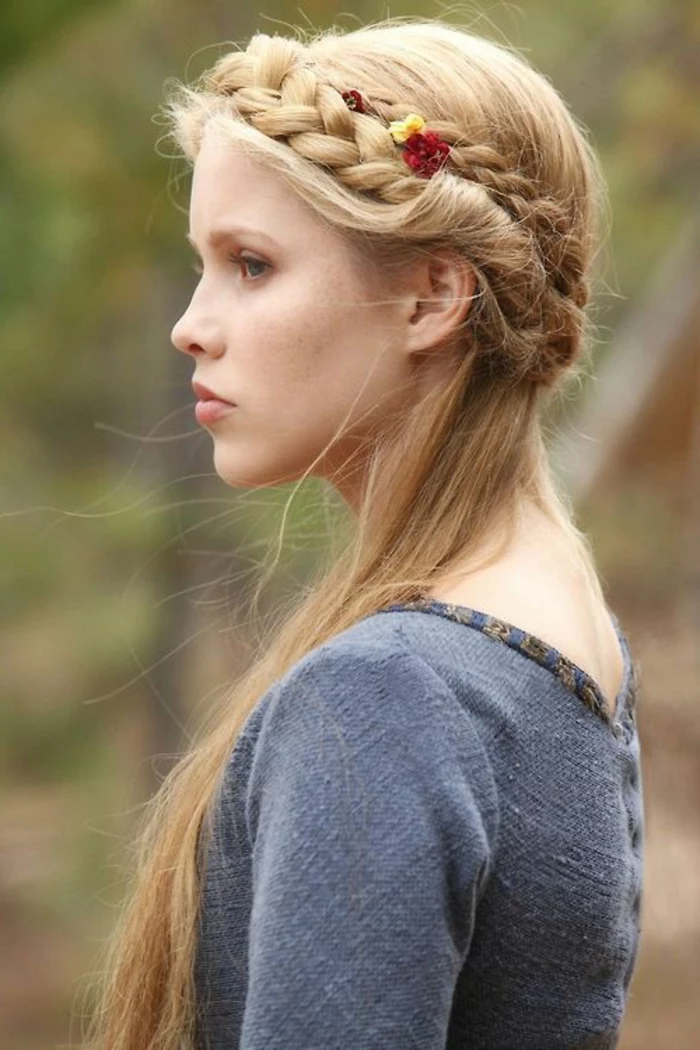
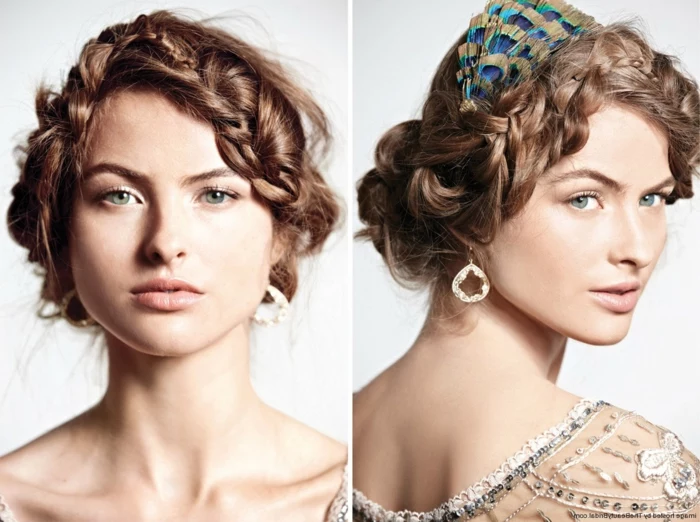
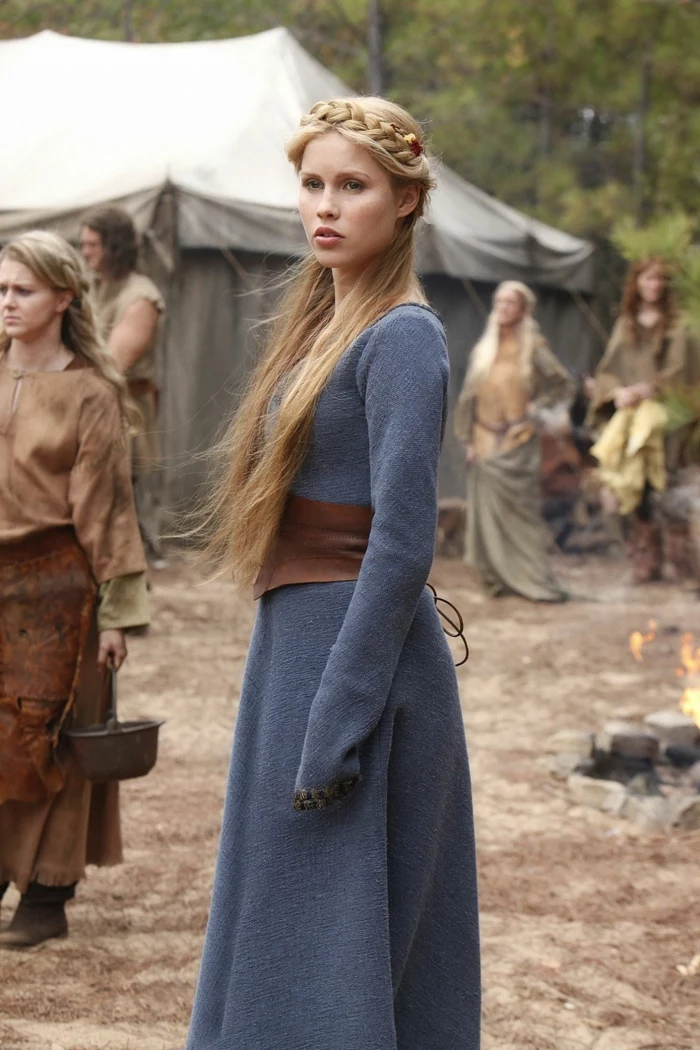
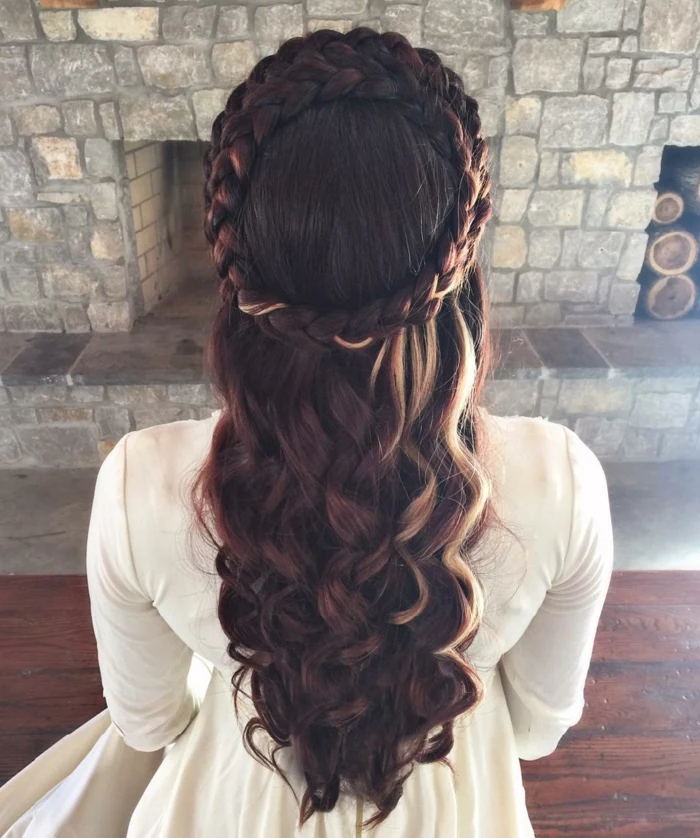
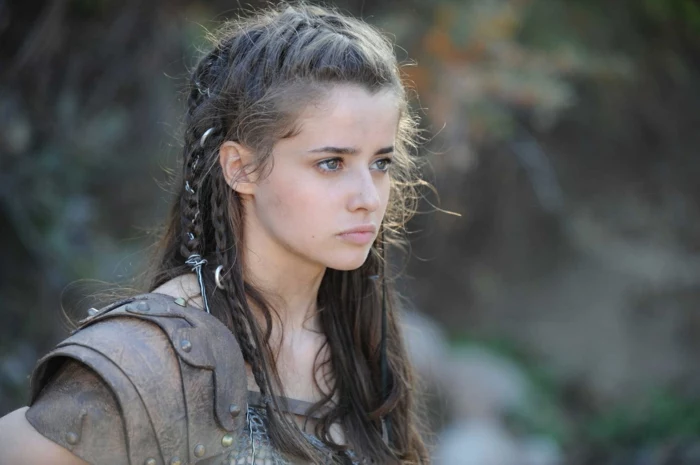
So how do you tell the styles apart without getting bogged down in dates? The easiest way is to just look at the overall shape. Earlier traditional styles were all about vertical lines—long, hanging braids that showed off a woman’s prized long hair. The key tools were simple: headbands (called fillets) and maybe some fabric tubes to encase the braids. The complexity was pretty low.
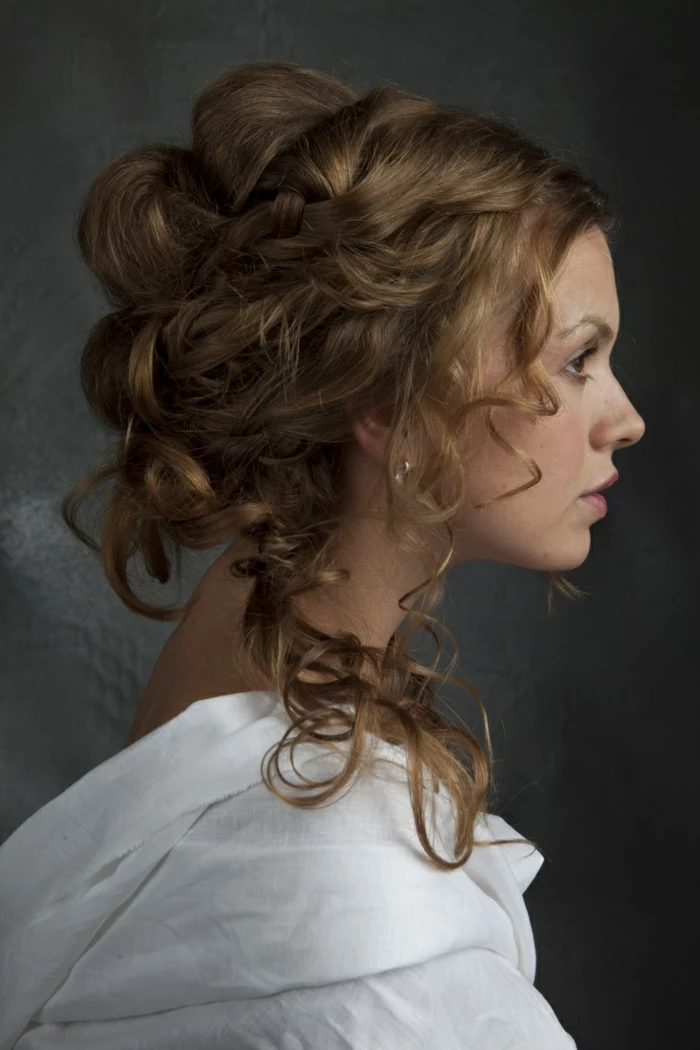
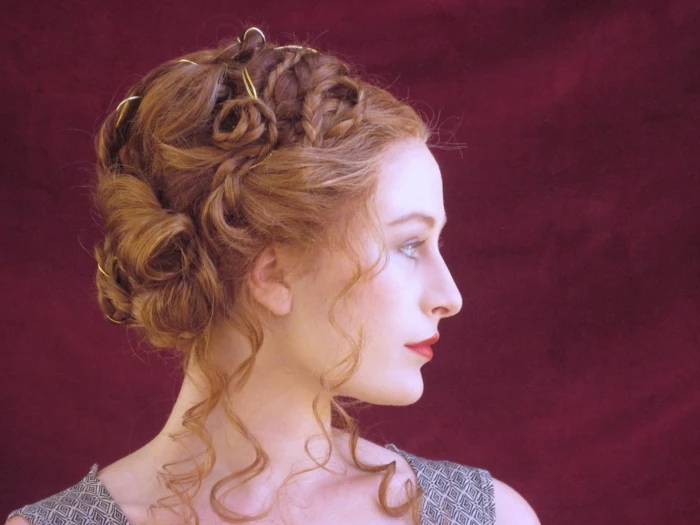
But as styles evolved, things went horizontal and architectural. Hair was taken from the back and sculpted into shapes on the sides of the head. This meant the twin braids were no longer left hanging; they were coiled into tight buns and pinned securely over each ear. This more complex look required more advanced tools, like structured wire mesh nets (cauls) and padded forms to create those famous ‘horned’ silhouettes. The complexity level shot way, way up.
Of course, a working woman’s hair was all about practicality. The go-to style was usually a simple braid or two, coiled into a bun at the back of the head and covered with a linen coif or scarf. It was simple, tidy, and kept hair out of the way for a long day of physical labor.
Troubleshooting: When Your Hair Won’t Cooperate
Trying these techniques with modern hair can be tricky. Here are the most common problems and how to fix them.
- Problem: My pins keep falling out!
Solution: Ah, the classic mistake! This almost always means you’re not anchoring the pin correctly. You can’t just stick it in the bun. You have to pierce through the bun, angle the pin to scoop up the hair on your scalp underneath, and then weave it back through the bun. It’s a scooping motion that locks it in place. - Problem: I just don’t have enough hair for those big braids!
Solution: You’re not alone, and they had a solution for this back then, too! Using false hair is a totally authentic technique. For a quick and easy filler, get some wool roving or thick yarn that matches your hair color. Braid it into a chunky plait. Then, when you’re braiding your own hair, just use this filler as one of the three strands. It adds instant, authentic-looking bulk! Good to know: for those classic coiled buns over the ears, your hair really needs to be at least shoulder-blade length to create a coil with enough substance to pin.
A Quick Win for Total Beginners
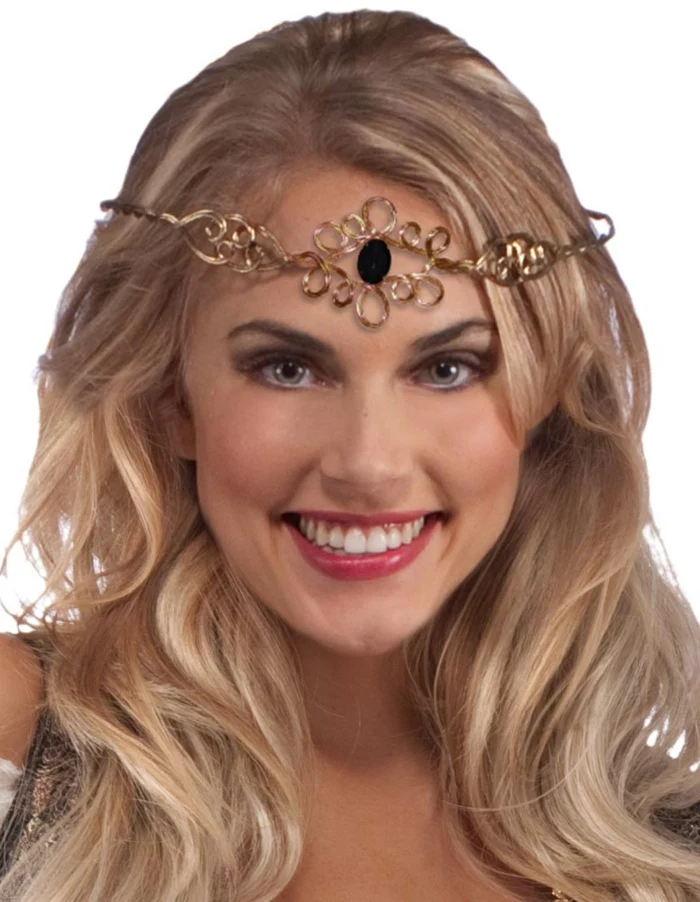
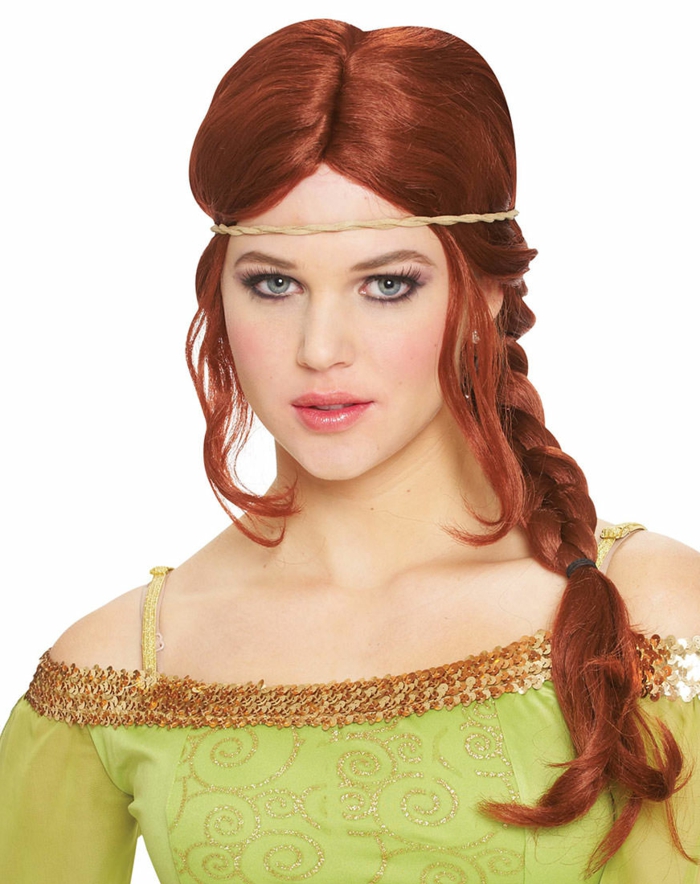
Feeling a little overwhelmed? No worries. Try this super simple, 2-minute look to get a feel for it. Part your hair in the middle and comb it smooth. Now, just tie a simple ribbon or a strip of cloth around your head like a headband, going across your forehead. This is called a fillet, and it was an incredibly common way to instantly contain hair and give a historical vibe without a single braid. Easy peasy.
A Quick But Important PSA on Hair Safety
Listen, these styles can be gorgeous, but they can also be rough on your hair if you’re not careful. Some of the later, more architectural styles are heavy and put a lot of tension on the hairline. Over time, this can lead to hair loss from constant pulling (it’s a real thing called traction alopecia).
If a style feels painfully tight, it IS too tight. Loosen it. Try to distribute the weight evenly, anchoring the style to the stronger hair at the back of your head, not the delicate hairs at your temples. And please, never sleep in a complex, tightly pinned style. Give your scalp a break!
Embracing this craft is a really rewarding journey. It connects you to the past in a tangible way. Start small. Master that simple braid, learn to tie it off with thread, and practice pinning a coil. Once you get a feel for it, you can explore a whole world of incredible, creative hairstyling. Have fun with it!
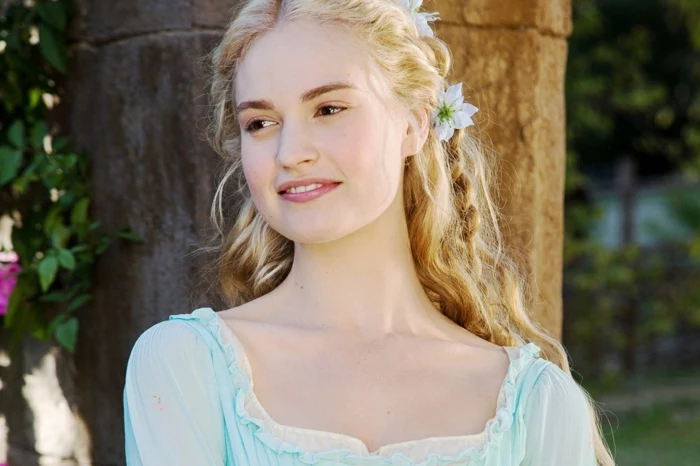
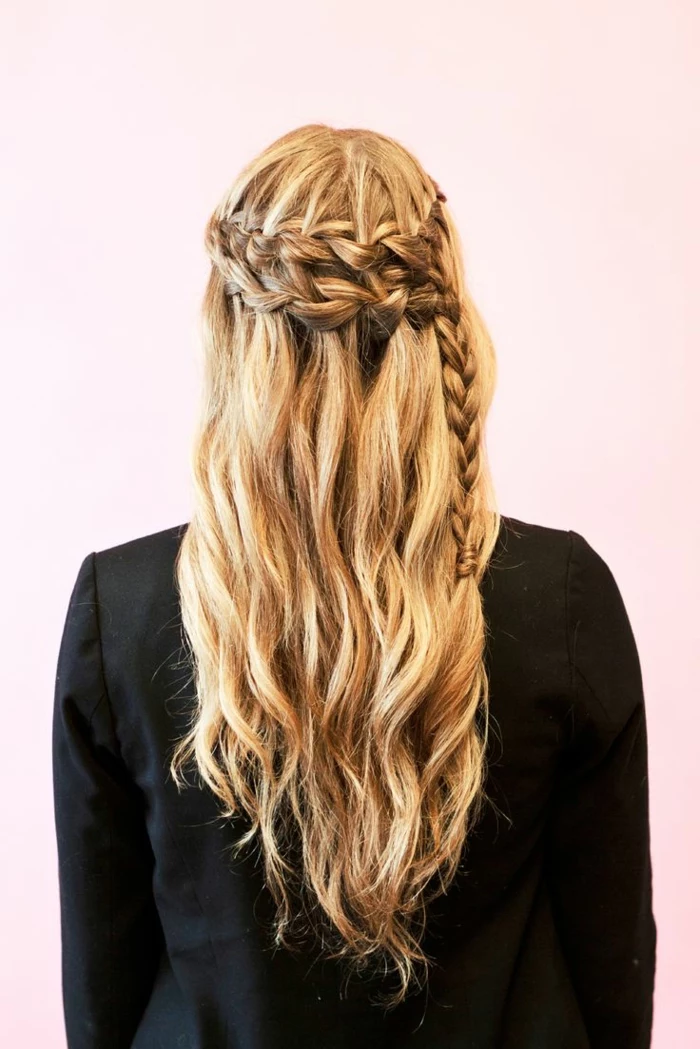
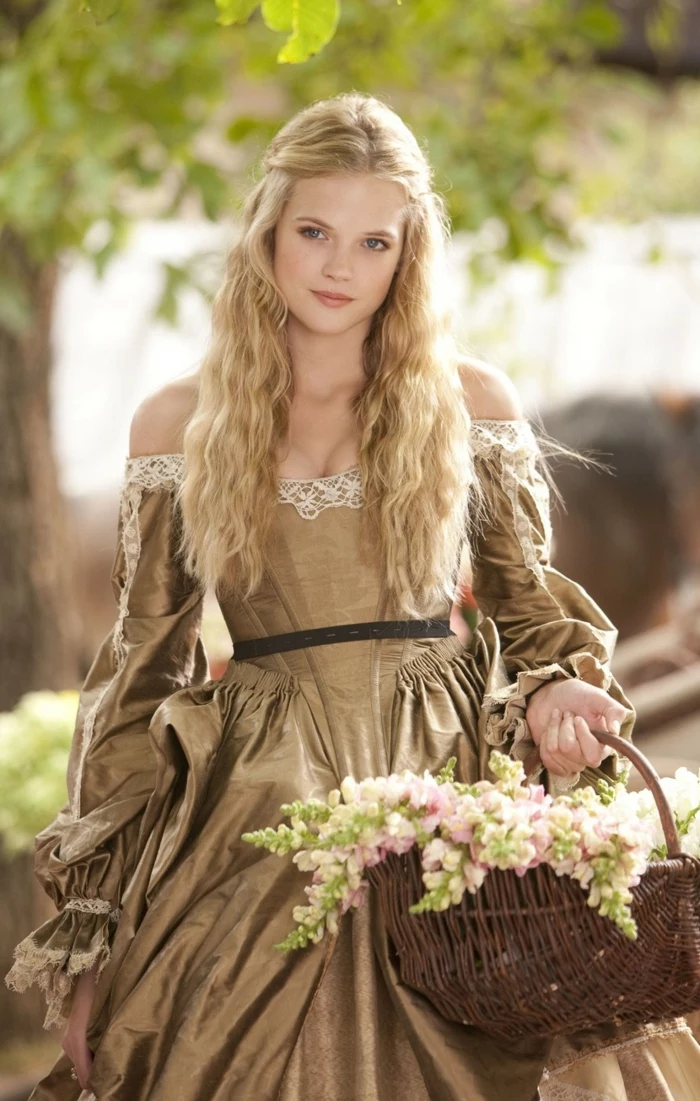
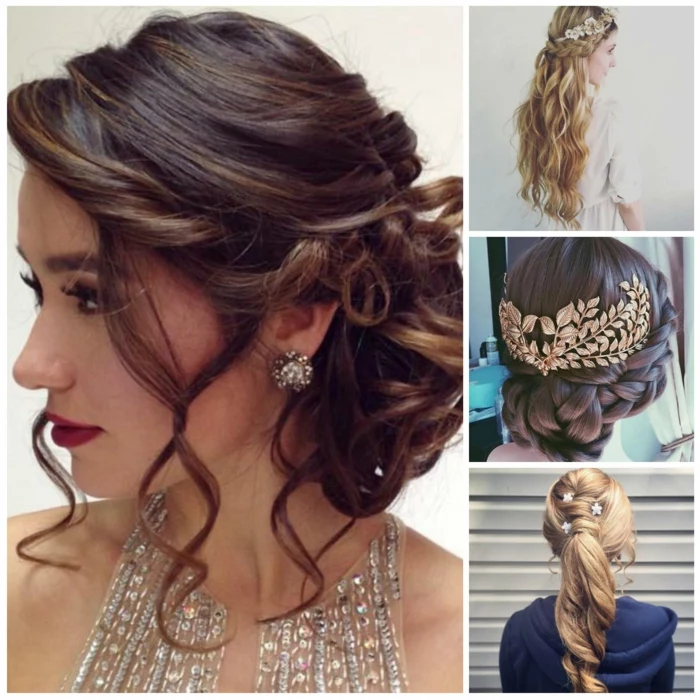
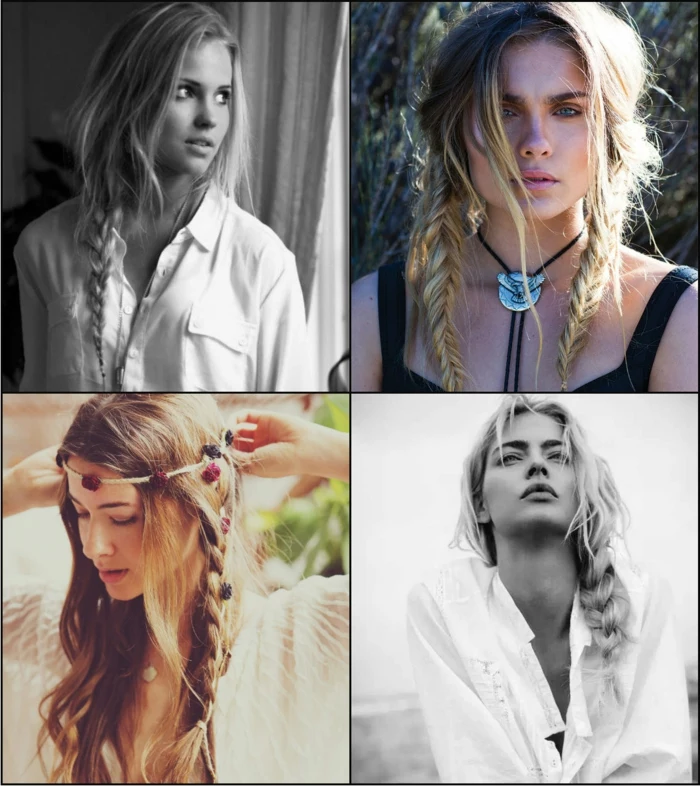
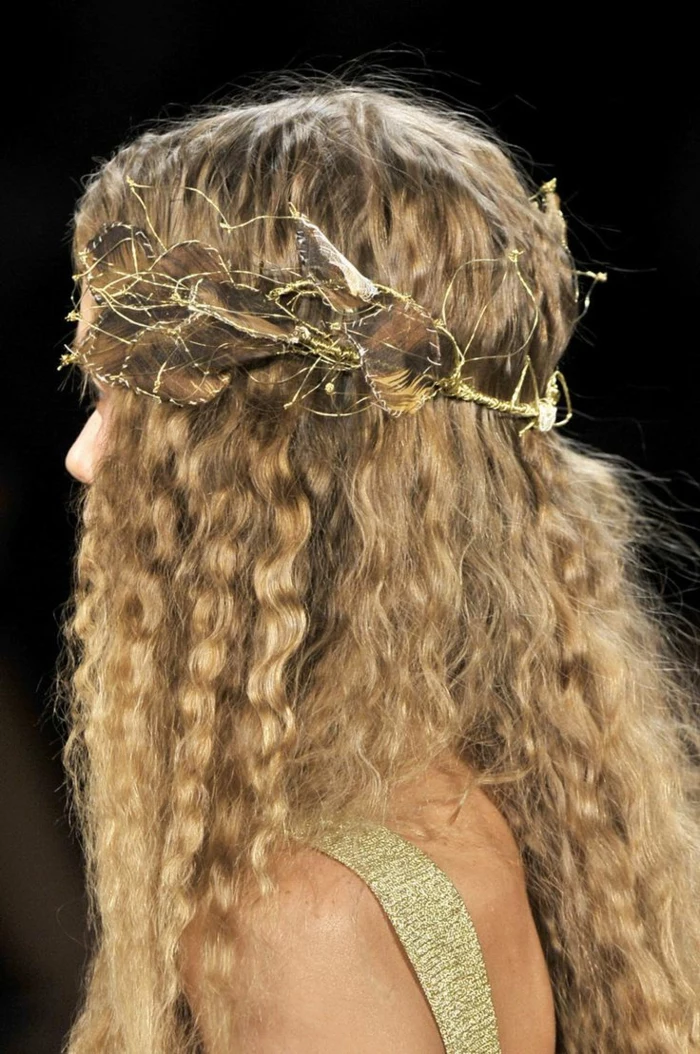
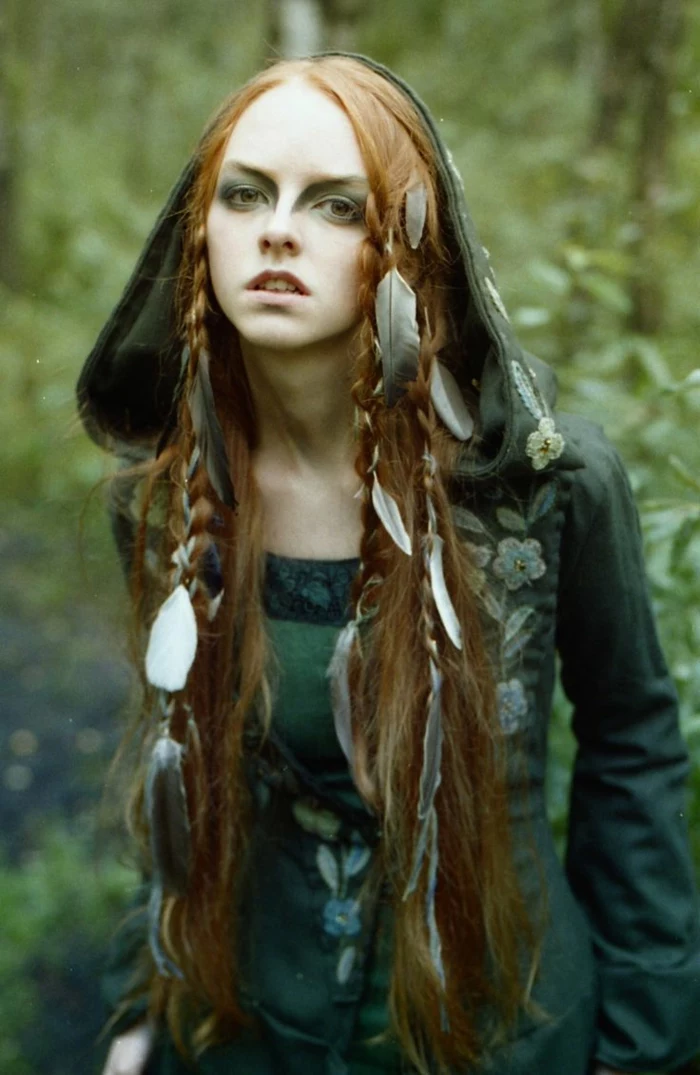
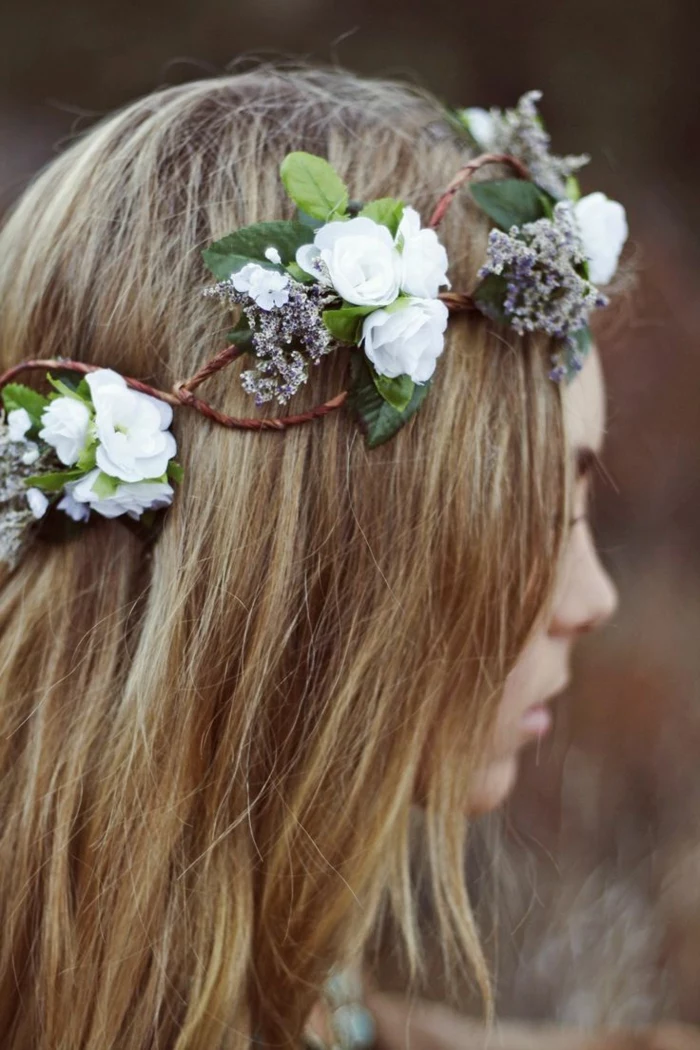
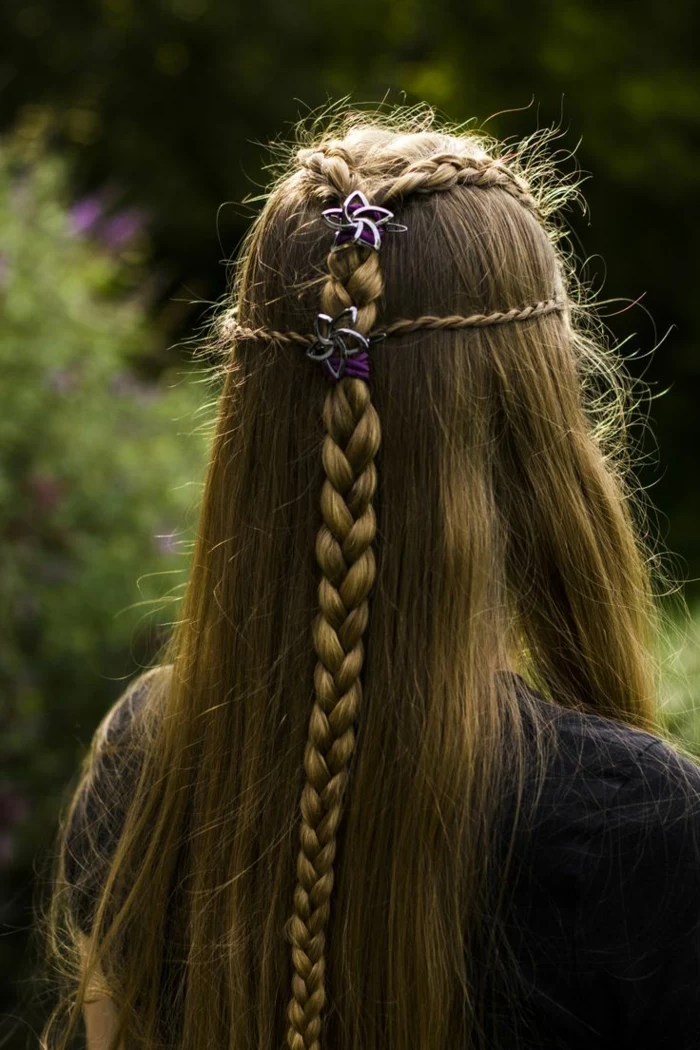
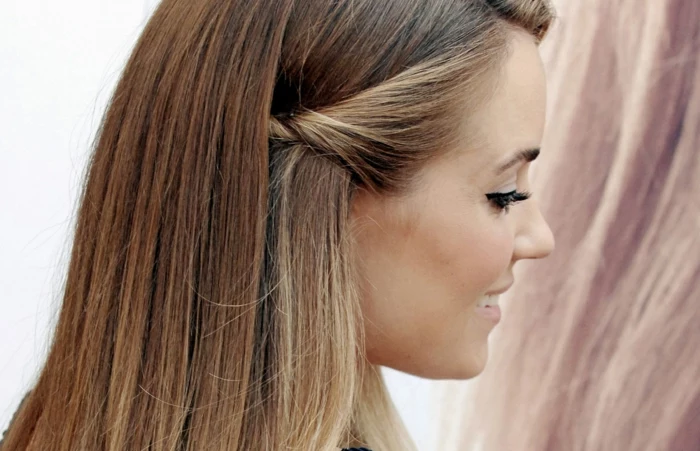
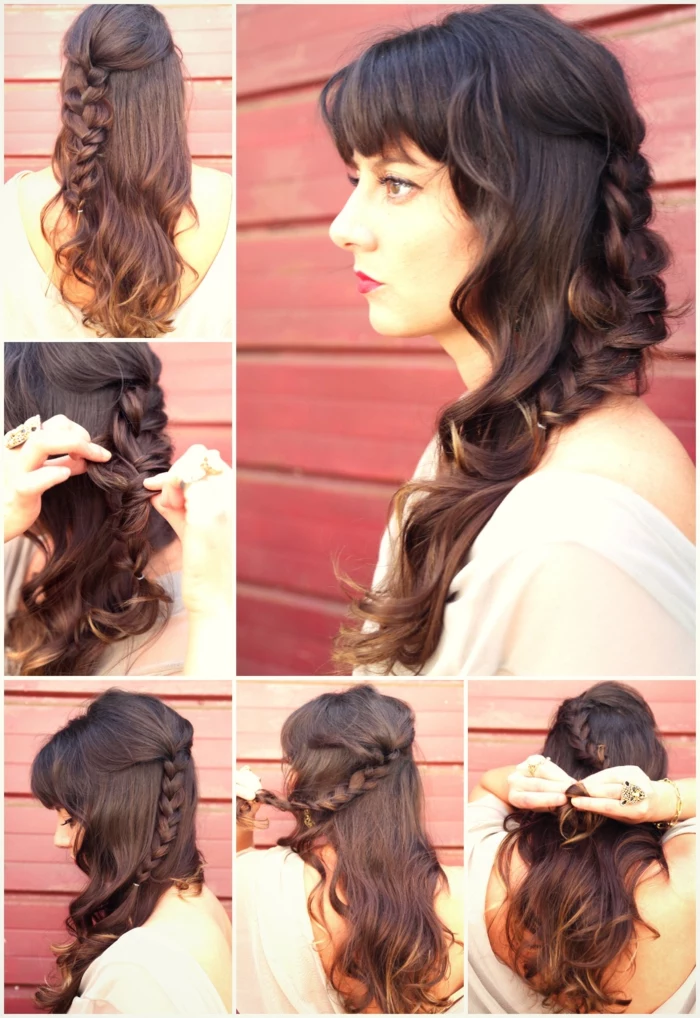
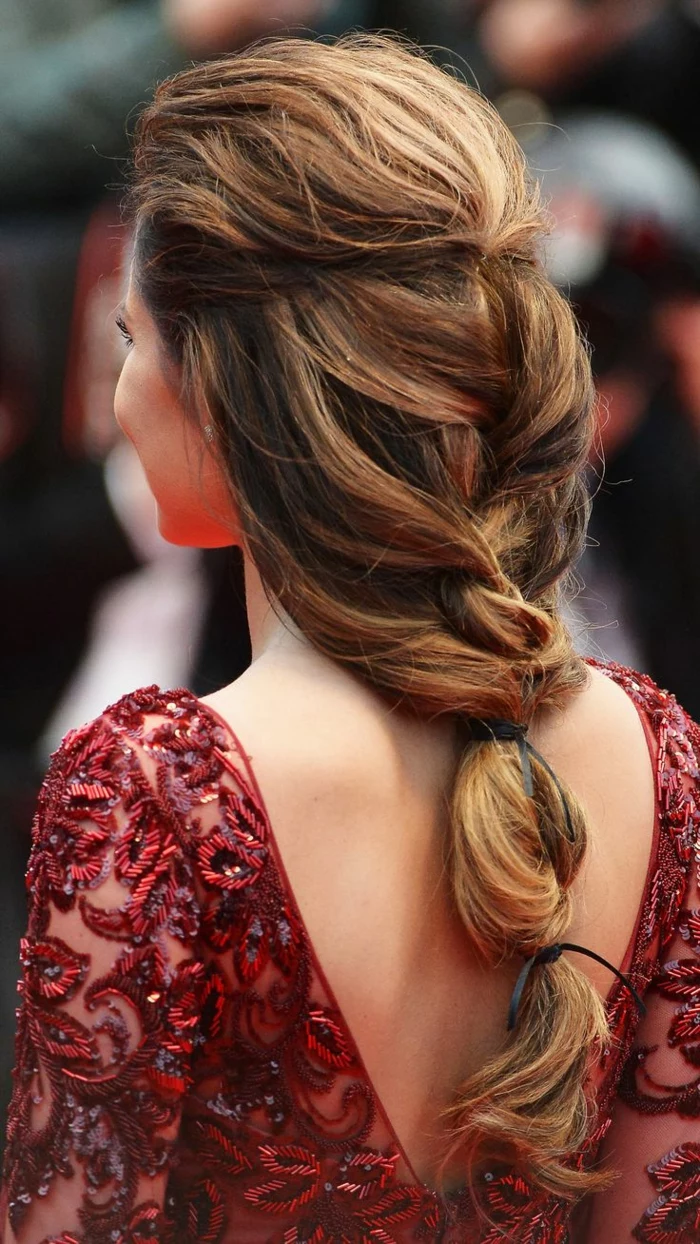
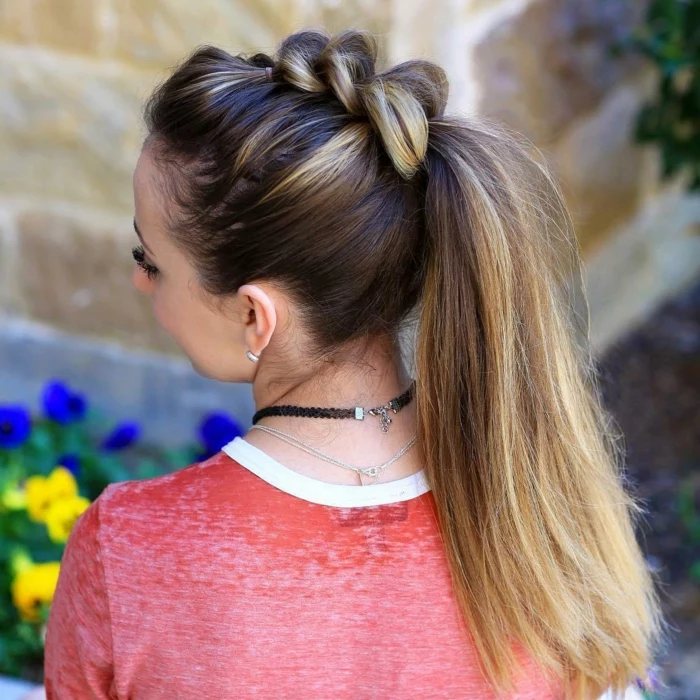
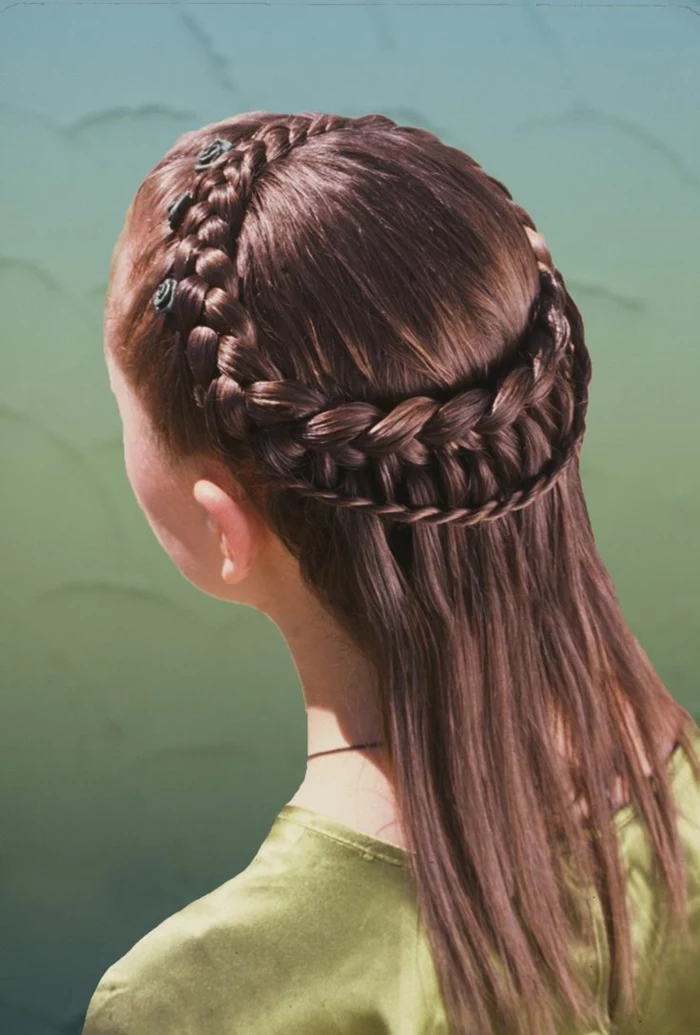
Inspirational Gallery

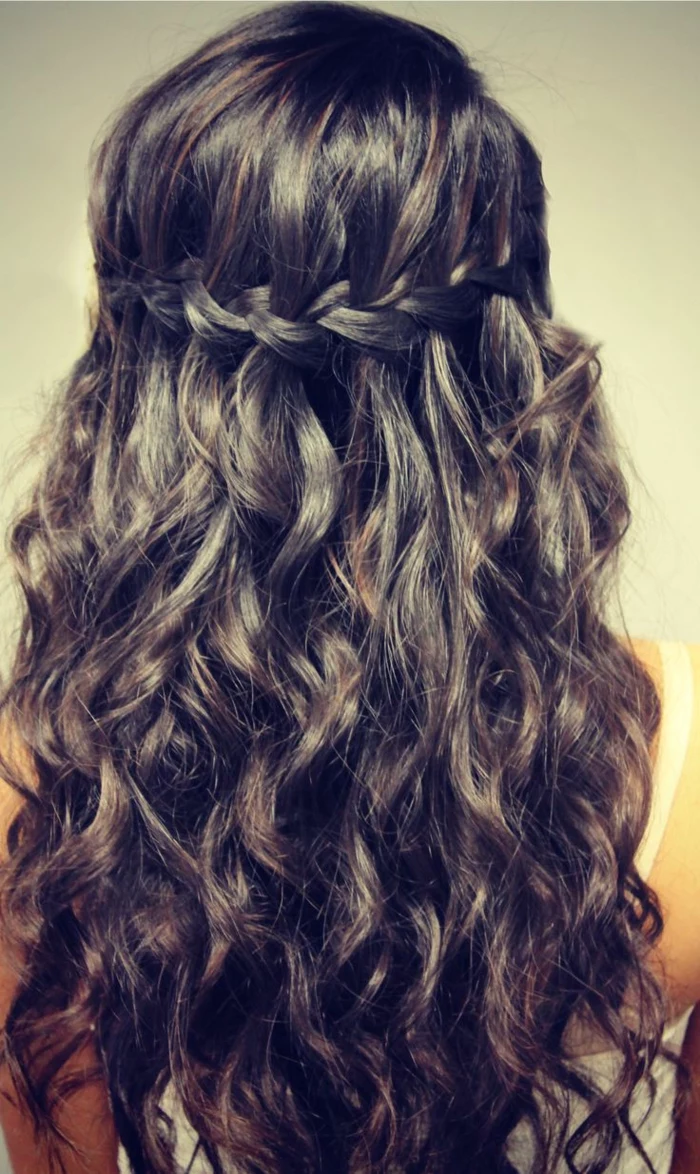
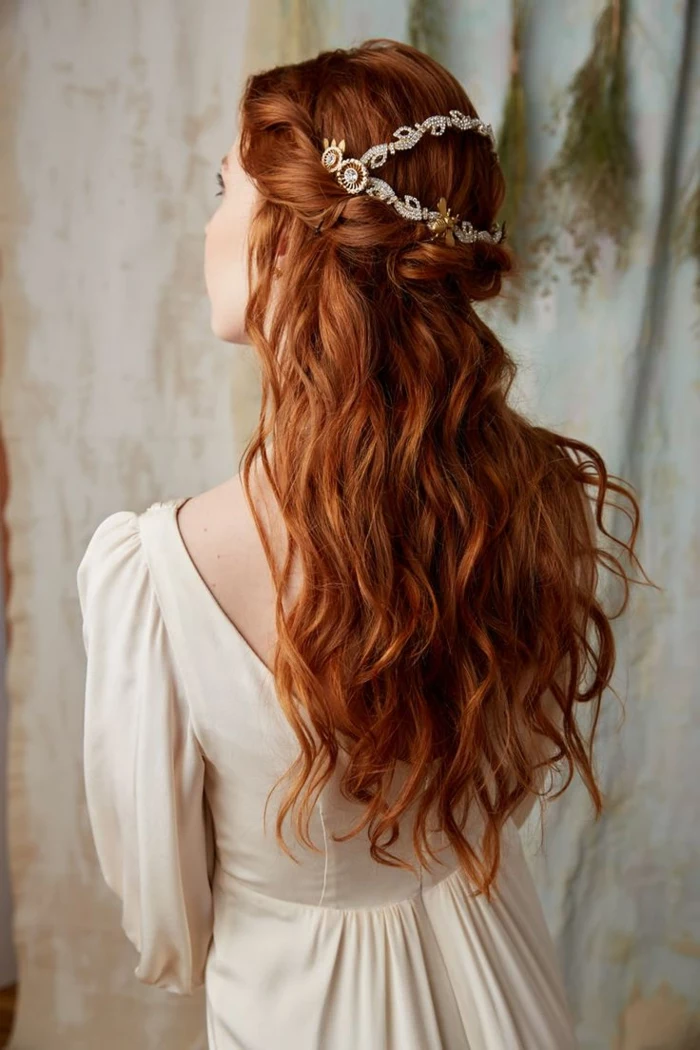
The Unsung Hero: Hair Taping. For many complex Renaissance and late-medieval styles, the secret isn’t a thousand hidden pins. It’s hair taping. By weaving thin silk or linen ribbons directly into the braids as you form them, you create a remarkably stable yet flexible structure. The tape bears the tension, not the hair follicle, allowing for elaborate coronets and loops that stay put all day without the headache.
- A sturdy, smooth comb (boxwood was a common historical choice)
- A set of U-shaped hairpins in varying sizes (bone, wood, or brass)
- Linen or silk ribbon for taping and securing ends
The truth? With just these three items, you can create a surprising number of authentic historical hairstyles.
Did historical women use hair extensions?
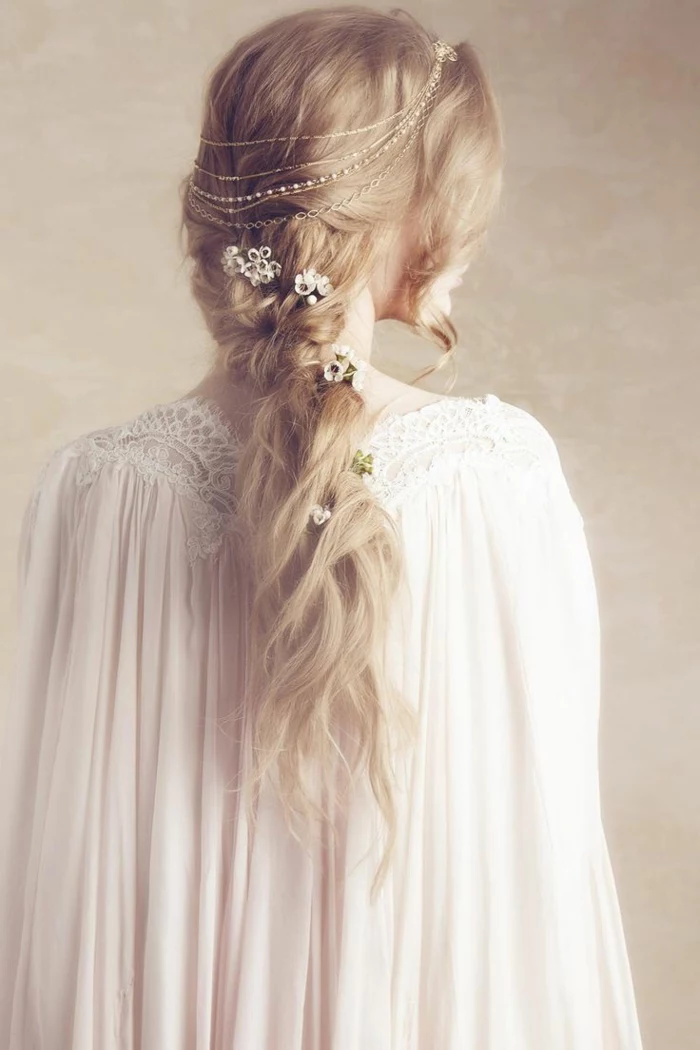
Yes, absolutely! But not like today’s seamless human hair wefts. Known as ‘hair additions’ or ‘false hair’, they were often made from wool, silk thread, or even horsehair, dyed to match. These were pre-braided and sewn onto linen supports or directly into the natural hair to add bulk for fashionable silhouettes, especially in the 15th and 16th centuries. They were a practical tool, not a secret shame.
Bone Pins: Sourced from animal bone, they are lightweight and have a slight natural texture that helps grip the hair. They are period-accurate for many early eras but can be more fragile.
Metal Pins: Often made of brass or bronze, these are incredibly durable and can be shaped with more precision. Their smoothness can be a downside in silky hair, but they are essential for anchoring heavier styles or headwear.
For beginners, a set of simple brass pins from a reenactment supplier like Jas Townsend and Son is a versatile starting point.

Forget the mirror-perfect symmetry of modern updos. Historical hairstyles were crafted by hand, often by the wearer herself or a maid. Minor imperfections, a slightly off-center part, or a less-than-perfectly-smooth finish are not mistakes—they are signs of authenticity. Embrace the ‘hand-made’ look; it’s what makes a style feel real and lived-in.

- Adds incredible volume without the weight of extra hair.
- Absorbs natural oils, giving braids better grip and longevity.
- Allows for a pop of color, a practice seen in some period artwork.
The secret? Incorporating dyed wool roving or yarn into your braids. It’s a budget-friendly and historically plausible way to bulk up styles, especially for Viking-inspired or early medieval looks.

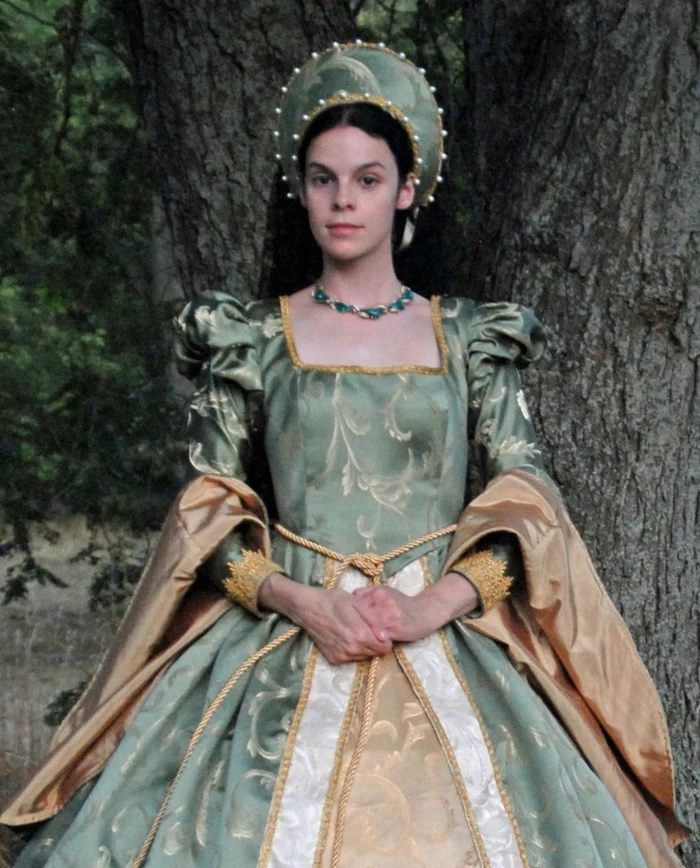
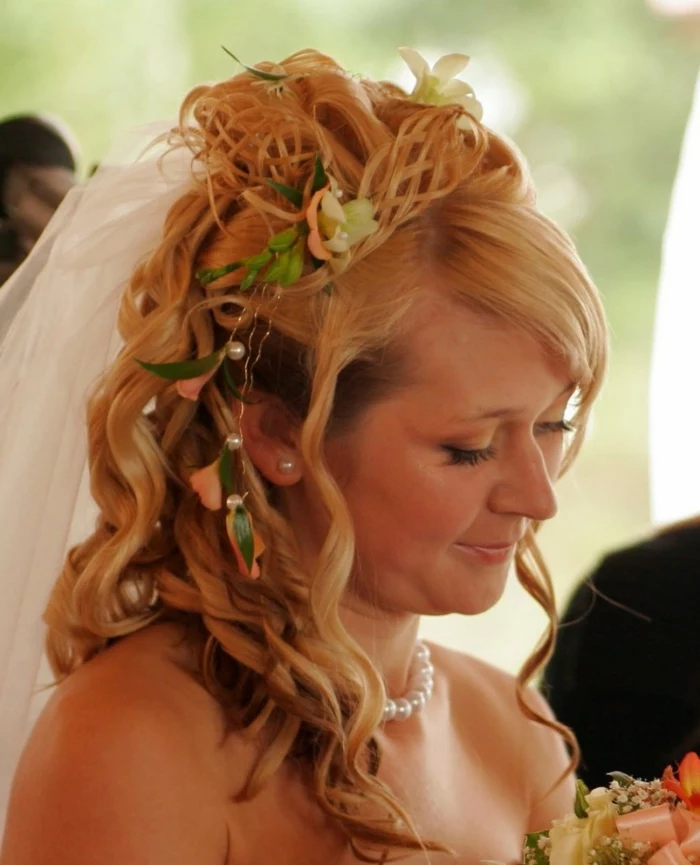
A vital tool you can make yourself: Hair Padding. Often called ‘rats’ or ‘sausages’, these were pads of human hair, wool, or even moss, encased in a fine net or fabric. Placed strategically, they formed the structural foundation for the dramatic shapes of the 18th century or the iconic heart-shaped ‘horns’ of the 15th century. To make a simple one, just stuff some wool batting into a section of stocking and sew the ends shut.

Archaeological finds from Viking settlements like Dublin have unearthed not just combs and pins, but also delicate silk hairnets and ribbons, proving their hairstyles were far more refined than the wild clichés suggest.

One of the biggest challenges for modern reenactors is getting hair to hold. The answer isn’t hairspray, but pomatum. Historically, this was a thick pomade made from rendered animal fat (like bear grease or lard) scented with botanicals like apple or rose. A modern, less odorous alternative can be made with shea butter, beeswax, and a few drops of essential oil. A tiny amount provides the texture and hold that clean, modern hair lacks.

How did they tame frizz and flyaways without a can of Elnett?
They didn’t always! But for a smoother finish, they relied on several tricks. First, the aforementioned pomatums helped weigh down and smooth the hair cuticle. Second, bandoline, a mucilage-like setting lotion often made from boiling quince seeds or flaxseed in water, was used to set curls and smooth edges. Finally, a fine hairnet, or ‘caul’, made of silk or linen thread, was the ultimate tool for keeping everything contained.
Don’t just look at the overall shape in a portrait. Zoom in! Look for the texture of the braids, the glint of a hidden pin, the fine mesh of a hairnet over a bun, or the way a ribbon disappears into a coil. These tiny details are where the real construction secrets are hidden.
Fingerloop Braiding: A technique creating complex flat or square braids using only your hands. It was extremely common in the medieval and Renaissance periods for making everything from hair ties to decorative cords.
Lucet Fork: A small, two-pronged tool used to create a strong, square cord. It’s faster than fingerlooping for making a single, long cord and is perfect for lacing or durable hair ties.
Both are fascinating crafts that bring you closer to the period mindset.
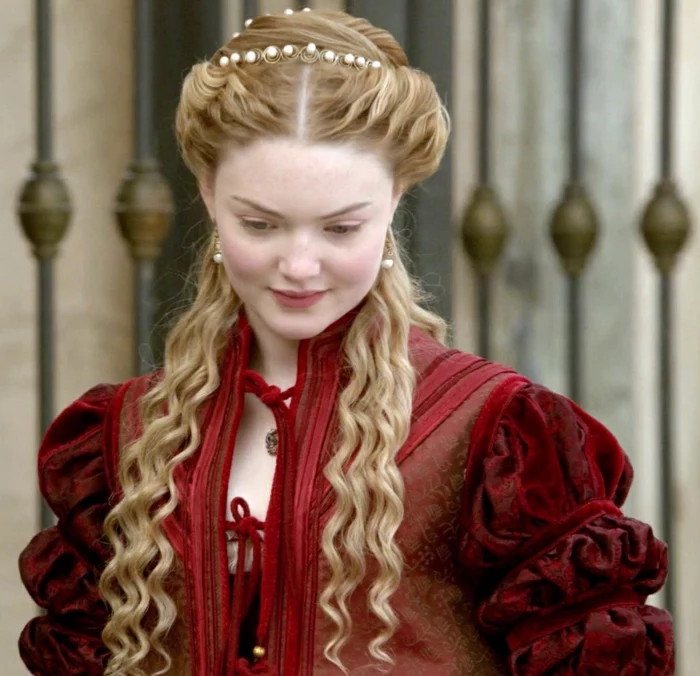
- Provides a secure foundation for pinning braids.
- Completely contains the hair for hygiene and status.
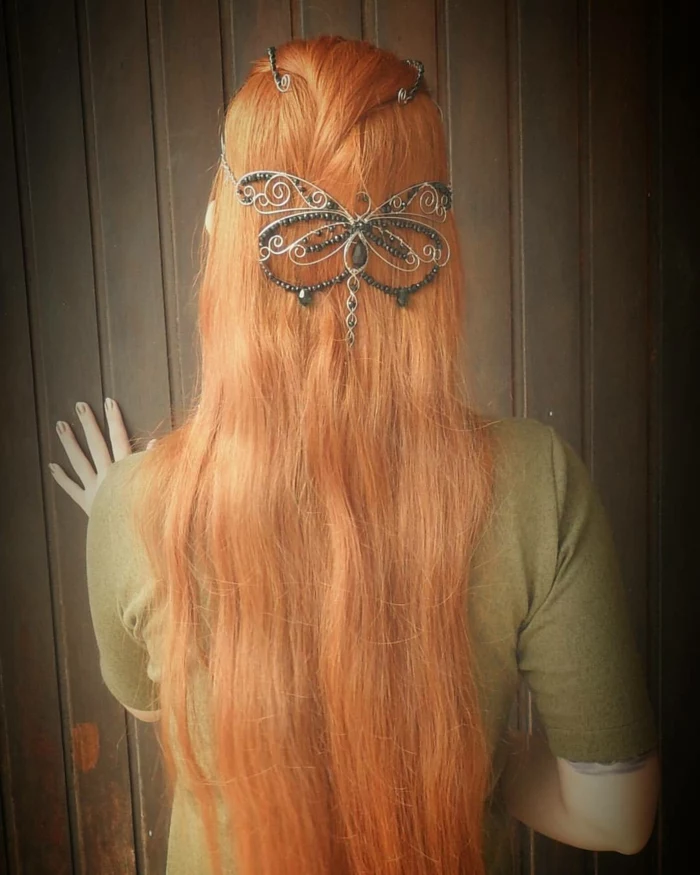
- Can be a decorative element in its own right, adorned with pearls or jewels.
The solution for hair that just won’t stay up? A well-fitted caul, or hairnet. Whether a simple knotted net or a more structured ‘Tudor’ caul, it’s the single most effective piece of historical hair engineering.
Roman hairstyling reached incredible heights of complexity. The ‘Orbis Comarum’, or circle of hair, seen on busts from the Flavian dynasty, was a towering structure of curls and braids built on a wire framework and false hairpieces. It was pure architectural sculpture.
This reminds us that extreme hairstyling isn’t a modern invention. These styles were powerful status symbols, requiring immense time and the skill of a specialized slave hairdresser, or ‘ornatrix’.
A common mistake: visible bobby pins. The flat, modern bobby pin is a 20th-century invention. Using them in a historical style is the equivalent of wearing a zipper on a medieval gown. Stick to U-shaped hairpins, which can be completely hidden within a braid or bun and provide a more secure, period-appropriate hold.
For anyone serious about recreating historical hair, the YouTube channel of Janet Stephens is an unmissable resource. As a professional hairstylist and amateur archaeologist, she pioneered the field of ‘hair archaeology,’ painstakingly recreating ancient Roman hairstyles using only the tools and techniques available at the time. Her work is a masterclass in practical historical interpretation.
To add grip and scent to your hair before styling, try a simple herbal rinse. After washing, pour a cooled infusion of rosemary (darkens and strengthens), chamomile (brightens blondes), or nettle (adds texture and volume) through your hair. Don’t rinse it out. Let it air dry to leave a subtle texture and scent.

Mannequin Head: Excellent for practicing complex braids you can’t see on your own head. Allows for trial and error without tiring your arms. Look for one with at least 18-inch real hair for the best results.
Your Own Hair: The best way to understand how a style feels and wears throughout the day. You learn to work with your own hair’s unique texture, length, and limitations.
A combination of both is ideal: practice the technique on the mannequin, then perfect it on yourself.

The imposing double-horned or heart-shaped hennin of the 15th century wasn’t just a hat. It required a specific hairstyle beneath it. The hair was parted, braided, and looped up over the ears, often pinned to a supportive linen cap or wire frame, creating a solid base to anchor the towering headdress.

The scent of historical hair wasn’t just of soap. Pomanders, small metal balls holding solid perfume like ambergris or musk, were sometimes attached to hair ornaments. Additionally, hair powders in the 18th century were often scented with ingredients like orange blossom, violet, and iris root, making one’s hair a personal cloud of fragrance.
I have very fine, slippery hair. Can I still do these styles?
Yes, but you have to cheat a little, just like they did! Fine hair benefits most from ‘product’ and structure. Skip the conditioner, use a texturizing powder like Batiste dry shampoo at the roots, and never attempt a style without a foundation of small, tight braids or a hidden hairnet to pin into. Hair taping with linen ribbon will also be your best friend.
Think men’s historical hair was simple? Think again. The 14th-century ‘bowl cut’ required meticulous shaping. Later, the elaborate periwigs of the 17th and 18th centuries were massive, costly constructions of human or horsehair, powdered with starch, and requiring their own stands and special combs for maintenance.

A key principle: Work with your hair, not against it. If a style from a portrait seems impossible with your hair type, it’s likely the original wearer had a different hair texture, or more importantly, was using hidden aids. Instead of fighting for an exact replica, understand the silhouette and engineering, then adapt it using pads, ribbons, or additions to achieve the same look.


