The Real-Deal Guide to Effortless, Lived-In Waves (That Actually Last)
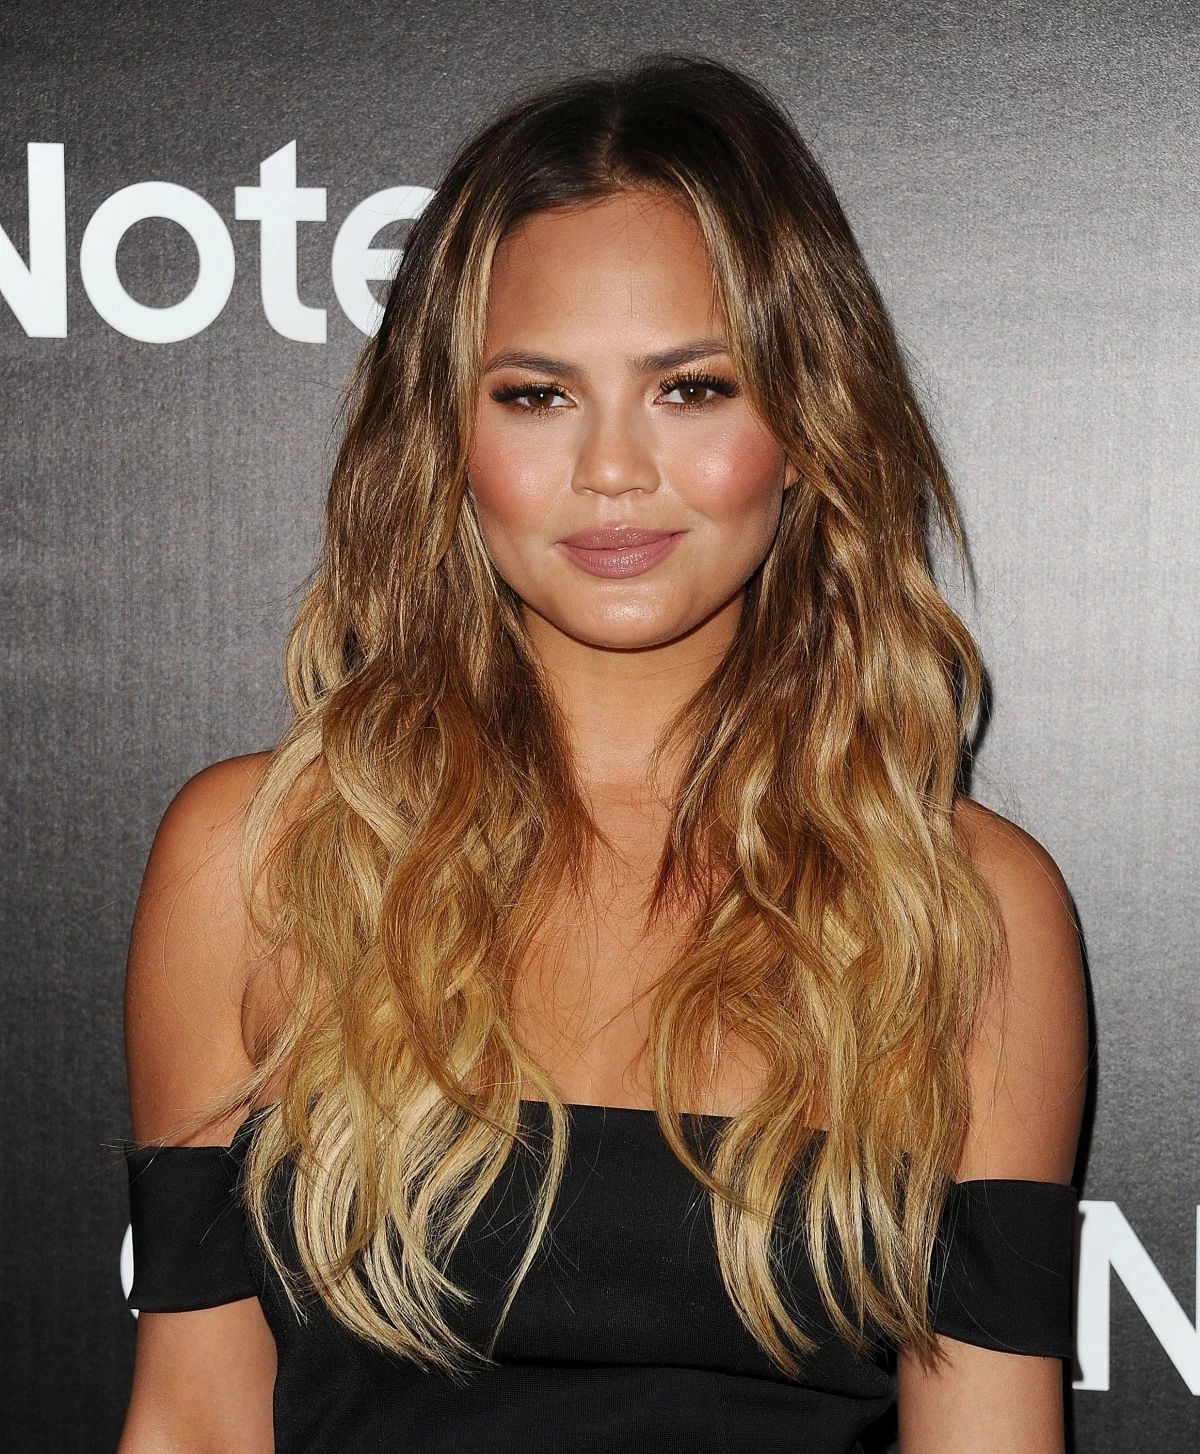
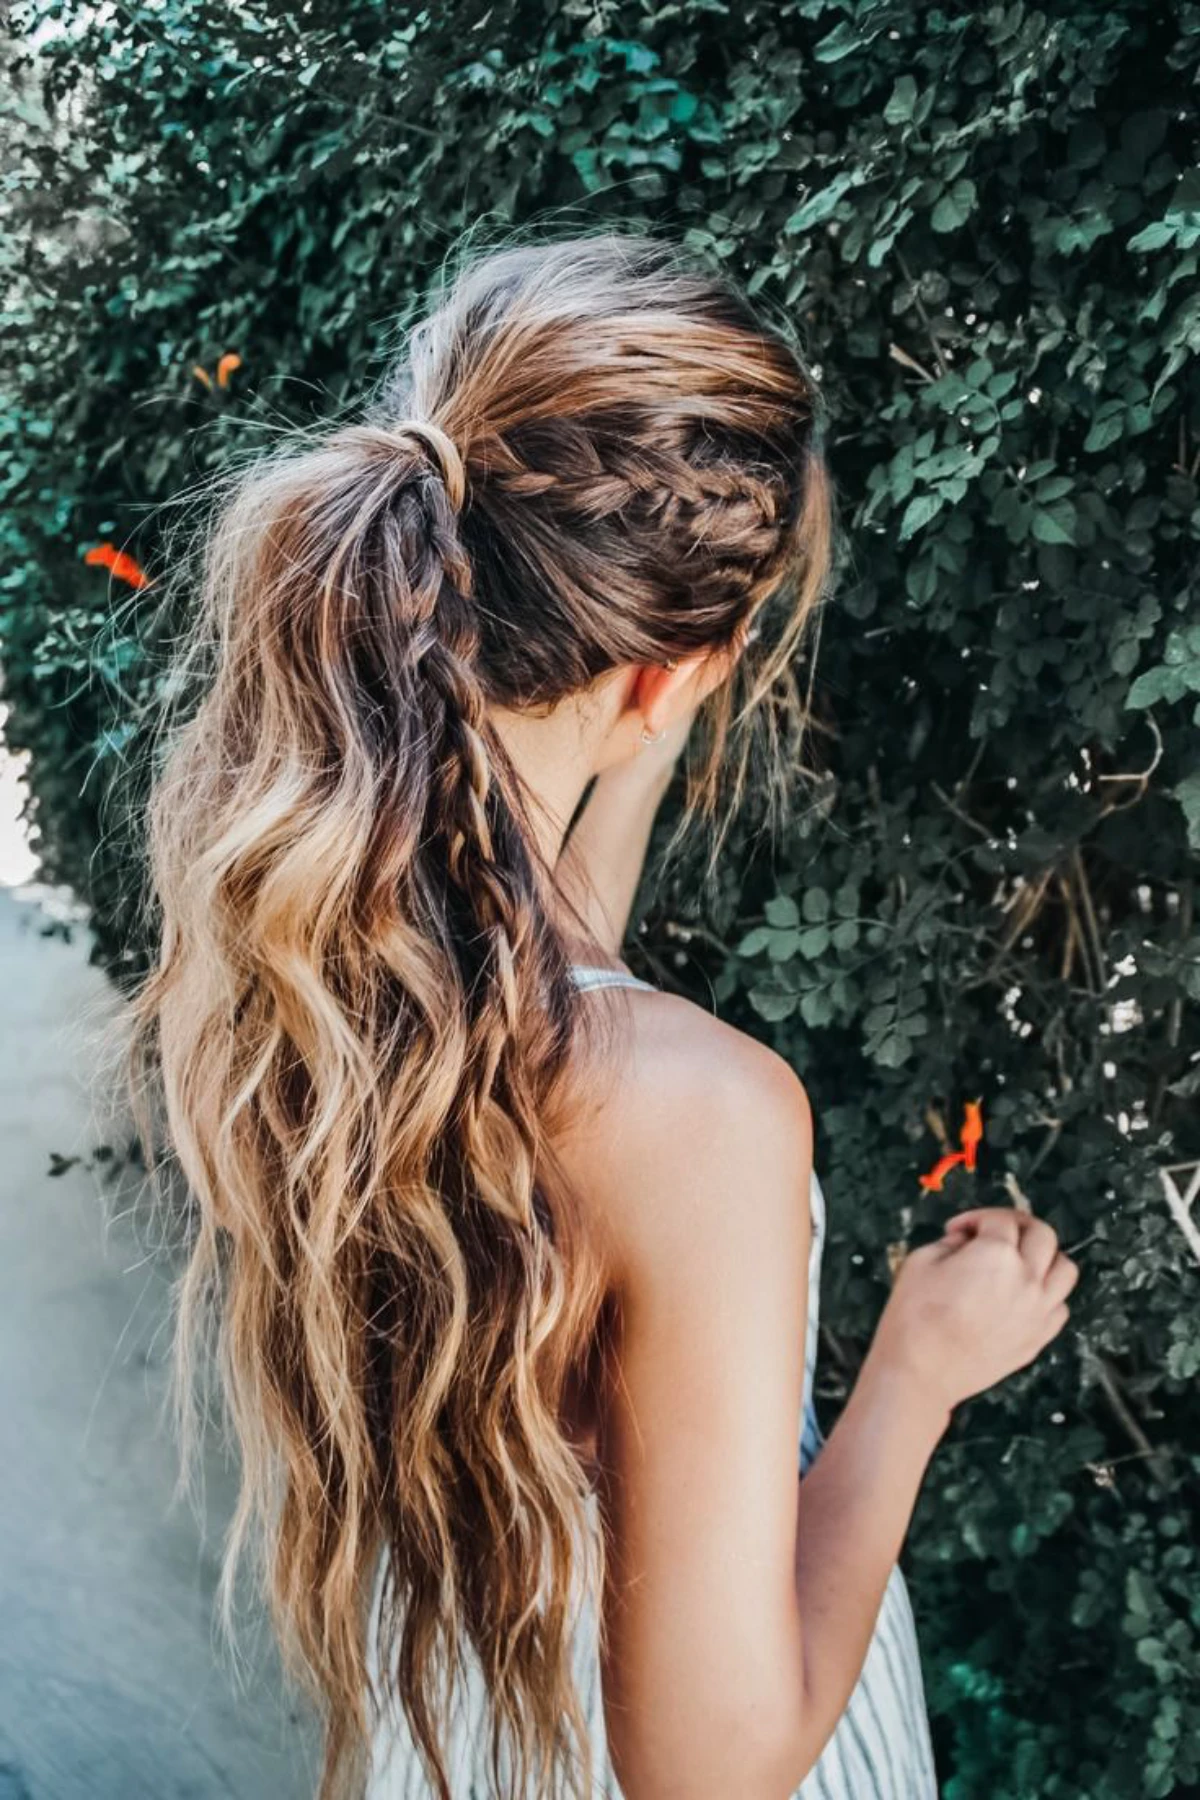
I’ve been behind the chair as a hairstylist for well over a decade, and I’ve seen every trend you can imagine. But the one style that never, ever fades away? It’s that soft, perfectly imperfect textured wave. You might call them “beach waves,” but what people are really after is hair that looks like it just happened to fall perfectly—effortless, with tons of movement and texture.
In this article
We call it “lived-in” hair, and honestly, it’s an art form. It’s about a lot more than just haphazardly wrapping your hair around a curling iron. It’s a delicate balance of the right technique, the right products, and truly understanding the hair you’re working with. I’ve taught this exact method to so many new stylists, and now I’m sharing it with you.
Forget the quick, trendy tutorials. We’re going to dive into the real craft of it, so you can master a skill that will serve you for years to come.
First Things First: Why Your Hair Does What It Does
Before you even plug in your iron, let’s have a quick chat about hair science. It’s not as boring as it sounds, I promise! Your hair’s shape is held by different bonds, but for heat styling, we’re focused on the hydrogen bonds. These are the weaklings of the group—they break with heat or water.
When you apply a hot tool, you’re breaking those bonds. As the hair cools down in its new wavy shape, the bonds reform, locking it in place. This is why the single most important rule of waving your hair is to let the curl cool completely before you touch it. Seriously. If you pull on a warm curl, the bonds haven’t set, and you can kiss your style goodbye in an hour. It’ll just fall flat.
Your Hair Type Isn’t a Suggestion, It’s the Rulebook
There is no one-size-fits-all technique. A good stylist can tell what a client’s hair needs just by looking at it, and you need to become that expert for your own hair.

- For Fine Hair: If your hair is on the finer side, it likely struggles to hold a style and can get damaged easily. Your game plan starts before the heat. You need products that give your hair some grit and memory. Think a volumizing mousse or a texturizing spray on damp hair. And for the love of healthy hair, keep your iron’s temperature in the 300-350°F range. Anything hotter is playing with fire.
- For Medium Hair: This is the most common hair type, and it’s generally pretty agreeable. It holds a style well and can handle more heat. You can safely work between 350-390°F. Your main focus will be on the technique itself—making sure the waves look random and natural, not like a perfect-from-the-box doll.
- For Coarse or Thick Hair: This hair type can be stubborn and resistant to styling. You’ll likely need higher heat, somewhere in the 390-425°F range, to get those bonds to budge. Moisture is also your best friend. Coarse hair can look frizzy if it’s not prepped with a good hydrating cream.
By the way, your hair’s porosity (its ability to absorb moisture) matters, too. If your hair takes forever to get wet, it’s probably low porosity and might resist products. If it soaks up moisture like a sponge (often from coloring), it’s high porosity and might lose its style in humid weather. Knowing this helps you pick the right products.

Your Toolkit: The Gear and Goop You Actually Need
Let’s be real: your results are only as good as your tools. Investing a little bit here isn’t just a pro tip; it’s about getting the look you want without frying your hair. And no, the products aren’t optional—they’re what make the whole thing work.
Choosing Your Weapon: Curling Iron vs. Flat Iron
For lived-in waves, you have two main choices. A curling iron is the classic, but a flat iron can create amazing results, too.
- Curling Irons: Barrel size is everything. For most hair from the shoulders down, a 1.25-inch barrel is the holy grail. It creates a soft, open wave. If your hair is shorter or you want a slightly tighter wave that you know will relax, a 1-inch barrel is your go-to. A non-negotiable feature is adjustable heat. A fixed-temp tool is just a bad idea. For tools, you can get a fantastic Conair 1.25-inch ceramic iron for about $30 at Target, or you can invest in a pro-level T3 or Bio Ionic iron for around $170, which offers more consistent heat and a smoother glide.
- Flat Irons (Stylers): You can absolutely create waves with a flat iron, but the key is using one with curved, beveled edges. A sharp, blocky edge will just leave weird kinks. The technique involves a simple wrist flick. You clamp a section of hair, gently turn your wrist (like you’re turning a doorknob), and glide the iron down the hair shaft to create a soft “S” bend.
The Products That Do the Heavy Lifting
I tell every single client this: products are not a suggestion, they are a requirement. They build the foundation, protect your hair, and make the style last.
- Foundation (On Damp Hair): For fine hair, use a golf-ball-sized amount of volumizing mousse from roots to ends. For medium-to-coarse hair, a dime-sized amount of a light styling cream will add moisture and control.
- Protection (On Dry Hair): This is your most important step. A good heat protectant spray creates a shield between your hair and the hot iron. Don’t skip this! Spray it on each section right before the iron touches it.
- Texture (During & After): This is the secret sauce for that “undone” vibe. Many people reach for a sea salt spray, but heads up: they can be incredibly drying over time. I much prefer modern texturizing sprays that use polymers to create that gritty feel without sucking the life out of your hair. A drugstore hero is Kristen Ess’s Dry Finish Working Texture Spray (~$15), while a cult-favorite pro pick is the Oribe Dry Texturizing Spray, which is a splurge at around $49 but is truly magical.
- Finish (Locking It In): You just need a light, flexible-hold hairspray. The goal is movement, not a helmet. A strong-hold spray will make the waves stiff and crunchy, which is the exact opposite of what we want. The classic L’Oréal Elnett Hairspray (~$15) is a staple for a reason.

The Step-by-Step Method for Foolproof Waves
Alright, let’s get to it. This is the method I teach for creating consistent, gorgeous waves. This whole process, once you get the hang of it, should take about 20-30 minutes for medium-length hair. Plan for a bit more if your hair is very long or thick.
Step 1: Prep and Section Like a Pro
Start with completely dry, brushed-out hair. (Second-day hair is often even better because the natural oils give it some extra grip!) Mist your heat protectant all over. Now for the step everyone skips: sectioning. It’s the secret to not missing spots and getting a clean result. Divide your hair into four main sections—two in the front, two in the back—and clip them up. You’ll work on one section at a time, taking smaller 1 to 1.5-inch vertical pieces to curl.
Step 2: The Wrapping Technique
Here’s where the magic happens. The key to the modern, undone look is leaving the ends out and keeping the hair flat.

- Take your first vertical piece of hair. Clamp it in the middle with your 1.25-inch iron.
- Now, wrap the hair flatly around the barrel, like you’re wrapping a ribbon around a gift—don’t twist it into a rope! Work your way down, but stop about 1-2 inches from the bottom. Leave those ends completely out. This is what keeps it looking cool and modern, not like old-fashioned barrel curls.
- Hold for 5-8 seconds, depending on your hair. You’ll feel the strand heat up.
- Release the clamp and let the curl slide off the barrel into your palm. Let it cool for a few seconds before dropping it.
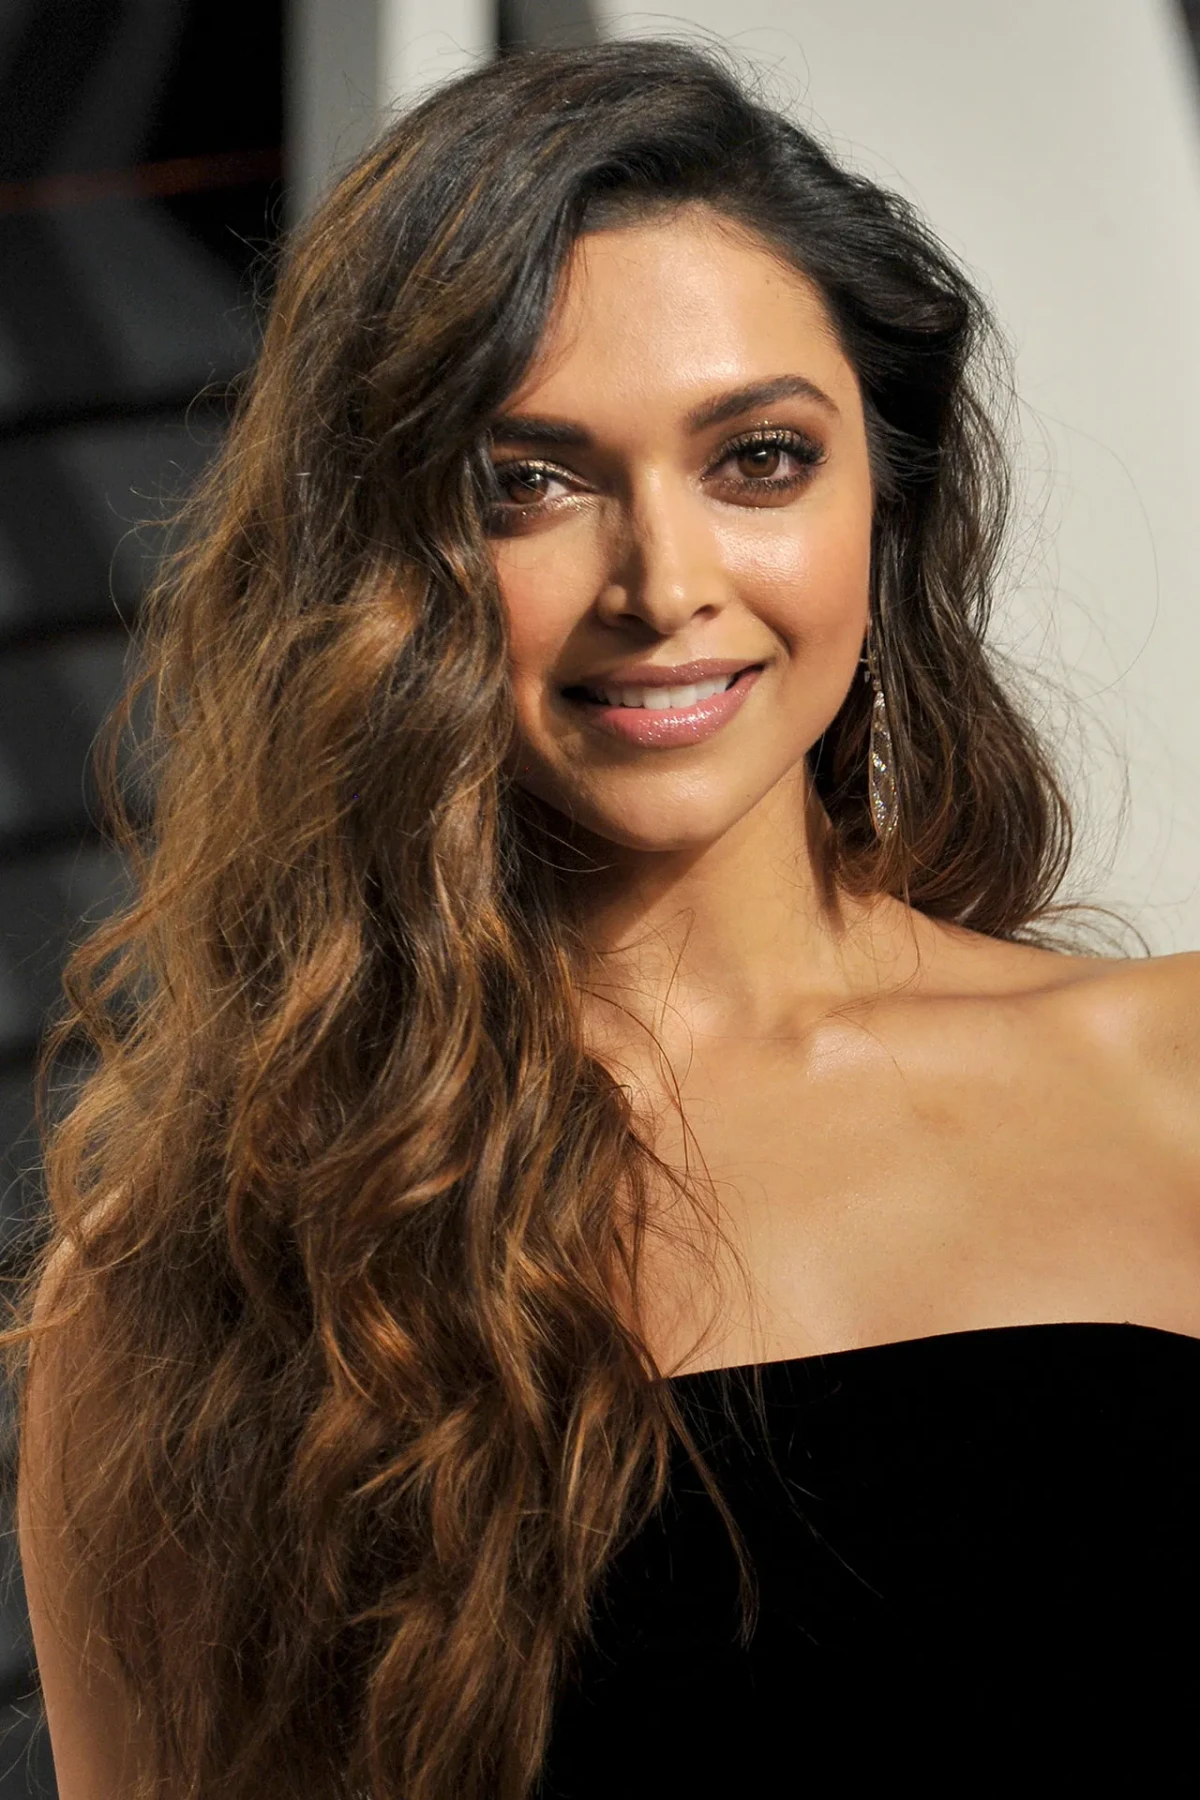
Oh yeah, and for a natural look, you have to alternate the direction. Always curl the pieces around your face away from your face. For the rest of your head, alternate—one section away, the next section toward. This creates that beautiful separation and stops the waves from morphing into one giant curl.
Step 3: Cooling Is Creating
I know I’m repeating myself, but it’s that important. Don’t touch your hair while it’s warm! The waves are still setting. I’ll never forget a client I had with super-fine, dead-straight hair who swore nothing ever worked. The only thing that made her waves last all night was when we pinned each fresh curl to her head with a little clip while it cooled. It’s a bit extra for everyday, but for stubborn hair or a big event, it’s a game-changer.
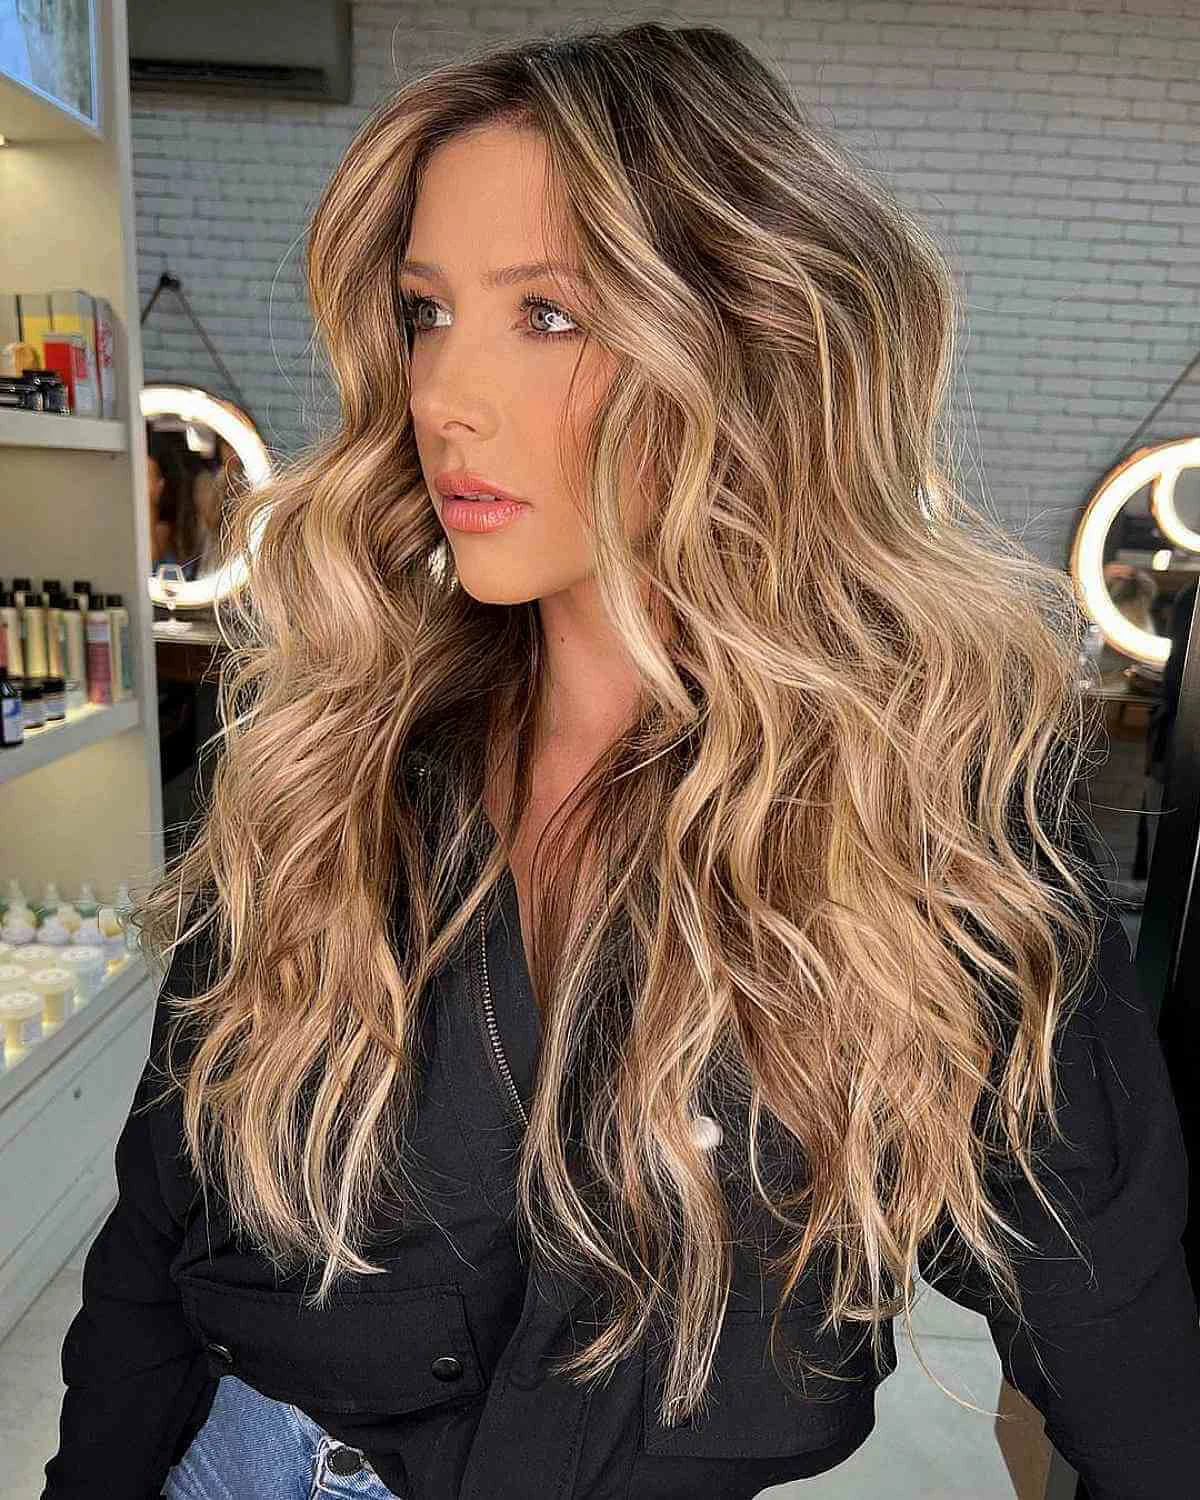
Step 4: The Shake-Out and Finish
Once every section is curled and feels completely cool, it’s time to break it up. Flip your head upside down and gently rake your fingers through your hair from the roots. Don’t use a brush—it can pull out the wave and create frizz. When you flip back up, lift sections of your hair and mist your texturizing spray from the middle to the ends. A little texture powder at the roots can give you some amazing lift. A final, light mist of flexible hairspray, and you’re done.
Troubleshooting and Pro-Level Adjustments
Even with the best instructions, things can go wrong. Here’s how to fix the most common mistakes I see.
Problem: My waves fall out almost immediately.
The Fix: This is usually one of three things: your heat is too low, your sections are too big, or you’re not letting the curls cool. Try bumping up the heat slightly (test on a hidden strand first!), make sure your sections are no wider than your curling iron’s barrel, and seriously, be patient with the cooling step.
Problem: My hair looks like tight, pageant curls.
The Fix: You probably used a barrel that was too small (stick to 1.25 inches for this look) or you curled the very ends of your hair. Remember to leave those last 1-2 inches straight! Holding the iron more vertically, rather than horizontally, also creates a looser, more elongated wave.
Problem: It just looks frizzy, not wavy.
The Fix: Frizz is often a cry for help—either from heat damage or a lack of moisture. Double-check that you’re using a heat protectant every time. If your hair is on the dry or coarse side, using a hydrating cream before you blow-dry can make a world of difference. And again, use your fingers, not a brush, to separate the waves.
Long-Term Care and The 5-Minute Refresh
One of the best things about this style is that it often looks even better on day two as it settles. To bring it back to life, you don’t need to redo your whole head.
Quick tip for a Day 2 Refresh: Just touch up the 4-5 pieces framing your face and maybe one or two other random sections on top. Spray some dry shampoo at the roots for volume and to soak up any oil. It takes five minutes and makes the whole style look fresh again!
Of course, daily heat styling isn’t great for anyone’s hair. Try to give it a break a few times a week. To counteract the drying effects of heat, make a weekly deep conditioning treatment or hair mask a regular part of your routine. It’s like a big drink of water for your hair. And remember to get regular trims every 8-12 weeks to snip off those split ends before they can cause more damage.

So, there you have it. Creating beautiful, lived-in waves is a skill, and it takes a bit of practice. Your first try might not be perfect, and that’s totally okay. Be patient with yourself, focus on keeping your hair healthy, and have fun with it!
Galerie d’inspiration
The eternal question: sea salt spray or texturizing spray?
They might seem similar, but they deliver distinct finishes for your waves. Understanding the difference is key to mastering the look.
Sea Salt Spray: This is your go-to for an authentic, gritty, matte finish. It mimics the effect of ocean water, absorbing oils and creating that perfectly piecey, ‘I just surfed’ texture. A classic example is Bumble and bumble’s Surf Spray. It’s fantastic for adding raw texture, but can sometimes feel slightly drying on color-treated hair.
Dry Texturizing Spray: Think of this as volume and soft grip in a can. It provides an airy, lighter separation and significant root lift without the ‘crunch.’ The iconic Oribe Dry Texturizing Spray is a hairstylist staple because it builds touchable body and helps ‘fluff’ waves into that effortless, lived-in shape. It’s less about grit and more about polished, voluminous movement.


