Your Ultimate Guide to Nailing the Perfect Curtain Bangs
Alright, let’s talk about the one hairstyle that just refuses to quit: curtain bangs. I’ve been a stylist for a long time, and I’ve seen trends come and go, but this look has some serious staying power. It’s one of those classic styles that got a modern makeover, and honestly, it looks good on almost everyone… if it’s done right.
In this article
And that’s the big “if.” So many people bring a photo to the salon, hoping for a miracle. But a great cut is so much more than a picture. The secret to amazing curtain bangs lies in understanding your hair type, your face shape, and—let’s be real—your daily routine. My goal here is to pull back the curtain (pun intended) and show you what the pros know. This is the stuff I teach my apprentices, so you can finally get the bangs you’ve been dreaming of and actually know how to handle them once you leave the salon.
Why This Cut is All About Angles and Art
To really get curtain bangs, you have to appreciate that it’s a technical skill. It’s a delicate balance of weight, tension, and geometry that works with your hair’s natural habits, not against them. It’s not just a quick snip.
First Up: Hair Texture and Density
How your bangs will fall comes down to two things: how thick each strand of hair is (texture) and how many of them you have (density).
- For Fine Hair: If your hair is on the finer side, the biggest risk is getting bangs that look thin or wispy. The trick is to take a narrower section for the bangs and use very minimal layering inside the bang itself. Too much texturizing, and they’ll practically disappear. We want to maintain as much substance as possible.
- For Medium Hair: This is often the sweet spot. Medium hair has enough body to hold the classic swoopy shape but isn’t so heavy that it just hangs there. We can play with more layers to create beautiful movement without losing the ‘curtain’ effect.
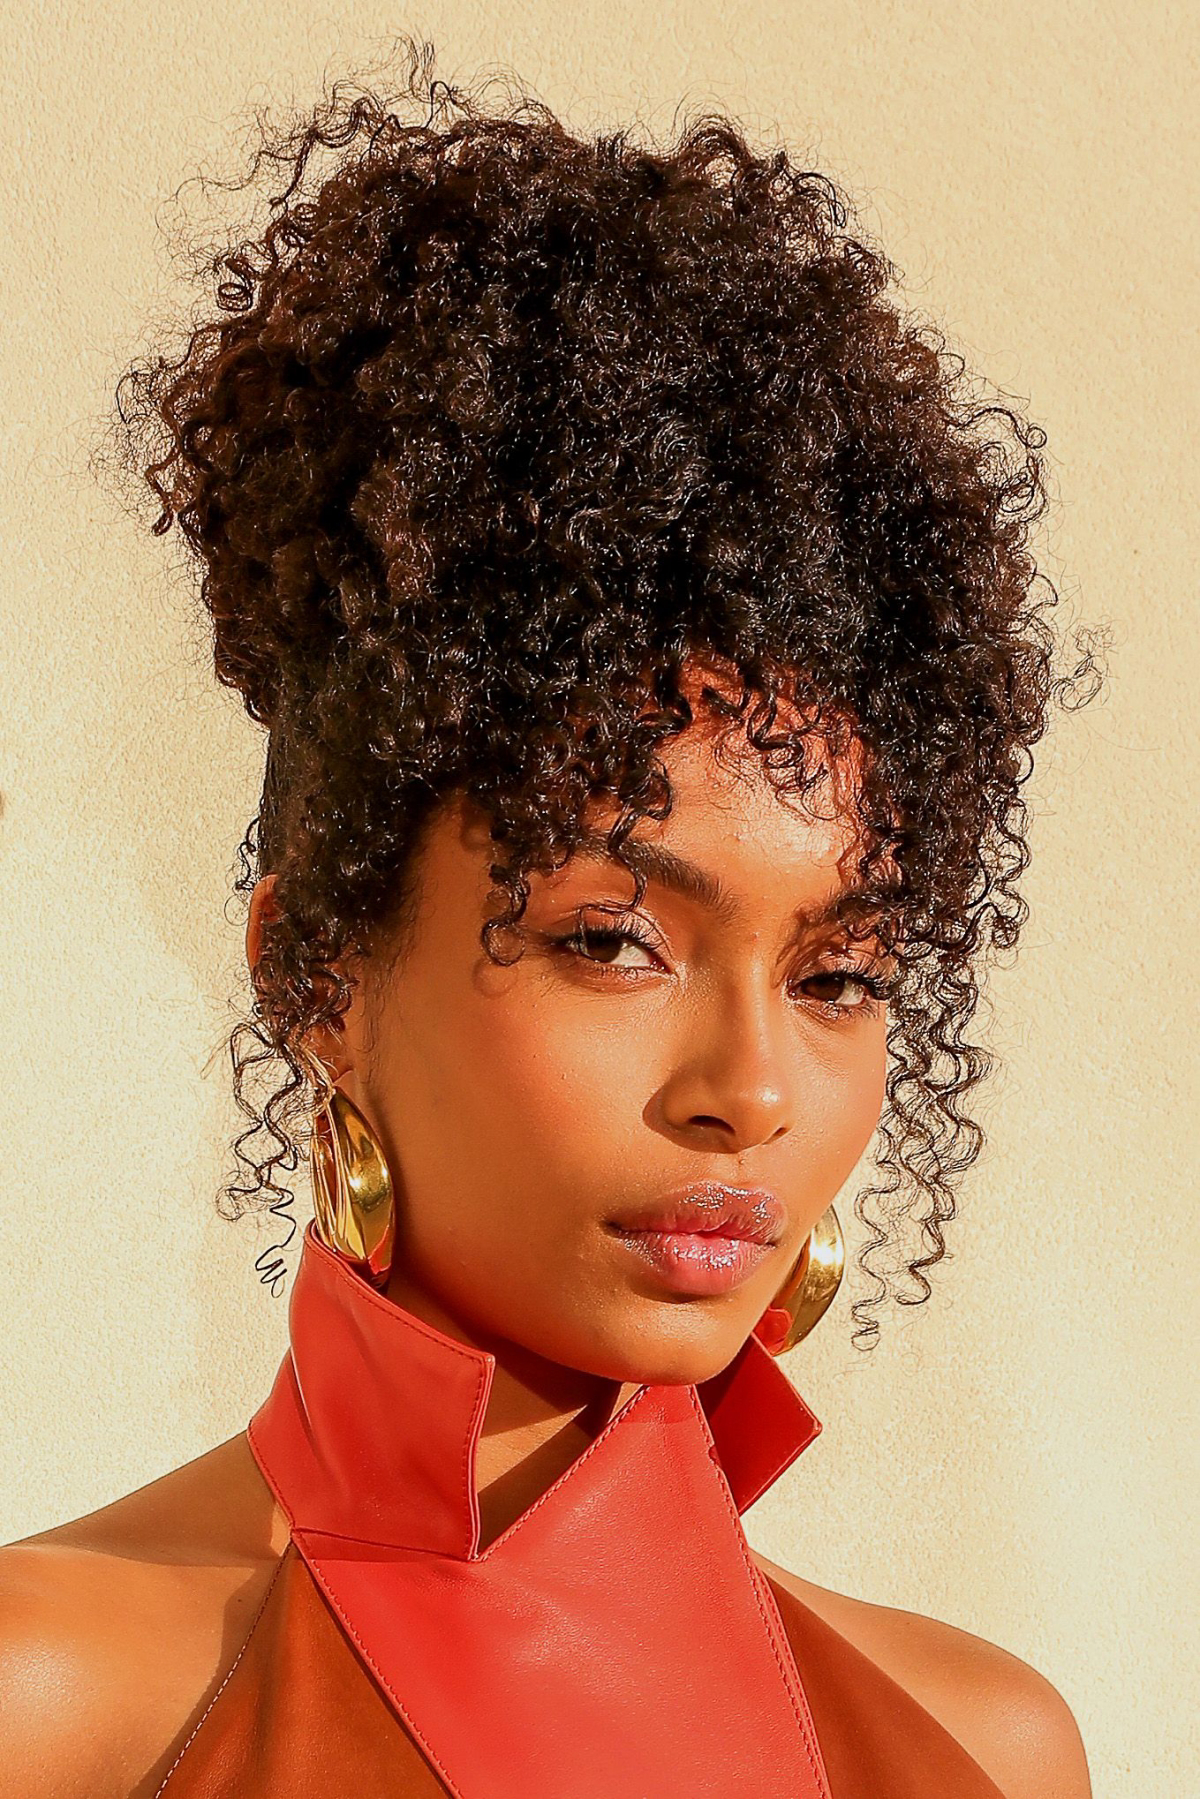
- For Coarse or Thick Hair: The main game here is bulk removal. If you just cut a straight line, you end up with a heavy, blocky shelf of hair. No thanks. For thicker hair, stylists use advanced techniques like deep point cutting or slide cutting. This carves out internal layers, removing weight and basically training the hair to sweep to the sides on its own.
Let’s Talk Cowlicks
Ah, the cowlick. It’s the number one enemy of perfect bangs. A cowlick is just a little swirl in your hairline with a very strong opinion about which way your hair should go. If you have one right at the front, it’s going to fight you. A good stylist will spot this during the consultation. We can’t eliminate a cowlick, but we can cut the bangs to work around it—maybe leaving them a bit longer or shifting the part. Knowing this upfront saves a world of frustration.
So, Will They Look Good on Me? A Face Shape Guide
Okay, this is the question everyone has. The great news is that curtain bangs are incredibly versatile and can be tailored for almost any face shape. It’s all about adjusting the length and angle.
- Oval Faces: You’ve hit the jackpot. Almost any style of curtain bang will work for you, from short and wispy to long and dramatic.
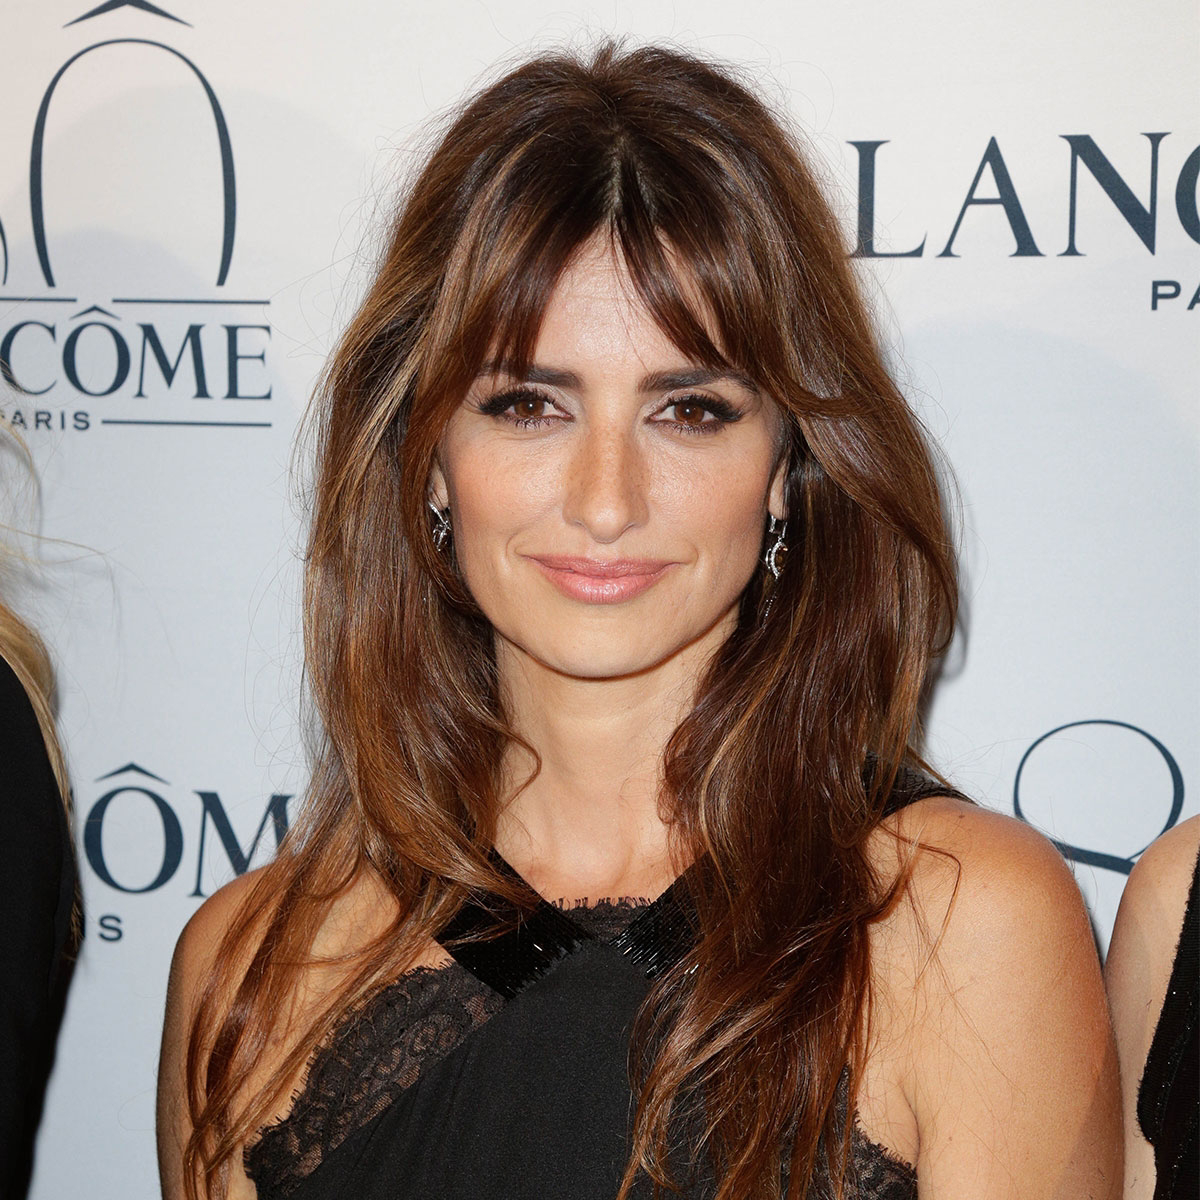
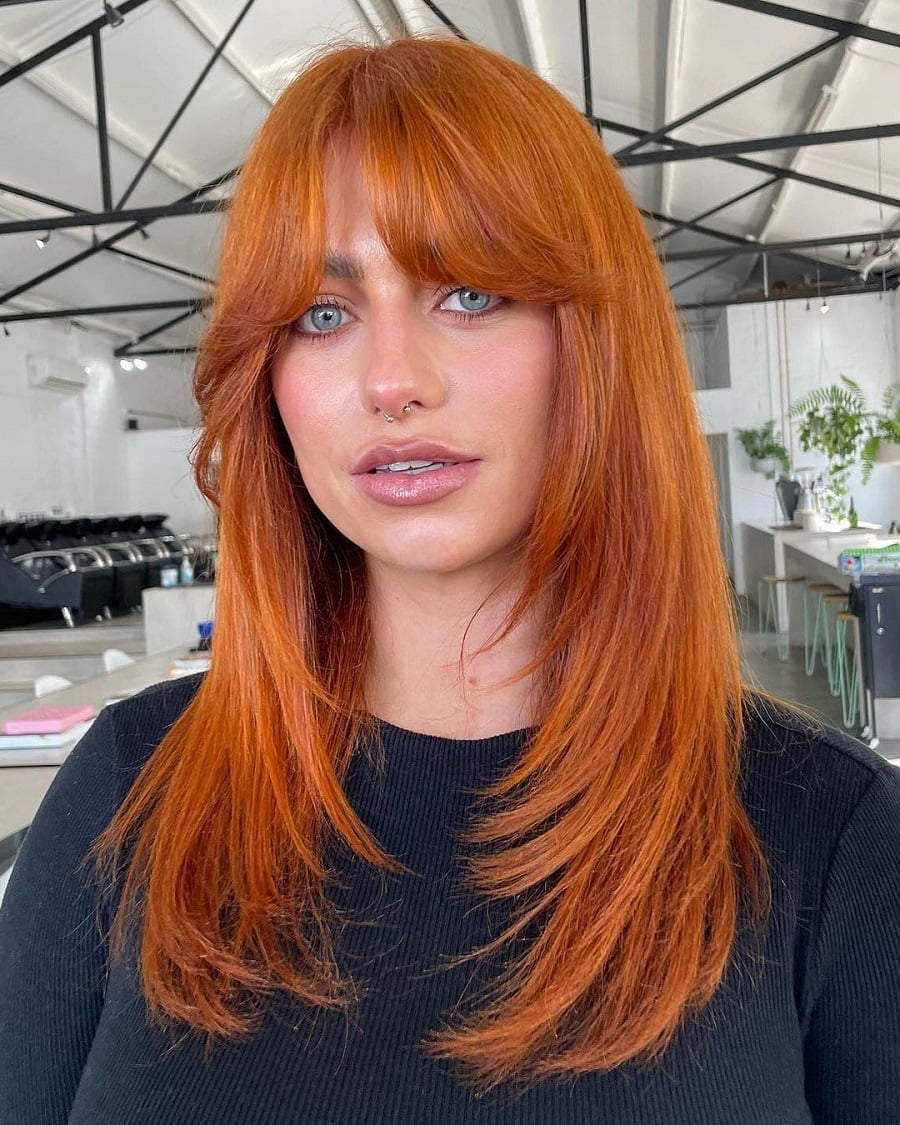
- Round Faces: The goal here is to add length and create angles. Longer curtain bangs that hit around the cheekbones or even the jawline are fantastic. They draw the eye downward, creating a more elongated silhouette.
- Square Faces: To soften a strong jawline, you want soft, wispy, and layered curtain bangs. A softer, A-line shape that’s shorter in the middle and blends down into longer face-framing pieces will work beautifully.
- Heart-Shaped Faces: Your goal is to create more width around the chin. Curtain bangs that hit right at the cheekbone can help balance out a wider forehead. The classic, center-parted style is practically made for you.

Finding a Pro and What to Expect
A good consultation is everything. It’s not just a formality; it’s where the magic starts. Oh yeah, and finding the right person is key.
Quick tip: How do you find a stylist who’s a wizard with this cut? Hop on Instagram and search for hashtags like
[yourcity]hairstylist or
[yourcity]shag. Look for stylists who consistently post photos of curtain bangs and textured cuts. And here’s the pro move: check their tagged photos. That’s where you see real, unedited client results, not just perfectly lit portfolio shots.
What a Stylist Should Ask You:
- Your Lifestyle: Do you hit the gym every day? Wear glasses? Need to tie your hair up for work? Super short bangs might not stay in a ponytail, and glasses can make them sit weirdly.
- Your Styling Habits: Be totally honest about how much time you’ll actually spend on your hair. Curtain bangs aren’t usually a wash-and-go style. They need a few minutes with a blow dryer to look their best. If you don’t even own one, that’s a conversation you need to have.
Let’s Talk Money
This is a huge factor, right? A good, technical haircut that includes curtain bangs will likely cost more than a simple trim. Depending on your city and the salon’s level, expect to pay anywhere from $65 to $150+ for the initial cut. The good news? Maintenance is cheaper. A bang trim every 3-4 weeks is essential to keep the shape, and most stylists offer these for a much lower price ($15-$30) or even for free for regular clients.
Which Style of Curtain Bang is for You?
The term “curtain bangs” actually covers a few different vibes. Let’s break them down without getting into a history lesson.
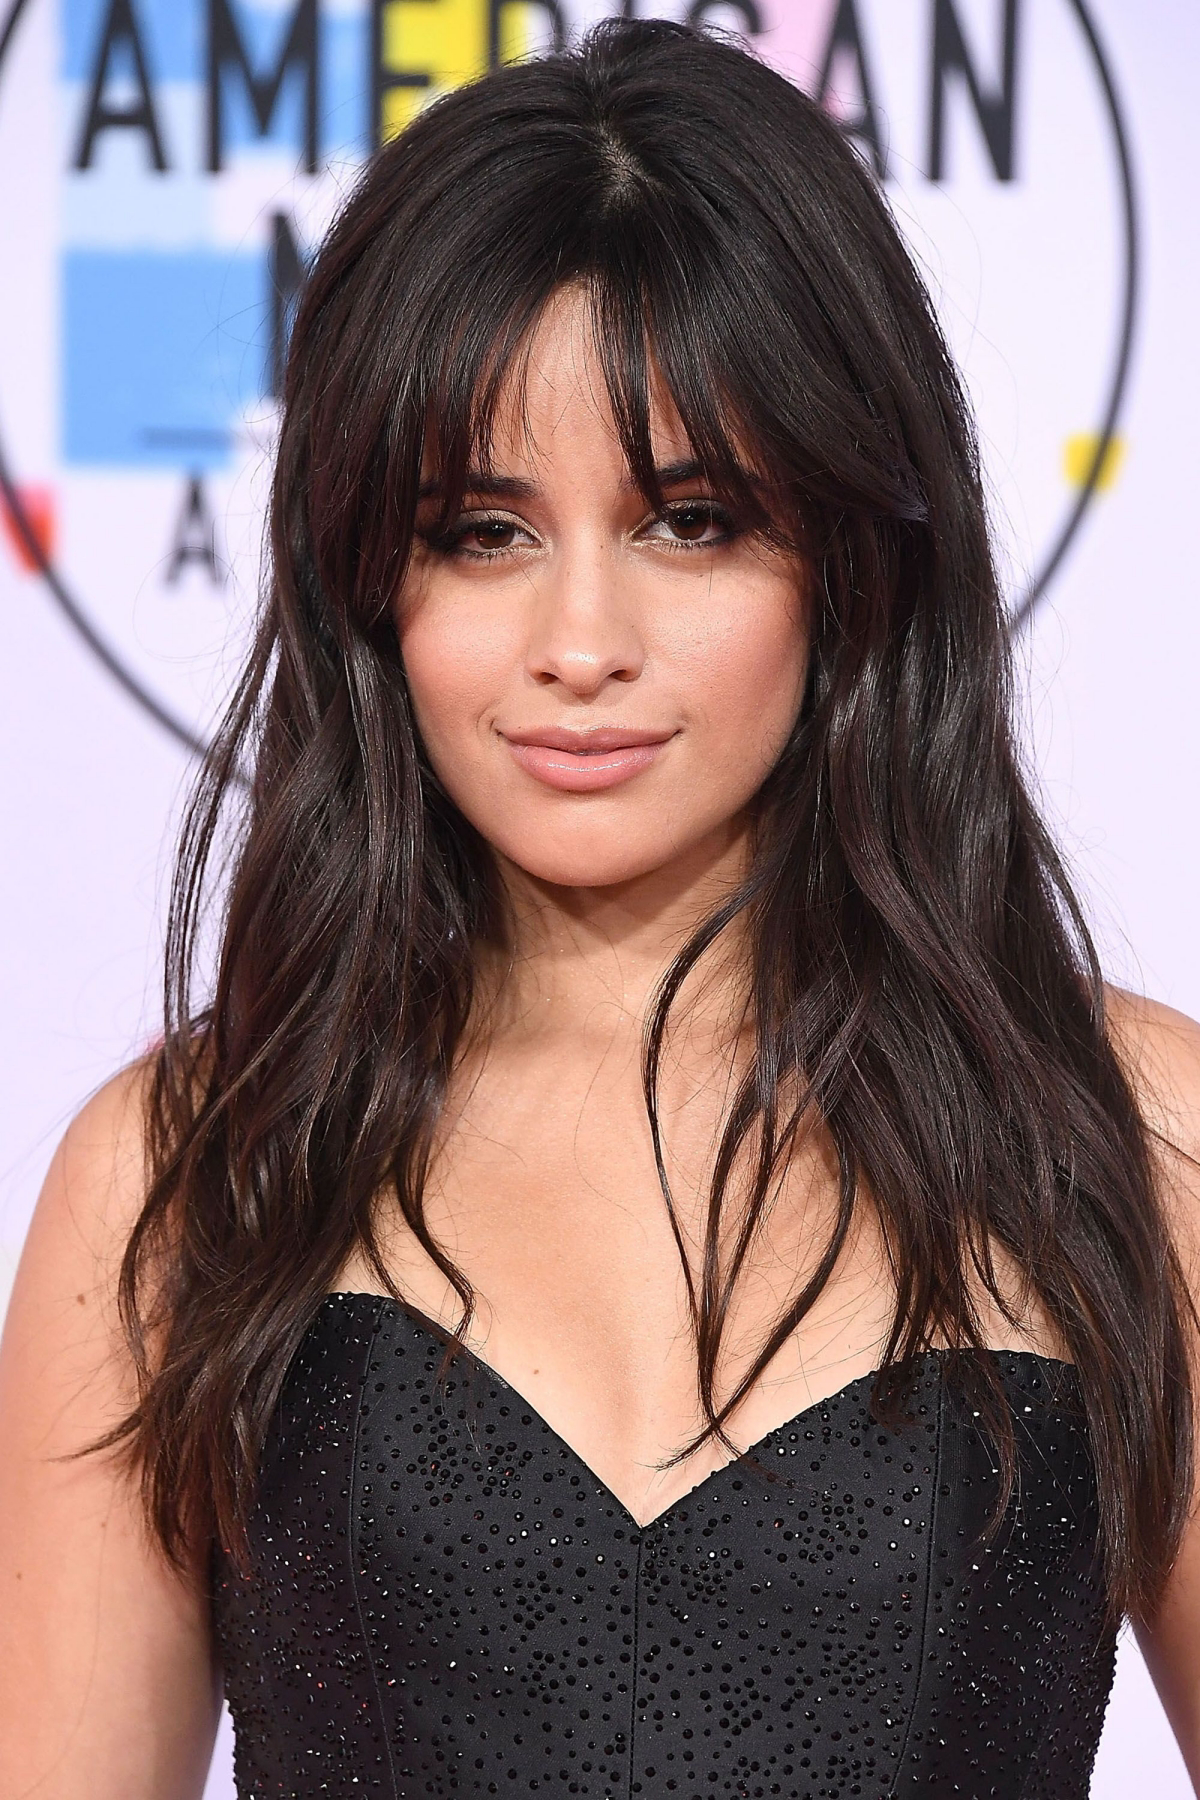
- The Classic Full Bang: This is a heavier, more dramatic look. It’s a fuller fringe, parted in the middle, that creates a really bold drape. Think voluminous and statement-making. It’s gorgeous but requires the most styling commitment, making it best for medium to thick hair that can support the volume.
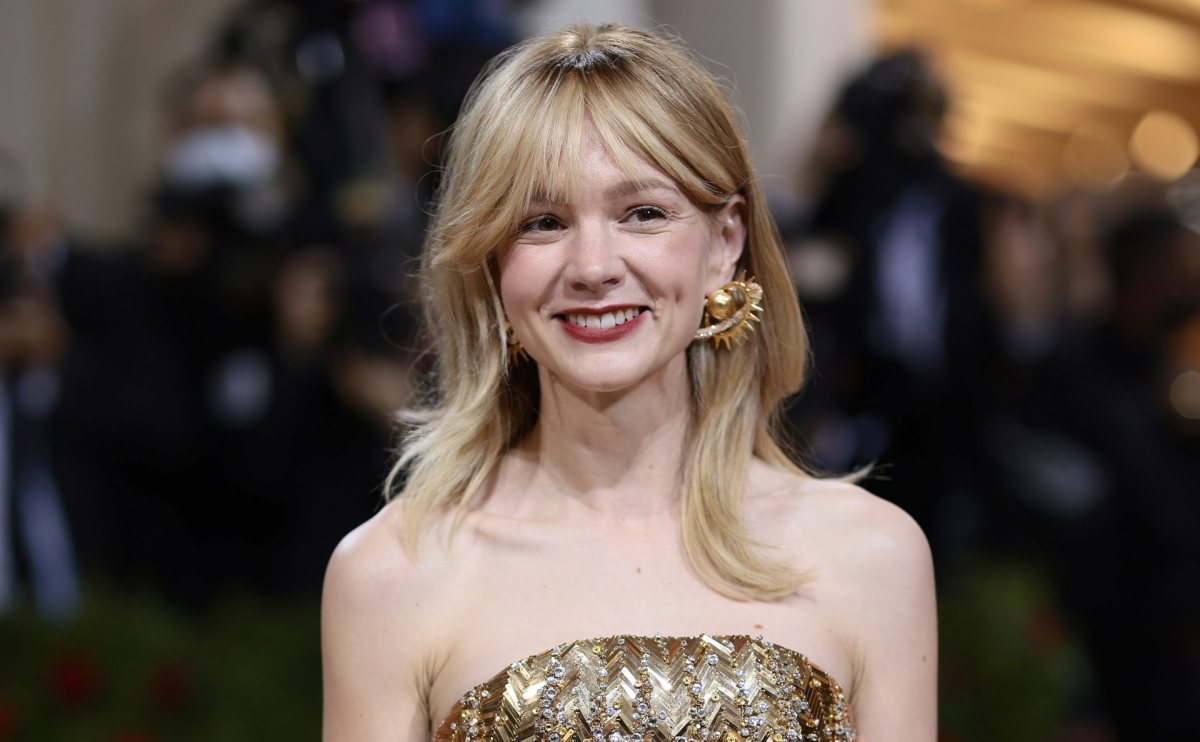
- The Modern ‘Air’ Bang: Inspired by softer, wispier trends, this is a much lighter, almost see-through version. It gives you that face-framing effect without the heavy commitment. This is a fantastic option for fine hair or if you’re nervous about taking the full plunge. Styling effort is generally pretty low.
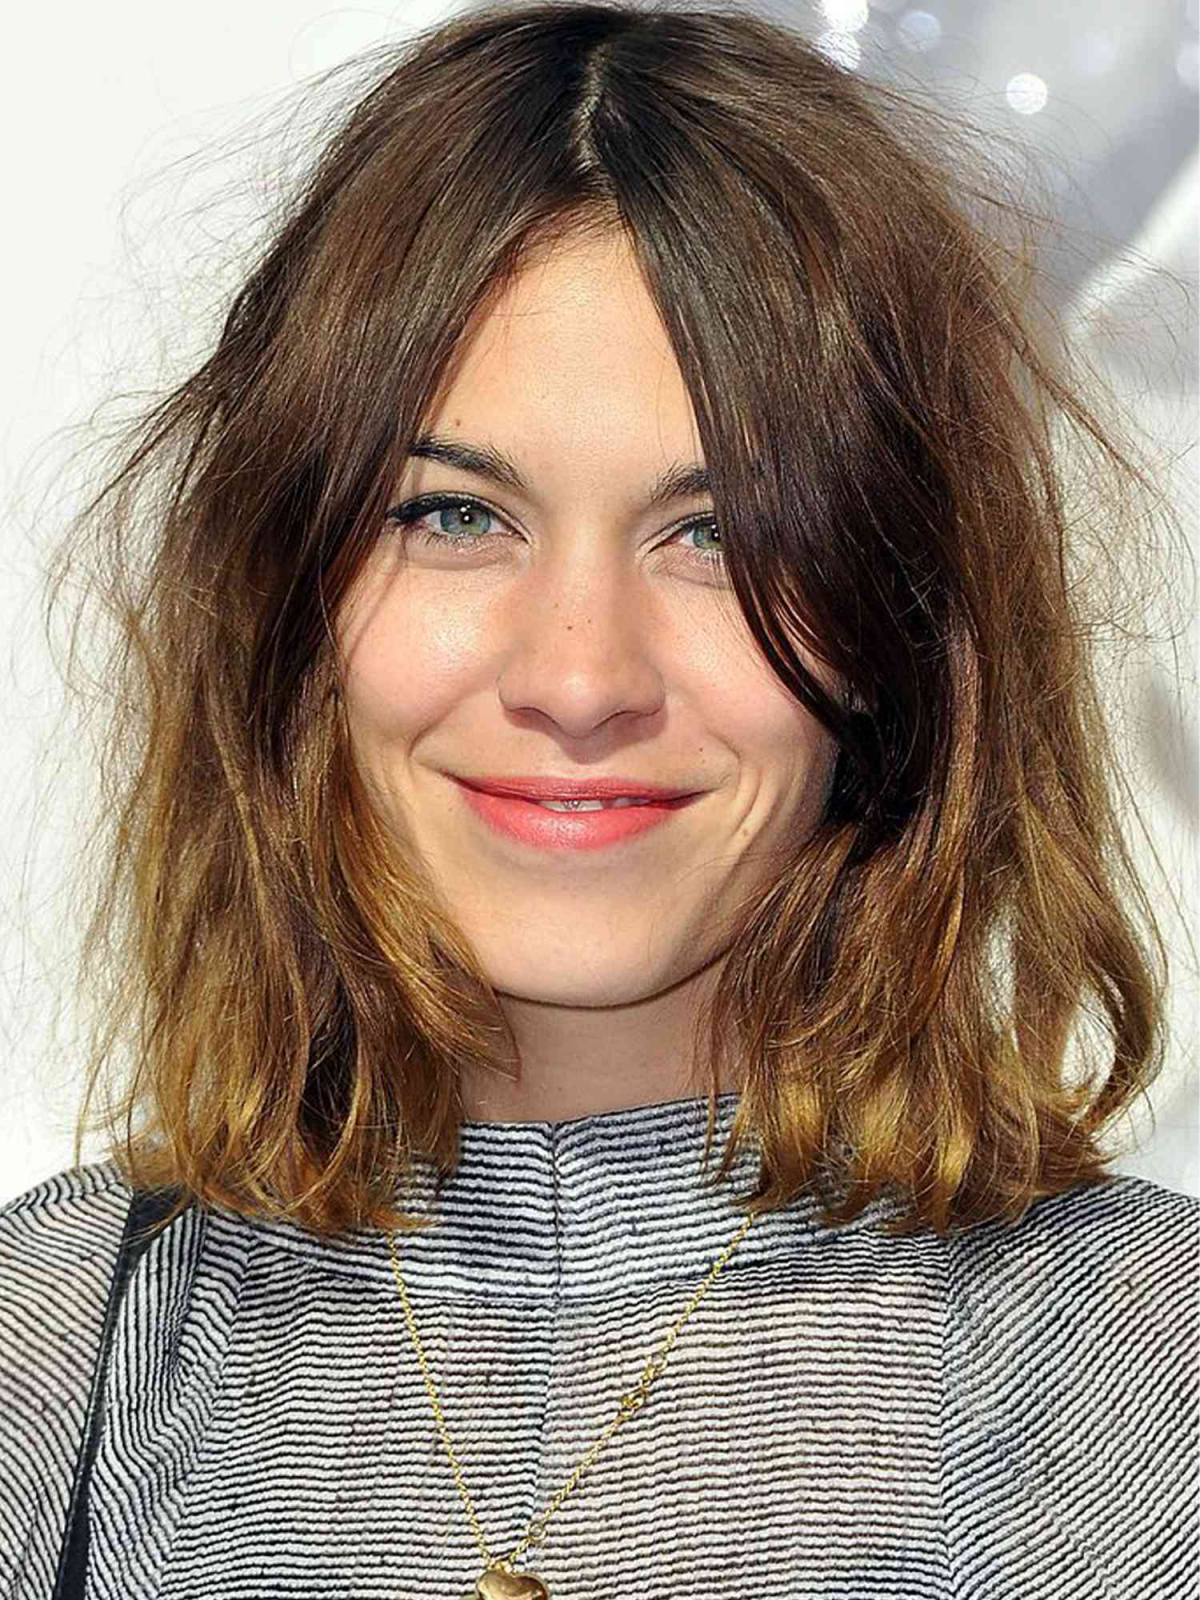
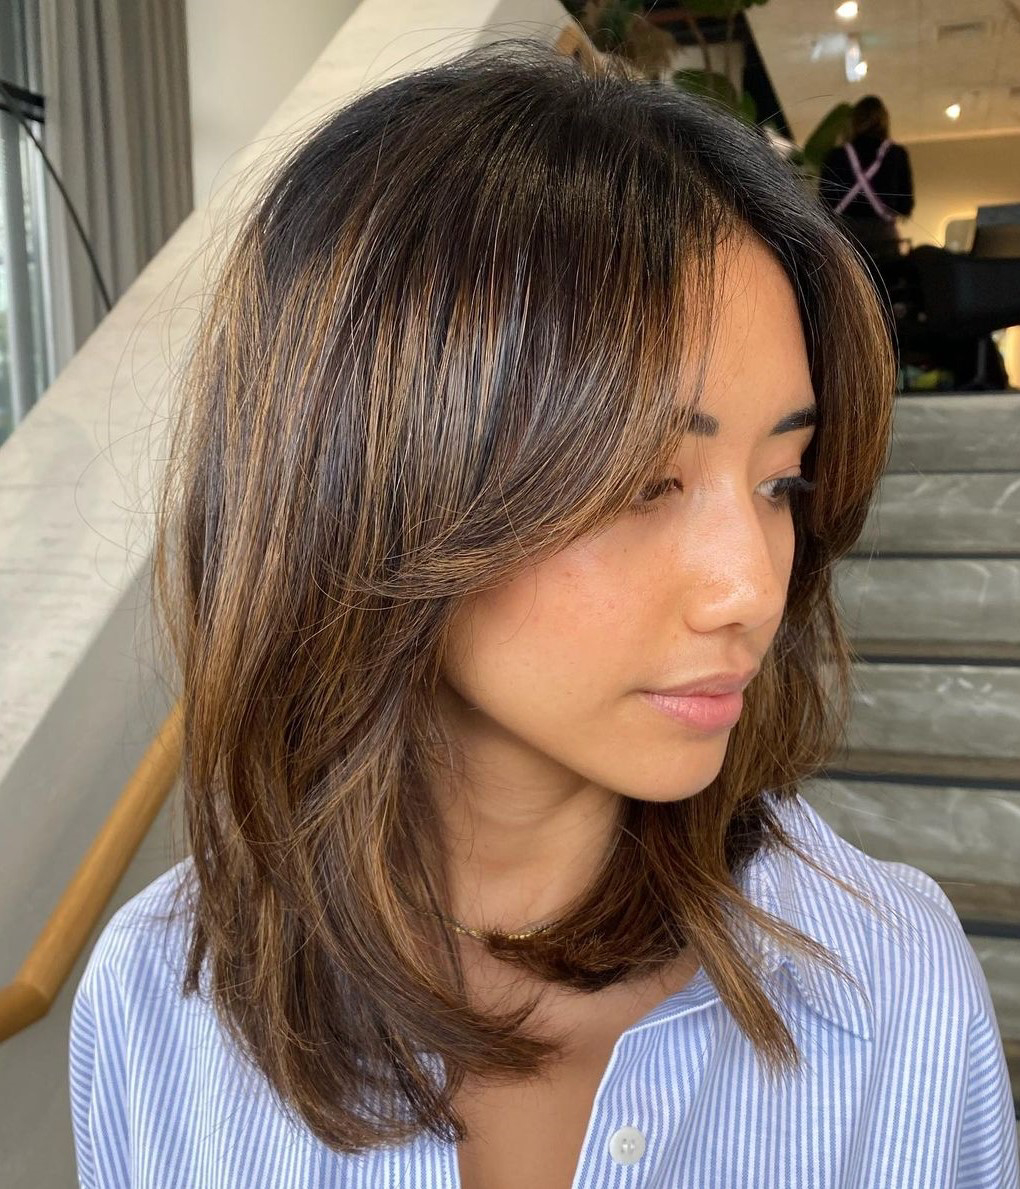
- The Textured Shag Bang: This is the edgier, rock-and-roll cousin. It’s often cut with a razor for a choppier, more lived-in feel that blends into heavy shag layers. It’s less about a perfect, smooth sweep and all about effortless texture and movement. It’s a natural fit for wavy hair.
Your At-Home Styling and Troubleshooting Guide
A great cut is only half the job. Knowing how to handle it at home is what makes you love it day after day. For a beginner, give yourself a solid 10-15 minutes to style them properly at first. You’ll get faster, I promise!
Your Essential Toolkit:
- A Blow Dryer with a Nozzle: The nozzle is non-negotiable. It focuses the air, giving you control. You can find a good Conair or Revlon one for $25-$40.
- A Medium Round Brush: A ceramic one is great because it heats up to help shape the hair. A 1.5 to 2-inch diameter is usually perfect. Look for brands like Olivia Garden or Hot Tools, which will run you about $15-$25.
- Heat Protectant: Don’t skip this! You’re heating the most fragile hair on your head. A good one from Kenra or Chi costs around $15-$25 and will save you from breakage.
- Dry Shampoo or Texture Spray: A must for day-two hair. Batiste is a classic for a reason and costs under $10.

The 3-Minute Greasy Bang Fix
Heads up! This is a game-changer. If your bangs get greasy but the rest of your hair is fine, don’t do a full wash. Just clip back the rest of your hair, quickly wash only the bang section in the sink with a tiny bit of shampoo, and blow-dry. It takes three minutes and completely refreshes your look.
The Foolproof Styling Method
- Start Damp. Always. If your hair is already dry, just spritz your bangs with water.
- Confuse the Roots. This is the secret to taming cowlicks. Using just your fingers, blow-dry the roots of your bangs straight down. Then blow-dry them all to the left. Then all to the right. This neutralizes the root and stops it from being so bossy.
- Bring in the Round Brush. Part your bangs. Place the brush under one side, at the root. Roll the brush up and away from your face while aiming the blow dryer down the hair shaft. You’re creating lift and a sweep, not a bubbly curl.
- Let it Cool. Hair sets its shape as it cools down. Let the hair cool on the brush for a second or use your dryer’s cool shot button. This locks in the style.

Common Problems, Solved:
- “My bangs look flat and lifeless.” You need more root lift. Really focus on that “up and away” motion with the round brush. Drying them in the opposite direction of their part first can also add a ton of volume.
- “My bangs look too puffy and round.” You’re rolling the brush under too much, creating a C-shape instead of a sweep. Think more about sweeping them back, away from your face. A smoothing cream can also help tame unwanted volume.
A Final Word of Warning: The DIY Question
I know it’s tempting. You see a pair of kitchen scissors and think, “How hard can it be?” Please, I’m begging you, don’t do it. I once had a new client come in, absolutely mortified. She’d tried to trim her own bangs and ended up with one side a full inch shorter than the other. We had to get very creative with a deep side part for a month while it grew out. It’s just not worth it!

Household scissors crush and chew the hair, causing split ends, and it’s nearly impossible to get the angles right in a mirror. That $20 bang trim at the salon will save you so much heartache. Trust a pro—your hair will thank you.
Galerie d’inspiration


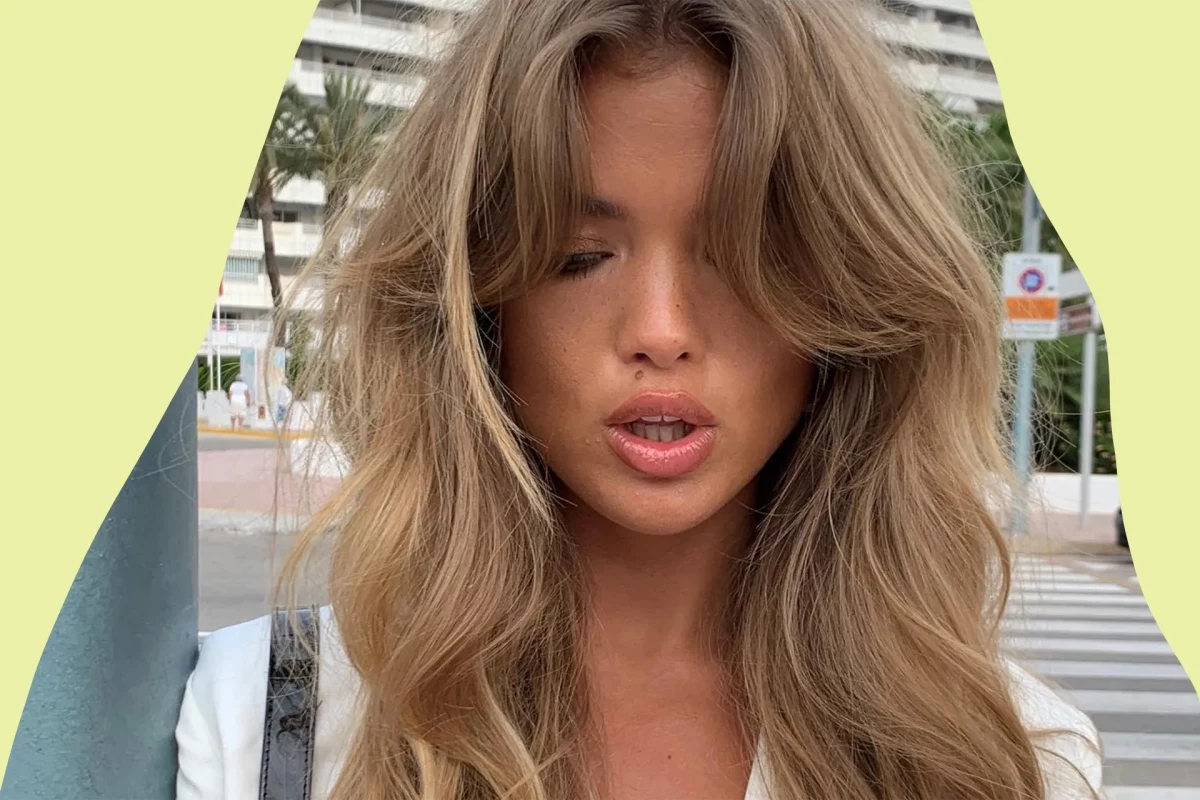
One pro secret for perfect curtain bangs is to blow-dry them forward first, not to the sides. Use a nozzle to direct the airflow down onto the roots. This erases any cowlicks or weird partings from when your hair air-dried. Only once they are about 80% dry should you use a round brush to sweep them out and back.
Help! My bangs get greasy by noon. What can I do?
This is a super common issue since bangs are in constant contact with your forehead. Your hero product is a great dry shampoo. Try Batiste or Living Proof’s Perfect hair Day (PhD) Dry Shampoo. Instead of spraying it directly onto the bangs, which can make them stiff, spray it onto your fingertips or a clean makeup brush and gently tap it into the roots. This absorbs oil without disturbing your style.
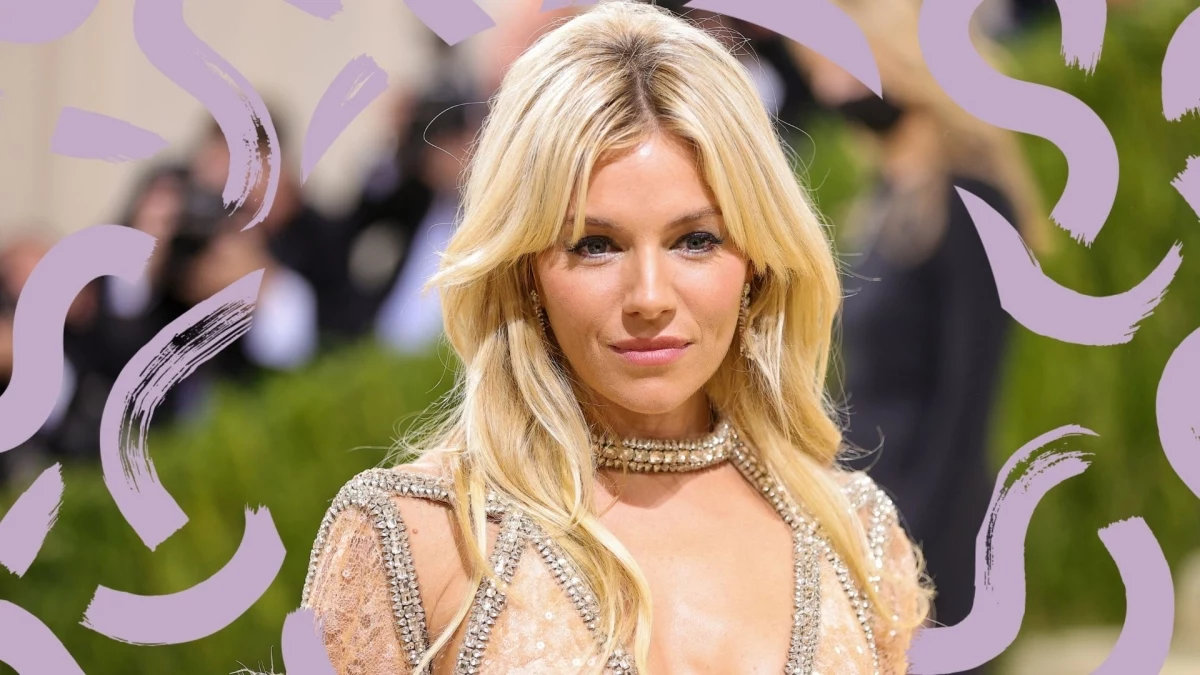
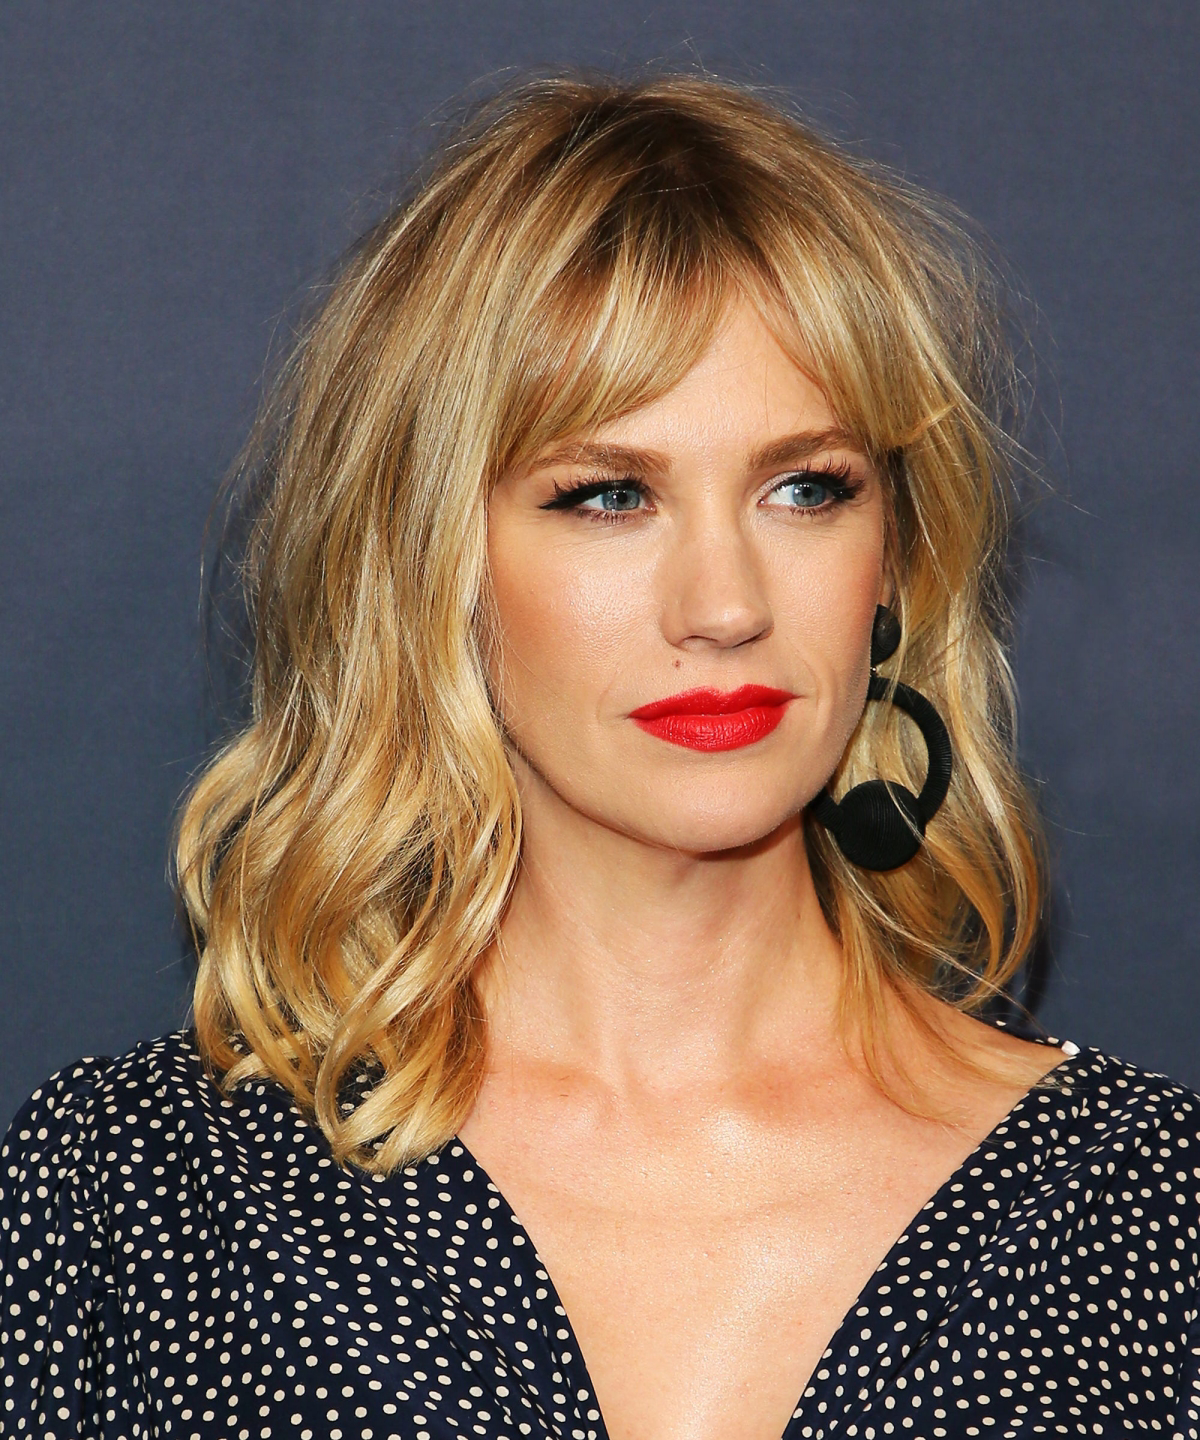
They’re the epitome of French-girl cool—effortless, a bit undone, and incredibly chic.
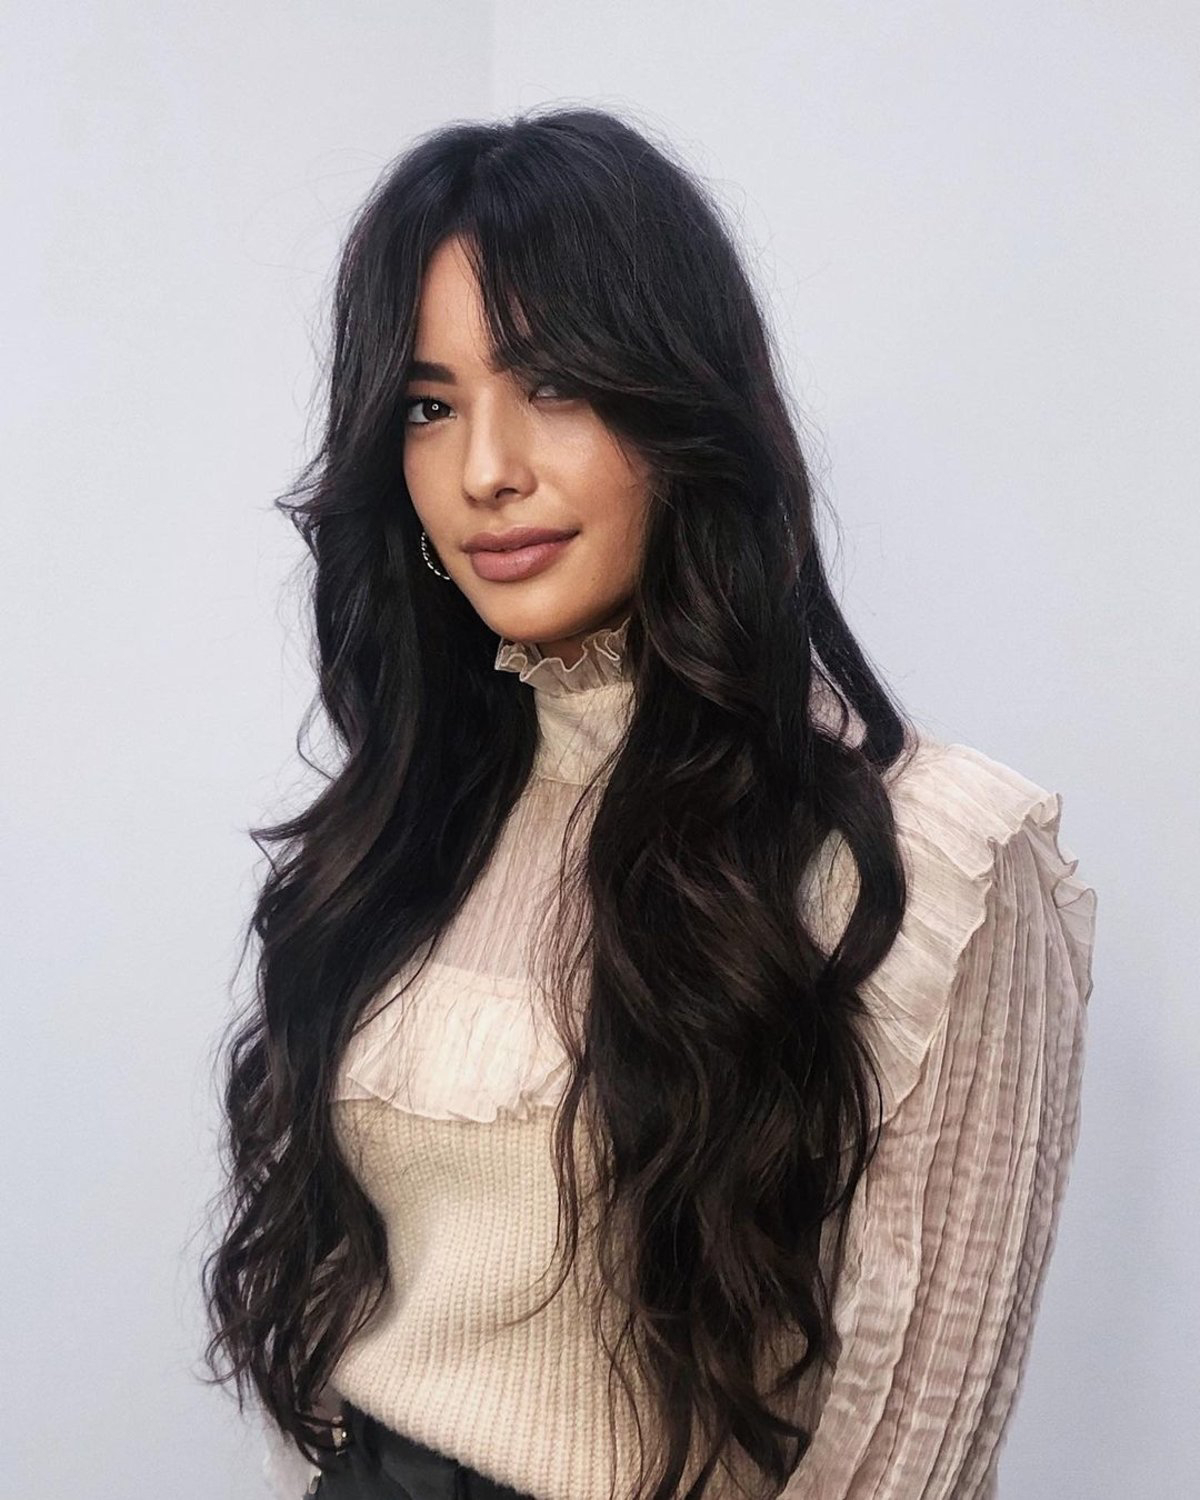
Long before they flooded our social media feeds, curtain bangs were immortalized by icons like Brigitte Bardot in the ’60s and ’70s. Their secret? They soften features and draw attention to the eyes, a timeless trick for instant glamour.
The key to that signature
Don’t skip the trim: Curtain bangs grow out fast, and their shape is everything. To maintain that perfect face-framing effect, plan for a quick bang trim at your salon every 4-6 weeks. It’s often less expensive than a full cut and keeps them from looking limp or overgrown.
- A medium-sized ceramic round brush is your best friend for creating that soft, swooping curve.
- A quality heat protectant spray is non-negotiable. We love the Kérastase Genesis Defense Thermique for its lightweight feel.
- A light-hold texturizing spray, like Oribe’s Dry Texturizing Spray, adds piecey definition without stiffness.
- Achieve a perfect, long-lasting curve without daily heat styling.
- Add volume at the root that holds all day.
- Wake up with your bangs already 90% styled.
The secret? A simple, large velcro roller. Before bed, blow-dry your bangs, wrap them around one large roller away from your face, and leave it in while you sleep or do your makeup. The next morning, just unroll and go.
Round Brush Blowout: Delivers a classic, soft, and voluminous swoop with lots of body. It’s the go-to for that bouncy, fresh-from-the-salon look.
Flat Iron Flick: Offers a sleeker, more modern finish. Use the iron to smooth the bangs down and then gently bevel the ends outwards for a subtle flick. Great for second-day hair.
Our verdict? Master the round brush for everyday volume, and keep the flat iron handy for quick touch-ups.
According to Google Trends, searches for


