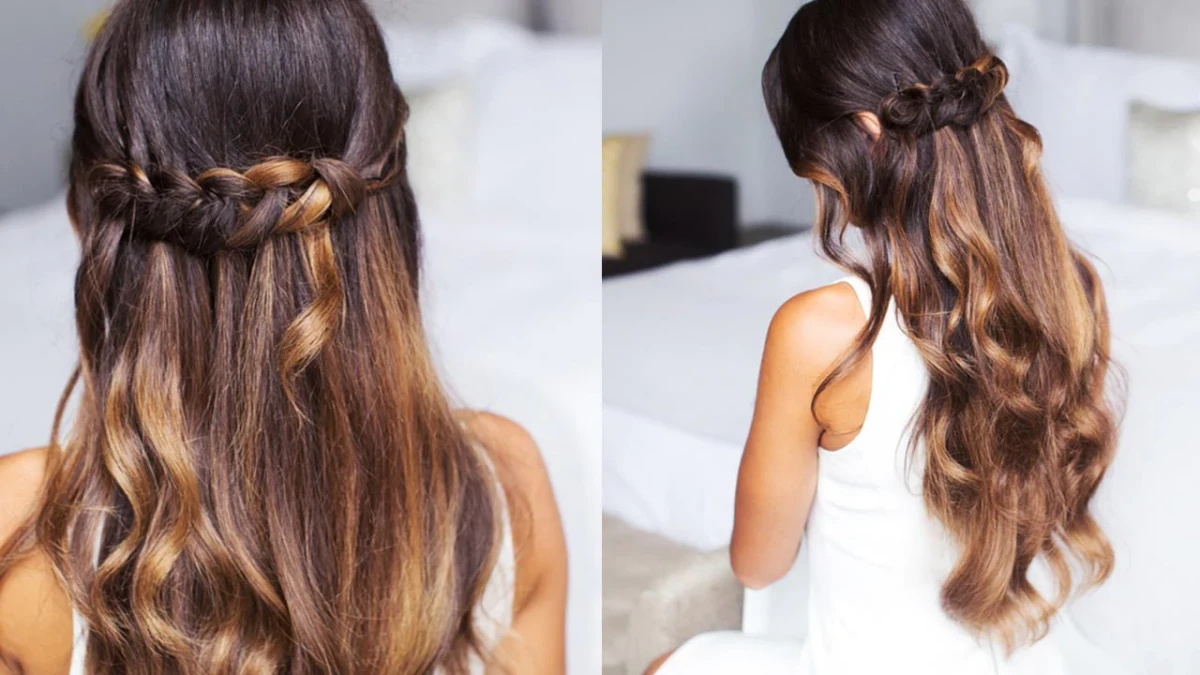
The Waterfall Braid Guide You’ll Actually Use (Even with Layers!)
I’ve been in the hair game for a long time, and I’ve seen countless trends pop up and then fade away. But some styles are just… timeless. The waterfall braid is definitely one of them. It’s a go-to request for everything from weddings to a fun night out because it has this gorgeous, woven look that seems incredibly complicated.
In this article
But honestly? It’s not as hard as it looks. The secret isn’t some crazy, complex technique. It’s all about understanding the logic, prepping your hair correctly, and controlling your tension. The difference between a braid that collapses in an hour and one that lasts all night is in those little details.
So, let’s walk through this together, just like you’re sitting in my salon chair. We’ll cover the basics, how to handle your specific hair type (yes, even you, my friends with layers!), and how to fix the super common mistakes everyone makes at first.
First, Let’s Talk Hair Prep & Texture
Before you even think about braiding, you have to get your canvas ready. And by canvas, I mean your hair. A great braid depends on friction and tension—the strands need to grip each other without slipping.
This is why stylists love hair that’s a day or two unwashed. The natural oils give it a little tackiness that’s perfect for styling. Freshly washed, super-silky hair is the enemy of a long-lasting braid; the strands just slide right past each other. Good to know: you can totally fake that perfect texture with the right products.
Quick tip: For the best results, try to wash your hair the day before you plan to style it. If you absolutely have to wash it the same day, maybe skip the conditioner or just use a tiny bit on the very ends. You want to avoid making it too slippery.
Getting Your Toolkit Ready
You don’t need a ton of fancy equipment, and you can get everything you need for under $25 at a drugstore or on Amazon. Let’s run through the essentials.
You’ll want a rat-tail comb for clean sectioning (about $5), some small clear elastics ($3 for a giant pack), and a handful of bobby pins that match your hair color ($4 or so). The most important product is a texturizing spray or a good dry shampoo. A drugstore option like Batiste or Not Your Mother’s works great and will only set you back about $7-$9. If you feel like splurging, a salon-quality spray can offer a finer mist and stronger hold, but they usually run between $25 and $45.
The Step-by-Step Method to the Perfect Waterfall Braid
Alright, let’s get into it. A heads up! Your first attempt might take a good 30-45 minutes. Don’t get discouraged! Once you get the muscle memory down, you can knock this out in 10-15 minutes, promise.
Step 1: Prep Your Hair
Start with completely dry and detangled hair. If it’s feeling a little too clean and soft, grab that texturizing spray. Hold the can about 8 inches from your head and give your hair a light misting—think a quick 2-second spray per large section. You’re aiming for a little grit, not a wet, sticky mess. Brush it through to make sure it’s evenly distributed.
Now, use the tail of your comb to create a clean, deep side part. This is more important than you think! A crisp part keeps stray hairs from getting pulled in, which prevents those painful tugs and bumps later on.
Step 2: Start the Braid
Grab a section of hair from your hairline right next to the part, about two inches wide. Clip the rest of your hair back to keep it out of the way. Divide this starting piece into three equal strands: top (closest to your part), middle, and bottom (closest to your ear).
To anchor the braid, start with one or two stitches of a regular braid. Cross the top strand over the middle, then cross the bottom strand over the new middle. This creates a tight little base that won’t slip.
Step 3: Create the “Waterfall”
Here’s the magic part. It’s a simple, repeating pattern that trips everyone up at first, but you’ll get it.
- Take the top strand and add a small, new piece of hair to it from your hairline. Combine them.
- Cross this new, combined top strand over the middle strand.
- Now, look at the bottom strand. Here’s the key: just drop it. Let it fall completely. This is your first “cascade.”
- To replace the strand you just dropped, pick up a new section of hair from right underneath where the dropped one is hanging. This is your new bottom strand.
- Cross this new bottom strand over the middle strand.
That’s one full stitch! The pattern is always the same: add to the top and cross it over, then drop the bottom and pick up a new one to cross over.
Step 4: Continue and Secure It
Keep repeating this pattern around your head. Try to keep the new sections you add a consistent size for a nice, even braid. You should feel a firm, steady tension. If the braid is lifting off your scalp, you’re not pulling tight enough.
When you’ve reached where you want to stop (the back of your head, or all the way to the other side), stop adding and dropping hair. Just finish with about an inch of a regular three-strand braid. This little tail is way easier to pin securely. Tie it off with a clear elastic.
Tuck the tail under the surrounding hair and pin it with two bobby pins in an “X” shape for a rock-solid hold. One pin will almost always slide out. Finish with a light mist of hairspray.
How to Adapt the Braid for YOUR Hair
A good style isn’t one-size-fits-all. Here’s how to tweak the technique based on what you’re working with.
For Fine or Silky Hair: The biggest enemy here is slippage. Product is non-negotiable—really use that texturizing spray! I also recommend using slightly smaller sections. This creates more interlocking points, making the braid structurally stronger. Oh, and keep your tension firm and consistent. Don’t relax your grip for a second.
For Thick or Coarse Hair: With thick hair, the challenge is managing bulk and frizz. A braid can get chunky and overwhelming fast. Use slightly larger sections to keep the final look proportional. To control frizz, rub a pea-sized amount of a light pomade or styling cream over each section before you weave it in. It makes a huge difference in the final polish.
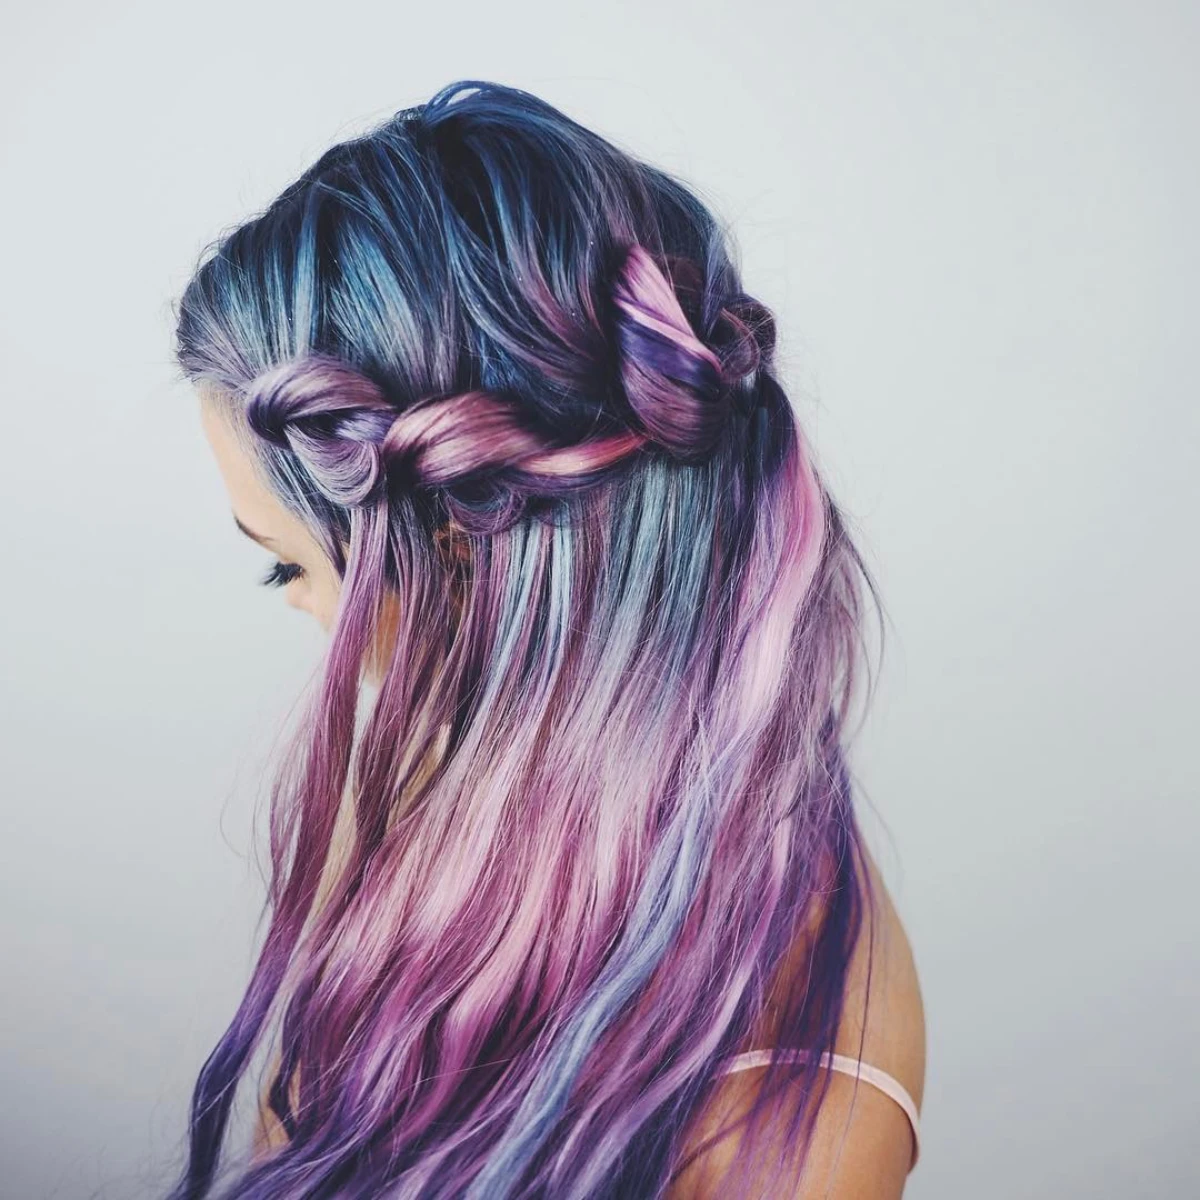
For Curly Hair: Embrace the texture! A waterfall braid on curly hair is gorgeous and romantic. Before you start, use a curl cream to define your curls. Braid a bit more loosely than you would on straight hair to avoid stretching out the curl pattern. The finished look will be softer and more bohemian, which is perfect.
And for Layered Hair… The Big One: Ah, layers. This is where most people get frustrated, with short bits sticking out everywhere. Here’s the pro trick: as you get to the bottom strand—the one you’re about to drop—run a tiny bit of pomade or wax on the ends. This gives the shorter layers just enough weight and stickiness to blend in with the longer hair, instead of poking out at weird angles.
Troubleshooting: “Why Does My Braid Look… Wrong?”
Okay, let’s be real. Your first few tries might be a little wobbly. Here are the most common problems I see and how to fix them.
- The Problem: It has weird gaps and looks loose.
This is a tension issue, 99% of the time. You’re probably relaxing your grip when you reach for a new piece of hair. By the way, this can also be a posture thing—it’s a workout for your arms! Try to keep your elbows up; if your arms drop, your tension will loosen. - The Problem: It’s messy and has bumps on top.
This comes from sloppy sectioning. When you grab new hair, you’re accidentally pulling in strays. Use the tail of your comb to draw a clean line for every single new section you add. It feels slow, but it’s the secret to a professional-looking finish. - The Problem: The whole thing fell out after an hour.
This is a failure of two things: preparation and anchoring. Your hair was too slippery (more texture spray next time!), and you didn’t secure it properly. Remember: two bobby pins crossed in an X, always.
A Quick Challenge & When to Call a Pro
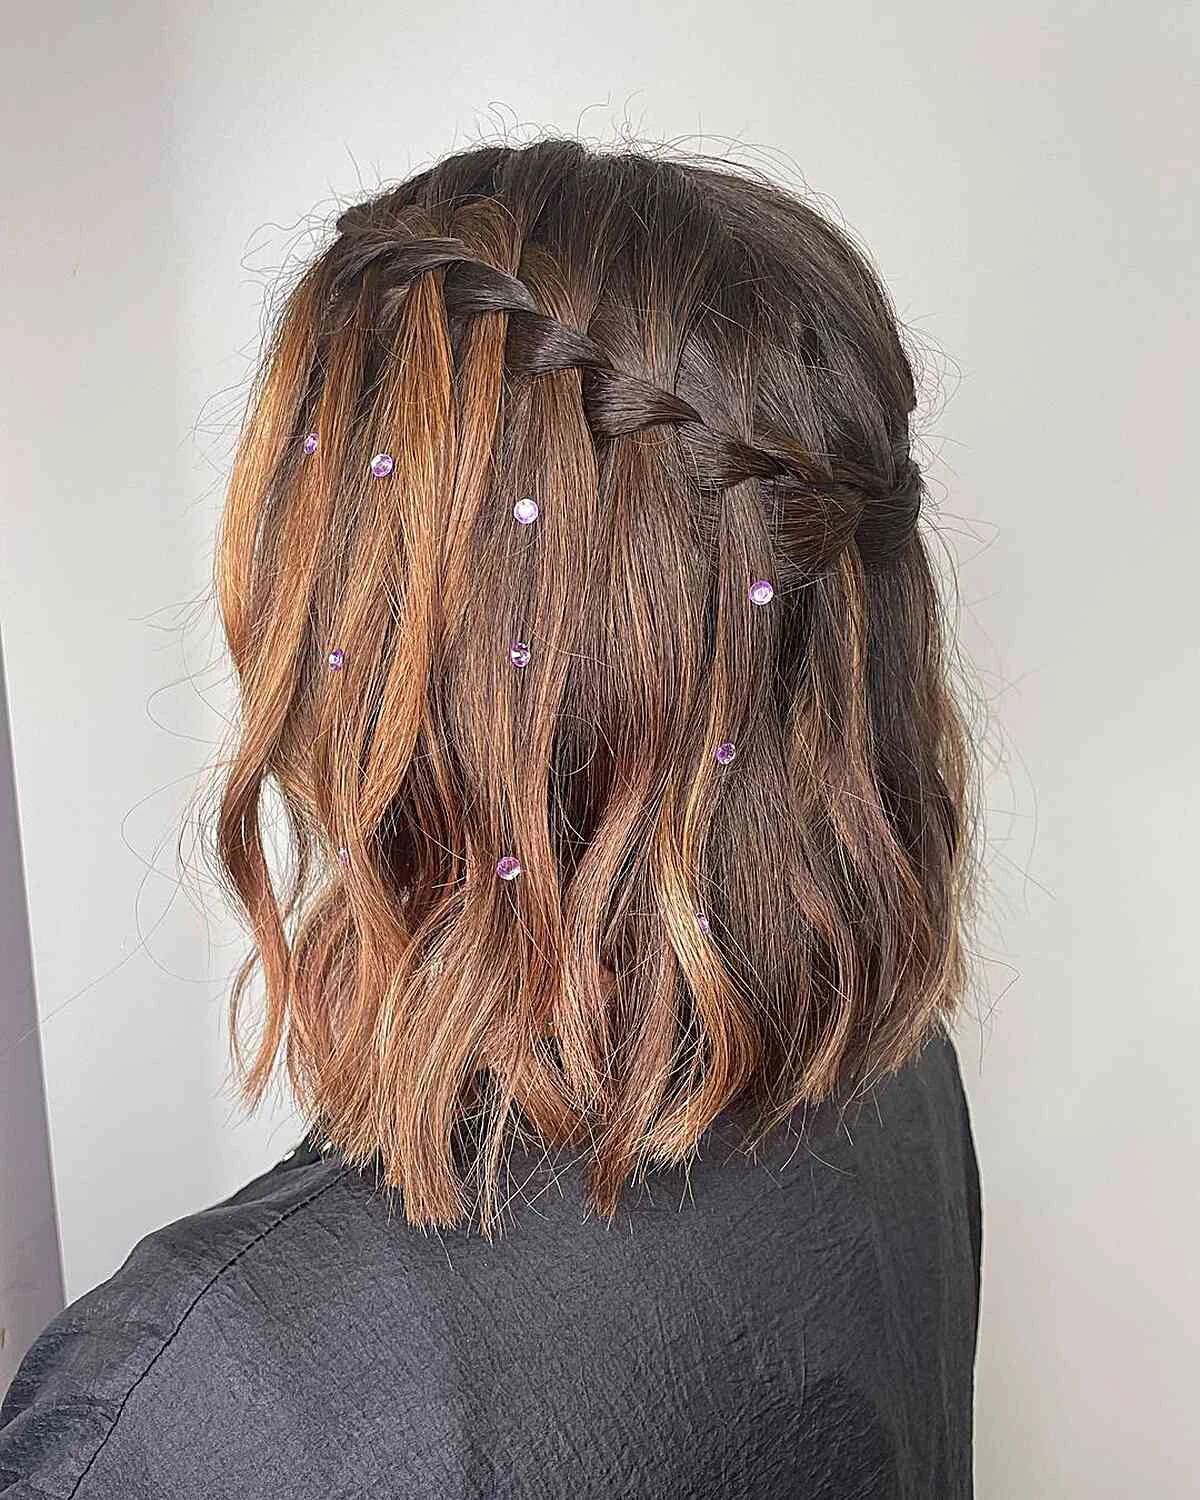
Don’t have 30 minutes for the full shebang? Try this 5-minute version: just do a small waterfall braid starting at your temple and ending right behind your ear. Pin it there. It’s a beautiful little accent and a fantastic way to practice the core motion.
And while doing your own hair is empowering, know when to outsource. If this is for your wedding or a huge event, I strongly recommend booking a stylist. On a high-stress day, the last thing you need is to worry about a lopsided braid. A pro can nail it, make sure it lasts all day and night, and will know how to best flatter your face shape. For a formal style like this, you can expect to pay anywhere from $75 to $150+, but the peace of mind is often priceless.
Just remember to be gentle. A braid should be firm, not painful. Constant, sharp pulling can damage hair follicles over time, so listen to your scalp.
Learning this braid is a craft. Be patient with yourself. Each attempt teaches you something new, and with these tips, you’re already way ahead of the curve. You’ve got this!
Galerie d’inspiration
How do I stop the ‘waterfall’ strands from getting tangled or frizzy?
The secret is in the finish. Before you even begin braiding, apply a pea-sized amount of a smoothing serum, like John Frieda’s Frizz Ease, but only to the mid-lengths and ends of your hair. This preps the strands that will be dropped. After your braid is secured, take a tiny drop of the same serum on your fingertips and gently run them down each individual cascading strand. This seals the cuticle, adds shine, and prevents them from tangling into the unbraided hair below.
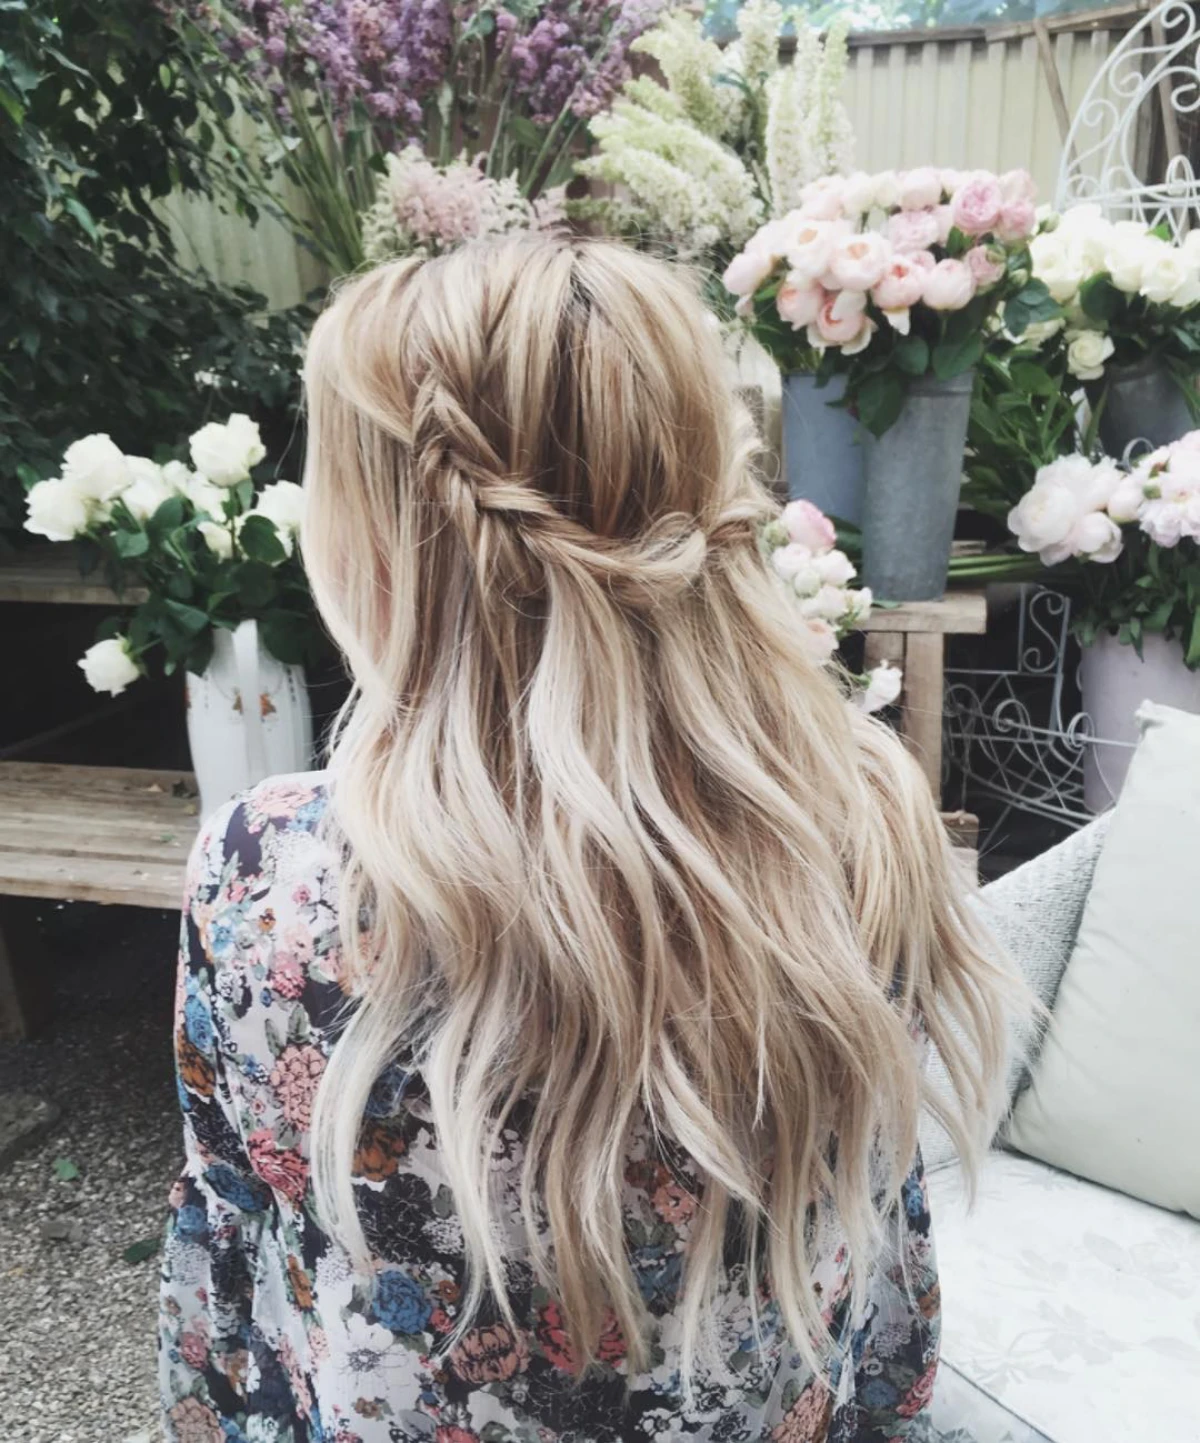
For a soft, romantic finish: Use a texturizing spray. This product, like the cult-favorite Oribe Dry Texturizing Spray, gives the hair a bit of ‘grip’ and airy volume, perfect for that effortless, bohemian look where the falling strands blend seamlessly.
For a defined, high-contrast look: Try a light-hold pomade or wax. After braiding, rub a tiny amount of a product like Kristin Ess’s Soft Matte Pomade between your fingertips and gently smooth over the braided section only. This will define the plait and make it pop against the loose hair.


