How to Actually Get a Perfect Center Part (And Make It Stay Put)
I’ve been a hairstylist for what feels like a lifetime, and in all that time, I’ve seen trends do a complete 180 and back again. But some things are just timeless, and the center part is one of them. It seems so ridiculously simple, right? Just a line down the middle. But honestly, that little line can completely change your entire look—it can balance your features, make you look more put-together, and project some serious confidence. Getting it right, though? That’s a real skill.
In this article
A perfect center part isn’t about wrestling your hair into place. It’s more about having a conversation with it. You’ve got to understand its texture, where it naturally wants to go, and its quirks. This guide is basically me walking you through that exact process, sharing everything I’ve learned about making this classic style work for real people, every single day.
First, Get to Know Your Hair
Before you even pick up a comb, you have to understand what you’re working with. Your hair has its own personality—it has a preferred direction, a certain texture, and a memory of how it’s been styled before. Getting a handle on these things is the secret to mastering any style, especially one as clean as this.

The Deal with Cowlicks and Growth Patterns
Your hair grows out of your scalp at an angle, which creates a natural flow. Sometimes, this flow gets all swirled up into a strong circular pattern, and we call that a cowlick. Most of us have one at the back of our head, but they can pop up anywhere, including right at your front hairline where you’re trying to make a part.
A stubborn cowlick at the hairline is pretty much the number one enemy of a sharp center part. If you feel like your hair just has to flip to one side, you’re probably fighting a growth pattern. Here’s a quick tip: The secret to taming a cowlick is to confuse it. Before you try to force the part, use your blow dryer nozzle to dry the hair at the cowlick forward, then backward, then from side to side. After you’ve scrambled its natural instinct, then you can dry it down into your center part. It’s a total game-changer.

How Texture Changes the Game
The type of hair you have totally affects how a center part will look and behave. There’s no “bad” hair for this, just different strategies.
- Fine Hair: With fine or thin hair, a super-stark part can sometimes make the scalp more visible, creating the illusion of less volume. The trick is to ask a stylist for subtle, almost invisible layers right under the part line to prop the hair up. At home, your best friend is a good root-lifting product.
- Medium Hair: This is usually the sweet spot. It’s got enough body to avoid looking flat but isn’t so heavy that it constantly fights back.
- Coarse Hair: Coarse hair can be strong-willed. Getting a clean part often means using a bit more tension and heat to set it. The good news? Once you get it styled, it tends to hold its shape beautifully all day.
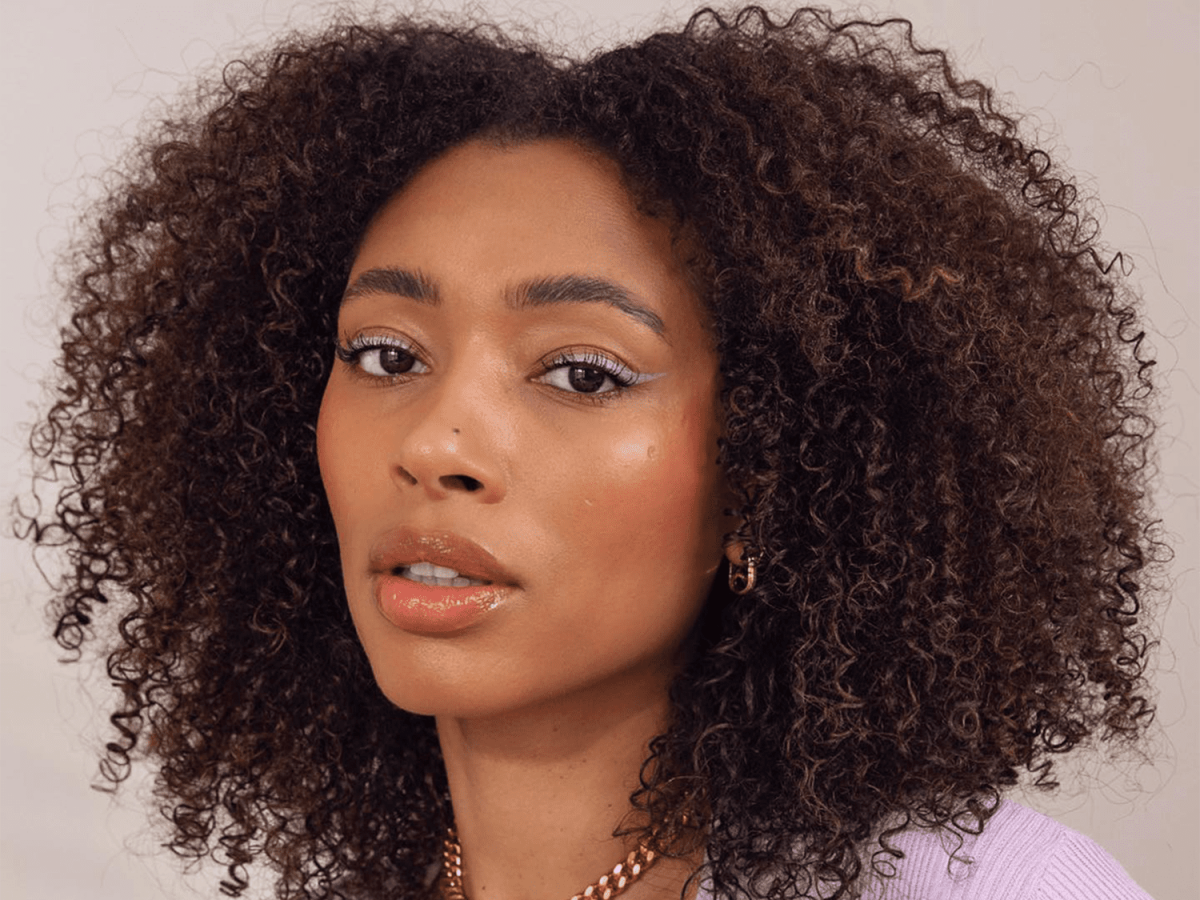
- Wavy and Curly Hair: For you folks with texture, it’s less about a severe line and more about encouraging the curl families to separate nicely. The best way to do this is to part your hair when it’s soaking wet and loaded with conditioner. This lets you arrange the curls where you want them without causing a frizz-fest. The final look is much softer and more blended.

A Note on Face Shape (Hint: It’s Not a Strict Rule)
Okay, let’s talk about face shapes. It’s a decent starting point, but please don’t let it be a hard-and-fast rule. A center part creates a strong vertical line, so think about how that interacts with your features. It tends to elongate a rounder face and soften a square jawline, especially when paired with soft waves. But honestly? I’ve seen center parts look incredible on every single face shape. If you wear it with confidence, it works.
Your At-Home Toolkit for a Flawless Part
You don’t need a ton of fancy equipment to get a salon-quality look. It’s all about having the right basic tools and using them correctly.
- Rat-Tail Comb: This is non-negotiable for drawing a clean line. You can grab a basic one from a brand like Goody for $3 at Target or any drugstore. It does the job perfectly.
- No-Crease Clips: A few flat clips to hold your hair in place while you dry are a huge help.
- Blow Dryer with a Concentrator Nozzle: That flat attachment that came with your dryer is not optional! It’s essential for directing the heat and airflow precisely where you need it.
- Root-Lifting Spray or Mousse: This is what gives the hair at your roots the memory to stay put. For a budget-friendly option, try Herbal Essences Totally Twisted Mousse for about $4. If you want to splurge, the pros often love high-end options that give incredible hold and volume.
- A Touch of Smoothing Serum: Just a drop to tame flyaways after you’re done.

The Pro Method: How to Train Your Hair
The absolute best time to create a part is on wet hair. It’s more flexible and willing to be told what to do. Trying to re-part dry hair is a recipe for frustration.
1. Start with clean, towel-dried hair.
2. Use the tip of your rat-tail comb to draw a straight line, using the bridge of your nose as a guide for what’s truly center.
3. Spray your root-lift product right along the part line on your scalp.
4. Clip the hair down on both sides of the part, about an inch from the line.
5. Using your dryer with the nozzle on, aim the airflow down the hair shaft, right at the roots. Dry one side, then the other.
6. Don’t skip this step: Once a section is dry, hit it with the
Galerie d’inspiration


Your best friend for a ruler-straight part isn’t your fingers, but a rat-tail comb. The fine teeth glide through hair without creating frizz, and the pointed

Does the center part work for everyone?
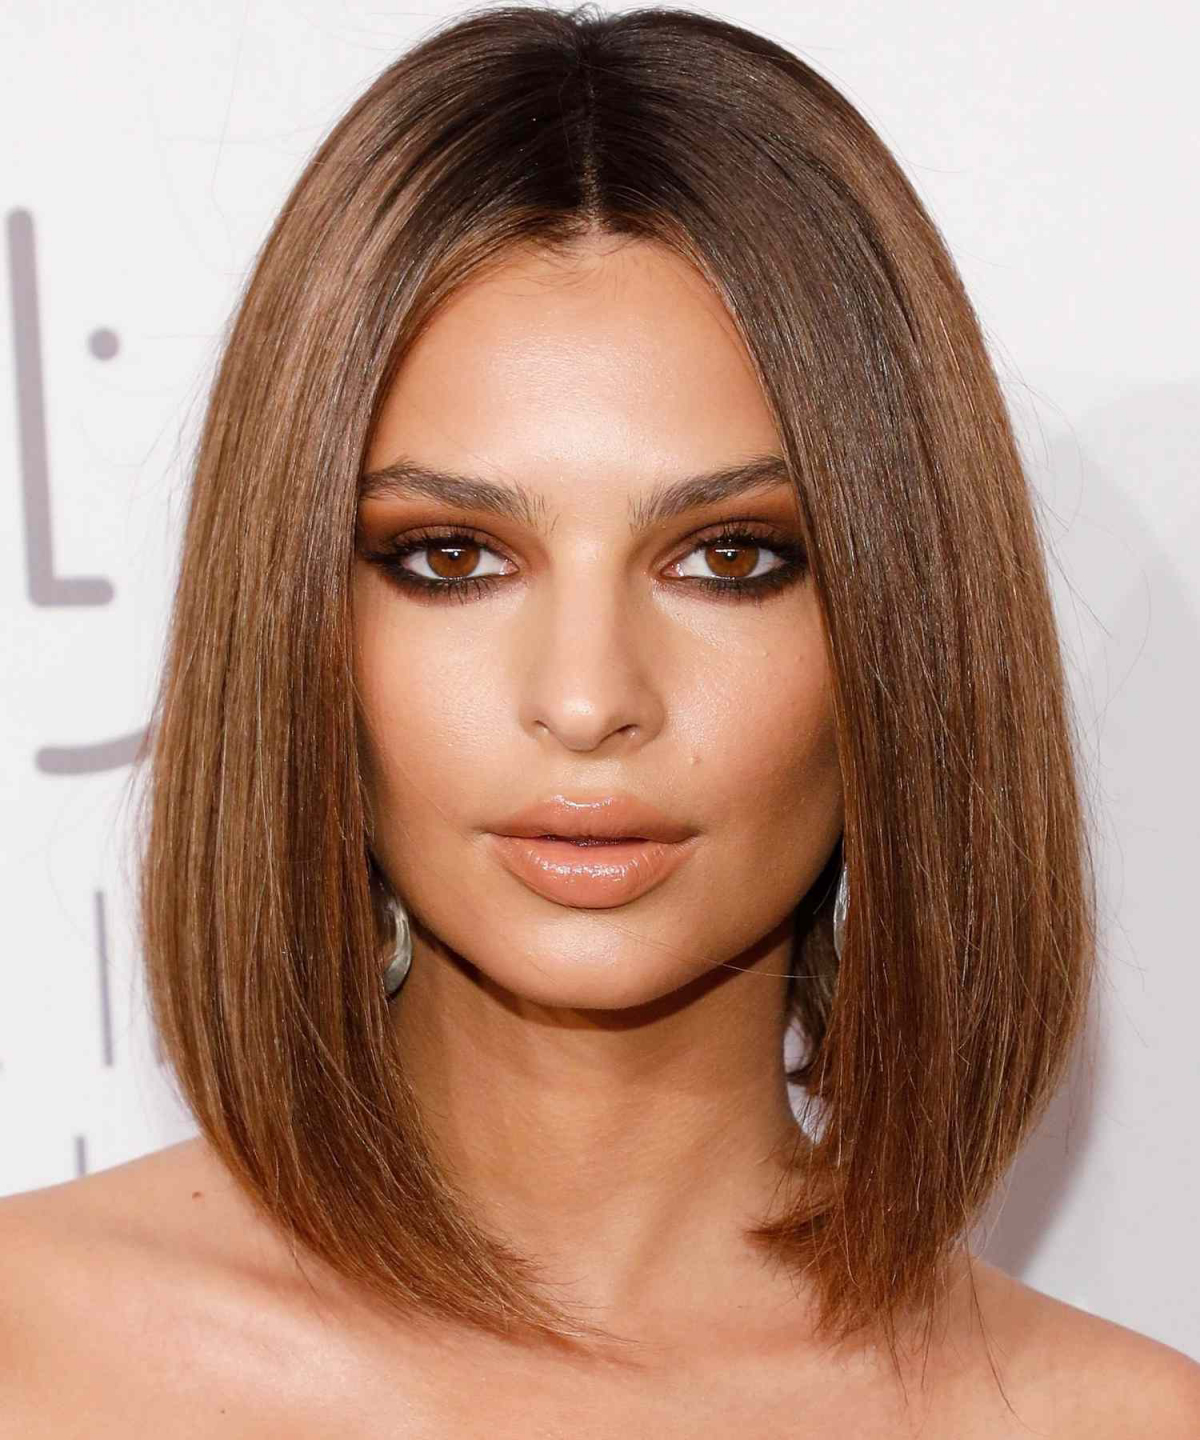
While it’s a universally chic style, the center part is especially flattering for those with oval or round face shapes, as it adds length and creates symmetry. If you have a square or heart-shaped face, a slightly off-center part can soften your angles. But the real rule? If it makes you feel confident, it works.

Fact: Hair is most malleable when wet.
This is why creating your part on damp, freshly-washed hair is non-negotiable for training stubborn strands. By parting it wet and drying it into place, you’re setting its

For a locked-in look: A fine-mist, strong-hold hairspray like L’Oréal Elnett Satin is your go-to. It sets the part without stiffness or stickiness.
For touchable volume: A texturizing spray, such as Oribe Dry Texturizing Spray, applied at the roots gives lift and flexible hold, preventing the part from falling flat.


- Your part line exposes a strip of your scalp to direct sun. Don’t forget to apply a scalp-friendly SPF.
- Product can build up along the part. Use a clarifying shampoo once a week to prevent clogged follicles.
- Gently massage the scalp along the part to stimulate blood flow and promote healthy growth.

The secret power of the part: It’s all about symmetry. A clean center line draws attention equally to both sides of your face, creating a sense of balance and harmony that is inherently pleasing to the eye and projects an effortless confidence.

- Tames stubborn baby hairs and flyaways instantly.
- Adds targeted hold right at the root without weighing hair down.
- Costs next to nothing and uses a product you already own.
The secret? An old toothbrush. Lightly spritz it with your favorite hairspray and gently brush down any rebellious strands along your part for a flawless, high-definition finish.

Is your part looking a little… wobbly? A common mistake is trying to eyeball it from the front. Here’s the pro trick:
- Place the tail of your comb at the bridge of your nose and look in the mirror.
- Keeping your eye on that point, draw the comb straight back over your head.
This ensures a line that is perfectly centered to your facial features, not just your hairline.
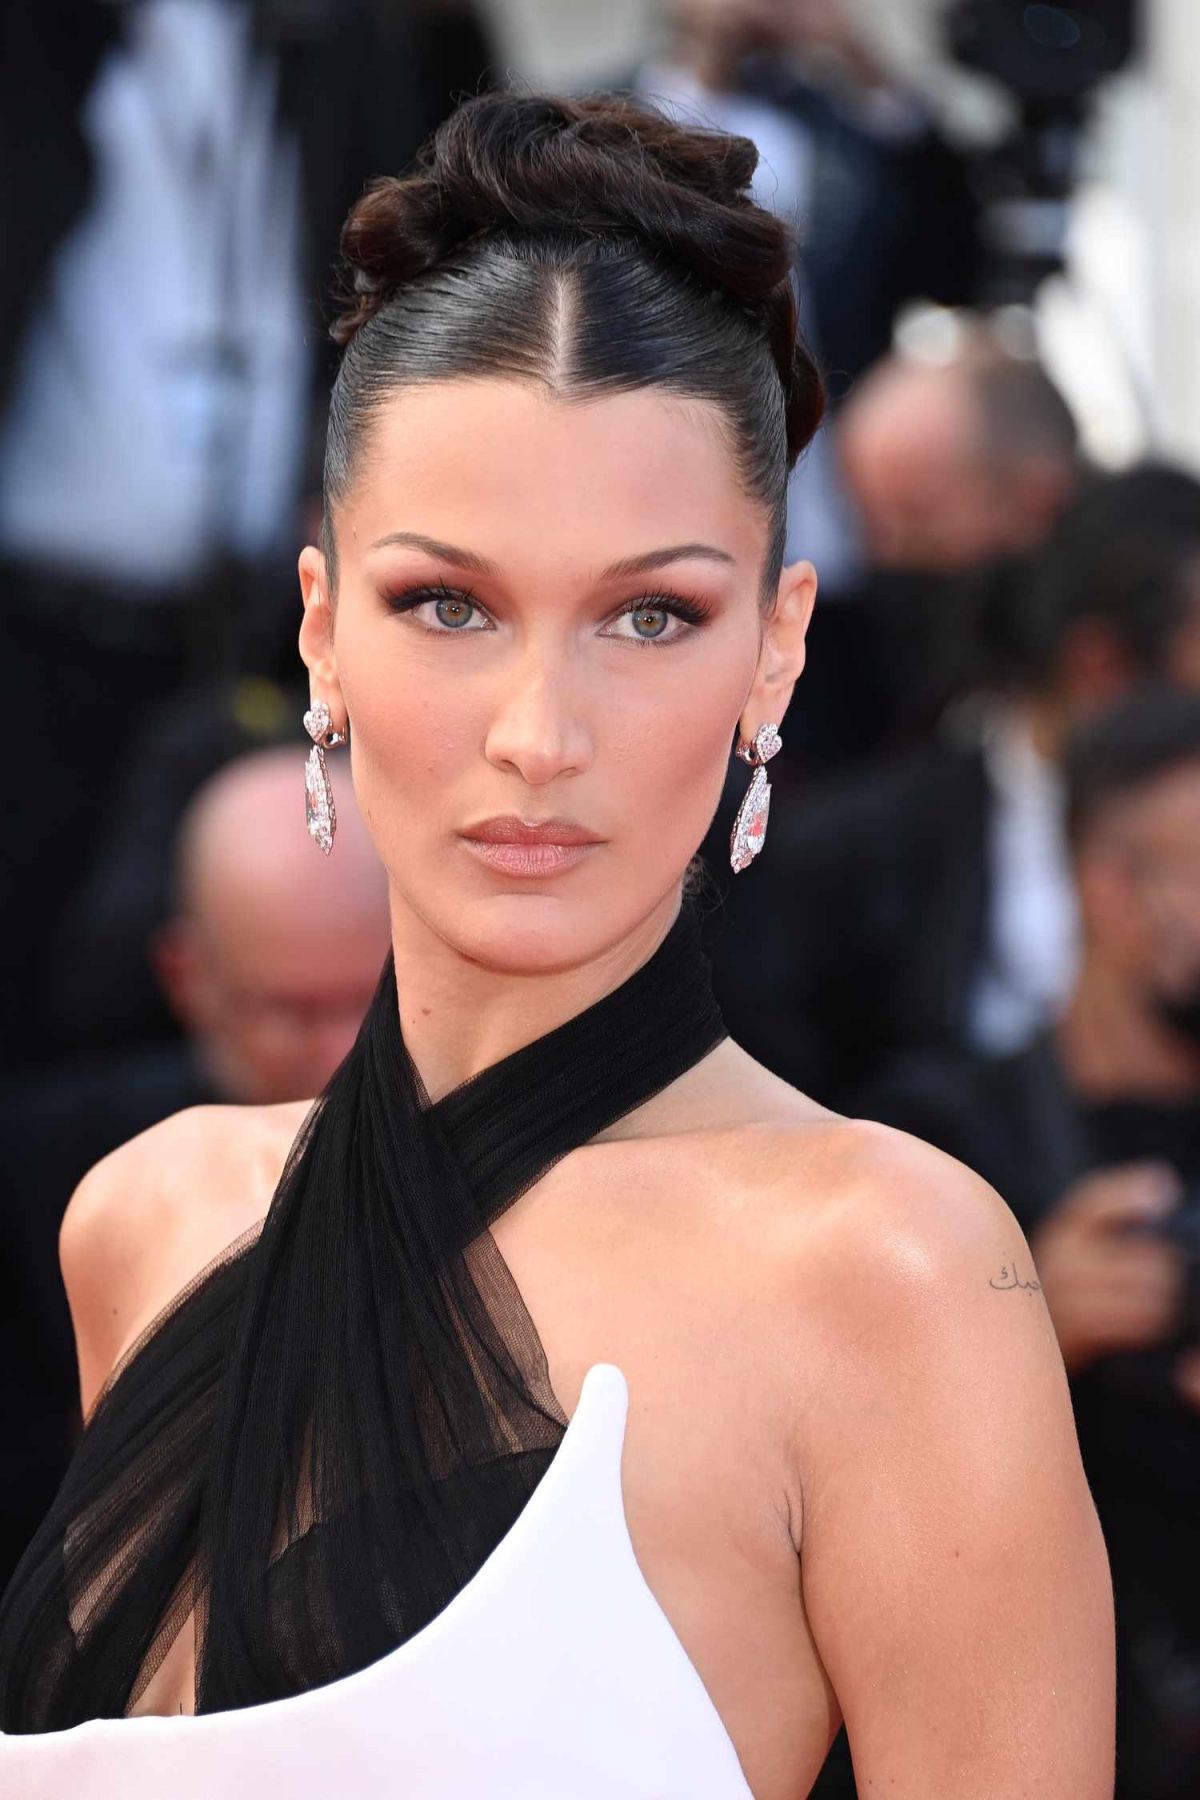
One of the chicest takes on the trend is the ‘wet look’ center part, seen on runways and red carpets. This high-shine, slicked-back style is surprisingly easy to achieve. Work a generous amount of a high-hold gel, like the Kérastase Crème de la Crème, through the roots of damp hair. Create your sharp part with a fine-tooth comb, then comb the hair on either side down and back. The key is to keep the roots sleek and shiny while letting the lengths remain dry for a modern contrast.


