The Real Talk on Box Braids: A Pro’s Guide to a Flawless, Healthy Style
I’ve been working with braids for what feels like a lifetime. I got my start as a teen, roping my cousins and little sister into being my models on our front porch. Honestly, my first parts were a mess and my tension was all over the place. But after thousands of hours, learning from family and later through professional training, my hands learned the rhythm. Today, I see box braids as so much more than a hairstyle—they’re a true craft. Done right, they give you freedom and protect your hair. Done wrong? They can cause some serious, lasting damage.
In this article
- First Things First: Know Your Hair’s Limits
- How to Find a Great Braider (and Avoid the Bad Ones)
- Getting Ready: Your Pre-Appointment Checklist
- The Great Debate: Knotless vs. Traditional Box Braids
- Keeping Your Braids Fresh: Maintenance is Key
- The Takedown: The Most Important Final Step
- Galerie d’inspiration
So many people come to me with a picture from social media, wanting that exact look. I get it! But my first job isn’t just to copy a style; it’s to protect the health of your hair and scalp. This guide is everything I tell my clients and apprentices. It’s the stuff that makes the difference between a style you love for weeks and one that ends in breakage and regret.

First Things First: Know Your Hair’s Limits
Before we even pick up a comb, we have to talk about the canvas: your hair and scalp. Forget hair types like 4C or 3B for a second. When it comes to braiding safely, I focus on three other things: density, porosity, and the condition of your scalp. These tell me what your hair can actually handle.
Hair Density: The #1 Safety Check
Density is just a simple way of describing how many strands of hair you have on your head. You can have fine hair strands but a ton of them (high density), or coarse strands but fewer of them (low density). To get a quick idea, look at your scalp in a mirror. If you can see your scalp pretty easily without moving your hair around, you probably have low to medium density. If it’s tough to see any scalp, you’re rocking high-density hair.
So, why is this the most important factor? Because the weight of the braiding hair has to be supported by your natural hair. If you have lower-density hair and you install heavy, jumbo braids, you’re putting a crazy amount of stress on your roots. This is how traction alopecia (hair loss from pulling) starts. I’ve seen it firsthand, and it’s heartbreaking. A good rule of thumb: the bundle of braiding hair being added should never be more than two or three times the thickness of your own hair in that section. Your hair has to be the boss, not the extensions.
Porosity: How Your Hair Takes a Drink
Porosity is all about your hair’s ability to soak up and hold onto moisture. This is a game-changer for keeping your hair healthy while it’s braided.
- Low Porosity: Think of this like a raincoat. The hair’s outer layer is tightly sealed, so products tend to sit on top. This hair is prone to buildup, so you’ll want lighter, water-based sprays.
- High Porosity: This hair is more like a sponge. It absorbs moisture fast but can lose it just as quickly. It loves slightly richer oils and leave-ins to help seal in all that goodness.
A simple test? Drop a clean strand of hair in a glass of water. If it floats for a while, you likely have low porosity. If it sinks like a stone, you’ve got high porosity. Knowing this helps you choose the right moisturizing products to use while your braids are in.
The Scalp Check
This one’s a firm rule for me: I will not braid on an unhealthy scalp. Period. Putting braids on an irritated, flaky, or inflamed scalp is like trying to build a house on a shaky foundation—it only makes things worse. Your scalp should be clear, calm, and not tender. If you’re dealing with a lot of dandruff, persistent redness, or sores, it’s best to see a dermatologist first. Braids are a protective style, but they can’t protect hair that’s growing from compromised skin.
How to Find a Great Braider (and Avoid the Bad Ones)
Listen, finding the right stylist is half the battle. A good braider sets you up for success, while a bad one can set you back months in hair health. So, how do you spot the pros?
A great braider will always start with a consultation. They’ll ask about your hair history, your lifestyle (Do you work out? Swim?), and any allergies. This conversation is crucial. They should also be happy to answer your questions. But if you encounter certain attitudes, it’s a major red flag.
Heads up! Run the other way if a braider:
- Says things like, “It has to be tight to last” or “Pain is just part of the process.” Absolutely not. Discomfort is a warning sign.
- Doesn’t ask you anything about your hair and just wants to get started.
- Gets defensive or refuses to re-do a braid that you say is pulling or painful.
- Works with dirty tools or in an unclean space. Don’t compromise on hygiene.
Your comfort is the top priority. A snug braid is secure; a painful braid is damaging.
Getting Ready: Your Pre-Appointment Checklist
A fantastic set of braids is 50% preparation. Rushing this part is a rookie mistake. Here’s a quick rundown of what you’ll need and how to prep.
Your Shopping List:
- Braiding Hair: For classic box braids, 100% Kanekalon is the go-to. You’ll usually need 5-8 packs, which can run you about $3 to $8 per pack depending on the brand and length.
- Rat-Tail Comb: For those clean, crisp parts. A metal-tipped one is best. ($2-$5)
- Clips: To hold hair out of the way as your braider works.
- A Good, Non-Flaking Edge Control: To get those parts looking extra sharp. ($5-$10)
- Apple Cider Vinegar (ACV): If you plan on prepping your own hair (more on that below!).

The night before, you need to clarify, condition, and stretch your hair. Use a good clarifying shampoo to get rid of all product buildup. Follow up with a light, rinse-out conditioner—nothing too heavy or creamy, as it can make your hair too slippery for the braids to grip. Then, you’ll want to stretch your hair. You can do a low-heat blow-dry (with heat protectant!) or use a heatless method like banding, where you put hair ties down the length of your hair sections while they air dry. This makes parting cleaner and prevents breakage during the install.
Oh yeah, and about that braiding hair… most synthetic hair has an alkaline coating that can cause major scalp irritation. To prevent the dreaded itch, give the hair an ACV rinse. Just soak it in a sink of warm water with a cup of ACV for about 30 minutes, rinse with plain water, and let it hang to dry completely. In a rush? Some brands now offer pre-rinsed, hypoallergenic hair right out of the package. It costs a bit more, but it saves you a ton of time!

The Great Debate: Knotless vs. Traditional Box Braids
This is a big decision, so let’s break it down. There’s no right or wrong answer, just what’s best for you.
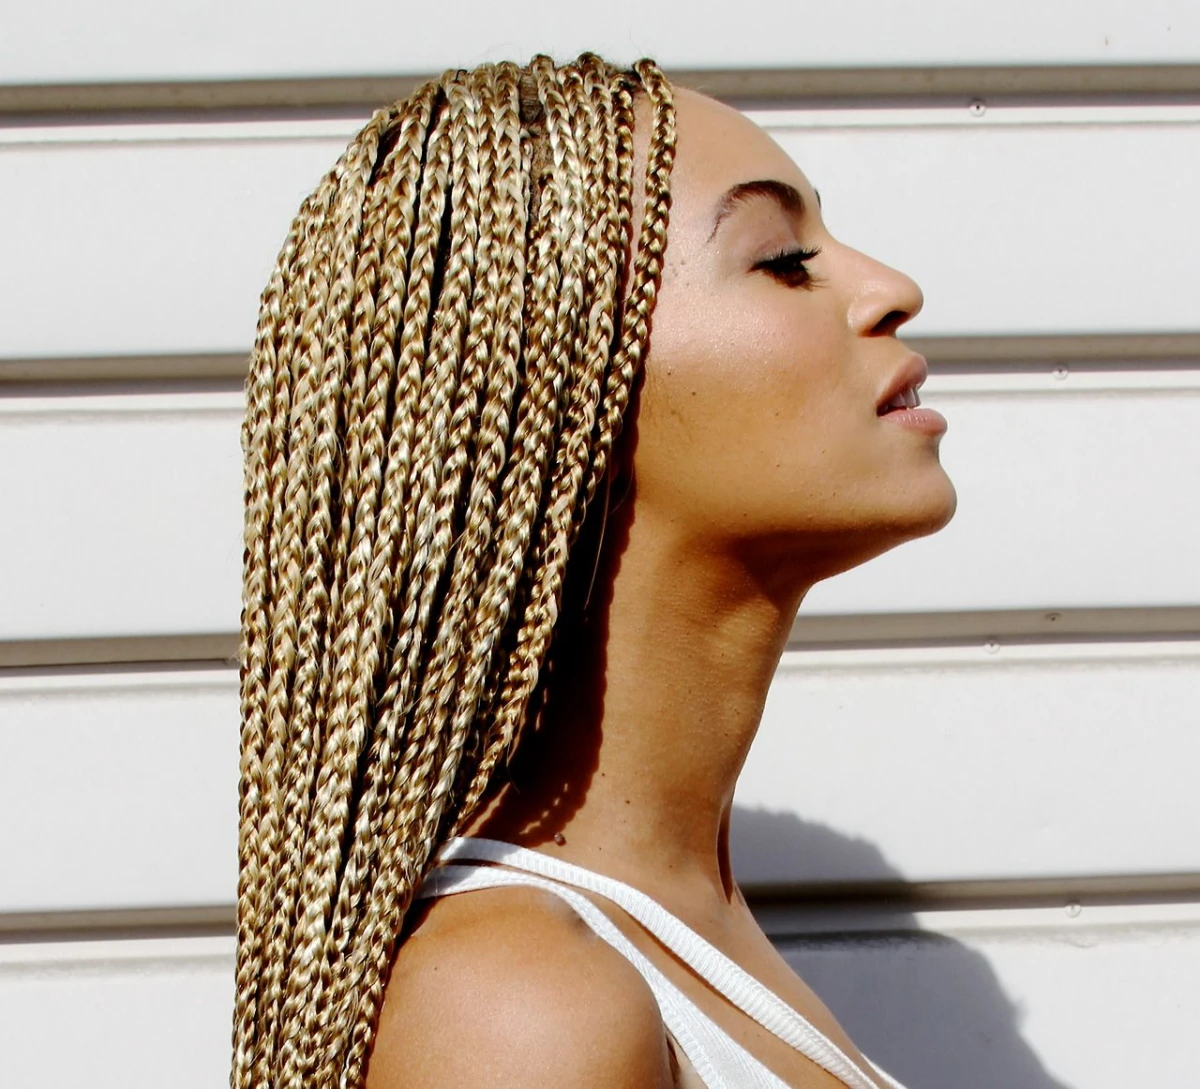
Traditional box braids are the classic style where the braiding hair is looped around the base of your natural hair, creating a small, visible knot. They are super secure and have a distinct, bold look at the scalp. Because the technique is a bit faster, they are often more affordable, maybe in the $150 to $300 range. The main downside? That knot can create more tension right at the root, so they can feel a little stiff for the first few days.
Knotless braids, on the other hand, have exploded in popularity for a reason. With this method, the braid starts with your own hair, and the synthetic hair is gradually fed in. This makes the braids lay flat against the scalp for a more natural, seamless look. The biggest benefit is the comfort—there’s way less tension, so you can usually pull them into a ponytail on day one. They’re lighter and more flexible, but this technique takes more skill and time. Because of that, you can expect to be in the chair longer (think 5-9 hours) and the price is higher, often ranging from $200 to $450+ depending on the size and length.
Keeping Your Braids Fresh: Maintenance is Key
The work doesn’t stop after your appointment, which, by the way, you should plan to be in the chair for anywhere from 4 to 8 hours. To get your money’s worth and keep your hair healthy, you need a solid maintenance routine.
First off, a hard rule: don’t leave your braids in for more than eight weeks. Six is even better. Any longer and your new growth can start to mat and tangle, which is a recipe for breakage during takedown.
- Washing Your Scalp: Yes, you should! Mix about 1 part sulfate-free shampoo to 4 parts water in a spray bottle with a nozzle tip. Spray it directly onto your scalp, gently massage with the pads of your fingers, and then rinse thoroughly by letting water run down the braids. Do this every 2-3 weeks.
- Moisturizing: A dry scalp is an itchy scalp. Lightly spritz your scalp and parts with a water-based leave-in or a lightweight oil like jojoba or almond oil a few times a week. Steer clear of heavy greases that just cause buildup.
- Night Protection: This is non-negotiable. Wear a silk or satin bonnet or scarf to bed. It cuts down on frizz and protects your edges from friction.
- Quick Refresh (at Week 4): Starting to look a little fuzzy? Smooth some styling mousse over your braids to tame flyaways, and lay your edges down with a bit of fresh edge control. This can buy you another week or two of a polished look.

The Takedown: The Most Important Final Step
How you take your braids out is just as important as how you put them in. Be patient here!
First, cut each braid well below where your own hair ends. It’s always better to be safe than sorry. Then, start unbraiding. A quick tip: mix some cheap, slippery conditioner and water in a spray bottle. Lightly misting each braid as you unravel it can make the process much smoother and reduce breakage.
When you get to the top, you’ll see a buildup of shed hair right at the root. DO NOT PANIC. This is totally normal. You naturally shed 50-100 hairs a day, and for the last 6-8 weeks, all that hair has been trapped in the braid. It looks like a lot, but it’s just the accumulation.
The most critical step: detangle your hair before you wash it. Your hair is in a fragile state. Slather a section with a conditioner that has a lot of slip, and gently work through tangles with your fingers first, from the ends up to the roots. Then, follow up with a wide-tooth comb. Once your whole head is detangled, you’re ready for a good deep clean and a rich conditioning treatment. And please, give your hair a break for at least a week or two before your next big style. It’s all part of the healthy cycle.
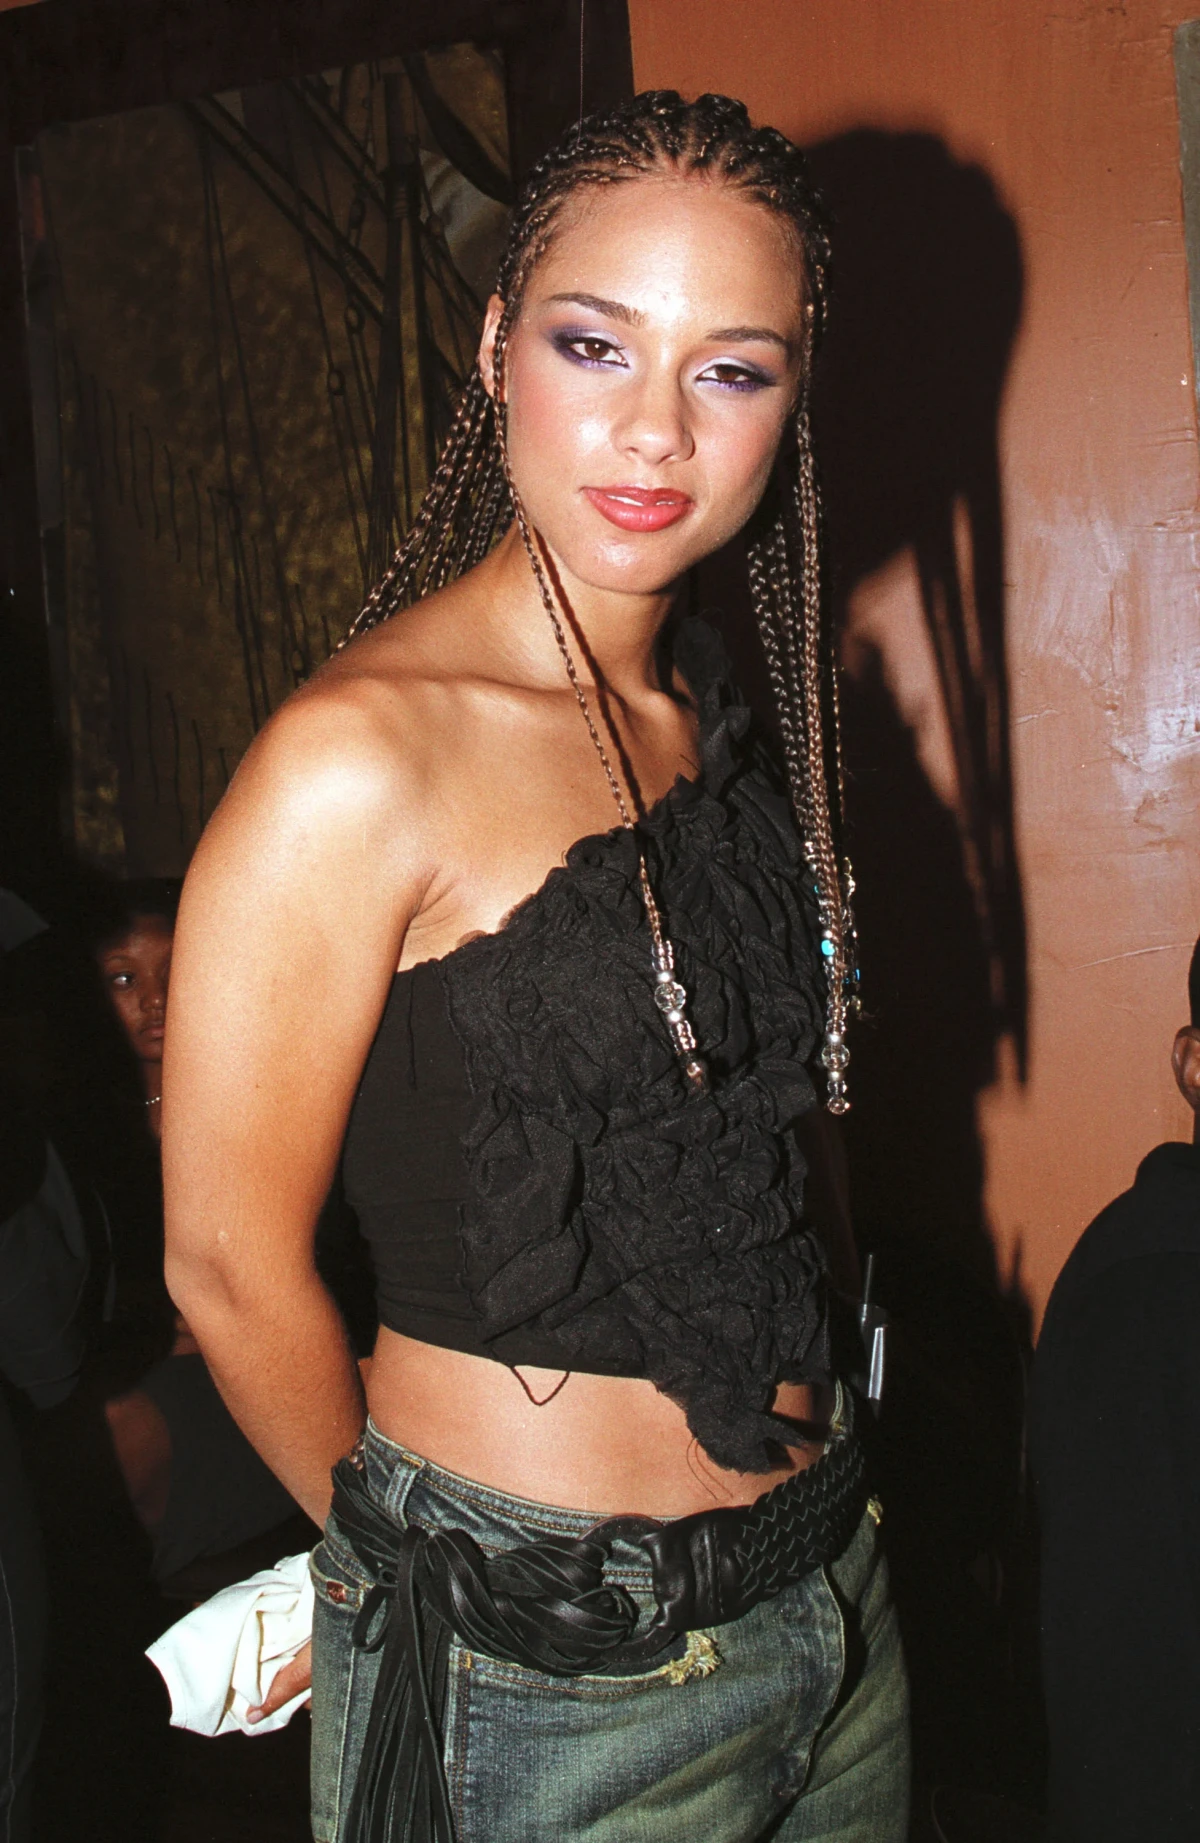
Galerie d’inspiration


Knotless or Traditional? What’s the real difference?
It’s the biggest question in the braiding world right now. The choice comes down to both aesthetics and scalp comfort. Traditional box braids start with a small knot of braiding hair at the root, creating that classic, defined “box” look. They offer a very sharp, uniform appearance but can feel a bit stiff and heavy initially. Knotless braids, on the other hand, use a feed-in method, starting with your natural hair and gradually adding braiding hair down the shaft. This creates a flatter, more seamless transition from the scalp, resulting in less tension and more immediate flexibility. If you have a sensitive scalp or fine hair, knotless is often the gentler choice.
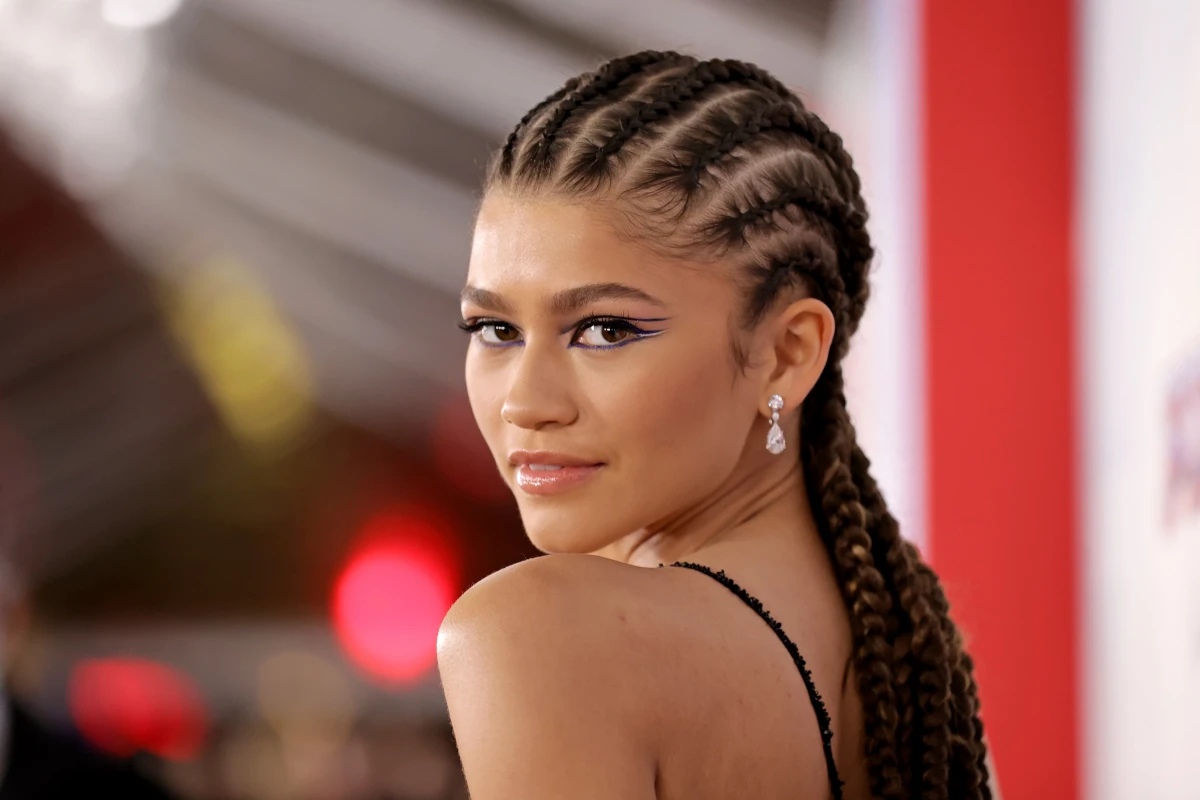
Not all braiding hair is created equal. The secret to a lightweight, non-irritating style often lies in the fiber itself.
While classic Kanekalon is the go-to, many brands coat it with an alkaline base that can cause major scalp itching for some. To avoid this, give your braiding hair a quick apple cider vinegar rinse before your appointment. Or, even better, opt for pre-stretched, hypoallergenic brands like Spectra EZ Braid, which are specifically designed to be gentle on the scalp and save your stylist prep time.
To keep your braids looking sharp and your scalp happy, a little nightly and weekly care goes a long way. Here’s a simple routine:
- Protect at Night: Always sleep with your braids in a silk or satin bonnet or scarf. This is non-negotiable for preventing frizz and protecting your delicate edges from friction.
- Soothe the Scalp: Use a lightweight oil (like jojoba or almond oil) with a nozzle-tip applicator to moisturize your scalp directly 2-3 times a week. This prevents the dreaded itch and keeps your skin nourished.
- Refresh Your Style: Tame any flyaways and restore shine by applying a bit of foaming mousse, like LottaBody Wrap Me Foaming Mousse, and tying your hair down with a scarf for about 20 minutes.


