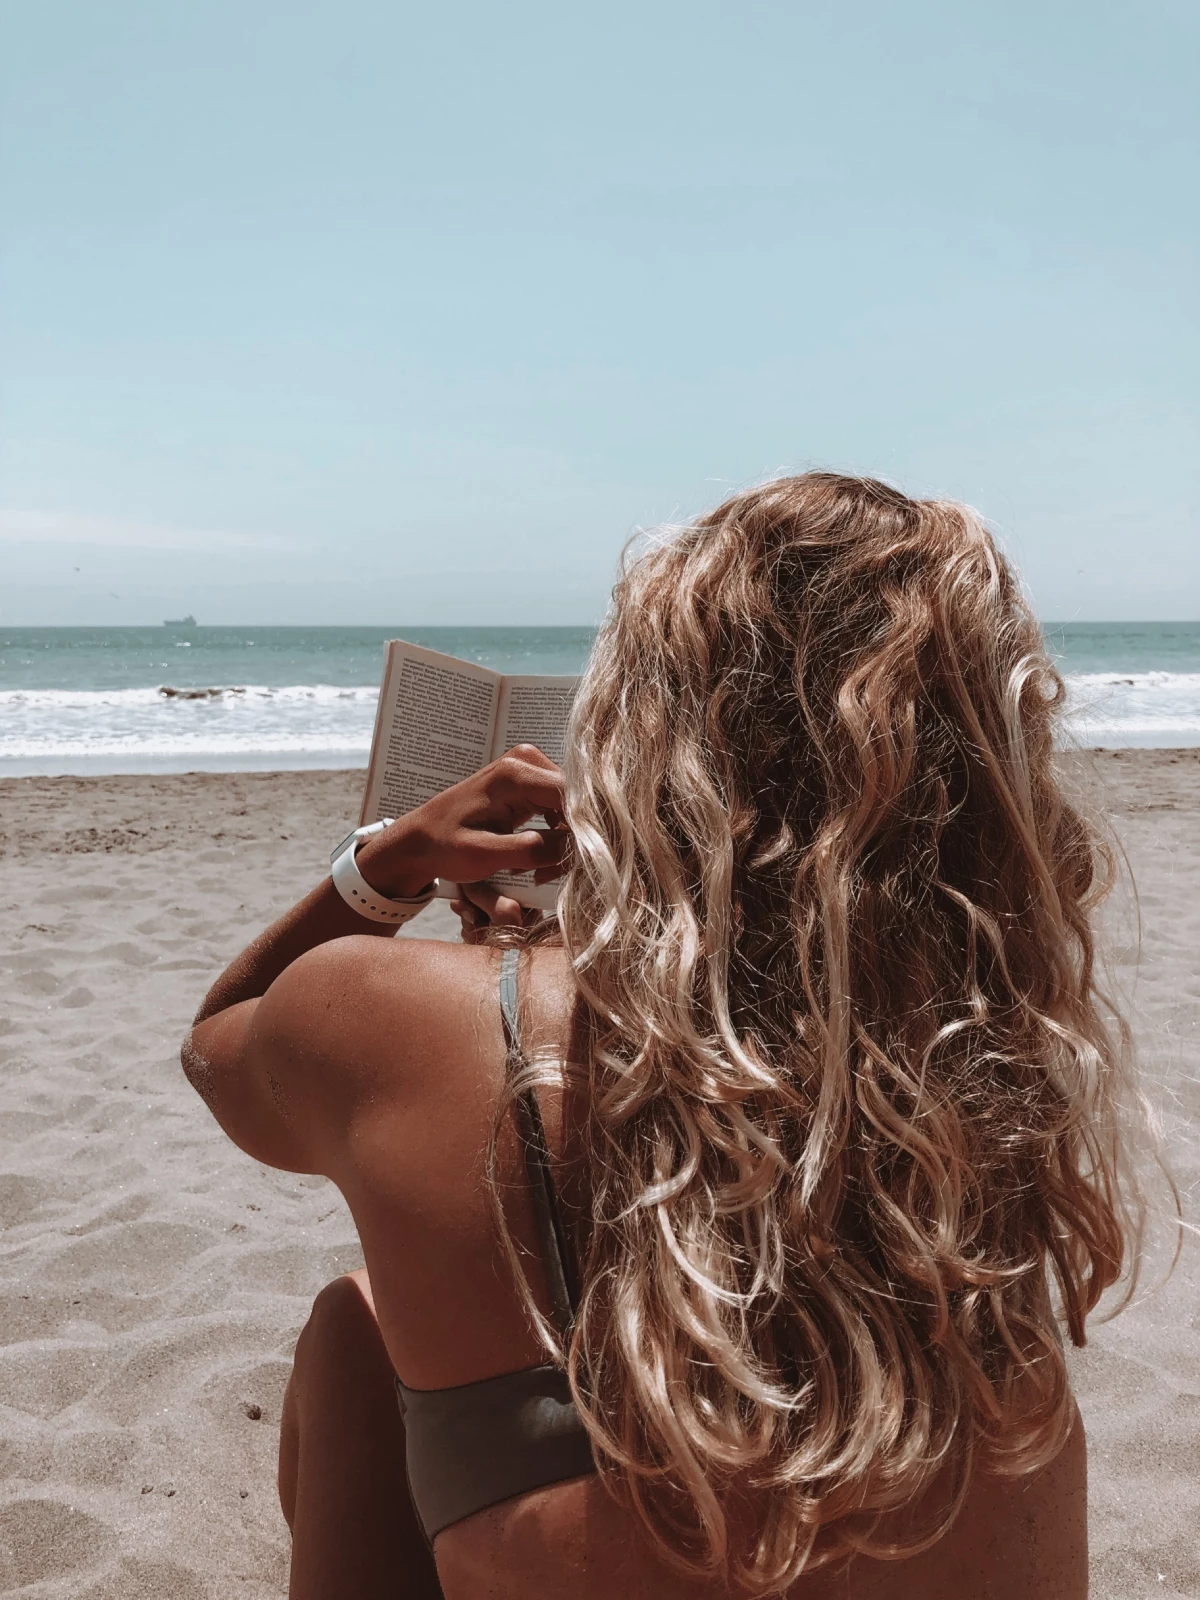
The Real Secret to Effortless Beach Waves (That Actually Last)
Over my years behind the chair, there’s one look that never, ever goes out of style: those perfectly imperfect, ‘lived-in’ waves. Clients always come in with photos of hair that looks like it just spent a casual, amazing day at the beach. It’s tousled, it’s full of movement, and it just looks… cool.
In this article
- First, Let’s Talk About Why This Works
- The Pro Method for Textured Waves
- Stuck? Common Wave Problems & How to Fix Them
- Heatless Waves: The Low-Maintenance Method
- The Kitchen-Friendly Texture Spray (Use with Care!)
- How to Make Your Waves Last (and Revive Them on Day 2)
- A Few Final Pro Tips
- Galerie d’inspiration
But here’s the honest truth I always share, and I’m sharing it with you now. Hair that actually comes from a day of sea salt and sun is usually a tangled, crunchy mess. The things that create that matte texture—salt and UV rays—are pretty rough on your hair’s health. Not exactly the goal.
So, our mission isn’t to copy the damage, but to steal the effect. It’s all about understanding a little bit of what makes hair bend and hold a shape, and then using the right techniques to get there without sacrificing shine and softness. This isn’t about one magic product; it’s a skill. And I’m going to walk you through it, step-by-step.
First, Let’s Talk About Why This Works
To get a wave that sticks around, you have to know what you’re working with. Your hair has an outer layer (the cuticle) and an inner core (the cortex) where all the strength lives. When you use heat, you’re temporarily softening the bonds in that inner core, letting you reshape the hair. As it cools, those bonds reset in the new shape.
At the beach, salt crystals form on your hair as it dries, physically propping the strands apart. This creates that awesome volume and texture. The wind and sun also dry your hair in a beautifully random way, which is the key to making it look natural. We’re going to mimic that randomness.
By the way, your hair’s porosity—its ability to soak up moisture—is a huge factor. Not sure what you have? Try this easy test. Drop a single, clean strand of your hair into a glass of water. If it sinks right away, your hair is high porosity. If it floats for a while, it’s low porosity. High-porosity hair grabs onto product easily but can also get frizzy, while low-porosity hair can be a bit more resistant to styling. Knowing this helps you pick the right products.
The Pro Method for Textured Waves
In the salon, we build a style in layers. It’s a combination of the right prep, a smart heat technique, and the perfect finishing products. This whole process, once you get the hang of it, should only take about 20-30 minutes on medium-length hair.
Step 1: The Foundation (Don’t Skip This!)
You wouldn’t paint a wall without priming it first, right? Same idea here. What you do before you grab a hot tool makes all the difference.
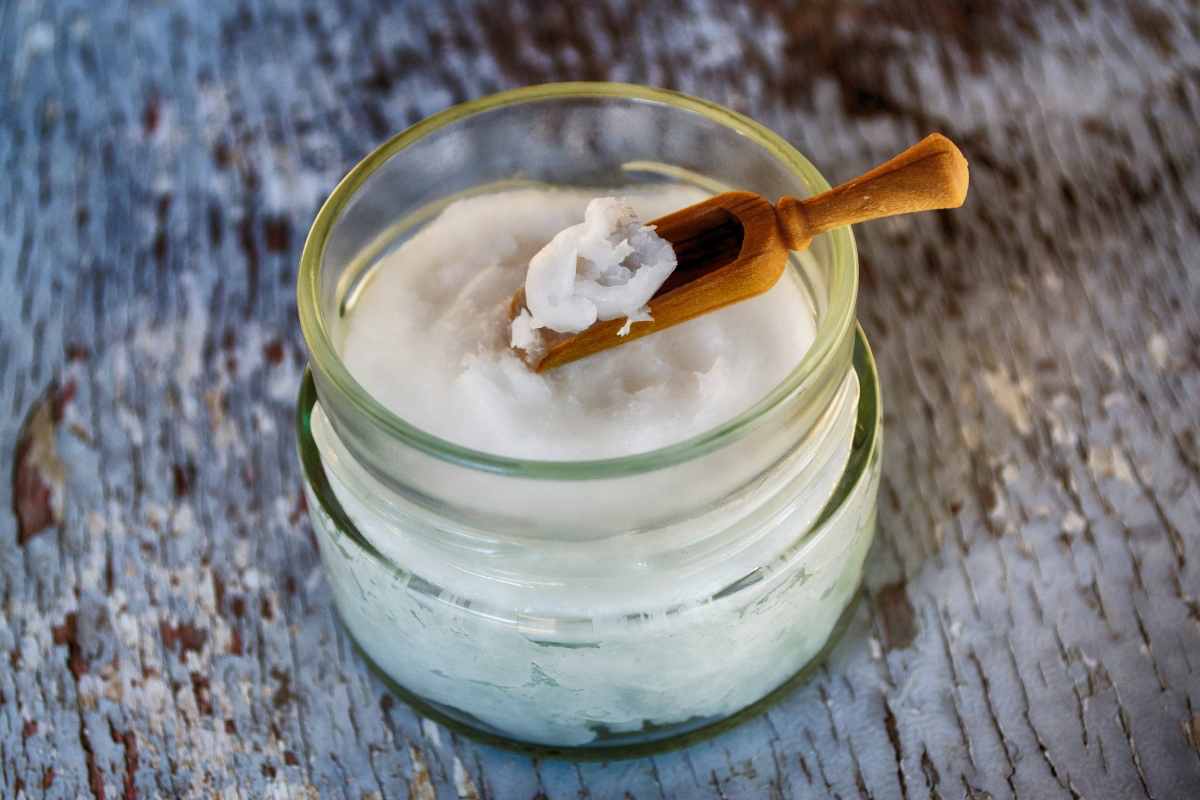
- The Perfect Starting Point: Honestly, day-old hair is often the best canvas. The natural oils give it a little grit and help it hold a style. If your hair is super fine or gets oily fast, you can start with clean, dry hair, but you’ll need to add back some texture with a product.
- Build in Some Hold: A common mistake is only using product at the end. You need something in there from the start to give the hair memory. A volumizing mousse applied to damp hair before you blow-dry is a game-changer. You can find professional-grade ones for around $25, but there are some incredible drugstore options for under $10 that work wonders. A golf-ball-sized puff worked from roots to ends is all you need.
- Heat Protectant is Non-Negotiable: Think of it as sunscreen for your hair. Always, always mist a heat protectant spray all over your dry hair before a hot tool gets anywhere near it. It creates a buffer that prevents you from frying your hair.
Step 2: Choosing Your Tool and Getting the Technique Down
For that classic tousled look, a curling wand is your best friend. A traditional curling iron with a clamp can create creases and a more polished, uniform curl—exactly what we’re trying to avoid.
A quick note on tools: Should you use a wand or a flat iron? For most people, I recommend a wand because it naturally creates that rounded, S-shaped wave. It’s super intuitive. However, a flat iron can be fantastic for creating a flatter, more ‘bent’ wave, which looks amazing on shorter hair like bobs and lobs. It just takes a little more practice to master the wrist-flick motion.
The Wand Technique:
- Get the Right Temperature: Heads up! You probably don’t need the highest heat setting. For fine or color-treated hair, stick between 300-350°F. For thicker hair, 350-400°F is plenty. Anything hotter risks permanent damage.
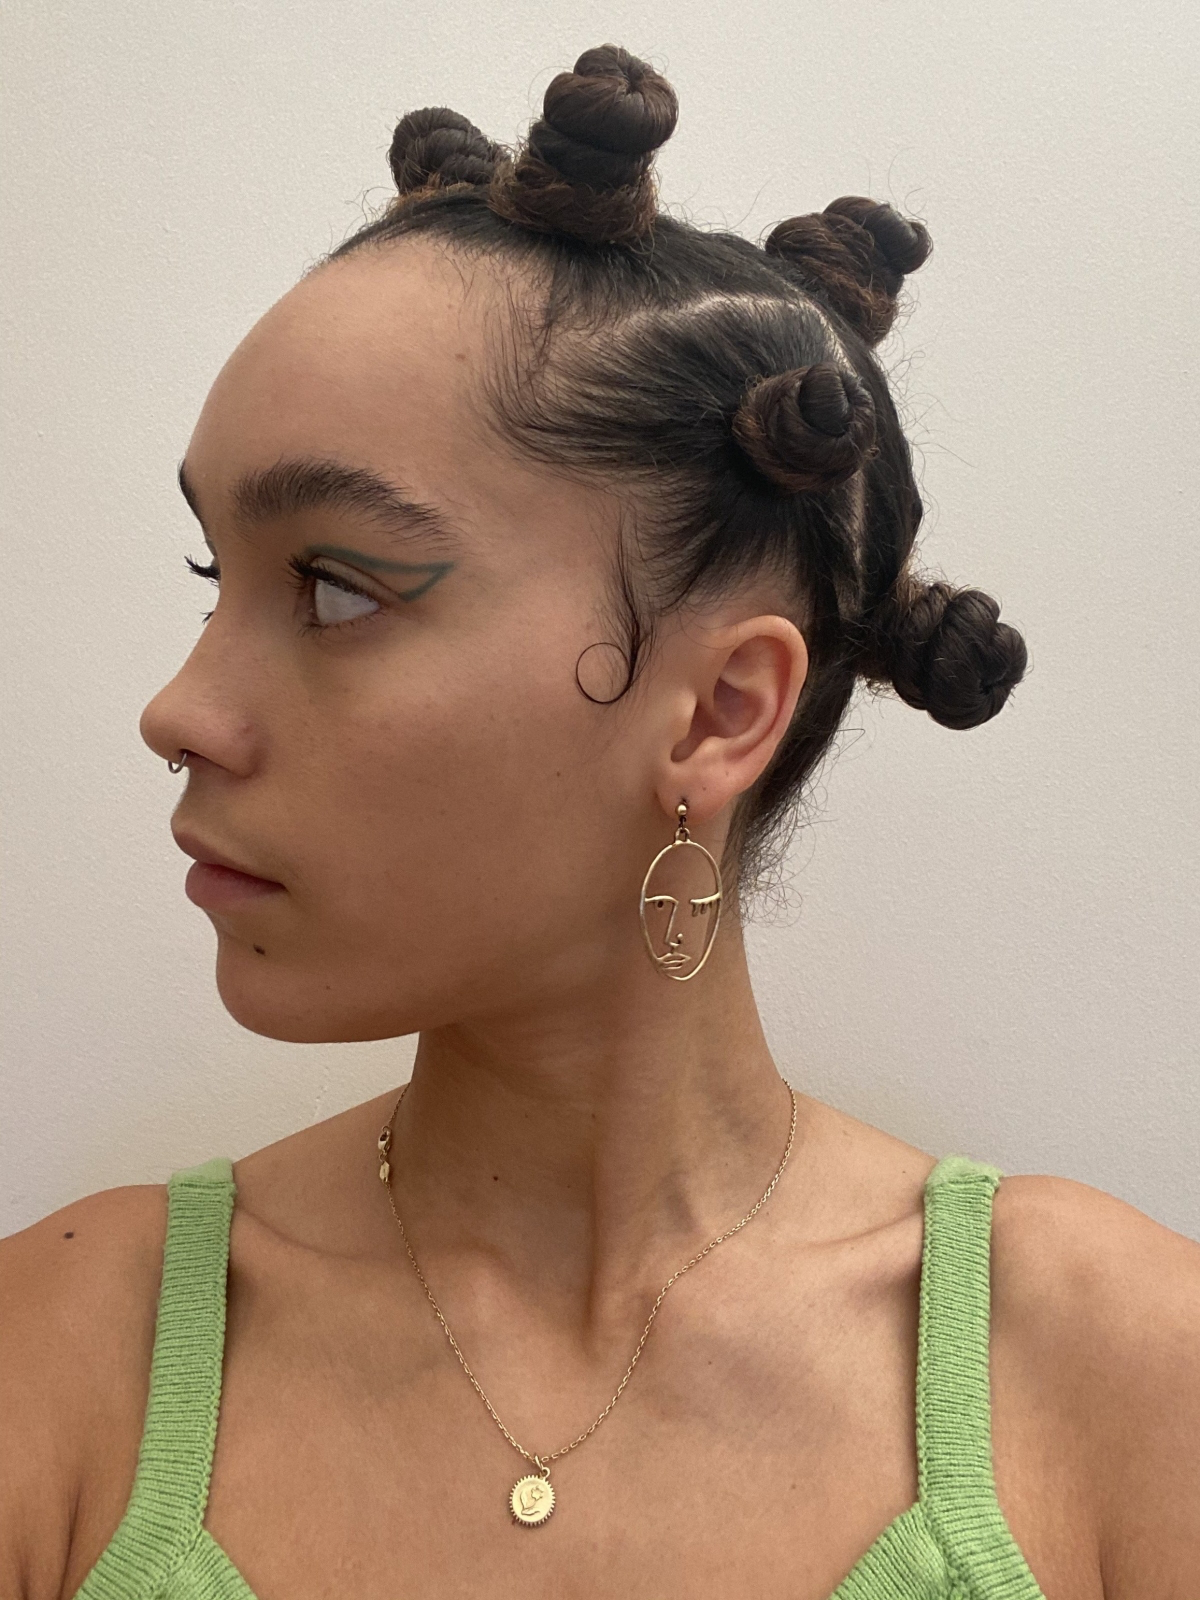
- And the Right Barrel Size: This is a question I get all the time. For versatile, lived-in waves, a 1-inch to 1.25-inch barrel is the sweet spot. Anything larger gives a very loose blowout look, and anything smaller can lean toward tight ringlets.
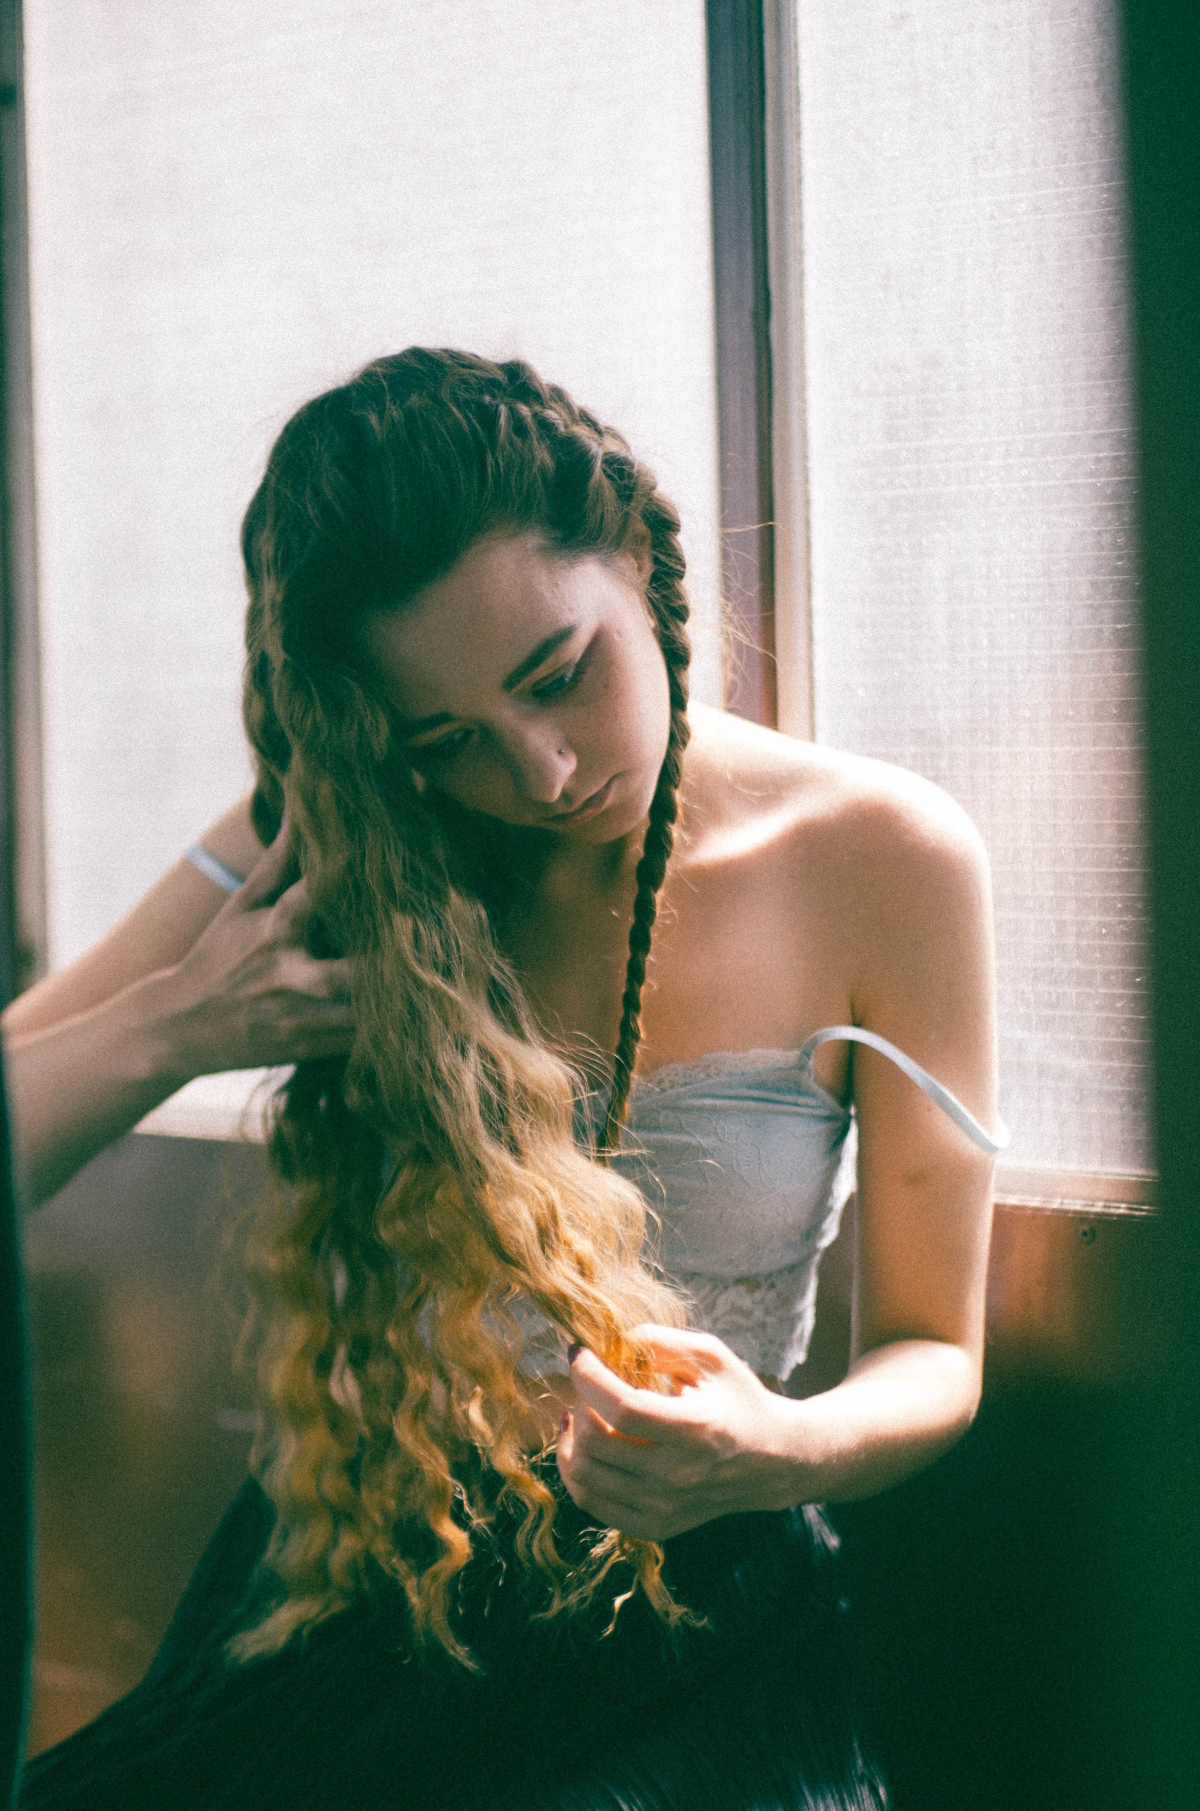
- Section and Alternate: Work in vertical sections about 1-2 inches wide. Here’s the most important part: Wrap the first section around the wand away from your face. Hold for 5-8 seconds. On the very next section, wrap it towards your face. Keep alternating directions all around your head. This is what stops the curls from clumping into one big, uniform wave and creates that piecey separation.
- Leave the Ends Out: For a modern, effortless feel, leave the last 1-2 inches of your hair straight. Don’t wrap it around the wand. This little detail makes a huge difference.
- Let It Cool. Seriously: After you release a curl, let it cool completely in your hand or just let it hang. Don’t touch it! Hair sets as it cools, and if you rake your fingers through it while it’s still warm, your waves will fall out in minutes. Give it a good 10 minutes to cool down completely before you do anything else.
Step 3: The Finish and Texture
Once your hair is totally cool, it’s time to bring it to life.
- Shake It Out: Tip your head upside down and use your fingers to gently shake the hair at the roots. This will break up the waves and add volume. Please, do not use a brush! A brush will smooth everything together and pull out the texture you just worked so hard to create.
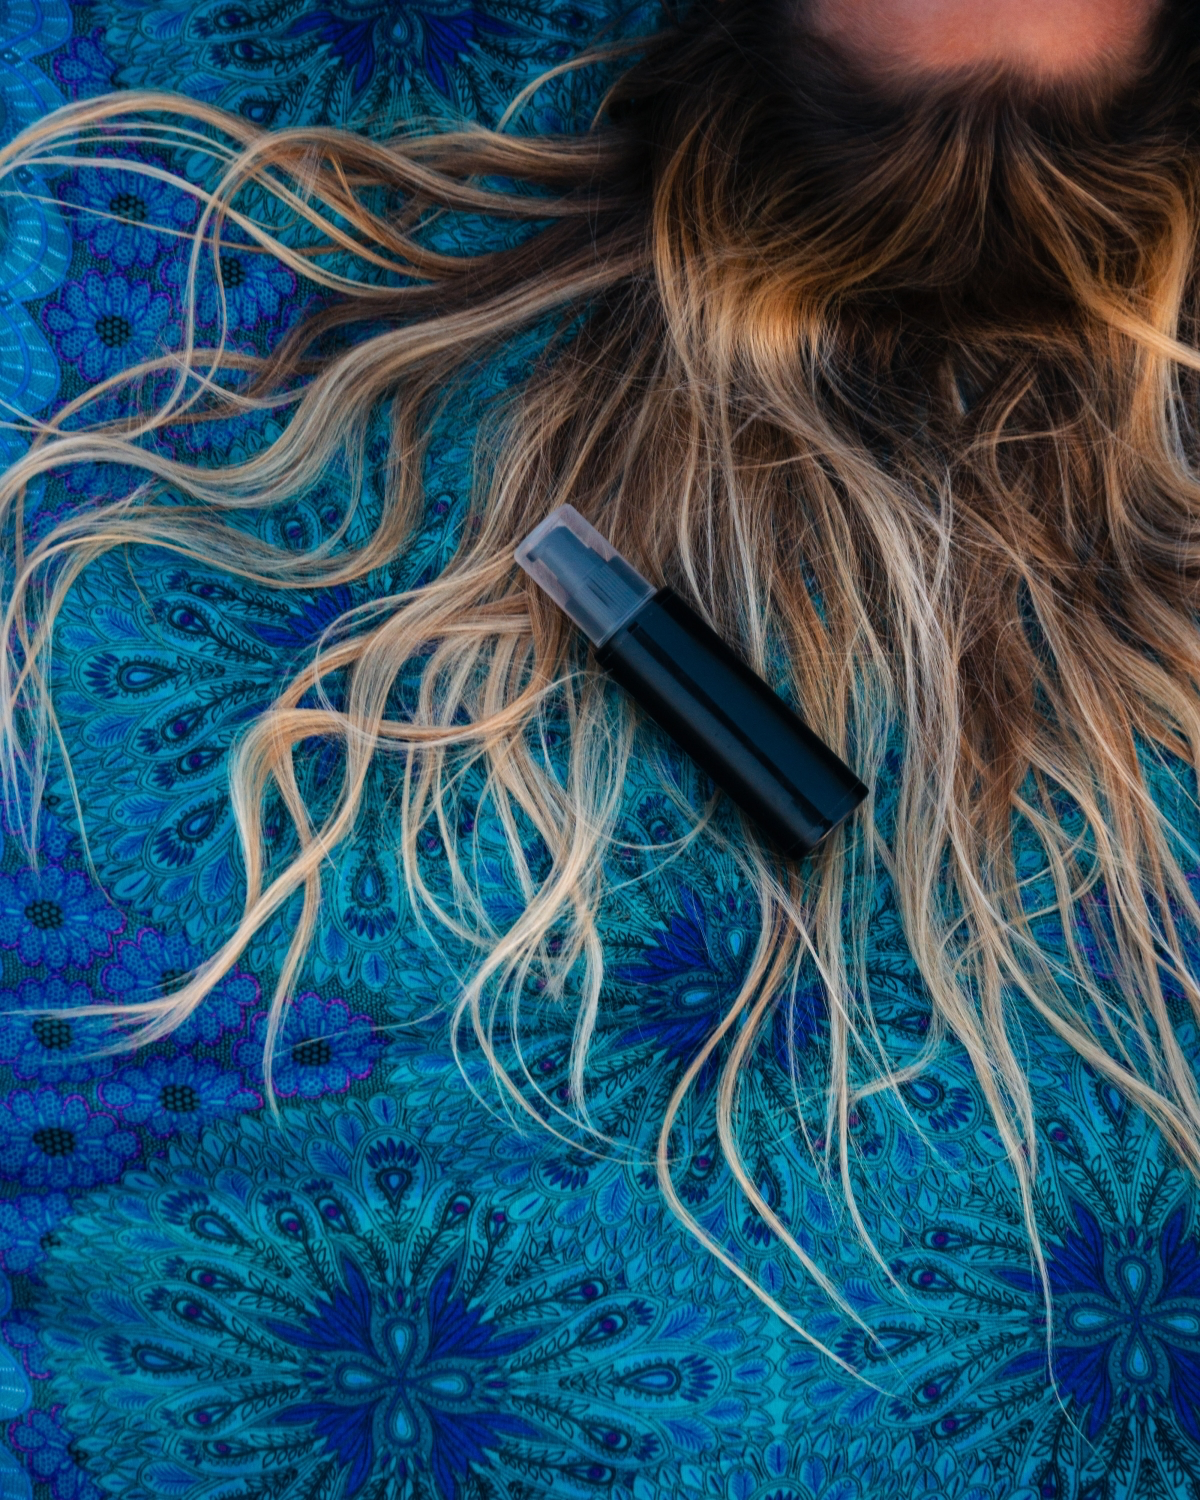
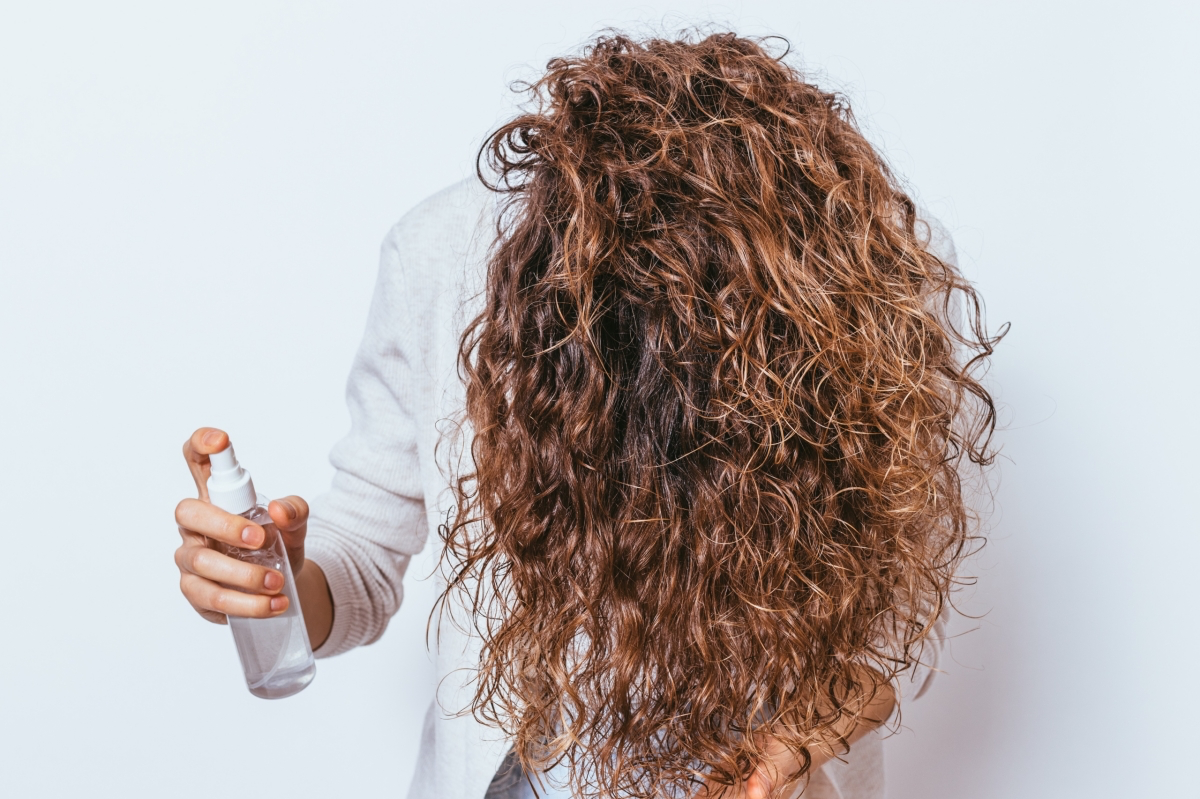
- Add Some Grit: This is where the magic happens. A dry texture spray is my absolute go-to. It’s like a hybrid of dry shampoo and hairspray that gives airy volume and separation without feeling sticky. You can find great options everywhere from drugstores to Sephora, usually costing between $8 and $30. If you prefer a sea salt spray for a more matte finish, use it sparingly on the mid-lengths and ends to avoid drying out your hair.
- A Light Mist of Hairspray: If your hair tends to drop styles quickly, a light, flexible-hold hairspray can be a lifesaver. Look for words like “workable” or “brushable” on the can. You want movement, not a helmet.
Stuck? Common Wave Problems & How to Fix Them
It’s normal to have a few hiccups when you’re learning. Here are some common frustrations and how to solve them.
- Problem: My waves look like perfect, bouncy ringlets, not messy waves.
Fix: You’re wrapping the hair too flat and perfectly around the wand. Try twisting the section of hair first, like a rope, and then wrapping that twisted section around the wand. This creates a much more uneven, natural-looking bend. - Problem: My waves fall out in an hour!
Fix: This is usually a prep issue. Make sure you’re using a mousse or a styling primer on your hair before you dry it. Also, be patient and let the curls cool 100% before you touch them. For stubborn hair, a light mist of hairspray on each section before you curl can add extra grip. - Problem: The top of my head is flat and the waves only start at my ears.
Fix: When you wrap your hair, make sure you’re starting the wrap close to the root (but be careful not to touch your scalp!). After you’re done styling, a puff of volumizing powder or dry shampoo massaged right at the roots will give you an instant lift.

Heatless Waves: The Low-Maintenance Method
If you want to give your hair a break from the heat, you can get a beautiful wave using some classic setting techniques. The idea is the same: set damp hair into a shape and let it dry completely.
Braiding is a timeless way to do this. A simple three-strand braid will give you a tighter, crimp-like wave. For a softer, more rounded S-wave, try a rope braid (twisting two sections around each other). For the most natural look, start the braids around ear-level so the roots stay flatter.
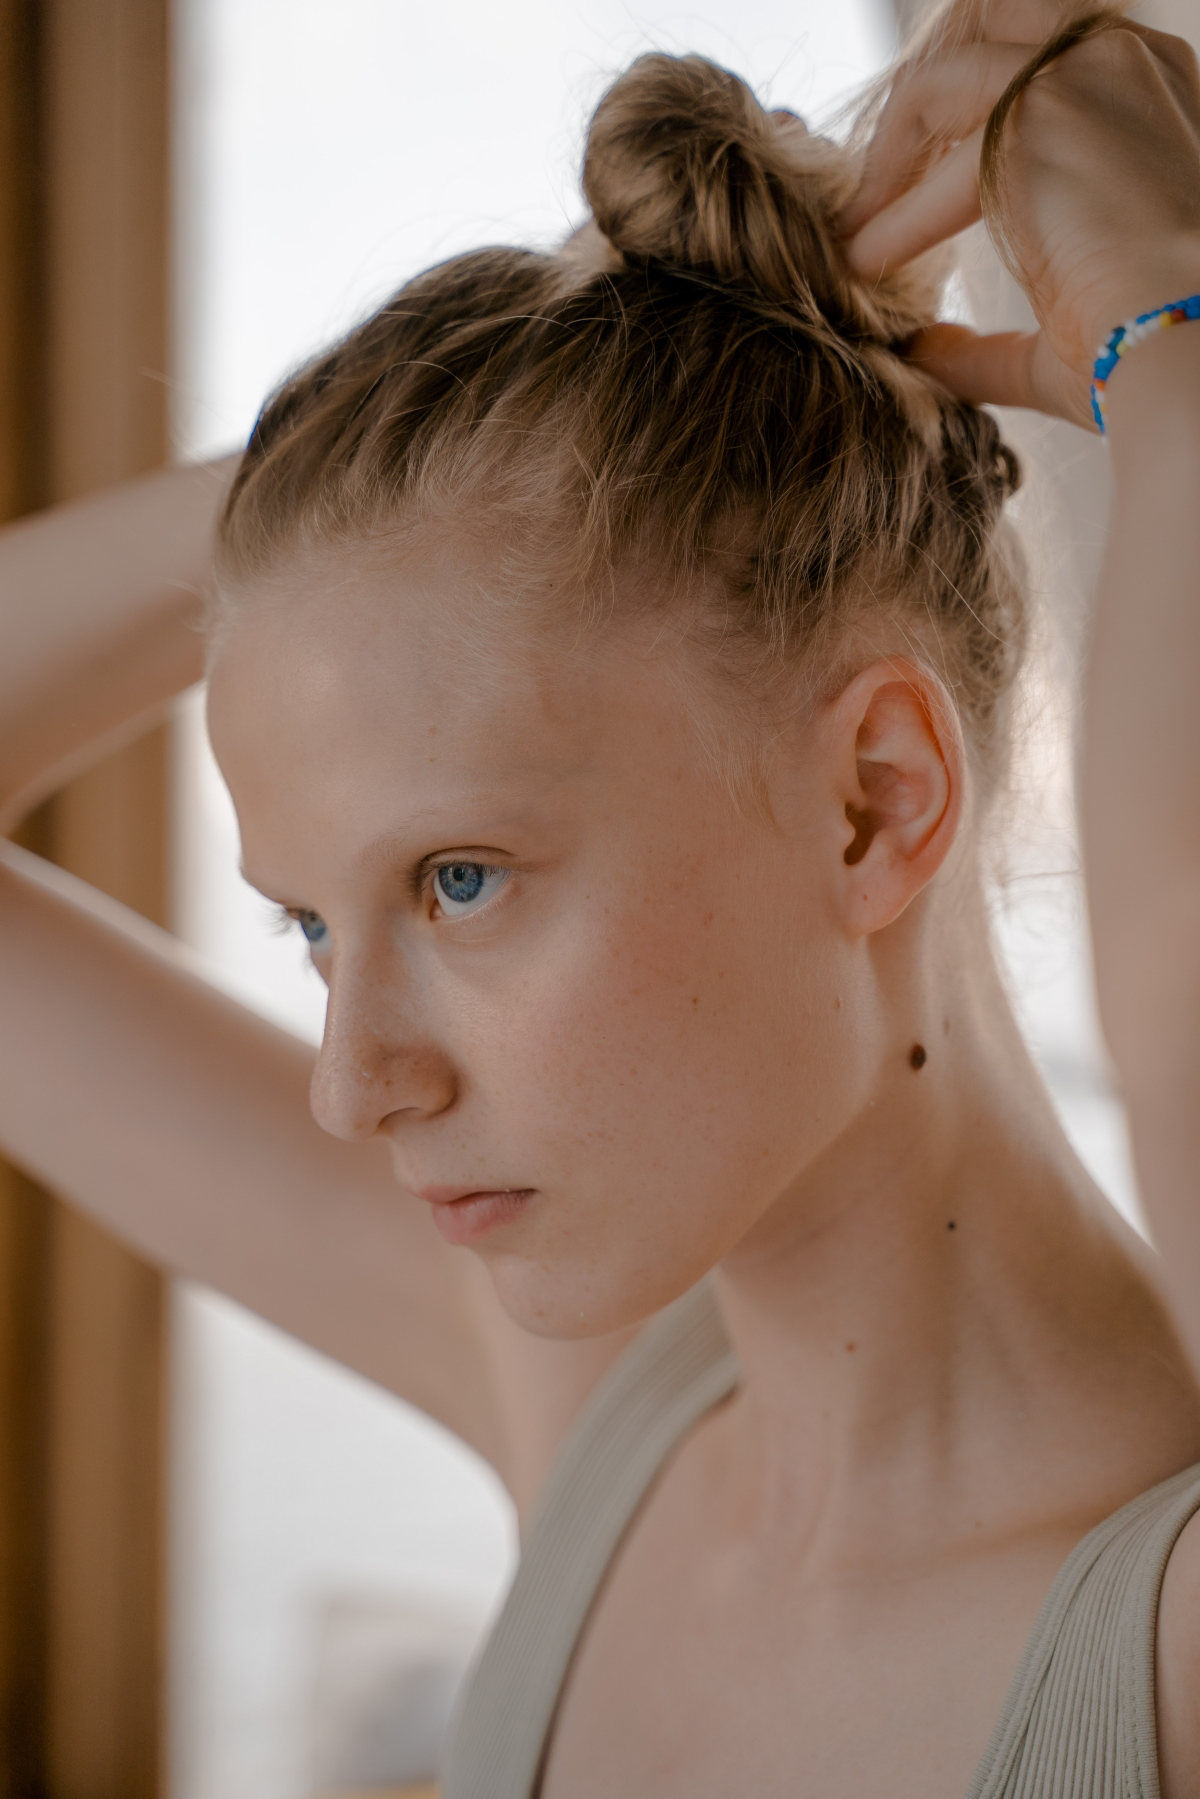
Twisting your hair into buns works great, too. On damp hair with a bit of mousse, twist sections away from your face until they coil into little buns. The key is to make a few smaller buns rather than one giant one, which can create a weird, uniform sausage curl at the ends. This helps create a more varied, authentic texture when you take them out.
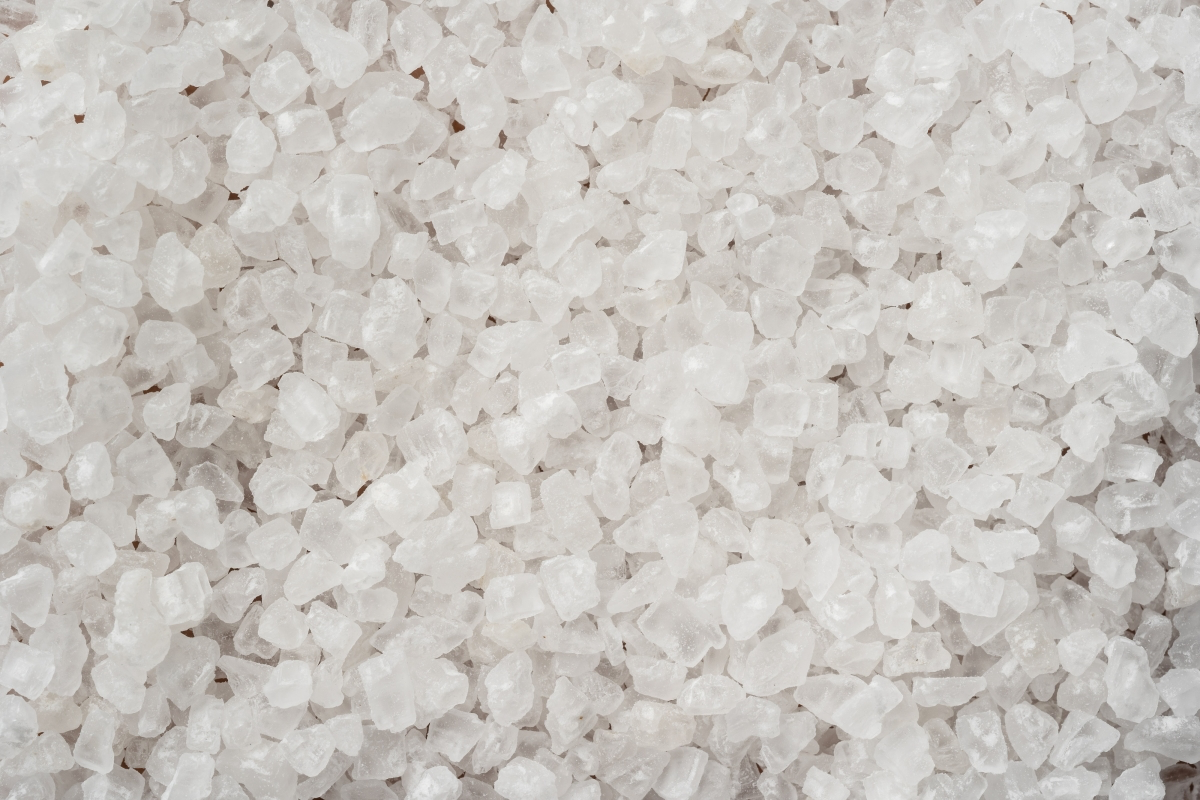
The Kitchen-Friendly Texture Spray (Use with Care!)
You can definitely make your own texture spray, but a little word of caution from me to you: salt is incredibly drying. Commercial products have conditioning agents to balance this out. If you make your own, you have to add some moisture back in.
A Balanced DIY Recipe:
- 1 cup of warm distilled water
- 1 teaspoon of sea salt (or Epsom salt, which is a bit gentler)
- 1/2 teaspoon of a leave-in conditioner OR a few drops of a light oil, like argan or jojoba
Shake it all up in a spray bottle. Use it lightly, and please don’t use it every day, especially if you have color-treated hair. Think of it as a special occasion product to get that extra bit of grit.
How to Make Your Waves Last (and Revive Them on Day 2)
Nothing’s better than getting a second day out of a great hairstyle. Here’s how.
To make the style last longer in the first place, especially on straight, stubborn hair, start with a texturizing shampoo and conditioner. These products are designed to add a bit of grit to the hair fiber, giving your style something to hold onto from the very beginning.
For a 3-Minute Day 2 Revival:
- Spray your roots with your favorite dry shampoo to absorb oil and bring back volume.
- You don’t need to re-curl your whole head! Just grab 3-4 of the most visible face-framing pieces and give them a quick wrap around the wand to freshen them up.
- Flip your hair over, mist lightly with your texture spray to wake everything up, and you’re good to go.
A Few Final Pro Tips
A great style should never come at the expense of your hair’s health.
- For Fine Hair: Your biggest challenge is volume. A volumizing powder at the roots of your finished style is your best friend. Use lower heat and hold for less time (4-6 seconds) to avoid weighing hair down.
- For Thick Hair: Your challenge is control. You might need slightly higher heat and smaller sections to get the hair to cooperate. Don’t be afraid to use a stronger texture product to get that piecey look.
- For Curly or Coily Hair: You’re not trying to create a wave from scratch, you’re just enhancing and elongating your beautiful natural pattern. Use a wand on low heat to gently stretch out a few individual curls. On other sections, use a curl cream to define them. The mix of textures is absolutely stunning.
- Know When to Clarify: All these wonderful texture products can build up over time. Use a good clarifying shampoo once a week or every two weeks to give your hair a clean slate.
- It All Starts with the Cut: Finally, the best beachy waves start with a great haircut. A stylist can add subtle, invisible layers that remove weight and encourage your hair to bend and move. If you’re struggling, book a visit and ask your stylist to show you how to style your cut. It’s the best lesson you’ll ever get.
Galerie d’inspiration

Sea Salt Spray: Gives you that authentic, gritty, matte texture by mimicking ocean water. A classic like Bumble and bumble’s Surf Spray is perfect for fine hair that needs grip.
Dry Texturizing Spray: Products like Oribe’s Dry Texturizing Spray provide airy volume and piecey separation without the crunch. Think sophisticated, touchable fullness.
Your choice depends on whether you want true beach grit or soft, windswept volume.
For gorgeous waves without touching a hot tool, try the overnight braid method. It’s a classic for a reason and works wonders while you sleep.
- Start with slightly damp hair, working in a golf-ball-sized amount of a volumizing mousse, like Kérastase Densimorphose.
- For loose, flowing waves, create one single, loose braid down your back. For a more defined, beachy crimp, do two tighter French or Dutch braids.
- In the morning, gently undo the braids and shake your hair out with your fingers—don’t brush!

Fact: The term “beach waves” as a coveted hairstyle surged in popularity in the early 2000s, coinciding with the rise of surf culture in fashion and media.
Before this, heavily styled, voluminous curls or pin-straight hair dominated trends. The shift towards this ‘effortless’ look celebrated a more natural, low-maintenance aesthetic that has endured for over two decades, championed by brands and stylists globally.
The most common mistake: Perfectly uniform curls. True beach waves are defined by their imperfection. When you wrap every section of hair around the curling wand in the same direction and hold for the same amount of time, the result is more ‘prom night’ than ‘day at the shore’. The secret is to alternate the direction of the curl with each section and always leave the last inch or two of your hair straight for that modern, lived-in finish.
Wondering why your flat iron might be even better than a curling iron for this look?
A flat iron, like the ghd Platinum+, creates a flatter, more ‘S’ shaped wave rather than a round, bouncy curl. By feeding a section of hair through the iron and alternating a half-turn of your wrist forward and backward as you glide down, you create an angular bend that more closely mimics natural, wind-tousled texture. It gives you that perfectly imperfect, less ‘done’ finish.


