The Real Talk on Balayage: What Your Stylist Wishes You Knew
I’ve been a colorist for what feels like a lifetime, well over a decade anyway. I’ve seen hair trends explode and then fizzle out. But let’s get one thing straight: balayage isn’t just a fleeting trend. It’s a true technique, a form of artistry that completely reshaped how we think about hair color.
In this article
I still remember my first training in this method. For years, we were drilled on the rigid, super-precise grid work of foil highlights. Then, a visiting artist showed us how to literally paint color directly onto the hair, freehand. Honestly, it felt like switching from technical drafting to oil painting. It was liberating, and the results had a soft, natural beauty that foils could never quite replicate.
So, this isn’t just a gallery of pretty inspiration photos. This is the inside scoop from my perspective behind the chair. I want to walk you through what balayage really is, what it can (and can’t) do, and how to make sure you love your hair for months to come. Think of it as building a partnership with your stylist, based on real talk and a deep respect for your hair’s health.
First Things First: The Time and Money Talk
Before we even get into the pretty stuff, let’s address the two biggest questions everyone has: how long will it take, and what’s it going to cost me? Let’s be real, a true, artistic balayage is an investment. Depending on where you live and your hair’s length and thickness, you should expect to invest anywhere from $200 to $500+. If a salon is quoting you something drastically lower, it’s worth asking what their technique involves.
And for time? Don’t plan on squeezing this in on your lunch break. For a first-time application, block out a solid 3 to 5 hours in your schedule. This gives your stylist the time to consult with you, carefully paint each section, let it process perfectly, then tone, treat, and style it. Rushing the process is a recipe for a result neither of you will be happy with.

The Science Behind the Sweep: How It Actually Works
To truly get why balayage looks the way it does, you have to understand what’s happening to your hair on a chemical level. It’s not magic, it’s controlled chemistry!
A Peek Inside the Hair Strand
Your hair has a few layers, but for coloring, we’re mostly concerned with two: the cuticle (the outer protective layer, like shingles on a roof) and the cortex (the inner core where your natural hair pigment, or melanin, lives). To lighten hair, we have to gently open up that cuticle to get to the melanin inside.
This is where lightener—what most people just call bleach—comes in. Professional lighteners are a powder mix of ingredients. An alkaline agent in the formula swells the hair and lifts those cuticle shingles. This creates a pathway for other ingredients, called persulfates, to get into the cortex and neutralize your natural pigment. The longer the lightener sits, the more pigment it breaks down, and the lighter your hair becomes.
The Power of Developer
Lightener is just a powder until it’s mixed with a developer. Developer is basically hydrogen peroxide, and you can think of it as the gas pedal for the lightener; its strength determines how fast and how much it lifts. This is a HUGE part of the professional process.
For example, if a client comes in with fine, light brown hair and just wants a subtle, sun-kissed glow, I’ll probably reach for a gentle 20 volume developer. But for someone with very dark, coarse hair aiming for a big, blonde transformation, we might have to use a 30 or even 40 volume developer, all while watching the clock like a hawk to protect the hair’s integrity. This choice is absolutely critical and is a major reason why professional application matters so much.
Balayage vs. Foils vs. Ombré: What’s the Difference?
This is a big point of confusion, so let’s clear it up. They are NOT the same thing.
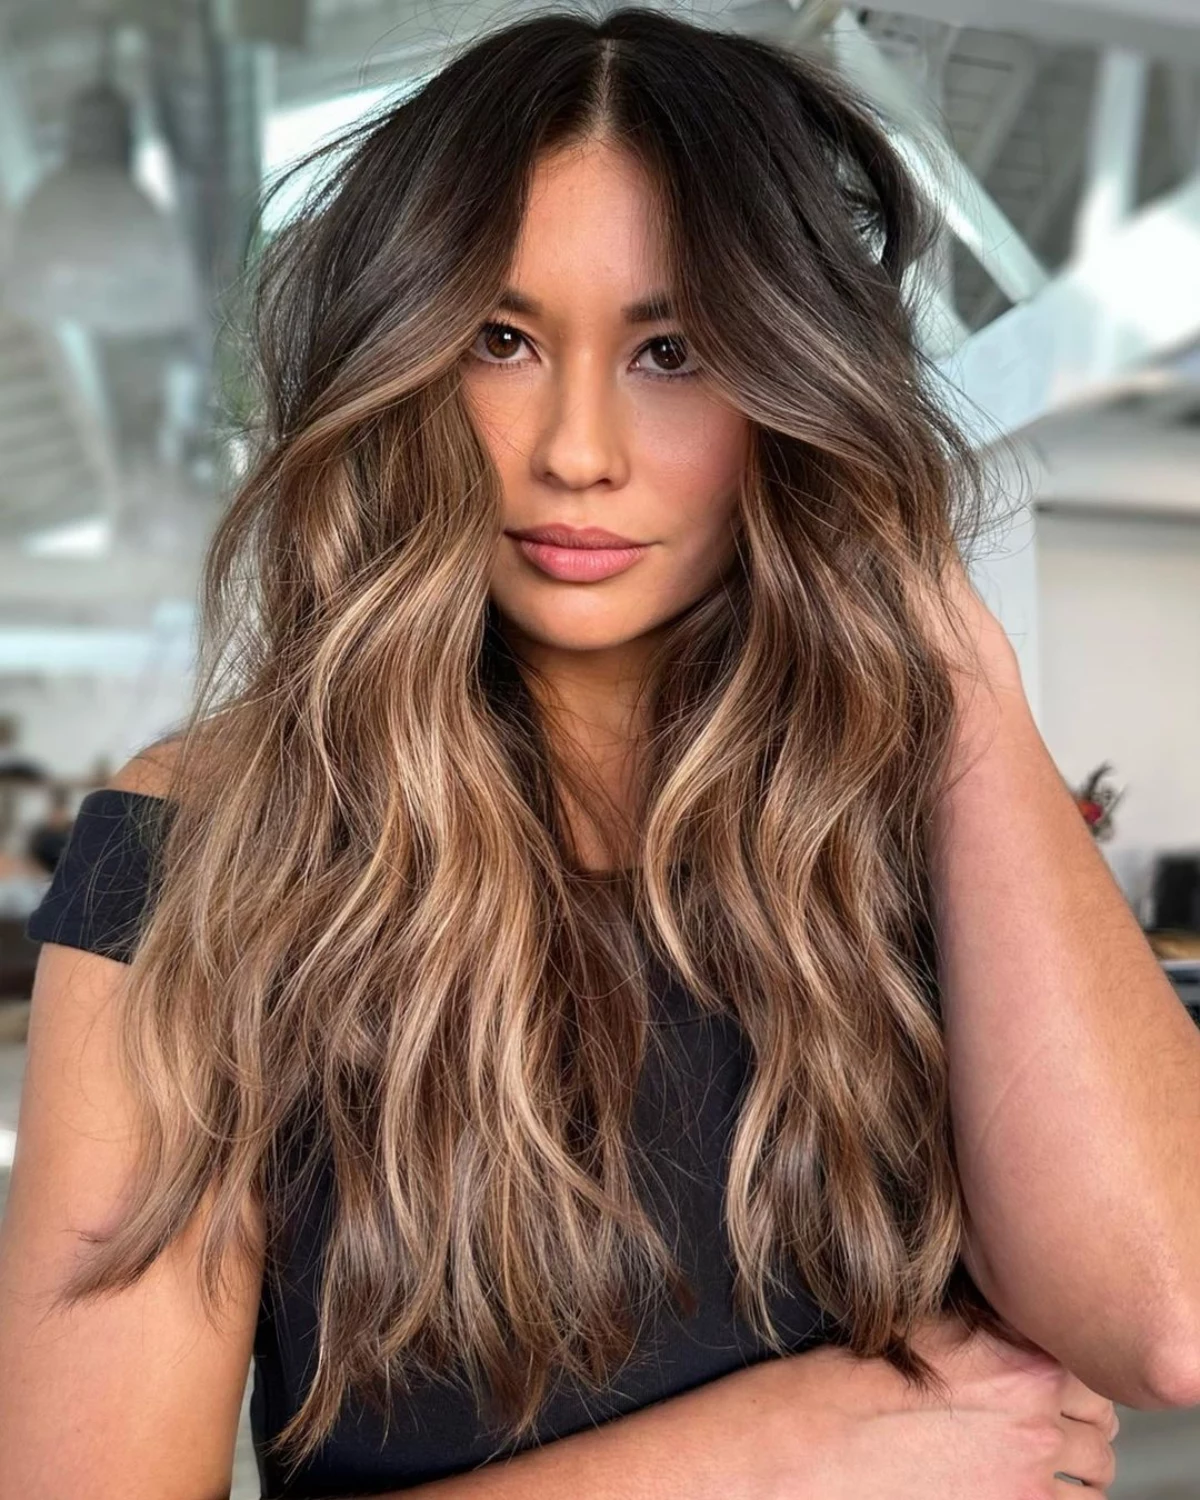
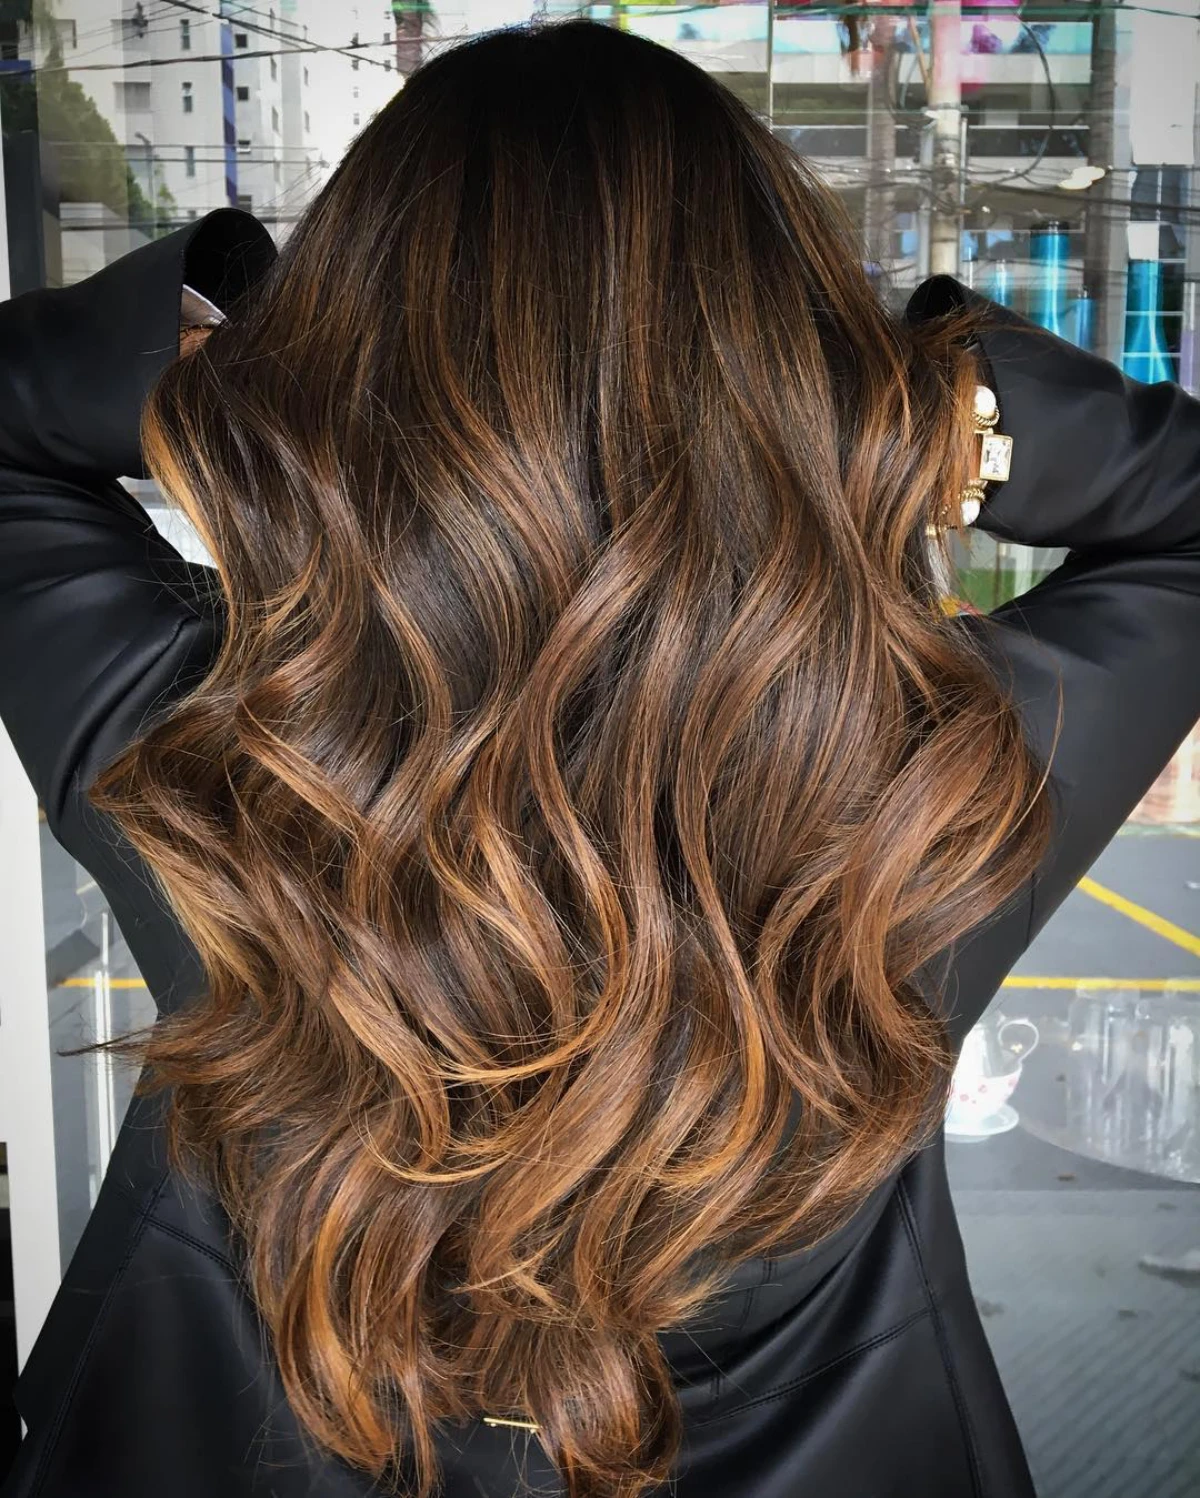
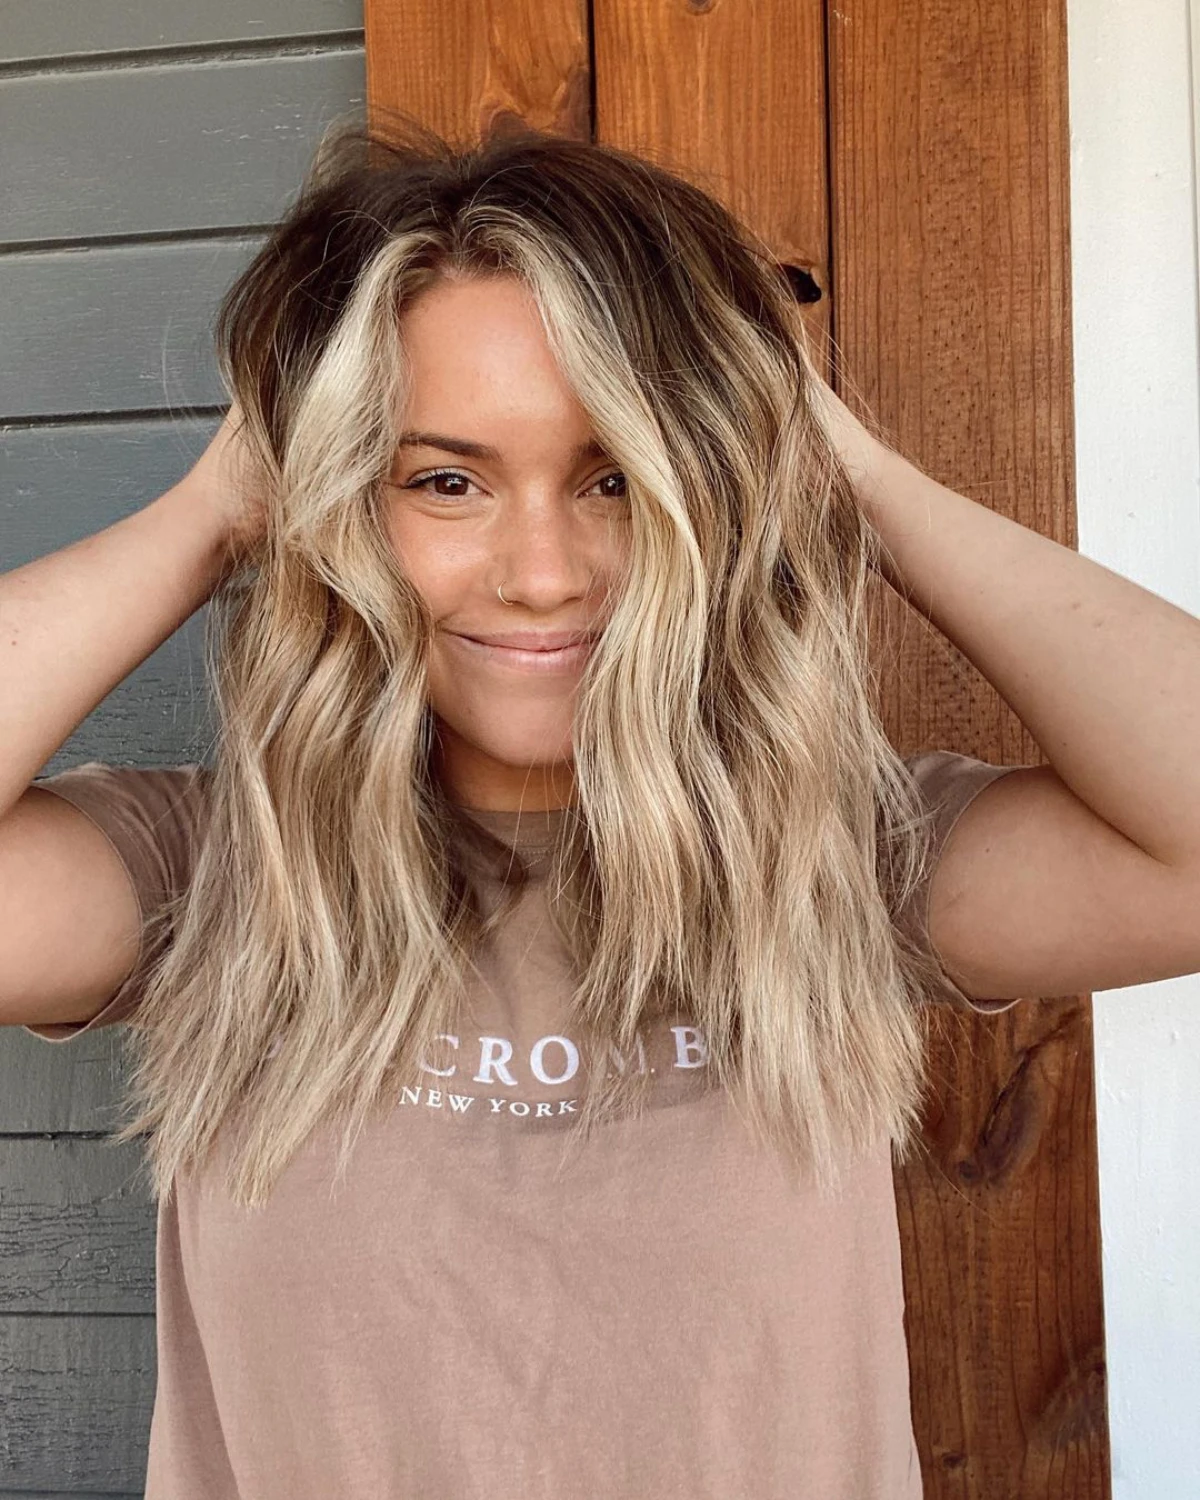
Balayage is all about the blend. The look is soft, dimensional, and sun-kissed, like you spent a summer at the beach. Highlights are hand-painted in a sweeping motion, often staying a bit away from the root. This technique gives you the most graceful grow-out possible, which means maintenance is super low-key. You might only need a touch-up every 3 to 6 months. It’s perfect for anyone wanting a natural, lived-in vibe.
Traditional Foils are for a more defined, uniform look. The lightener is applied to sections of hair that are then folded into foils. This traps heat and allows for a more intense lift, creating distinct highlights that usually go right up to the root. Maintenance is higher here; you’ll likely need to come in for a root touch-up every 6 to 8 weeks to avoid a harsh line of demarcation.
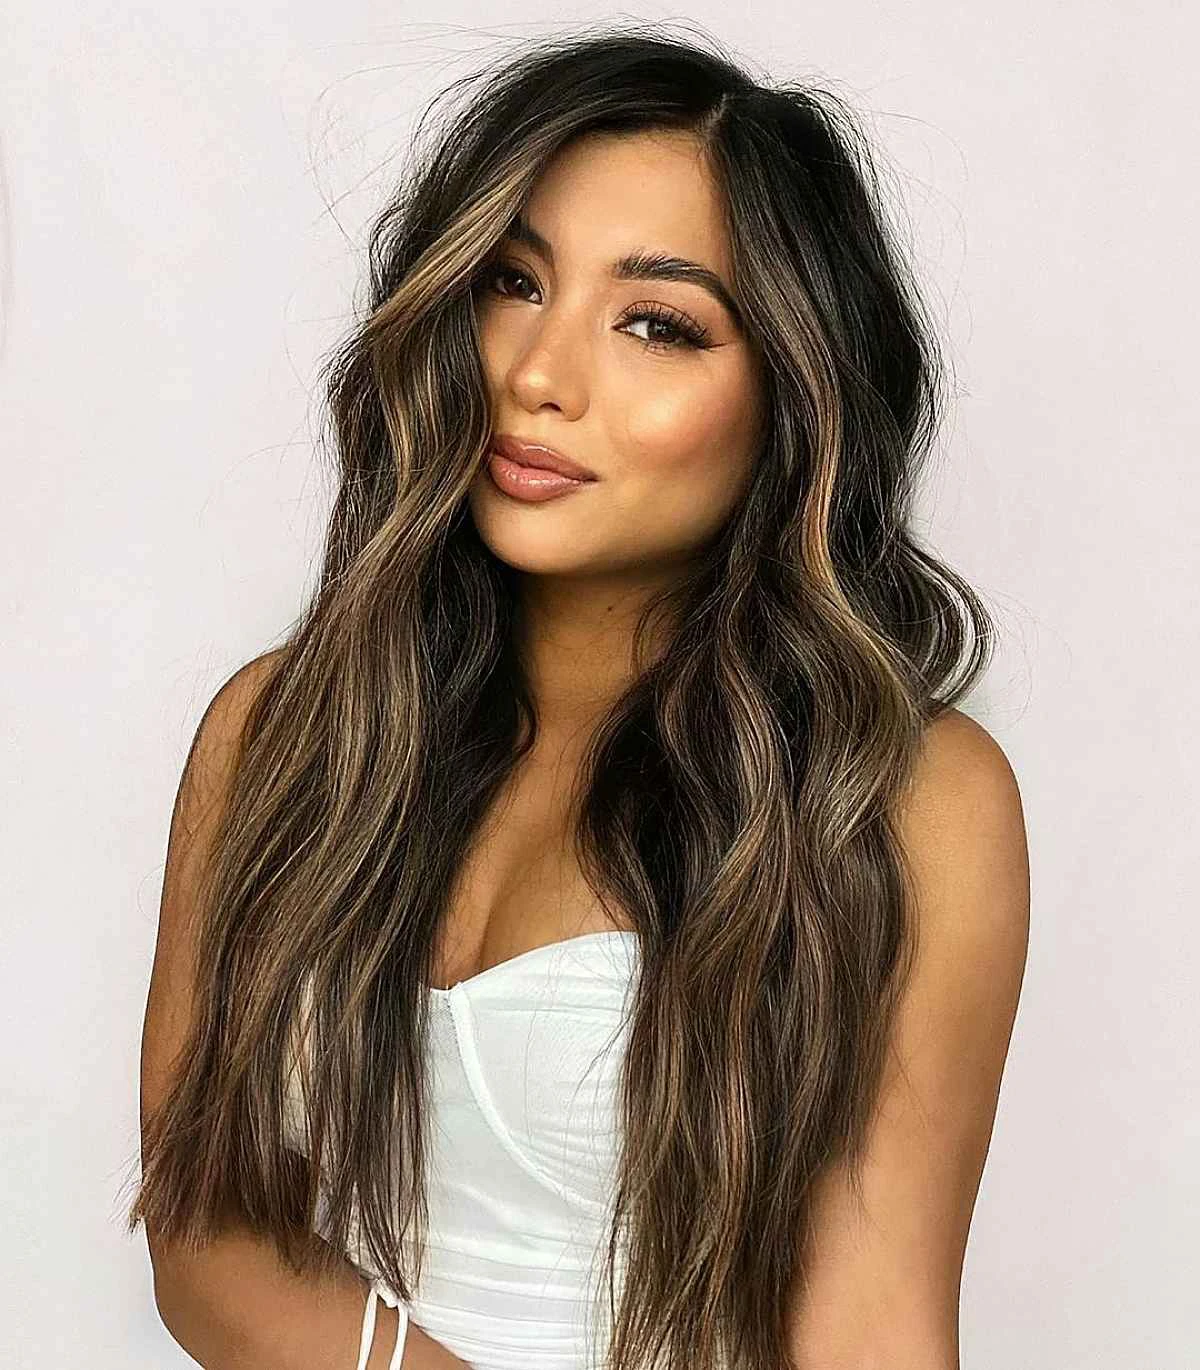
Ombré, on the other hand, is less about individual highlights and more about a dramatic, seamless transition of color. It typically goes from a darker, natural root color down to much lighter ends. It’s a bold statement rather than a natural enhancement. While the grow-out is also great, the look itself is much more intentional and less subtle than balayage.

A Quick Word of Warning: Why You Shouldn’t DIY This
Now that you know about developers and application, you can probably see why a box kit from the drugstore is a bad idea. Those kits are one-size-fits-all, usually with a strong developer that can be way too harsh for your hair type, leading to breakage and that dreaded orange or yellow color. The application is also an art—it’s about where to place the light and dark to complement your haircut and features.
From my own experience, color corrections are a huge part of my job. I once had a new client come in nearly in tears with what she called “cheetah spots” all over her head from a home kit. The lightener was applied unevenly, creating splotchy, over-processed patches next to totally untouched dark spots. Fixing it took hours and was far more expensive than getting it done right the first time would have been. Please, leave the chemical work to the pros.
Your Balayage After-Care Plan
Okay, so you’ve left the salon with gorgeous, glowing hair. How do you keep it that way? Protecting your investment is key.
Your Balayage Survival Kit
Think of this as your new at-home toolkit. You don’t need a million products, just the right ones. You can find great options at your salon, Sephora, or Ulta.
- Sulfate-Free Shampoo: This is non-negotiable. Sulfates can strip color and moisture right out of your hair. Look for a quality one, which will run you between $15 and $30.
- A Hydrating Hair Mask: Use this once a week instead of conditioner to put moisture back into your lightened strands. A good one costs about $20 to $40 and will last you a while.
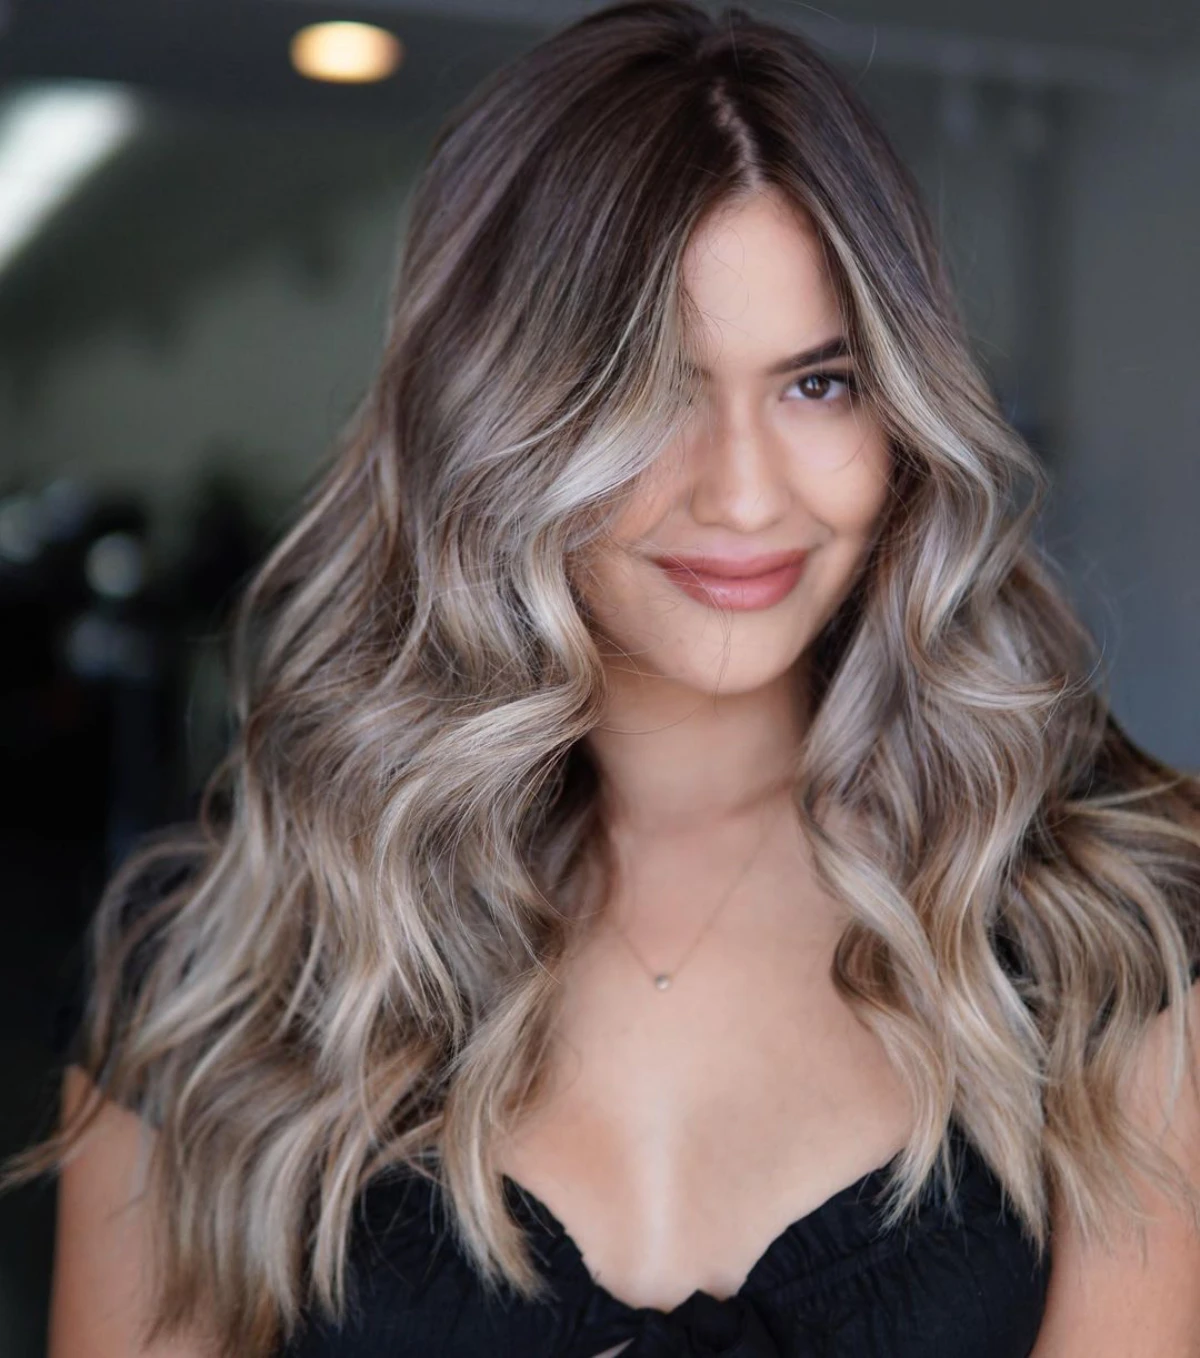
- Purple Shampoo (for blondes): If you went blonde, a purple shampoo is your best friend for fighting off brassiness. Use it just once every week or two—overuse can give your hair a lavender tint! They typically cost between $15 and $25.
- Heat Protectant Spray: Always, always, ALWAYS use this before you touch your hair with a blow dryer, straightener, or curling iron. It’s a simple step that prevents so much damage.
Top 3 Mistakes That Ruin Balayage
I see these all the time. Avoid them at all costs!
- Washing with harsh, cheap shampoos. Seriously, it’s like taking a Brillo pad to a beautiful painting. Stick to the sulfate-free stuff.
- Skipping the heat protectant. Frying your lightened hair without a protective barrier is the fastest way to get dry, brittle ends and fade your beautiful toner.
- Jumping into a chlorinated pool unprotected. Chlorine can strip color and even give blonde hair a greenish tint. A quick tip: before you swim, wet your hair with tap water and apply a little leave-in conditioner. This fills the hair strand so it can’t absorb as much chlorine.
At the end of the day, getting a balayage you love is all about finding a stylist you trust and working together. When you’re both on the same page, the result is more than just hair color—it’s a work of art you get to wear every day.
Galerie d’inspiration
How do I make sure my stylist understands exactly what I want?
A picture is worth a thousand words, but a folder is even better. Arrive at your consultation with 3-5 inspiration photos showing the color and placement you love, ideally on hair similar to your own texture. Crucially, also bring 1-2 photos of what you don’t want. This helps your colorist understand your taste and boundaries. Be completely honest about your hair history—yes, even that box dye from two years ago—and your daily styling routine. This conversation is the foundation for a color you’ll adore.
Traditional Powder Lightener: This is the classic bleach. It’s powerful and provides significant lift, but its thinner consistency means it can swell and requires foils to isolate sections and prevent bleeding.
Specialized Clay Lightener: This is the balayage artist’s secret weapon. Formulations like L’Oréal Professionnel’s Blond Studio Freehand Techniques Clay Lightener have a thick, clay-like texture that hardens on the outside, encapsulating the hair. This prevents the lightener from drying out or transferring, allowing your stylist to paint with incredible precision in open air without foils.
Protecting your balayage investment starts in the shower. To keep those beautifully blended tones from fading, a specific home care routine is essential.
- Sulfate-Free Shampoo: Switch to a gentle, sulfate-free cleanser like Kérastase’s Chroma Absolu or Redken’s Color Extend Magnetics to prevent stripping your color.
- Toning Conditioner or Mask: Once a week, use a blue or purple toning product to neutralize any unwanted brassy or orange tones that can appear over time.
- Bond-Building Treatment: A weekly treatment, such as the cult-favorite Olaplex No. 3 Hair Perfector, is crucial for repairing the protein bonds broken during the lightening process.
- Heat & UV Protectant: Before you even think about blow-drying or stepping into the sun, shield your strands with a protective spray.


