Your Ultimate Guide to Getting Balayage on Dark Hair (Without Wrecking It)
After years and years behind the chair, I’ve seen countless hair trends come and go. But let’s be real, balayage is different. It’s not just a fleeting style; it’s a genuine craft that looks incredible and timeless when it’s done right. I remember when clients first started showing me those dreamy photos of soft, sun-swept hair. What they were pointing to was the magic of a painterly, freehand technique—a world away from the structured, uniform look of old-school foils.
In this article
And honestly? On dark hair, a beautifully executed balayage is a work of art. But it’s also one of the most misunderstood services out there.
So many people think it’s this simple, low-effort look. The truth is, achieving that natural, blended dimension on dark brown or black hair is a serious technical challenge. It demands a solid grasp of hair chemistry, a steady hand, and a totally honest chat between you and your colorist. I’ve had to fix more DIY balayage attempts than I can count, where a promise of sun-kissed hair ended up as patchy, orange stripes. This is my attempt to pull back the curtain and get into what’s really happening when you get balayage.
First, Let’s Talk Science: Lifting Dark Hair
Before we can even think about painting on those gorgeous highlights, we have to understand the canvas—your hair. Dark hair is packed with a dense pigment called eumelanin. To create a lighter piece for a balayage highlight, we have to chemically remove some of this pigment. We call this process “lifting.”
The stuff we use, often just called bleach, is professionally known as lightener. It’s a powder we mix with a developer (peroxide). When this mix is applied to your hair, it swells the hair’s outer cuticle, letting the lightener get inside to the cortex where the pigment lives. It then goes to work dissolving the melanin. It doesn’t add color; it takes it away.
Here’s the part every single person with dark hair needs to understand: as the dark pigment is removed, it naturally reveals the hair’s underlying warm pigments. This is a non-negotiable step. Think of it like a journey through different colors:
- Dark Brown/Black hair first lifts to a reddish-brown shade.
- Medium Brown hair then lifts to a red-orange.
- Lighter Brown hair lifts to a bright orange-yellow.
That initial brassy or orange tone isn’t a mistake—it’s a chemical reality. A good colorist knows they need to lift the hair past this unwanted stage to a lighter yellow, kind of like the inside of a banana peel. Only then can we use a toner to neutralize that warmth and create the beautiful caramel, honey, or beige you actually want. Trying to rush this is exactly how you end up with brassy, unnatural results.
Why Dark Hair Is a Bigger Challenge
Simply put, we’re asking the lightener to do a lot more work on dark hair. It has to dissolve way more pigment, which takes time and a carefully mixed formula. Pushing hair to lift too many shades in one sitting can cause serious, irreversible damage. That’s why I always insist on a strand test for new clients. It’s like my crystal ball—it tells me exactly how your hair will react and how light we can safely go in one appointment.
Oh yeah, and this is where bond-builders come in. You’ve probably seen products like Olaplex or K18 all over social media. They aren’t just hype. For dark hair, they are lifesavers. These treatments work on a molecular level to repair the hair’s internal bonds that get broken during the lightening process. A good stylist will insist on using one during your service. The at-home versions are also fantastic for keeping your hair strong between salon visits—totally worth the investment.
The Pro Techniques That Make or Break Your Look
A great balayage is a methodical process. It’s not just about slapping on some lightener and hoping for the best. The real magic starts long before a brush ever touches your hair.
The Consultation: The Most Important 15 Minutes
Seriously, the consultation is the foundation for everything. I need to know your hair’s full story. Have you used box dye in the last few years? Henna? A keratin treatment? These things leave behind chemicals (box dye often has metallic salts) that can react disastrously with lightener, sometimes causing the hair to literally steam and break off. Being 100% honest here is a safety issue!
We’ll also look at your inspiration photos and talk about realistic goals. If you have nearly black hair and want a bright, ashy blonde balayage, I’ll be straight with you: that’s a journey, not a one-day trip. It might take two or three sessions spaced out over several months. Managing expectations is key to you being happy with the final result.
Application and All That Lingo
How the hair is sectioned and painted is where the artistry comes in. For a soft, diffused look, we often use V-shaped or W-shaped sections, painting the lightener on the surface. We use a light touch near the root for a seamless blend and more saturation on the ends for that pop of brightness.
By the way, you might hear some other terms thrown around, so here’s a quick cheat sheet:
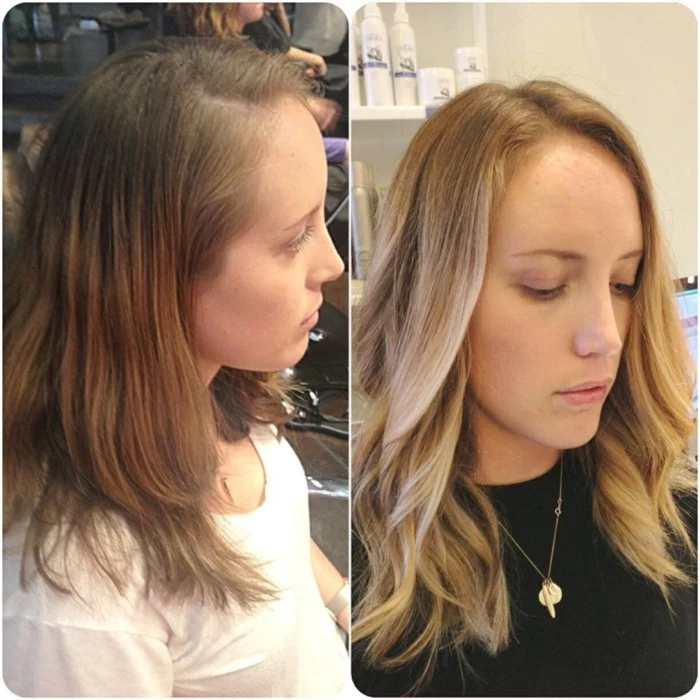
- Money Piece: A brighter pop of balayage just around your face to frame it. Super popular and really brightens up your whole look.
- Root Smudge: After highlighting, we apply a gloss or toner at the root that’s close to your natural color and “smudge” it down an inch or two. This creates an even softer, more lived-in grow-out.
- Teasy-lights: A hybrid technique where we gently tease the hair at the root before painting on the lightener. When the hair is combed out, it creates an incredibly diffused, natural blend.
Open-Air vs. Foilayage: What’s the Difference?
A pro knows when to use which technique. It’s not one-size-fits-all.
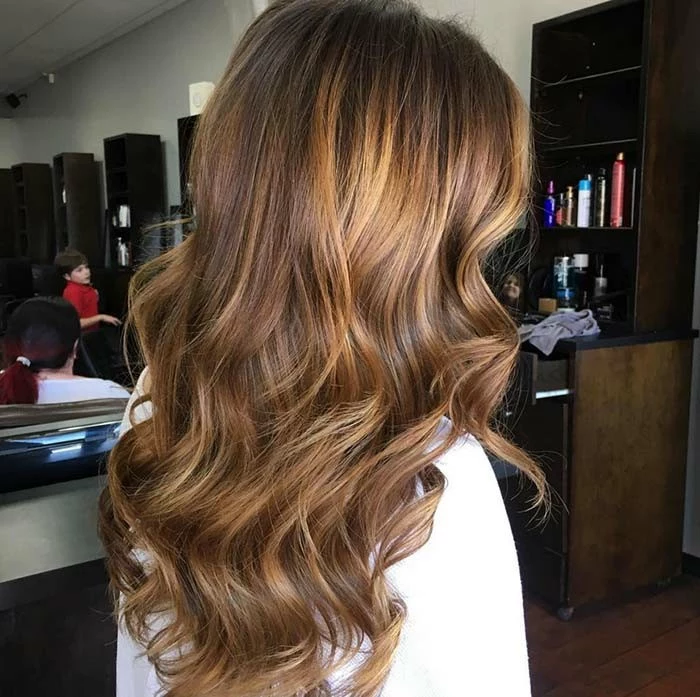
Open-Air Processing is the classic, traditional method. The lightener is painted on and left to process in the open. This gives a very gentle, subtle lift—think soft caramel tones on medium brown hair. The final vibe is very understated and natural, a true sun-kissed effect.
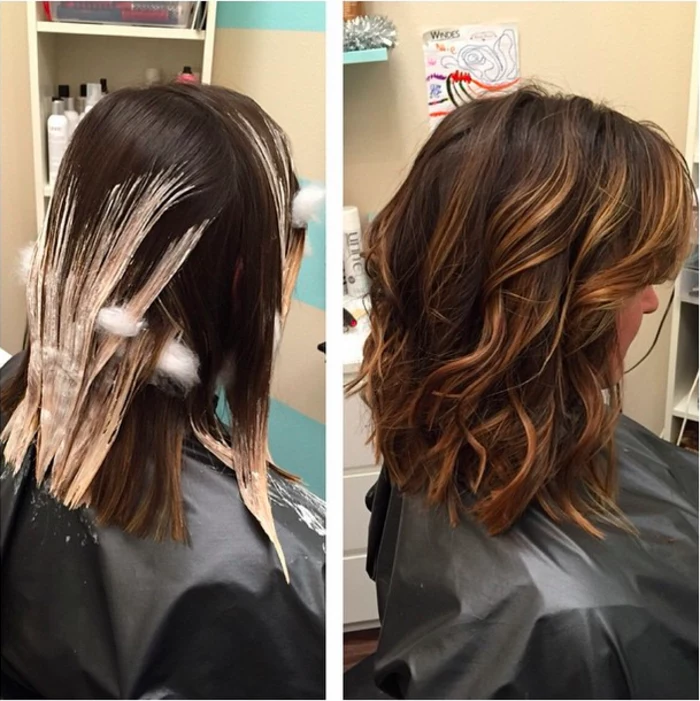
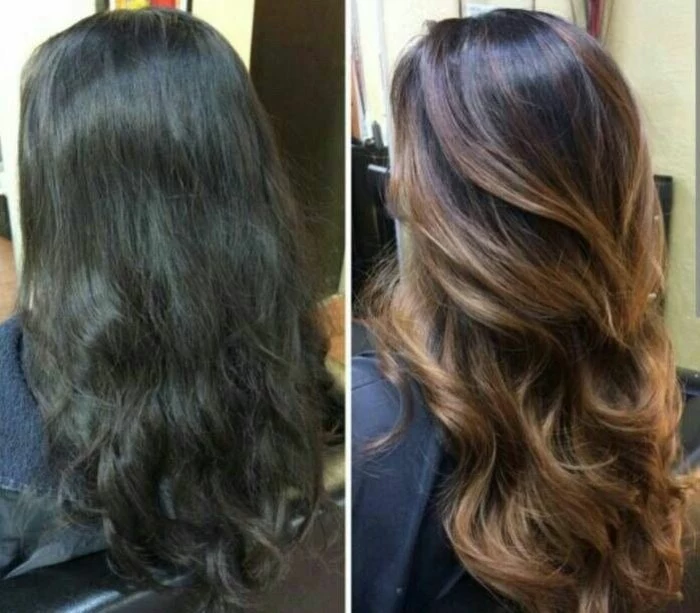
Foilayage is what we turn to for more dramatic results on dark hair. After painting the strands, we wrap them in foils. The foils trap heat, which helps the lightener lift the hair more powerfully. This is how we get those brighter blonde pieces on a dark base without sacrificing that seamless, blended balayage look. It gives more lift and more contrast.
Toning: The Final, Magical Step
Toning is where we perfect the color. After the lightener is rinsed, we apply a demi-permanent color (also called a toner or gloss) to the lightened pieces. If your hair lifted to a yellow-orange, we’ll use a toner with a blue-violet base to cancel out the brass and create a cool, neutral shade. If you want a warm caramel, we’ll use a golden-copper based toner. It’s the difference between having “bleached streaks” and having a sophisticated, finished color.
Your Balayage Journey: The Practical Stuff
Okay, let’s talk about the real-world details: finding someone good, what it costs, and how to take care of it.
How to Find a Stylist You Can Trust
Don’t just walk into any salon! Look for a colorist who specializes in balayage and has a portfolio full of work on hair similar to yours. A quick tip: Search Instagram for hashtags like
[yourcity]balayage or
darkhairbalayage to find local specialists and instantly see their work.
When you book a consultation, come armed with questions. A passionate pro will be happy to answer them. Here’s your script:
- “Can you show me photos of balayage you’ve done on hair with a texture and color like mine?”
- “What’s your plan to keep my hair healthy during this lift? Do you use a bond-builder?”
- “What will the upkeep realistically look like for the result I want, both in terms of time and cost?”
If they seem rushed or dismiss your questions, that’s a red flag. Walk away.
Let’s Talk Money and Time
Balayage is a premium, artistic service. You’re not paying for a quick color; you’re paying for 3 to 5 hours of a professional’s focused time, expertise, and product. A cheap balayage is a warning sign. To be frank, I’ve seen clients pay double to fix a bad job. It’s much smarter to invest in quality from the start.
Heads up! For your first session, expect to invest anywhere from $350 to $600+, depending on your hair’s length, density, and your city’s prices. The follow-up appointments are less intense. A toner or gloss refresh every 8-10 weeks will keep your color looking fresh and usually costs between $80 and $150.
Keeping Your Color Gorgeous at Home
One of the best things about balayage is the soft grow-out. You might only need the lightener reapplied every 4 to 6 months. However, it is NOT a no-maintenance style. That beautiful toner will fade.
Here’s your home-care shopping list:
- Sulfate-Free Shampoo & Conditioner: This is non-negotiable. Sulfates strip color fast. Look for brands like Pureology or Redken Color Extend.
- Toning Shampoo (the right color!): Here’s the secret most people get wrong. Purple shampoo is for neutralizing yellow tones, so it’s best for blondes. If you have caramel or brunette balayage that’s getting brassy (orange), you need a blue shampoo. Use it just once a week to avoid over-toning.
- A Heat Protectant: Heat is the enemy of hair color. Always use a protectant spray before blow-drying or using hot tools.
- A Bond-Building Treatment: Using an at-home Olaplex, K18, or Redken Acidic Bonding treatment once a week or so will make a huge difference in your hair’s health and strength.
Your First 48 Hours: A Mini-Guide
To protect your fresh color and investment, be extra careful for the first couple of days.
1. Don’t wash your hair. Wait at least 48 hours. This gives the hair cuticle time to fully close and lock in that new toner. 2. Avoid high heat. Stay away from flat irons or curling wands for a day or two. 3. Sleep smart. A silk or satin pillowcase reduces friction and helps keep your color vibrant and your hair smooth.

A good colorist is more than just a technician; they’re a partner in your hair’s health. The craft of balayage is a beautiful balance of art and science, and it thrives on the trust between you and the person holding the brush. When you invest in a professional who respects that, you’re not just getting highlights—you’re getting a piece of their craft, tailored just for you.
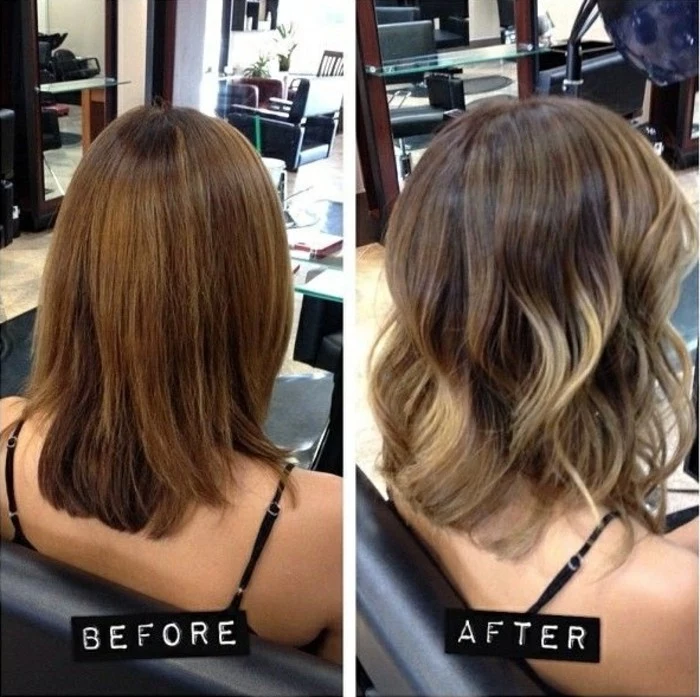
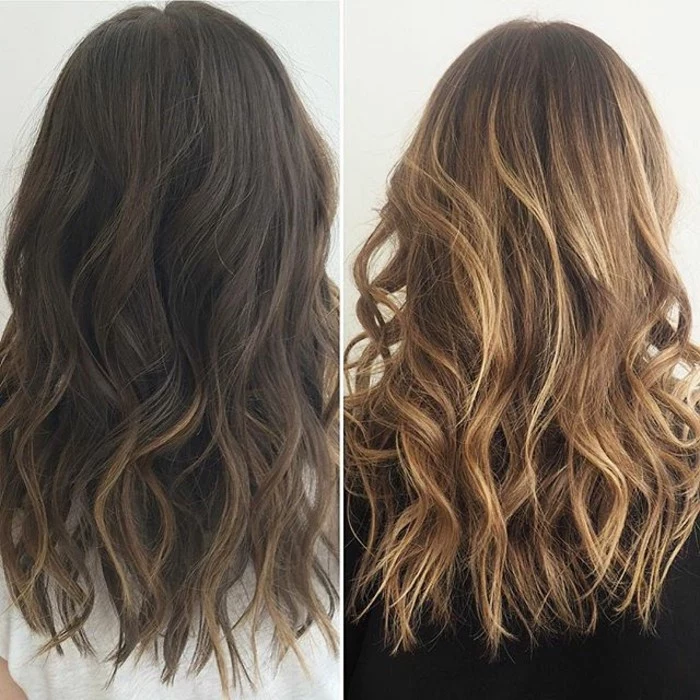
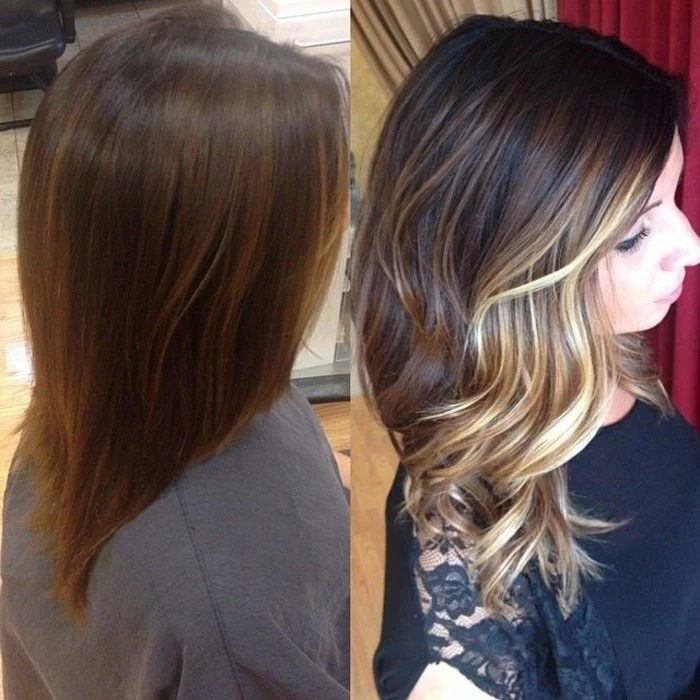
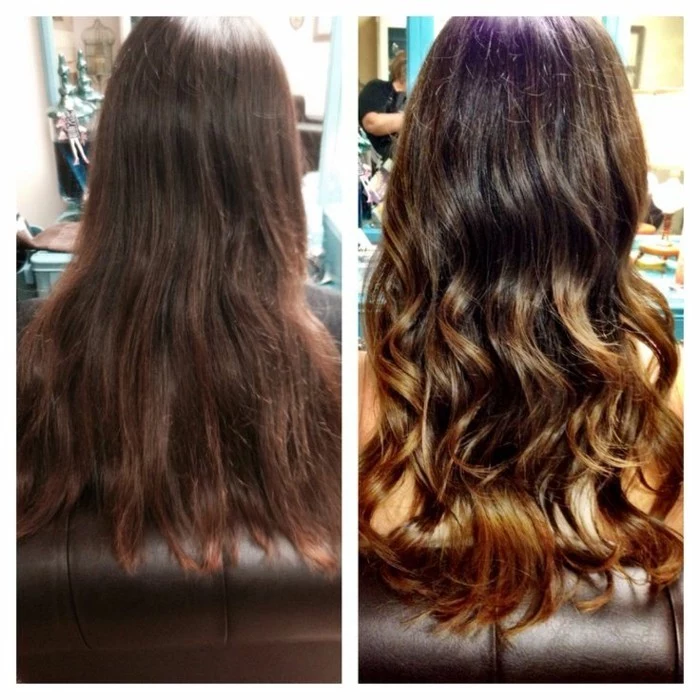
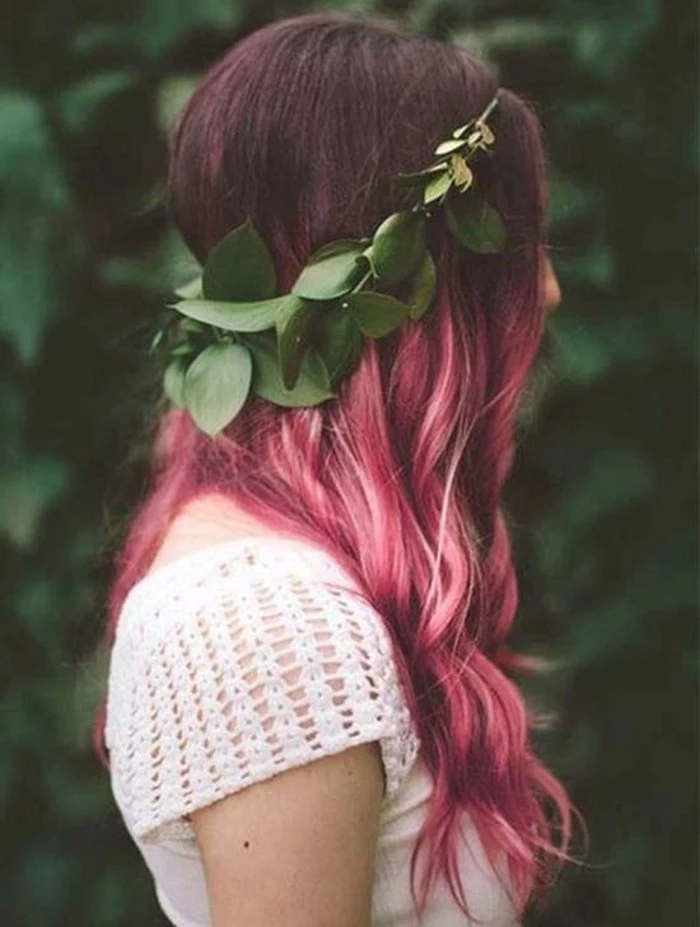
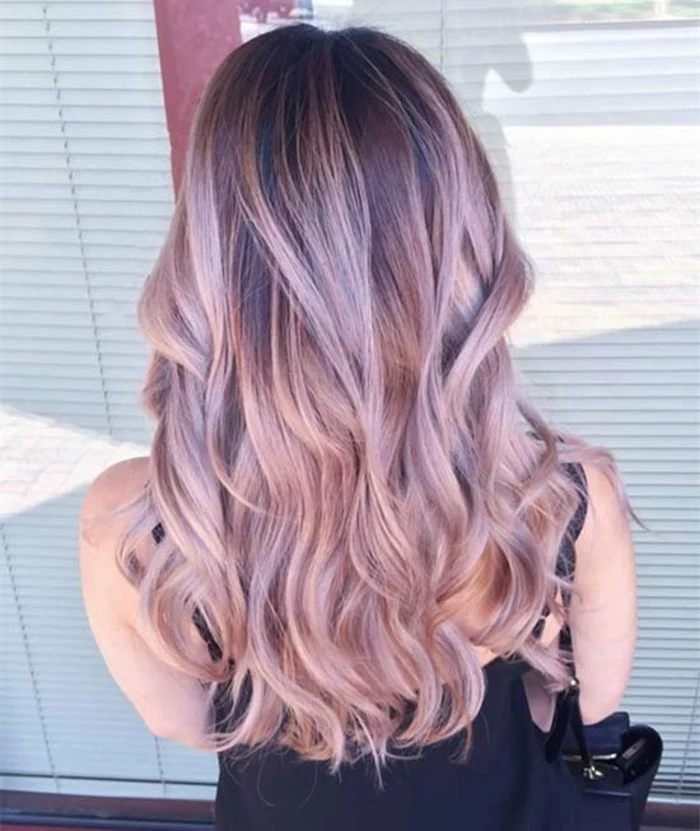
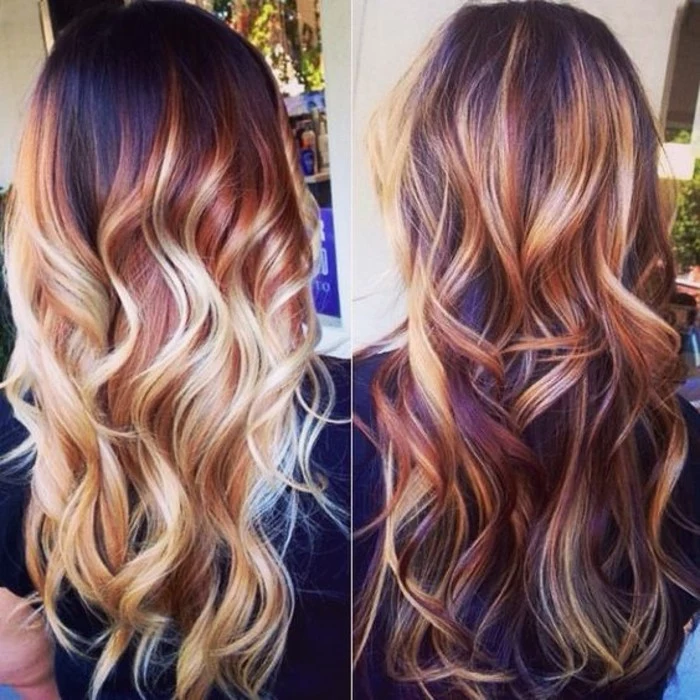
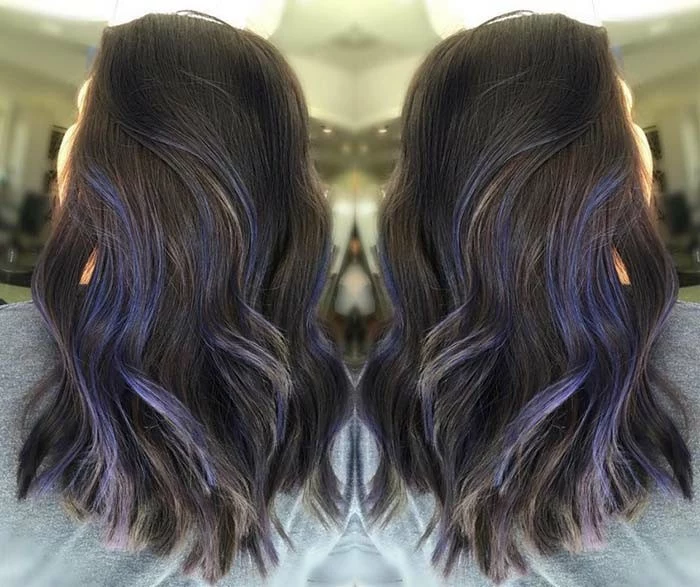
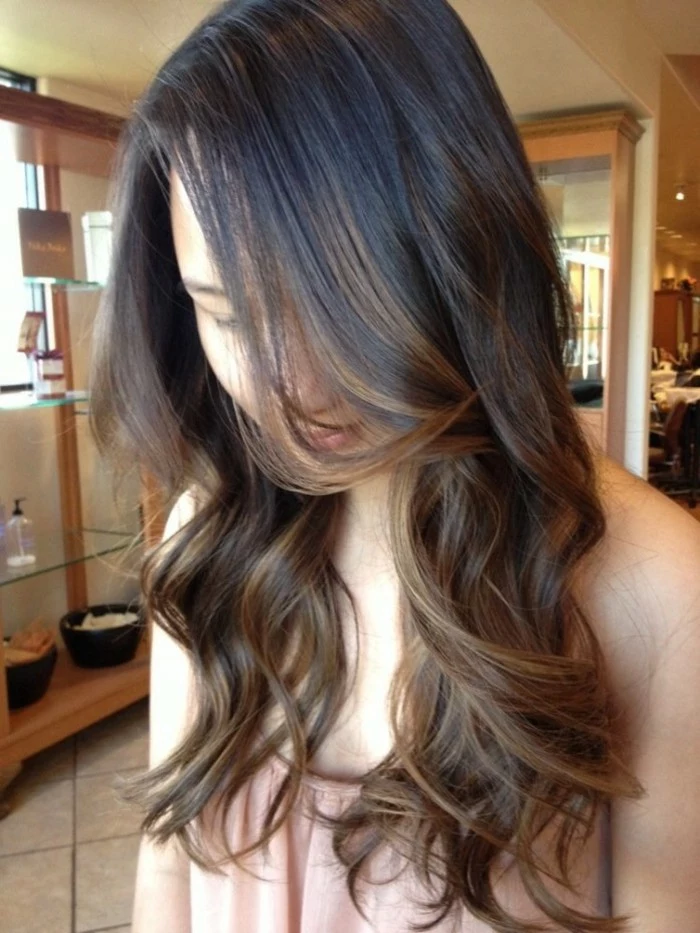
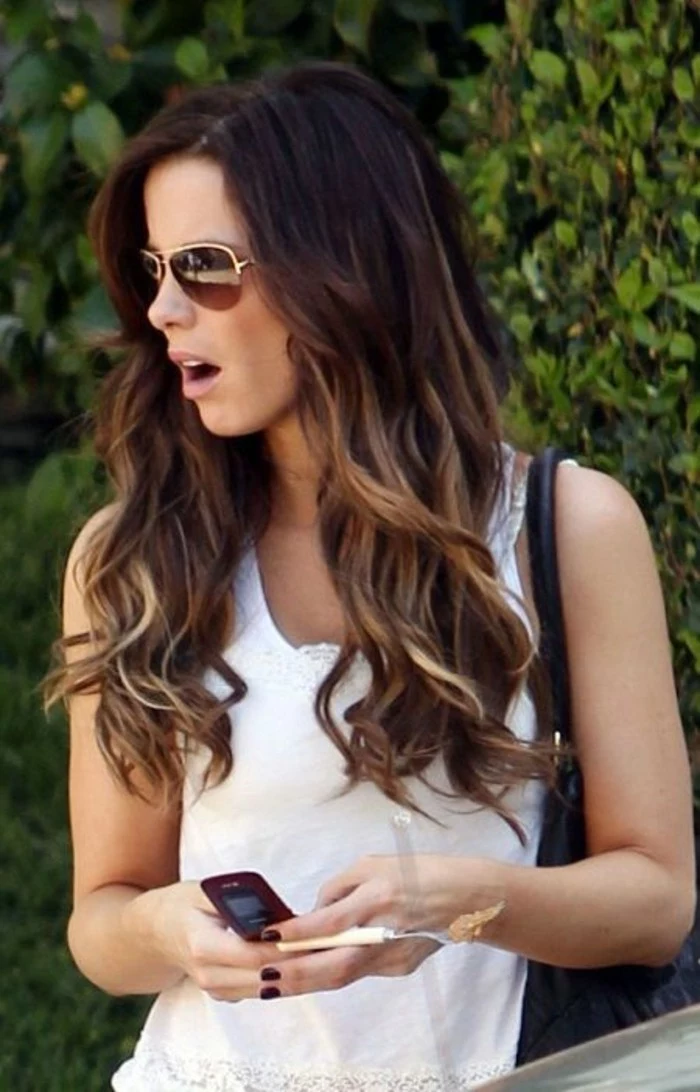
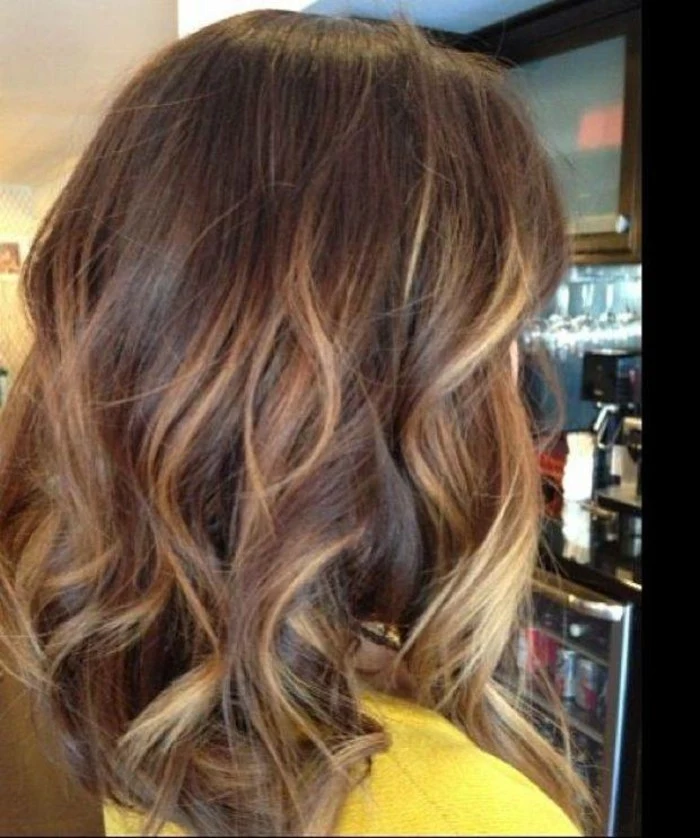
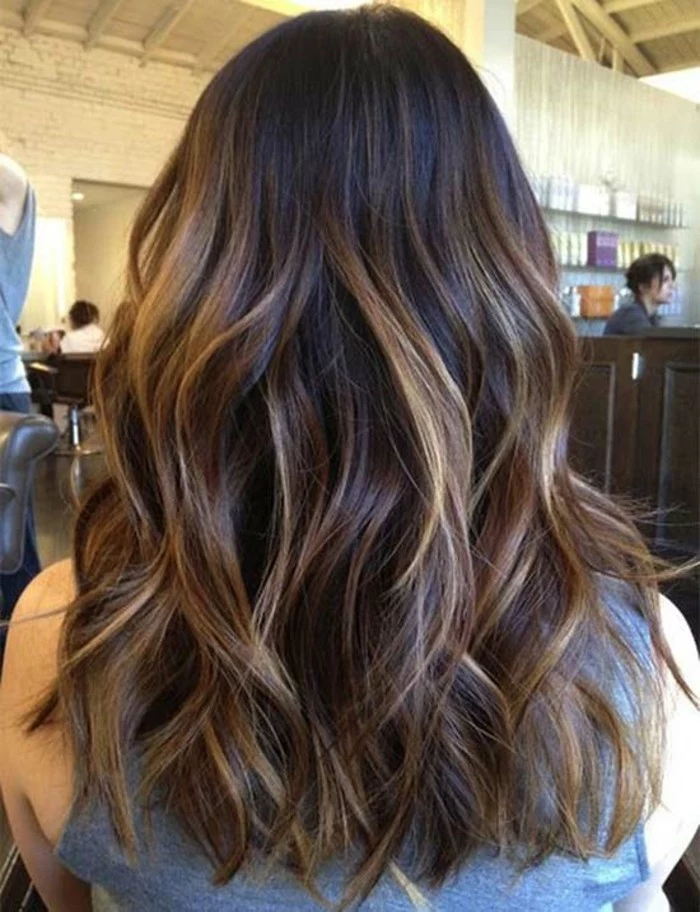
Inspiration Gallery
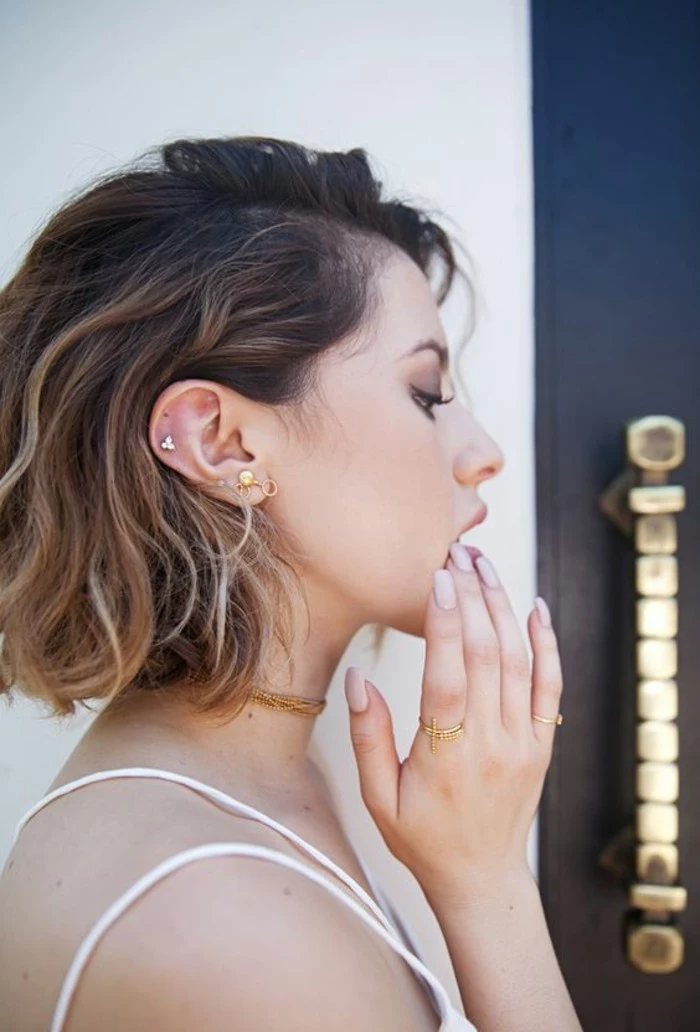
The consultation is everything: Before you even book the main appointment, schedule a 15-minute chat with your potential colorist. A great stylist will insist on it. Use this time to show your inspiration photos, but also listen to their honest feedback about what’s achievable for your hair type and history in one session. It’s a collaboration, not just an order.
- Keep your color vibrant and brass-free.
- Add incredible shine between salon visits.
- Temporarily blend and refresh faded pieces.
The secret? An at-home toning gloss. Products like the L’Oréal Professionnel Dia Light Boosters or a dpHUE Gloss+ are game-changers for maintaining that perfect balayage tone without another trip to the salon.
“The number one mistake clients make is not being patient. Achieving the perfect light balayage on dark hair is a journey, not a race. Trying to go too light, too fast, is the quickest way to damage.” – Jack Martin, Celebrity Colorist
Will blue or purple shampoo work better for my brunette balayage?
It depends on your unwanted tones! Purple shampoo neutralizes yellow tones, making it ideal for those with blonde or very light caramel highlights. Blue shampoo, on the other hand, is designed to cancel out the orange or brassy tones that are far more common when lifting dark brown hair. For most brunettes, a blue shampoo like Redken’s Color Extend Brownlights is the superior choice.
Don’t just ask for ‘caramel.’ Be specific with delicious-sounding shades to help your colorist nail the vibe. Think ‘honey,’ ‘toasted almond,’ ‘cinnamon,’ or ‘mocha.’ These evocative terms create a much clearer picture of the warmth and depth you’re envisioning than a generic description.
At-Home Bond Repair: Olaplex No. 3 is a pre-shampoo treatment that works inside the hair to relink broken disulfide bonds, strengthening it from within. It’s a must-have for preventing breakage after lightening.
Daily Heat Protection: Kérastase Ciment Thermique is a leave-in cream activated by heat. It not only protects your hair up to 450°F but also helps to rebuild and smooth the hair fiber every time you style.
For deep repair, use Olaplex weekly. For daily styling defense, Ciment Thermique is your go-to.
Your Balayage Prep Checklist:
- Arrive with clean, dry hair—but not *just* washed. Day-old hair is perfect as natural oils protect the scalp.
- Do a deep conditioning mask, like the Briogeo Don’t Despair, Repair!, two days before your appointment. Healthy hair lifts better.
- Wear a comfortable top that you don’t mind getting stained (just in case!) and something that isn’t a turtleneck.
- Bring your inspiration photos, but also photos of what you *don’t* like.
Did you know? Hair can be low, medium, or high porosity. High porosity hair (often from previous coloring or damage) grabs color quickly but can also lose it just as fast.
This is why your colorist might use different formulas on different parts of your hair. They are adjusting for porosity to ensure your balayage is even and long-lasting, not patchy. If your ends feel dry and absorb products instantly, you likely have higher porosity.
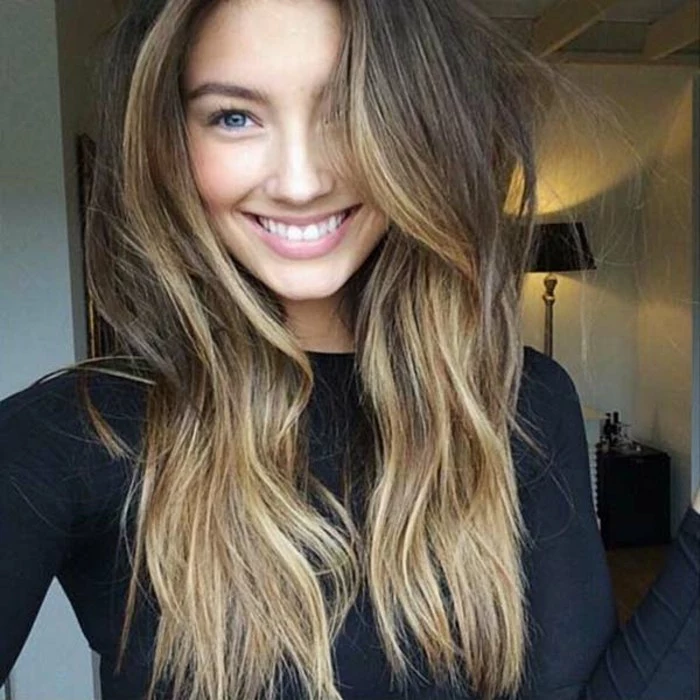
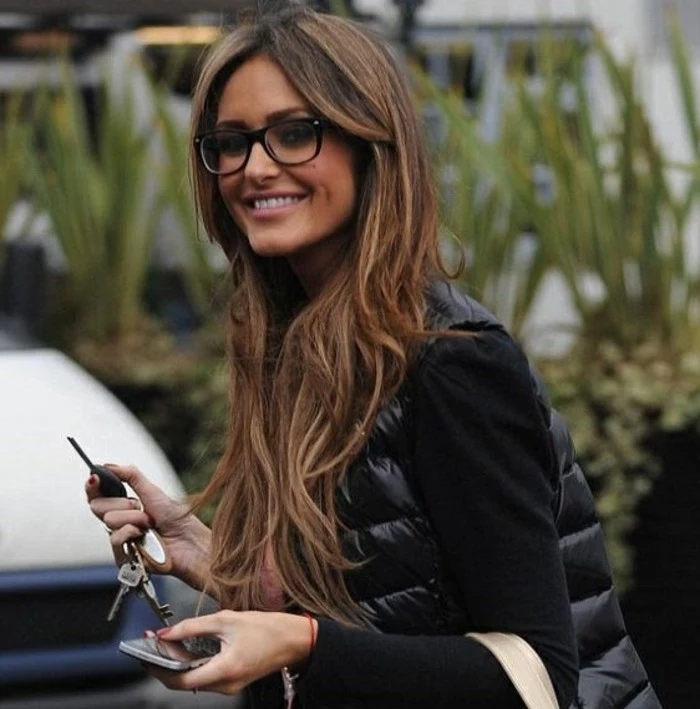
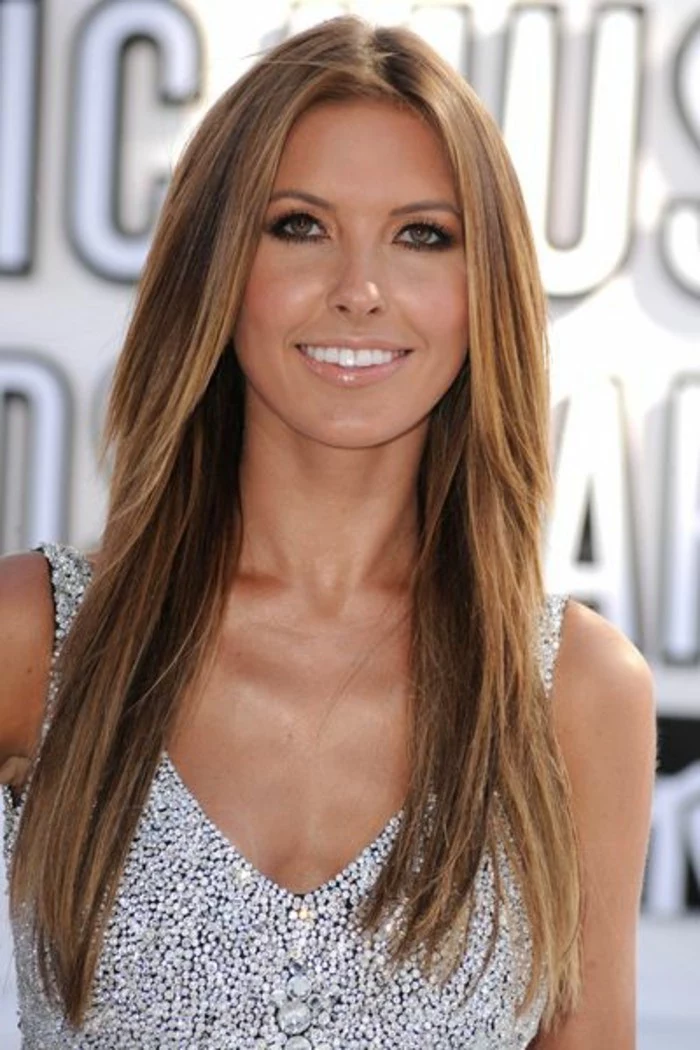
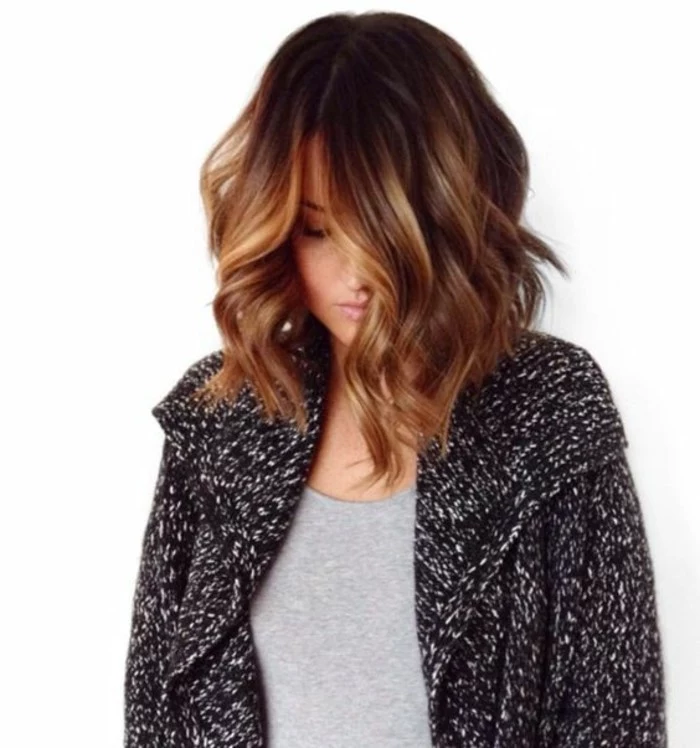
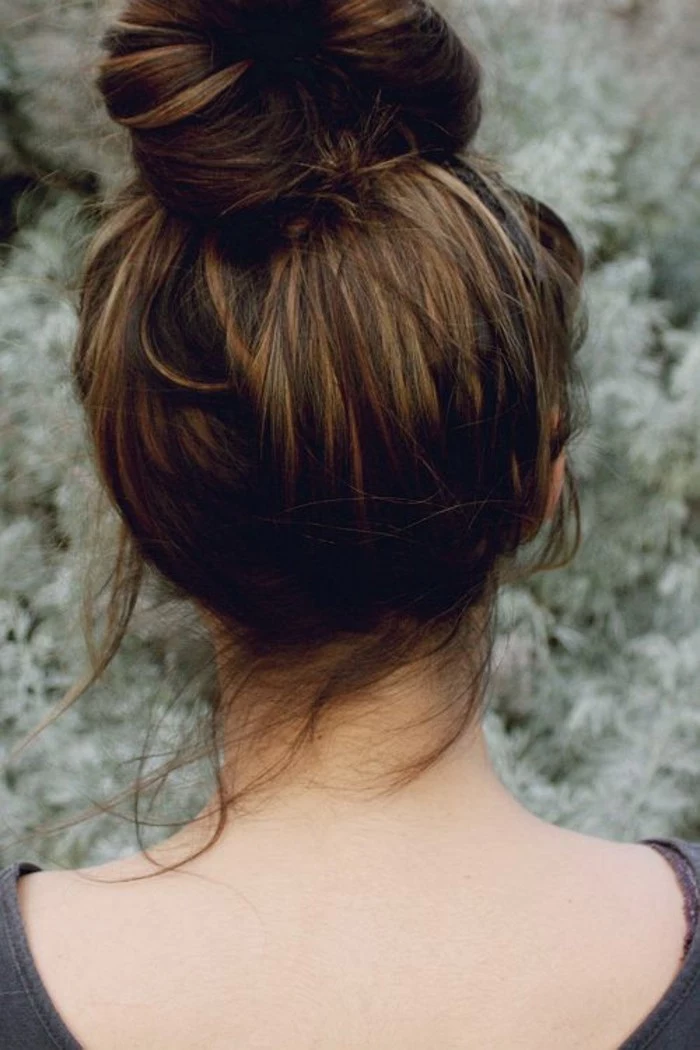
The Money Piece: This isn’t your ’90s chunky highlight. A modern money piece is a soft, face-framing brightness that makes your features pop and gives the whole look a lived-in, sun-kissed feel. It’s the secret to making your balayage look effortlessly chic, even when your hair is tied back in a simple ponytail.
How do I make my balayage last longer?
Think of your hair color like a delicate fabric. Wash with cool water to keep the cuticle sealed, use only sulfate-free shampoos (like those from Pureology), and install a filtering shower head if you live in a hard water area. These small habits make a huge difference in preventing premature fading.
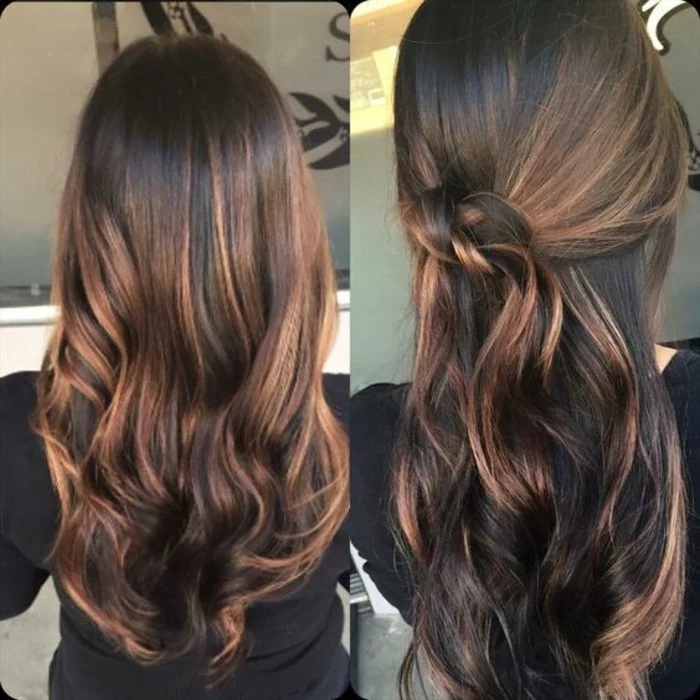
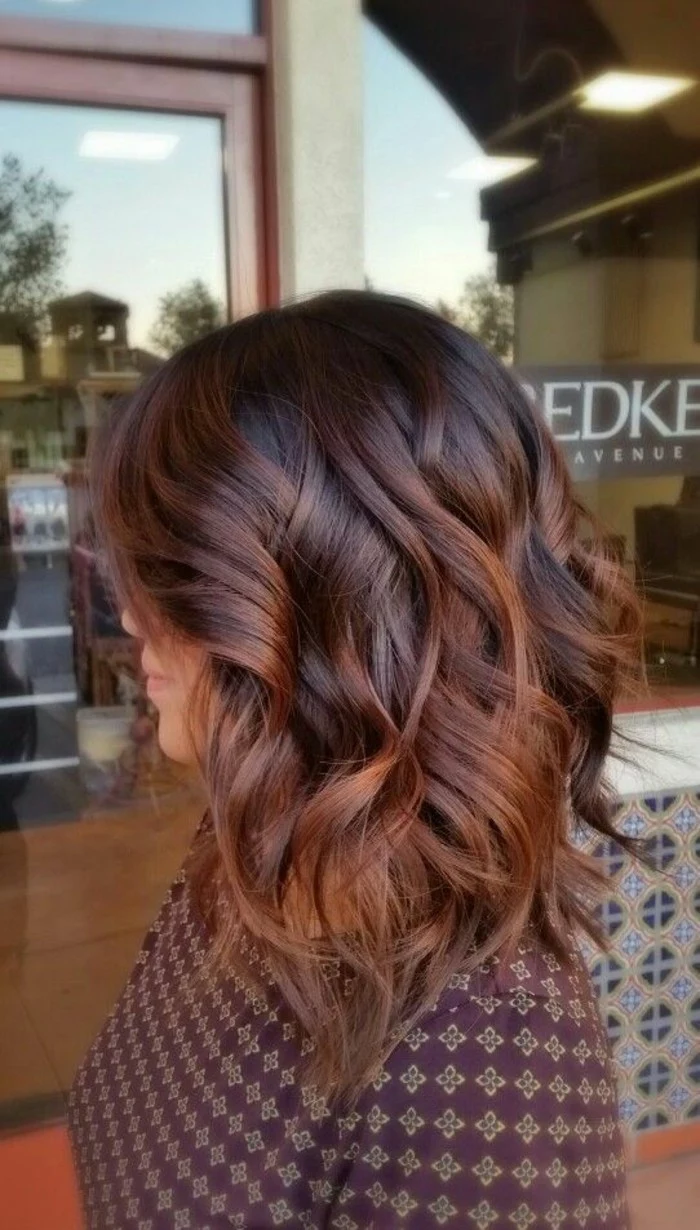
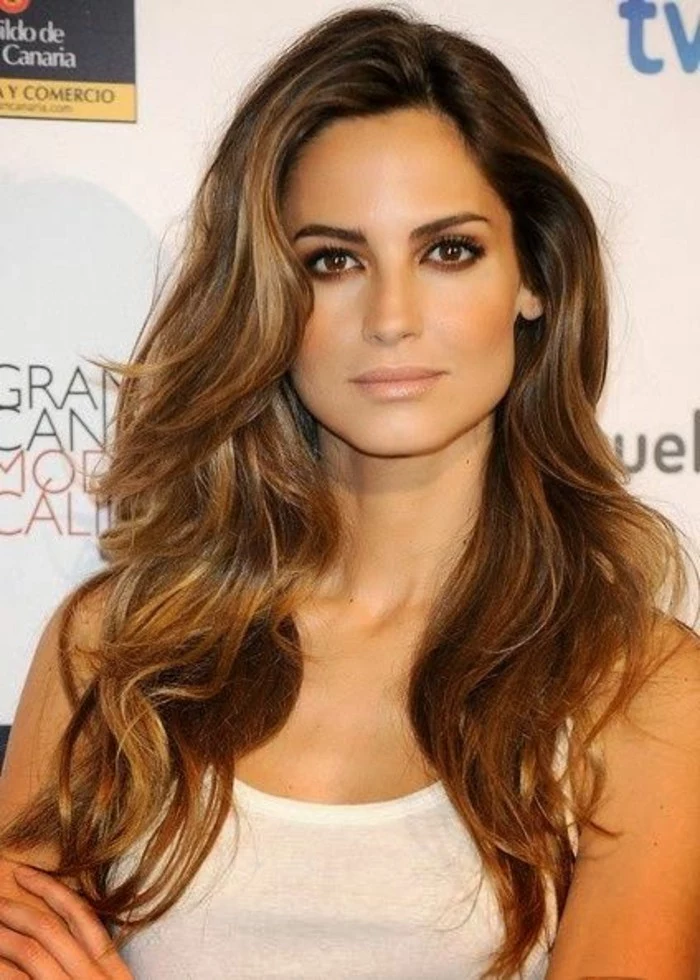
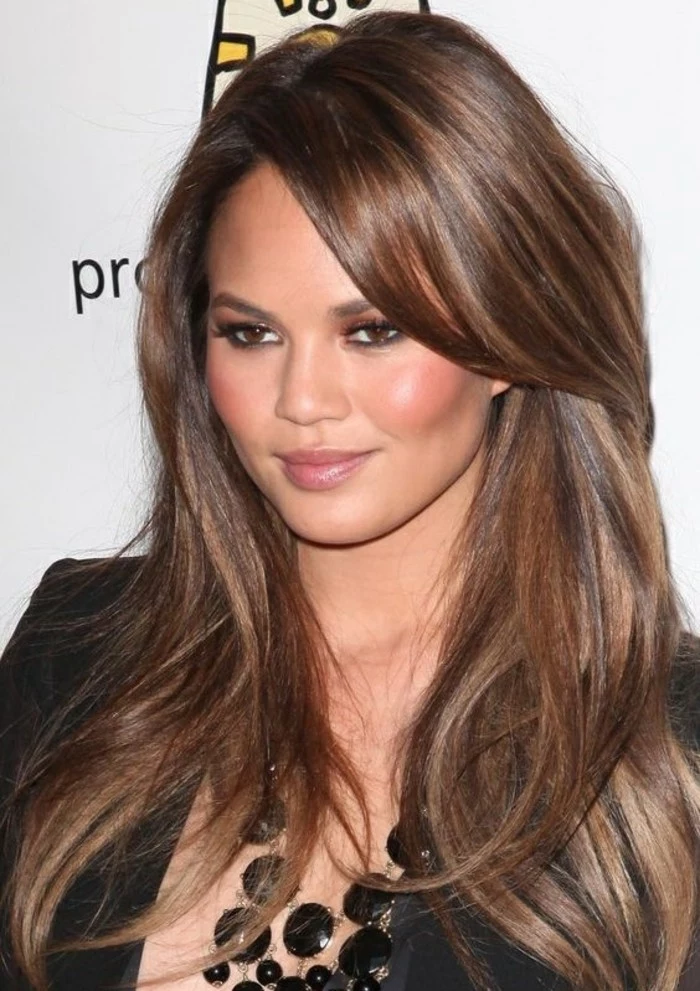
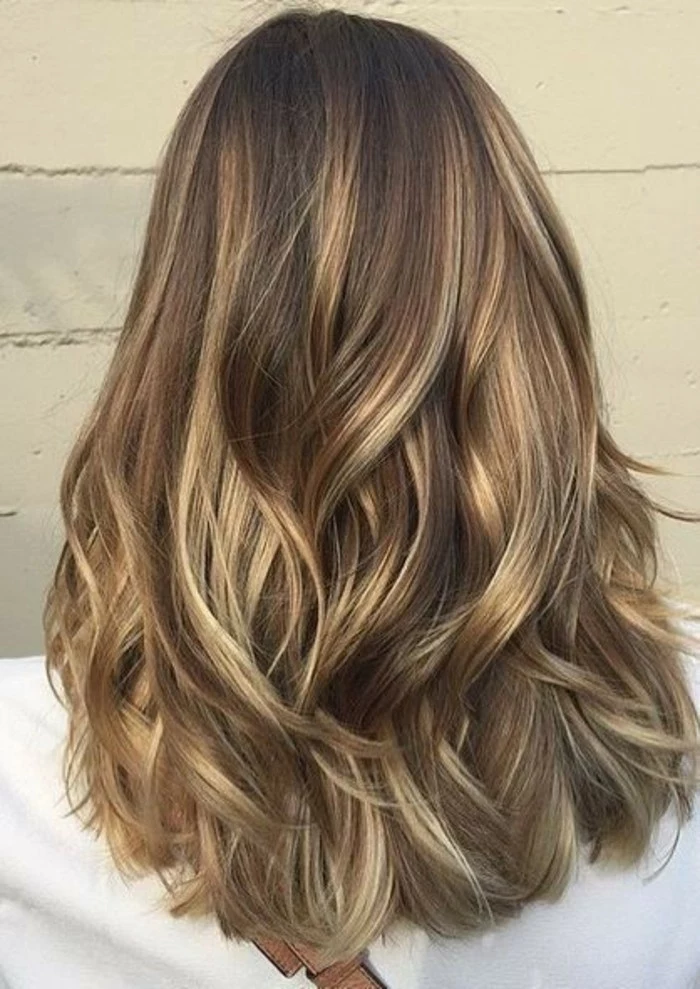
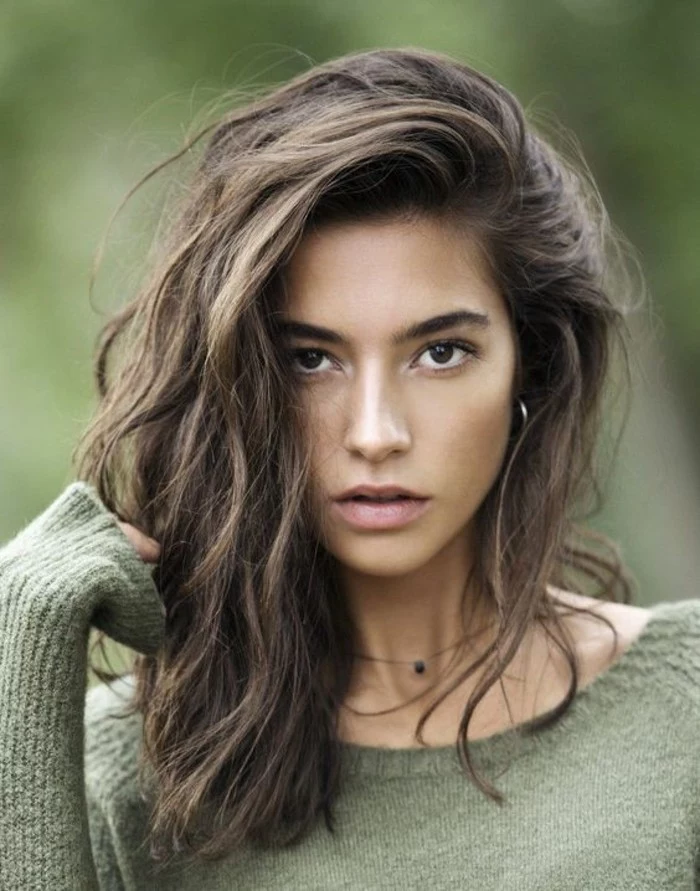
Embrace the warmth! While ashy tones are popular, asking for them on very dark hair can lead to a dull, muddy result and requires more aggressive bleaching. Rich, warm tones like golden honey, chestnut, and amber are often more flattering for natural brunettes, reflect more light, and fade more gracefully.
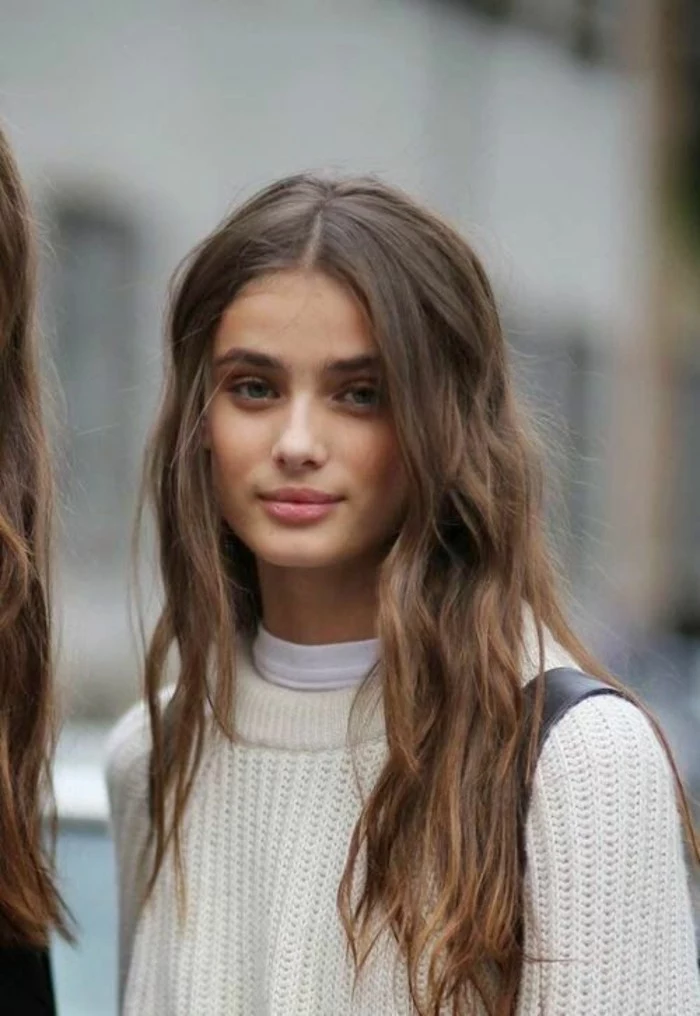
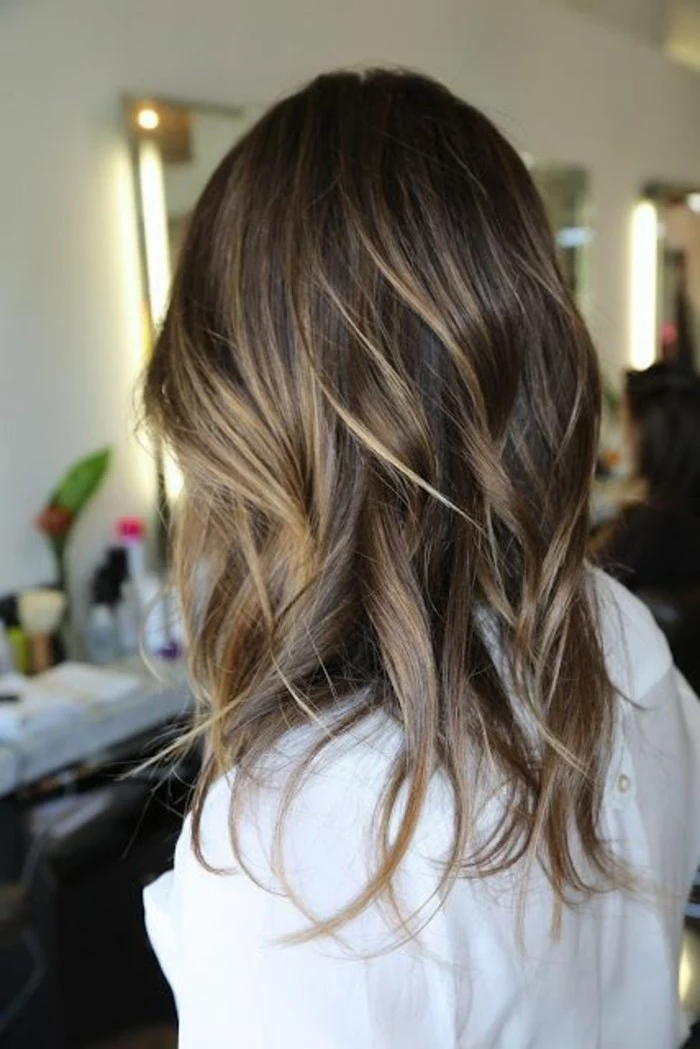
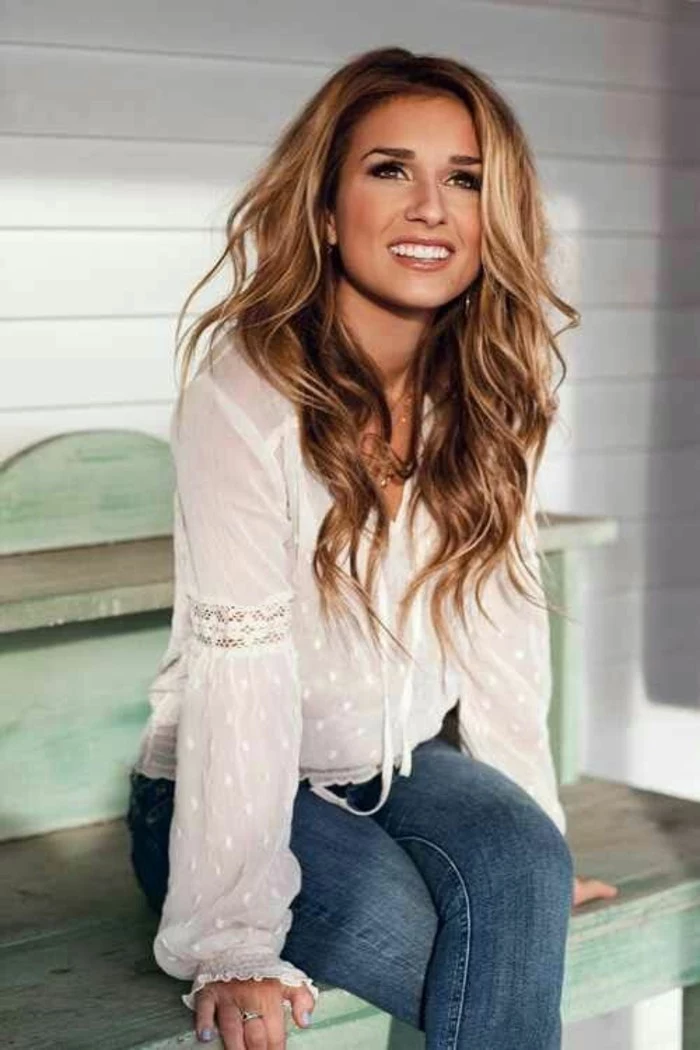
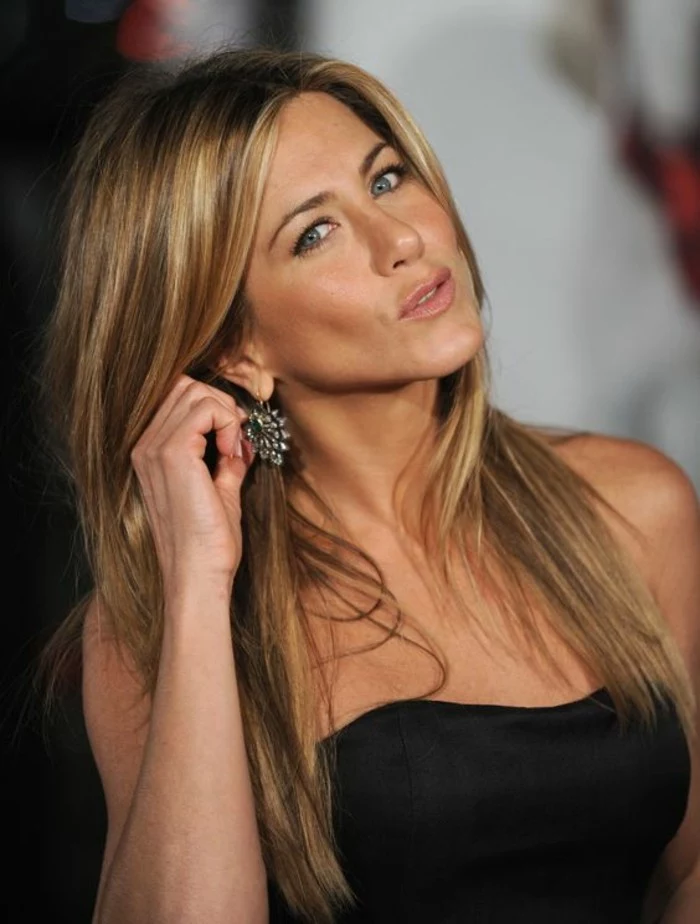
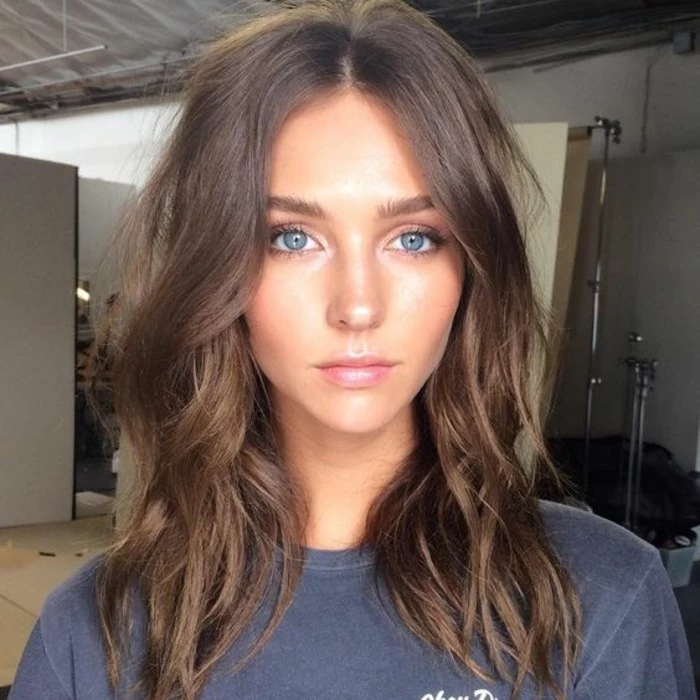
- Subtle, whisper-light pieces that mimic a child’s natural sun-kissed hair.
- A delicate and ultra-blended effect with no harsh lines.
The technique? Ask your stylist for ‘babylights’ integrated into your balayage for the most natural, low-maintenance grow-out possible.
Fact: UV rays don’t just damage your skin; they can bleach your hair color, turning expensive caramel tones into unwanted brassy orange.
Before a day in the sun, spritz your hair with a UV protectant spray, just as you would apply sunscreen. Brands like Sun Bum and Coola make lightweight formulas that won’t weigh your hair down.
Crucial step: A ‘gloss’ or ‘toner’ service, often done at the shampoo bowl after lightening, is non-negotiable for a beautiful brunette balayage. The initial lifting process reveals underlying warmth (the dreaded orange). The gloss is what neutralizes that brassiness and deposits the beautiful target shade, be it a cool beige, a warm honey, or a rich chocolate.
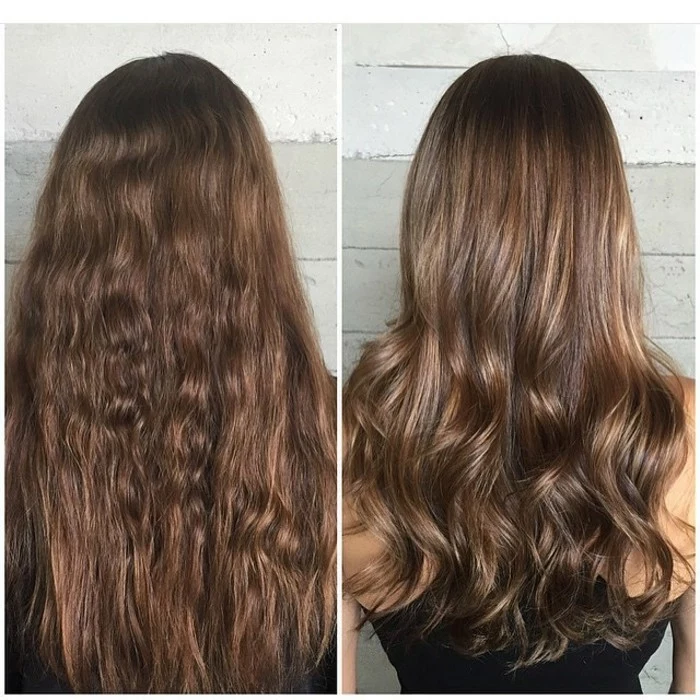
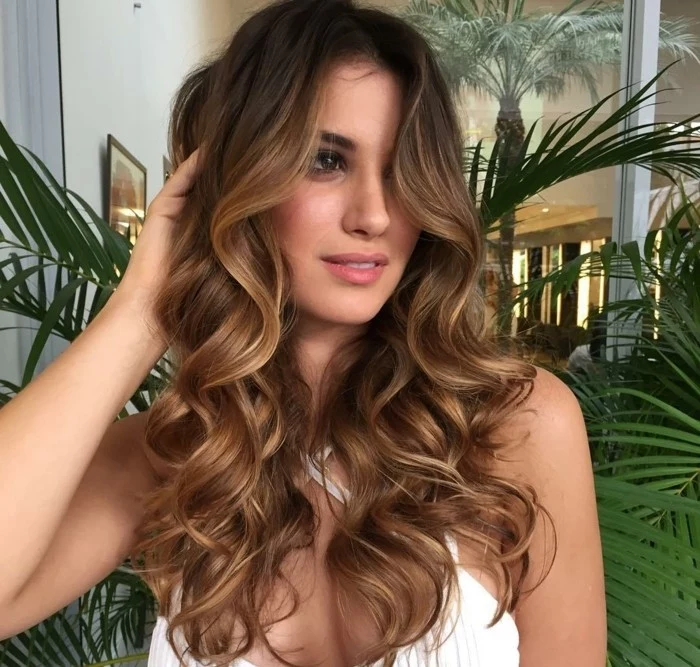
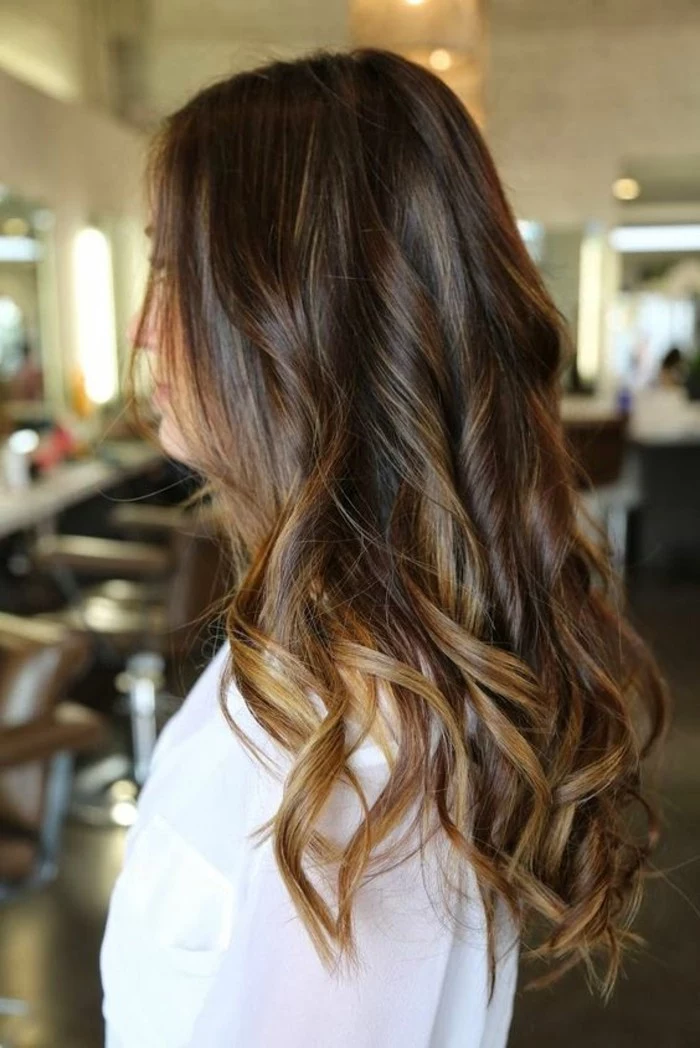
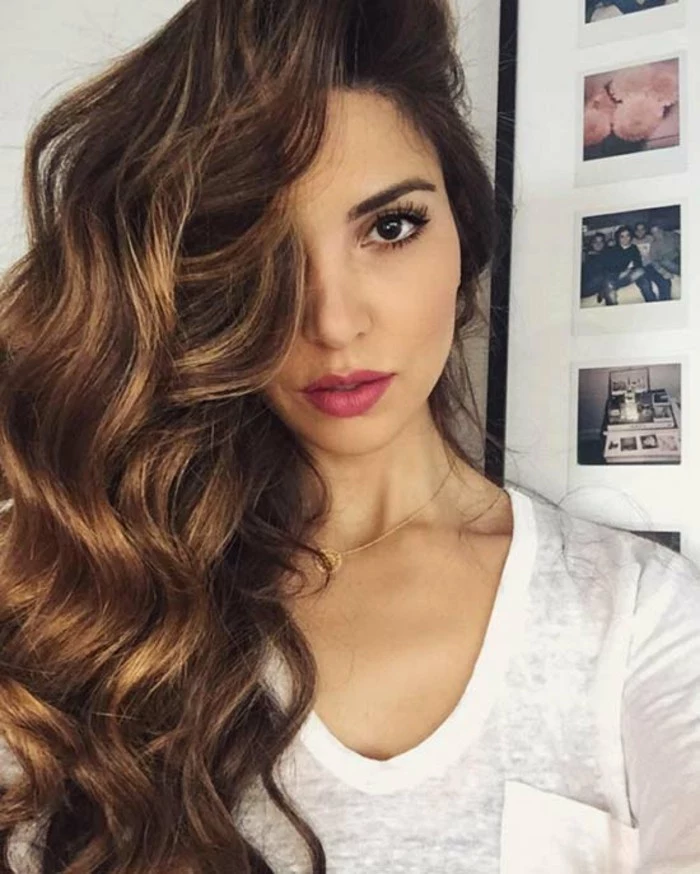
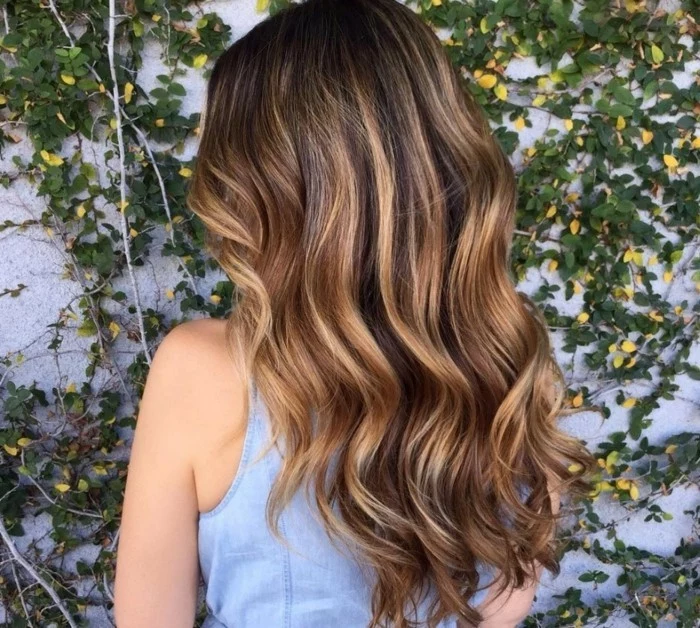
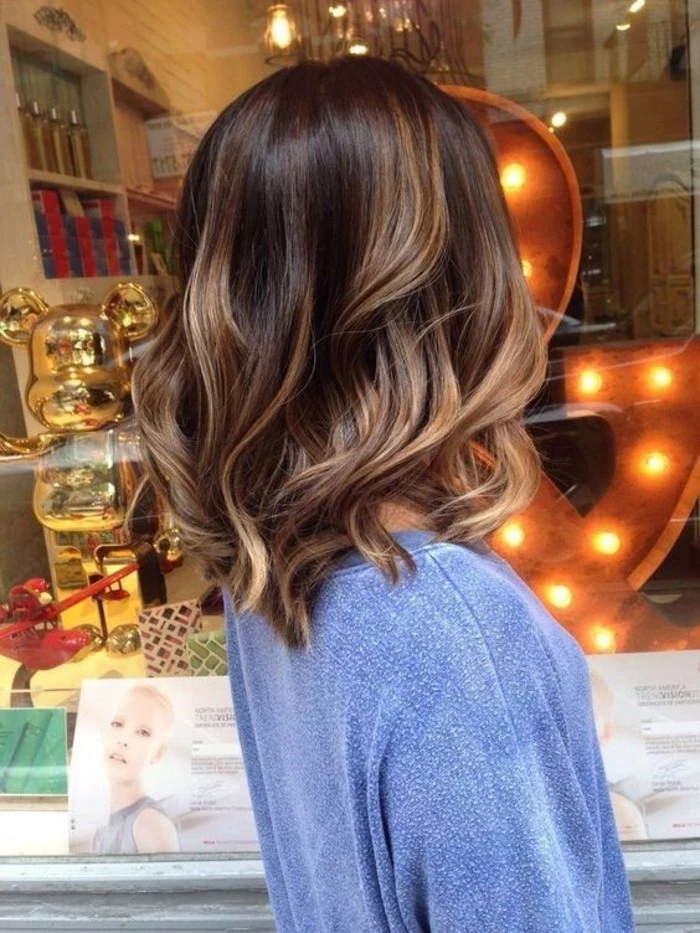
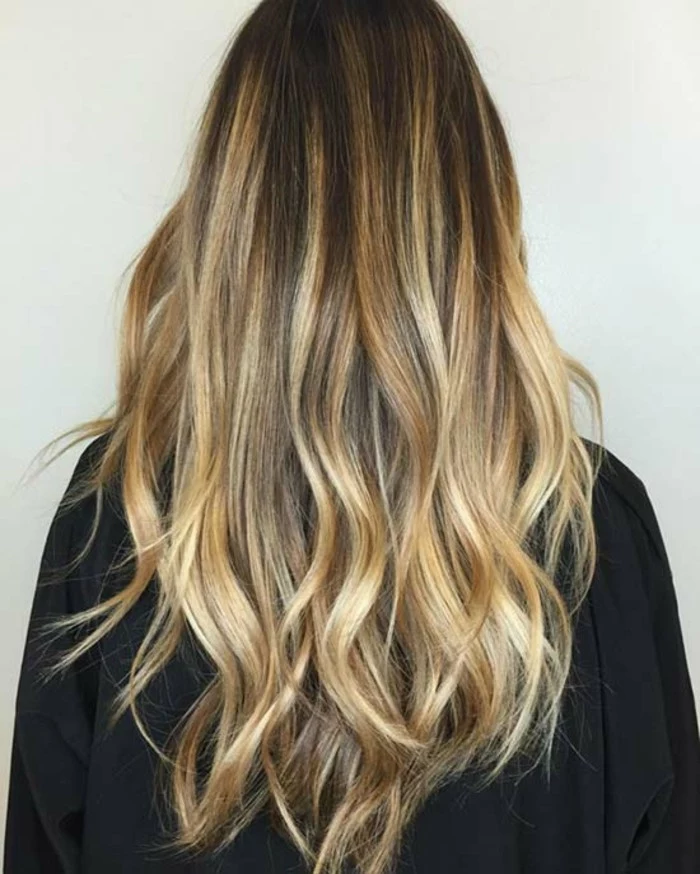
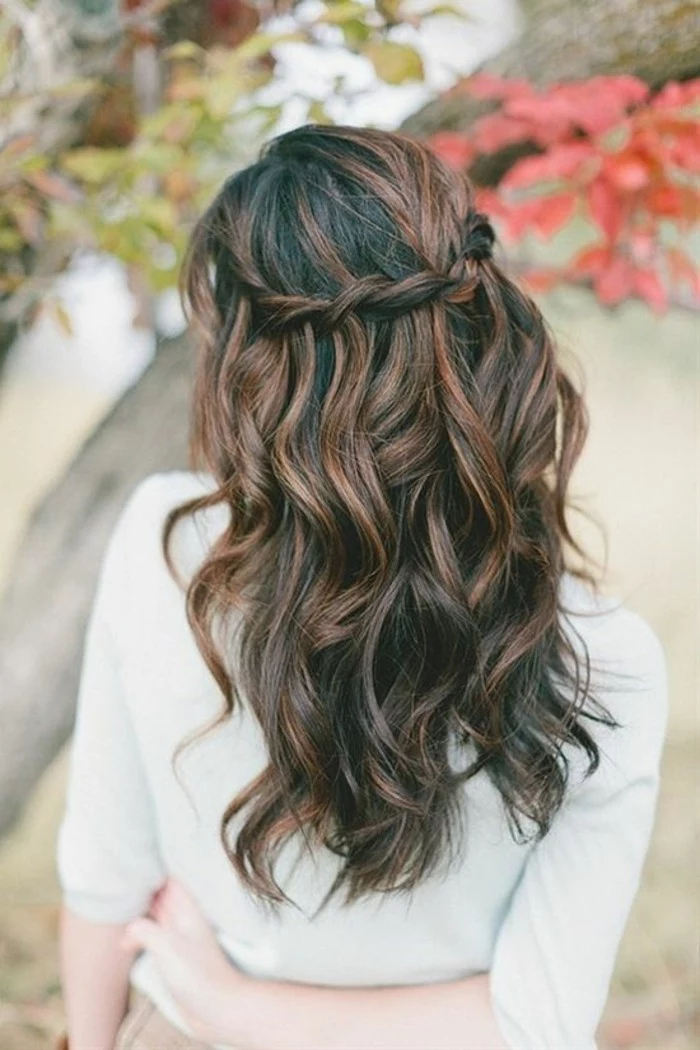
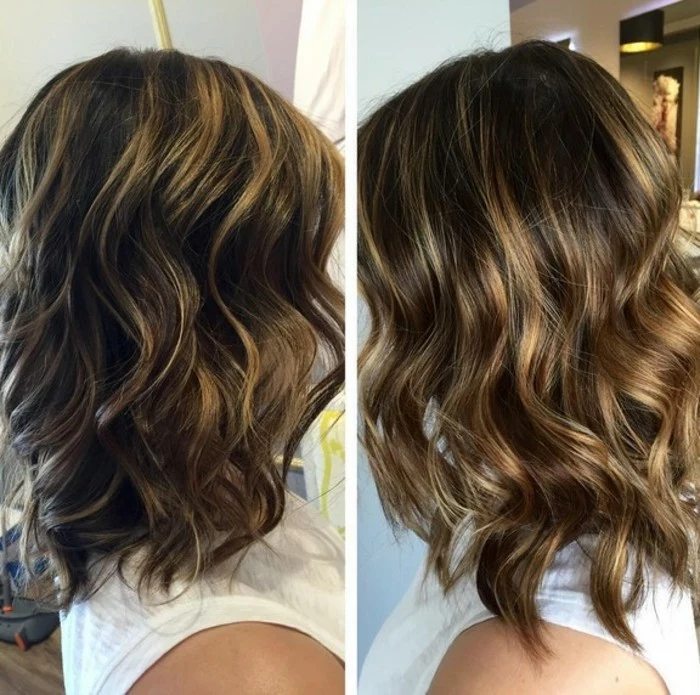
The way you style your hair can completely change how your balayage looks. Soft, loose waves are the ultimate way to showcase the blended dimensions and ribbons of color. The curves catch the light and make the highs and lows of your new color truly stand out.
Can I get a platinum blonde balayage on my black hair in one go?
Almost certainly not, and you should be wary of any stylist who says you can. Safely lifting dark hair to a very light blonde requires multiple sessions, spaced 6-8 weeks apart, to maintain the integrity of your hair. Patience is the key to getting a light result without breakage and damage.
Your Essential Home Care Toolkit
To protect your investment, three products are non-negotiable:
- Sulfate-Free Shampoo: To gently cleanse without stripping color.
- A Quality Hair Mask: To replenish moisture and protein lost during the lightening process. Look for one like Shu Uemura’s Ultimate Reset Masque.
- A Heat Protectant: To prevent styling tools from fading your new color and causing further damage.
The Investment View: While the initial cost of balayage is higher than traditional highlights, the upkeep is often less frequent. Because the color is painted on for a natural, blended grow-out, you can go 3-6 months between appointments, versus the 6-8 weeks required for foils. Over a year, the cost can be surprisingly comparable.

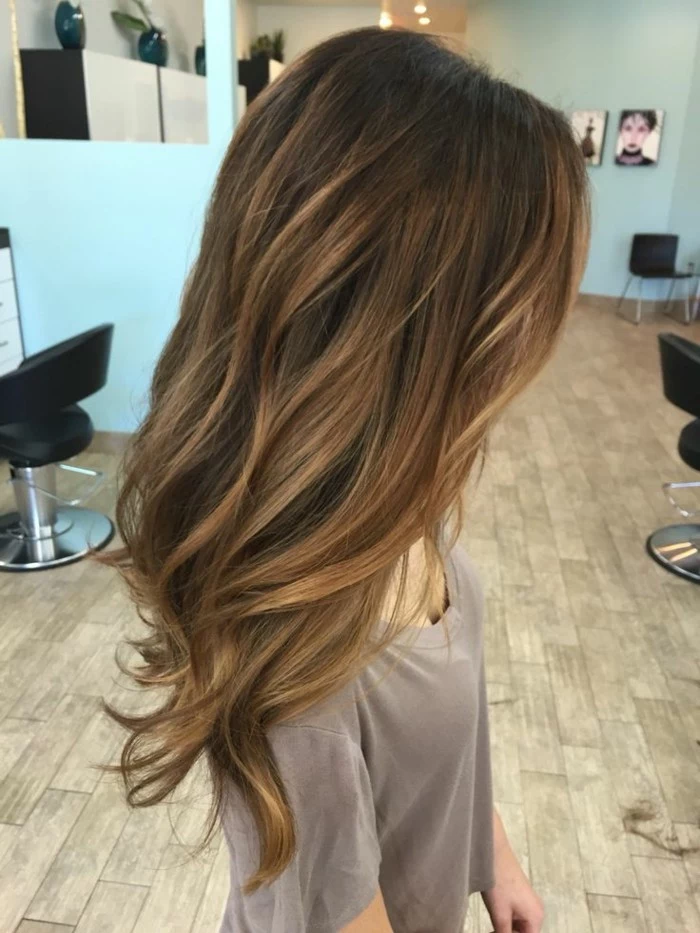
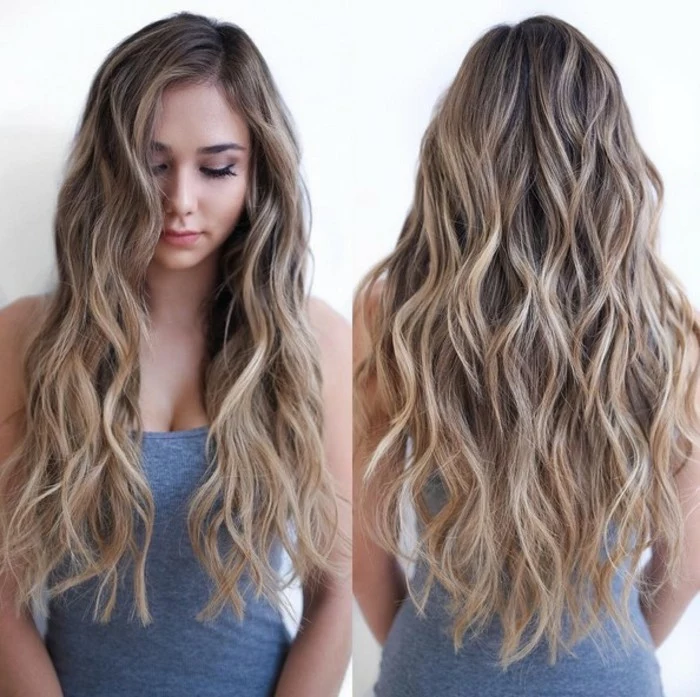
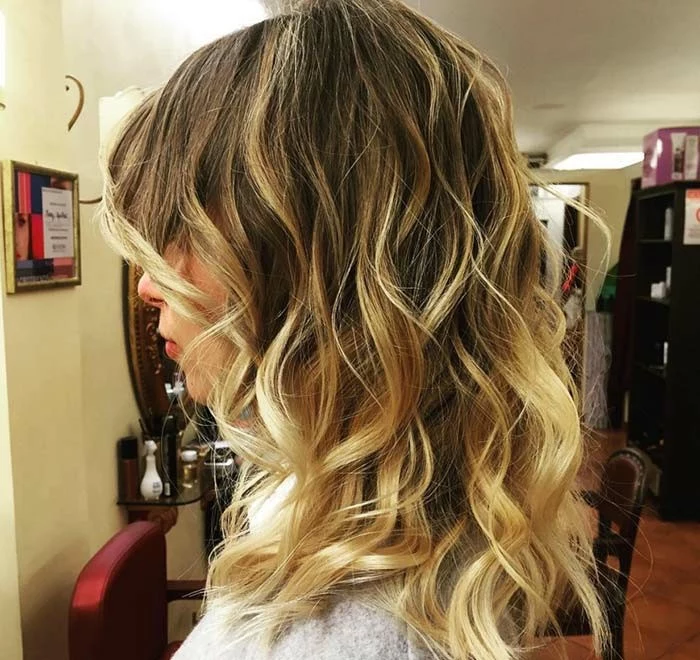
- Creates effortless texture and volume.
- Enhances the separation between your highlighted and base colors.
- Gives you that perfect ‘I just left the beach’ look.
The secret? A texturizing spray. After curling, a light mist of a product like Oribe’s Dry Texturizing Spray will break up the waves and make your balayage dimensions pop.
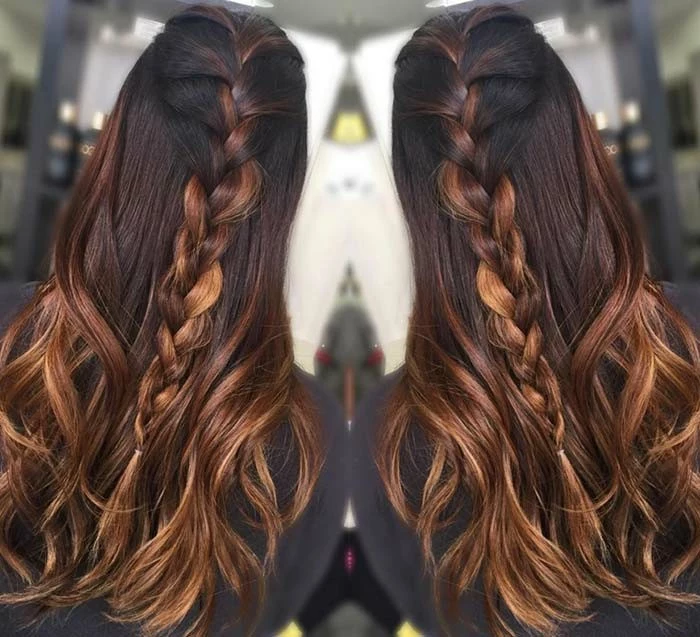
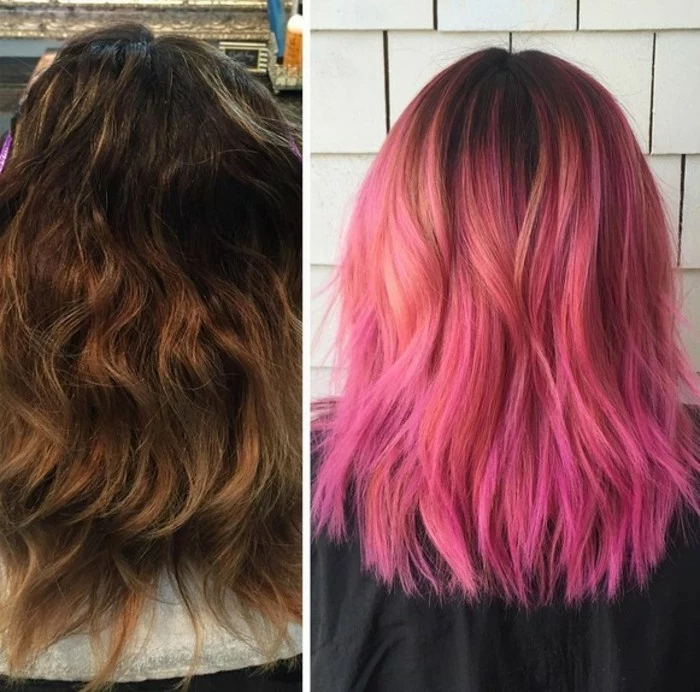
Balayage vs. Ombré: Balayage involves painting highlights throughout the hair for a blended, sun-kissed look. Ombré is a more dramatic, two-toned effect with a clear transition from a dark root to a much lighter end.
Choose balayage for natural dimension and ombré for a bolder, more intentional statement.
Swimming pool chlorine can strip color and leave a greenish tint on lighter balayage pieces.
Pro tip: Before you dive in, wet your hair with clean tap water and apply a light layer of conditioner. This fills the hair shaft, so it can’t absorb as much damaging chlorinated water. Rinse immediately after your swim.
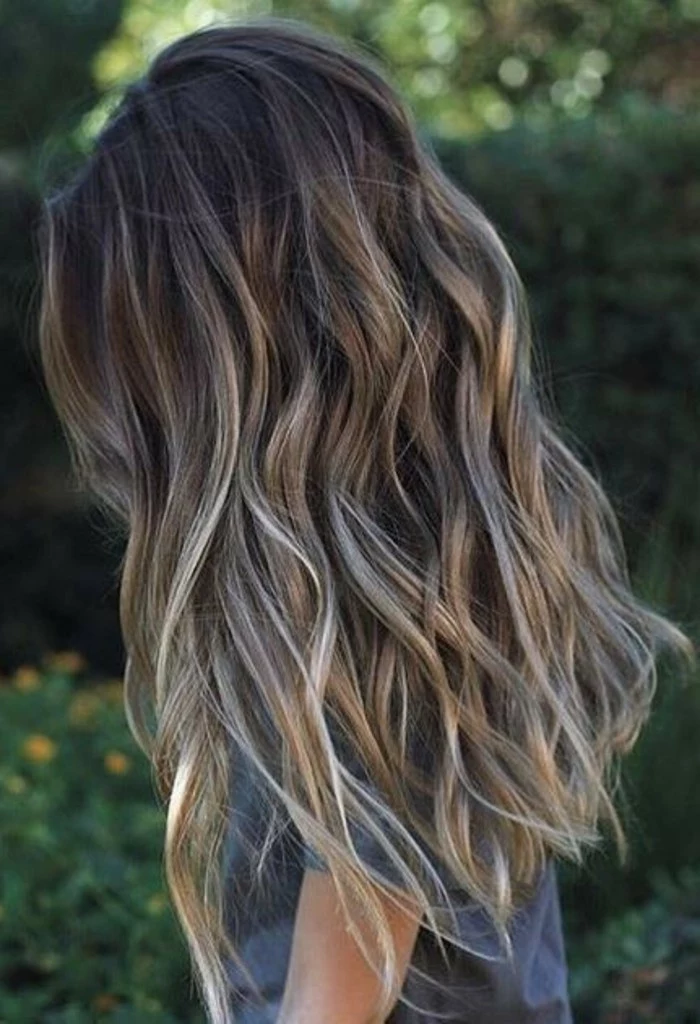
Ask your stylist about incorporating a ‘shadow root’ or ‘root melt’. This is a technique where they apply a gloss close to your natural color at the root, blurring the line where the highlights begin. It ensures the grow-out is absolutely seamless and buys you even more time between salon visits.
Warning: Be careful with at-home color-depositing masks if you have a complex, multi-tonal balayage. A single-color product applied all over can muddy your carefully placed highlights, erasing the dimension your stylist worked so hard to create. If in doubt, stick to a clear gloss or conditioning mask.
What about grey coverage?
Balayage itself doesn’t typically cover greys at the root, as it’s applied away from the scalp. However, it can be a fantastic way to blend them in. The multi-tonal highlights help camouflage sparse greys, making them look like part of the overall dimension. For heavy grey coverage, you’ll need a separate root touch-up service in addition to your balayage.
The feeling of walking out of the salon with a fresh balayage is unmatched. The way the lighter pieces catch the light as you move your head and brighten up your whole complexion is an instant mood-lifter. It’s not just a hair color; it’s a wearable confidence boost.


