Thinking About a Lob? Here’s the Real Talk on the Long Bob Haircut
Over my career as a stylist, I’ve seen a ton of haircut trends come and go. But one style is always, and I mean always, on the request list: the long bob. We just call it the “lob” in the salon, but it’s so much more than a trendy cut. It’s a powerhouse. It manages to be structured, flowy, and practical all at once, and honestly, it can be tweaked to work for almost anyone.
In this article
- Part 1: The Big Question: Is a Long Bob Right for You?
- Part 2: The Salon Visit: How to Get the Haircut You Actually Want
- Part 3: The Process: A Peek Behind the Chair
- Part 4: Finding Your Perfect Lob Variation
- Part 5: Let’s Talk Color for Your Lob
- Part 6: Keeping It Great at Home (and Fixing Problems)
- Galerie d’inspiration
I’ve cut this style on busy moms who need something easy, corporate leaders who need to look sharp, and young artists who want something with an edge. The goal is always the same: create a shape that looks intentional but feels totally effortless. So, this isn’t just a gallery of cute pictures. This is the stuff I’ve learned from thousands of hours behind the chair. We’re going to get into the little details that take a haircut from “nice” to “WOW,” how to talk to your stylist so you get what you want, and how to keep it looking amazing at home.

Part 1: The Big Question: Is a Long Bob Right for You?
First things first, let’s talk. A good consultation is where the magic really starts, and a great stylist should listen way more than they talk. We need to get to know your hair, sure, but we also need to get to know your life. So many articles obsess over face shape, but in my experience, that’s only a tiny piece of the puzzle. The real deciding factors are your hair’s texture and how much work you’re willing to put in.
Let’s Get Real About Your Hair Texture
Hair isn’t just “straight” or “curly.” It has texture (how thick each individual strand is) and density (how many of those strands you have). These two things completely dictate how a lob will sit and move.
For Fine Hair:
If you have fine hair, you’re probably chasing volume. A lob can be your best friend, but the technique is everything. I almost always recommend a blunt, one-length cut. It sounds simple, but by creating a strong, solid line at the bottom, we trick the eye into seeing thickness and weight. The strands all support each other. I generally steer clients away from heavy, obvious layers, which can make the ends look thin and flimsy. If you want movement, I’ll use a technique called “ghost layers”—subtle, internal layers that you can’t see but that give the hair life without sacrificing that full-looking edge. I’ll never forget a client who came in with fine, long hair, absolutely terrified a bob would make it look thinner. We did a sharp lob with some of those hidden layers, and she almost cried seeing how much thicker and healthier her hair looked. It’s all about the right technique!
For Thick or Coarse Hair:
With thick hair, we have the opposite mission: remove weight to avoid the dreaded “pyramid head,” where the bob puffs out at the bottom. This is where a stylist’s real skill comes into play. A simple blunt line won’t cut it. We have to take out bulk from the inside of the haircut. I use techniques like deep point cutting (cutting vertically into the ends to soften them) or slide cutting (gliding open shears down the hair to seamlessly remove weight). Heads up! I never, ever use old-school thinning shears aggressively. I once had to fix a cut where a less experienced stylist had used them way too close to the root, creating these short, spiky pieces that stuck out and took months to grow out. Proper weight removal should be totally invisible.
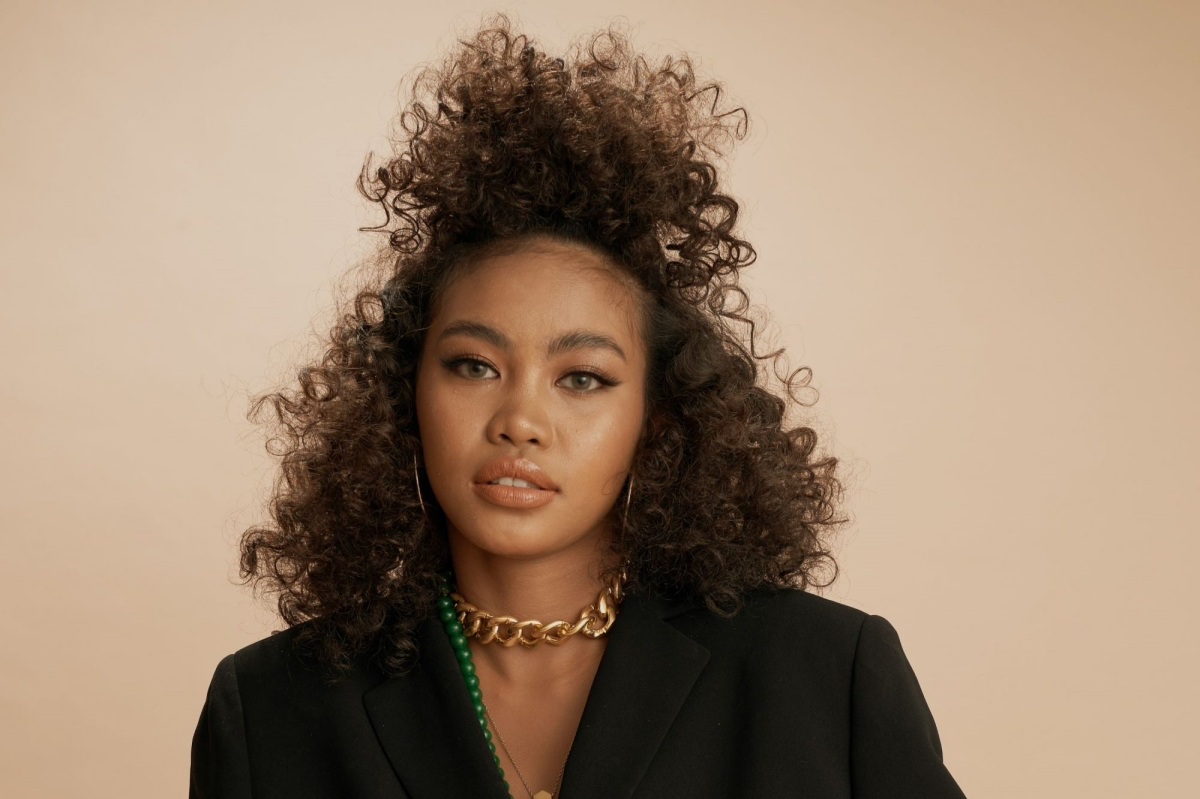
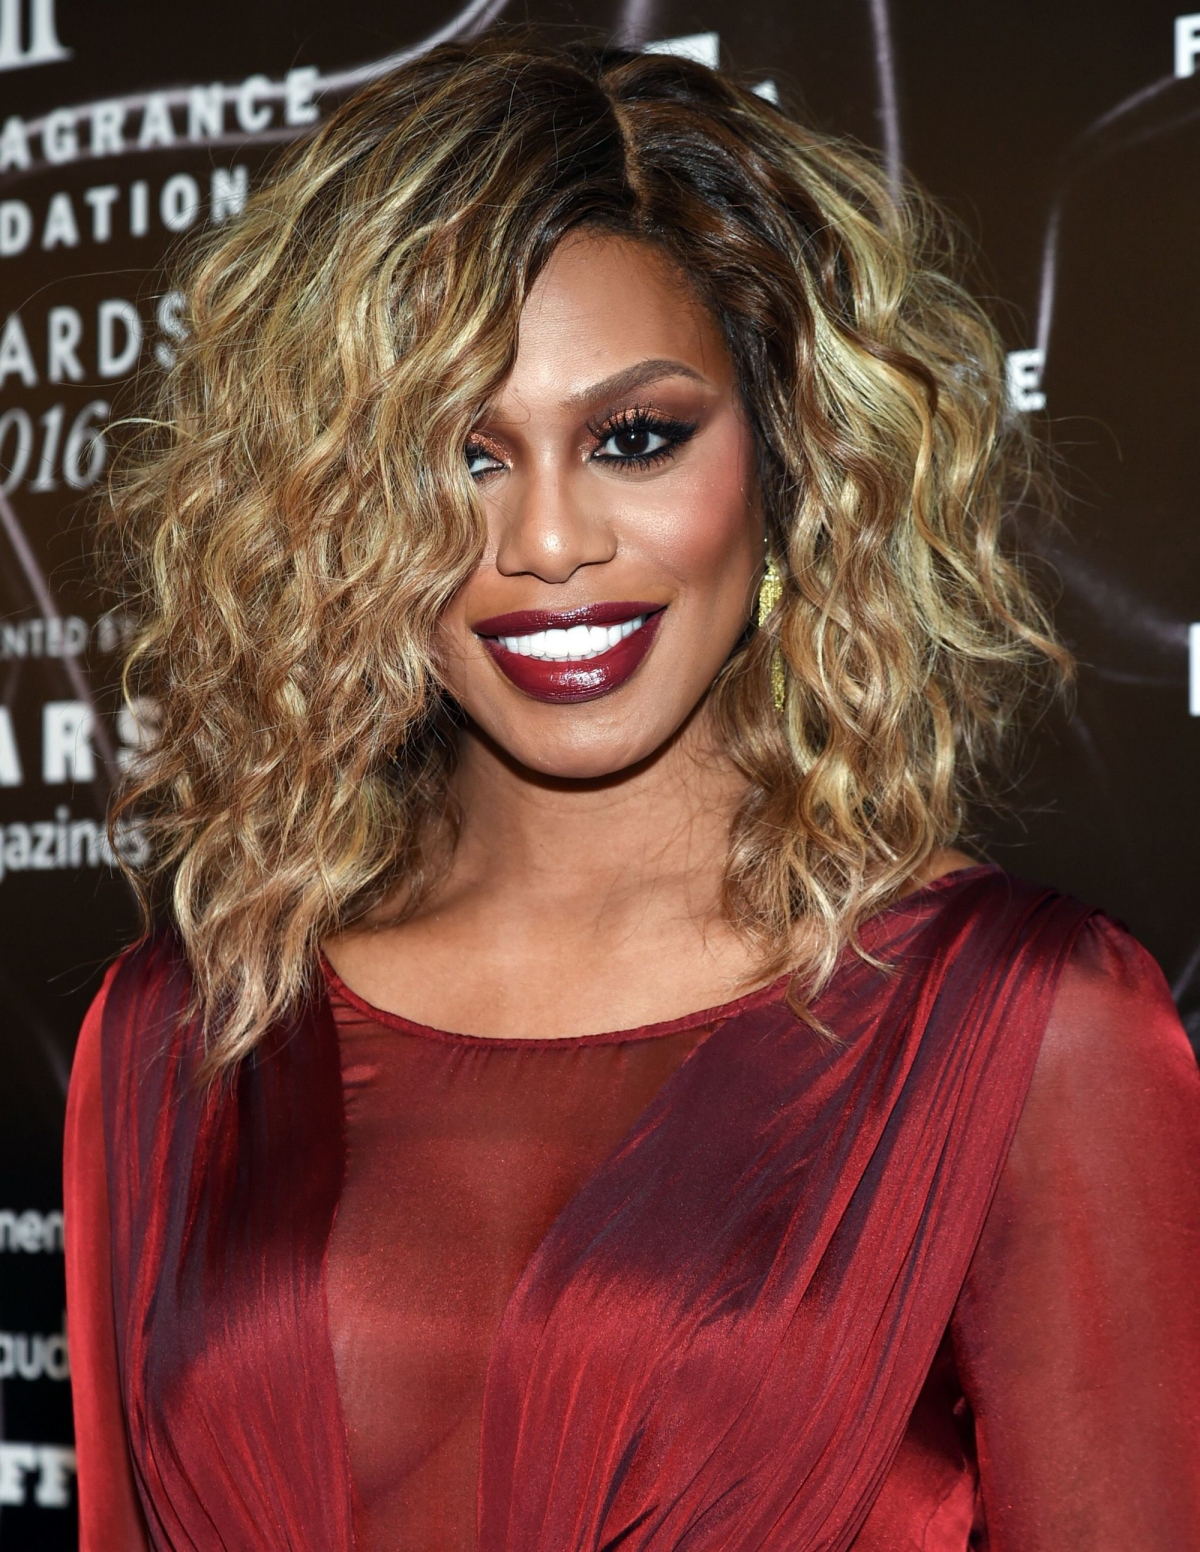
For Wavy and Curly Hair:
A lob on wavy and curly hair is absolutely gorgeous, but it demands a special approach. I can’t stress this enough: find a stylist who is trained in dry cutting for your hair type. Here’s why: curly hair has a massive “spring factor.” A curl that’s long when wet might shrink up by inches when it’s dry. If you cut it wet, you’re just guessing where it’s going to land. When I cut a curly lob, I cut the hair completely dry, in its natural state. I shape the cut curl by curl, which guarantees a balanced shape with no nasty surprises.
Good to know: Wondering how to find a curly hair expert? A great trick is to search on Instagram for hashtags like
[yourcity]curlyhair,
[yourcity]drycut, or #[yourcity]curlyspecialist. You can also check the official salon locators on websites for curl-focused brands like DevaCurl or Rezo.
Your Lifestyle and a Realistic Commitment
I always have a very frank chat with my clients about upkeep. A photo on Pinterest looks amazing, but it was probably styled for two hours by a pro. You need a cut that works for your real life.
- Time: How much time do you actually spend on your hair? Be honest. A super-sleek, glassy lob needs daily attention with a flat iron. Those “effortless” beach waves require a curling wand and some product. A curly lob might need 20 minutes of diffusing. Tell your stylist the truth about your 15-minute morning routine.
- Trims: A sharp, blunt lob needs a tune-up every 6 to 8 weeks to keep that line looking crisp. The second the ends start hitting your shoulders, they’ll want to flip out. A softer, more textured lob is way more forgiving and can often go 10 to 12 weeks between salon visits.
- Budget: A great haircut is an investment, so let’s talk numbers. In a major city, a precision lob from a senior stylist can run anywhere from $120 to $250 or more. In a smaller town, you might be looking at a more modest $75 to $150. A junior stylist will be cheaper, of course, but for a technical cut like this, you’re really paying for experience. And don’t forget to factor in color services and the products you’ll need to maintain the look at home.

Part 2: The Salon Visit: How to Get the Haircut You Actually Want
A successful haircut is a team effort. You bring the vision, and the stylist brings the technical skill. To make it work, you need to be speaking the same language.
Before You Go
Bring pictures! But don’t just plop them down and say, “I want this.” Use them as a tool. Point to specific things you like, such as, “I love how soft the ends are here,” or “This length is perfect, but I don’t want the bangs.” It’s just as helpful to bring photos of what you don’t like. It gives your stylist clear boundaries. Also, be ready to spill your hair’s life story. Did you have a bad bleach job a couple of years ago? The ends of your hair remember everything, and we need to know what we’re working with.
Key Terms to Sound Like a Pro
Knowing a few key terms can make a world of difference:
- Perimeter: This is just the bottom outline of the cut. It can be “blunt” (a super sharp line), “textured” (softened and piecey), or “asymmetrical” (uneven on purpose).
- A-Line: This means the cut is shorter in the back and gets longer toward the front. It’s a powerful look that really shows off a jawline.
- Graduation: This is about building a subtle, curved shape in the back by stacking layers. It’s common in shorter bobs but can be used in a lob to add a little lift at the crown.
- Layers: Layers can be obvious and shaggy or internal and invisible. Be clear if you want to see layers, or if you just want your hair to feel lighter.
Red Flags to Watch For
You have to trust the person holding the scissors. If you get a weird vibe during the consultation, it’s 100% okay to walk away. Here are some warning signs:
- They don’t ask a single question about your daily routine.
- They wave off your photos and say, “Don’t worry, I know what’s best.”
- They promise your fine, straight hair will look exactly like the picture of someone with thick, wavy hair.
- The salon isn’t clean. A displayed cosmetology license and proper sanitation are non-negotiable. This isn’t about being picky; it’s a matter of health and safety.
Part 3: The Process: A Peek Behind the Chair
A great haircut isn’t just random snipping; it’s geometry and physics. Every little thing matters. By the way, a good, precise cut can’t be rushed. Plan for your appointment to take about 60-90 minutes, especially if it’s a new style for you.
The Tools for the Job
We don’t just use one pair of scissors. My kit is full of specialized tools. I’ll use longer shears for cutting that initial blunt line, but then switch to smaller, more nimble shears for detailing around the face. Modern texturizing shears are used to subtly soften lines or remove bulk without leaving marks. And then there’s the razor, which can create the softest, most lived-in texture you’ve ever felt. But it has to be used correctly—only on wet, conditioned hair. A good razor cut is silent as it glides; a bad one makes a scraping sound you can hear and feel.
The Cutting Blueprint
After a relaxing shampoo, the first thing I do is section the hair into a clean, four-quadrant grid. This control is everything. We start in the back, creating the main guide for the entire cut. I always ask my client to sit up straight with their feet on the floor—even crossing your legs can tilt your head and make the line crooked! Then, I work my way up and around, connecting everything to that initial guide.
Once the basic shape is in, I cross-check my work by combing the hair in the opposite direction to look for any stray long pieces. It’s like a carpenter’s rule: measure twice, cut once. The final 10% is what makes the cut yours. I usually do this after the hair is dry. This is when I’ll point cut into the ends to break up the line, frame your face, or remove any remaining bulk. This is the artistry.
Part 4: Finding Your Perfect Lob Variation
The “long bob” isn’t just one haircut; it’s a whole family of them. Here are the most common versions and who they’re best for.
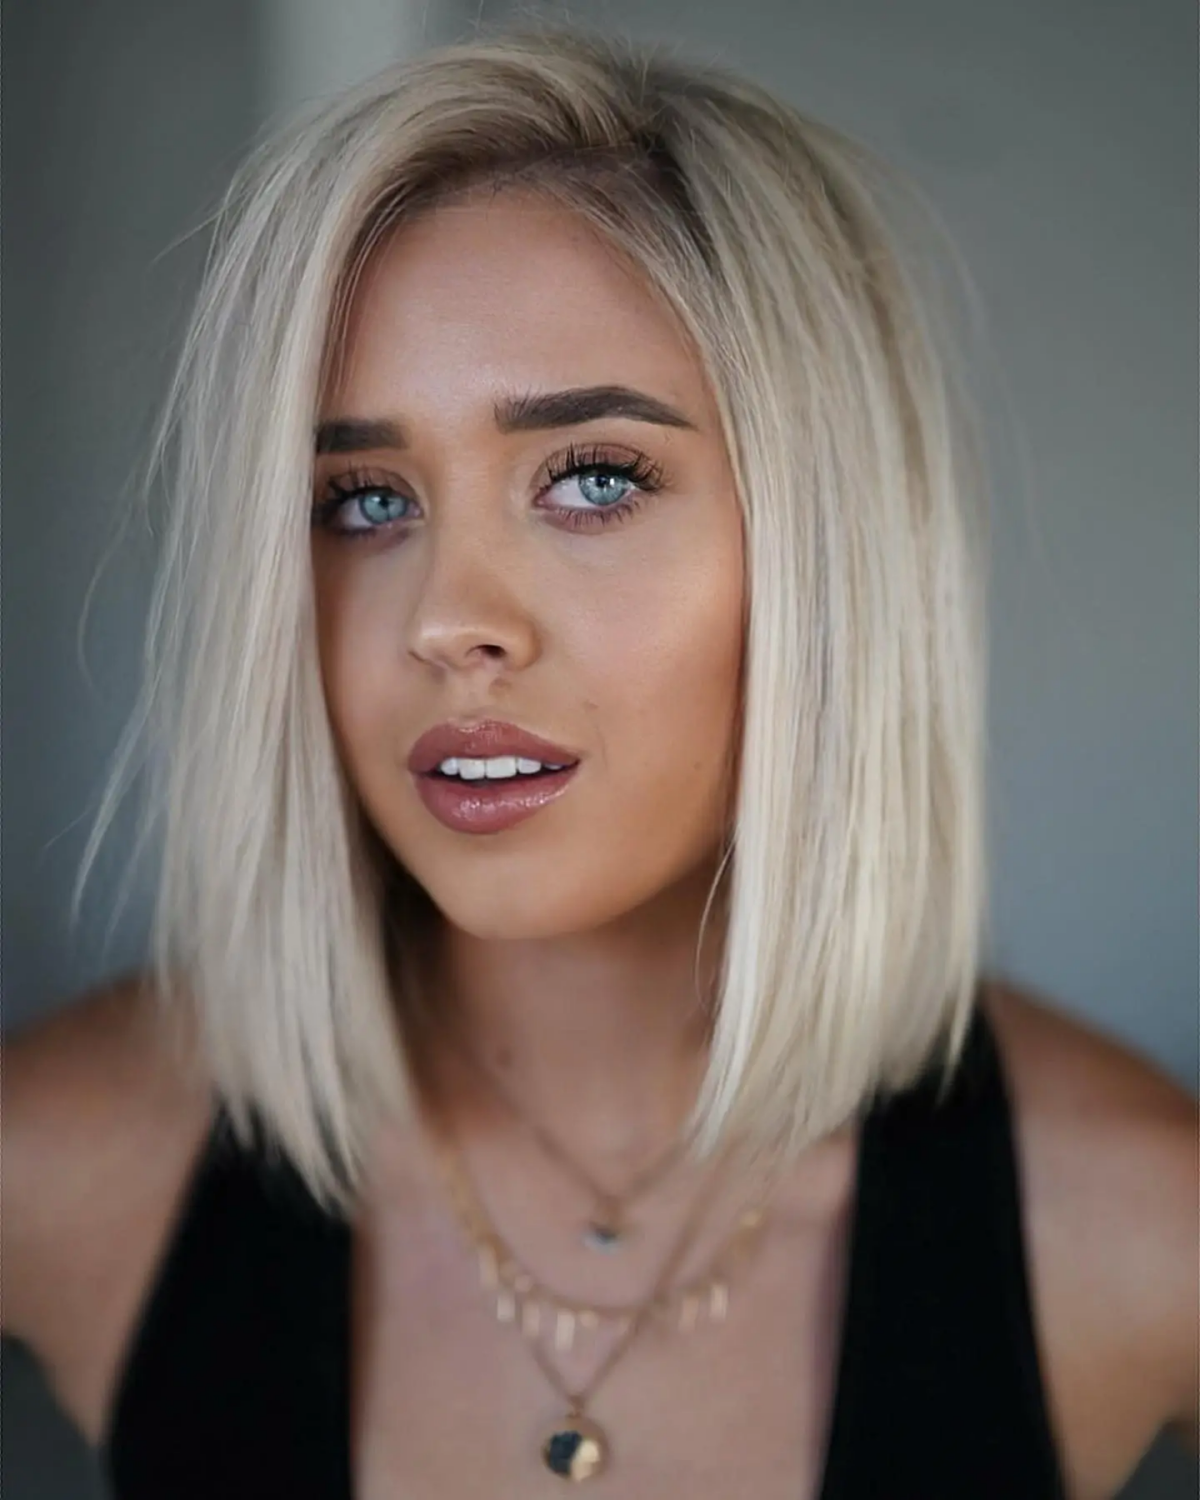
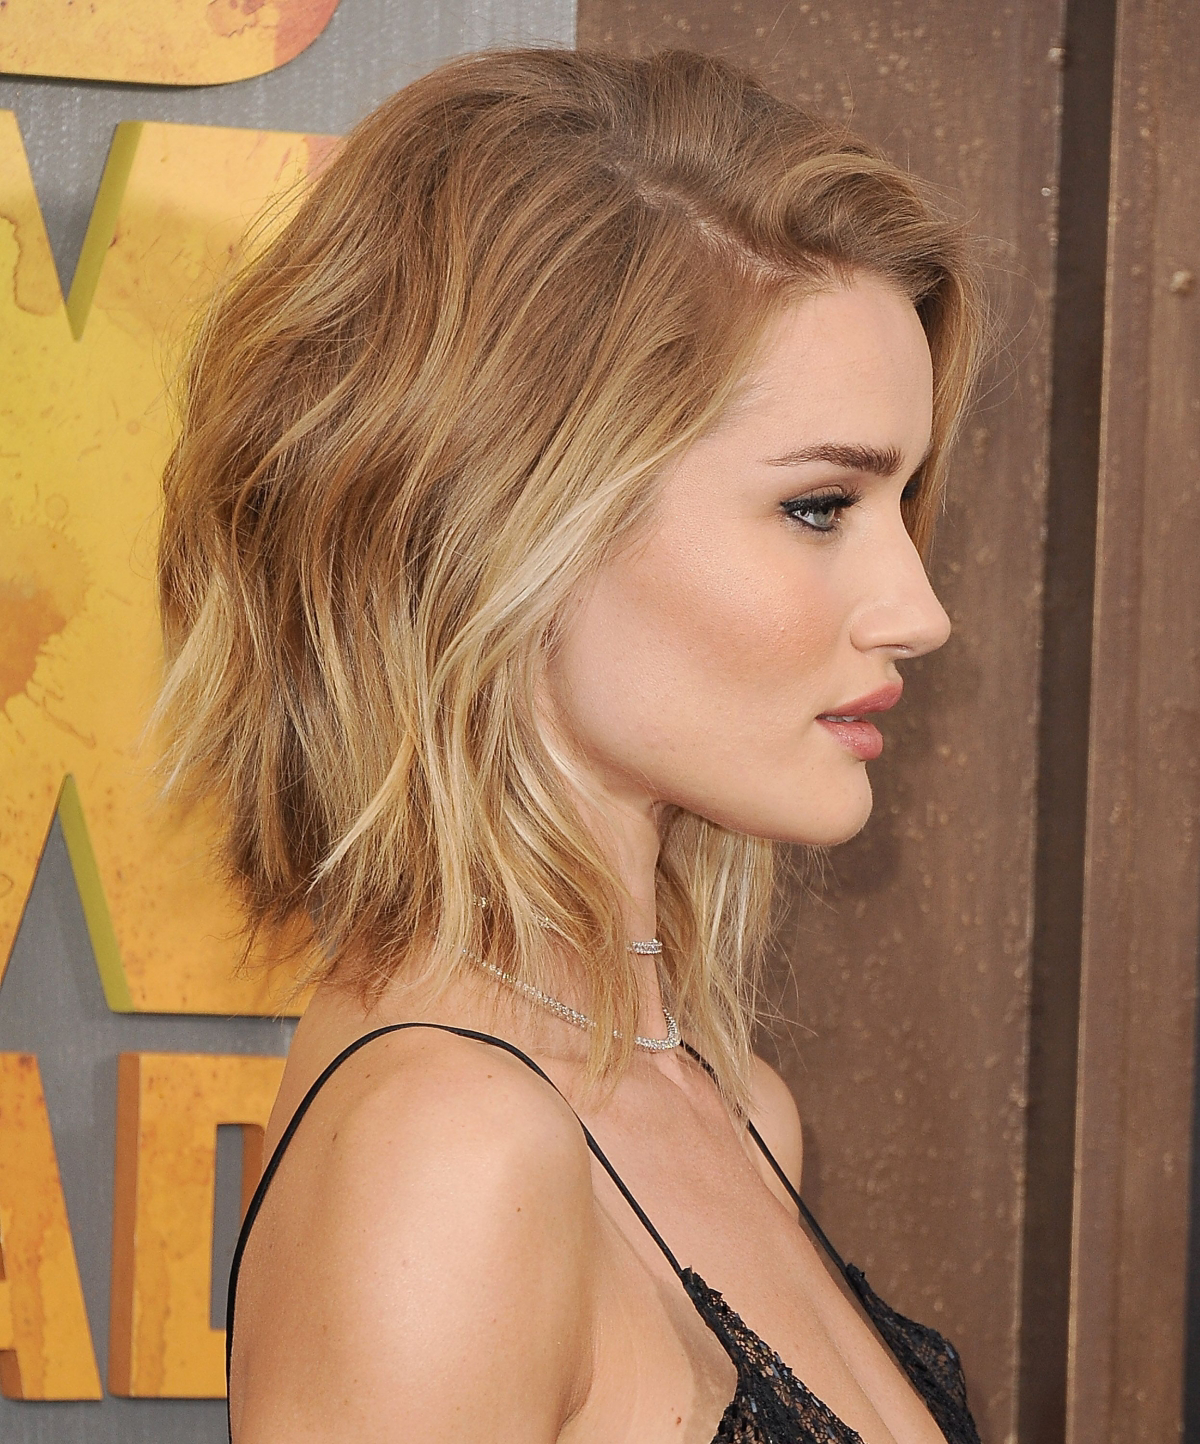
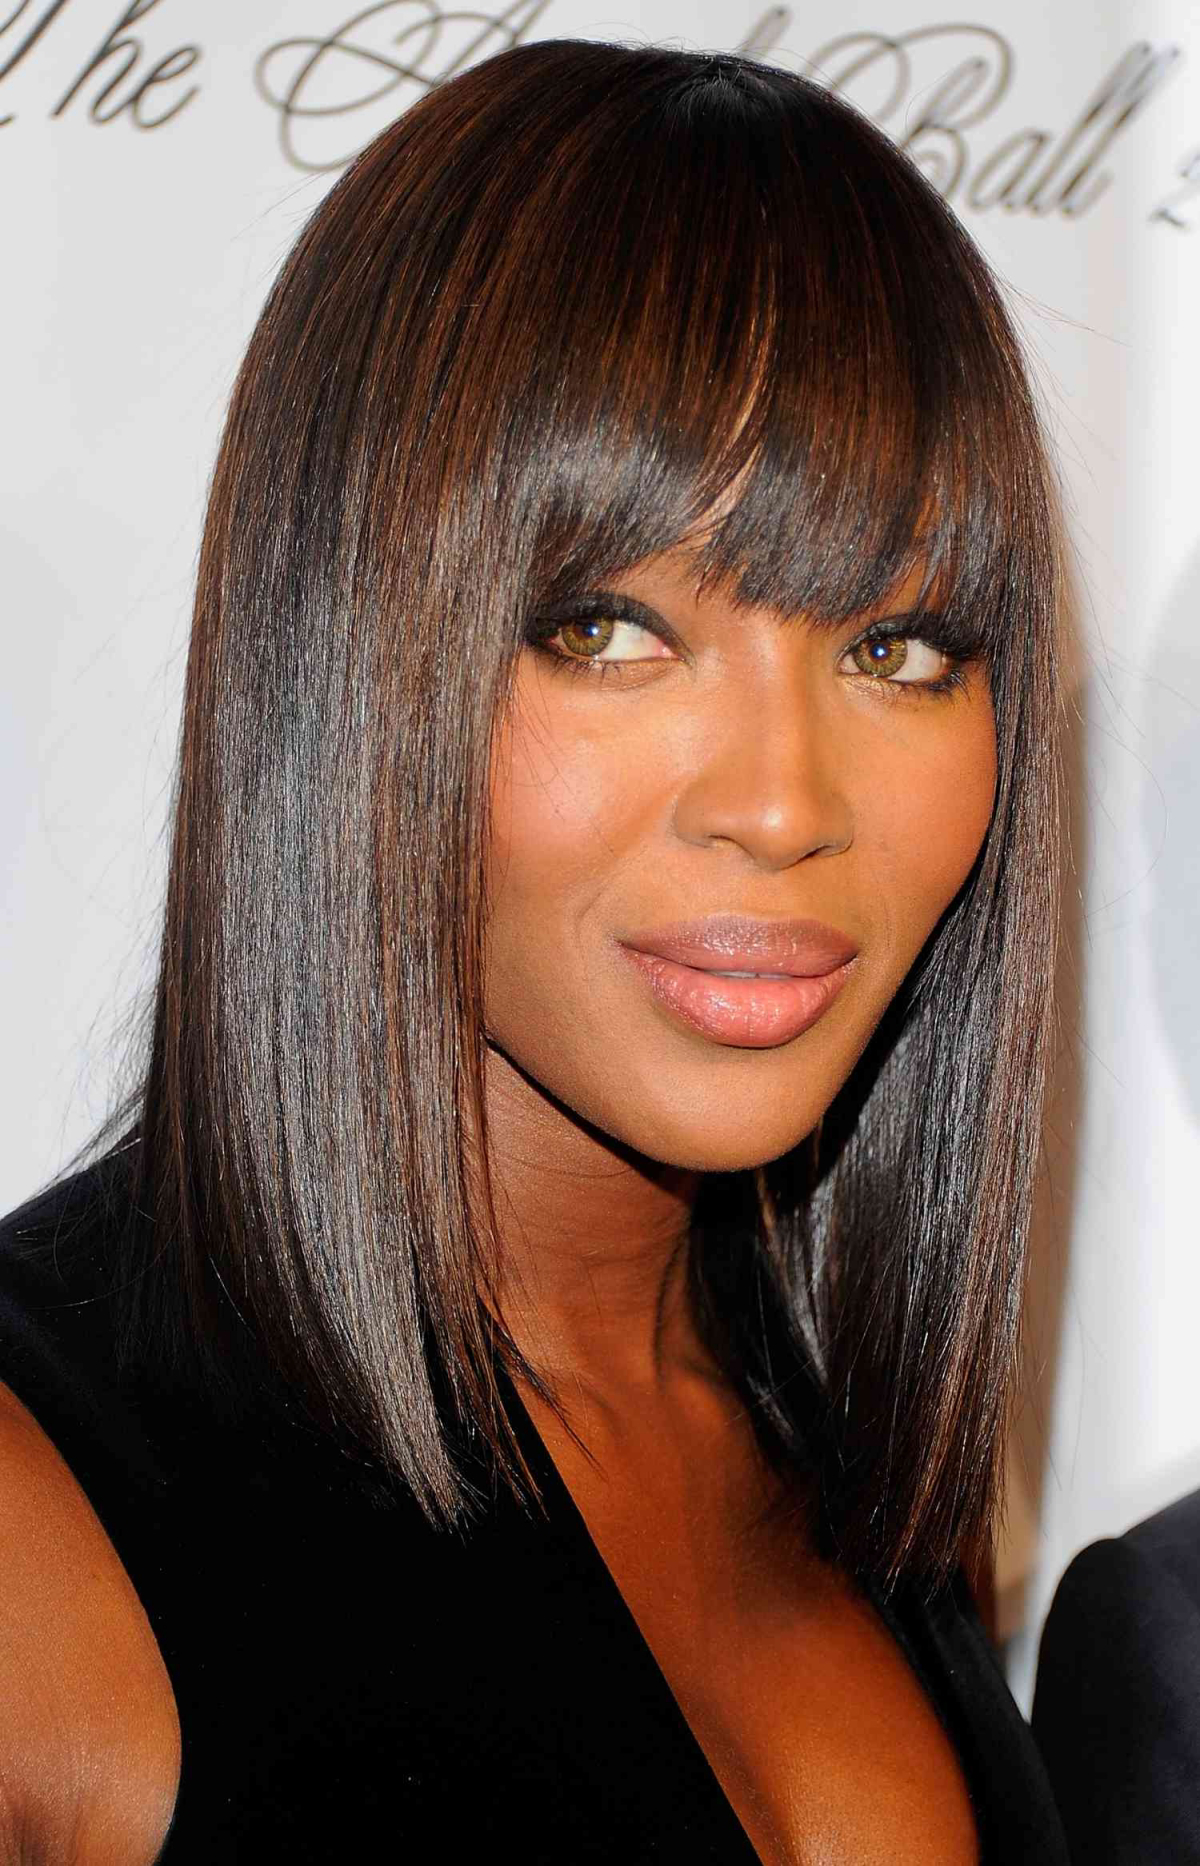
The Classic Blunt Lob
This is that iconic, sharp-edged lob. It’s chic, powerful, and clean. To get that liquid, “glass hair” finish, a quality flat iron and a heat protectant spray are non-negotiable.
- The Vibe: Sophisticated and strong.
- Best For: Straight or slightly wavy hair with fine to medium density.
- Maintenance: High. You’ll need trims every 6-8 weeks to keep that line perfect.
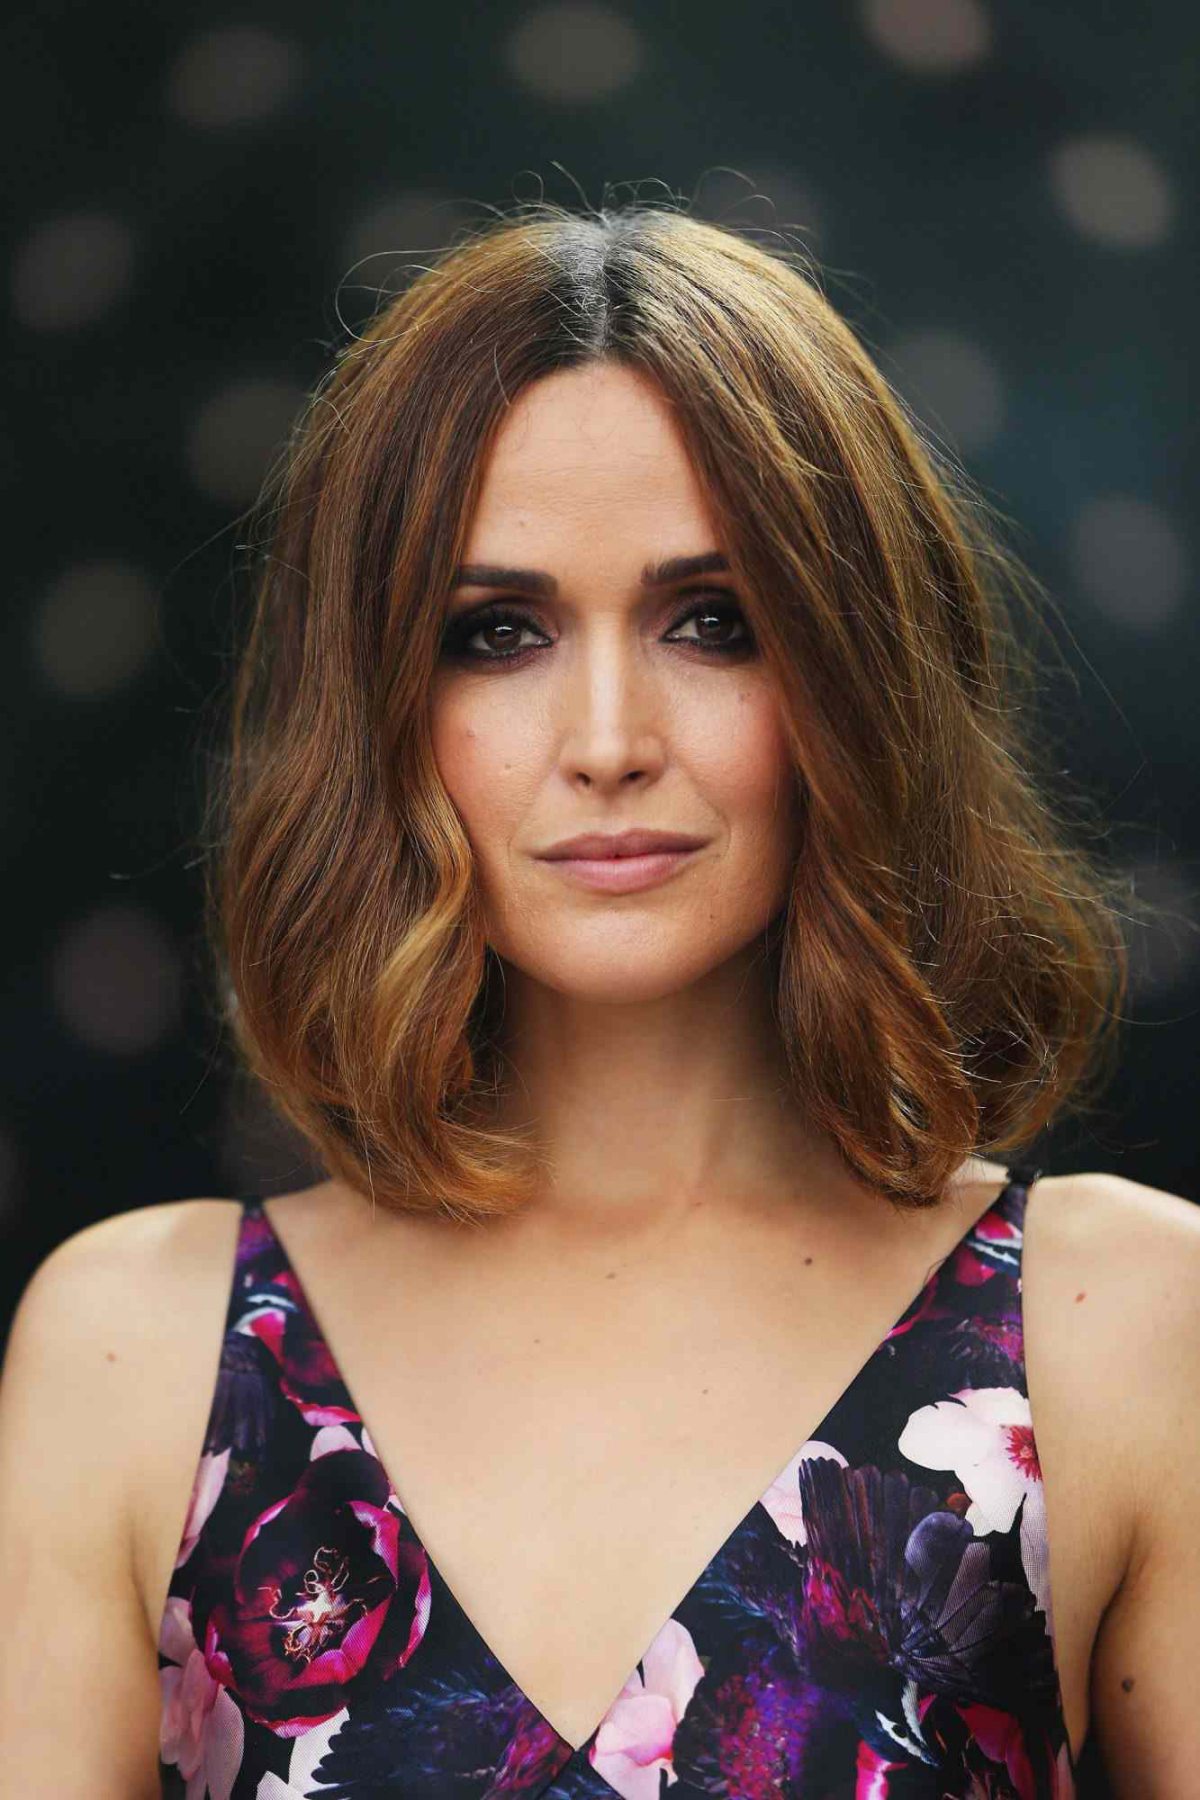
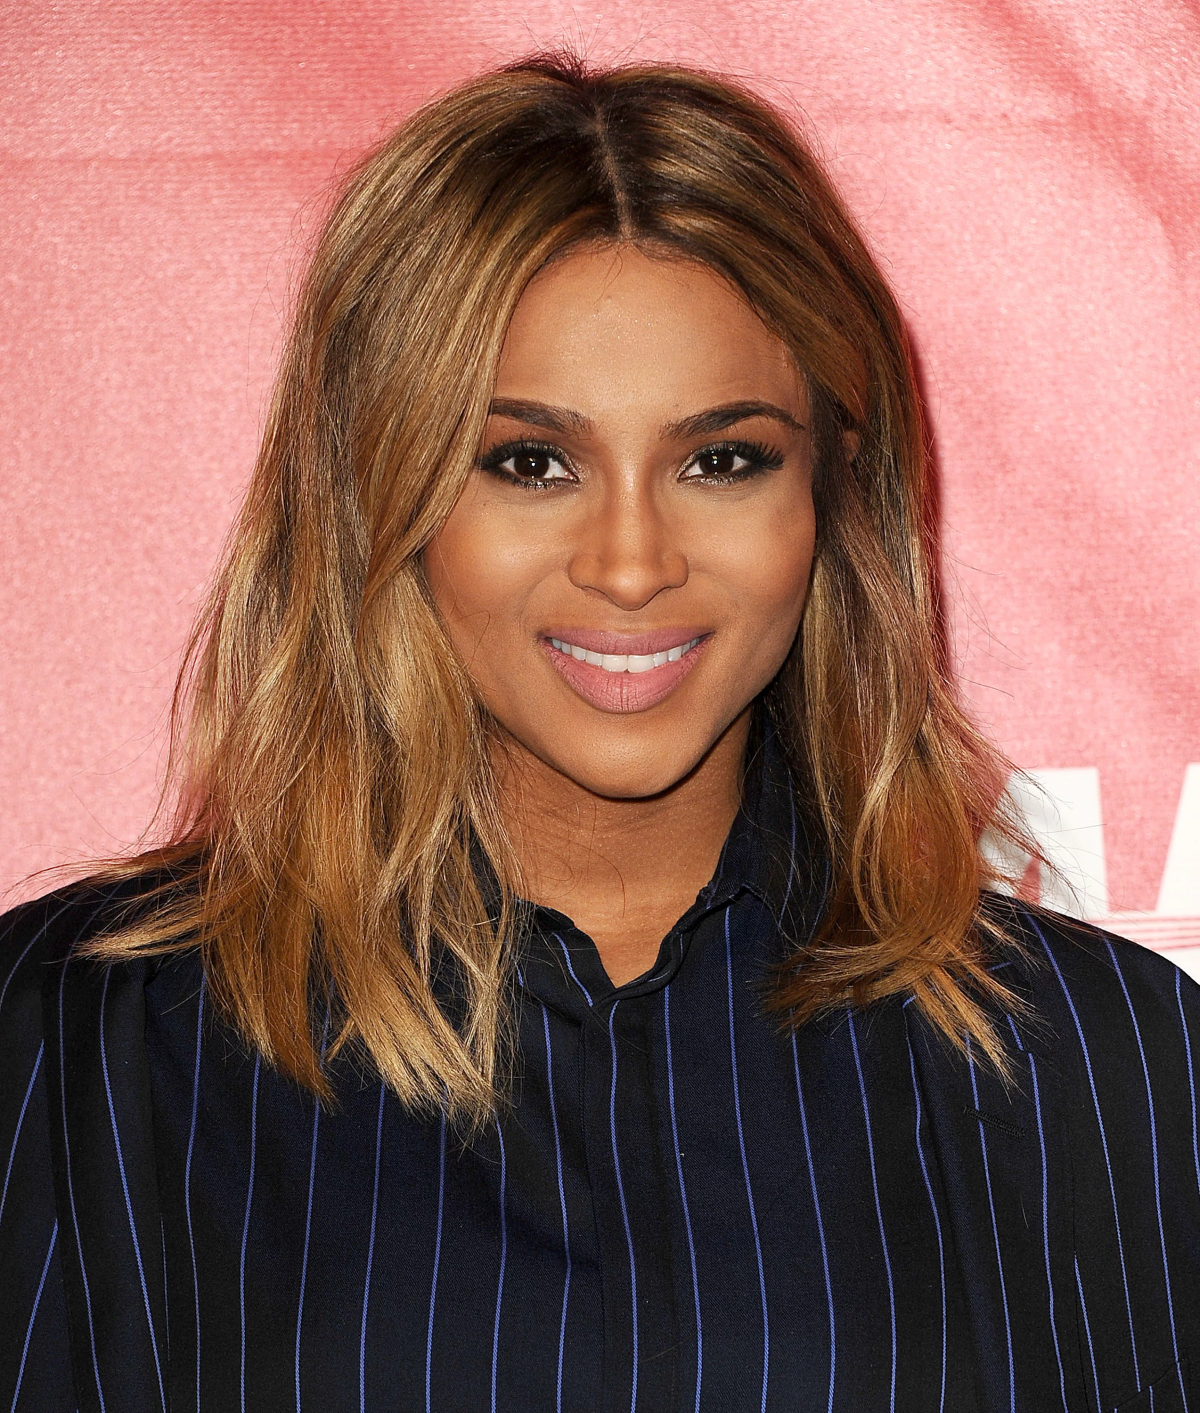
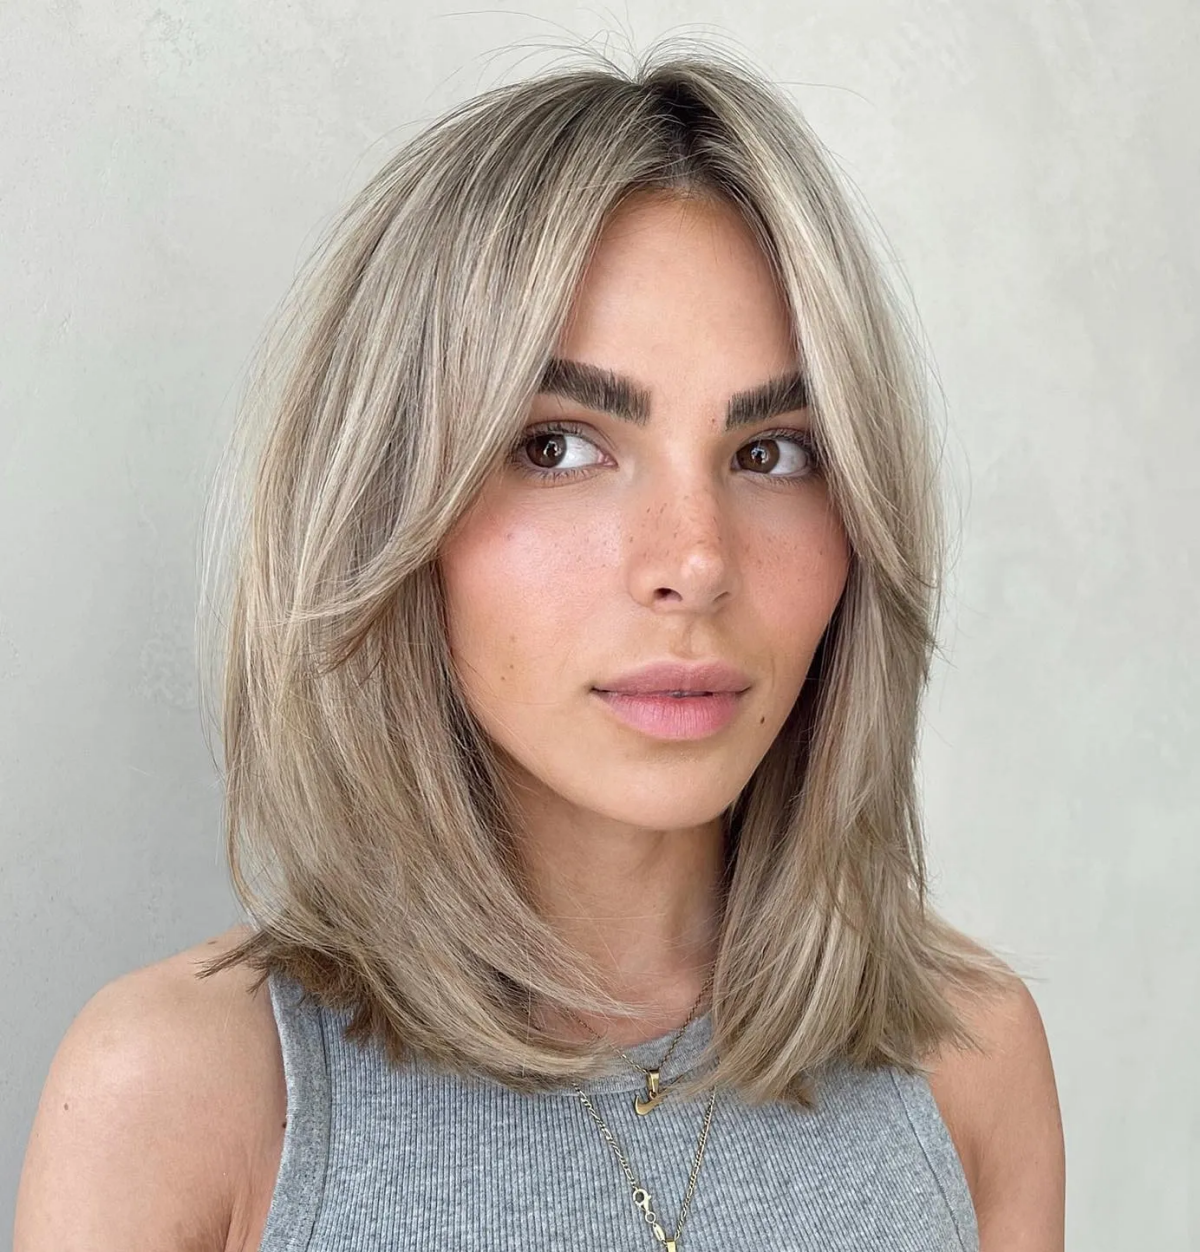
The Textured (or Wavy) Lob
This is probably the most popular request in my salon. It’s got a softer, more modern, lived-in feel. It’s styled with a curling wand (I recommend a 1.25-inch barrel), leaving the last inch or so of the ends straight for that undone look.
- The Vibe: Effortless and cool.
- Best For: Almost any hair type, since the texturizing can be customized.
- Maintenance: Low. This cut grows out beautifully and can often go 10-12 weeks between trims.
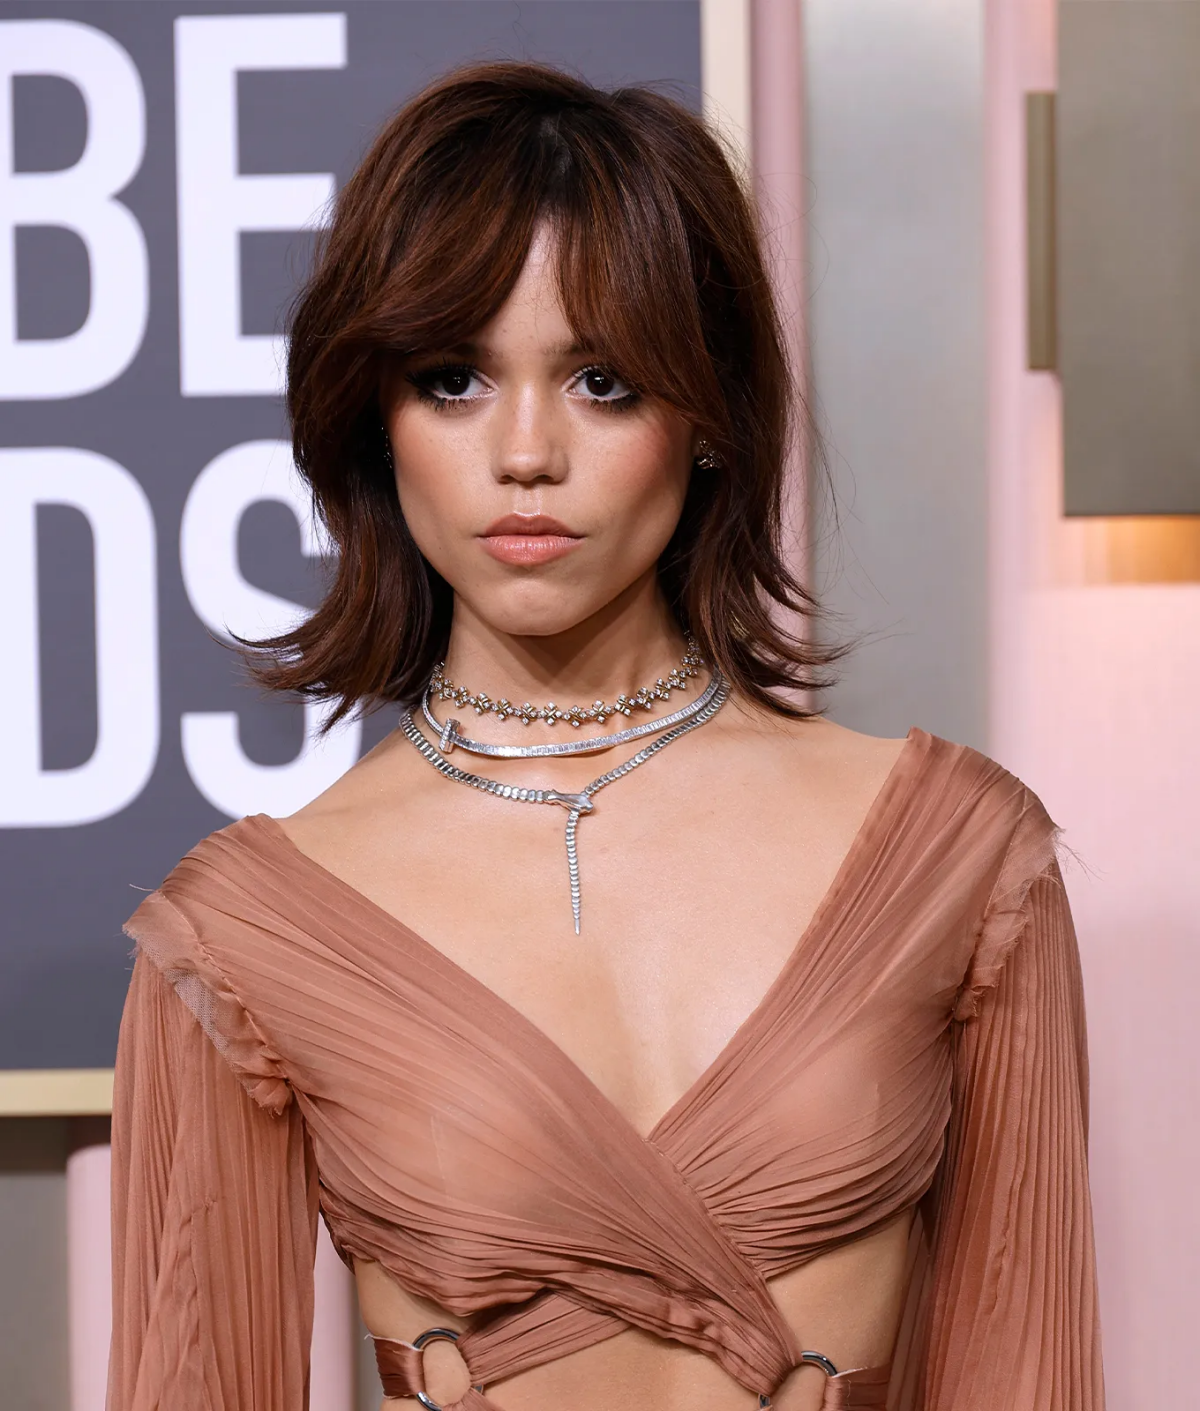
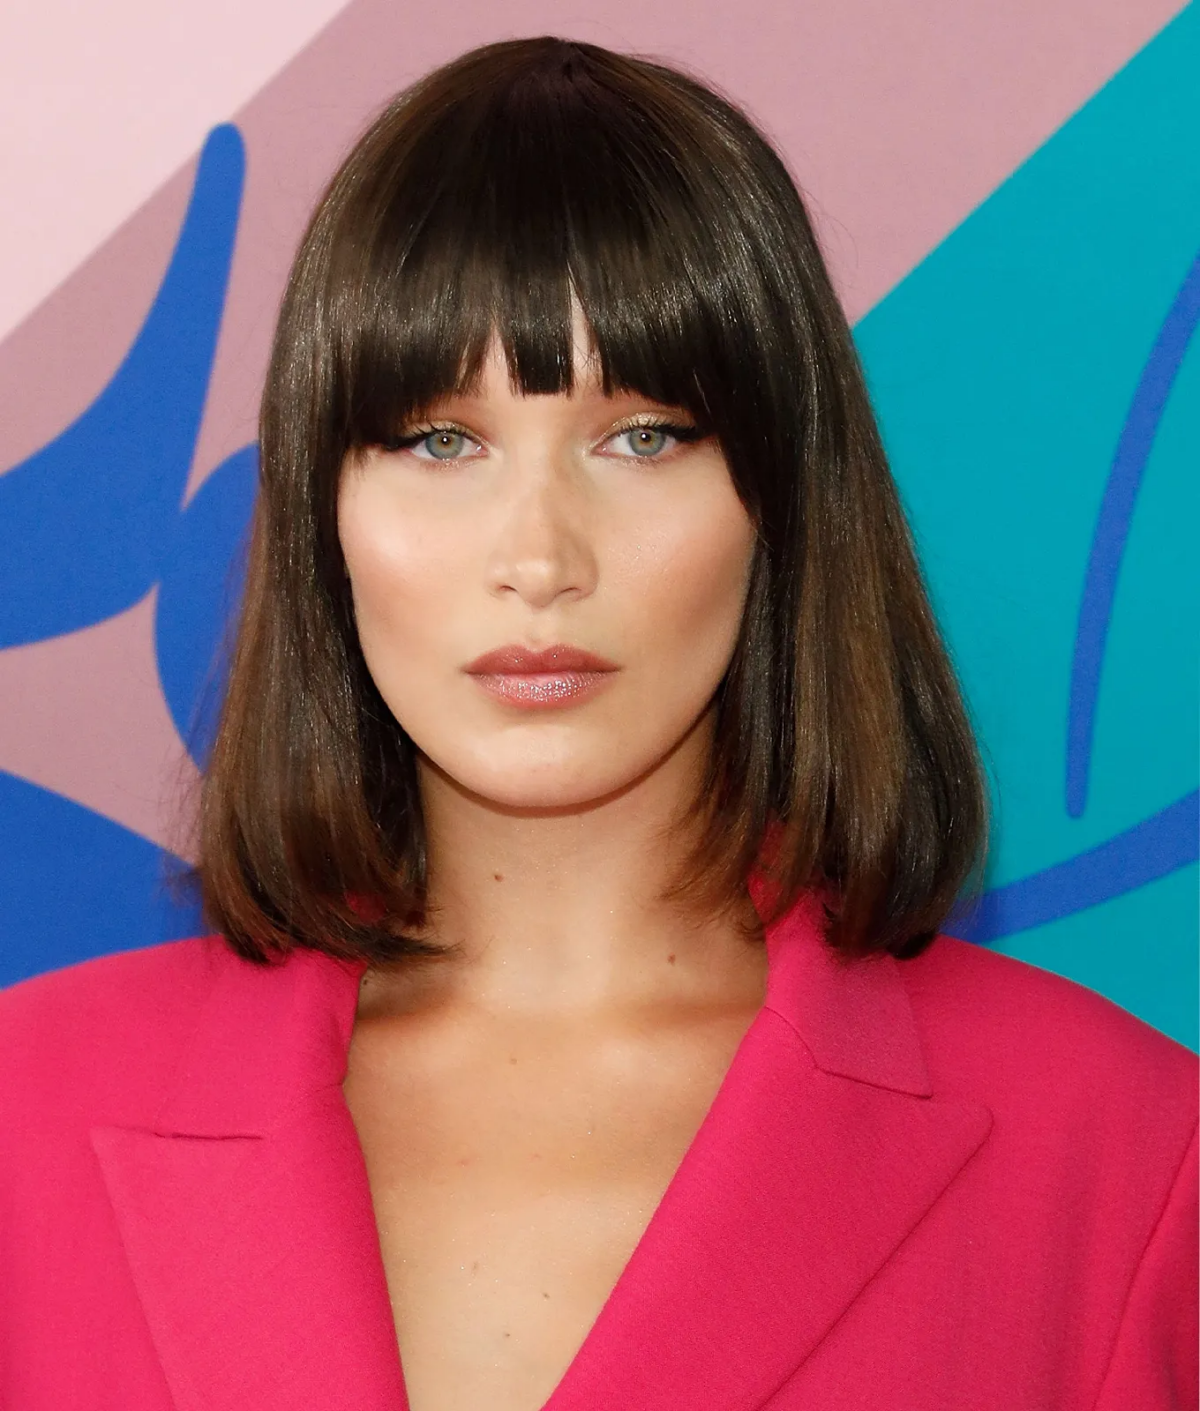
The Shaggy Lob
For a more rock-and-roll feel, the shaggy lob is fantastic. It has lots of visible layers, often cut with a razor, and is usually paired with curtain bangs or a full fringe. A little salt spray and some scrunching are often all it takes to style.
- The Vibe: Edgy and free-spirited.
- Best For: Hair with some natural wave or texture to play with.
- Maintenance: Low day-to-day, but the initial cut needs to be precise to avoid looking messy.
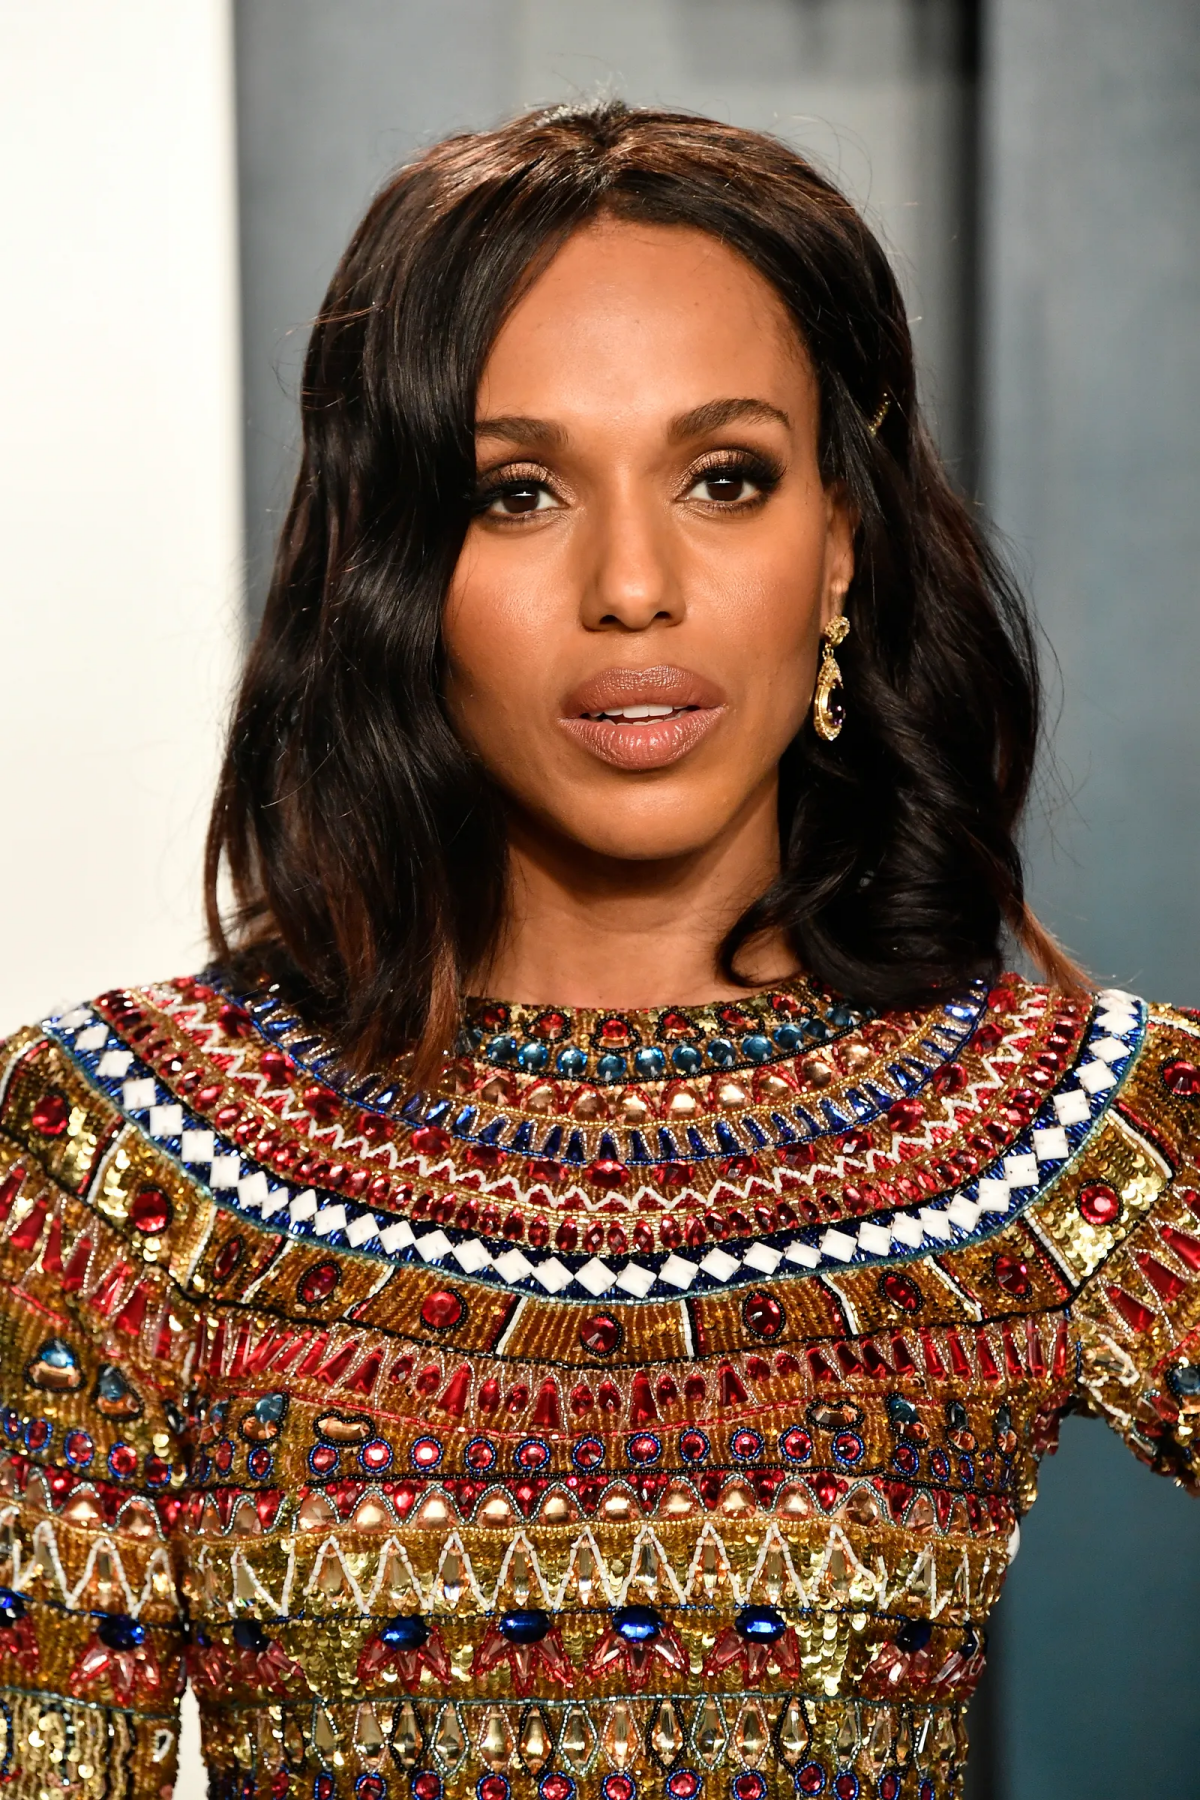
The A-Line Lob
This cut makes a real statement with its dramatic angle, going from shorter in the back to longer in the front. It’s amazing for elongating the face but demands precision cutting and regular upkeep to keep the angles sharp.
- The Vibe: High-fashion and bold.
- Best For: Someone committed to a striking, geometric look.
- Maintenance: High. Those angles need to be sharpened every 6-8 weeks.
Part 5: Let’s Talk Color for Your Lob
Color can take a great haircut and make it absolutely spectacular. The key is to make sure the cut and color are working together.
For a textured or wavy lob, nothing beats balayage. The hand-painted highlights follow the movement of the layers and grow out so gracefully. For a bolder look, a few bright “money piece” highlights around the face can totally light up your complexion. And sometimes, for a super-sharp blunt lob, a rich, solid all-over color—like a deep chocolate brown or a stunning platinum blonde—is the most powerful choice because it emphasizes the clean lines of the cut.
Oh yeah, and a quick but important note on safety: Color is chemistry. Please, please see a professional. The money you’ll spend correcting a box dye disaster is way more than the cost of just getting it done right the first time. A pro will always do a patch test 48 hours before a new color service to check for allergies. Anyone who skips this step is risking your health.
Part 6: Keeping It Great at Home (and Fixing Problems)
Your haircut only looks as good as you can make it look at home. Using the right stuff isn’t an upsell; it’s about making sure you love your hair every single day.
Your Essential Toolkit
You don’t need a million products, just the right ones. A sulfate-free shampoo is a must if your hair is colored. A heat protectant is non-negotiable if you use any hot tools—I’m a fan of Redken’s Iron Shape 11 or a classic like CHI 44 Iron Guard. For styling, a texturizing spray helps get that piecey look, while a smoothing serum tames frizz on sleek styles.
And yes, a good hot tool is worth it. Pro-level flat irons from brands like GHD or BaBylissPRO have better heat control and will protect your hair. If you’re on a budget, an option like the Conair InfinitiPro is still a solid choice that won’t fry your ends.
Quick Fixes for Common Issues
- “My ends keep flipping out!” That’s just physics. When hair hits the shoulder, the shoulder wins. The fix is to either go slightly shorter to clear the shoulder, or grow it a bit longer so the weight holds it down.
- “It looks so flat on top.” Quick Tip: For instant volume, try this tonight! Flip your hair to the opposite side you normally part it on, blast the root with your blow dryer for 10 seconds, then let it cool for a moment and flip it back. You’ll be shocked at the lift.
- “My waves fall out in an hour.” Try using a light-hold hairspray before you curl each section. After you release a curl from the iron, let it cool completely in the palm of your hand before letting it drop. This sets the shape.
At the end of the day, the long bob has stuck around for a reason. It’s a perfect blend of technical skill and personal style. It’s not just one cut; it’s a thousand different cuts waiting to be personalized. Find a stylist you click with, be honest about what you want, and invest in your hair’s health. When you do that, you don’t just get a great haircut. You get a look that makes you feel like the most confident version of yourself. And that never goes out of style.

Galerie d’inspiration
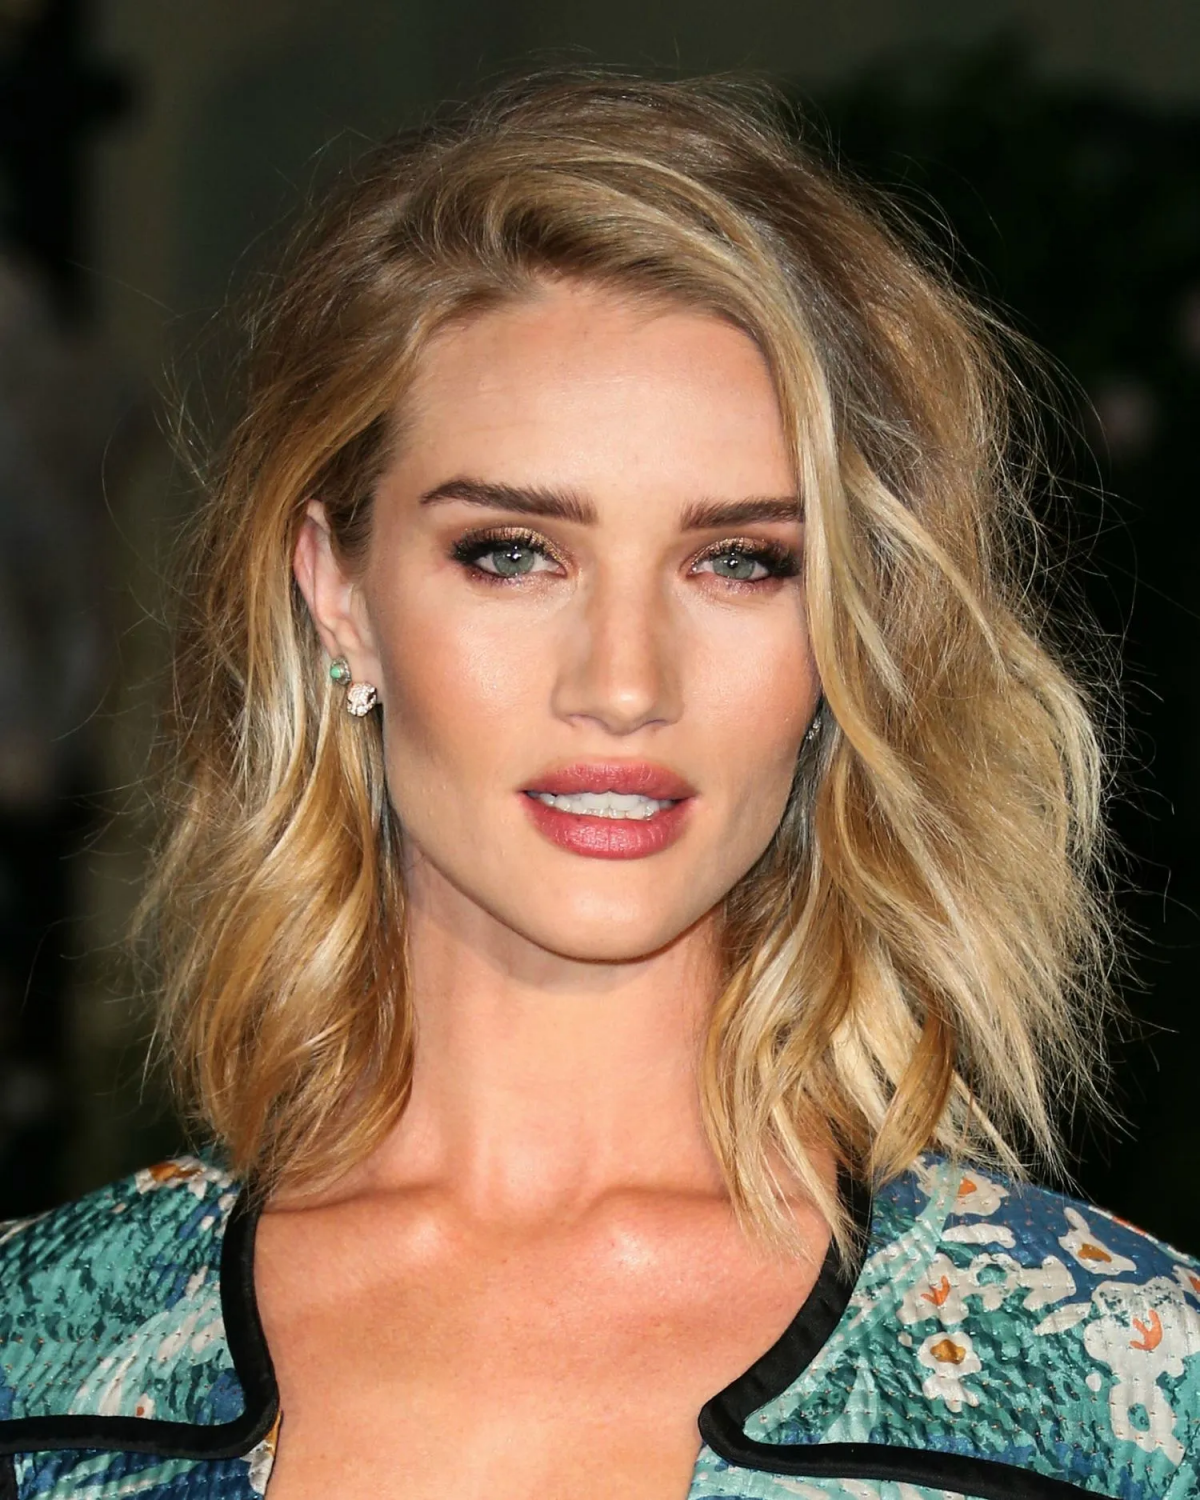
The Lived-In Wave: For that perfectly undone, model-off-duty texture, a sea salt or texturizing spray is your go-to. A few spritzes of something like Oribe’s Dry Texturizing Spray on dry hair, followed by a quick tousle, creates piecey separation and airy volume without the crunch.
The Polished Glass Finish: If you’re aiming for a sleek, sharp-edged lob, a lightweight smoothing serum is essential. Apply a small amount of Kérastase Elixir Ultime to damp hair before blow-drying to fight frizz, add shine, and create that liquid-hair effect.
Hair grows, on average, half an inch per month. For a precision cut like a lob, that’s enough to soften your sharp lines in just 6-8 weeks.
This doesn’t mean you need a full haircut that often. Ask your stylist for a “dusting.” This technique involves snipping off the bare minimum—often less than a quarter-inch—to restore the crisp perimeter of your bob, keeping it looking intentional and chic without sacrificing the length you love.
Thinking of adding bangs but scared of the commitment?
The lob is the perfect partner for curtain bangs. Because the overall length is substantial, the bangs feel like a soft, face-framing feature rather than a drastic chop. They blend seamlessly, especially with a bit of texture, and are famously low-maintenance as they grow out. Ask your stylist for a soft, wispy version that hits right at the cheekbone for the most flattering effect.


