Thinking of Going Brunette? Read This First—A Stylist’s Tell-All Guide
I’ve been behind the salon chair for a long, long time. I’ve seen trends come, go, and then somehow come back again. But the one constant, the request that never fades? Rich, stunning brunette hair. It’s a color with unbelievable depth, but so many people write it off as the “safe” or “boring” choice. Oh, how wrong they are.
In this article
Honestly, brunette is a universe of its own. It can be tailored to make your skin glow, your eyes pop, and fit right into your lifestyle. Getting it right is part science, part art, and a whole lot of listening. So, let’s pull back the curtain. This isn’t about what’s trendy right now; it’s about finding your perfect, head-turning brunette shade and keeping it that way.
The Nerdy Stuff That Actually Matters: What’s In Your Hair?
Okay, stick with me for a second, because understanding a little bit of the science behind brown hair is the key to everything. It’s why your at-home color might have turned an odd shade of orange and why your stylist obsesses over certain things. Every decision a pro makes starts right here.
The Two Pigments Calling the Shots
Your natural hair color is decided by two main types of pigment: eumelanin (which creates black and brown tones) and pheomelanin (which creates red and yellow tones). Brunette hair is packed with that dark, rich eumelanin. But—and this is a big one—it almost always has a secret layer of red and yellow pheomelanin hiding underneath. This little fact is the reason for so much hair color drama.
The Level System: A Quick Intro
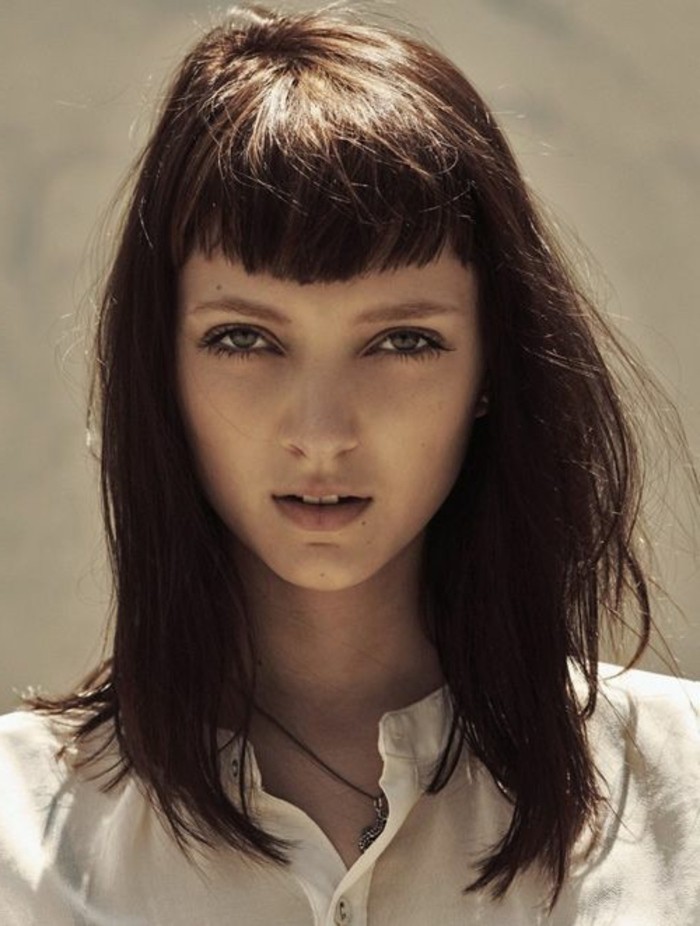
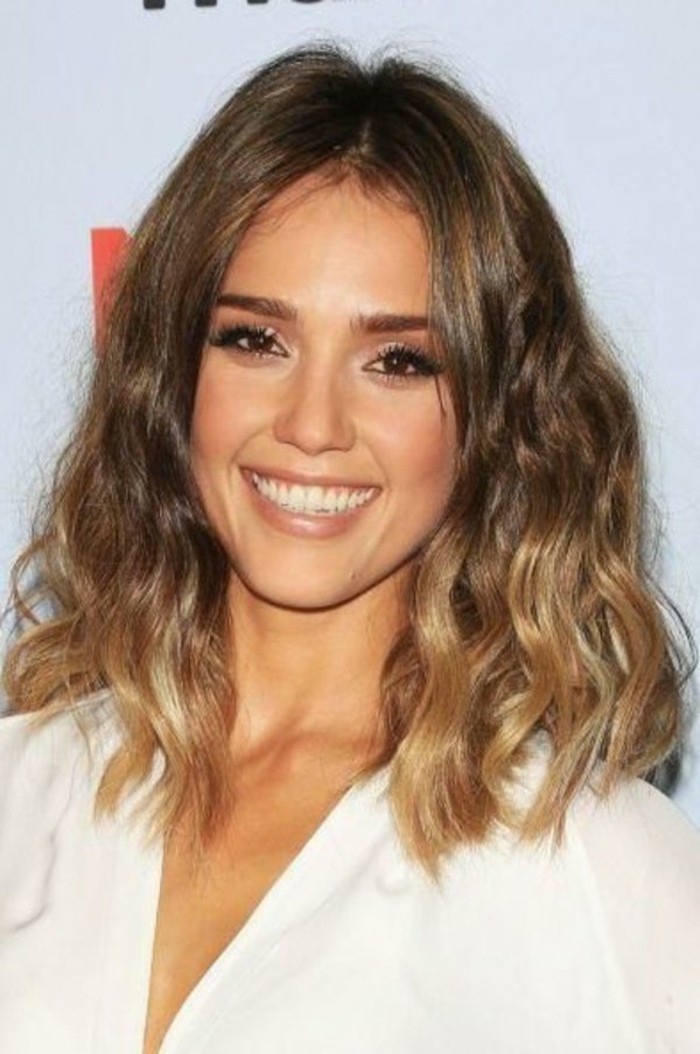
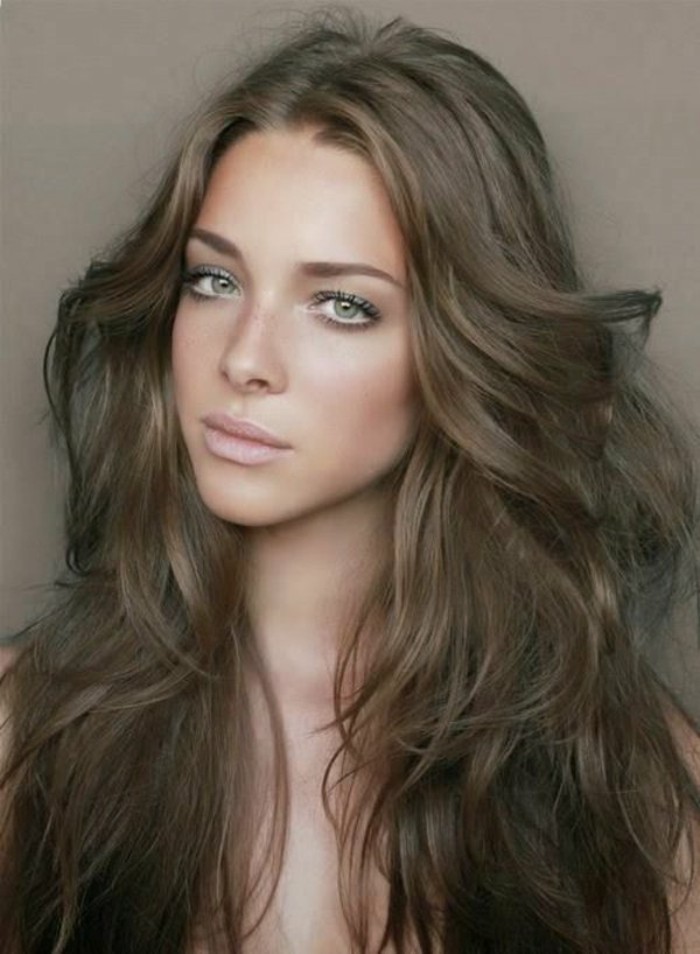
In the salon world, we use a number scale from 1 (Black) to 10 (Lightest Blonde) to talk about how dark or light hair is. Most brunettes live somewhere between a Level 3 (Dark Brown) and a Level 6 (Light Brown). Knowing your starting level is step one. When you show me a picture, I’m instantly figuring out where you are on that scale and where you want to be. That tells me if we need to lighten your hair or just deposit a new color.
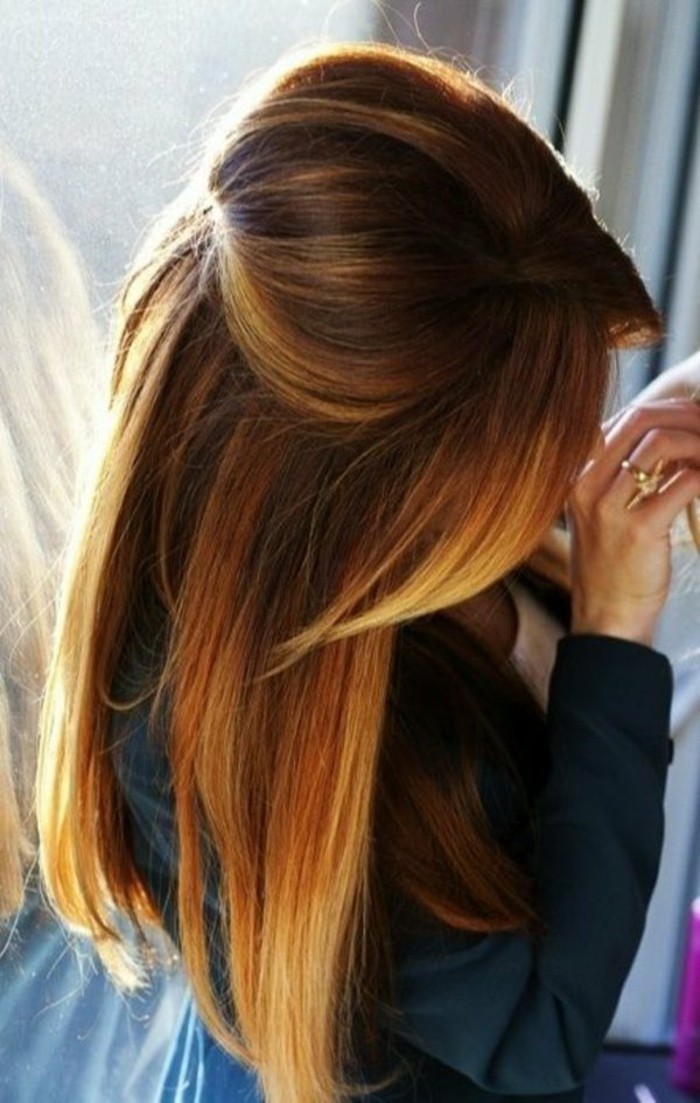
Why Brown Hair Turns Brassy (It’s Not Your Fault!)
This is the concept I wish everyone understood. When you lighten brown hair, you’re basically stripping away the brown pigment first. And what does that reveal? All that red, orange, and gold pigment that was hiding underneath. We call this the “underlying pigment” or warmth.
- Dark Brown (Levels 3-4): Lifts to reveal a fiery red.
- Medium Brown (Level 5): Lifts to show a vibrant red-orange.
- Light Brown (Level 6): Lifts to a bright orange-gold.
And that, my friends, is why bleaching your hair in the bathroom often ends in what we politely call “brassy.” You’ve just uncovered the natural warmth! A pro’s job is to either lift your hair past that brassy stage or, more commonly, use a toner to cancel it out. It’s just color theory: we use blue-based colors to neutralize orange and violet-based colors to fight yellow.
Porosity: Is Your Hair Thirsty?
Porosity is just a fancy word for how well your hair can absorb and hold on to moisture—and color. Hair with low porosity has a tightly sealed outer layer, making it tough for color to get in. High porosity hair, usually from heat or chemical damage, has a frayed, open cuticle. It sucks up color in a flash… and then lets it go just as quickly. I once had a client whose damaged ends would grab color so intensely they’d turn almost black, while her healthy roots were the perfect shade. We had to apply color to her roots first and only hit the ends for the last five minutes. Knowing your hair’s porosity is crucial for an even result.
The Salon Chat: How to Get What You Really Want
A great color service always starts with a great consultation. This is where we get on the same page and move past vague words like ‘chocolate’ or ‘caramel’ (because my idea of chocolate might be totally different from yours!).
Skin Undertones: The Secret to a Flattering Shade
The biggest factor in picking a shade that makes you look amazing is your skin’s undertone. This isn’t about how light or dark your skin is; it’s the subtle hue just beneath the surface.
Quick tip: Look at the veins on the inside of your wrist in natural light. If they look mostly blue or purple, you’re likely cool-toned. If they look greenish, you’re probably warm-toned. (The yellow in your skin makes your blue veins appear green). If it’s a toss-up, you might be neutral.
Here’s a little cheat sheet I give my clients:
- For Cool Skin Tones: Go for shades that will calm any redness and create a crisp, clean look. Think ash browns, cool-toned espresso, or the popular “mushroom” brown.
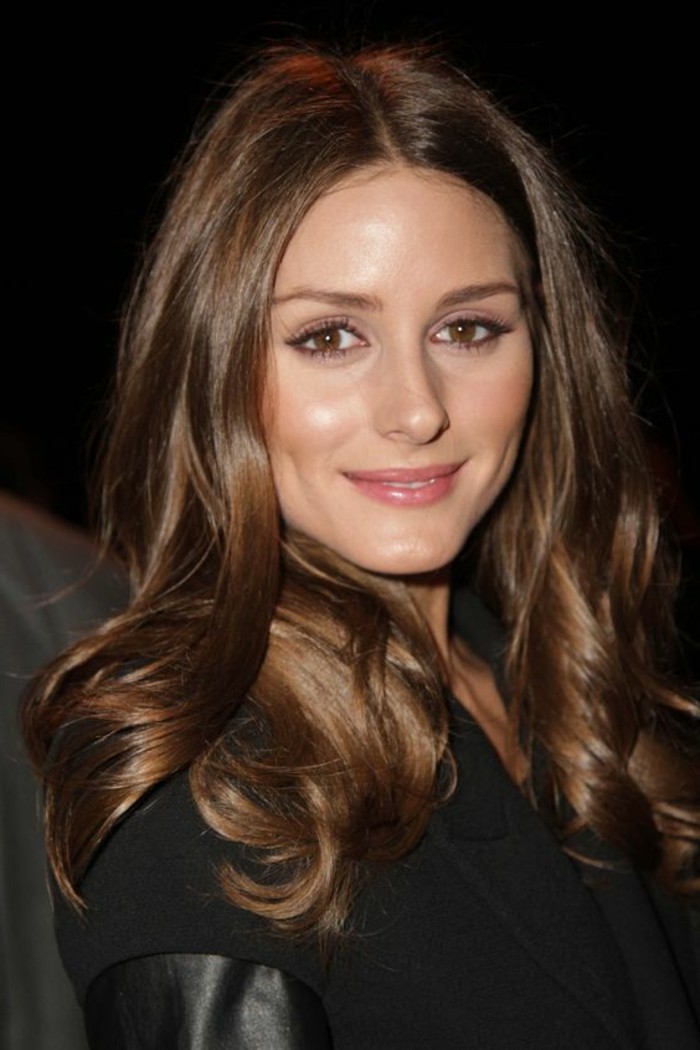
- For Warm Skin Tones: You want to enhance that golden glow. Rich honey tones, caramel, warm chestnuts, and auburn-kissed browns will look phenomenal.
- For Neutral Skin Tones: You hit the jackpot! You can lean either warm or cool. We often look to your eye color to decide which direction to go.
How to Talk to Your Stylist
Instead of just showing a photo, learn to speak the language. It helps us immensely. Instead of saying, “I want caramel highlights,” try something more descriptive: “I want to see some lighter pieces, but I need it to grow out softly because I can only get to the salon two or three times a year. I love warm, golden tones, but I’m terrified of looking brassy or orange.” A statement like that gives us everything we need to know about your desired look, budget, and lifestyle.
Breaking Down the Techniques (and the Price Tag)
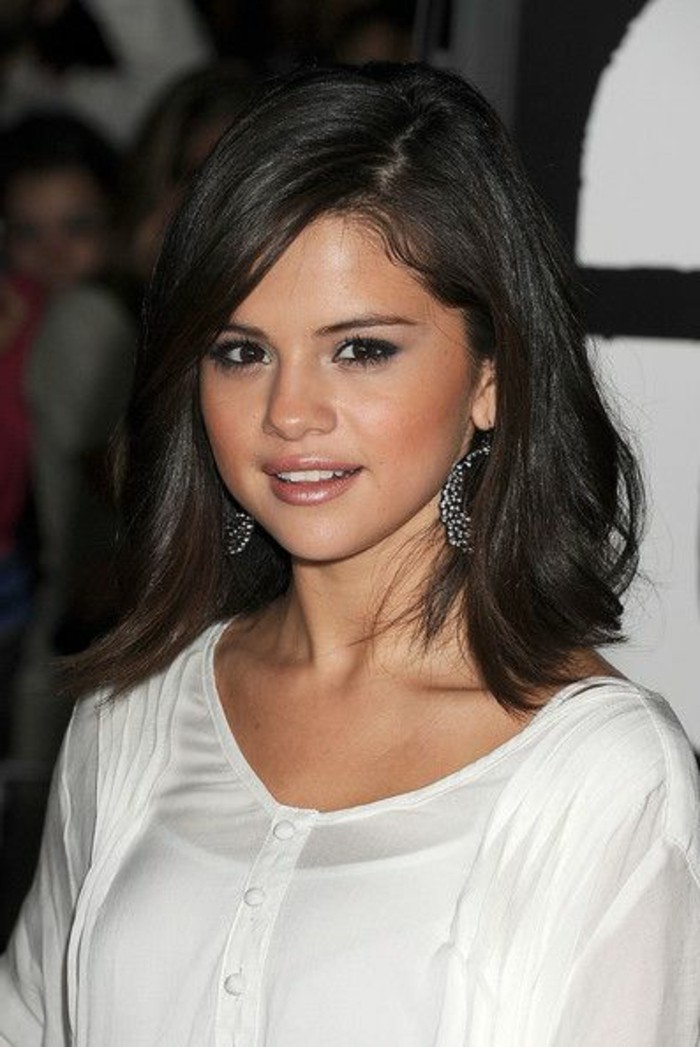
When you ask for “brunette,” there are a few ways we can get there. Each has a different look, maintenance plan, and, yes, a different cost.
Single-Process Color: The Classic Foundation
This is one color applied all over. It’s perfect for covering grays, going darker, or just shifting the overall tone of your hair. But even this “simple” service has its secrets. I’ll often use a permanent color on the roots for stubborn grays and a gentler, gloss-like color on the ends to refresh the tone without piling on damage.
- Average Cost: Around $80 – $150+ for a root touch-up.
- Time in Salon: 1.5 – 2 hours.
- Maintenance: Every 4-8 weeks, depending on how fast your hair grows.
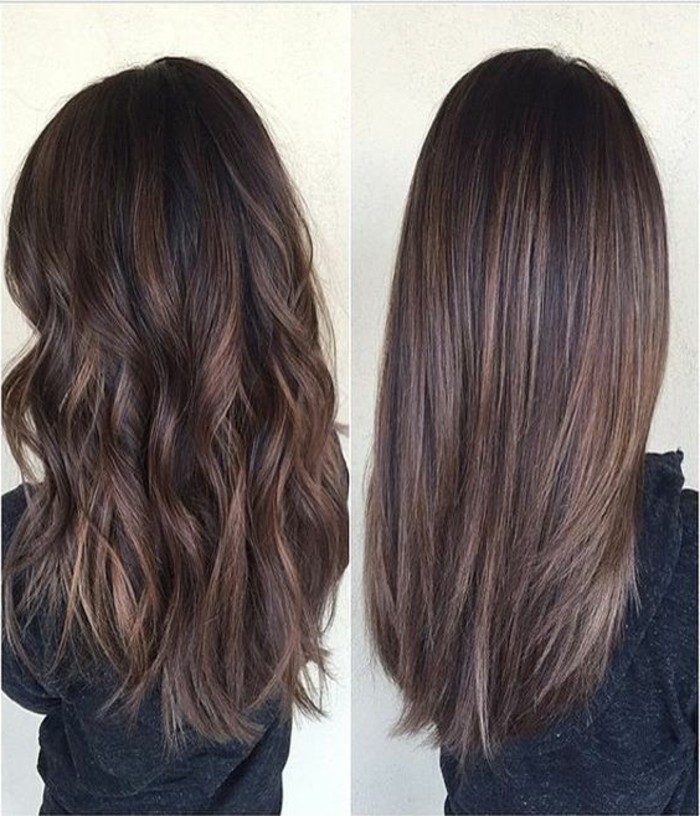
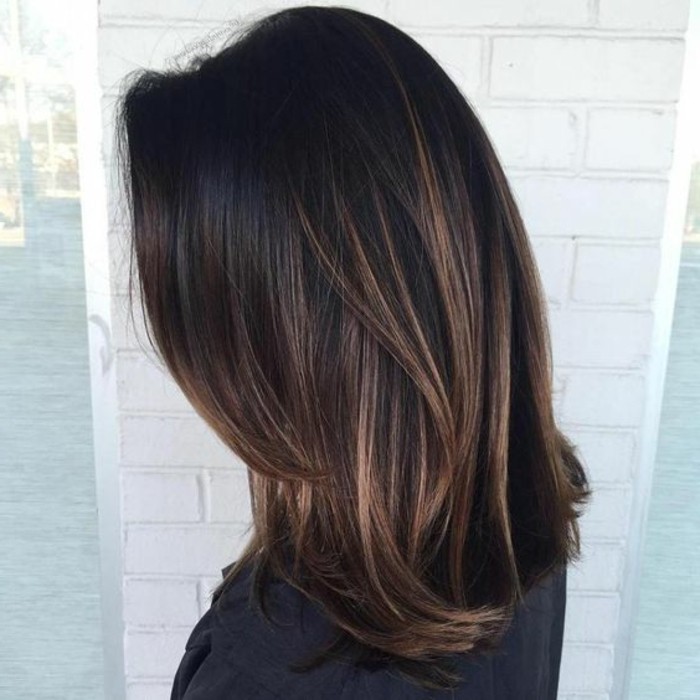
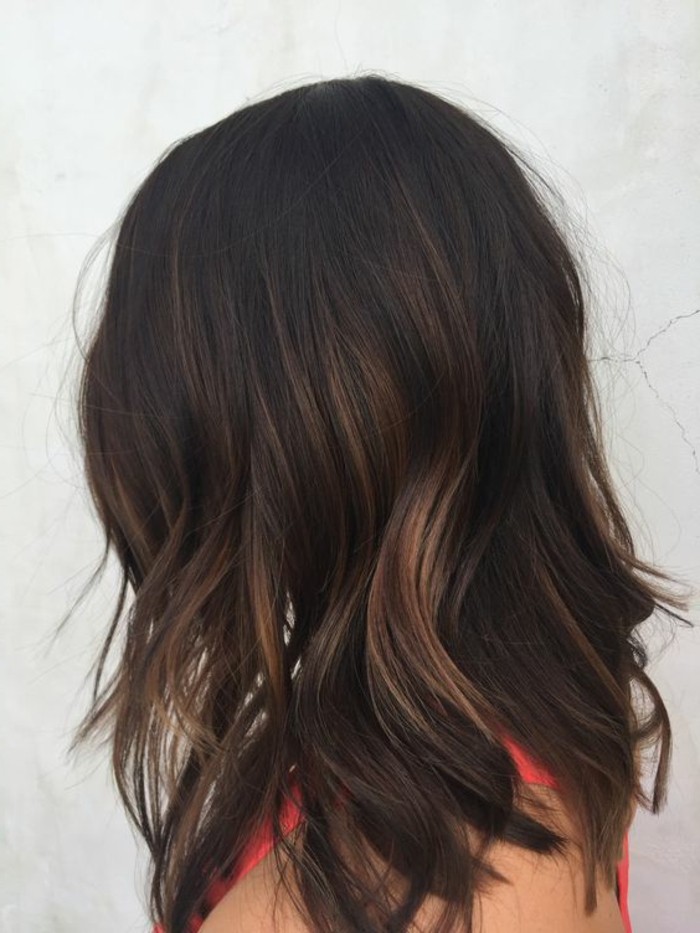
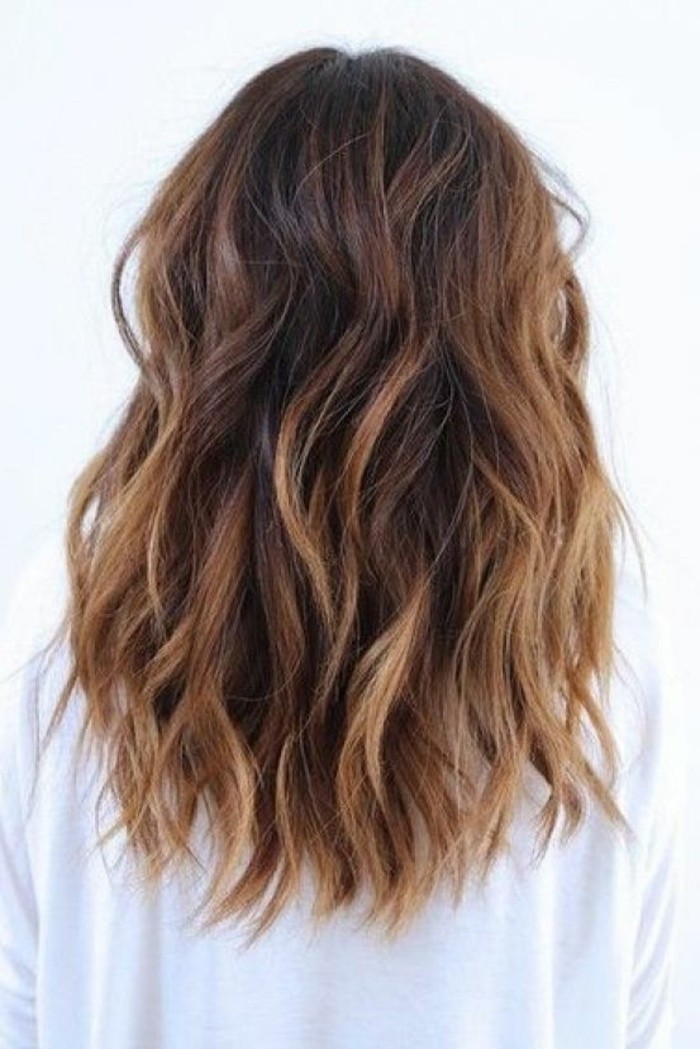
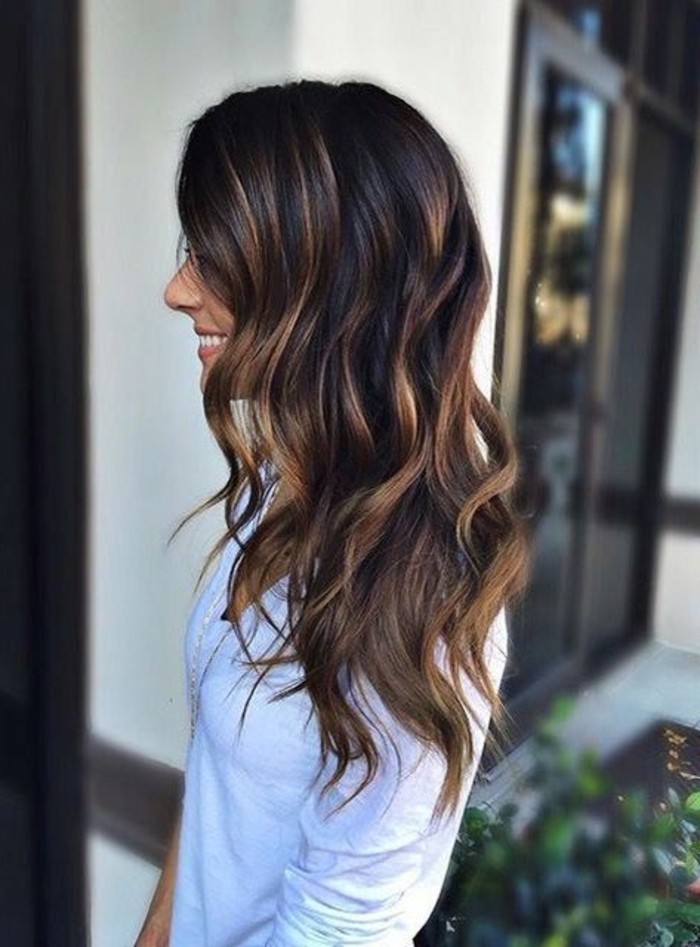
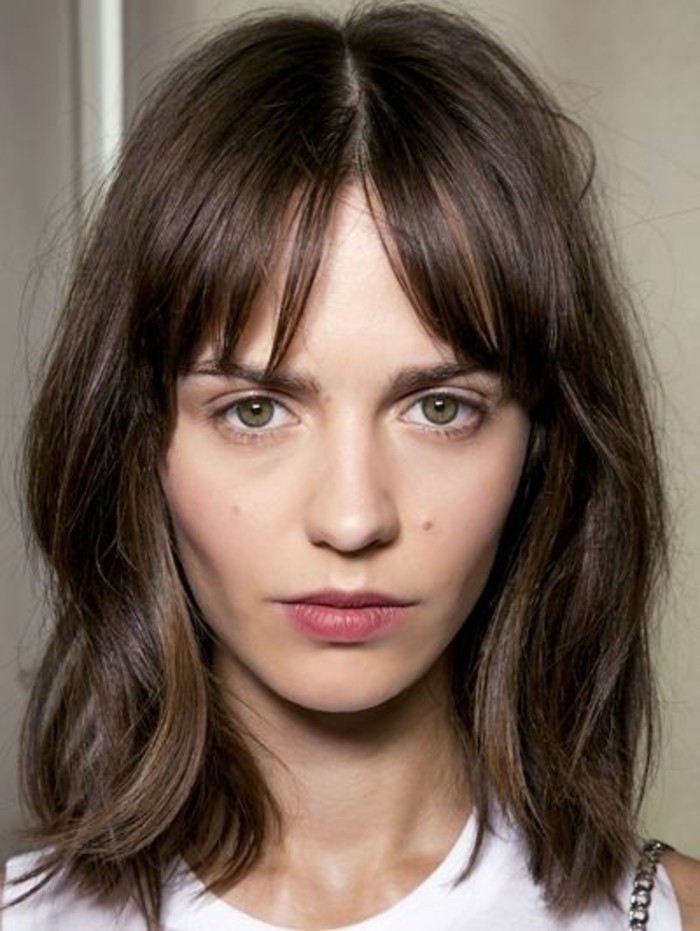
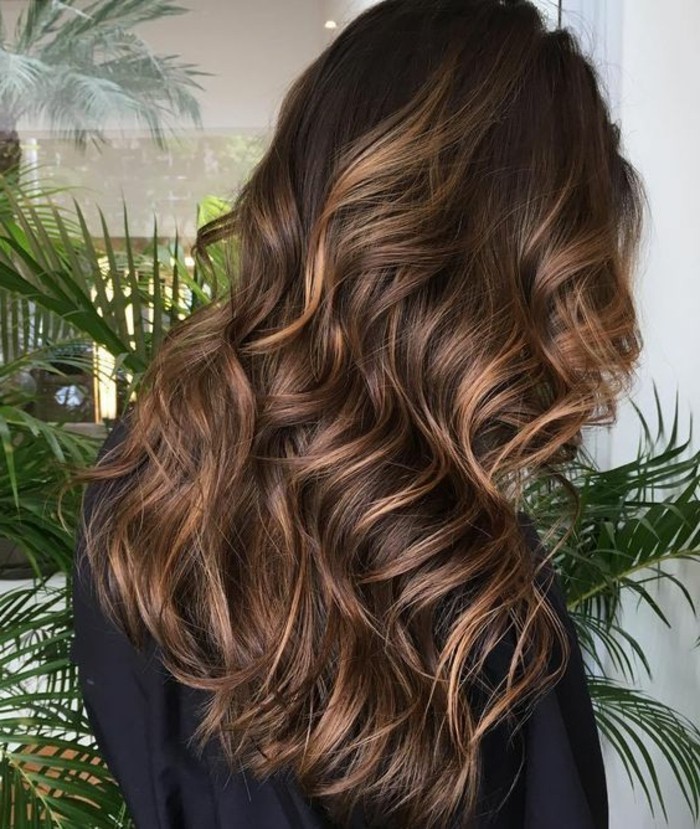
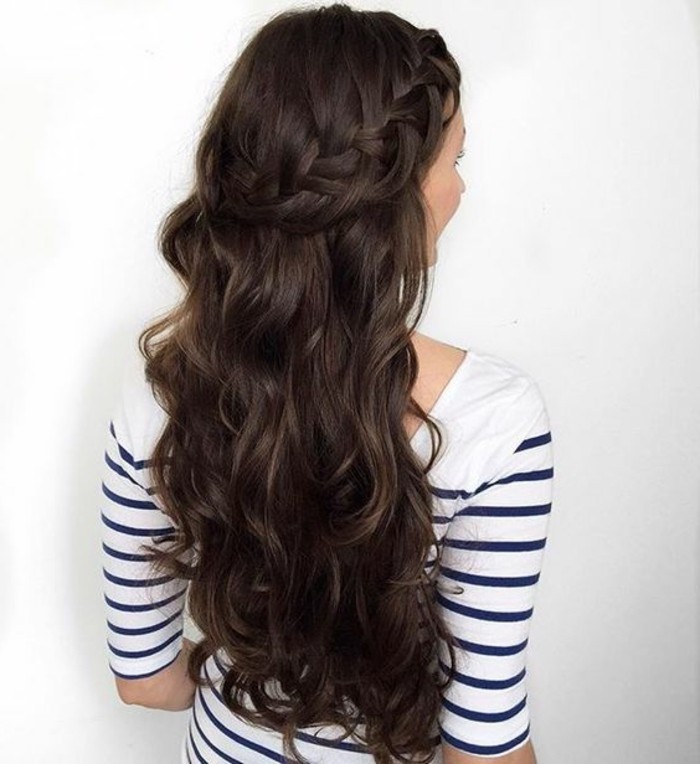
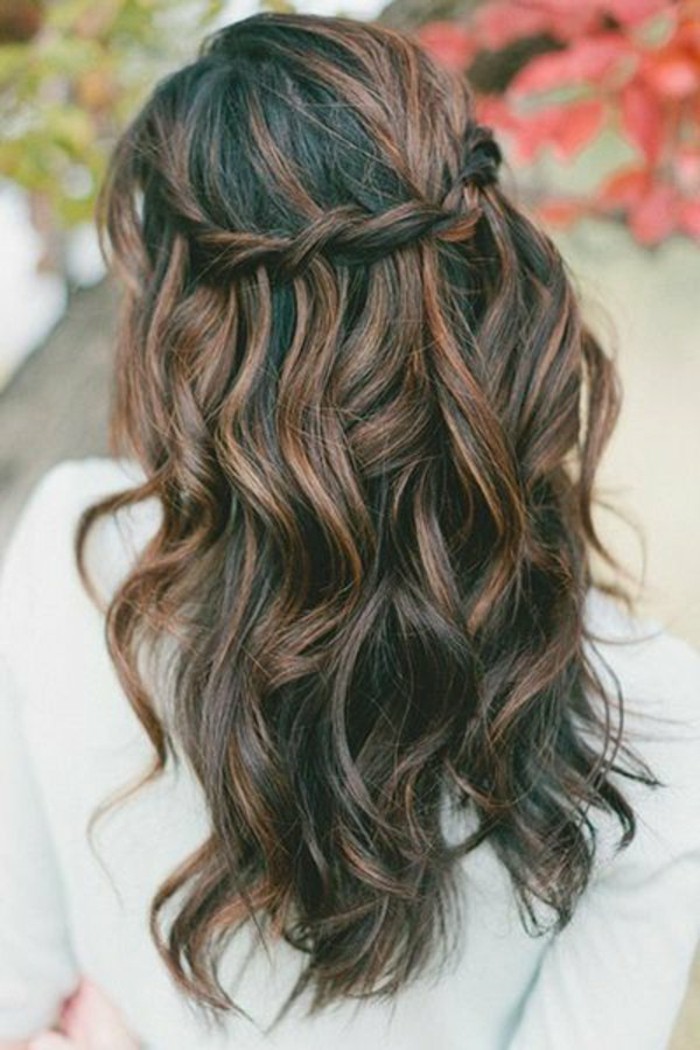
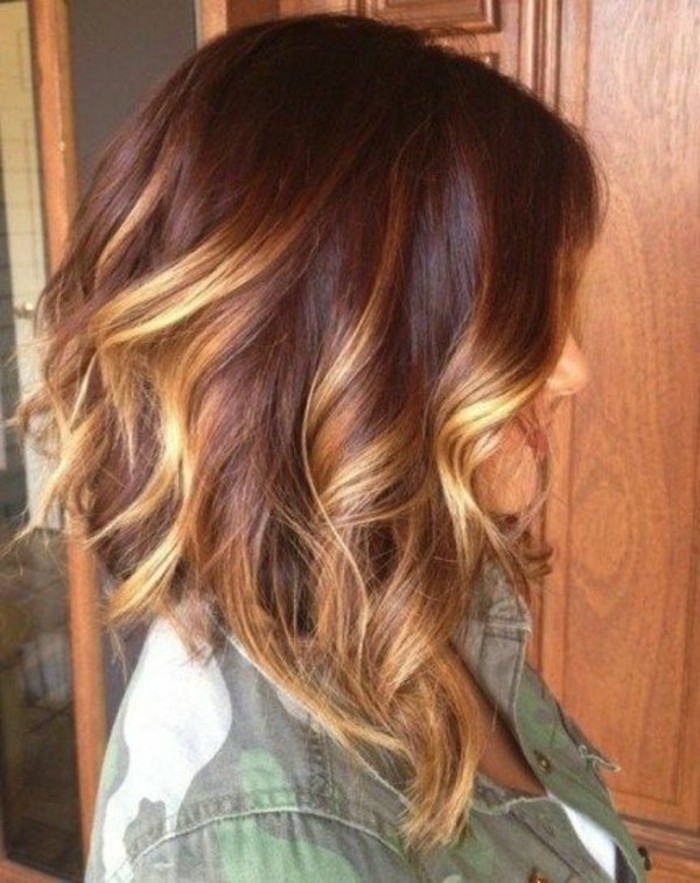
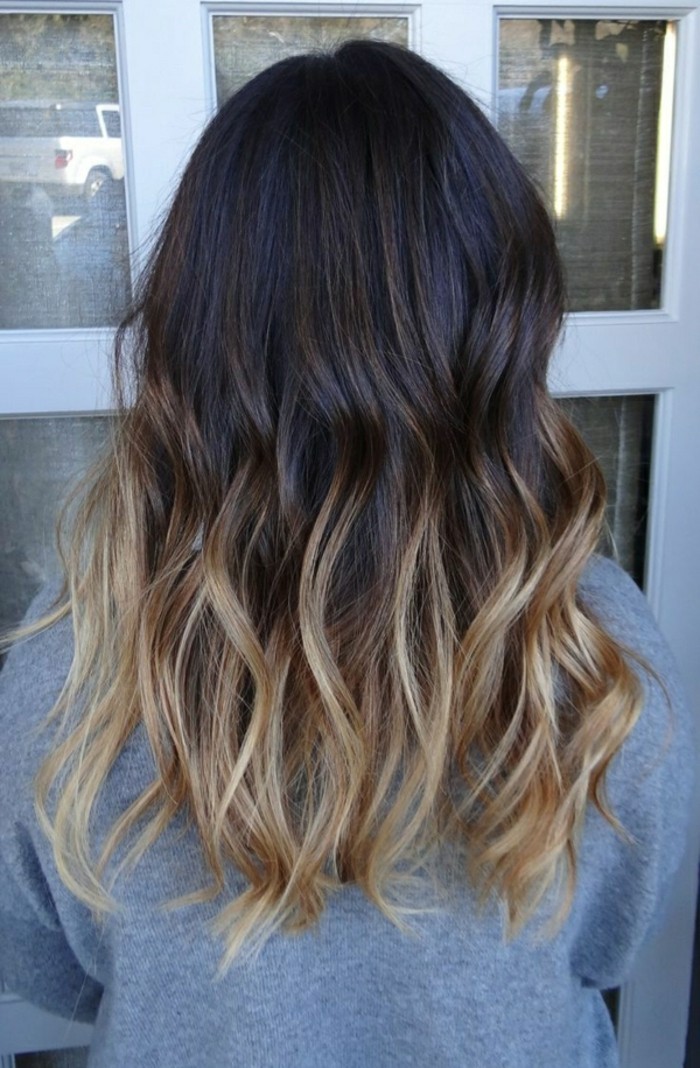
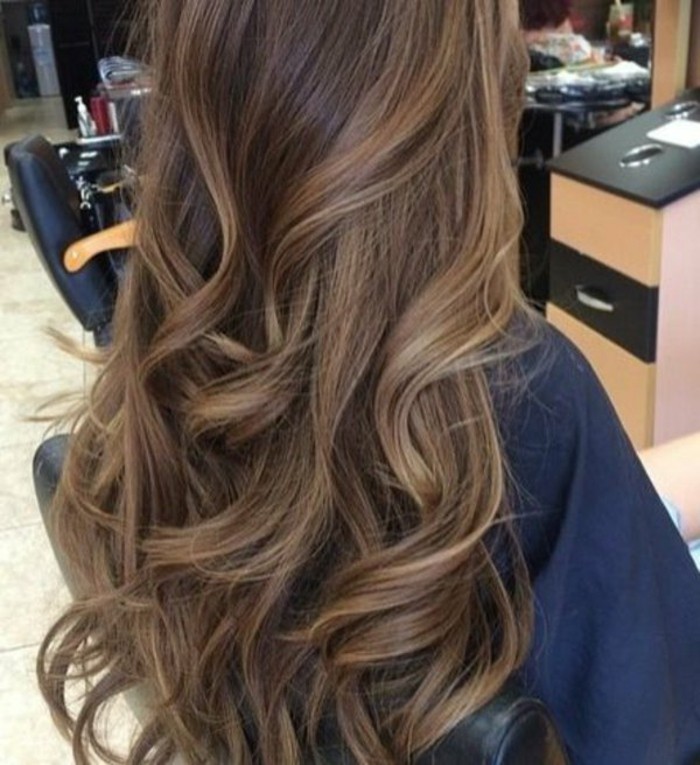
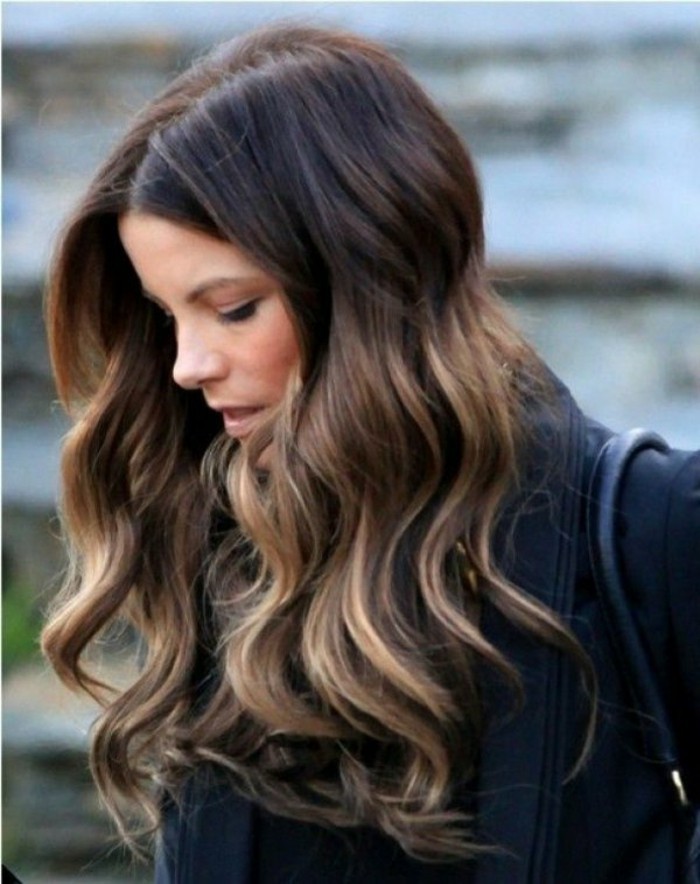
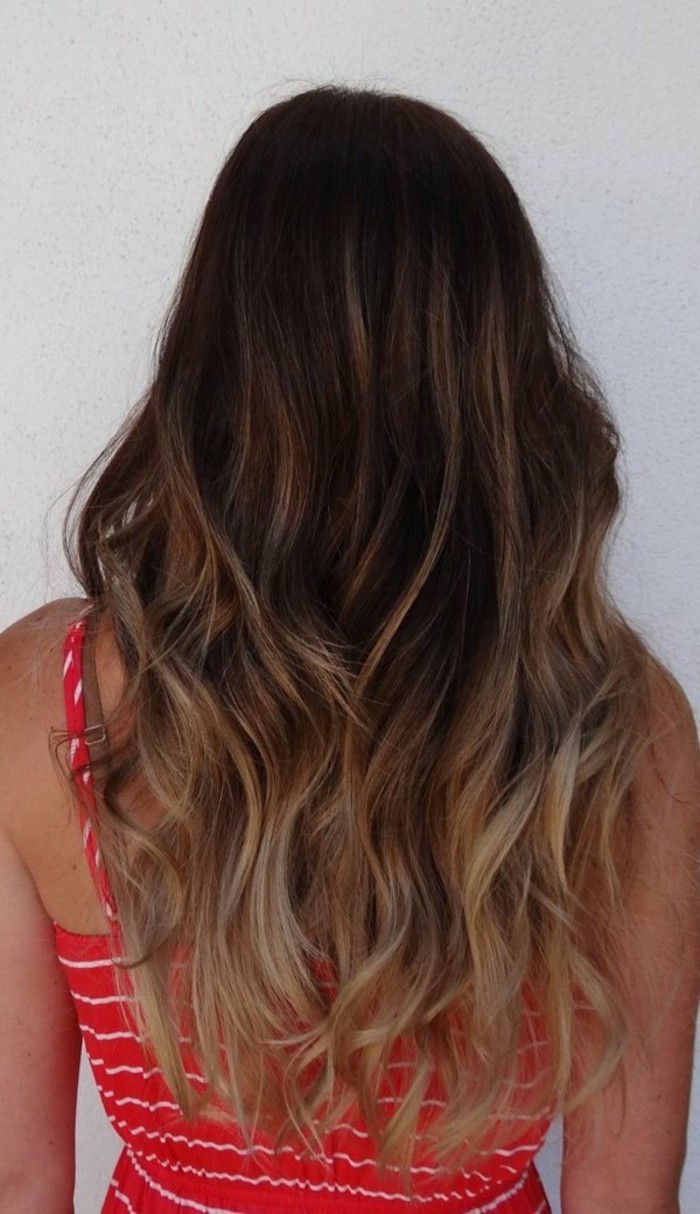
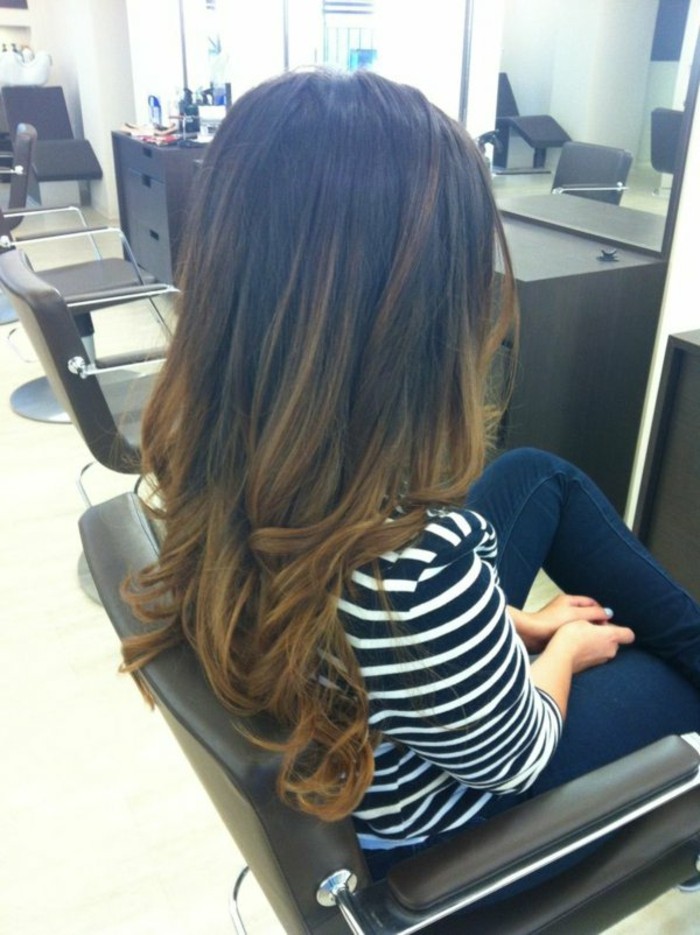
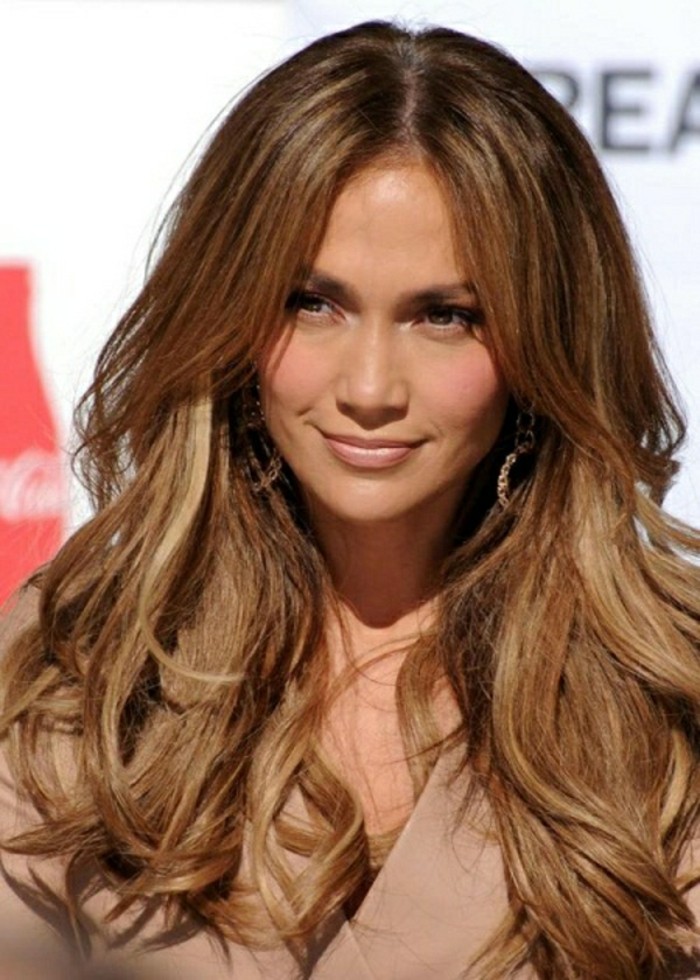
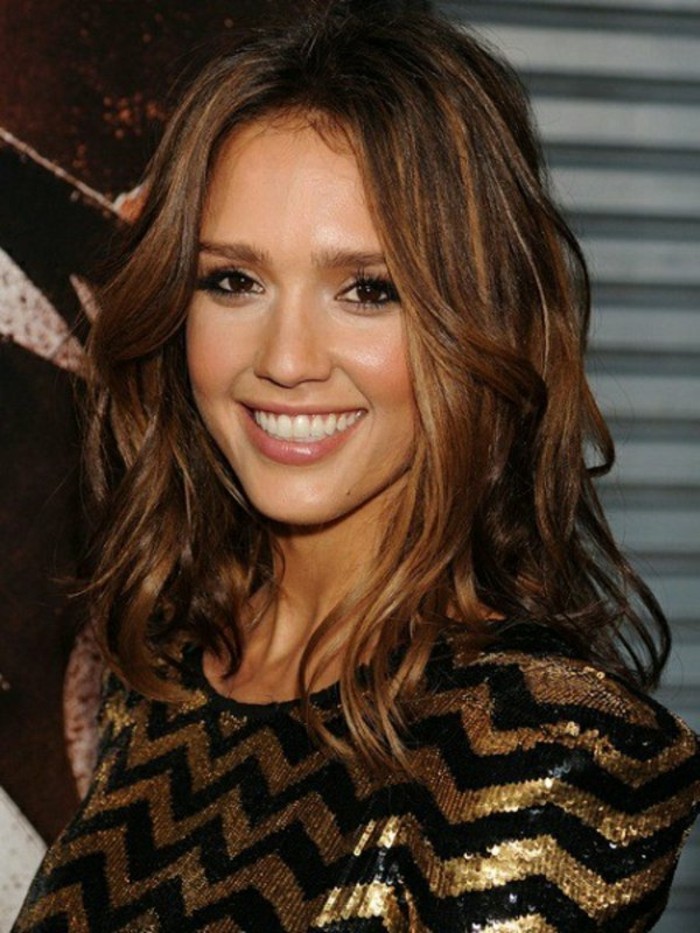
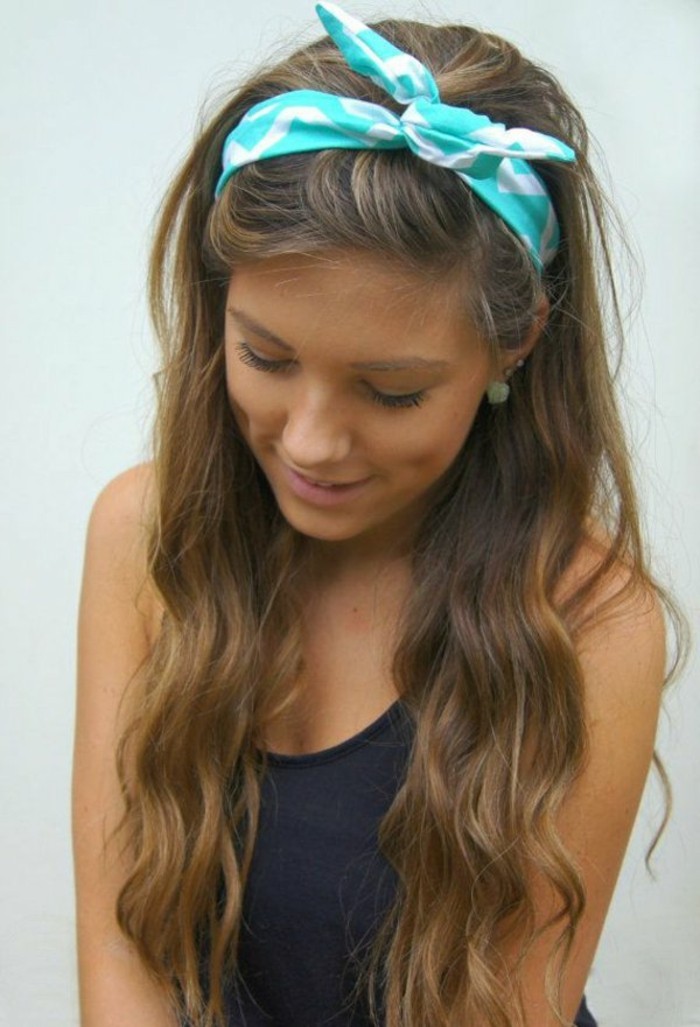
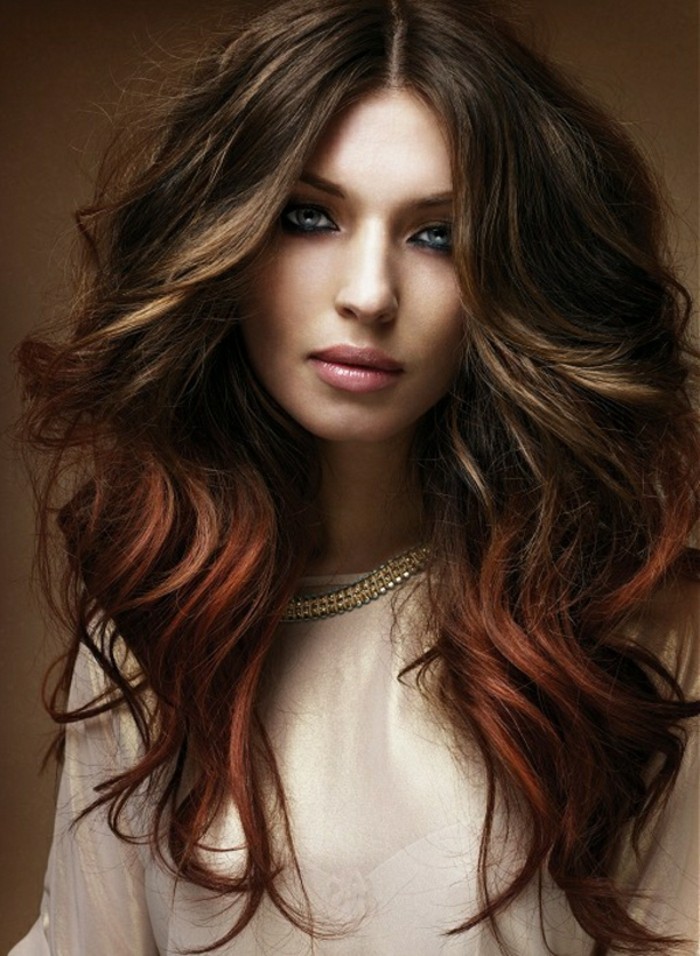
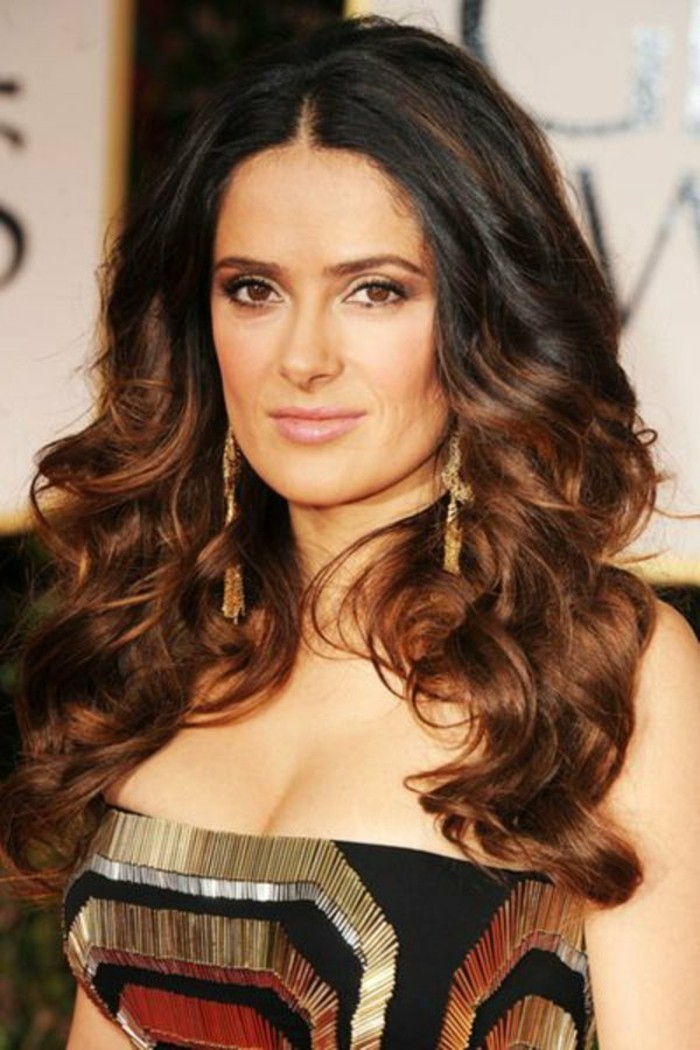
Balayage: The Sun-Kissed Look
This is a French technique that means “to sweep.” We literally paint lightener onto the hair freehand, creating a soft, blended, natural-looking highlight. The grow-out is a dream because there’s no harsh root line. It’s the ultimate low-maintenance dimension.
- Average Cost: This is a luxury service. Expect to pay between $300 – $500+.
- Time in Salon: 3-5 hours. Seriously, bring a book.
- Maintenance: The best part! You might only need a touch-up every 3-6 months.
Foils: For a Bolder Statement
For more defined, high-contrast highlights, we use foils. The foil incubates the hair, allowing the lightener to get it brighter than it would in open air. This is great for a bold “money piece” around the face or for anyone who wants a less subtle look.
- Average Cost: Generally $150 – $350, depending on how many foils you get.
- Time in Salon: 2.5 – 4 hours.
- Maintenance: You’ll start to see roots, so plan for touch-ups every 8-12 weeks.
The Gloss: My Secret Weapon
A gloss, sometimes called a toner, is the final step for almost every color I do. Think of it as an Instagram filter for your hair. It’s a gentle color we apply at the shampoo bowl for 10-20 minutes. It neutralizes brassiness, adds insane shine, refines the tone of your highlights, and seals everything in. A balayage without a gloss is like a cake without frosting—just unfinished.
At-Home Care vs. The Pro: An Honest Conversation
Look, I get it. Salons are an investment. But I have to be blunt: for any major change, please see a professional. Box dye is a total gamble. The developer inside is a one-size-fits-all formula that’s almost never the right strength for your specific hair.
I once spent five hours and three separate processes correcting a black box dye job. The client wanted to go back to her natural light brown. By the time we were done, her hair was fragile, and she’d spent over $500. It would have cost her about $200 to have it done professionally in the first place. Going a shade or two darker on healthy hair? Maybe okay. But trying to go lighter, cover lots of gray, or do your own balayage is just asking for trouble and a much more expensive fix.
Protecting Your Investment
Okay, you’ve spent the time and money, so how do you keep it looking fabulous? It’s easier than you think.
- Use the Right Products: Sulfates are harsh detergents that strip color. A sulfate-free shampoo is non-negotiable.
- Turn Down the Heat: This is my number one tip. Hot water opens up your hair’s cuticle and lets the color molecules wash right out. It costs nothing and makes a huge difference. Wash with lukewarm water and do a cool rinse at the end.
- Fight the Brass: If your beautiful brown starts to look a little too warm for your liking, a toning conditioner is your new best friend. To be frank, most people get this wrong. If you see orange tones, you need a BLUE-based product. I often suggest things like Matrix’s Dark Envy or Redken’s Brownlights. If you’re just seeing a little yellowy-brass, a purple shampoo can work too.
- Find Your Stylist: How do you find a good pro in your area? Instagram is your best friend. Search hashtags like
[yourcity]hairstylist or
[yourcity]balayage. Look for clear photos of hair that looks like yours, read reviews, and—most importantly—book a consultation first. It’s often free and a great way to see if you vibe with the stylist before committing.
Let’s Get Real: Setting Expectations
My first priority is always the health of your hair. That means being honest. A patch test is a must for new clients—allergies are no joke. And remember, that photo you love on Pinterest is for inspiration, not a direct order. The final result depends on your hair’s history, texture, and starting point.
A great colorist will tell you what’s possible, how long it will take, and what it will cost. They should also be willing to say “no” if what you want will destroy your hair. That’s not bad service; that’s integrity.
Brunette isn’t a fallback; it’s a power move. When you find the right shade and technique, it’s the most elegant, versatile, and beautiful color there is. Armed with a little knowledge, you can make a choice you’ll love for years to come.
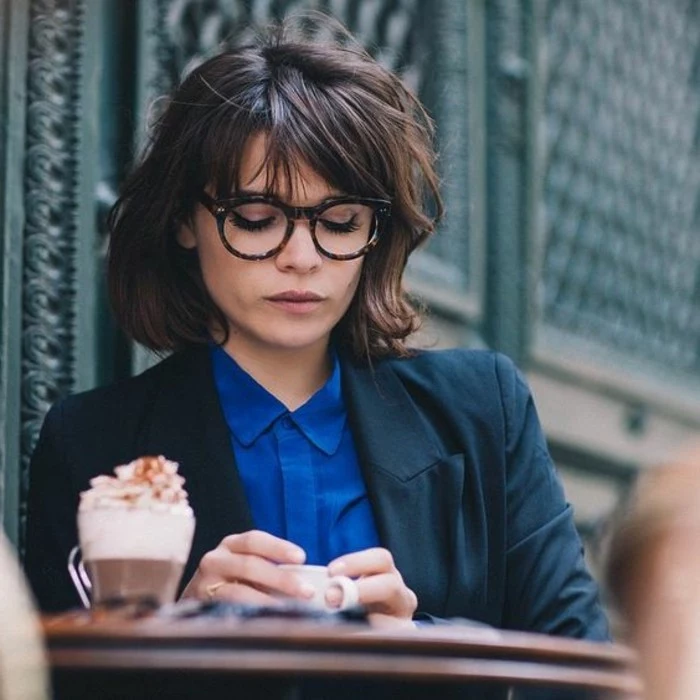
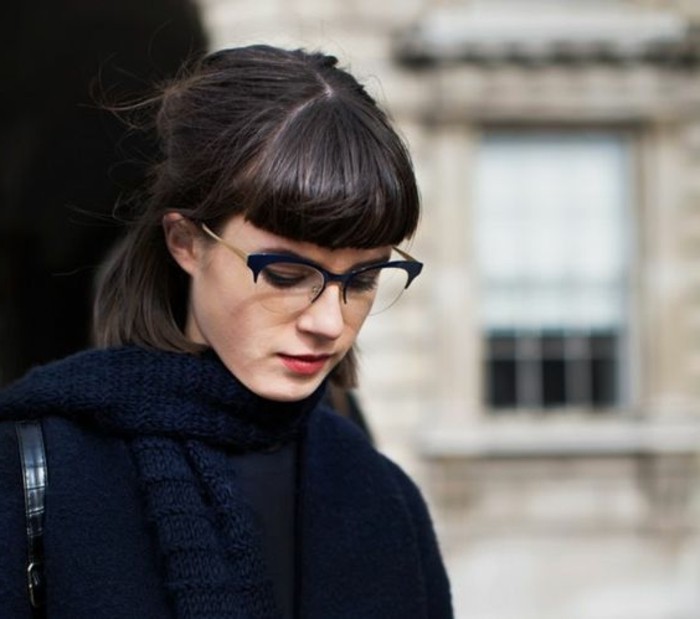
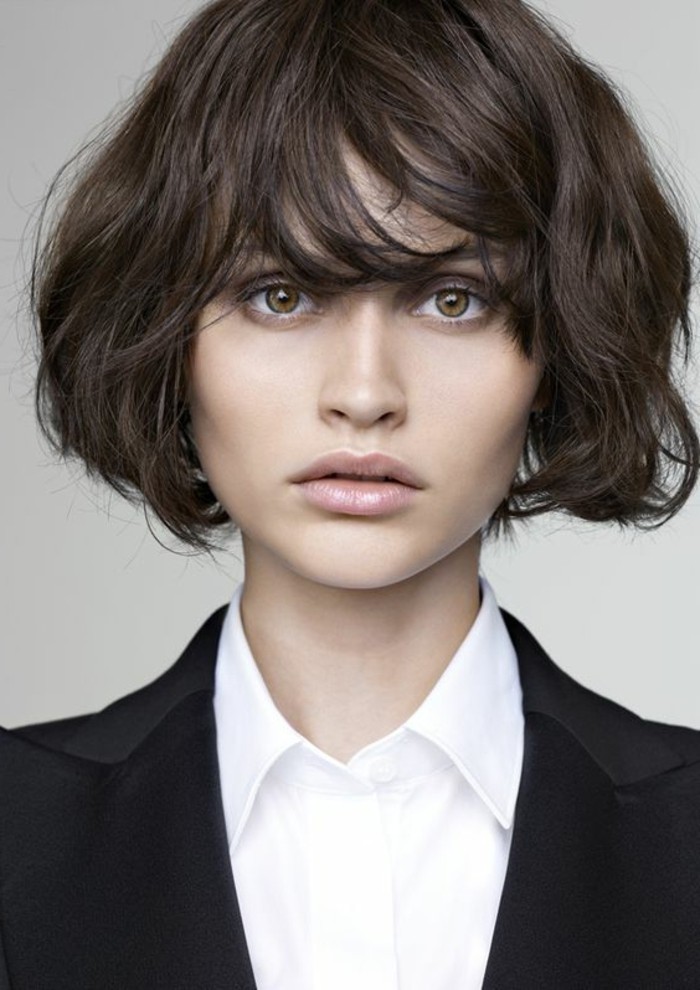
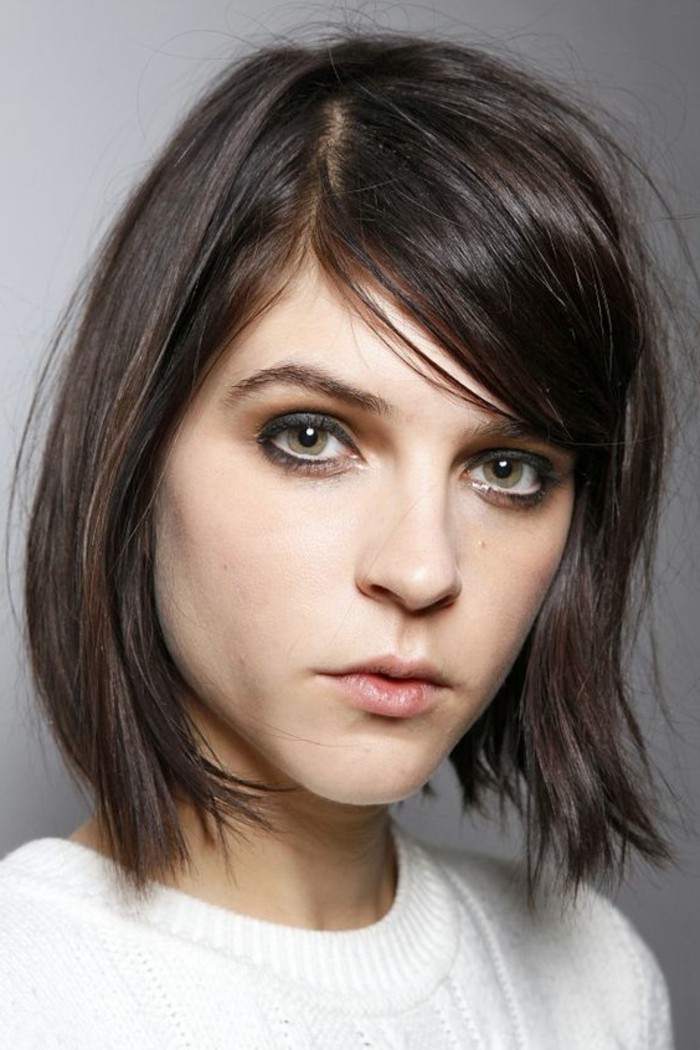
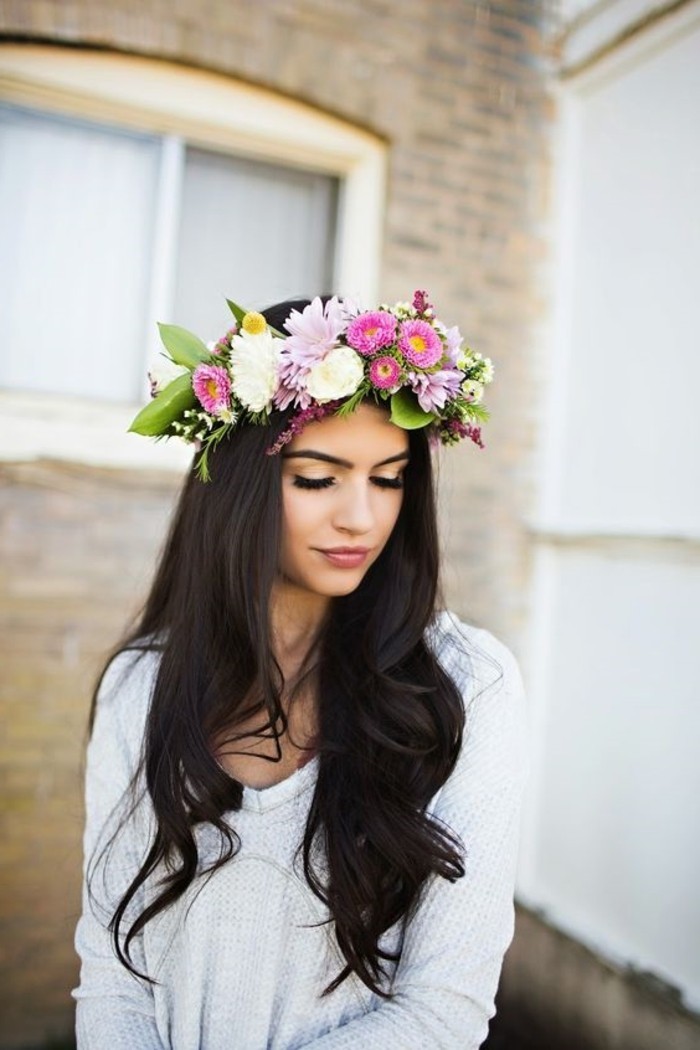
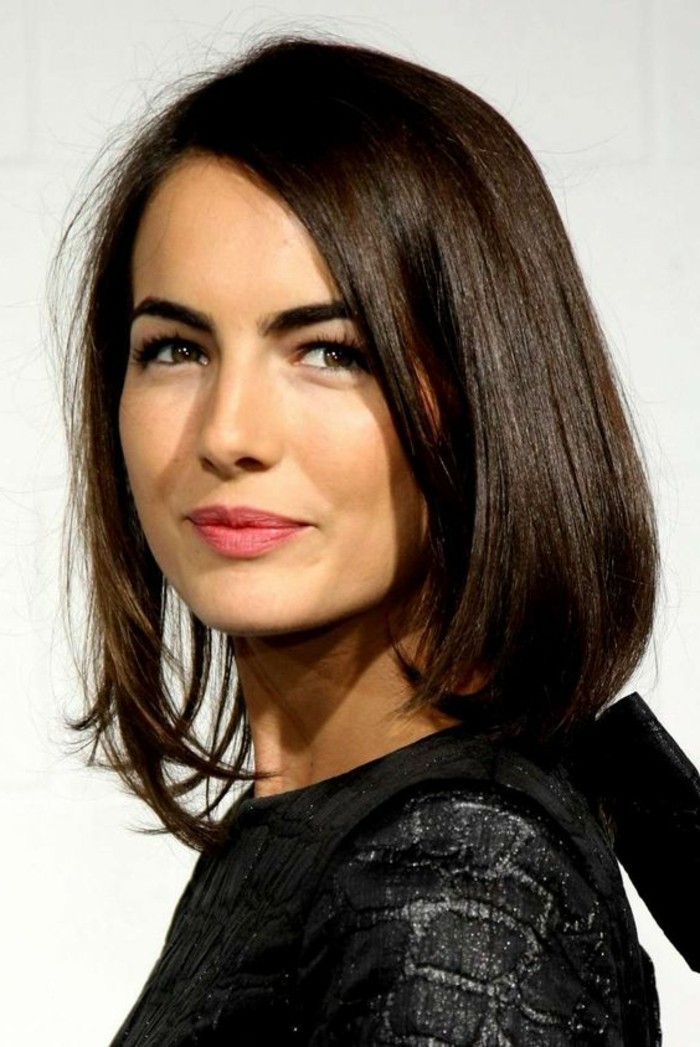
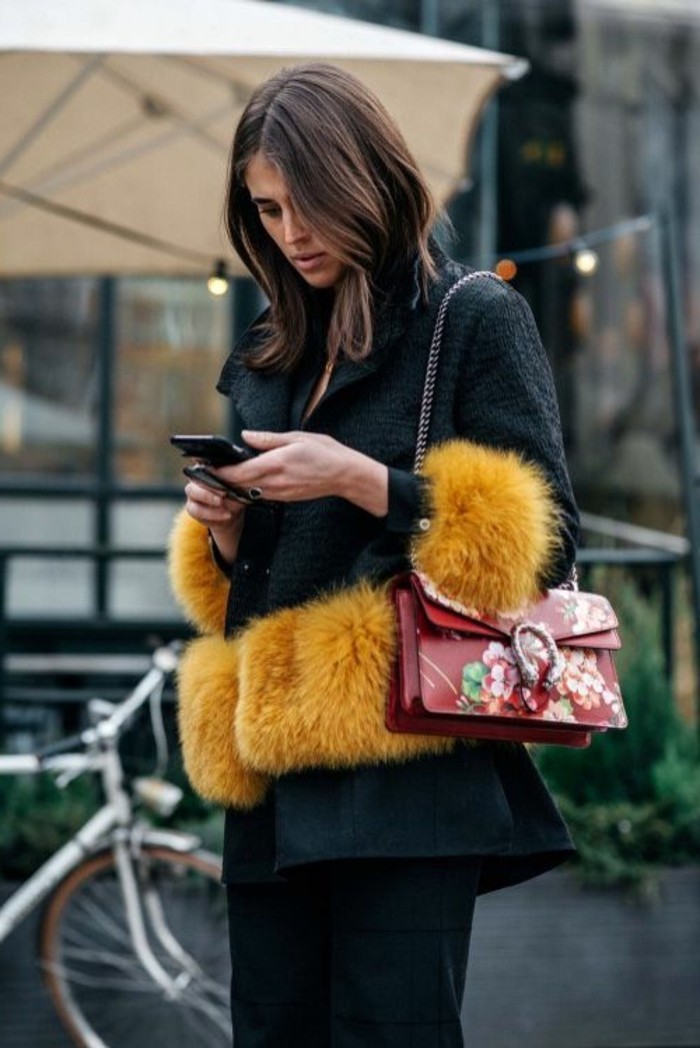
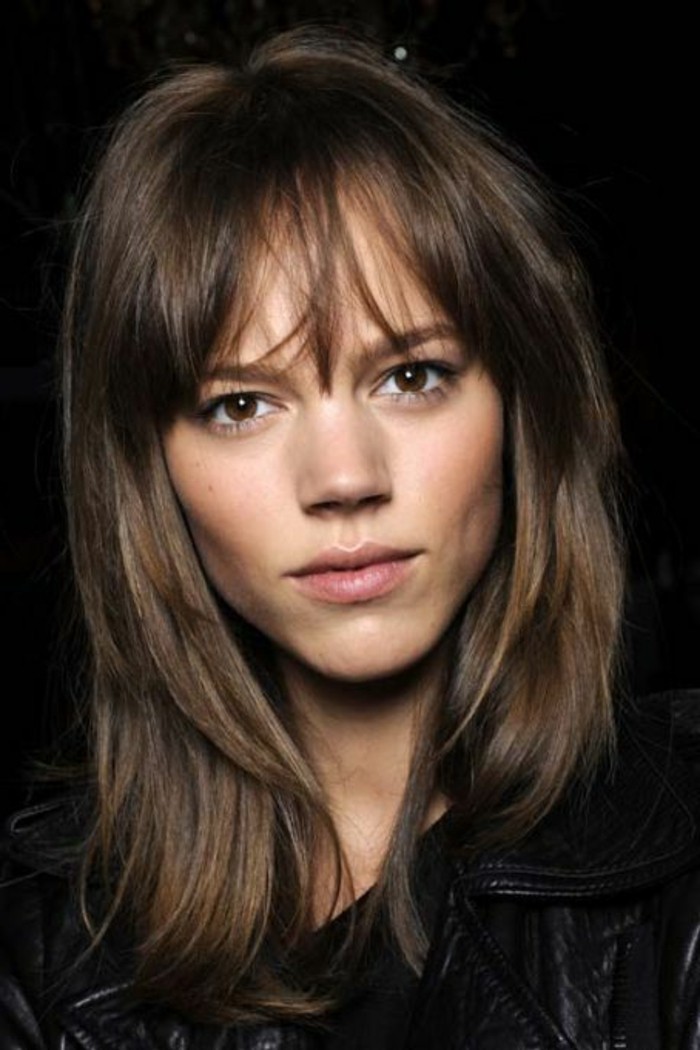
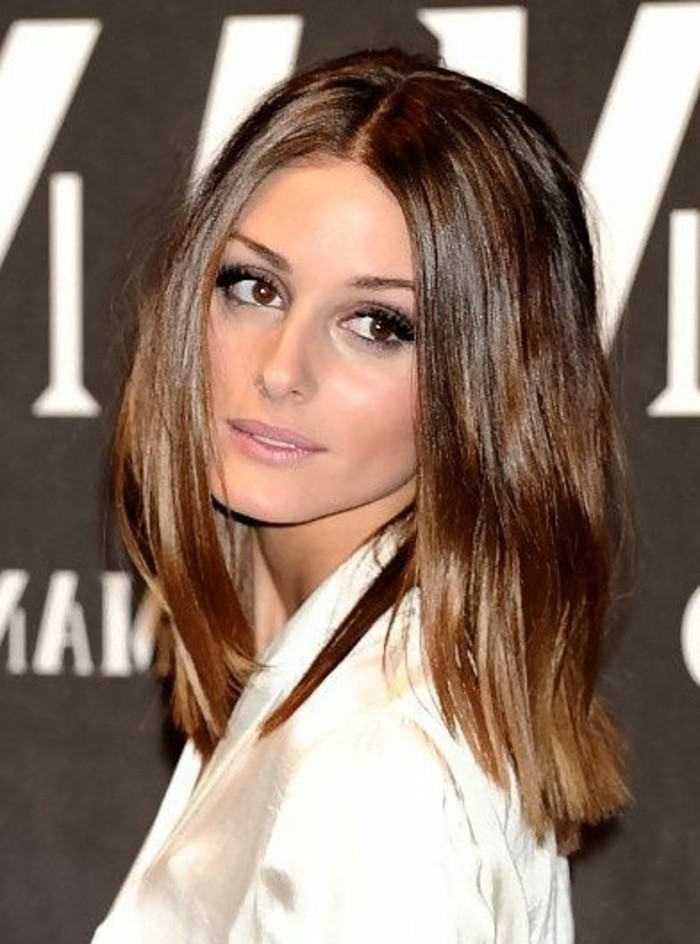
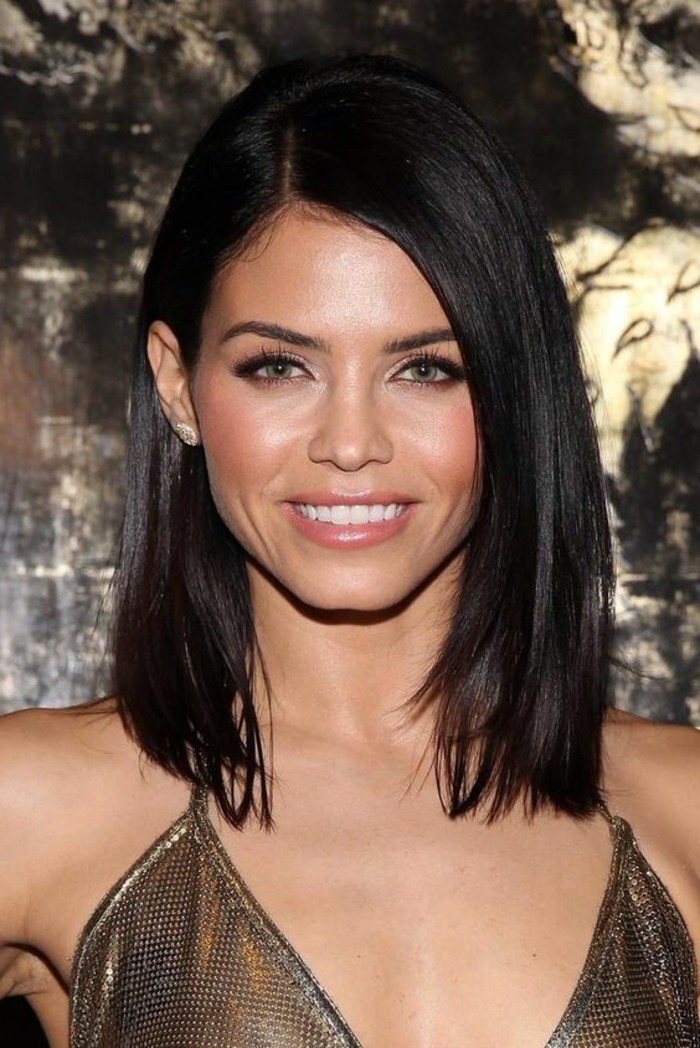
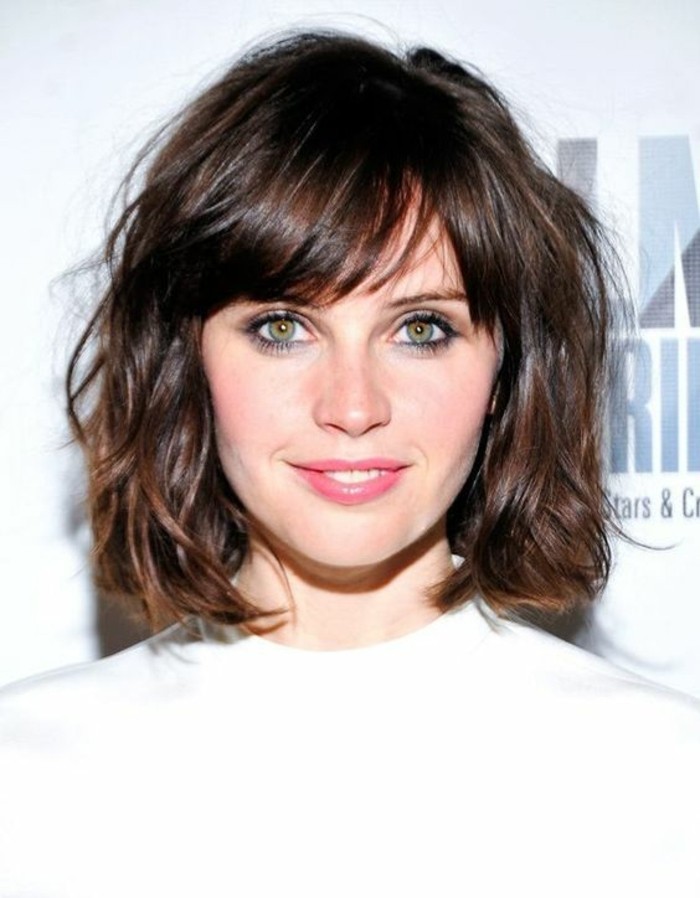
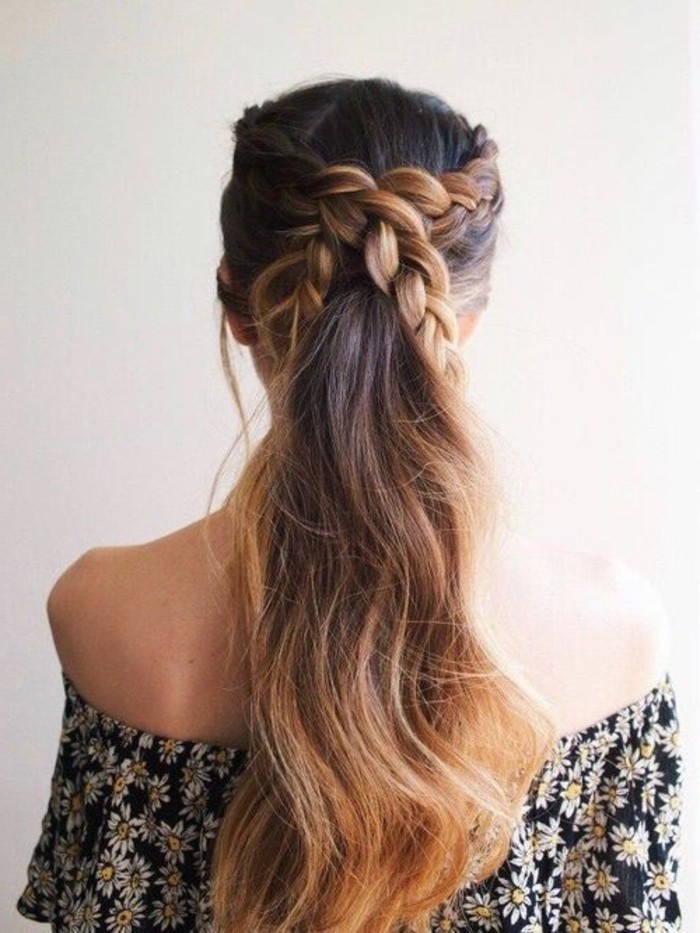
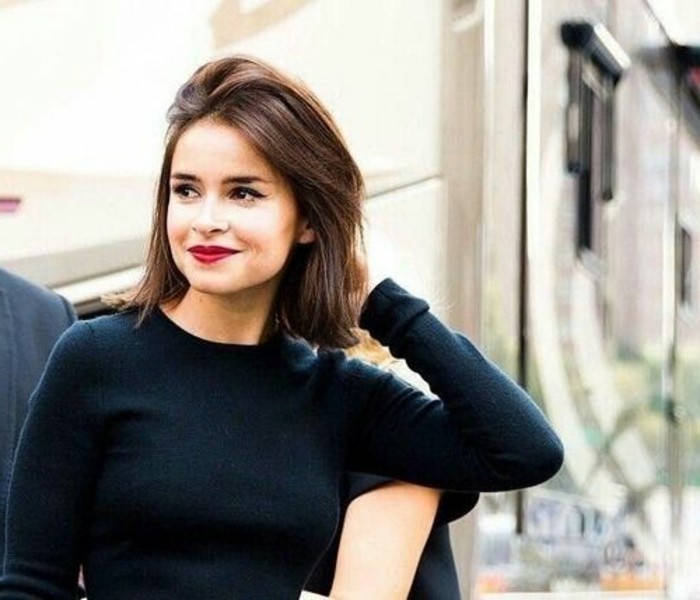
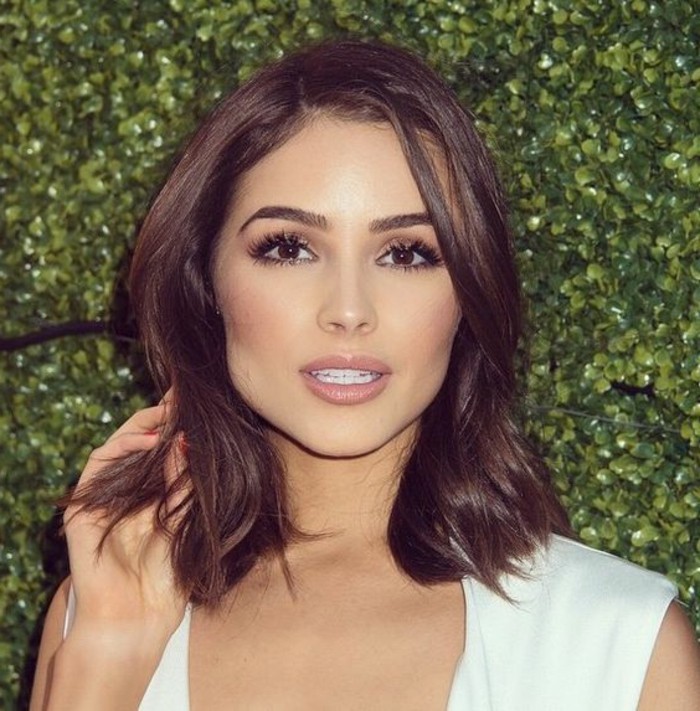
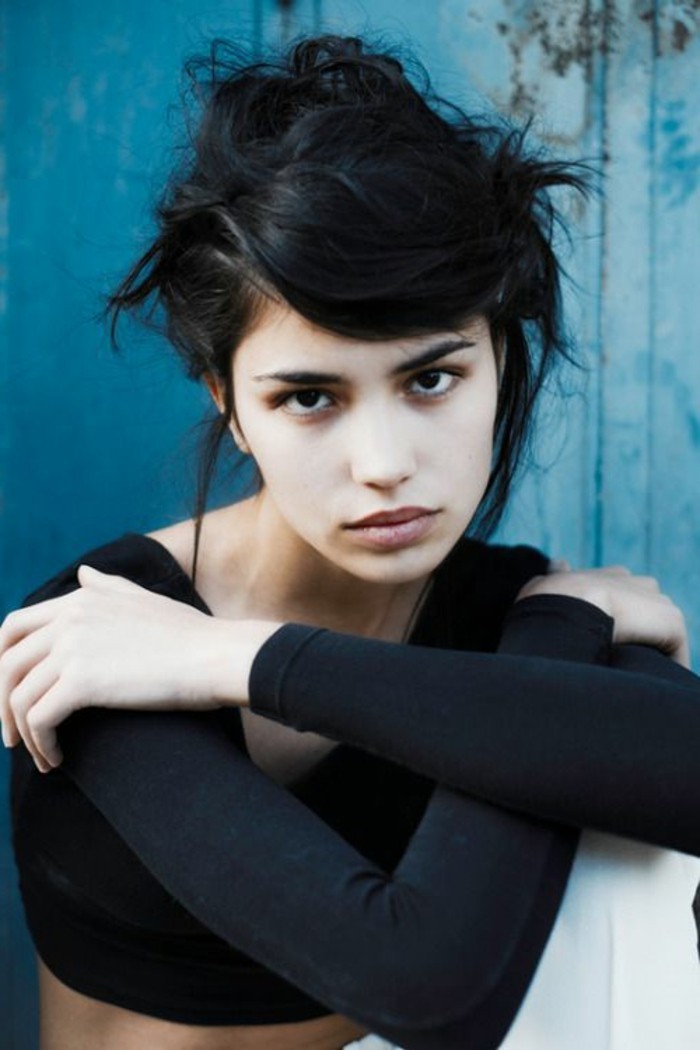
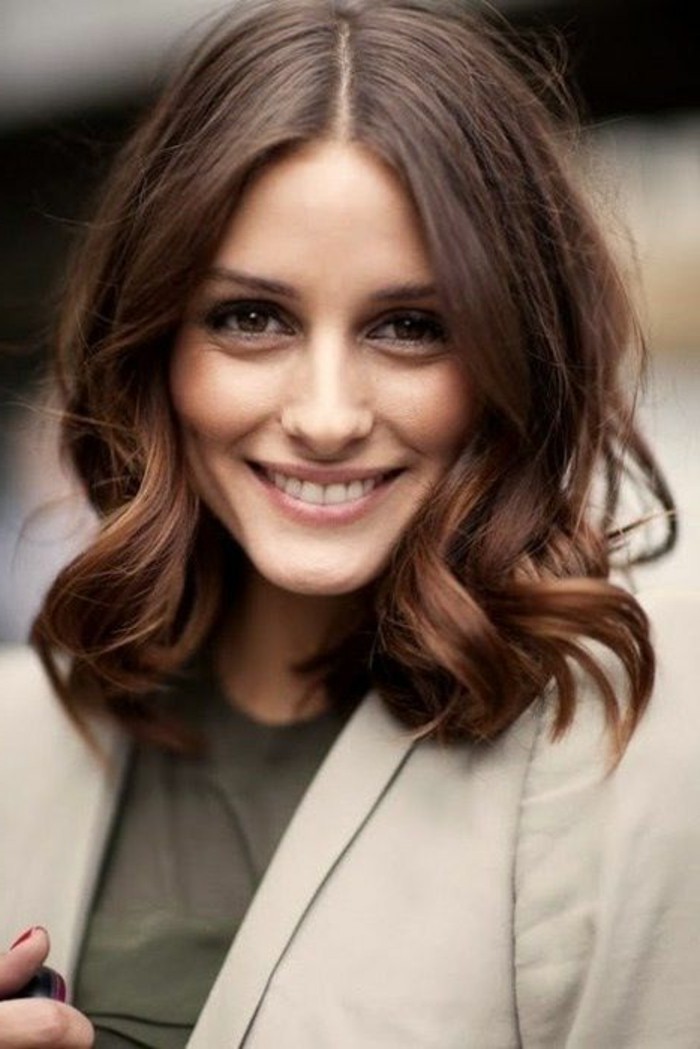
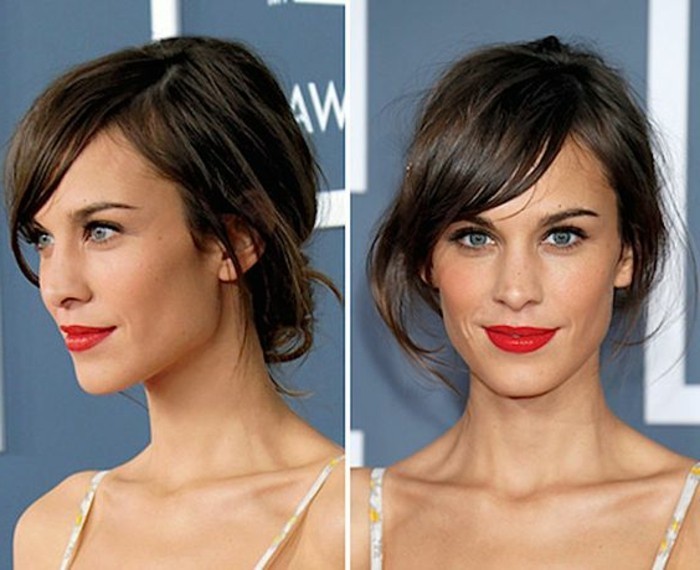
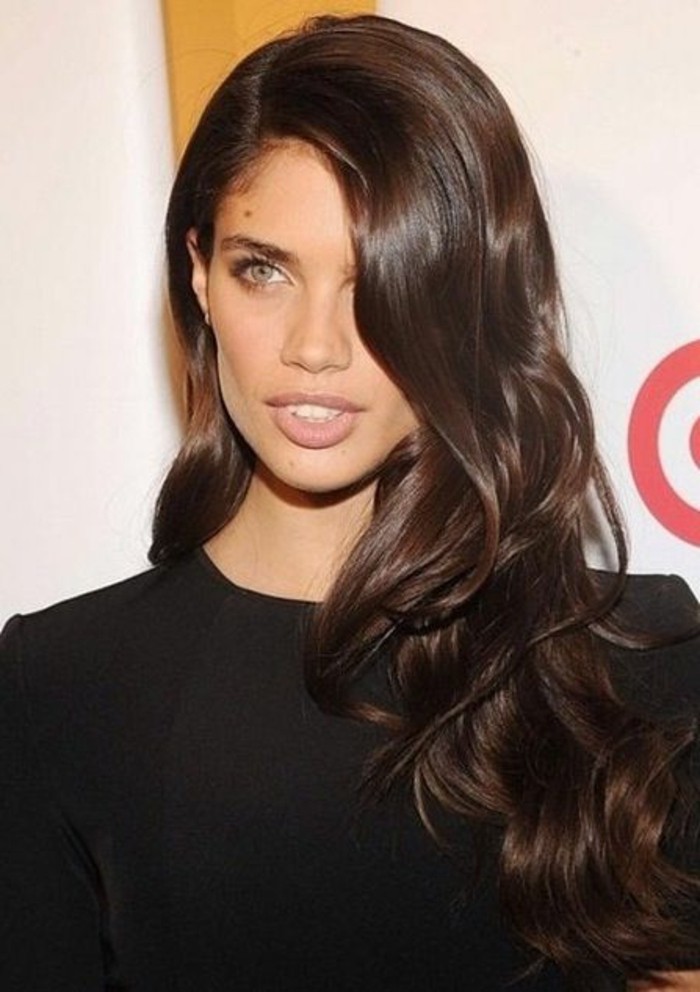
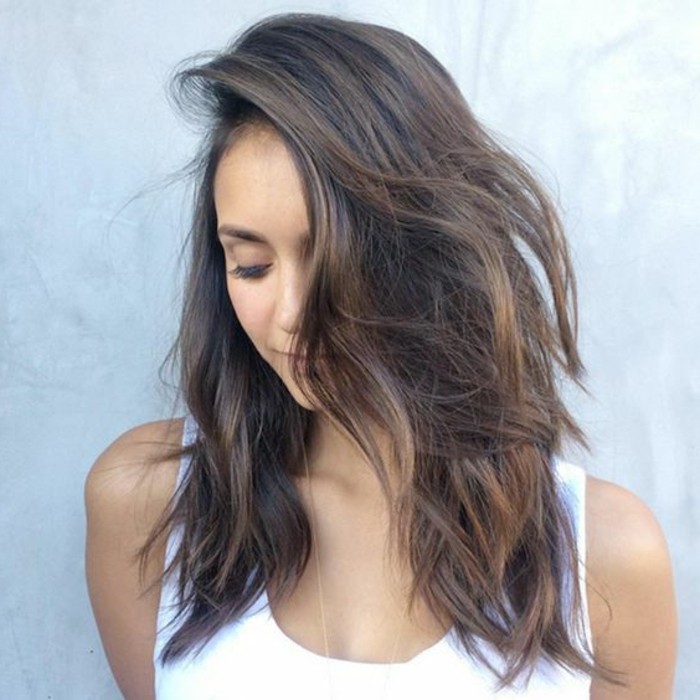
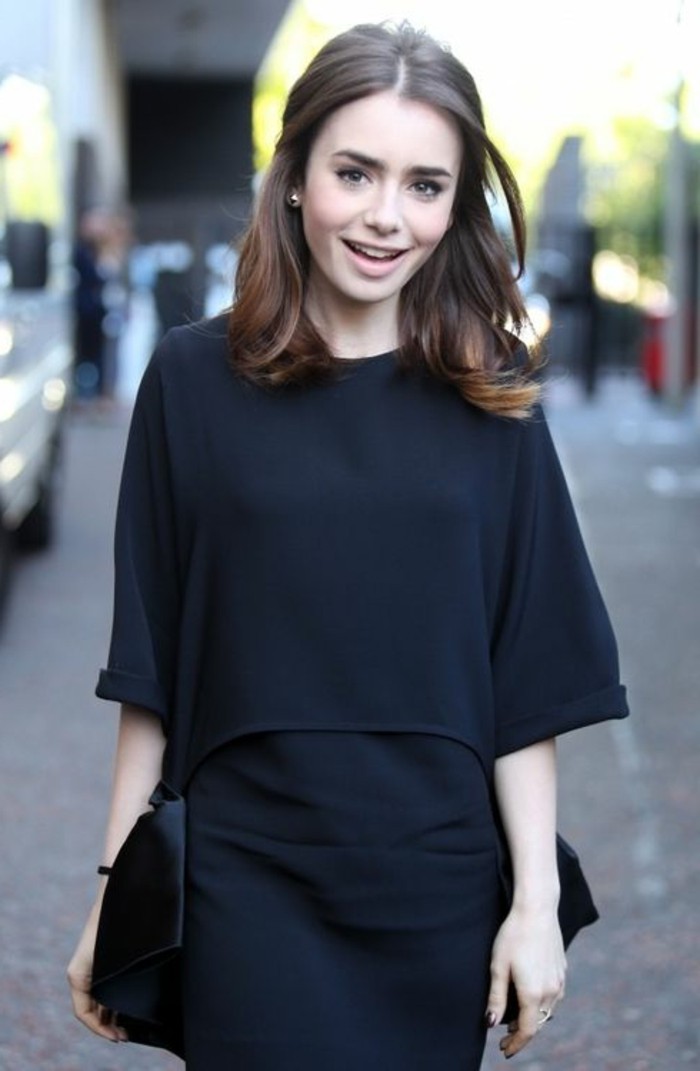
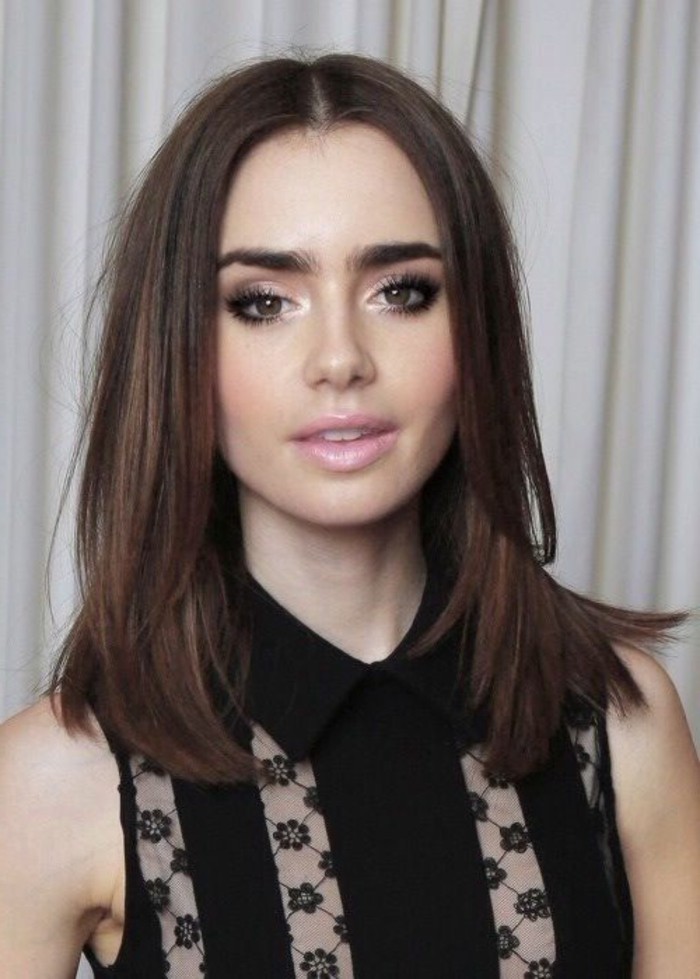
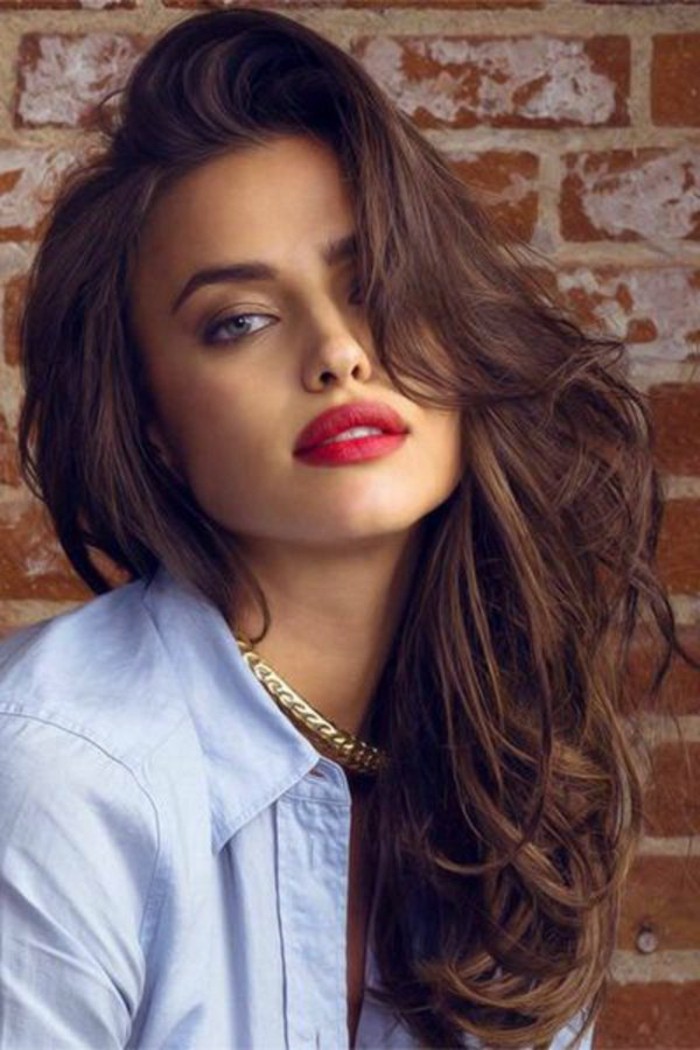
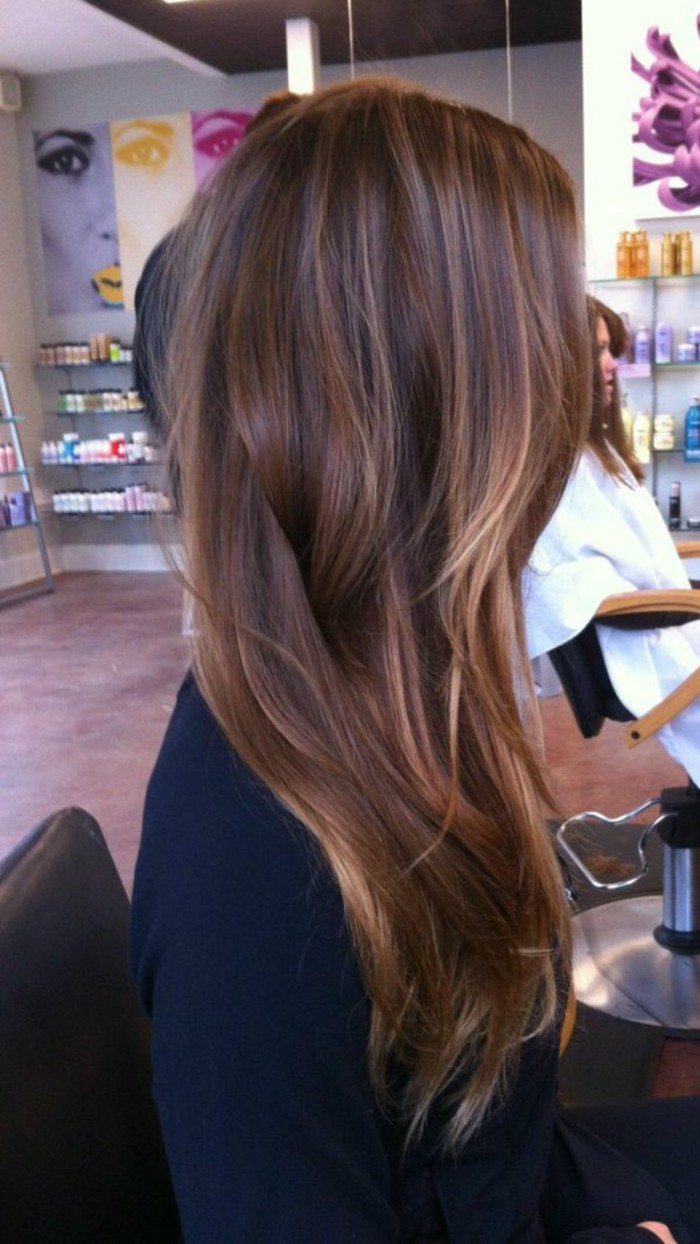
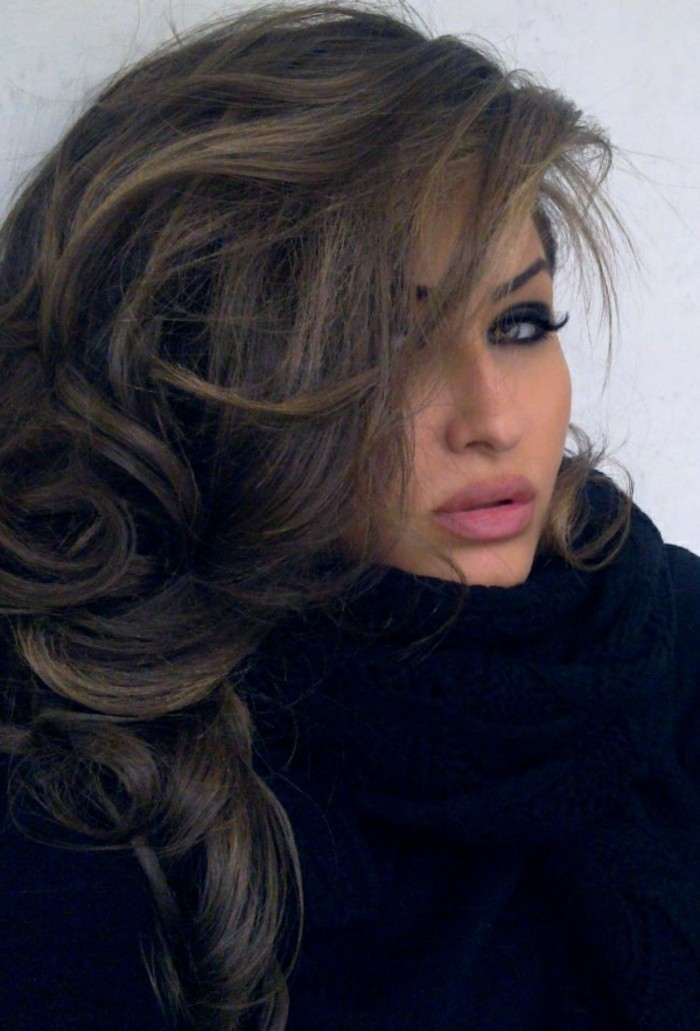
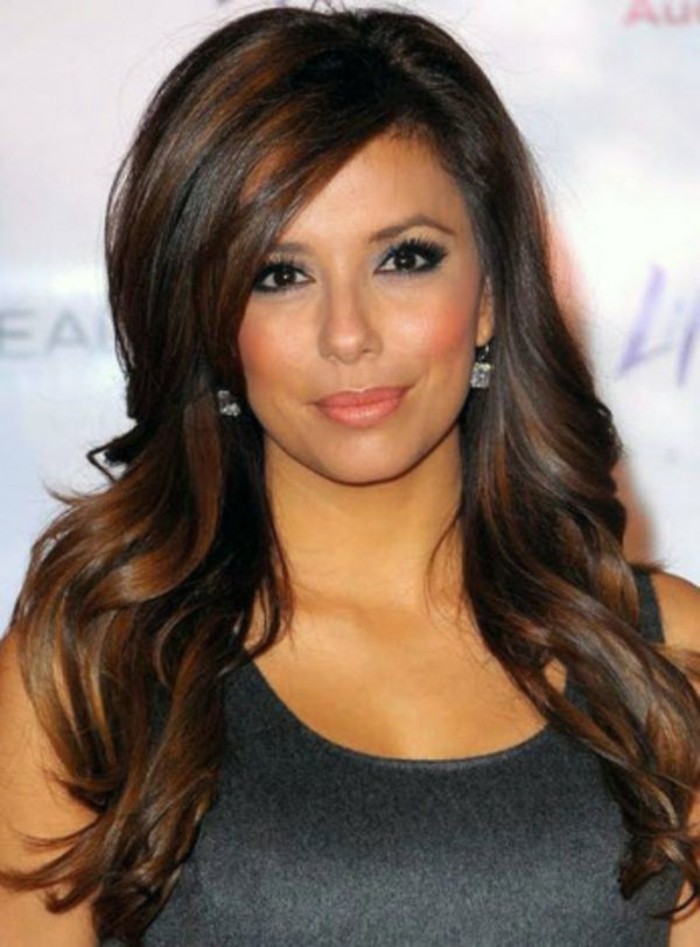
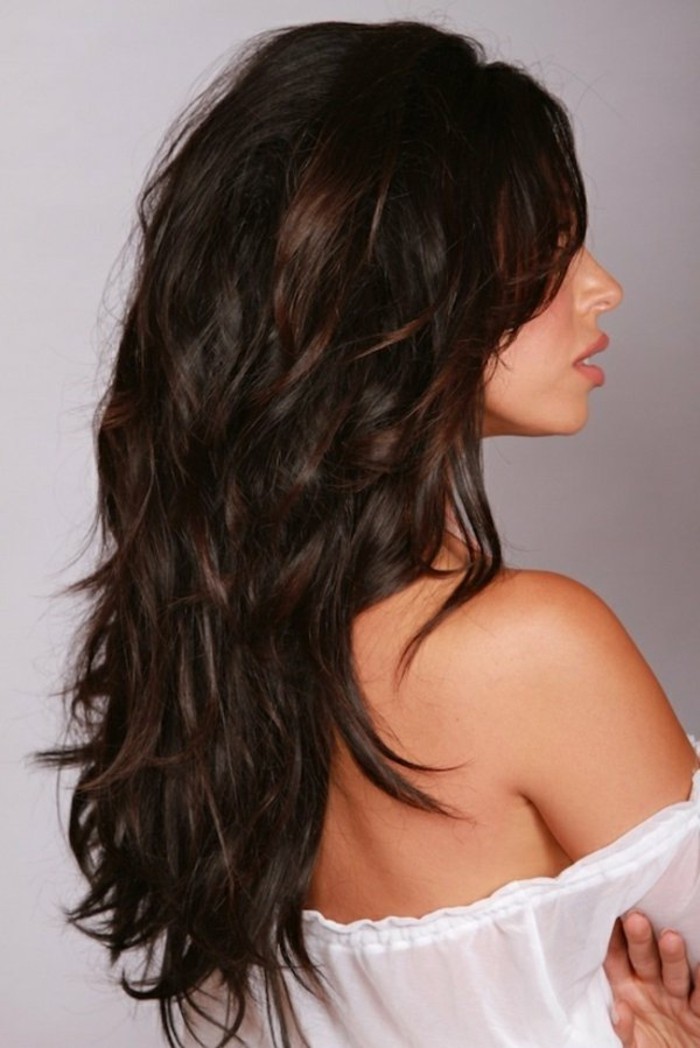
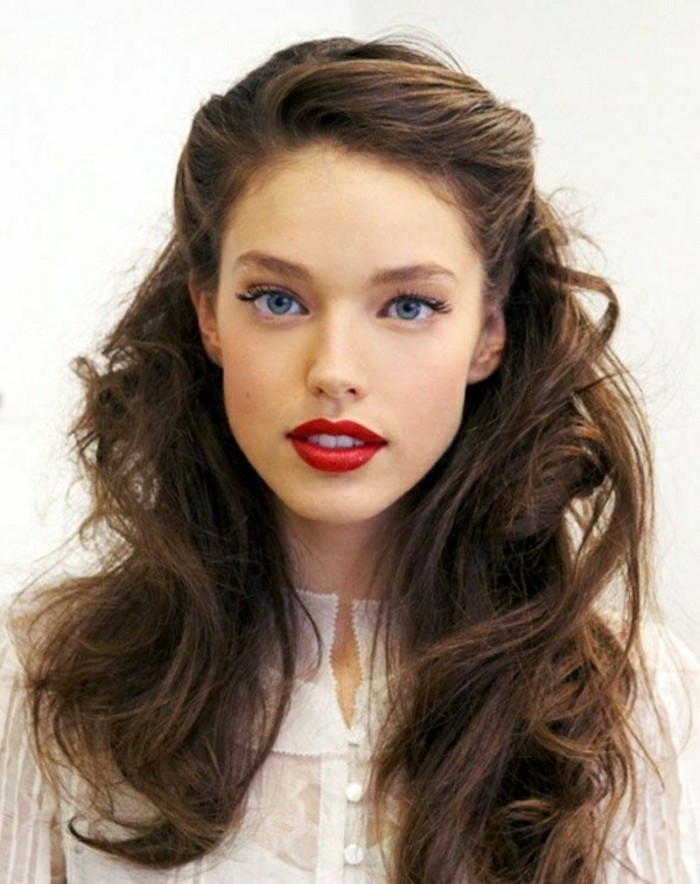
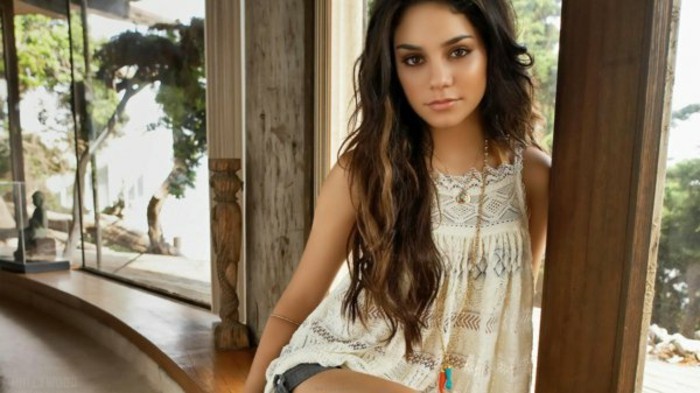
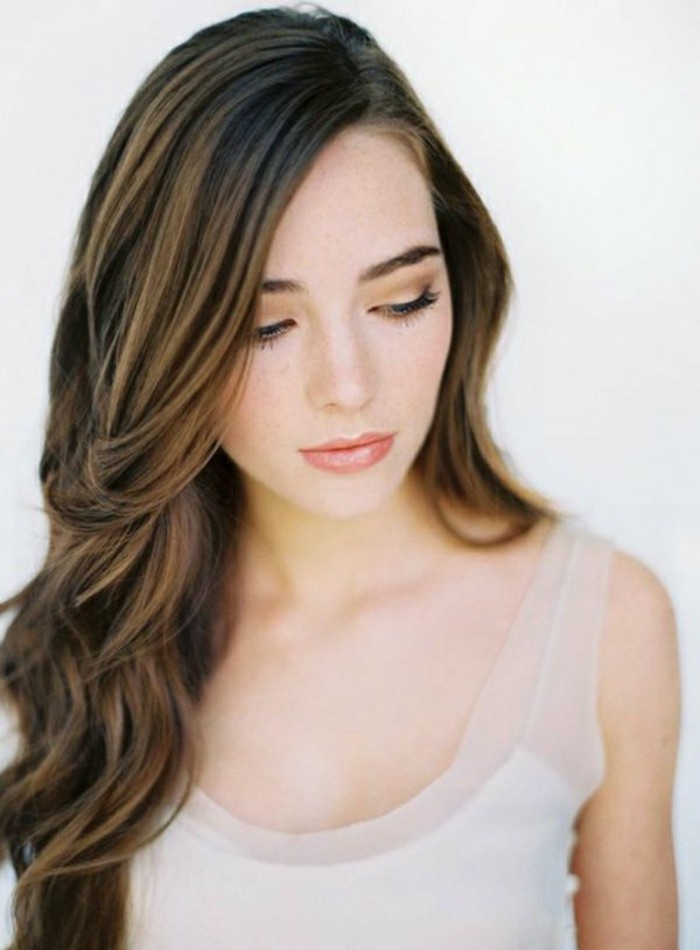
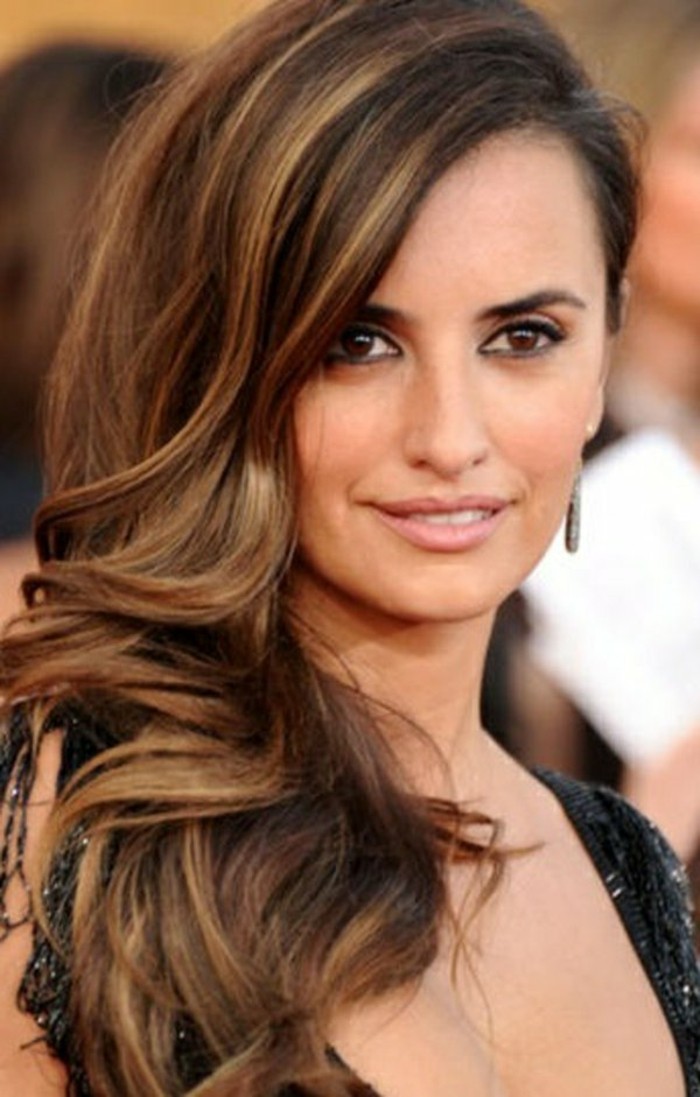
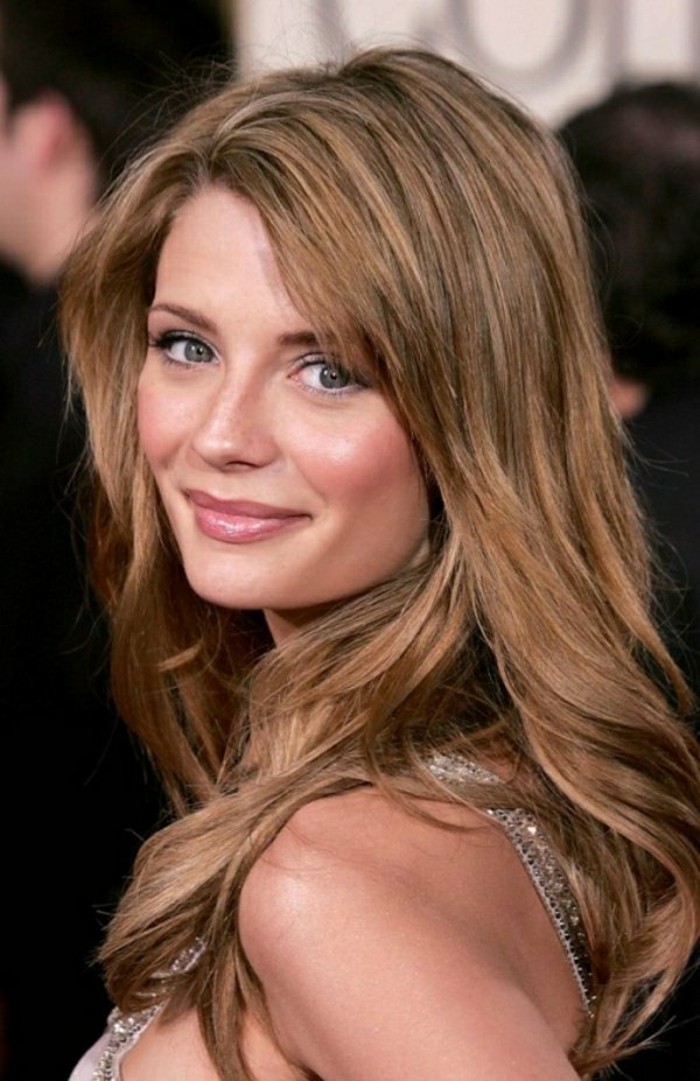
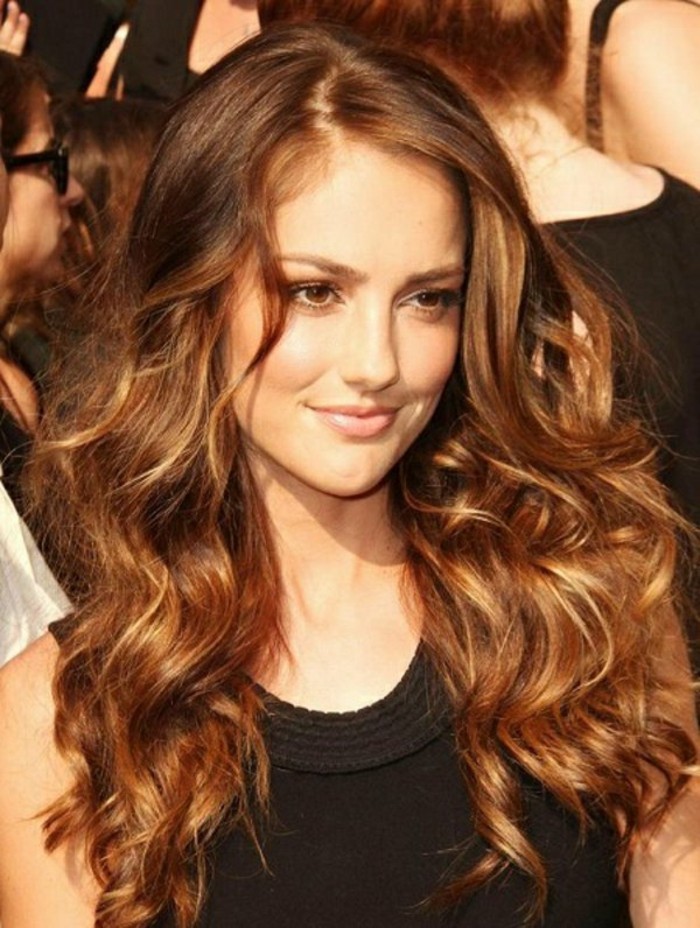
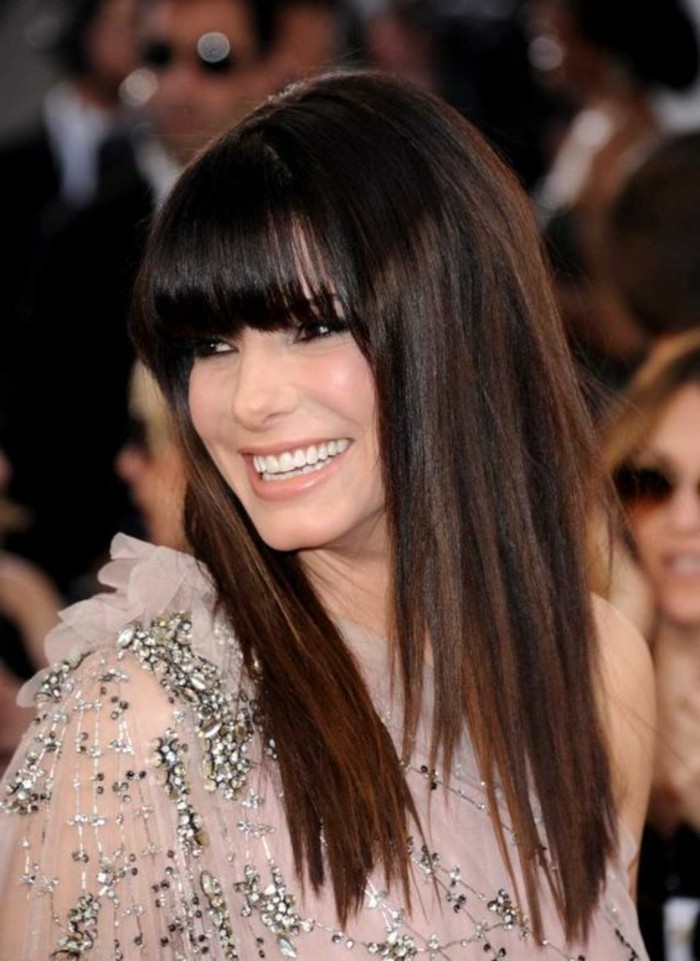
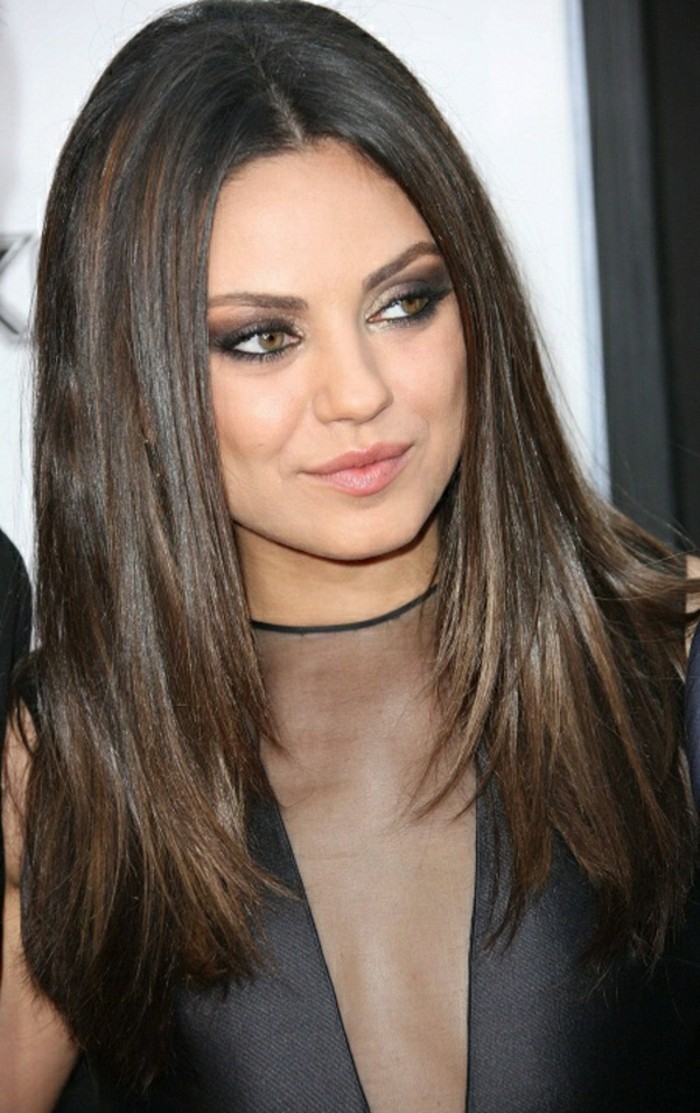
Inspirational Gallery
The Golden Rule of the First Wash: Wait at least 48 to 72 hours after your color appointment before shampooing. This gives the hair cuticle time to fully close and trap the new color molecules, drastically extending the life of your gorgeous new shade.
- Vibrant, rich color that doesn’t fade into a brassy mess.
- Hair that feels softer and looks incredibly shiny.
- Less damage from environmental stressors like UV rays.
The secret? Rinsing with cool water. It helps seal the hair’s cuticle layer, locking in moisture and your expensive color. It’s a free trick that makes a world of difference.
Will my new brown hair make my eyes pop?
Absolutely, if you choose the right tone. For blue eyes, a warm, caramel-toned brunette creates a stunning contrast. Green and hazel eyes are electrified by cooler, ash-based browns that bring out their earthy notes. For brown eyes, a deep espresso or chocolate cherry shade adds incredible depth and dimension, making them look richer.
More than 60% of the world’s population has naturally black or brown hair, making brunette the most common hair color on the planet.
Not all shine is created equal. A salon gloss service is your brunette hair’s best friend between full color appointments. Think of it like a top coat for your nails; it refreshes the tone, corrects any brassiness, and adds a layer of incredible shine that makes your hair look healthier and more expensive.
- Toning Power: A gloss like Redken Shades EQ can neutralize unwanted orange or red tones that creep in over time.
- Conditioning Boost: The formulas are typically ammonia-free and acidic, which means they condition the hair and seal the cuticle for a smooth finish.
- Low Commitment: It’s a demi-permanent service that fades gracefully without a harsh line of regrowth.
At-Home Gloss: A product like L’Oréal Le Color Gloss or dpHUE Gloss+ is a great weekly or bi-weekly treatment to boost shine and deposit a sheer layer of color. It’s fantastic for a quick refresh.
Salon Glaze: A professional service that offers more precise toning and longer-lasting results (typically 4-6 weeks). It’s the ideal choice for significant color correction or a major vibrancy boost.
For routine maintenance, an at-home gloss is perfect. For a post-summer brassy fix, head to the salon.
Before you even sit in the chair, make sure you’re prepared. Your stylist can work magic, but they aren’t a mind reader! Having the right information and inspiration ready makes all the difference in getting the brunette shade you’ve been dreaming of.
- Bring multiple inspiration photos showing the color in different lighting.
- Arrive with clean, dry hair so your stylist can see its true texture and starting color.
- Be honest about your hair history from the last 2-3 years (box dye, henna, etc.).
- Know your budget for both the initial service and future maintenance.
According to a study published in the ‘Scandinavian Journal of Psychology’, people tend to perceive brunettes as more intelligent, competent, and approachable.
While this is just a perception, it speaks to the classic, grounded, and reliable vibe that a well-maintained brunette color can project. It’s a shade that often signals confidence and sophistication without having to shout.
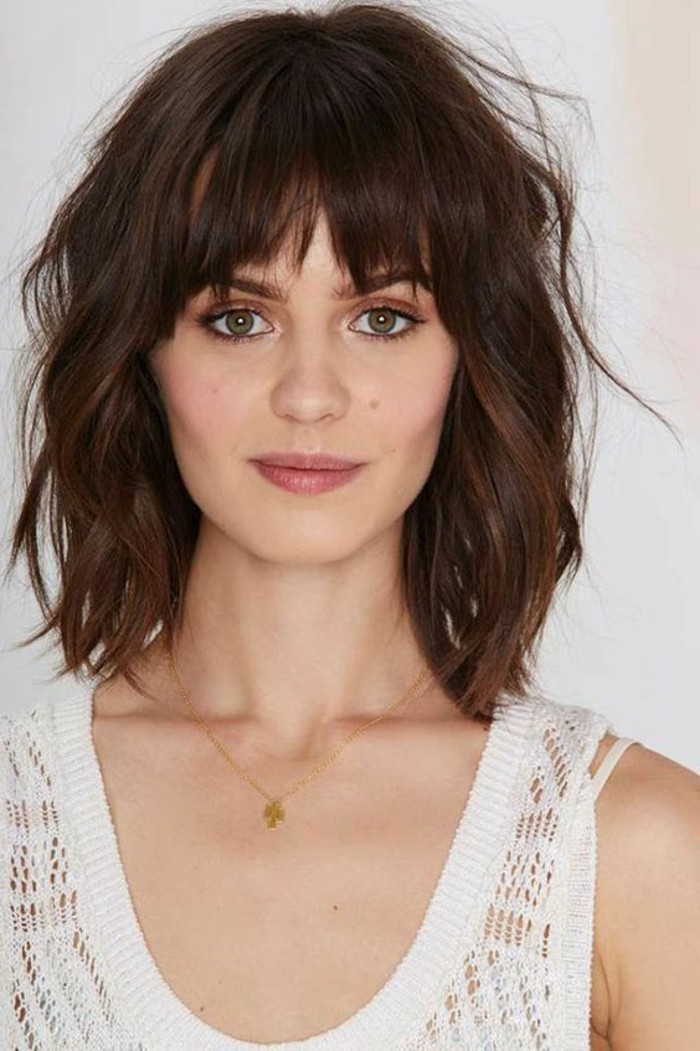
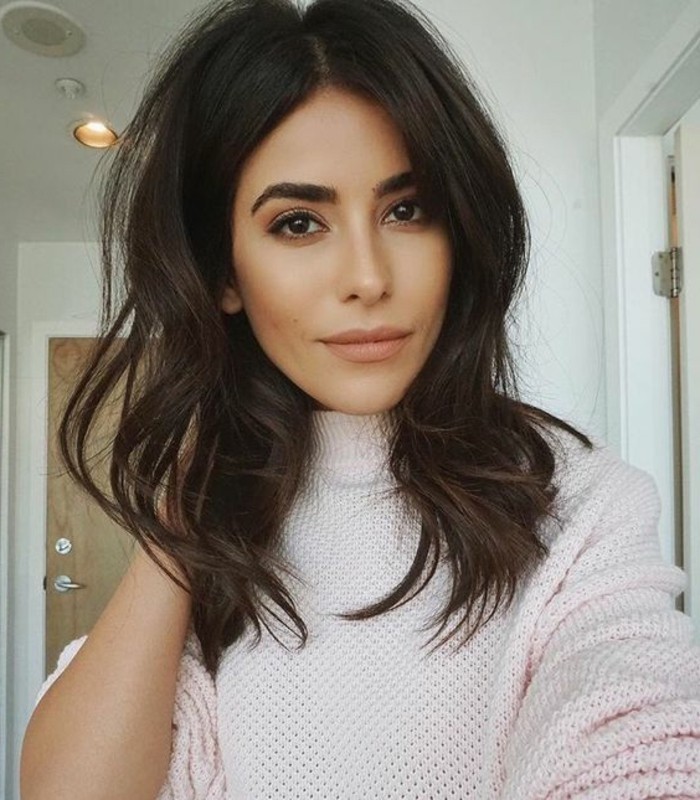
The term “mushroom brown” is taking over salons. It’s a multi-tonal, cool-to-neutral shade of light brown that incorporates subtle shades of grey and beige, mimicking the underside of a portobello mushroom. It’s the perfect antidote for anyone tired of overly warm or reddish browns and works beautifully on neutral or cool skin tones.


A crucial mistake: Going from very light blonde to dark brown without a ‘filler’. Your hair has been stripped of its underlying red and orange pigments. If you just put a dark brown dye on top, it has nothing to grab onto and will often turn a muddy, swampy green or a flat, lifeless grey. A stylist always applies a red or copper-toned filler first to rebuild the foundation for a rich, believable brown.
Can I go from jet black to a caramel brunette?
Patience is key here. Going from black (Level 1-2) to a caramel brown (Level 6-7) requires lifting out layers of dark pigment, which is a corrective color process. It will likely take multiple sessions to achieve the target shade without compromising the health of your hair. Your stylist will probably use a bond-builder like Olaplex throughout the process to maintain your hair’s integrity. Don’t expect it to happen in one three-hour appointment.
- Avoid shampoos containing sulfates, which are harsh detergents that strip color molecules.
- Look for products specifically labeled “color-safe” or “for color-treated hair.”
- Incorporate a blue-toned shampoo or mask once a week to neutralize orange, brassy tones.

Suddenly seeing orange or brassy tones? Your shampoo could be the culprit. Switch to a sulfate-free option immediately. Brands like Pureology, Kérastase Chroma Absolu, and Oribe Shampoo for Beautiful Color are formulated to be gentle, cleansing the hair without stripping your precious brunette pigment.
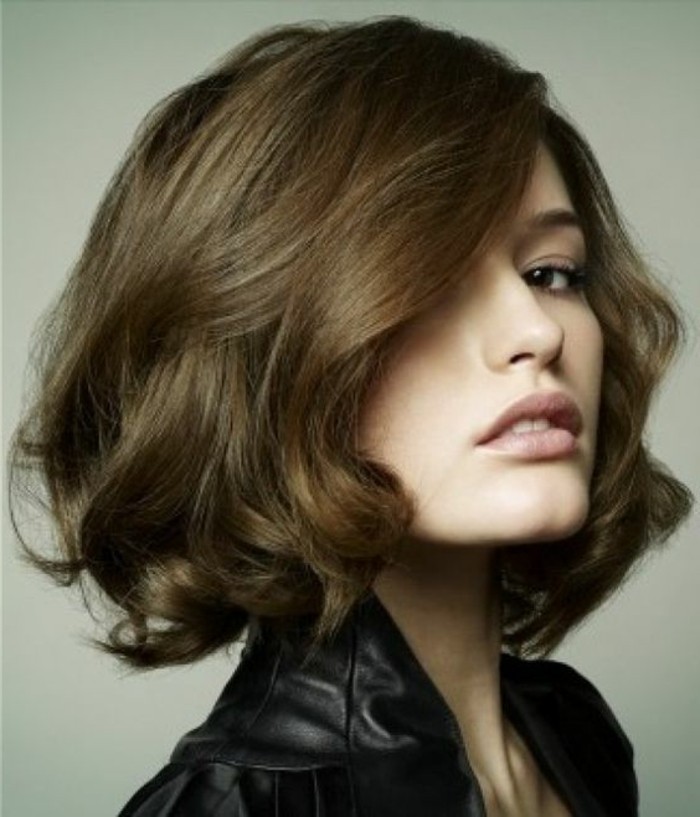
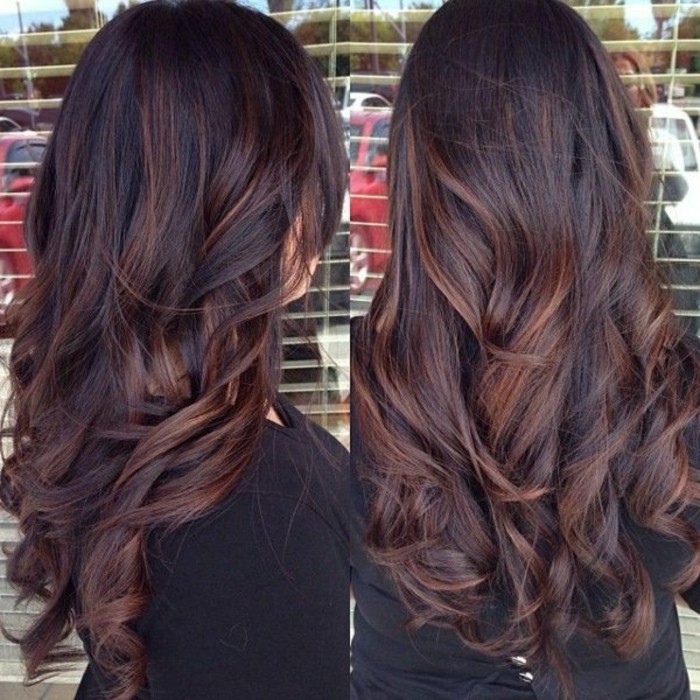
“The key to a beautiful brunette is dimension. A solid, flat brown can look like a wig. You need those subtle ribbons of light and dark to make it look real and alive.” – Tracey Cunningham, Celebrity Colorist
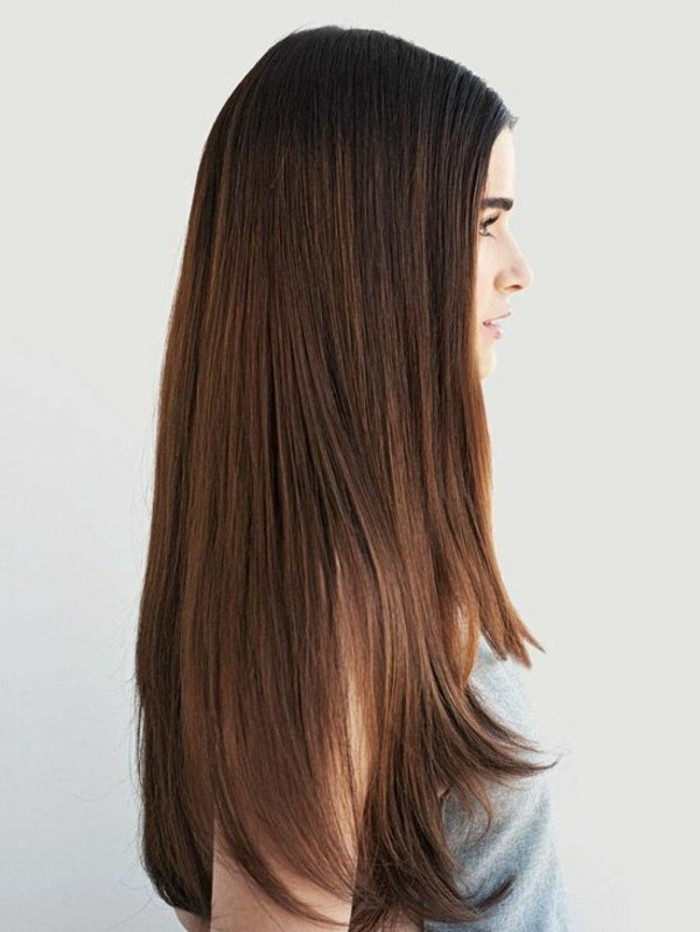
Liquid Brunette: This trend focuses on a super-sleek, high-shine, monochromatic look. It’s about achieving a glass-like finish on a deep, uniform color like dark chocolate or espresso, often achieved with a clear gloss treatment and a silk press.
Expensive Brunette: This style is all about subtle, multi-tonal dimension. It uses very fine, strategically placed highlights and lowlights that are only one or two shades different from the base color, creating a rich, natural look that seems effortlessly perfect.
Liquid is for high-impact drama; Expensive is for understated luxury.
- Prevents sleep-related frizz and breakage.
- Helps hair retain moisture instead of absorbing it like cotton does.
- Keeps your color looking glossy and smooth for longer.
The simple upgrade? Switching to a silk or satin pillowcase. It’s a small change with a big impact on the longevity of your brunette color and overall hair health.
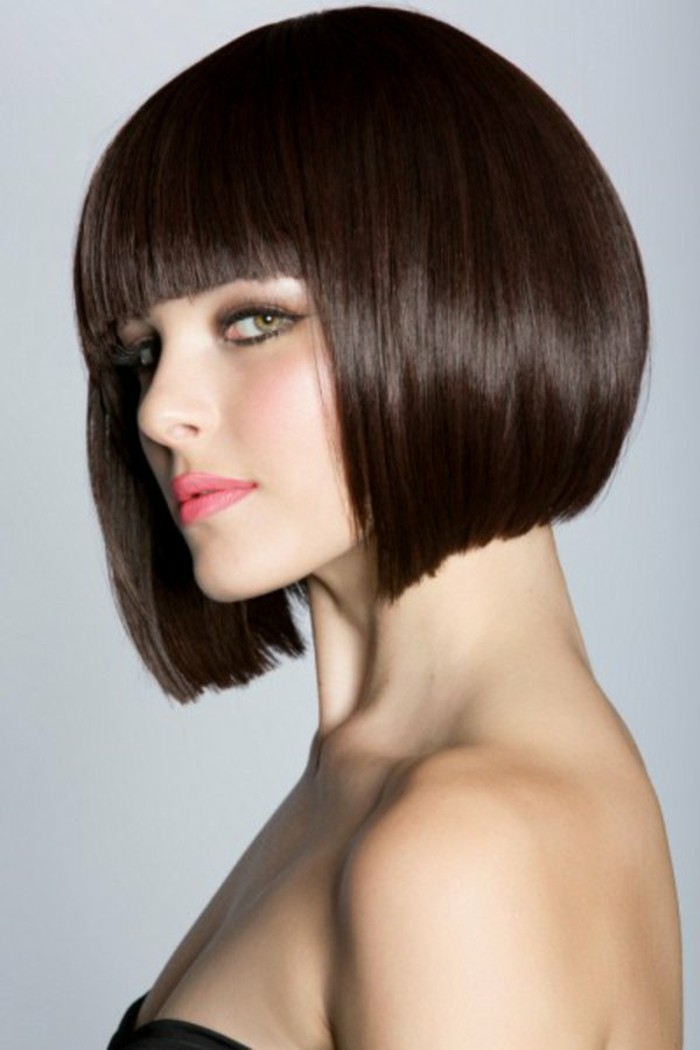
Don’t underestimate the power of your cut. Long, blended layers can beautifully showcase the subtle shifts in a balayage. A sharp, blunt bob, on the other hand, makes a solid, dark chocolate brown look incredibly chic and powerful. Discuss your ideal cut with your stylist at the same time you discuss your color—they should work together.
Warning: The Box Dye Gamble. Be extra cautious with at-home box dye. The developer in the box is a one-size-fits-all strength, which might be far too harsh for your hair type, leading to damage. Furthermore, the color result on the box is a best-case scenario on virgin, perfectly-conditioned hair—not a guarantee for your unique starting point.
Pool-goers, take note! Chlorine is notorious for stripping brown hair color and can sometimes leave a greenish tint, especially on lighter brunette shades. Before you dive in, wet your hair with clean water and apply a leave-in conditioner. This fills the hair shaft, so it absorbs less of the chlorinated water.
To keep your brown hair from looking flat, ask your stylist for “lowlights.” Instead of adding blonde, they will weave in a color that is one or two shades darker than your base. This simple trick creates instant depth and the illusion of thicker, more voluminous hair without a drastic change.
- Walnuts and almonds (biotin and Vitamin E)
- Spinach and kale (iron and folate)
- Eggs and salmon (protein and Omega-3s)
Great hair truly starts from within. These foods provide the essential building blocks for strong, healthy hair that can better hold onto color.
I have cool, pinkish undertones in my skin. What brunette shade should I choose?
You want to avoid overly warm, reddish browns, which can bring out redness in your skin. Instead, opt for cool or neutral shades. Think ash brown, deep espresso, or a chic mushroom brown. These tones will complement your complexion and create a harmonious, sophisticated look.
Hard Water vs. Soft Water: If you live in a hard water area, minerals like calcium and magnesium can build up on your hair, making your brunette color look dull and brassy. Installing a shower filter or using a clarifying shampoo (sparingly!) once a month can make a huge difference in maintaining your color’s true tone.
Hair that is more porous (often from previous bleaching or damage) will absorb brown color quickly but also lose it just as fast.
This means if your hair is damaged, your fresh brunette color might look great for a week and then rapidly fade. Using protein treatments and bond-building products like K18 or Olaplex No. 3 at home can help repair the hair’s structure so it can hold onto color for longer.
A heat protectant is non-negotiable for any hair, but it’s vital for brunettes. High heat from flat irons and curling wands can literally scorch your color molecules, turning rich brown tones into a dull, brassy orange over time. A quality thermal spray, like the one from ghd or Tresemmé, creates a barrier that saves your shade.


