The Brunette’s Guide to Going Blonde (Without Frying Your Hair)
After more than a decade behind the chair, I can tell you one thing for sure: the most requested transformation is adding blonde to brown hair. It’s a classic for a reason! When it’s done right, it adds this incredible dimension, brightens up your whole look, and just gives your hair life. But oh boy, I’ve also seen the confusion it can cause. So many people walk in with a Pinterest board, unsure if what they want is balayage, highlights, or something in between. They hear all these fancy terms but have no idea what they mean for their hair, their wallet, or their schedule.
In this article
So, let’s cut through the noise. I want to walk you through this just like I would if you were sitting in my salon chair for a real consultation. We’ll talk about what’s actually happening to your hair, what to ask your stylist so you sound like you know your stuff, and—most importantly—how to keep your hair from feeling like straw once you get home. This isn’t about chasing trends; it’s about empowering you to make a choice you’ll love for months to come.
First Things First: Let’s Talk About Your Hair
Before we dream of blonde, we have to get real about the canvas we’re working with—your hair. Every single head of hair is unique, and its starting point dictates how it’s going to handle the lightening process.
Think of a hair strand like this: it has a protective outer layer (the cuticle) that looks like shingles on a roof. Inside that is the cortex, where all the natural color pigment lives. To get you blonde, we have to gently open up those ‘shingles’ to get to the pigment. This is why lightened hair can feel a bit rougher at first; its protective layer has been lifted.
In the salon world, we talk about color on a scale from 1 (jet black) to 10 (lightest blonde). Most brunettes are somewhere between a Level 2 (think black coffee) and a Level 5 (rich milk chocolate). Figuring out your starting level is step one.
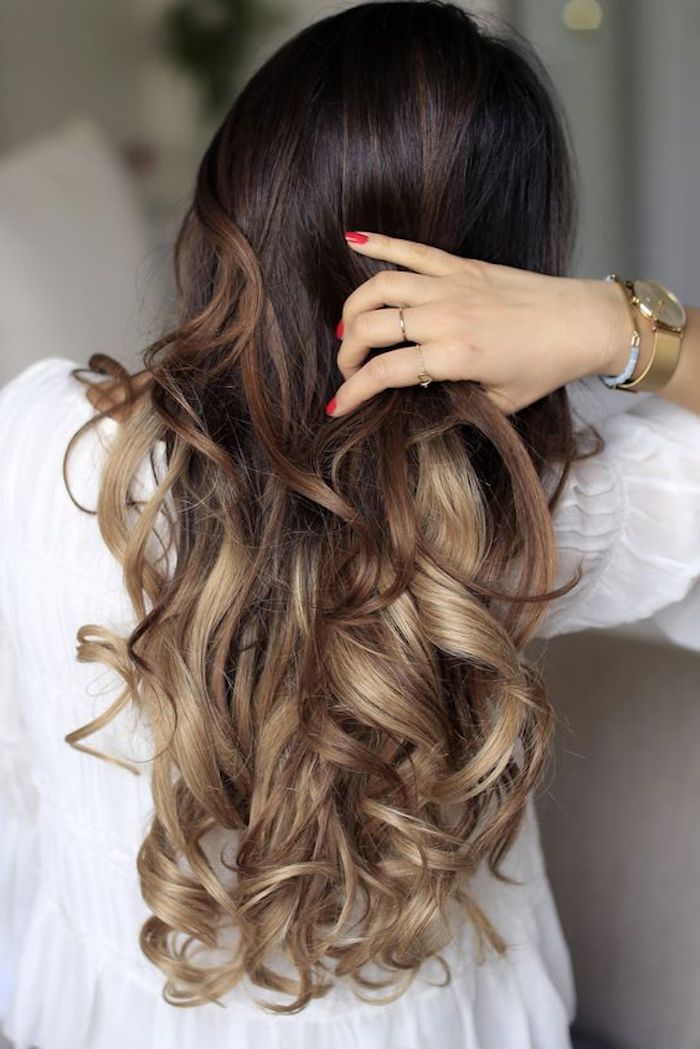
And now for the most critical concept for any brunette wanting to go lighter: underlying pigment. When we lift brown color out of your hair, it doesn’t just vanish. It reveals other colors along the way—first red, then orange, then gold, and finally yellow. You literally cannot get to blonde without passing through these warm stages. It’s basic hair chemistry. That dreaded “brassiness” people worry about? It’s just that exposed warmth. A good colorist’s job isn’t just to lift your hair, but to know exactly how to neutralize that warmth with a toner to get the perfect shade.
The Main Event: Foils vs. Balayage
Okay, this is where most of the confusion happens. People use these terms interchangeably, but they are totally different application methods that create totally different looks. Neither is “better”—they’re just different tools for different goals.
Traditional Foil Highlights: For Brightness and Control
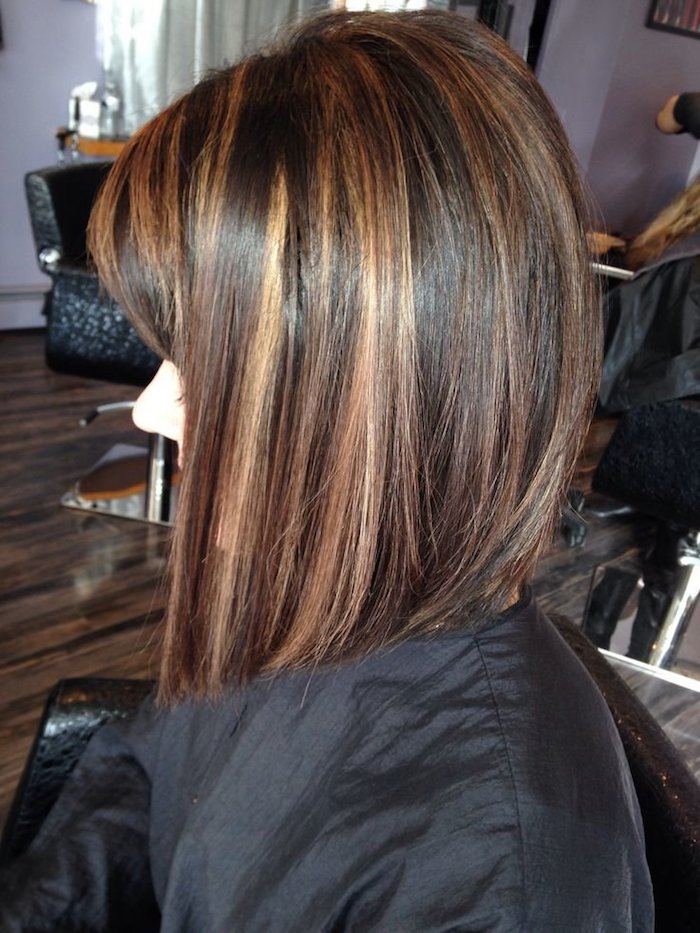
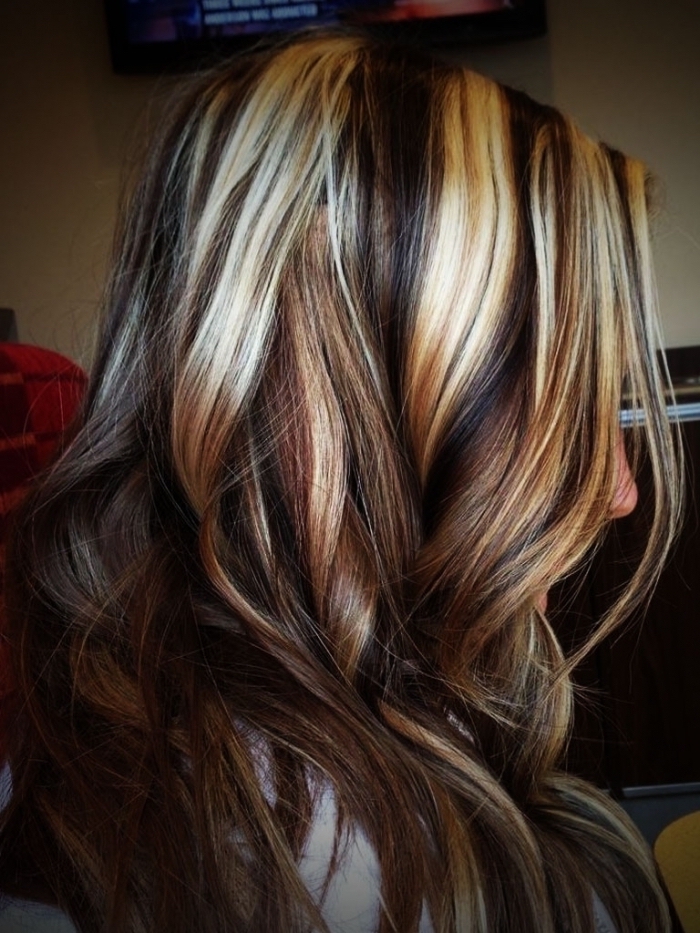
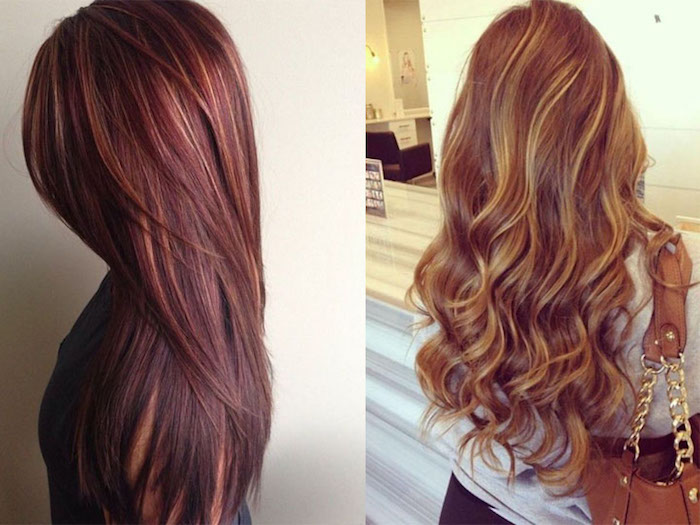
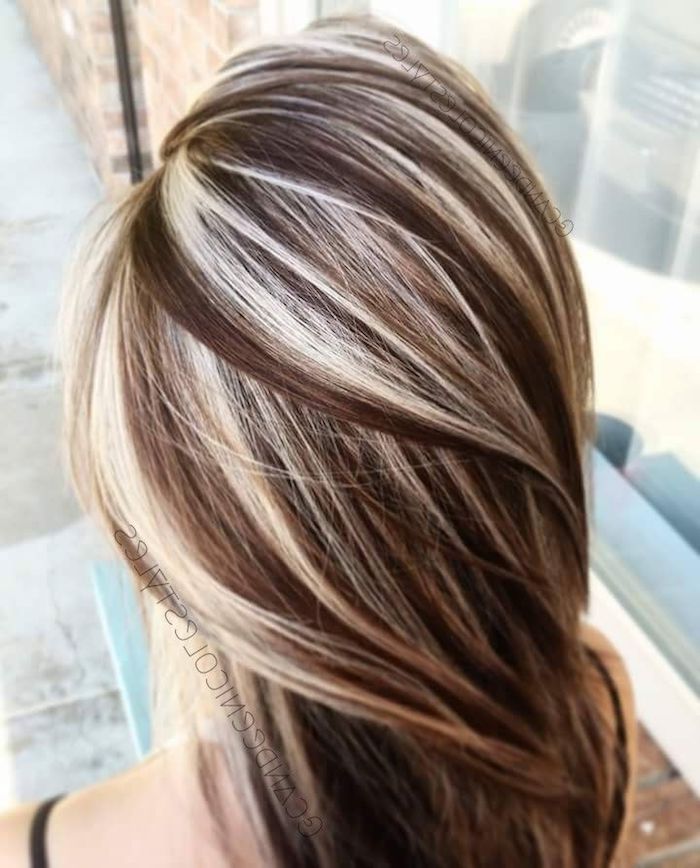
When you think of getting highlights, you probably picture a head full of foils. This is the tried-and-true method. We weave out small sections of hair, paint them with lightener, and wrap them in foil. This lets us create anything from super-fine, natural-looking “babylights” to chunkier, more defined ribbons of color.
The foil is the key here. It traps heat, which helps the lightener process more effectively and gives us way more lift than we could get in open air. If you have dark brown hair and you’re dreaming of a pale, cool-toned blonde, foils are almost always the answer. The control is amazing; we can bring the blonde right up to the root for a pop of brightness from day one. The tradeoff? Maintenance. You’ll see a clear line as your hair grows, so most of my foil clients are back in my chair every 8 to 12 weeks. A full head of foils can run anywhere from $200 to $400+, depending on hair length and salon location.
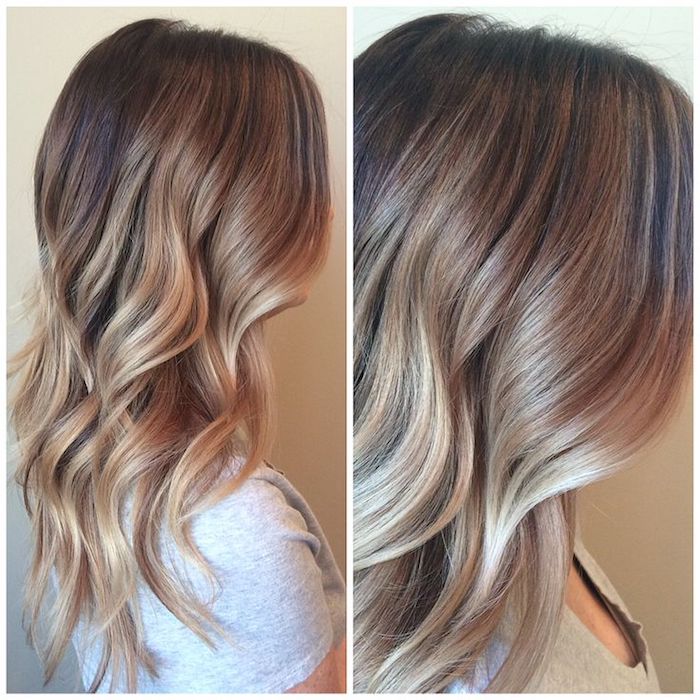
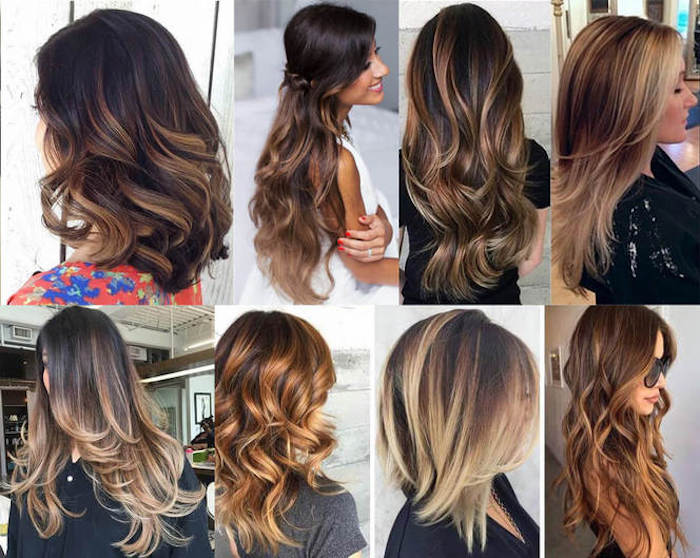
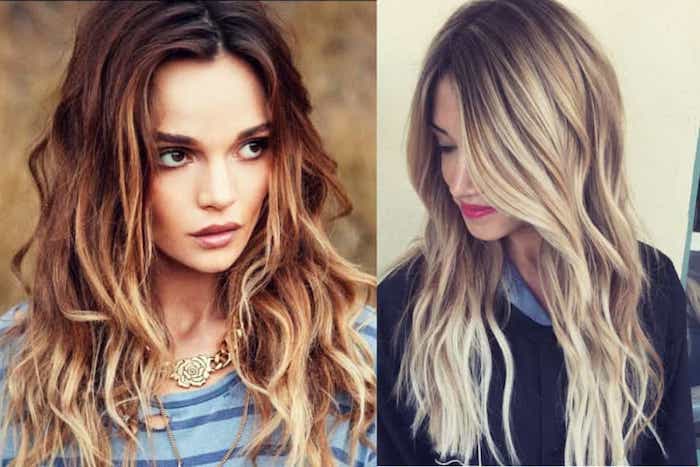
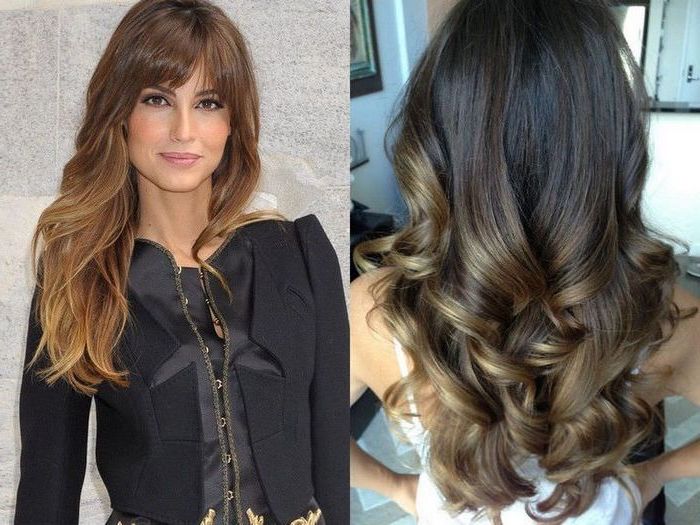
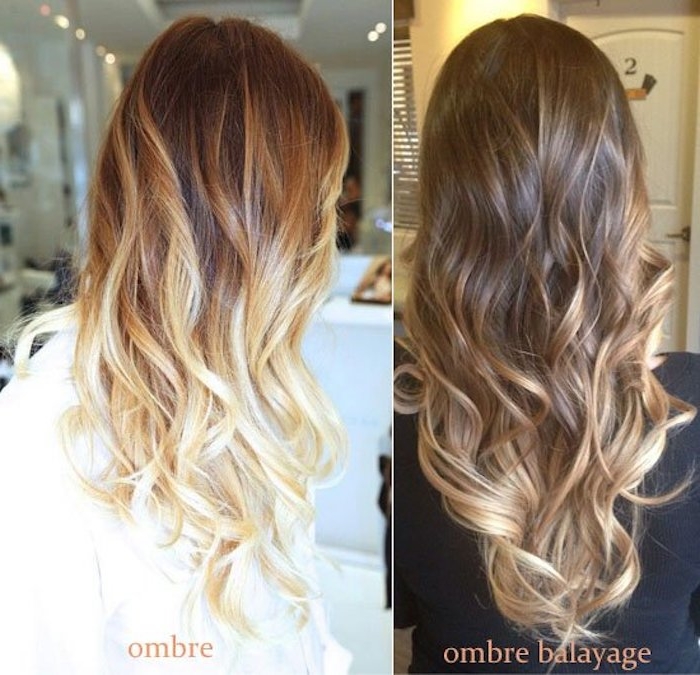
Balayage: For a Natural, Lived-In Vibe
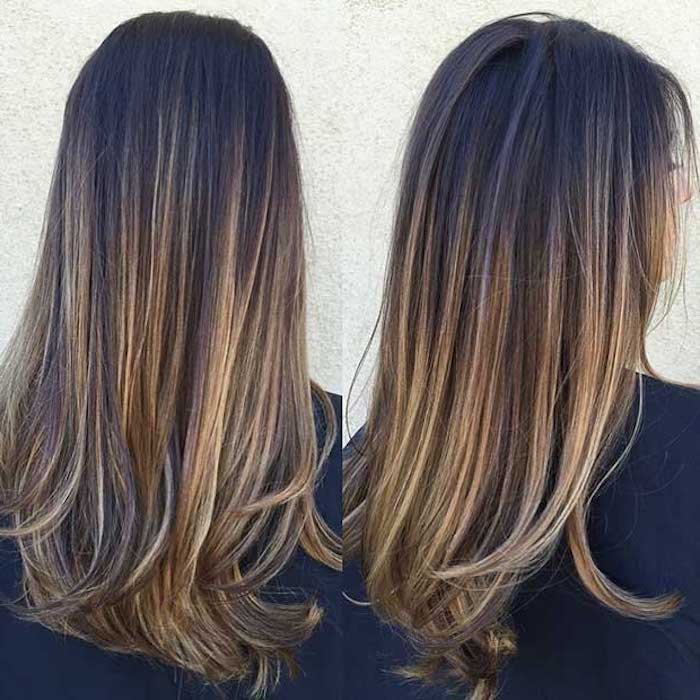
Balayage literally means “to sweep” in French, which is a perfect description of the technique. Here, we paint lightener directly onto the hair with sweeping, artistic motions. It’s all freehand. We focus the color on the surface of the hair, leaving the underside darker, which creates this gorgeous, soft dimension.
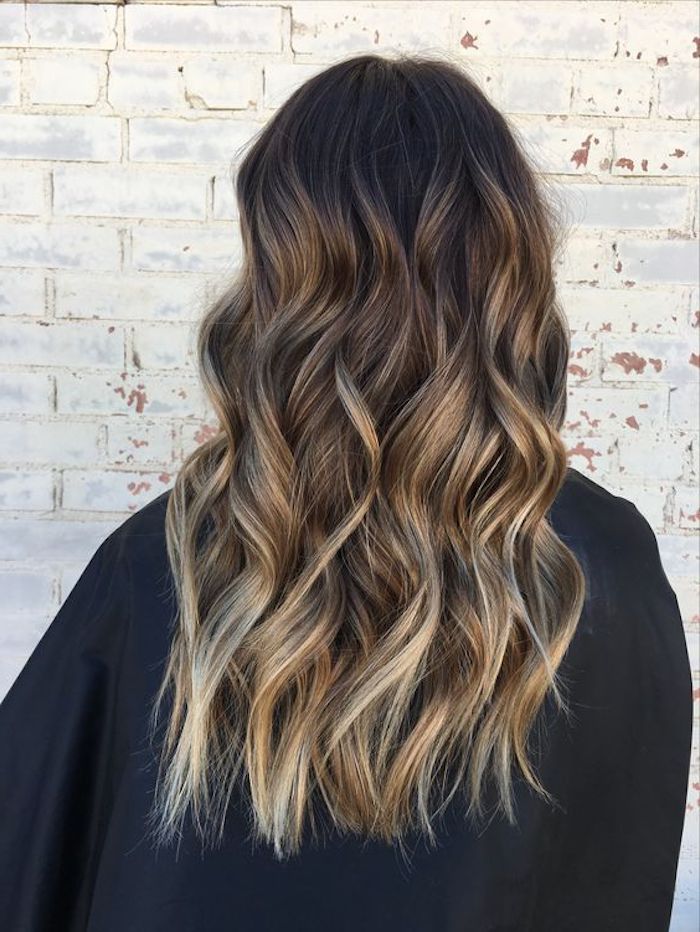
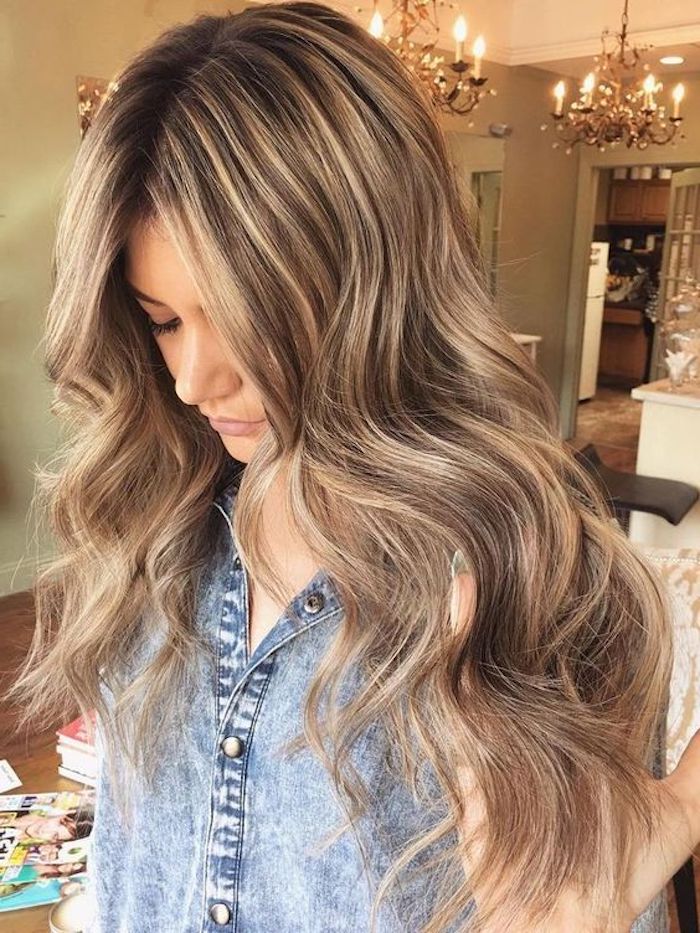
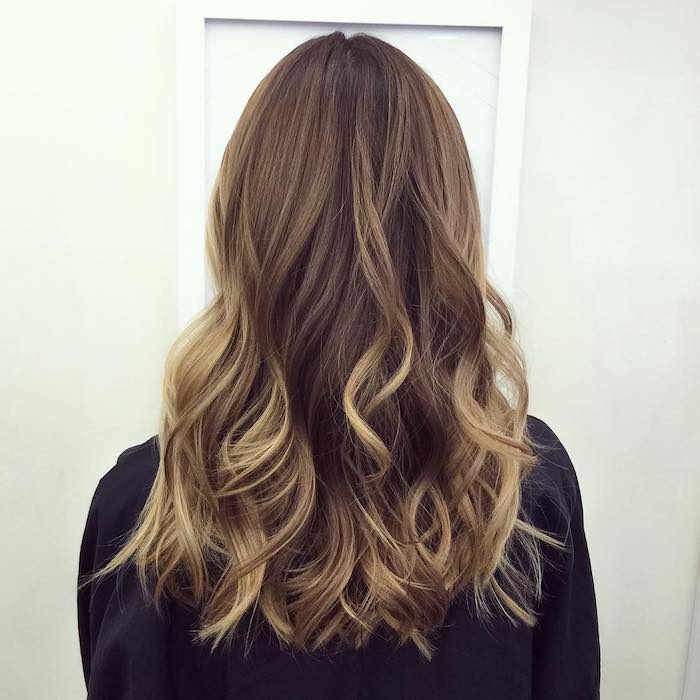
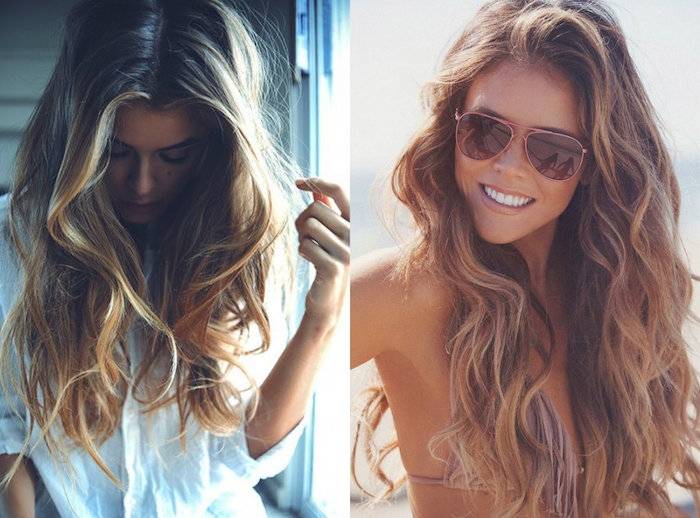
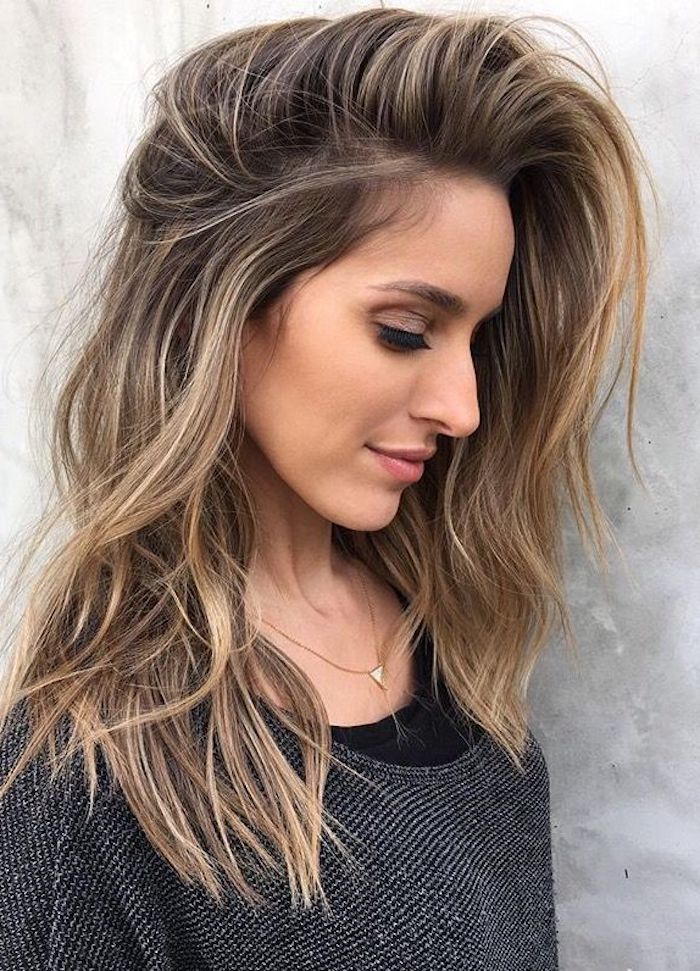
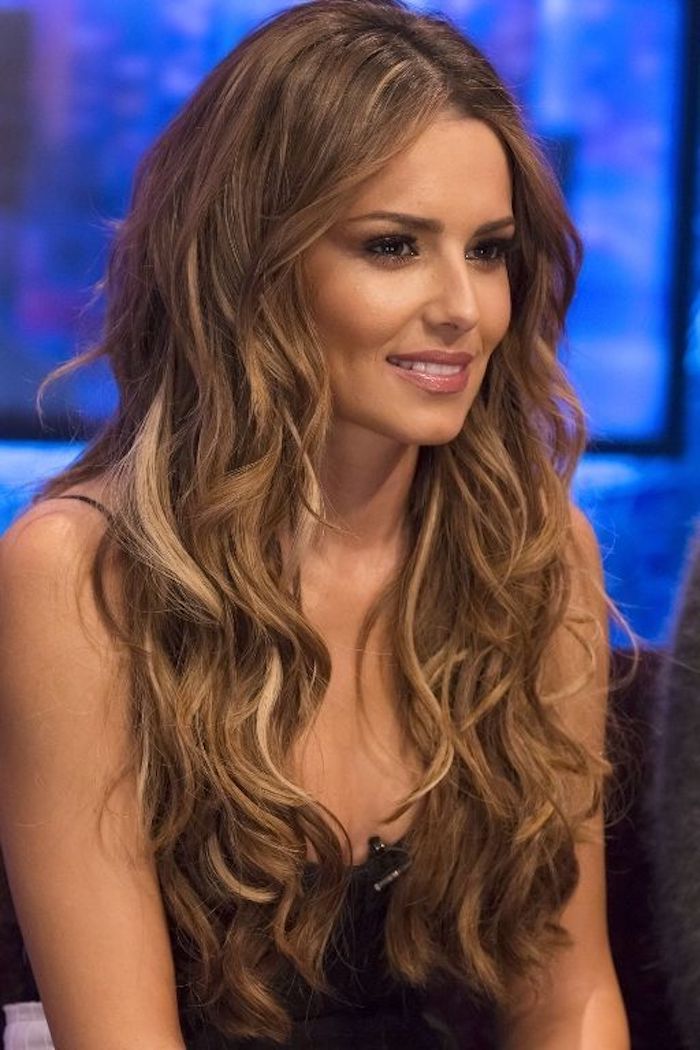
Because it’s not cooked in a foil, the lift is much gentler. Balayage is the secret to that “I just spent a summer at the beach” look. Its biggest selling point is the grow-out. Since the color is feathered toward the root instead of starting right at the scalp, you get no harsh regrowth line. Seriously, my balayage clients can often go 4 to 6 months between major appointments. It’s perfect for anyone who wants a low-maintenance style. The upfront cost can be a bit higher—think $250 to $500+—but you save money over time with fewer salon visits.
Getting Fancy: Modern Hybrid Techniques
Honestly, in a modern salon, we rarely stick to just one method. Most of the beautiful hair you see on social media is a custom cocktail of techniques. It’s all about personalizing the result.
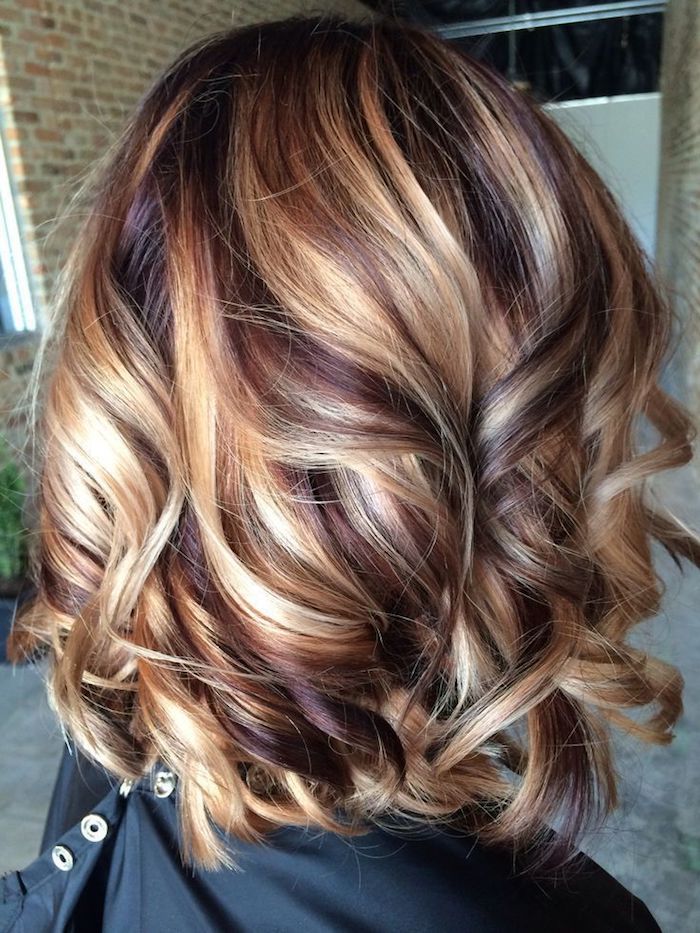
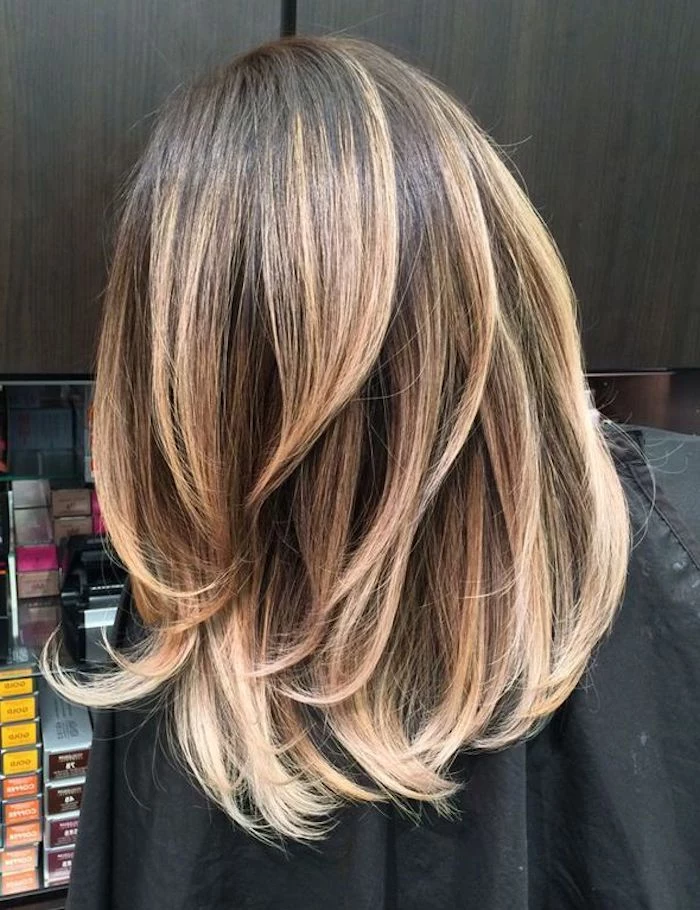
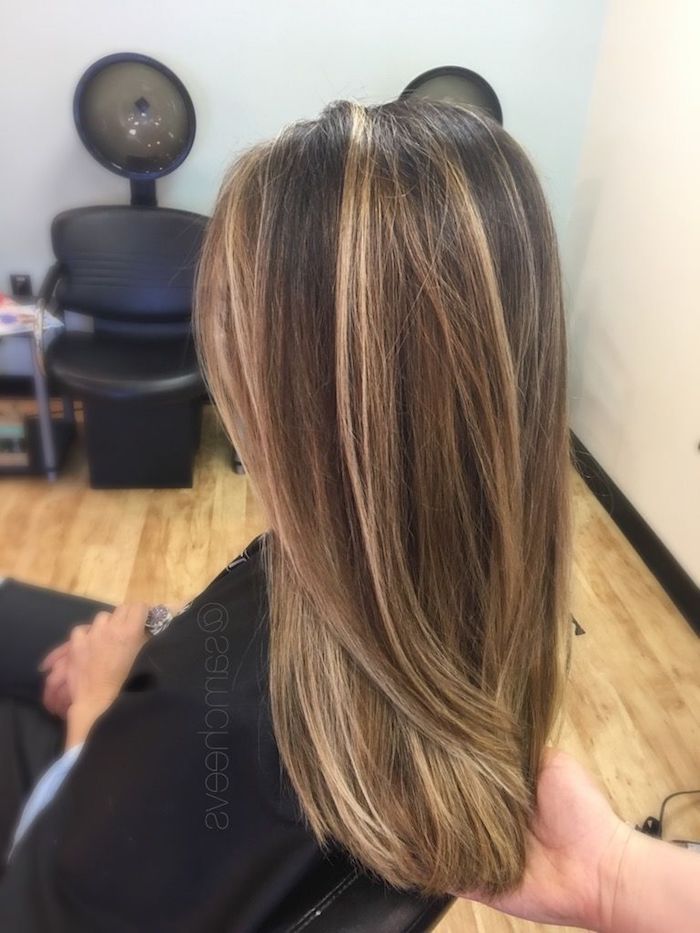
- Foilyage: This is my go-to for the best of both worlds. We use a painted, balayage-style application but then pop the sections into foils. You get the soft, blended look of balayage with the serious lift of foils. I had this one client, a super busy lawyer, who wanted that bright ‘California blonde’ pop but knew she couldn’t live in the salon. Foilyage was her holy grail. We got her super bright while keeping the grow-out soft, so she only needs a major touch-up twice a year.
- Teasy-Lights: For this, we gently tease a section of hair at the root before painting the ends. When we comb it out, the color is beautifully diffused and melts into the base color. It’s another fantastic way to avoid that harsh grow-out line.
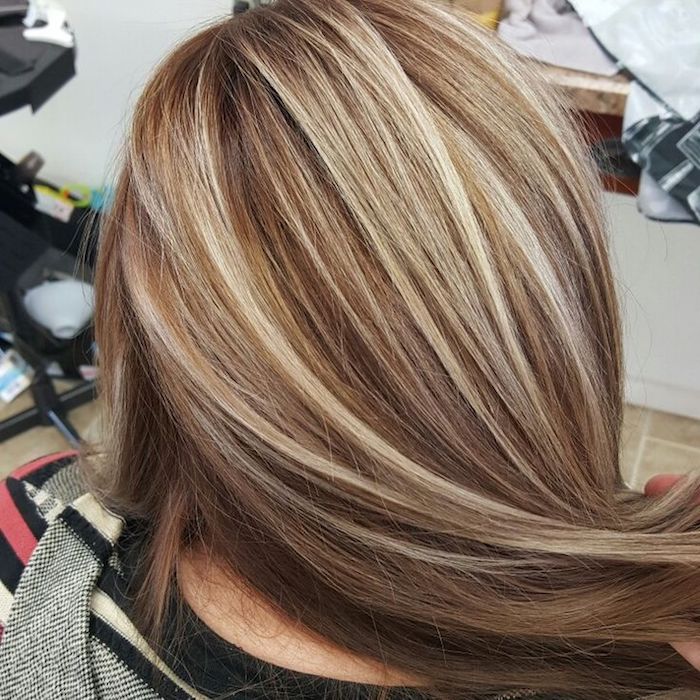
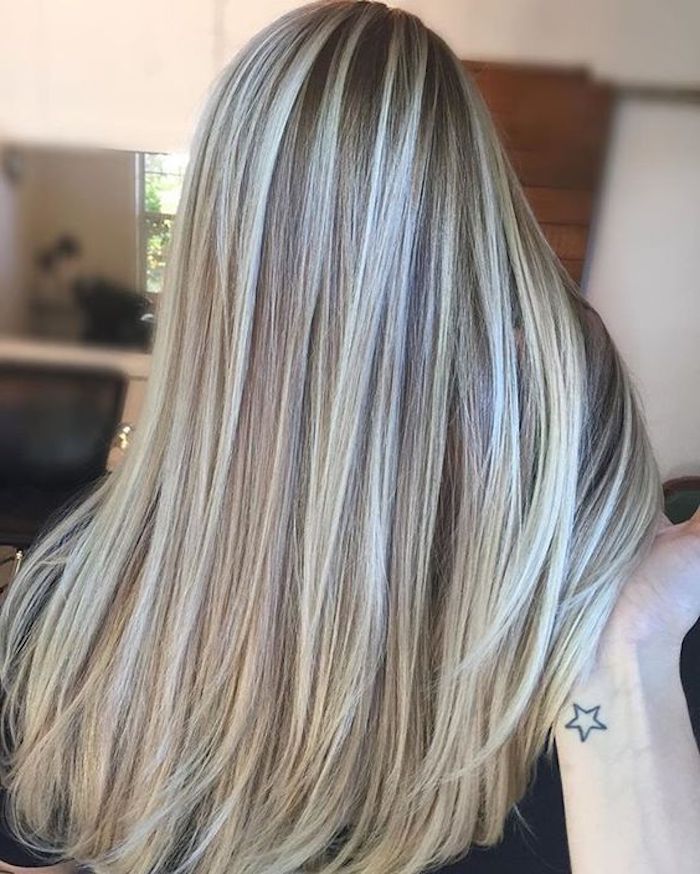
- Babylights: This is all about placement. We use foils to create hundreds of tiny, micro-fine highlights. The effect is an all-over, subtle brightness that looks incredibly natural, like you were born with it. It’s a ton of work, but the result is stunning.
The Consultation: How to Talk to Your Stylist
The success of your hair color is decided before we even mix the lightener. It’s all in the consultation. Come prepared with inspiration photos, but please understand they are a guide, not a blueprint. I always tell my clients, “We’ll use this photo for the vibe, but your hair will be its own unique, beautiful version.”
Heads up! You need to be brutally honest about your hair history. Have you used a box dye in the last few years? Even if you think it’s gone? What about henna or a keratin treatment? These things can leave behind molecules that react horribly with lightener. I once had a client who forgot to mention a dark box dye from two years prior. Her new growth lifted beautifully, but the old ends turned a stubborn, blotchy orange. We had to pivot our entire plan on the spot. Honesty prevents those kinds of disasters.
And don’t be afraid to vet a new stylist! It’s your hair and your money. Ask them things like:
- “Can I see some photos of your work on hair with a texture and starting color like mine?”
- “What’s your game plan for keeping my hair healthy through this process?”
- “What does the maintenance and cost look like for this look over a year?”
A good stylist will love these questions. If they seem cagey or try to rush you, that’s a red flag. Also, if your hair is dark or has been colored before, a pro should always perform a strand test. It’s the only way to see exactly how your hair will lift and ensure a safe result.
The Unskippable Final Step: Toner
No professional lightening service is complete without toner. Remember how we talked about that underlying warmth? After lightening, your hair is essentially a raw, pale yellow canvas. Toner, also called a gloss, is the magic that turns that raw yellow into a gorgeous shade of beige, ash, pearl, or neutral blonde.
It uses basic color theory: violet cancels out yellow, and blue cancels out orange. A toner deposits these cool pigments onto the hair to neutralize any brassiness. Without it, pretty much every brunette would have yellow or orange highlights.
Good to know: Toners aren’t permanent. They fade with every wash. That’s why your blonde might start looking a little warm a few weeks after your appointment. The secret to keeping it fresh is booking a quick “gloss” or “toner” service between your big appointments. It’s usually a fast, one-hour visit that can cost between $75 and $150, and it makes all the difference.
Protecting Your Investment: At-Home Care
Okay, you’ve left the salon with your dream hair. Now what? Your at-home routine is what determines how long your color lasts and how healthy your hair stays. Here’s your essential shopping list:
- Sulfate-Free Shampoo ($20-$40): Sulfates are harsh detergents that strip color and moisture. A professional, sulfate-free formula is a non-negotiable.
- A High-Quality Deep Conditioner ($25-$60): Lightening compromises your hair’s structure. A weekly mask will put that strength and moisture back in. Look for amazing brands like Olaplex or Redken—their masks are worth every penny.
- Heat Protectant Spray ($15-$30): Hot tools can literally cook the toner right out of your hair. Always spray a protective barrier on first.
- Purple Shampoo (Used Sparingly!): This is for maintenance, not for daily washing. Use it once a week or so when you notice yellow tones creeping in. Overusing it can make your blonde look dull or even lavender-tinged.
By the way, did you know the water in your shower can make your blonde go brassy? It’s true! Hard water, which is common in many areas, is full of minerals like iron and copper that build up on your hair and dull your color. A filtering shower head, which you can find at places like Home Depot for around $40, can be your hair’s best friend.
A Serious Warning: Please Don’t DIY This
I get it. Box lightener kits are cheap and right there on the shelf. But as someone who has fixed countless home hair color nightmares, I have to be direct: lightening brown hair is not a DIY project.
The biggest risk is irreversible damage. Overlap lightener on previously lightened hair, and you can cause a chemical reaction that literally melts it off. We call it a ‘chemical cut,’ and it’s as bad as it sounds. You’re left with gummy, broken strands that can’t be fixed.
Even if you avoid that, you’ll likely end up with splotchy, uneven color and “hot roots,” where the hair near your scalp is bright orange because of your body heat. Fixing this is a ‘color correction,’ and let’s be real: it’s a long, expensive process. Be prepared for it to take 2-3 separate appointments and cost at least twice as much as it would have to just get it done professionally in the first place.
Your hair is worth the investment in a professional. Find someone you trust, have an honest conversation, and commit to the aftercare. When you do, you’ll get the gorgeous, head-turning hair you’re dreaming of.
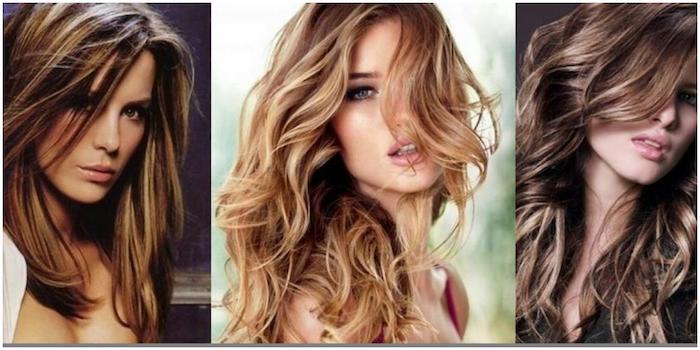
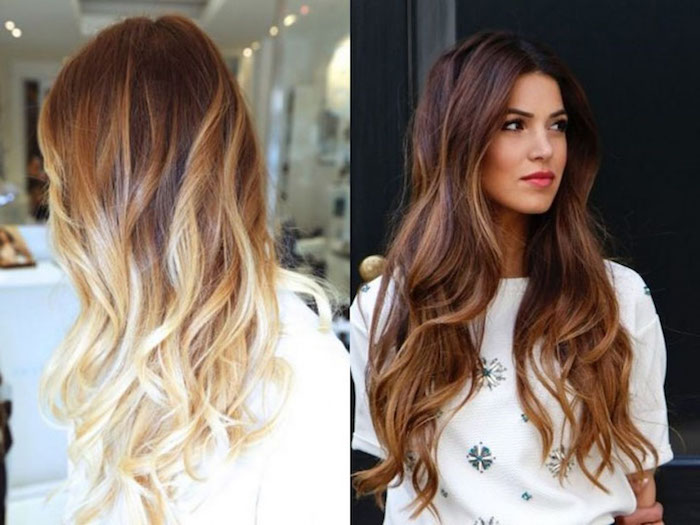
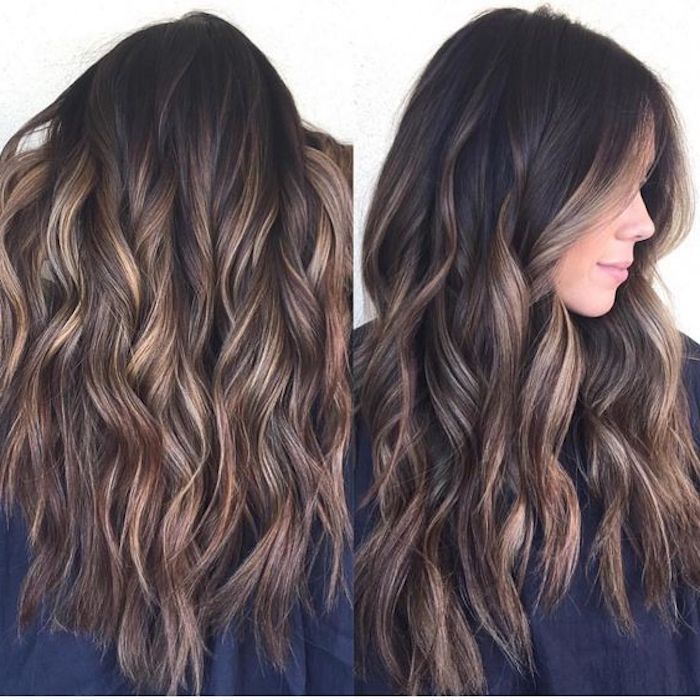
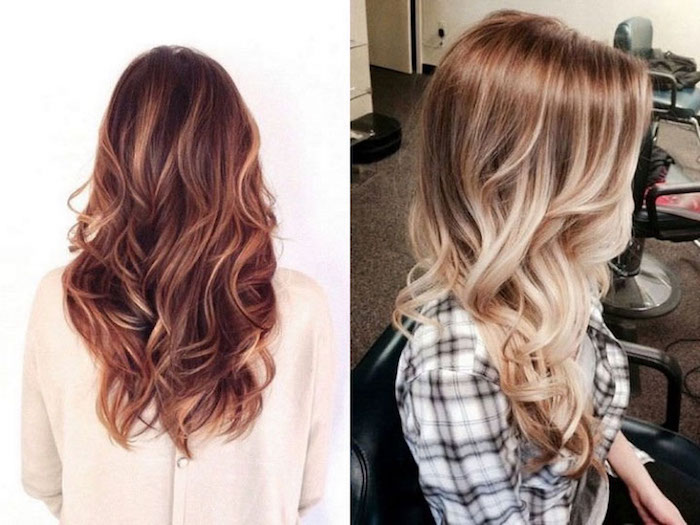
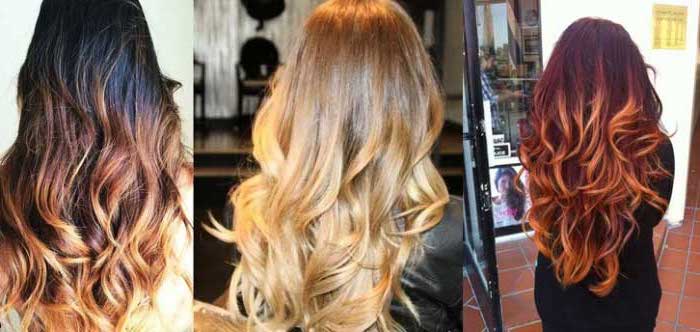
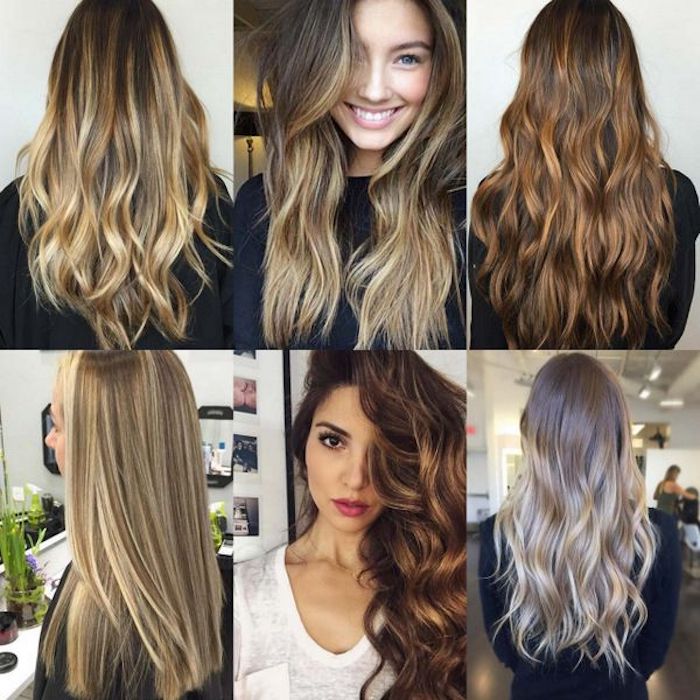
Inspiration Gallery

- Reduced breakage and increased shine.
- More vibrant, longer-lasting color.
- Softer, more manageable texture.
The secret? Adding a bond-building treatment to your lightening service. Ask your stylist about including Olaplex or Schwarzkopf’s Fibreplex. It works on a molecular level to repair the hair’s structure as it’s being colored, fundamentally changing the game for brunette-to-blonde transformations.
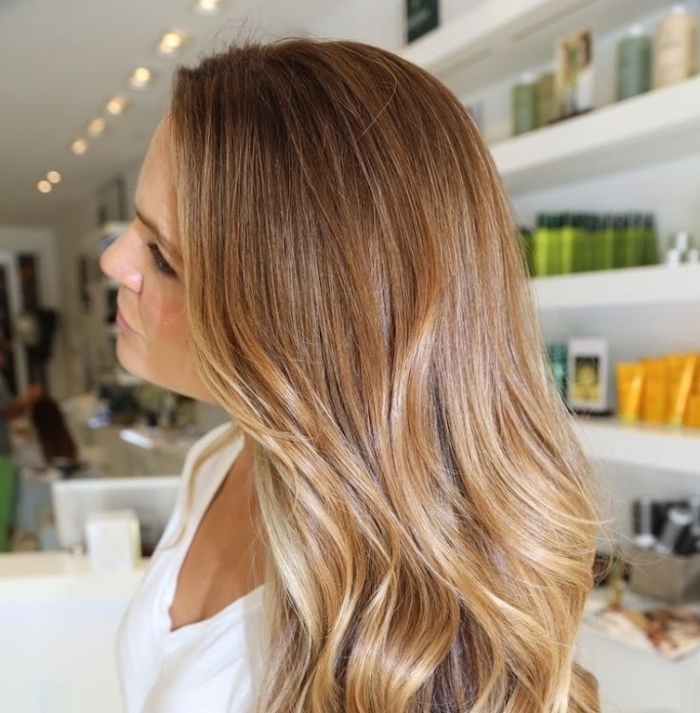
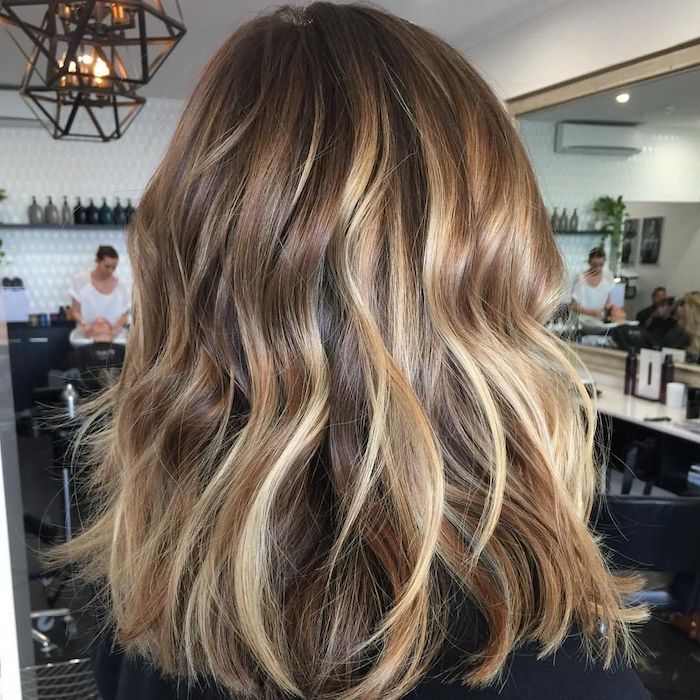
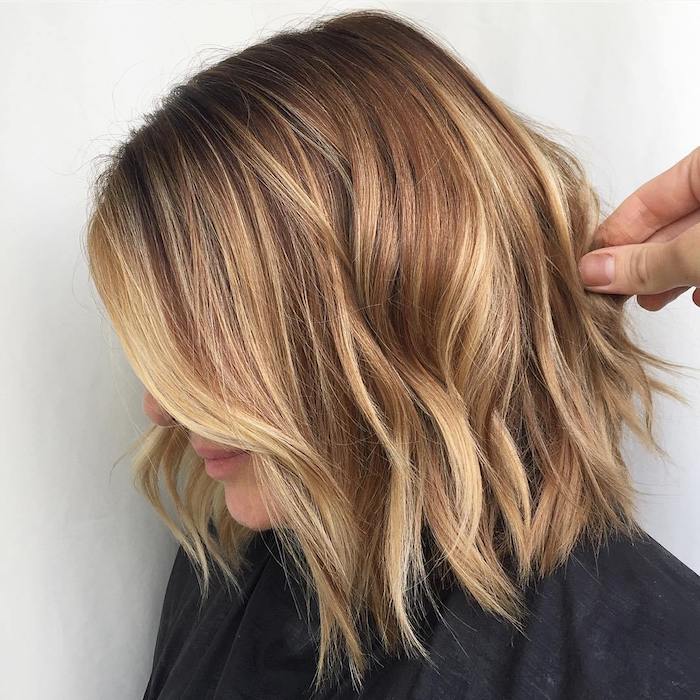
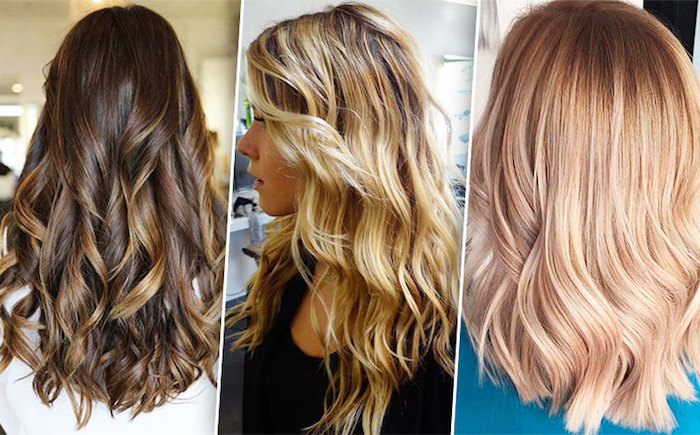
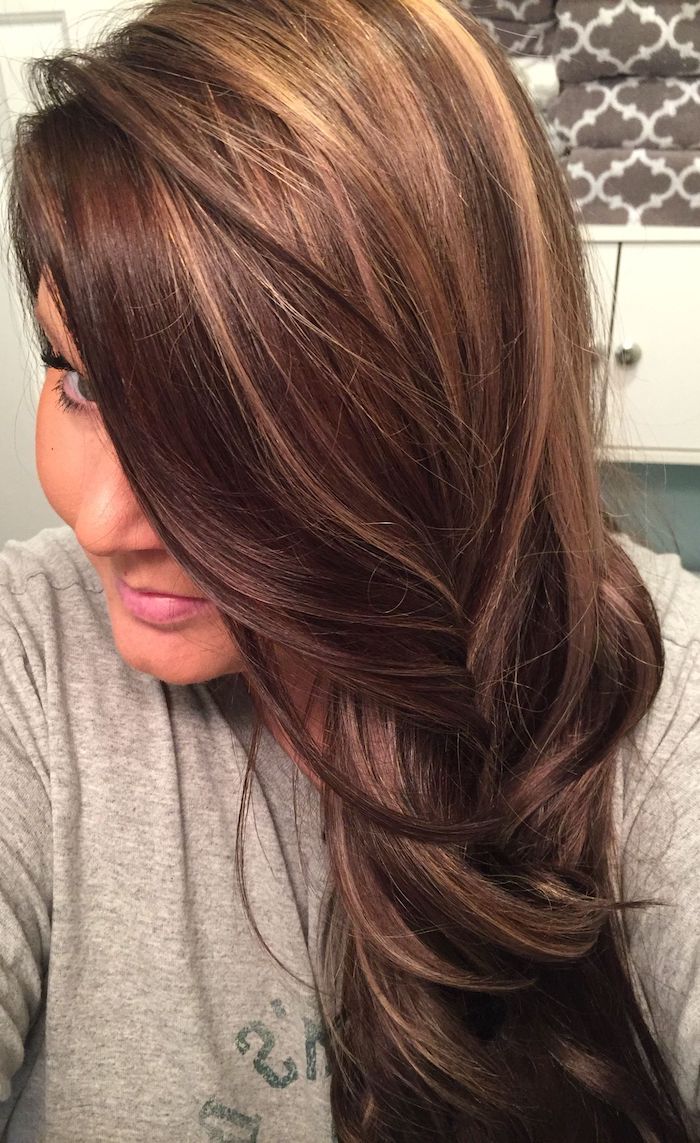
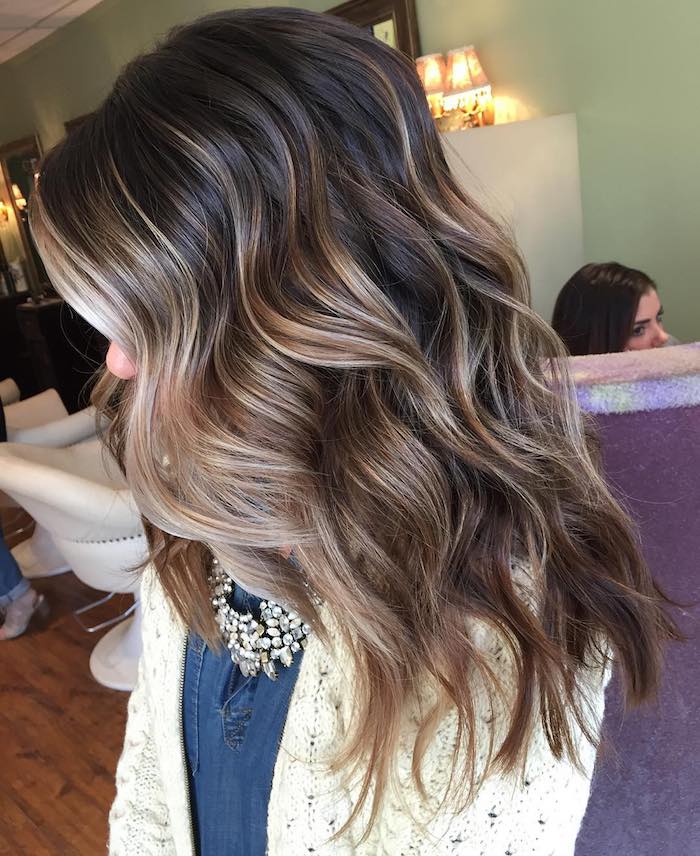
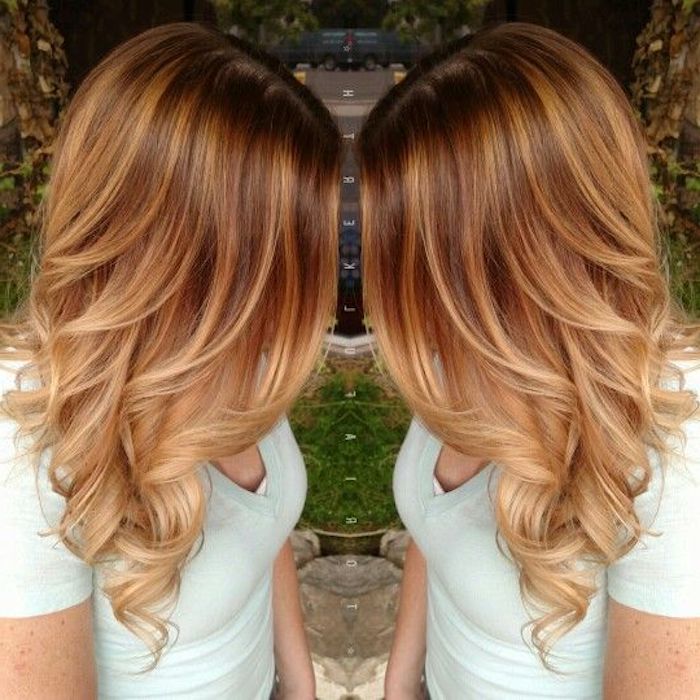
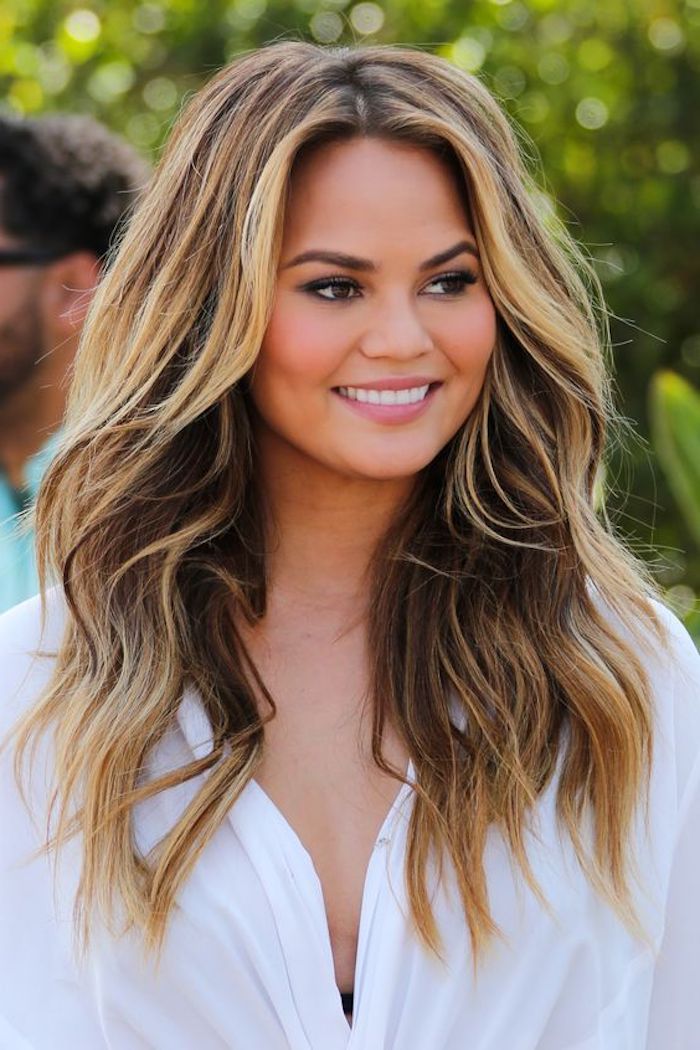
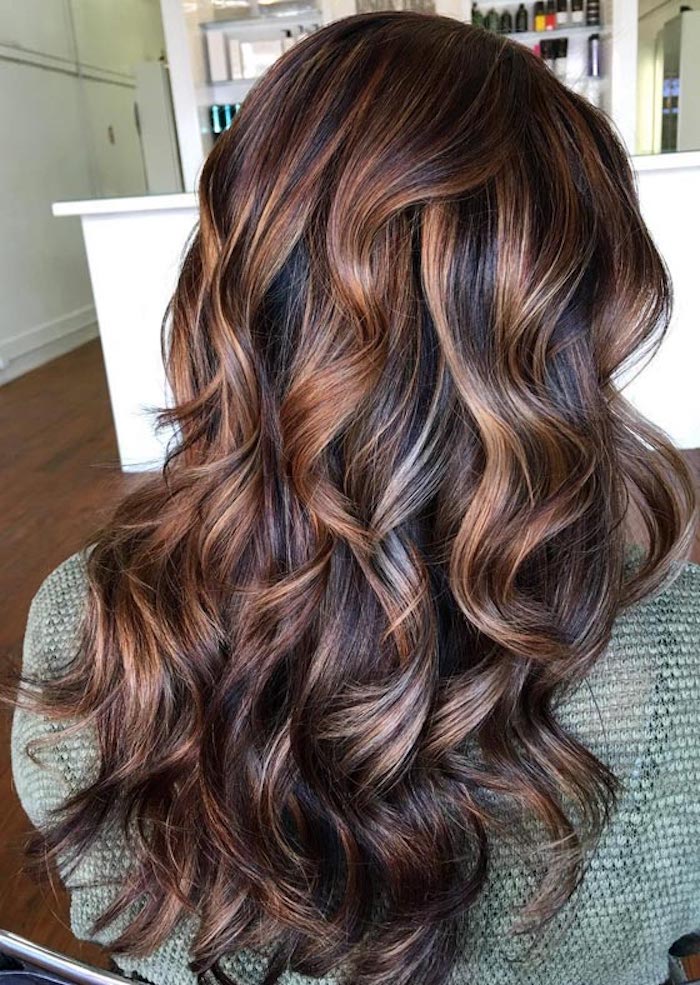
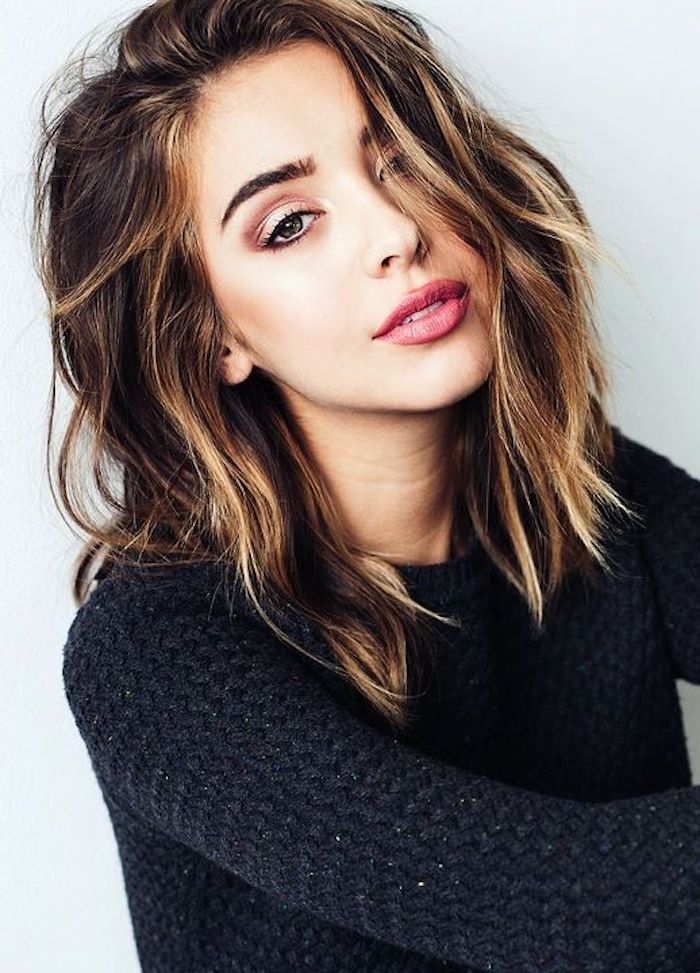
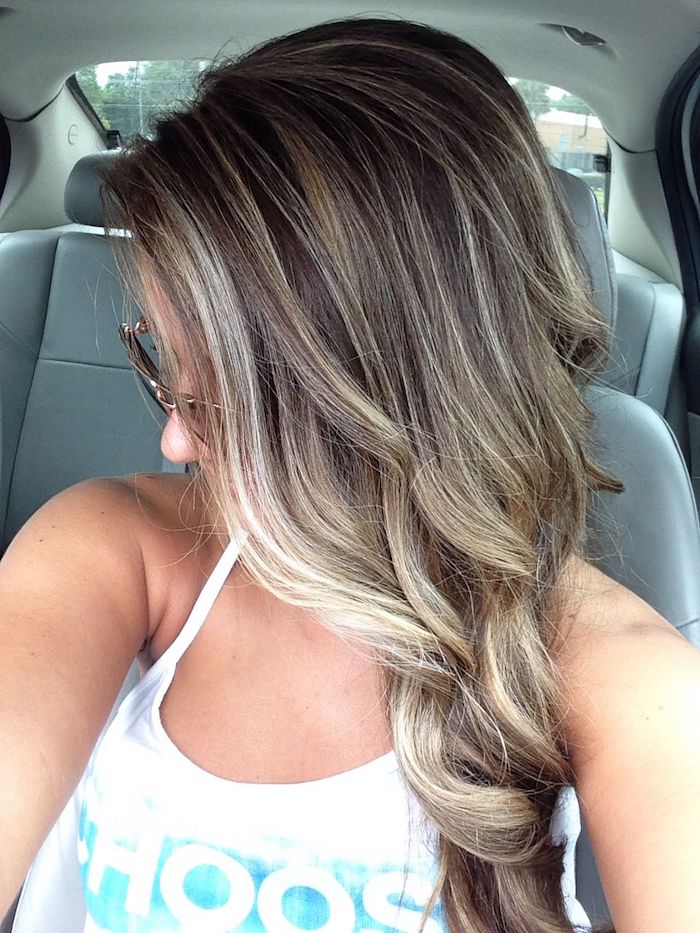
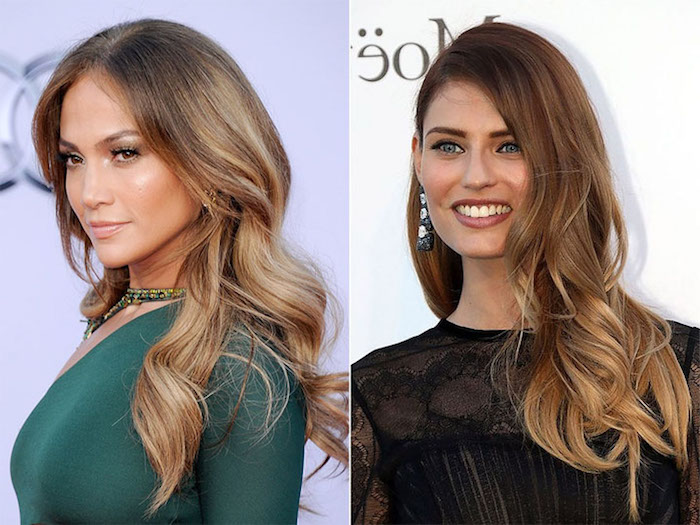
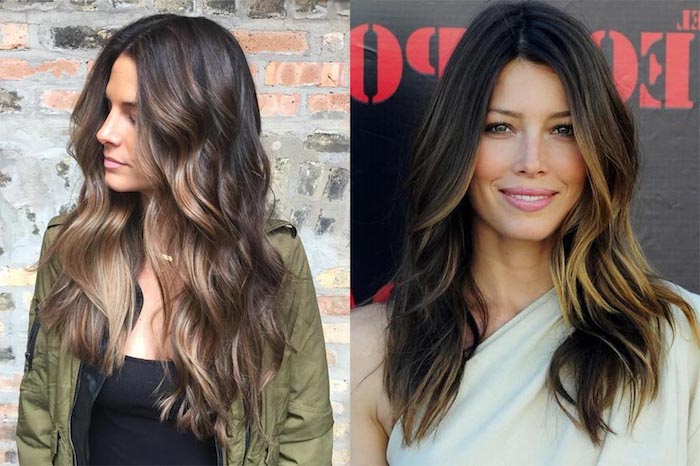
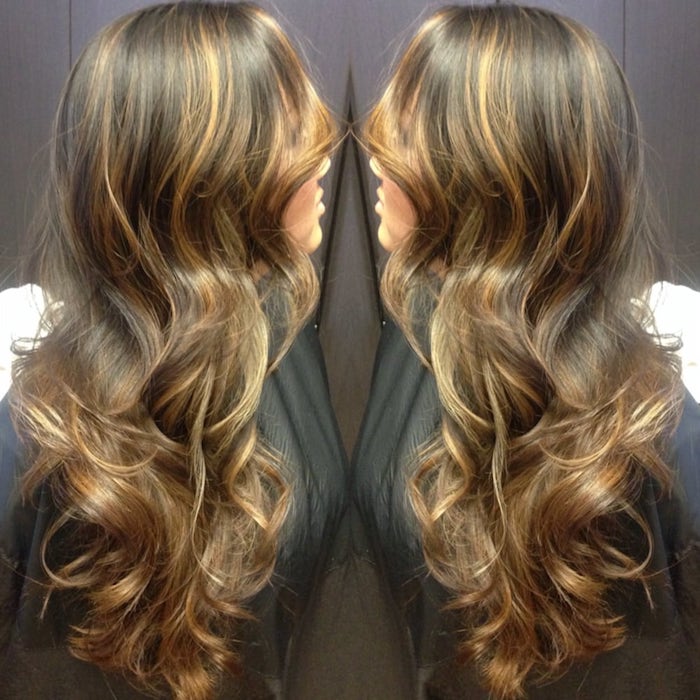
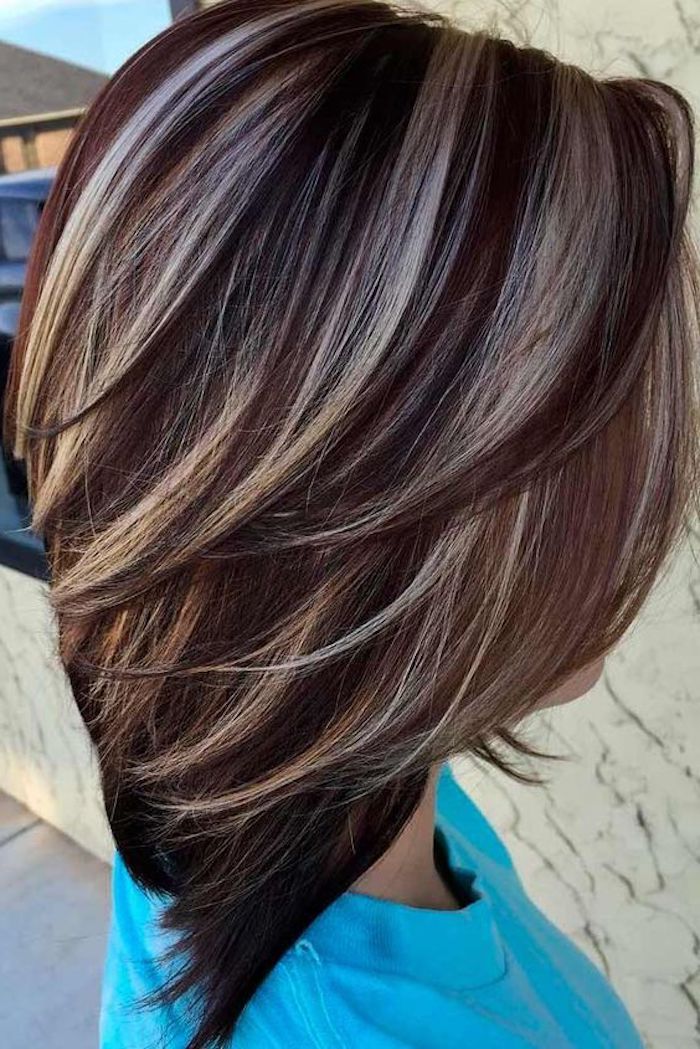
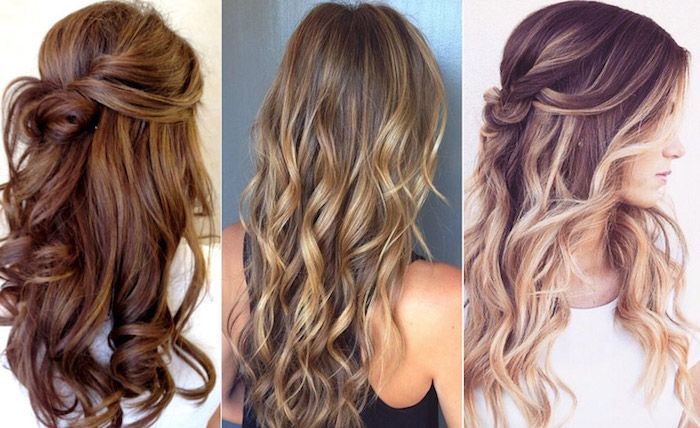
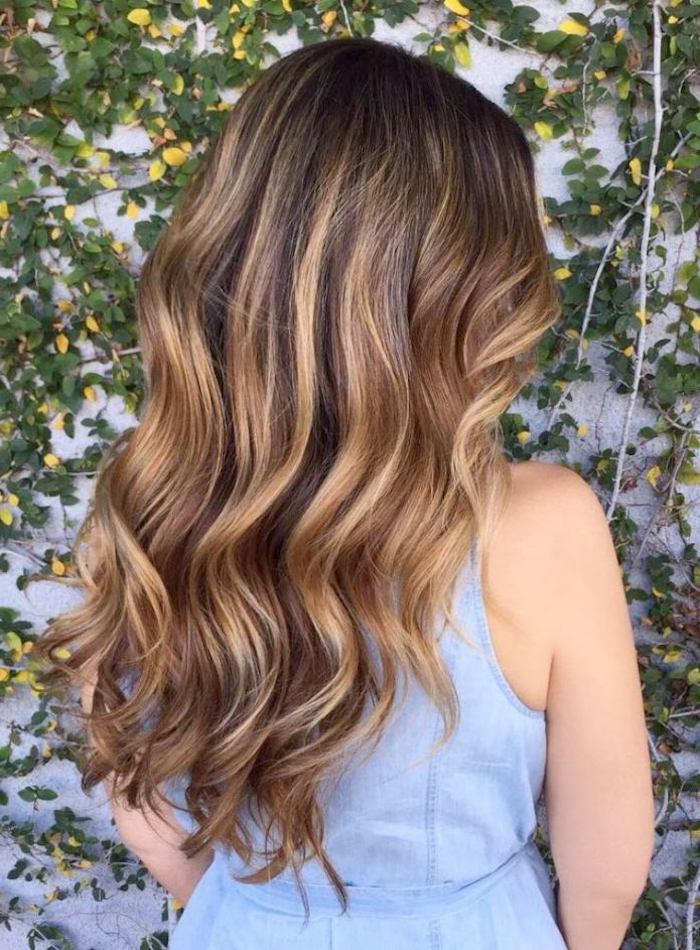
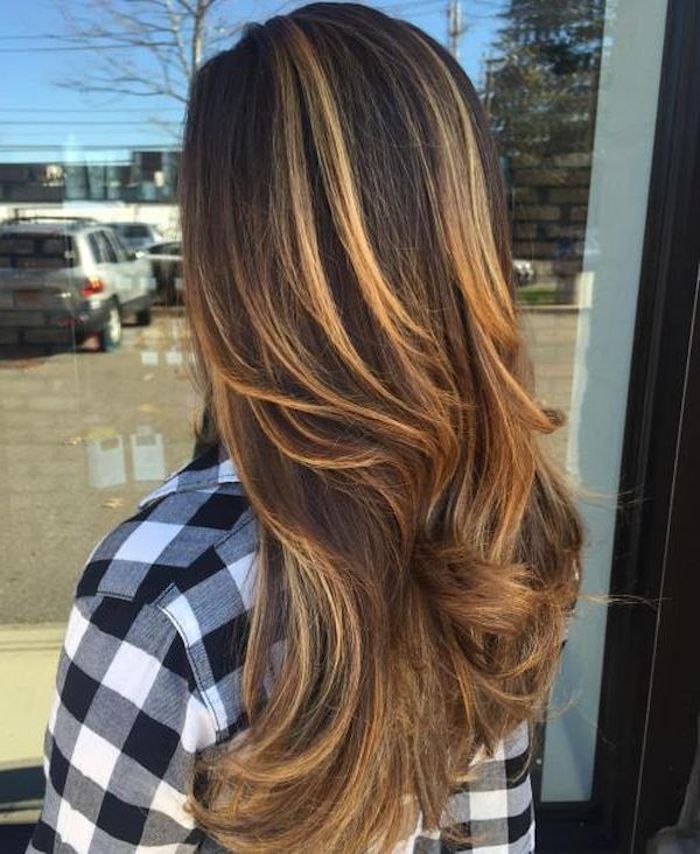
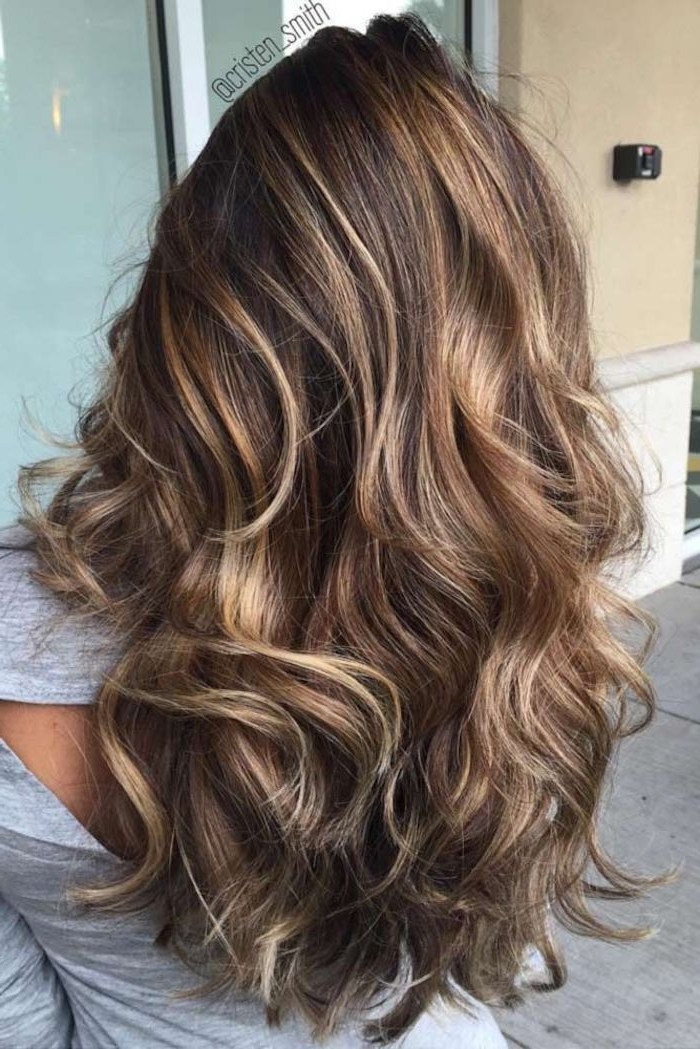
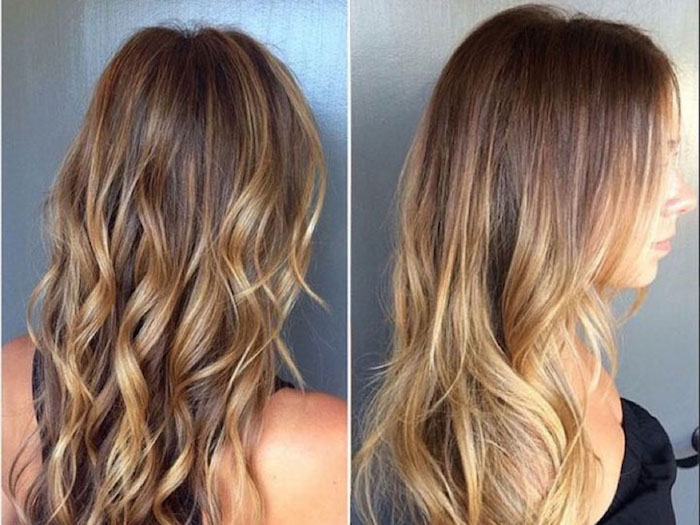
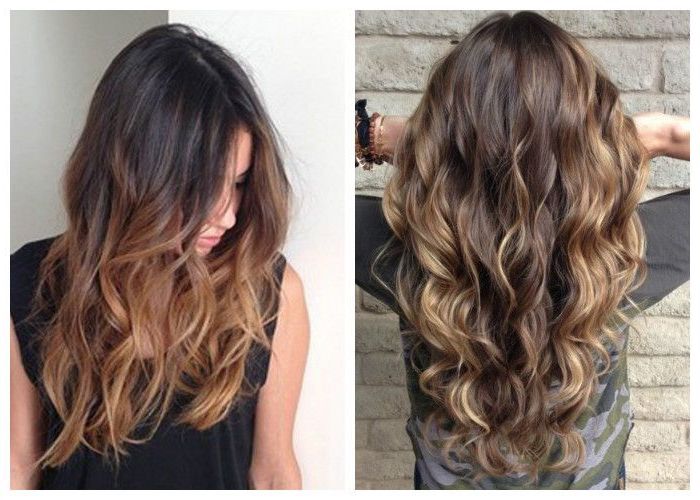
Golden Blonde: Think warm, sun-kissed hues like honey, caramel, and butter. This family of shades reflects light beautifully and often looks more natural on brunettes with warm or olive skin tones.
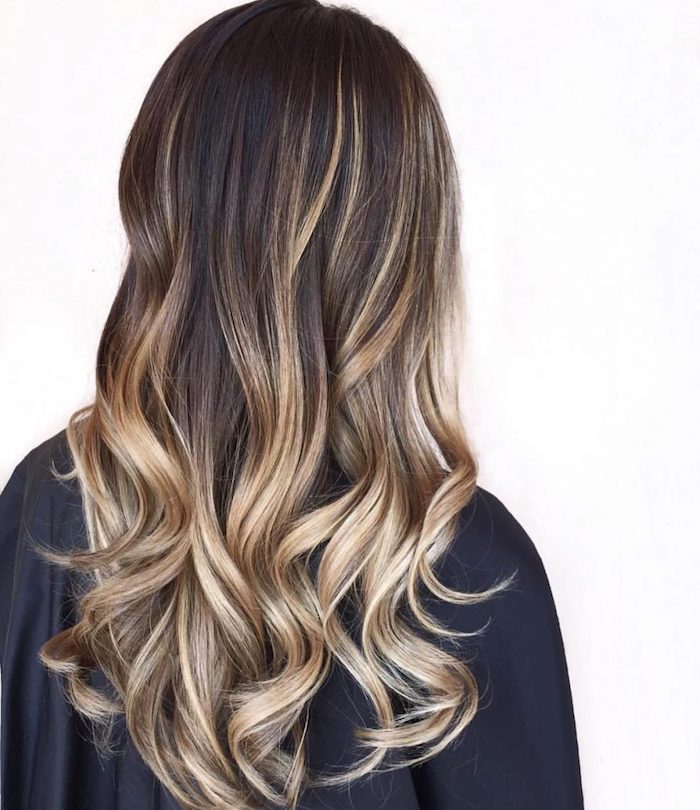
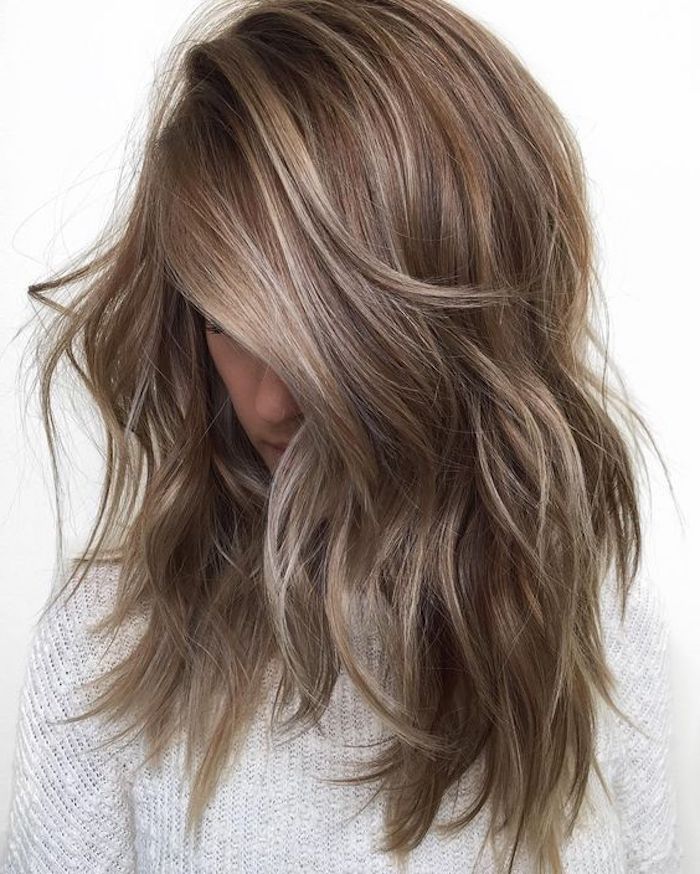
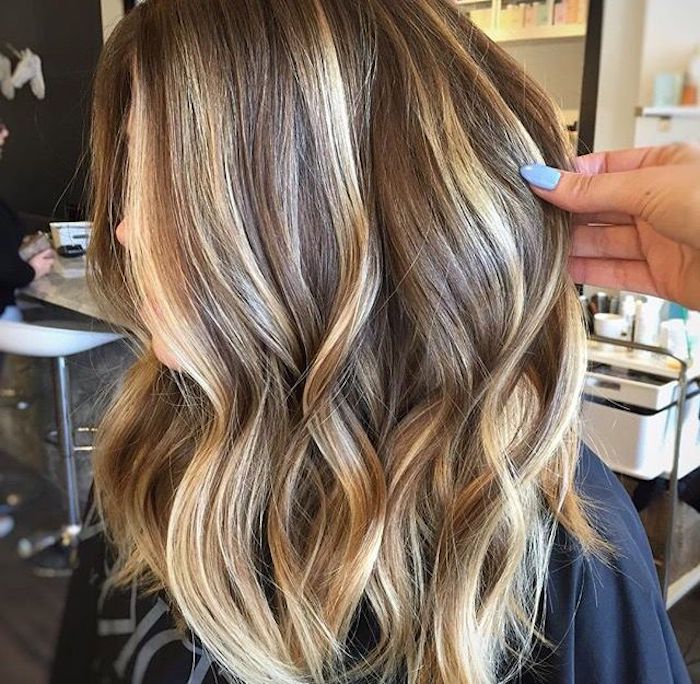
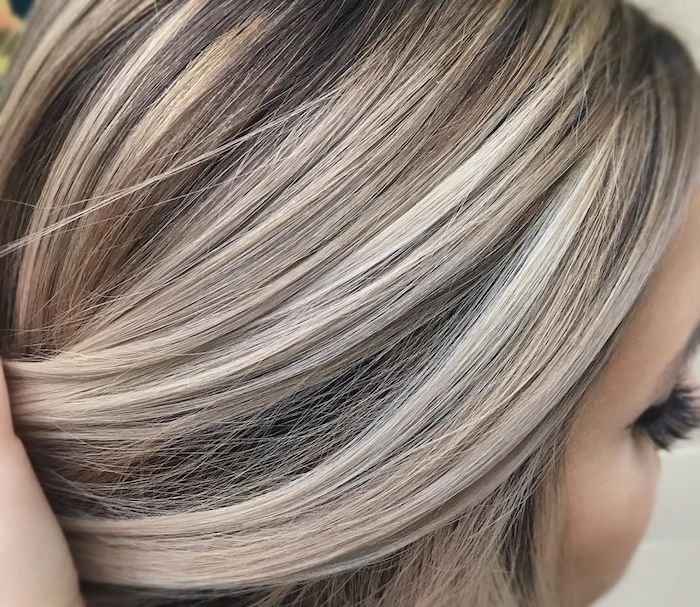
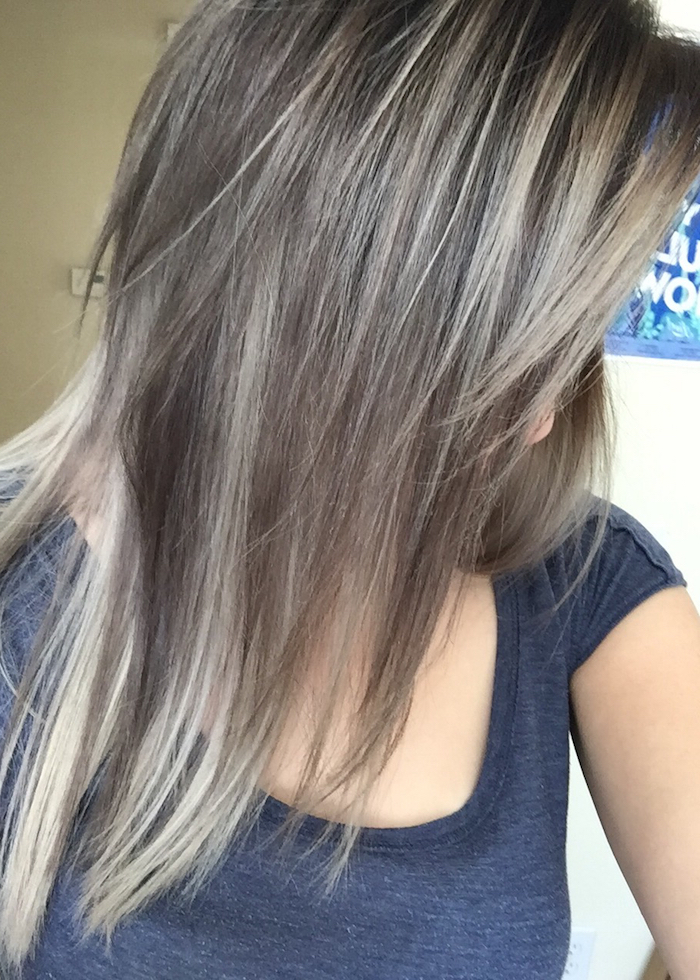
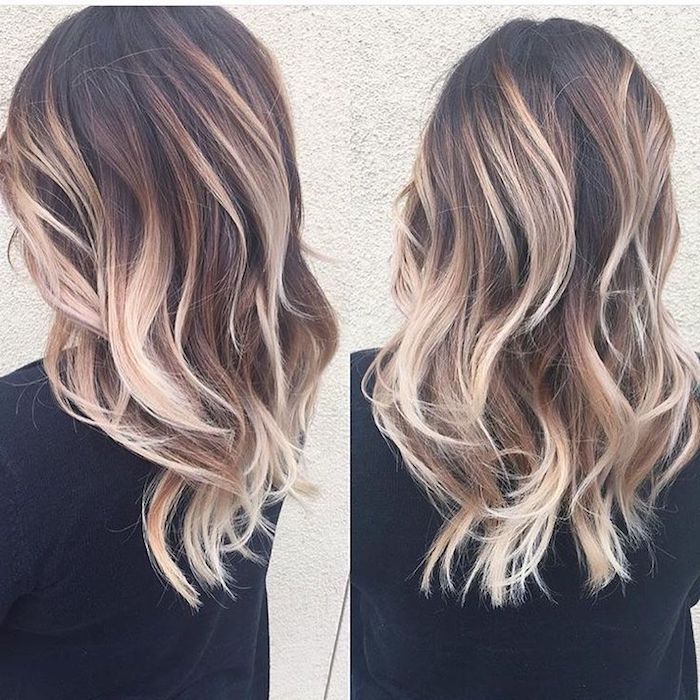
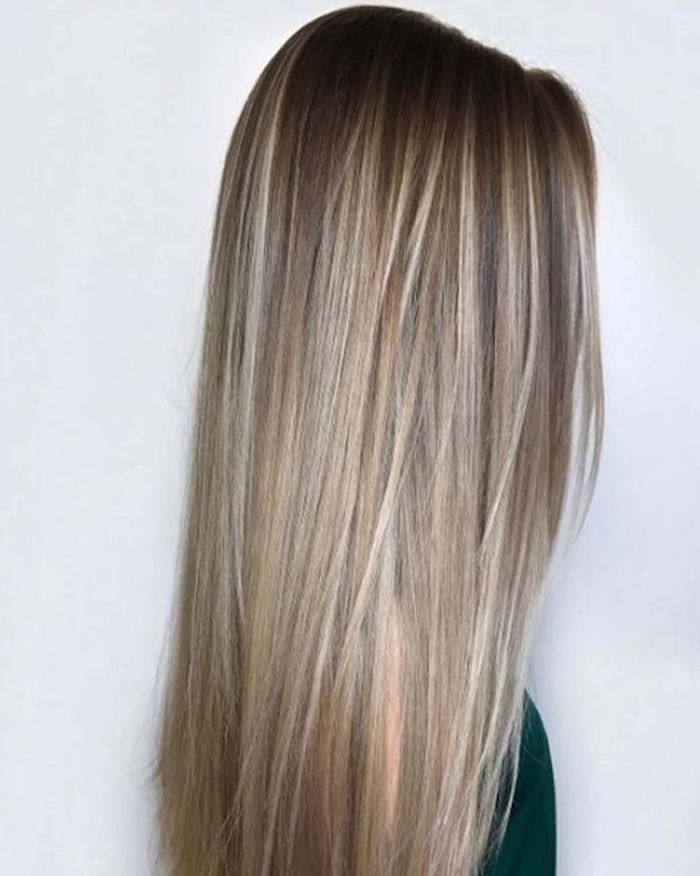
Ash Blonde: This means cool-toned blondes with hints of grey, silver, or blue. Ashy shades are fantastic for neutralizing unwanted brassy or orange tones and complement cooler skin undertones perfectly.
Ultimately, your stylist can custom-mix tones to create a dimensional look that suits you best.
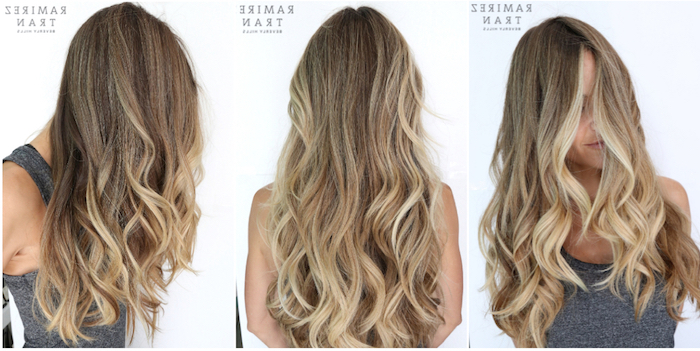
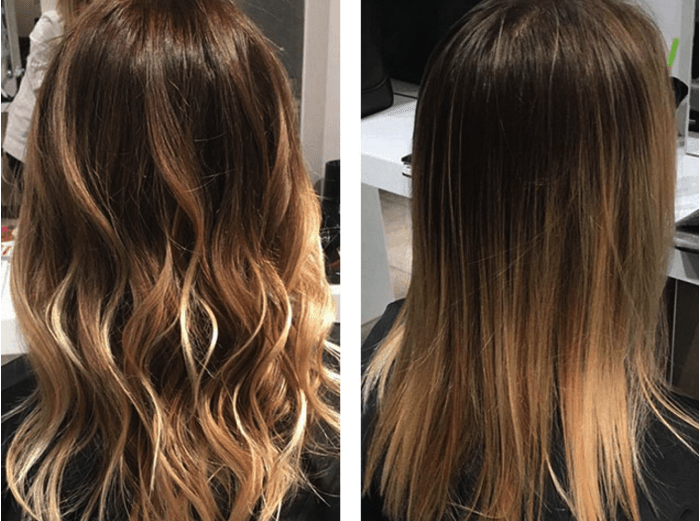
Going from a dark level 4 brown to a level 9 blonde in one sitting can compromise hair integrity by over 50%.
This is why your colorist will almost always recommend a gradual approach over multiple appointments. Patience isn’t just a virtue; it’s your hair’s best friend. Each session allows your hair to rest and recover, ensuring you reach your goal blonde without sacrificing health for haste.

What exactly is a toner or a gloss?
Think of it as the top coat for your hair color. After lightening, your hair might have underlying yellow or orange pigments. A toner, like the popular Redken Shades EQ line used in salons, is applied to neutralize these unwanted tones and achieve the exact shade of blonde you desire—be it icy platinum, creamy vanilla, or warm honey. It also adds incredible shine and seals the cuticle.
To get the most out of your consultation, arrive with your hair styled how you normally wear it, whether that’s straight, wavy, or curly. This gives your stylist a true picture of your hair’s texture and how the color will live in your day-to-day life. Also, be honest about your hair history from the last 2-3 years—yes, even that box dye from lockdown!
Pro Tip: Don’t wash your hair for at least 48-72 hours after your color appointment. This allows the hair cuticle, which was opened during the lightening process, to fully close back down. This simple act of waiting helps to seal in the toner and moisture, dramatically extending the life and vibrancy of your new blonde.
- Inspiration photos (3-5 of what you like AND 1-2 of what you don’t).
- A clear idea of your budget for the initial service and upkeep.
- An honest account of your daily hair routine (how often you wash, heat style, etc.).
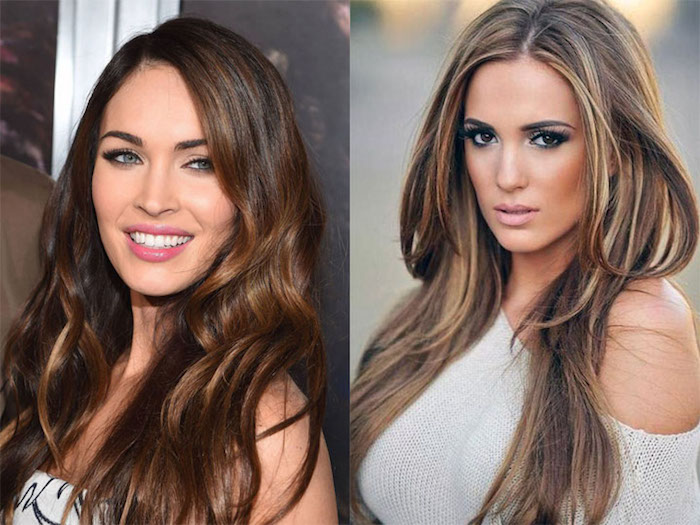
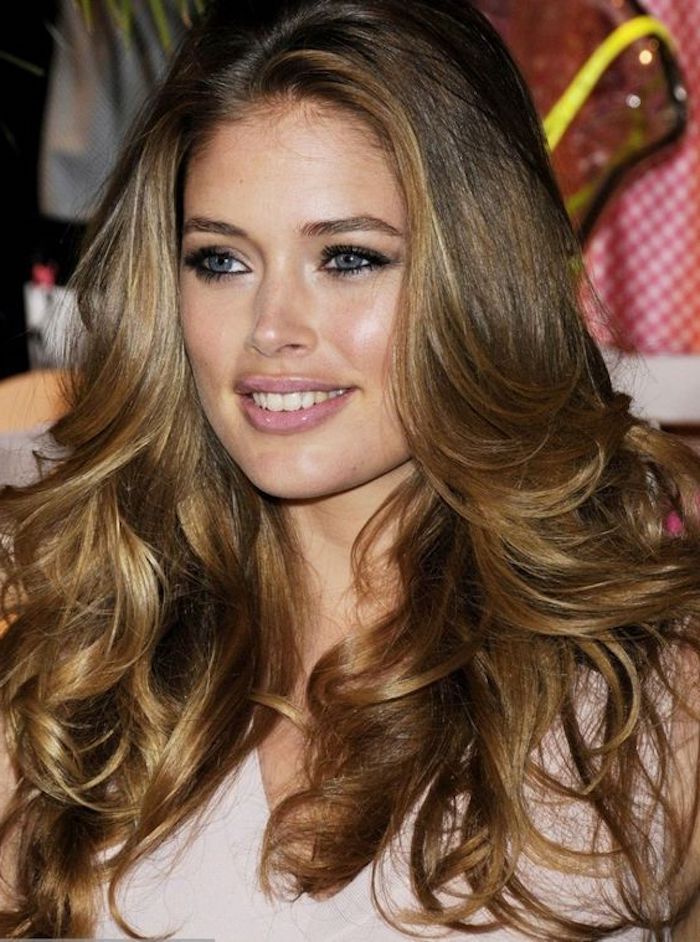
“The ‘money piece’—a bright, face-framing highlight—is the single most effective way to create a high-impact blonde look with minimal commitment and cost,” says celebrity colorist Tracey Cunningham.
Do I really need a purple shampoo?
Yes, but use it wisely! A purple shampoo, like the one from Kérastase’s Blond Absolu range, deposits violet pigment to counteract brassy, yellow tones that appear over time. However, overuse can lead to a dull, lavender tint. Use it once every 1-2 weeks, alternating with a quality color-safe, sulfate-free shampoo to maintain that perfect, crisp blonde.
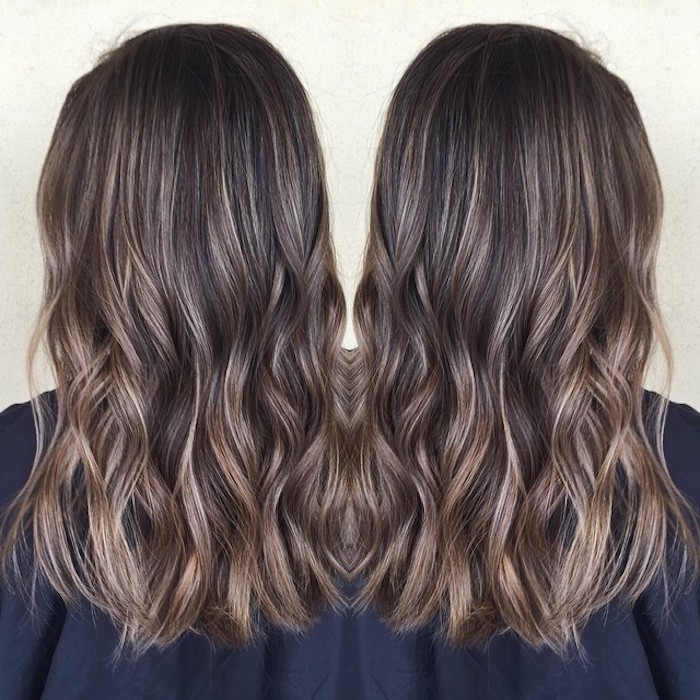
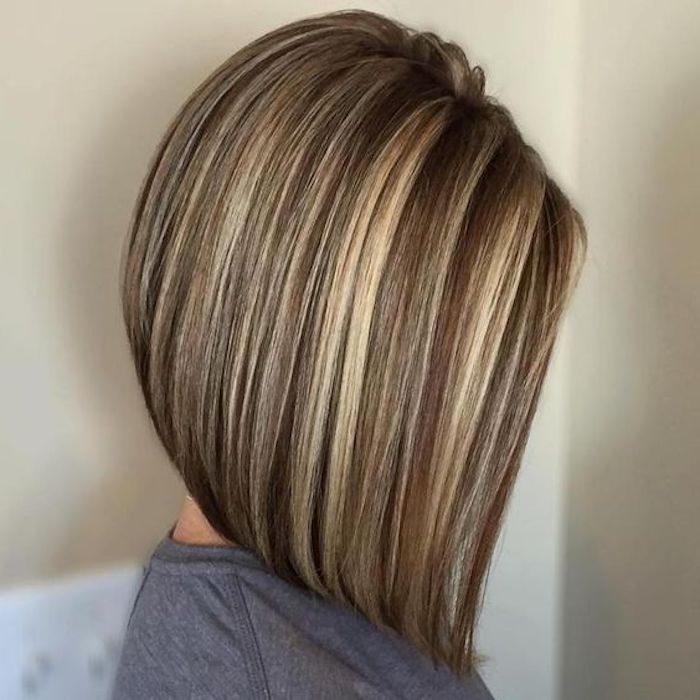
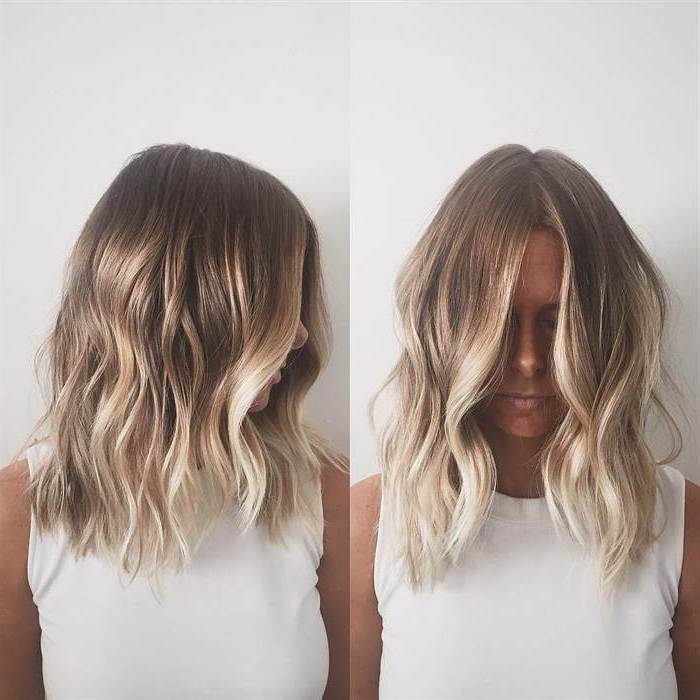
Heard the term ‘root smudge’ or ‘root tap’? It’s a game-changer for lower-maintenance blondes. Your stylist applies a toner or semi-permanent color at the root that’s close to your natural shade, ‘smudging’ it down to blend seamlessly with the new highlights. This creates a softer, more gradual grow-out, meaning you can go longer between salon visits without a harsh demarcation line.
Wondering if you’re a candidate for warm or cool blonde? Here’s a quick guide:
- Check Your Veins: Look at the veins on the inside of your wrist. If they appear greenish, you likely have warm undertones (go for gold, honey, caramel). If they look blue or purple, you have cool undertones (ash, platinum, and beige will be stunning).
- The Jewelry Test: Do you find that gold jewelry flatters your skin more? You’re likely warm-toned. If silver is your go-to, you’re probably cool-toned.
The battle of the bond builders is real. What’s the difference between the two titans?
Olaplex No.3 Hair Perfector: This is a pre-shampoo treatment designed to be used at home. It works inside the hair to relink broken disulfide bonds, strengthening it from within. It’s about long-term structural repair.
K18 Leave-In Molecular Repair Mask: This is a post-wash, no-rinse treatment. Its patented peptide technology reconnects broken polypeptide chains and is clinically proven to reverse damage in just 4 minutes. It’s about fast-acting, deep molecular renewal.
Many stylists recommend using both in your routine for ultimate hair health.
- Softer hair with less frizz and fewer tangles overnight.
- Preserves your hairstyle and blow-dry for longer.
- Reduces friction that can lead to breakage on fragile, lightened strands.
The secret is surprisingly simple: switching from a cotton pillowcase to one made of silk or satin. Cotton absorbs moisture and its rougher fibers can snag your hair cuticle while you sleep. Silk provides a smooth, frictionless surface that helps maintain your hair’s health and shine.

A single swim in a chlorinated pool can strip the toner from your blonde hair and deposit copper minerals, resulting in a greenish tint.
Before you dive in, always wet your hair with clean water and apply a leave-in conditioner. This fills the hair shaft, preventing it from absorbing as much chlorine. Rinse your hair thoroughly immediately after your swim.
Your new blonde hair is more porous and therefore more susceptible to heat damage. Always, without exception, use a high-quality heat protectant before reaching for your blow dryer, straightener, or curling iron. Look for products that protect up to 450°F (230°C), like Redken’s Acidic Bonding Concentrate Leave-In Treatment, which protects from heat while also conditioning and strengthening your strands.
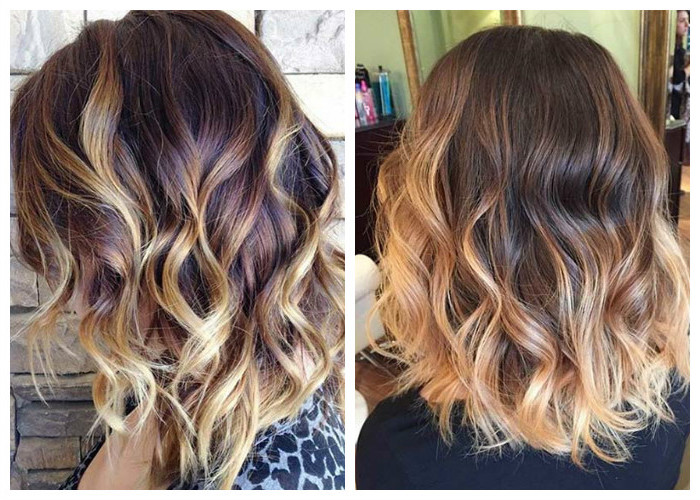
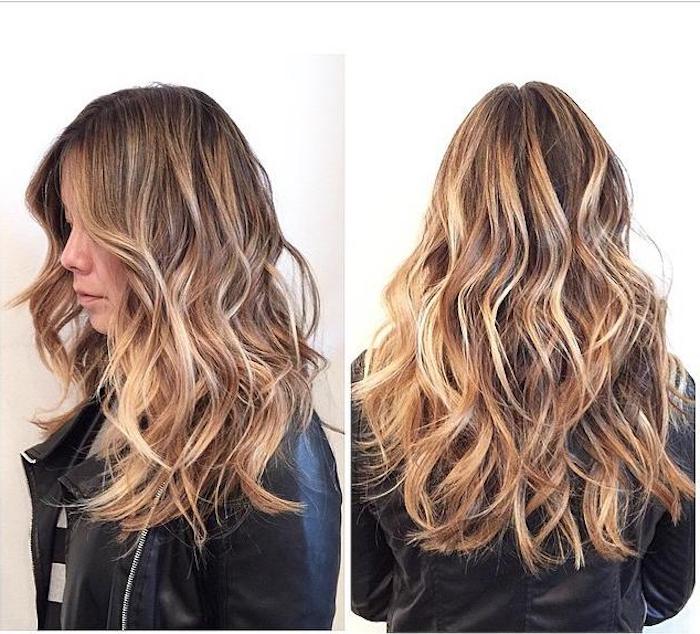
The term ‘foilyage’ is a hybrid technique that combines the painting method of balayage with the use of foils. The color is painted on, just like balayage, but then each section is wrapped in foil. This amplifies the lightening process, allowing brunettes to achieve a brighter, more vibrant blonde than with traditional balayage, while still maintaining that soft, blended grow-out.
Budgeting for Blonde: The initial transformation is the biggest investment, but upkeep is a recurring cost. Balayage typically requires a touch-up every 3-5 months, while traditional highlights may need attention every 6-8 weeks. Discuss a maintenance plan with your stylist so you know exactly what to expect financially. A glossing service between full appointments is a more affordable way to refresh your tone.

My hair feels dry. Should I use a protein or a moisture mask?
It’s crucial to know the difference. Lightened hair needs both, but in balance. If your hair feels mushy, gummy, or overly stretchy when wet, it needs protein to rebuild its structure. If it feels brittle, rough, and snaps easily, it’s thirsty and needs a moisture mask. A great routine is to alternate weekly between a protein treatment and a deep-conditioning moisture mask.
- Using purple shampoo too often and turning your hair dull or lavender.
- Skipping heat protectant, leading to fried, broken ends.
- Not using color-safe, sulfate-free shampoos, which strip color faster.
- Expecting to go from dark brown to platinum in a single session.
Hard water, common in many areas, is loaded with minerals like calcium and magnesium. These minerals build up on the hair shaft, creating a film that can make blonde hair look dull, brassy, and feel perpetually dry.
If you notice your blonde losing its sparkle quickly, the problem might be your water. Installing a showerhead filter is an easy and highly effective solution. It removes these minerals, allowing your hair to stay brighter and softer for longer.
So, you’re ready to take the plunge! Here’s your starter kit for maintaining your investment:
- A Sulfate-Free Shampoo & Conditioner: We love the Pureology Hydrate line for its gentle cleansing and moisturizing properties.
- A Purple Toning Product: The amika Bust Your Brass Cool Blonde Repair Shampoo is a cult favorite for a reason.
- A Weekly Deep-Conditioning Mask: Look for one that balances moisture and protein, like Briogeo’s Don’t Despair, Repair! mask.
- A Bond-Building Treatment: An at-home essential like Olaplex No. 3 will keep your hair strong.
Important reminder: Your journey to the perfect blonde is a process, not a one-stop shop. The stunning ‘after’ photos you see on Instagram often represent the result of several appointments spaced weeks or months apart. Trust your stylist’s plan. Healthy, beautiful blonde hair is a marathon, not a sprint.
Can I still use my old favorite hair mask?
Maybe, but check the label first. Some masks, especially those not formulated for color-treated hair, can contain oils or pigments that might dull or stain your new blonde. Heavy, unrefined oils (like some coconut oils) can sometimes give blonde hair a yellowish tint. Stick to masks specifically designed for color-treated or blonde hair to be safe.
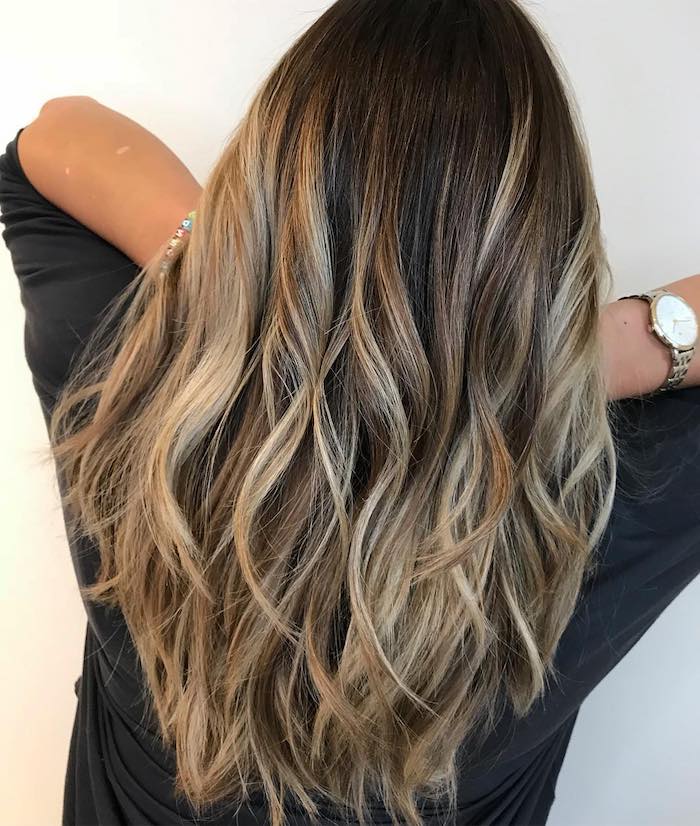
Hailey Bieber’s transition from bright blonde to a more natural, mushroom-toned ‘bronde’ showcases a major trend: prioritizing hair health and embracing a softer, more dimensional look that works with one’s natural base color, not against it.
Don’t underestimate the power of a clear gloss. If you love your color but it’s starting to look a little dull between appointments, a clear glossing service is your best friend. It doesn’t deposit any color but works like a super-powered shine treatment, sealing the cuticle, reducing frizz, and making your blonde highlights pop again. It’s a quick, often less expensive service that brings your hair back to life.


