Thinking of Short Spiky Hair? A Stylist’s Insider Guide
I’ve been behind the chair as a professional stylist for a long time, and I’ve seen trends do a full 180 and come back again. But short spiky hair? It’s different. It’s got this incredible staying power because it’s not just a haircut—it’s an attitude. It’s pure confidence. But getting that effortlessly cool look isn’t as simple as grabbing the kitchen scissors and a tub of gel. Honestly, I’ve fixed a lot of those experiments.
In this article
A truly great spiky style is built on a solid foundation. The secret is that the cut itself has to do 90% of the work. Without the right haircut, tailored to your hair and head shape, you’re in for a daily battle with your own reflection. So, let’s pull back the curtain. I’m going to walk you through how a pro really approaches this style, from the cutting techniques we use to the products that actually work. This is the stuff that turns a good haircut into a great one.
The Foundation: Why the Cut Is Everything
You can buy the most expensive hair products on the market, but they can’t save a bad haircut. It’s a hard truth. For spiky styles, the goal is to build the architecture of the style right into the hair itself, so it practically styles itself. This means looking at a few key things.
What Makes Hair Actually Stand Up?
When I’m looking at someone’s hair, I’m basically a detective. I’m sleuthing for three main clues: density, texture, and growth patterns.
- Density: This is simply how many hairs are packed onto your head. If your hair is super dense, my job is to strategically remove weight so it doesn’t look like a solid helmet. For hair that’s on the thinner side, the focus shifts to creating the illusion of more fullness and body.
- Texture: This is about how thick each individual strand is—fine, medium, or coarse. Fine hair is tricky; it needs support at the root to stand up and gets weighed down by heavy products. Coarse hair, on the other hand, has tons of natural body but can be stubborn if it isn’t cut just right.
- Growth Patterns: Ah, cowlicks. Everyone has them. I’ve seen stylists try to fight cowlicks, and it’s a battle they will always lose. The real pro move is to work with the cowlick, using its natural lift to give the style a boost. Sometimes that means leaving that little spot a tiny bit longer or shorter to make it cooperate.
The basic physics are pretty simple: for hair to stand up, it has to be short enough that its own weight doesn’t pull it down. The product you use later is just for reinforcement and definition, not for doing all the heavy lifting.

Pro Cutting Techniques (The Stuff That Costs More)
When you sit in my chair for a spiky cut, I’m not just going to run a clipper over your head and call it a day. That’s a buzzcut, not a style. Creating texture requires a specific set of tools and skills.
Scissor-Over-Comb vs. Clippers
This is a big one. Clippers are great for a super sharp, uniform look, especially on the sides. Using a
2 guard (that’s about 1/4 inch) gives a tight, clean shadow, while a
4 guard (1/2 inch) leaves a bit more softness. But for the top part—the spiky part—I almost always reach for my scissors. Scissor-over-comb lets me follow the unique shape of your head, creating a softer, more personalized texture that grows out way better. It takes more time and skill, which is frankly why a detailed salon cut can run you anywhere from $50 to over $100, while a quick clipper cut is much less.
Texturizing: The Real Magic Trick
This is how we remove bulk and create that piecey separation. Without it, you get a blocky, dated look. My favorites are:

- Point Cutting: I cut vertically into the ends of the hair with the tips of my shears. This breaks up any blunt lines and lets the hair move and separate. For really thick hair, I’ll go deeper to remove more internal weight.
- Slicing: This is where I glide partially open shears down the hair shaft to debulk the mid-lengths. It makes a heavy top section feel lighter and more responsive. Heads up! This technique should only be done by an experienced stylist, as it can cause frizz if done poorly.
- Texturizing Shears: Those scissors with the little teeth? I use them very carefully. In the wrong hands, they can leave holes or make the hair look frayed. They’re best for creating lift right at the root on super-dense hair.
Finding the Right Stylist & What to Ask
The most important part of the haircut happens before a single strand is cut. It’s the consultation. A good stylist will ask about your lifestyle, how much time you’re willing to spend in the morning, and what you’ve liked or disliked about past cuts.
To make sure you’ve found someone who gets it, ask them these questions:
- “For the spiky top, do you prefer to use clippers or scissor-over-comb, and why?” (The answer should be about creating texture and a custom shape).
- “How would you texturize my hair to help it stand up?” (They should mention techniques like point cutting, not just thinning shears).
- “How often do you think I’ll need to come in to maintain this shape?” (Their answer will show they’re thinking about the grow-out period).
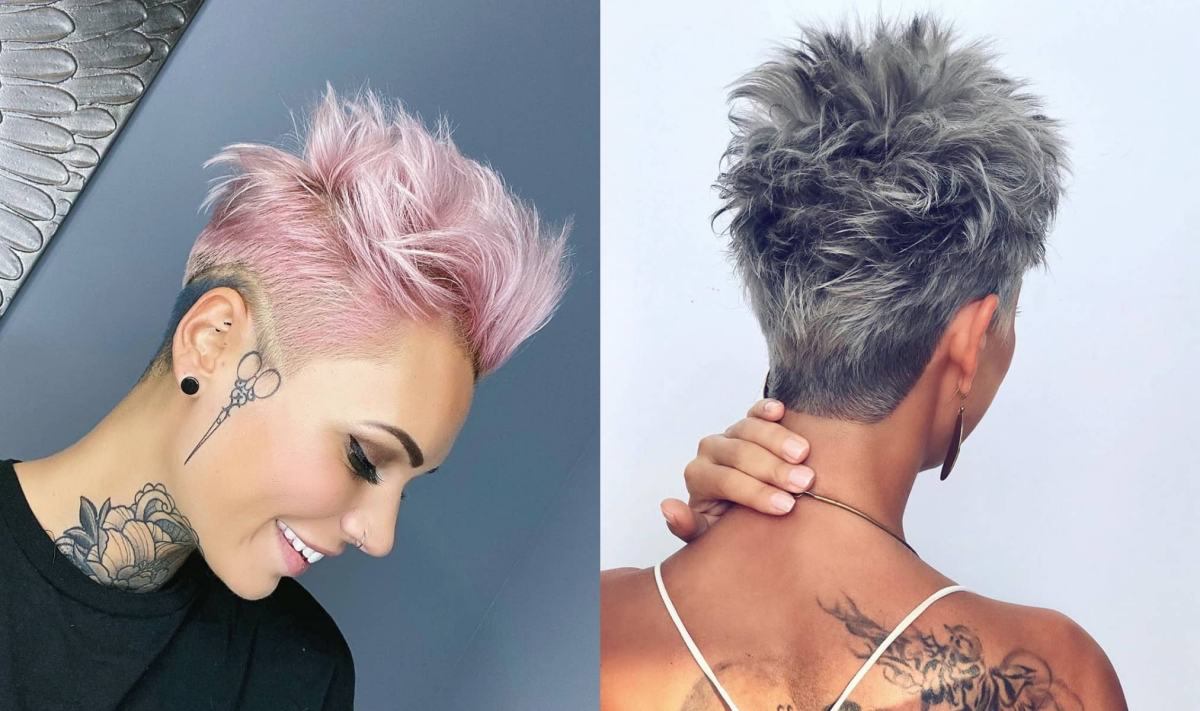
Picking Your Style: It’s Not Just One Look
“Spiky hair” can mean a lot of things. It can be subtle and office-appropriate or full-on rebellious. Here are a few popular ways to wear it.
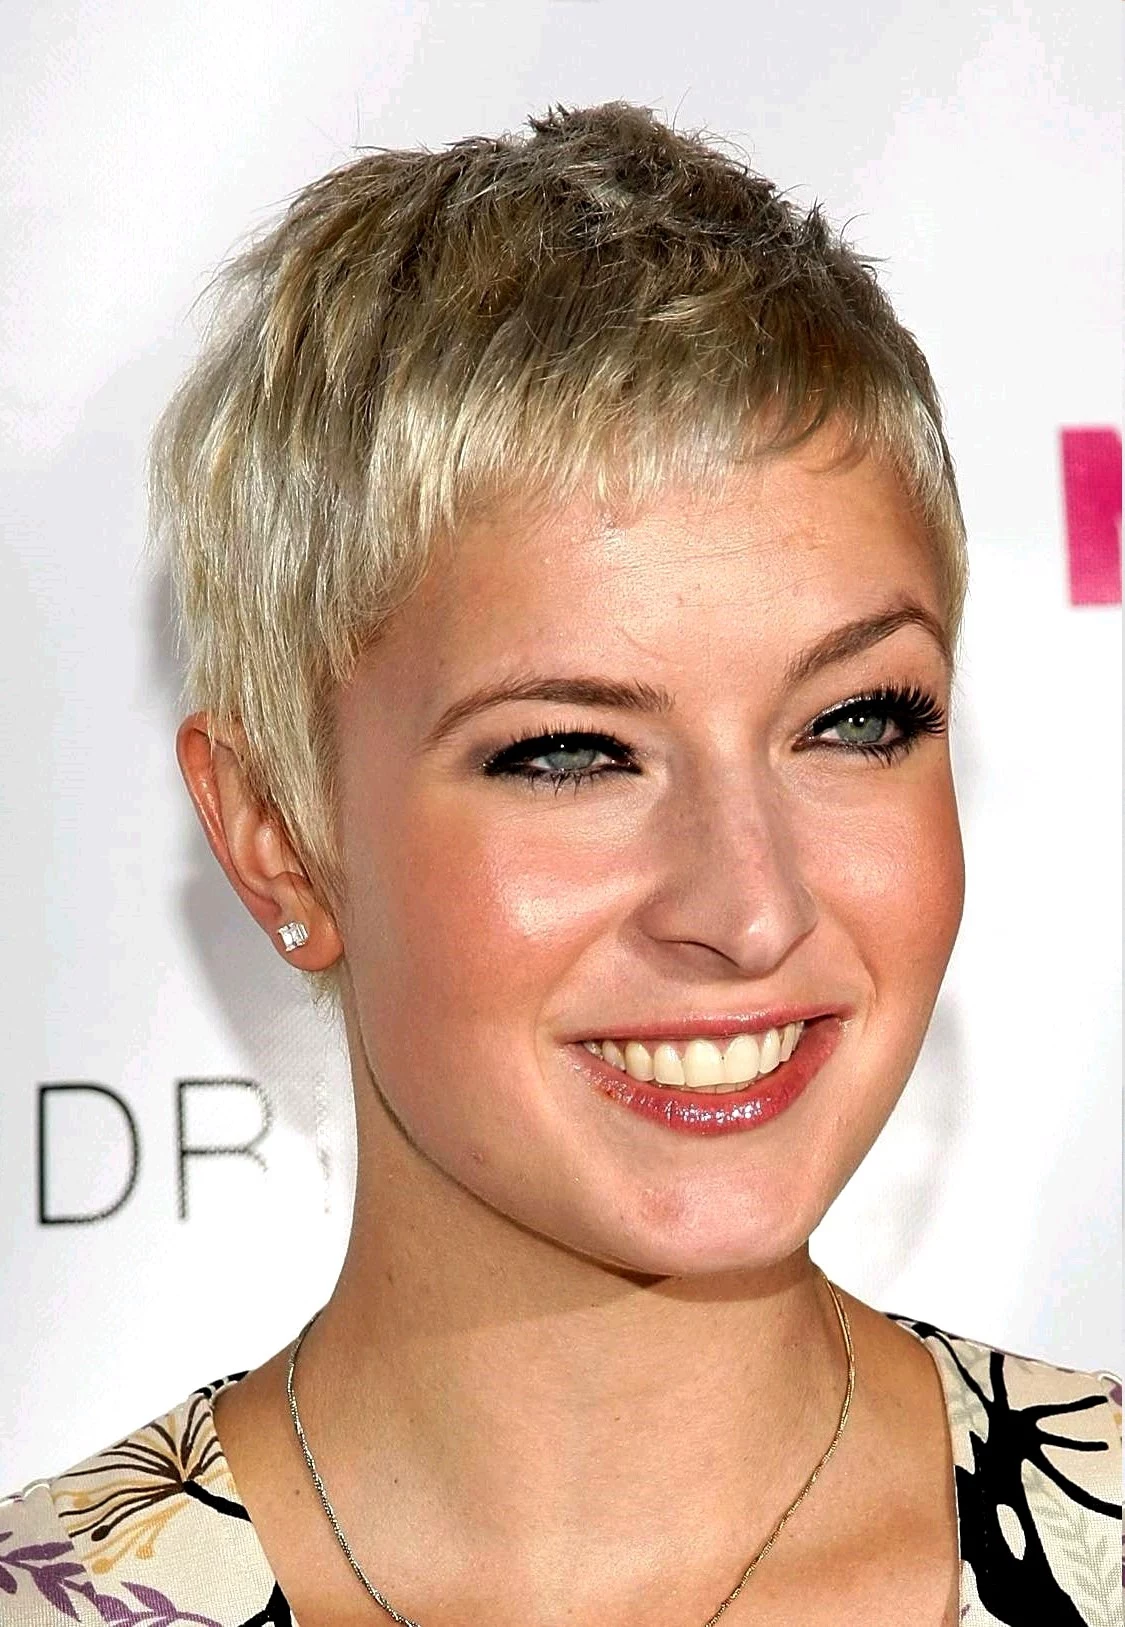
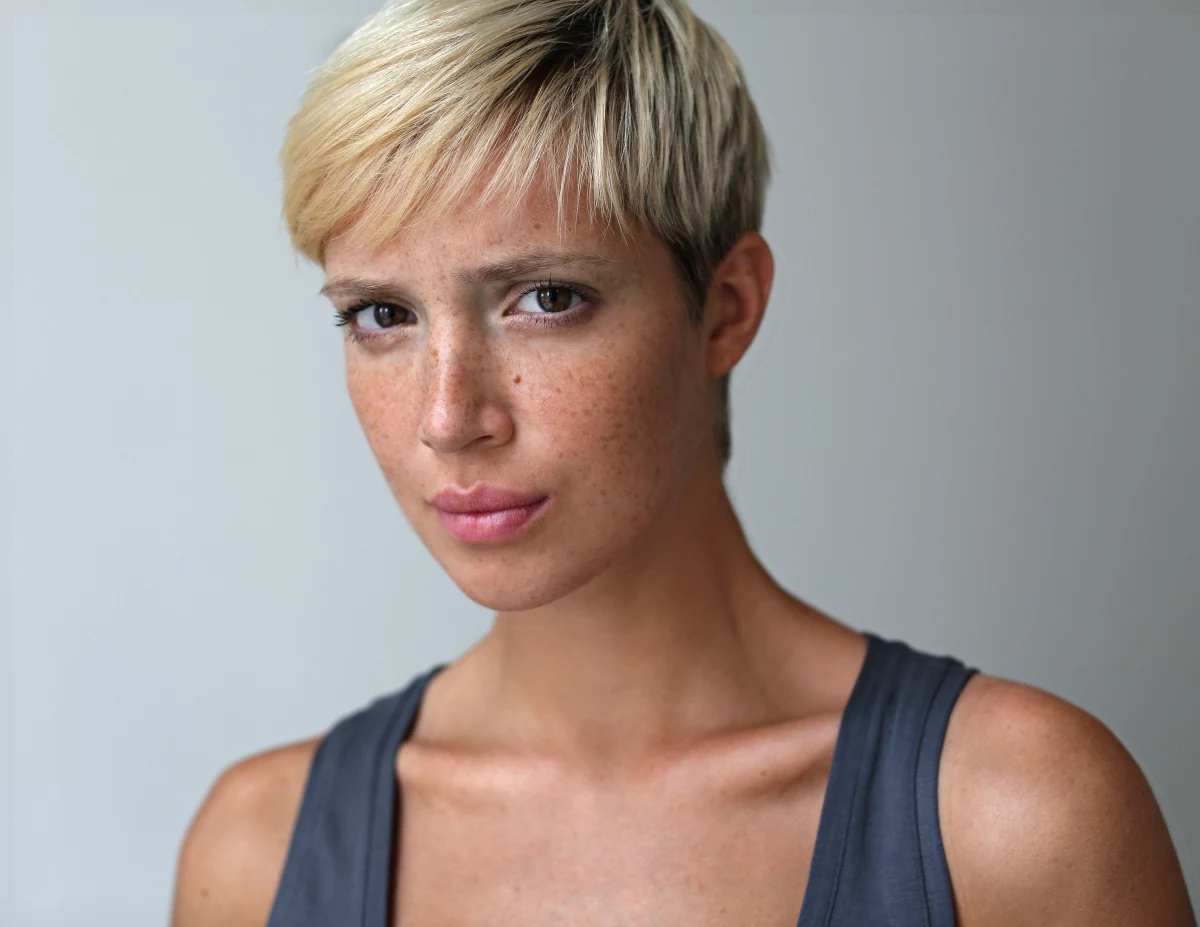
The Textured Pixie
This is a fantastic and versatile entry point. It’s short all over but with more length and choppiness on top than a classic pixie. It’s super flattering on oval and heart-shaped faces, and the texture can help soften the angles of a square face. The beauty of this cut is its versatility; you can spike it up, push it forward, or sweep it to the side. Maintenance is usually a trim every 5-7 weeks.

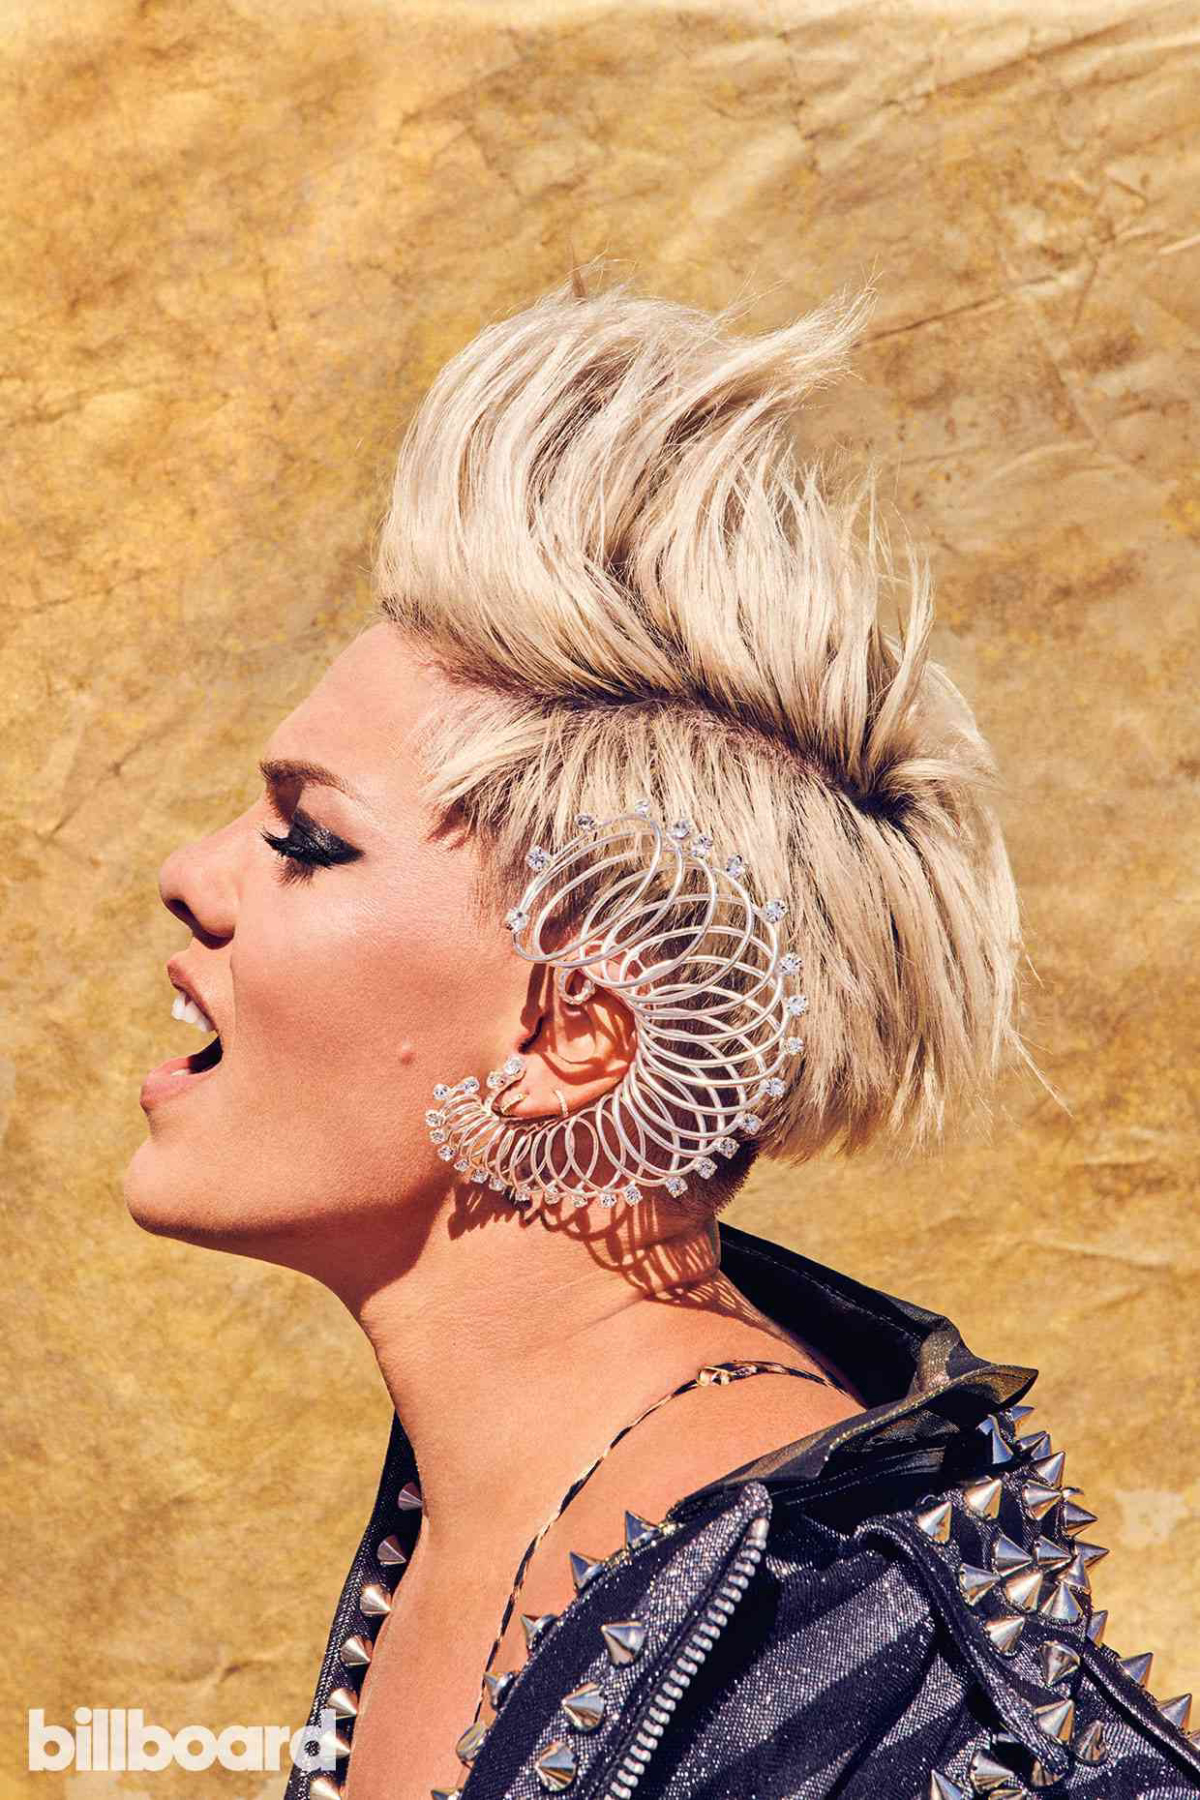
The Undercut & Faux Hawk
Here’s where we get into more dramatic contrast. The sides are cut much shorter than the top, creating a strong, modern line. A super-short skin fade on the sides is bold, while a scissor-cut version offers a softer take. This style is great for adding visual height, which can be very flattering for rounder face shapes. The top is then styled up and toward the center. To keep that undercut sharp, you’ll likely need a touch-up every 3-4 weeks, which can add to the overall cost and commitment.
By the way, this look has roots in all sorts of subcultures, from classic military cuts to the punk scene. The modern interpretation is all about technical precision, giving it a clean, intentional feel.
The Asymmetrical Cut
This cut is a secret weapon for balancing facial features. By leaving one side longer—maybe with a sweeping fringe—we can draw attention where we want it. The challenge is blending the long and short sides seamlessly. This one requires a bit more styling commitment to keep the shape looking intentional, but the visual payoff is huge.

Your Toolkit: Products and How to Actually Use Them
The right product supports the cut; the wrong one kills it. And trust me, most people use way too much. Here’s a quick rundown of what you need.
My Recommended Spiky Hair Starter Kit:
- A Good Matte Clay or Paste: This will be your daily driver. Expect to spend $15 – $25 for a quality one that won’t flake.
- A Root-Lifting Spray or Mousse: This is optional but amazing for fine hair. ($10 – $20).
- A Decent Hair Dryer: You don’t need a professional one, but one with a nozzle is key for directing airflow. ($30+).
Product Breakdown: Clay, Wax, Pomade, and Powder
When you’re choosing a product, think about the finish and hold you want.
- Clays and Pastes: These are my top pick for most spiky looks. They give a matte (not shiny) finish and a strong but flexible hold. Clay is perfect for fine hair as it adds grit and thickness. Look for products like American Crew’s Fiber or a dry paste.
- Waxes and Pomades: These offer more shine and are better for thicker hair. A wax usually has a stiffer hold, while a pomade is more reworkable. They’re great for twisting the tips of your spikes for extra definition.
- Gels: Honestly, I don’t use gel much unless a client wants that crunchy, wet look that’s locked in place. Modern formulas are better, but for most people, a clay or paste is a more stylish choice.
- Texturizing Powders/Sprays: This stuff is like magic dust for your hair. It’s a dry powder you sprinkle lightly onto your roots to get instant, gritty volume. It’s a finishing product, perfect for a quick boost if your hair starts to fall flat midday.
My 5-Minute Morning Spike Routine
Once you have the right cut, styling should be quick. Here’s the process I teach my clients. It shouldn’t take more than 3-5 minutes.
- Start Damp: Your hair doesn’t need to be soaking wet, just lightly damp. A quick spray of water is fine.
- Blow-Dry for Lift: This is a non-negotiable step. Using your fingers, lift your hair up at the roots while you blow-dry it. This tells your hair which direction to go before you even add product.
- Warm the Product: Take a pea-sized amount of your clay or paste. Seriously, that’s it. Rub it between your palms until it’s warm and nearly invisible. This is the most-skipped step and the most important for avoiding clumps!
- Apply Back to Front: Start applying the product at the back of your head (the crown) and work your way forward. If you start at your front hairline, it’ll look greasy.
- Define and Spike: Once the product is distributed, use your fingertips to pinch and twist sections into the spiky shapes you want. Done.

Common Problems & Quick Fixes
- Problem: “My spikes fall flat by lunch!”
Quick Fix: You need more foundational hold. Make sure you’re blow-drying your hair upwards from the root. You might also need a product with a stronger hold, or you can finish with a light mist of a strong-hold hairspray. - Problem: “My hair just looks greasy and clumpy.”
Quick Fix: You used way too much product, and you didn’t warm it up enough. Try again tomorrow with half the amount and really emulsify it in your hands first. Remember: back to front! - Problem: “It doesn’t look piecey, just puffy.”
Quick Fix: This is likely a haircut issue. Your hair probably needs more texturizing. Go back to your stylist and ask them to point-cut into it more to break up the weight.
Galerie d’inspiration

The eternal question: matte and textured or sharp and defined?
The product you choose is the final punctuation on your style statement. It’s not just about hold; it’s about finish.
Matte Clay/Paste: This is your secret weapon for a modern, touchable, and effortlessly cool vibe. It absorbs light, making hair look thicker and creating separation without a wet look. Think Redken Brews Clay Pomade or Aveda Men Pure-Formance Grooming Clay. They’re perfect for adding grip to fine hair that needs a boost.
Shine Wax/Pomade: For a more intentional, high-impact look with a bit of gloss. This finish gives spikes a sharper, more sculptural quality, perfect for a polished punk aesthetic. A pea-sized amount of a product like Bed Head by TIGI Wax Stick is all you need to define points and fight frizz on coarser hair.

A study in the ‘Journal of Social Psychology’ found that unconventional hairstyles, like prominent spiky cuts, are often perceived by others as a sign of heightened creativity and confidence.
So that feeling you get with a fresh, bold cut isn’t just in your head. It changes how people see you right from the first glance, often signaling that you’re not afraid to stand out. It’s a non-verbal way of saying you’re comfortable in your own skin and ready to take on the world.
- Keep the color vibrant, especially for bold shades like pink or blue.
- Ensure the neckline and sideburns are kept impeccably clean.
- Maintain the texture without letting it get fluffy or soft.
The secret to all three? A color-safe dry shampoo. A quick spray of Living Proof’s Perfect hair Day (PhD) Dry Shampoo at the roots doesn’t just absorb oil; it revives texture, adds volume for easy re-spiking, and helps you go longer between washes, which is the number one way to preserve that expensive color.


