Thinking of Blonde Highlights? A Stylist’s Honest Guide for Brunettes
After years and years behind the chair, I’ve seen hair trends come and go, but one request is forever: gorgeous, natural-looking blonde highlights on brown hair. It sounds straightforward, right? But honestly, getting it right is a real craft. It’s way more than just slapping on some lightener; it’s a careful mix of artistry, science, and—most importantly—a good conversation.
In this article
I want to pull back the curtain and show you what’s really going on from a stylist’s perspective. We’ll walk through everything from the initial chat to the science in the foils, and how to keep your color looking amazing long after you leave the salon. My goal is to make you an informed client, because an informed client is always the happiest client. And happy clients with healthy, stunning hair? That’s the win-win we’re all after.
The Consultation: Where the Real Magic Begins
Let’s be real: the most critical part of your hair appointment happens before we even think about mixing color. The consultation is everything. This is where we team up to make a game plan, and it’s where a good stylist should be doing more listening than talking. I need the full story on your hair to keep it healthy, so your honesty here is non-negotiable.
First, I’ll always ask about your hair’s history. And I mean all of it. Previous salon color, that box dye you tried a year ago, any keratin treatments, perms—you name it. These things change your hair’s structure and how it will react to lightener. That dark brown box dye you’ve forgotten about is still lurking in your hair shaft, and trust me, lightener will find it and expose it as a funky orange band. It happens!
This is why, if there’s any previous color involved, a strand test is a must. It’s a total deal-breaker in my book. We’ll snip a tiny, hidden piece of your hair and apply the exact lightener formula we plan to use. This little test tells us everything: how light your hair can safely get, what funky tones might pop up, and if your hair’s integrity can handle the process. If that strand feels gummy or snaps, we hit the brakes. It’s a five-minute safety check that prevents a major disaster.
What You Should Be Asking
By the way, this is a two-way street! You should be interviewing your stylist, too. To make sure you’re in the right chair, here are a few things you should absolutely ask:
- “Have you worked with my hair texture and color history before?”
- “Could I see some photos of similar work you’ve done?” (On real clients, not just models!)
- “What do you think is a realistic and healthy goal for our first session?”
- “What does the maintenance and cost for this look like over the next year?”
Speaking of which, I am always upfront about the upkeep. A high-contrast, root-to-tip foil will have you back in the salon every 6 to 8 weeks. A softer balayage can stretch for 3 to 6 months. This impacts your schedule and your wallet, so let’s talk about it! A first-time balayage or foilayage can range from $250 to over $500 in a major city, with touch-ups running $150-$300. It’s an investment, and my goal is for you to love your hair, not stress about it.
The Science Part: What’s Happening in the Foil
Okay, let’s geek out for a second. Creating blonde isn’t magic; it’s a chemical reaction. We’re not adding color, we’re carefully removing your natural pigment, or melanin.
Lightener (what some call bleach) is a powder that gets activated by a developer, which is basically a cream-based hydrogen peroxide. We use different strengths, or “volumes,” to control the lifting power. For most highlights on brown hair, 20 or 30 volume is the sweet spot. We generally avoid 40 volume near the scalp as it can be too aggressive.
Here’s the part I wish everyone knew: dark hair doesn’t just go from brown to blonde. It has to move through stages of underlying pigment. If you’re a natural brunette (around a level 3-5 on the hair color scale, where 1 is black and 10 is platinum blonde), your hair will first lift to a reddish-brown, then orange, then yellow-orange, and finally to a pale yellow. To get a clean, cool-toned blonde, we have to lift past that orange stage. Pushing it too fast is how you get breakage, so sometimes it takes more than one appointment.
Once we get the lift right, your highlights will be a raw yellow, like the inside of a banana peel. This is where toner comes in—it is NOT an optional step! Toner is a gentle color that neutralizes those raw tones. To cancel out yellow, we use a violet-based toner. To fight brassy orange, we use a blue base. Toner is what gives you that polished, rich, intentional blonde shade.
Choosing Your Style: Foils, Balayage, and Everything In-Between
“Highlights” is a broad term, and the technique we choose will totally define your look. Here’s a quick rundown of the most popular options.
- Classic Foils: This is the traditional method for a reason. We weave or slice sections of hair, paint them with lightener, and wrap them in foil. The foil traps heat, giving us a brighter lift and lots of control. It’s perfect for defined, high-contrast blonde that gets close to the root. Maintenance is key here; you’ll likely be back in 6-8 weeks for a touch-up ($150+).
- Balayage (Hair Painting): This is a French freehand technique where we literally paint lightener onto the hair. It creates a super soft, sun-kissed, and blended look. The best part? The grow-out is a dream. Since it’s not placed right at the root, you can go 3-6 months between appointments. The initial session is usually a bigger investment, often starting around $250-$300 and going up from there.
- Foilayage (The Hybrid): My personal favorite for many brunettes! This combines the painted, blended application of balayage with the lifting power of foils. It’s the perfect solution for dark hair that needs a little extra muscle to get past the brassy stages while still wanting that soft, balayage vibe.
- Babylights & Teasylights: For the most subtle, natural look, we use babylights—they’re micro-fine highlights that blend seamlessly. Teasylights are another trick where we gently backcomb a section before painting the ends, creating a beautifully diffused, low-maintenance color.
Tough Cases: When Your Hair Has a Past
Not every client is a blank canvas. A huge part of being an experienced colorist is knowing how to navigate the tricky stuff.
Going from very dark brown to a light, icy blonde is a journey, not a sprint. Trying to do that in one sitting is a recipe for a chemical haircut. The first session will likely get you to a beautiful caramel or honey blonde. Plan for two or three sessions, spaced 6-8 weeks apart, with plenty of deep conditioning in between. Patience pays off!
And then there’s box dye… Oh, box dye. Correcting it is one of the most unpredictable jobs there is. Many box dyes contain metallic salts that can have a nasty reaction with professional lightener. I’ve seen foils get steaming hot and the hair inside just melt away. That’s why your honesty is a safety issue! A color correction for box dye is a slow, meticulous process. Heads up: Be prepared for it to cost 50% to 100% more than a standard highlight service and to block out a solid 5 to 8 hours in your day.
Protecting Your Investment at Home
What you do at home is just as important as what I do in the salon. Your aftercare routine determines how long your color lasts and how healthy your hair stays.
First, turn down the heat on your tools! High heat from flat irons and curling wands fades toner and damages hair. Always use a heat protectant, and try to stay below 350°F.
And yes, professional products really are worth it. Drugstore shampoos often contain harsh sulfates that can strip your expensive toner in just a few washes. It’s like washing a silk blouse with dish soap. You don’t have to buy the whole shelf, but a few key items will make a world of difference.
Your Post-Highlighting Shopping List:
- Sulfate-Free Shampoo & Conditioner: This is your daily driver. Look for brands like Redken Color Extend or Pureology. (Expect to pay $20-$40 per bottle).
- A Purple Shampoo: Use this once a week to fight off yellow tones. Don’t overdo it, or you’ll get a dull, lavender tint! Good ones are from brands like Olaplex or Amika. ($25-$35).
- A Deep Conditioning Mask: Lightened hair is thirsty hair. Use a good mask once a week. Brands like Kérastase or a bond-builder like Olaplex No. 3 are fantastic. ($30-$60).
- A Heat Protectant Spray: This is non-negotiable before using any hot tools. ($20-$35).
Quick tip: If you live in an area with hard water, your pipes could be depositing minerals on your hair that make it brassy or even greenish. A showerhead filter (around $40 at Home Depot or online) can be a total game-changer, as can a good metal-detox shampoo used every few weeks.
In the end, beautiful highlights are a partnership. It takes a skilled stylist who prioritizes hair health and a client who is realistic and committed to aftercare. When that happens, you get more than just a new hair color—you get a major boost of confidence that’s worth every second in the chair.
Galerie d’inspiration
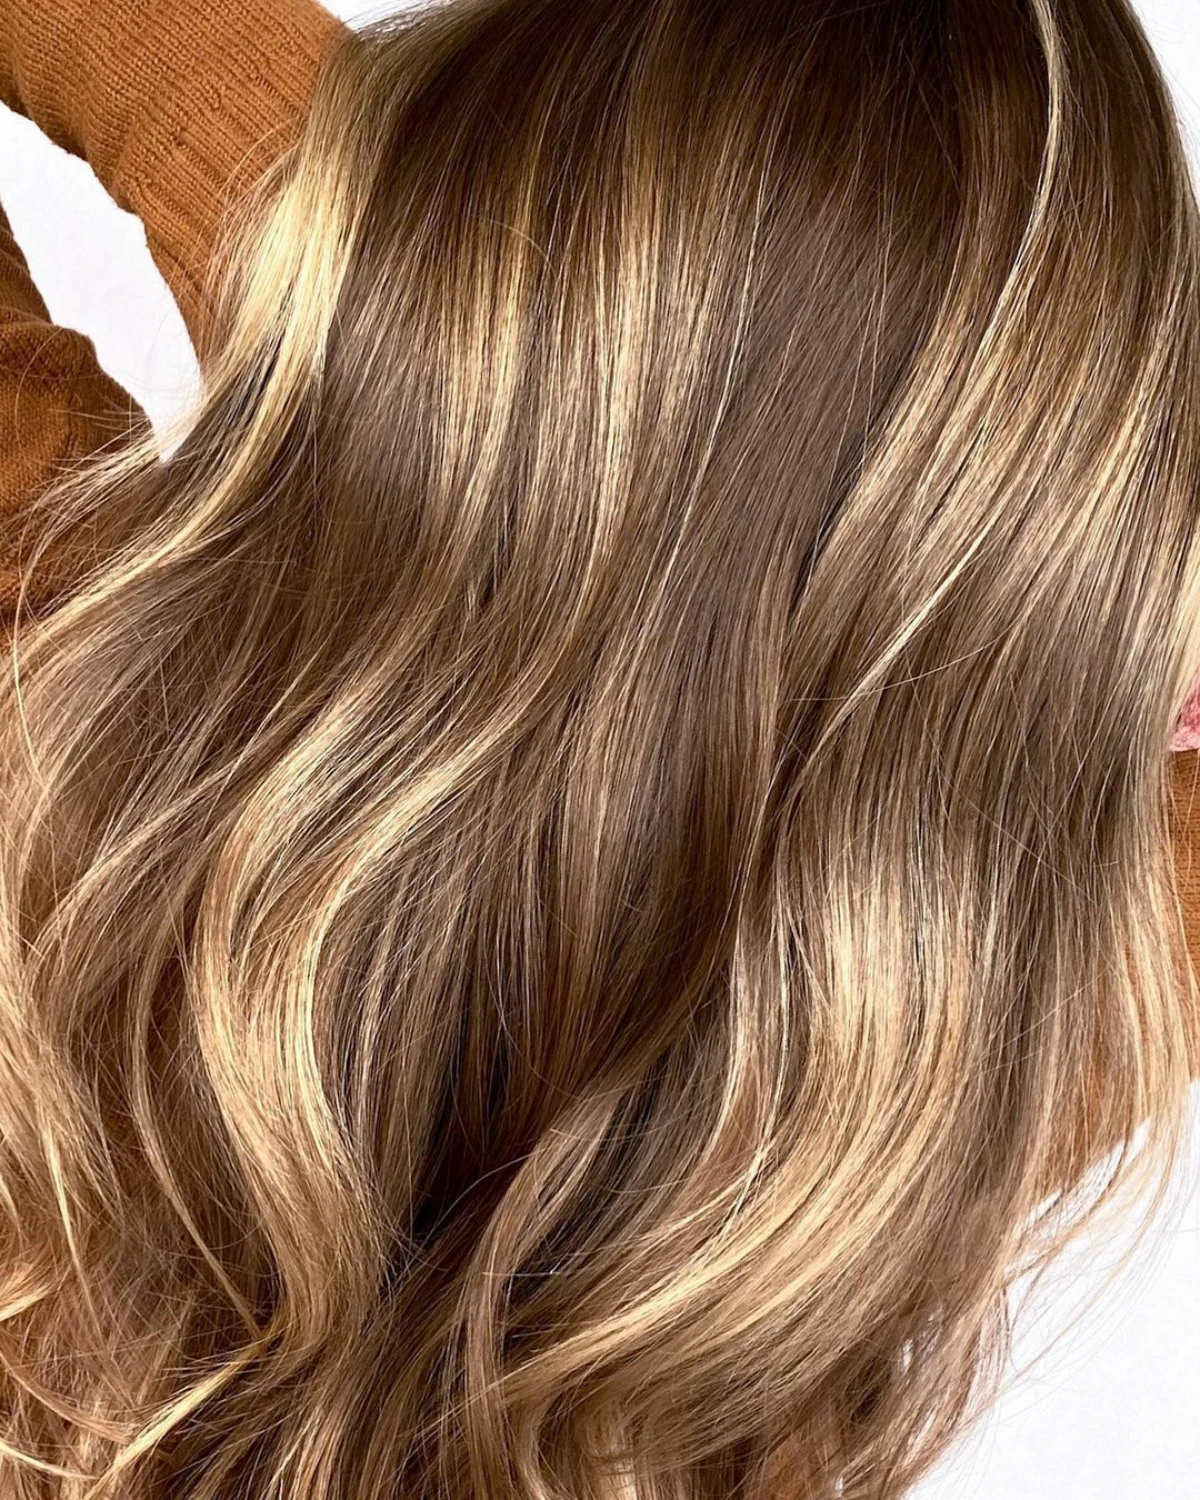
So, what’s the real difference between Balayage and traditional Foils?
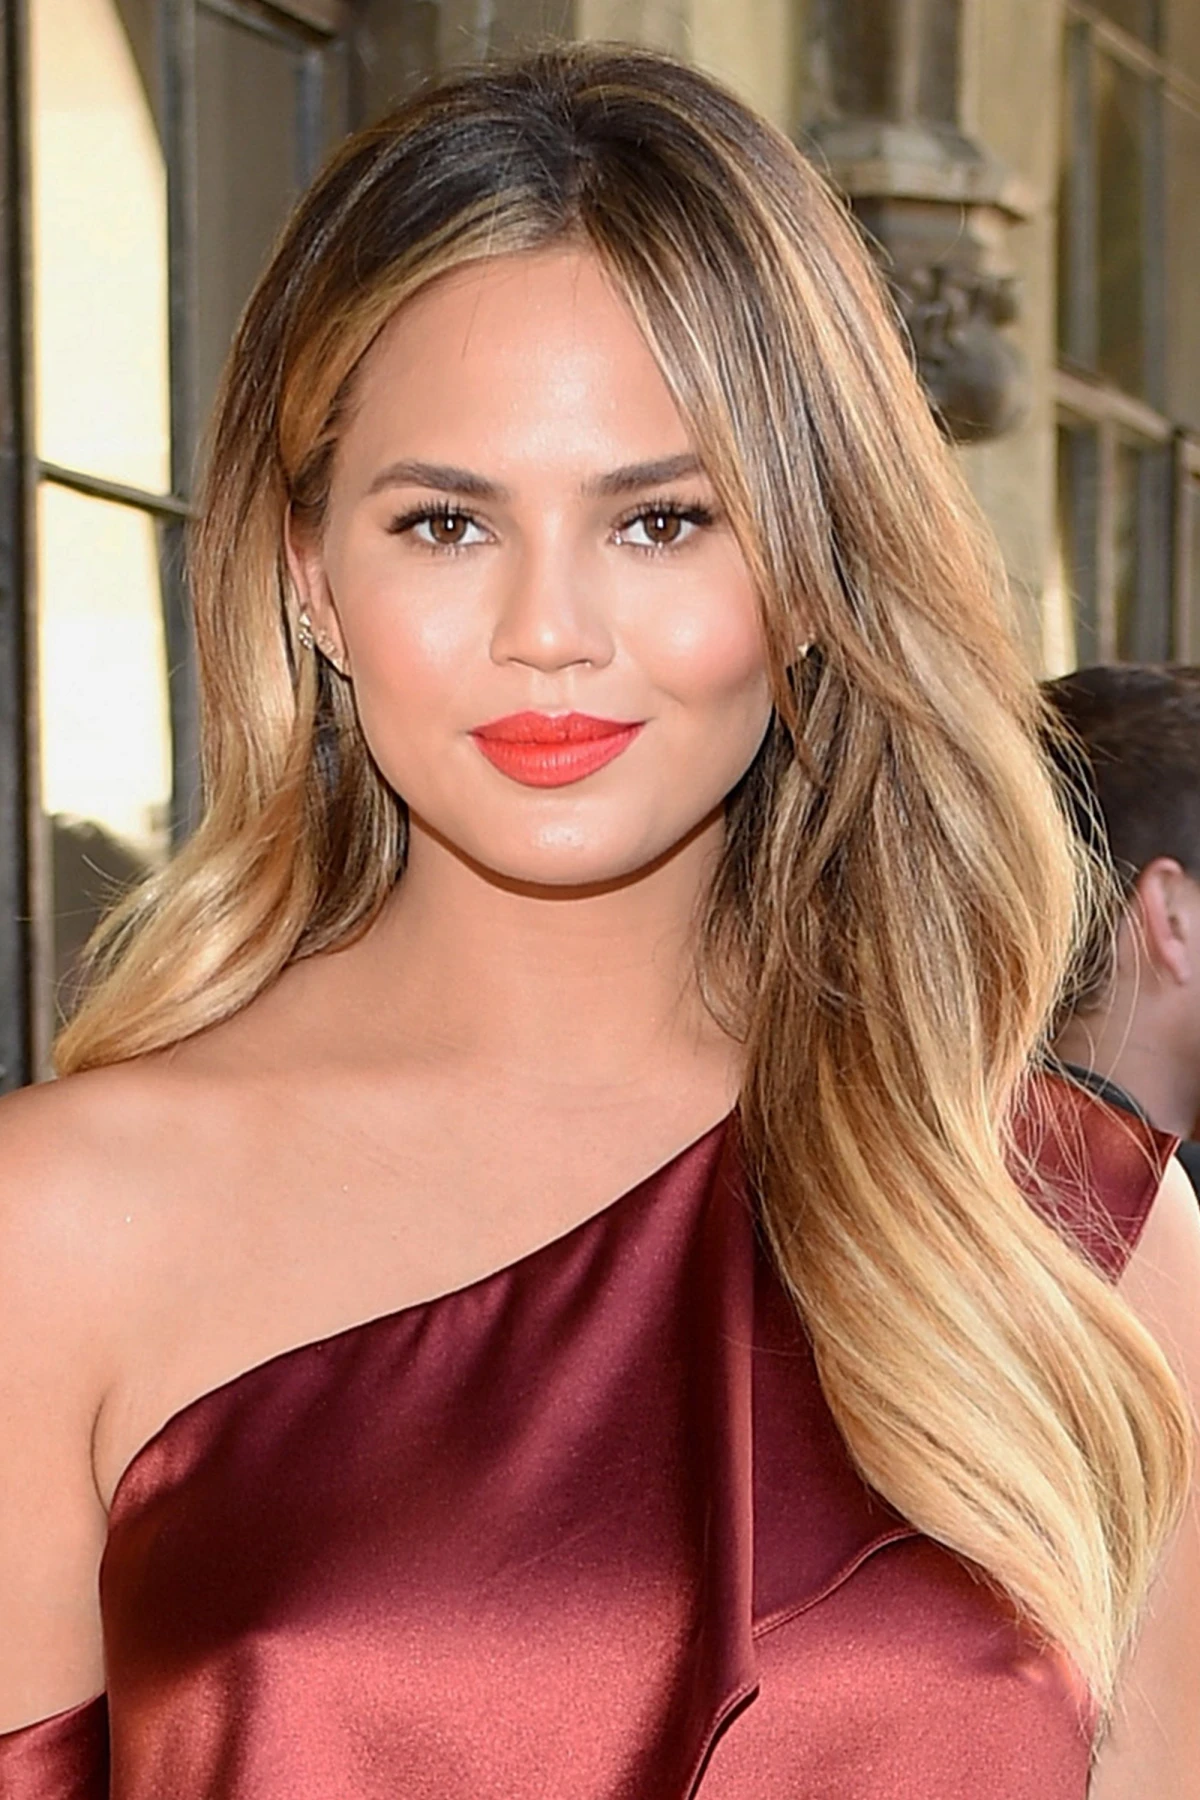
It’s all about the final effect and the maintenance. Foils involve saturating sections of hair in lightener and wrapping them in foil, which creates heat for a more intense, uniform, and defined lift right from the root. Think classic, structured highlights. Balayage, on the other hand, is a freehand painting technique where the stylist sweeps color onto the hair’s surface. This results in a softer, more natural, sun-kissed look with a seamless, blended grow-out, meaning fewer touch-up appointments.
Did you know that lightened hair is more porous? This means it not only loses moisture faster but also absorbs unwanted minerals from water, which can cause brassiness.
This is why your aftercare routine is non-negotiable. A water-filtering showerhead can be a game-changer, removing minerals like copper and iron before they ever touch your hair. Pair this with a weekly bond-repairing treatment, like the cult-favorite Olaplex No. 3 Hair Perfector, to rebuild the hair’s structure from the inside out and keep your blonde bright and healthy.
To keep your new blonde highlights looking salon-fresh, not brassy, here’s your go-to checklist:
- Use a sulfate-free shampoo and conditioner. Formulas like the Kérastase Chroma Absolu range are specifically designed to preserve color vibrancy without stripping essential moisture.
- Turn down the heat. High temperatures from styling tools can yellow your blonde tones. Always use a quality heat protectant spray.
- Schedule a gloss. A toning gloss appointment every 6-8 weeks is the stylist’s secret to neutralizing unwanted warmth and boosting shine between full highlight services.
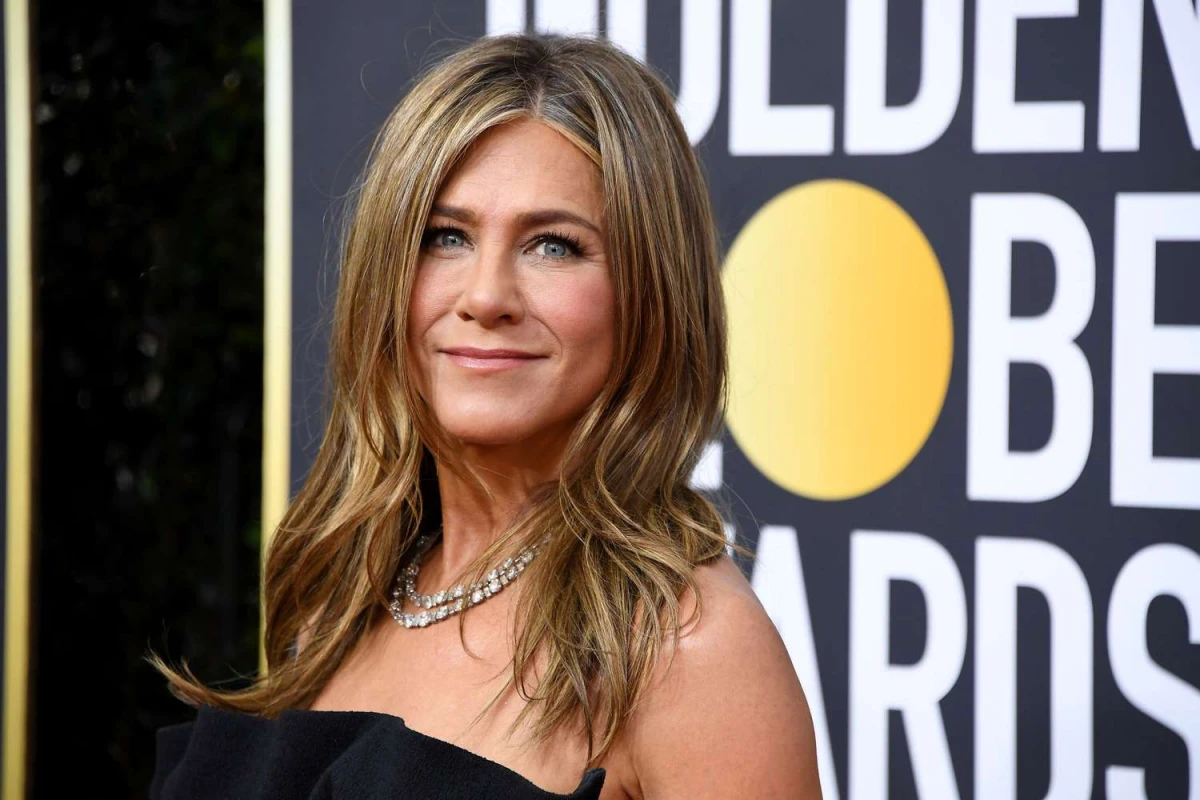
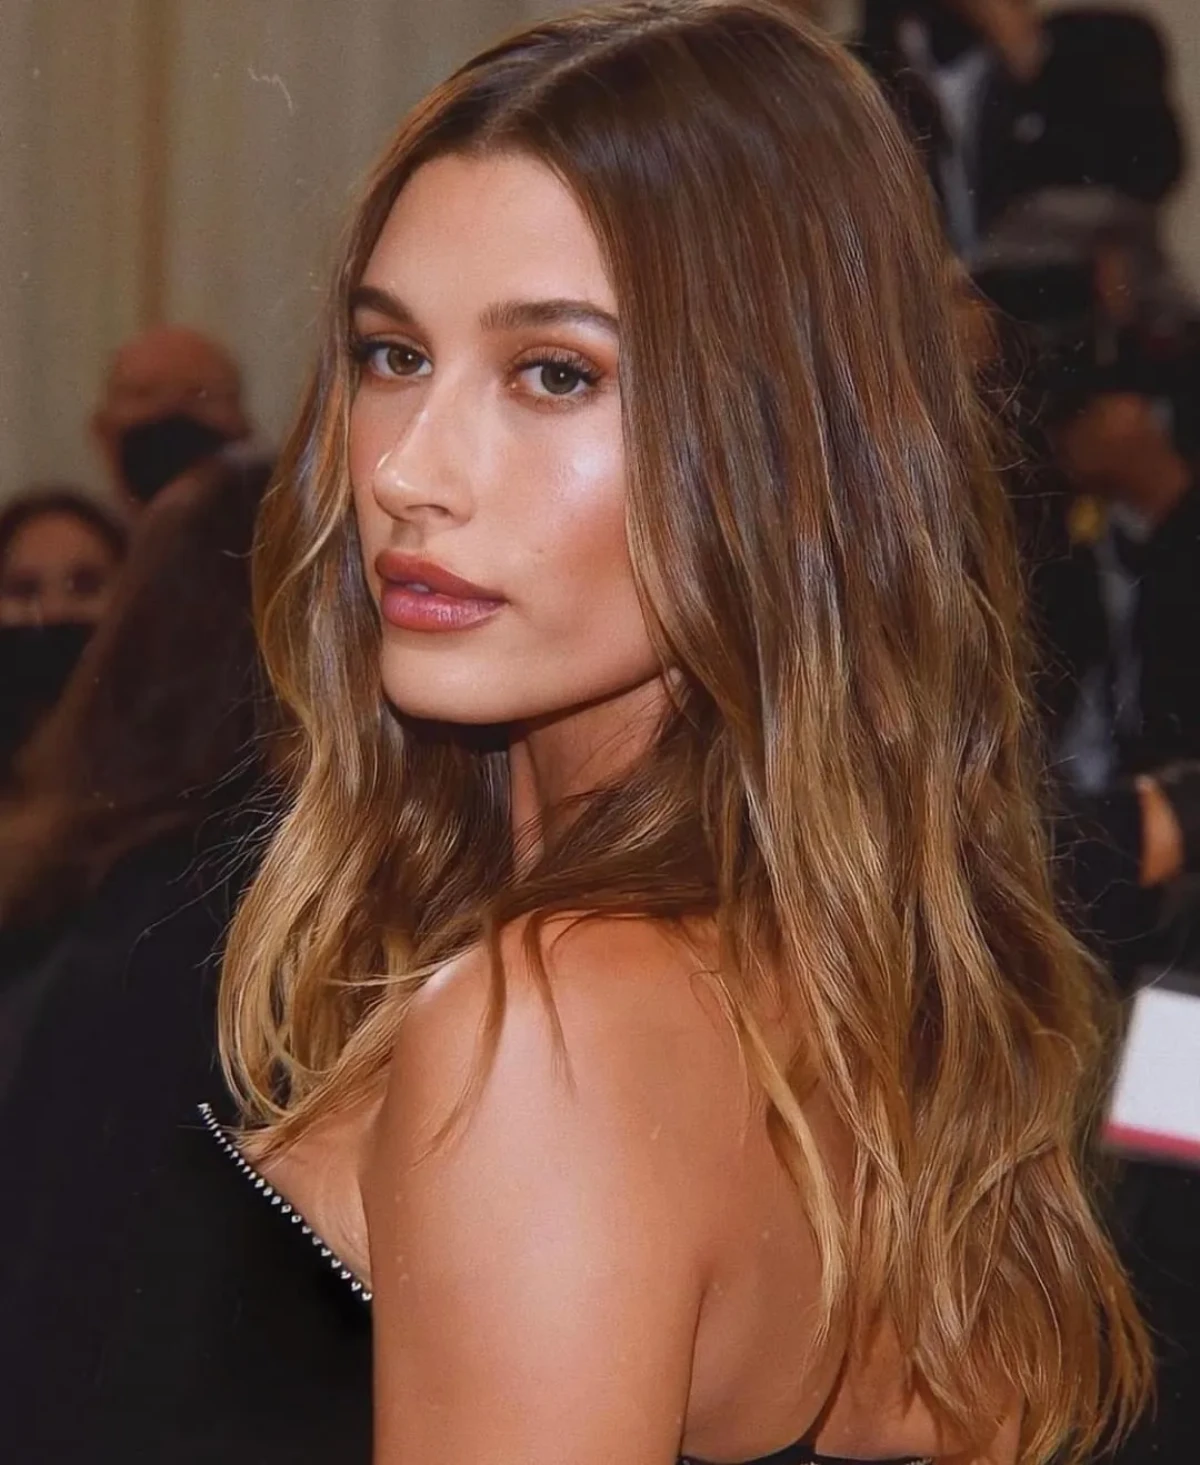
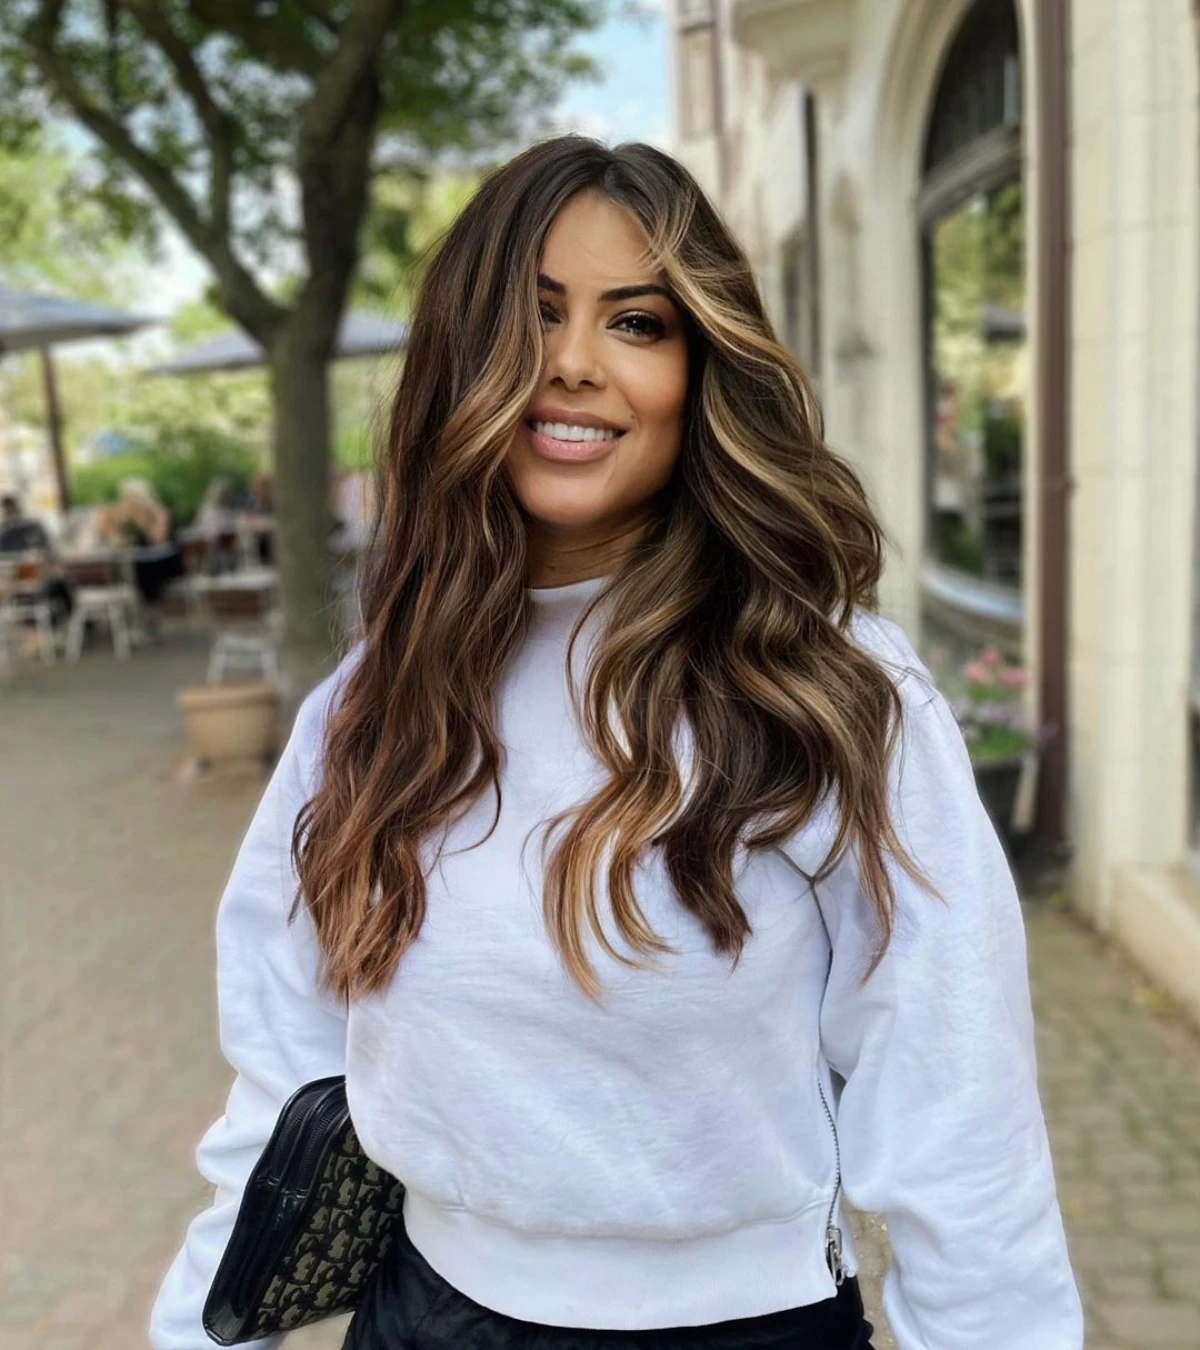
The Money Piece: This isn’t just a fleeting trend; it’s a strategic choice for maximum impact with minimal commitment. By placing a few bold, face-framing highlights around the hairline, you instantly brighten your entire complexion. It gives the illusion of being much blonder without having to lighten your whole head, making it a perfect entry point for brunettes curious about highlights.
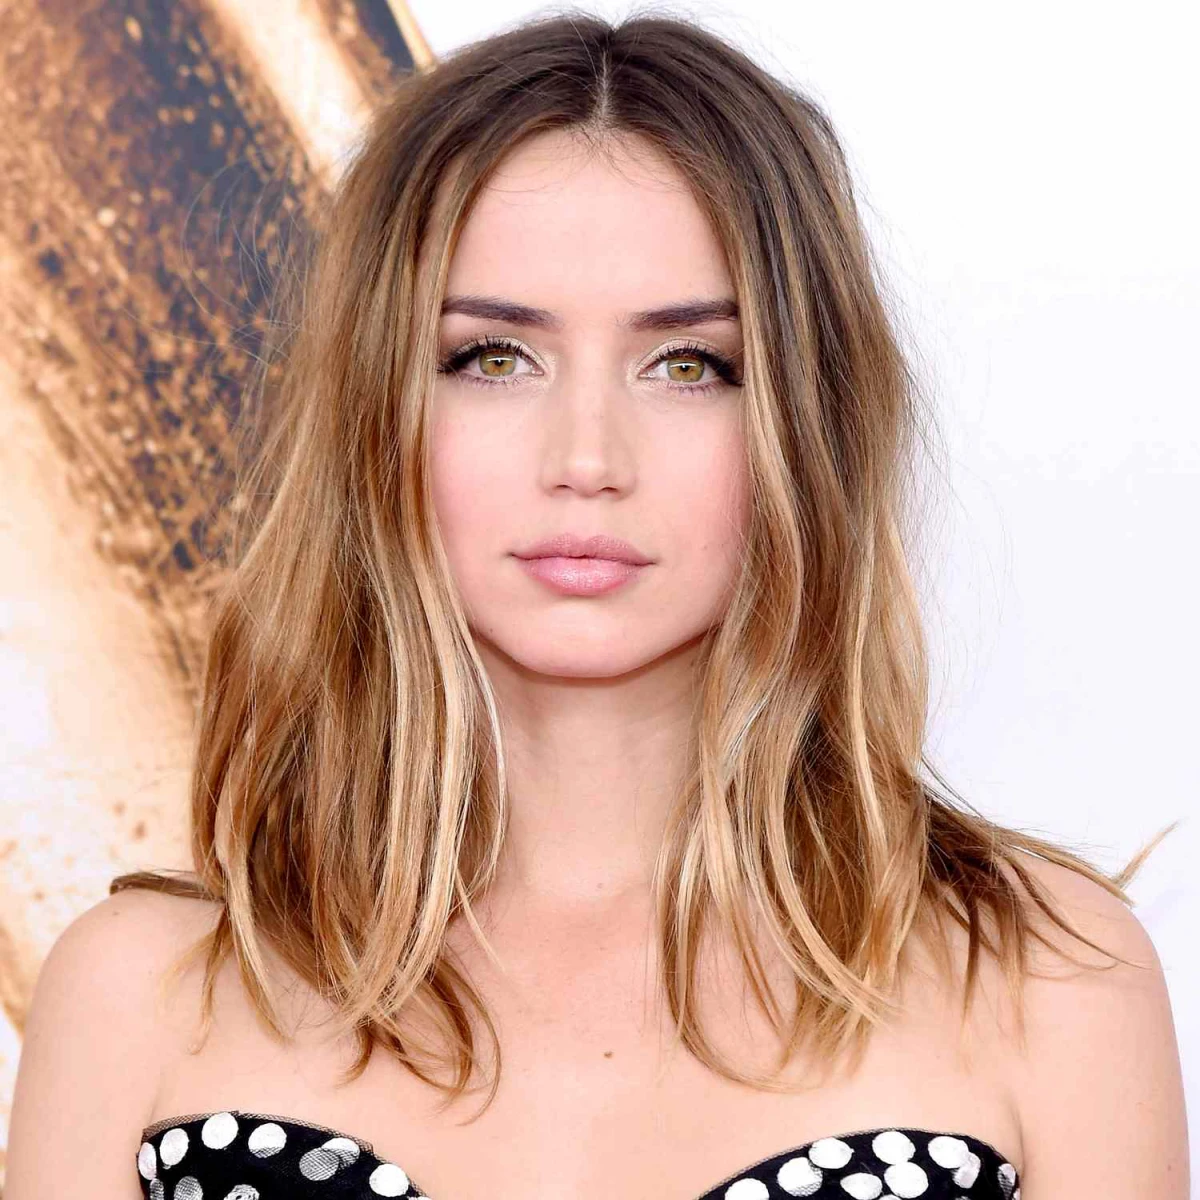
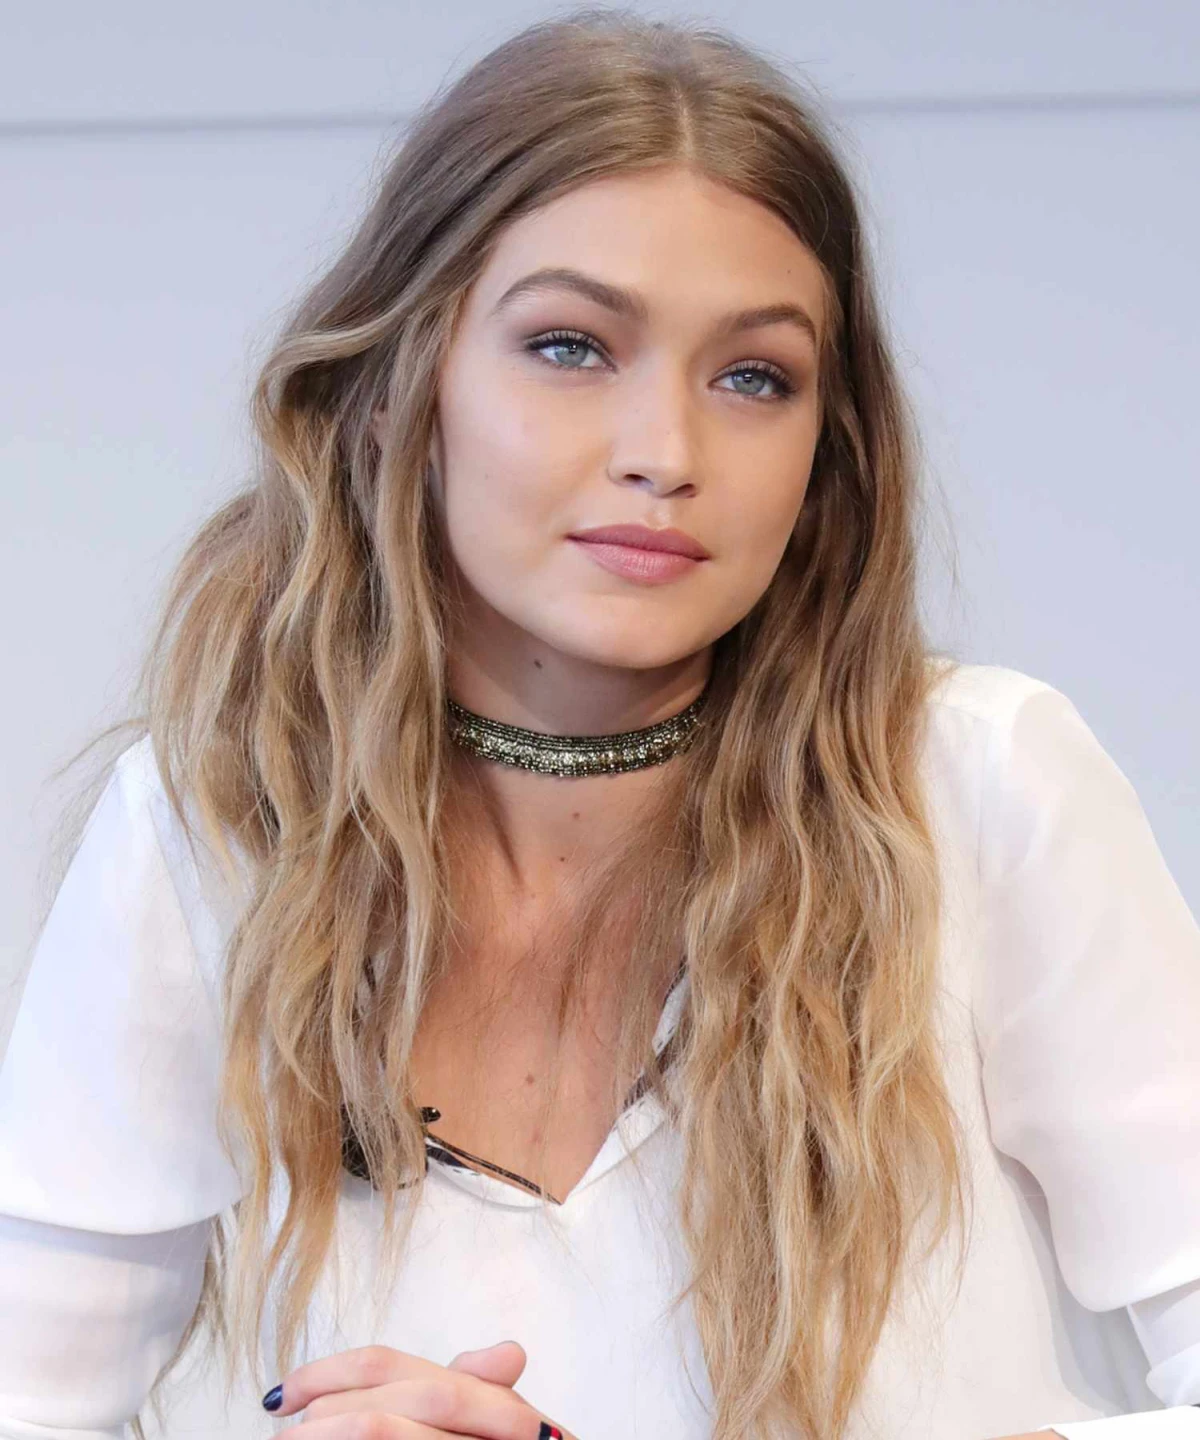
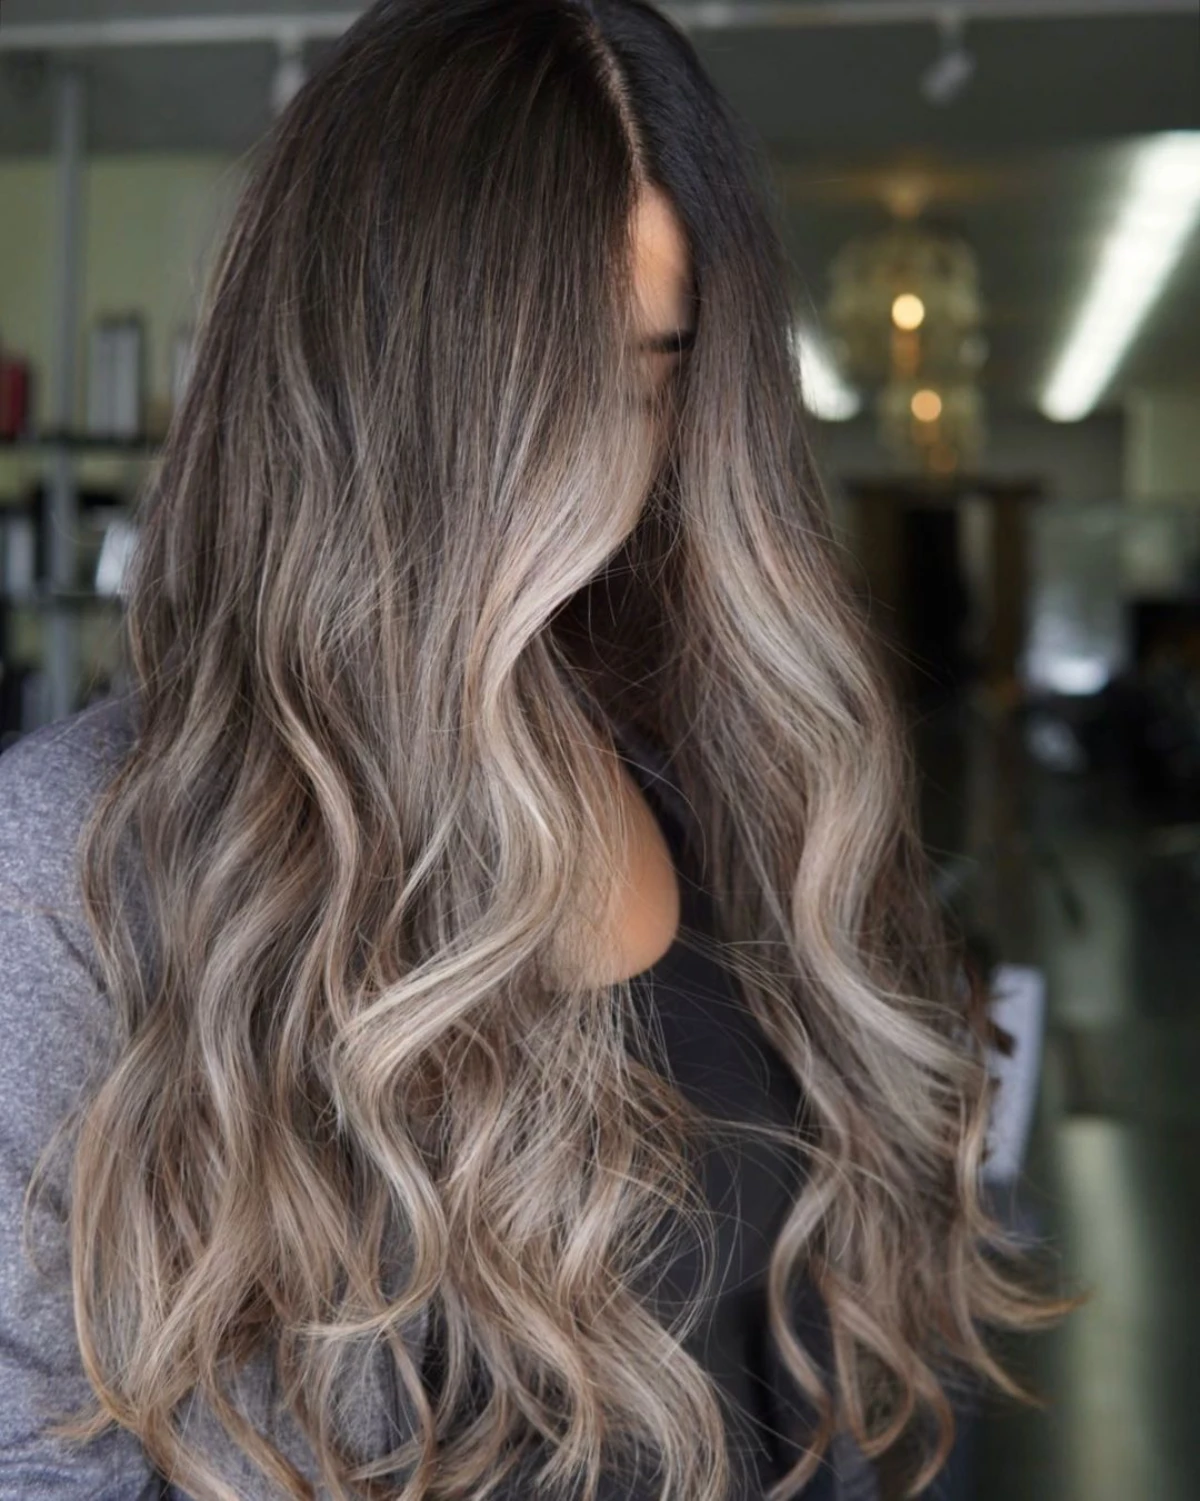
Ash Blonde: Cool, smoky, and sophisticated, this shade works best on brunettes with neutral or cool undertones. It requires significant lightening to get past natural yellow and orange pigments, so hair health is paramount.
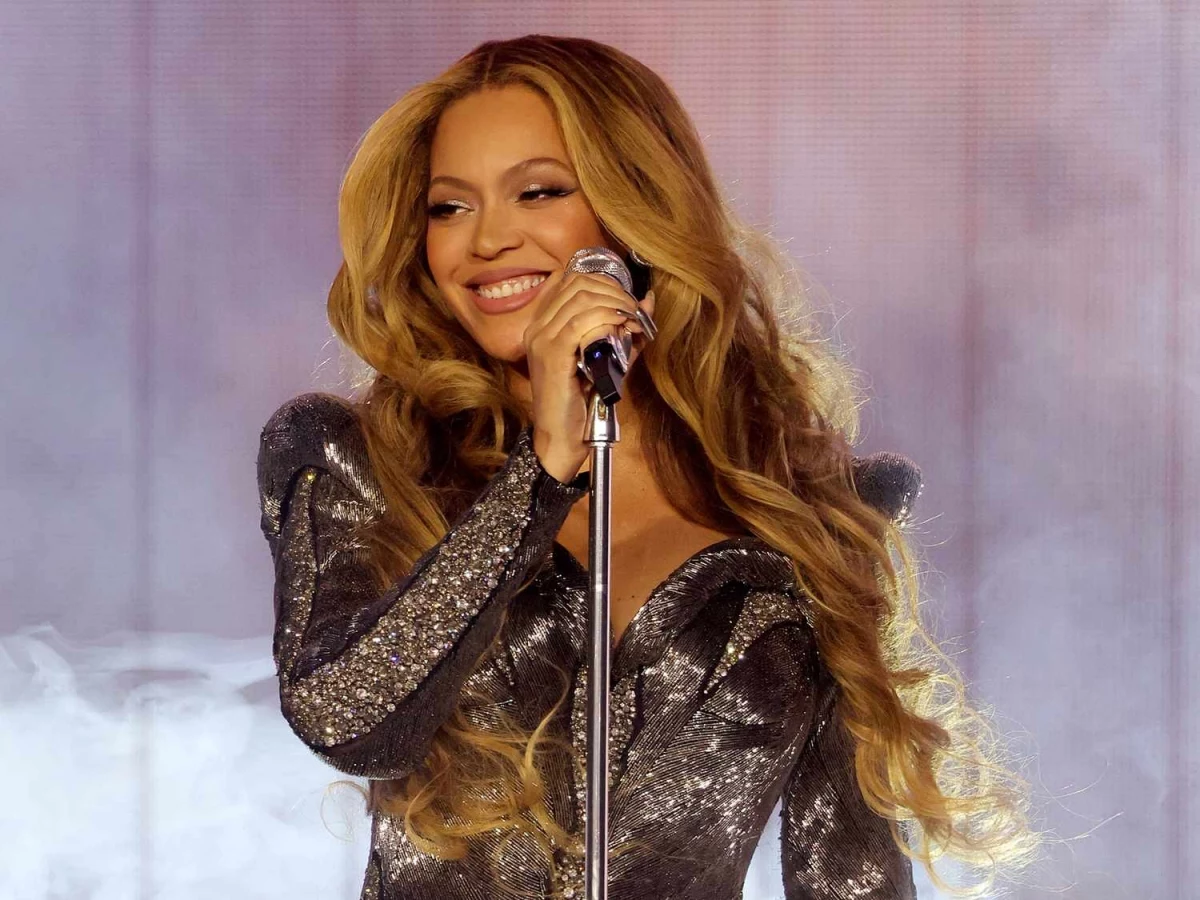
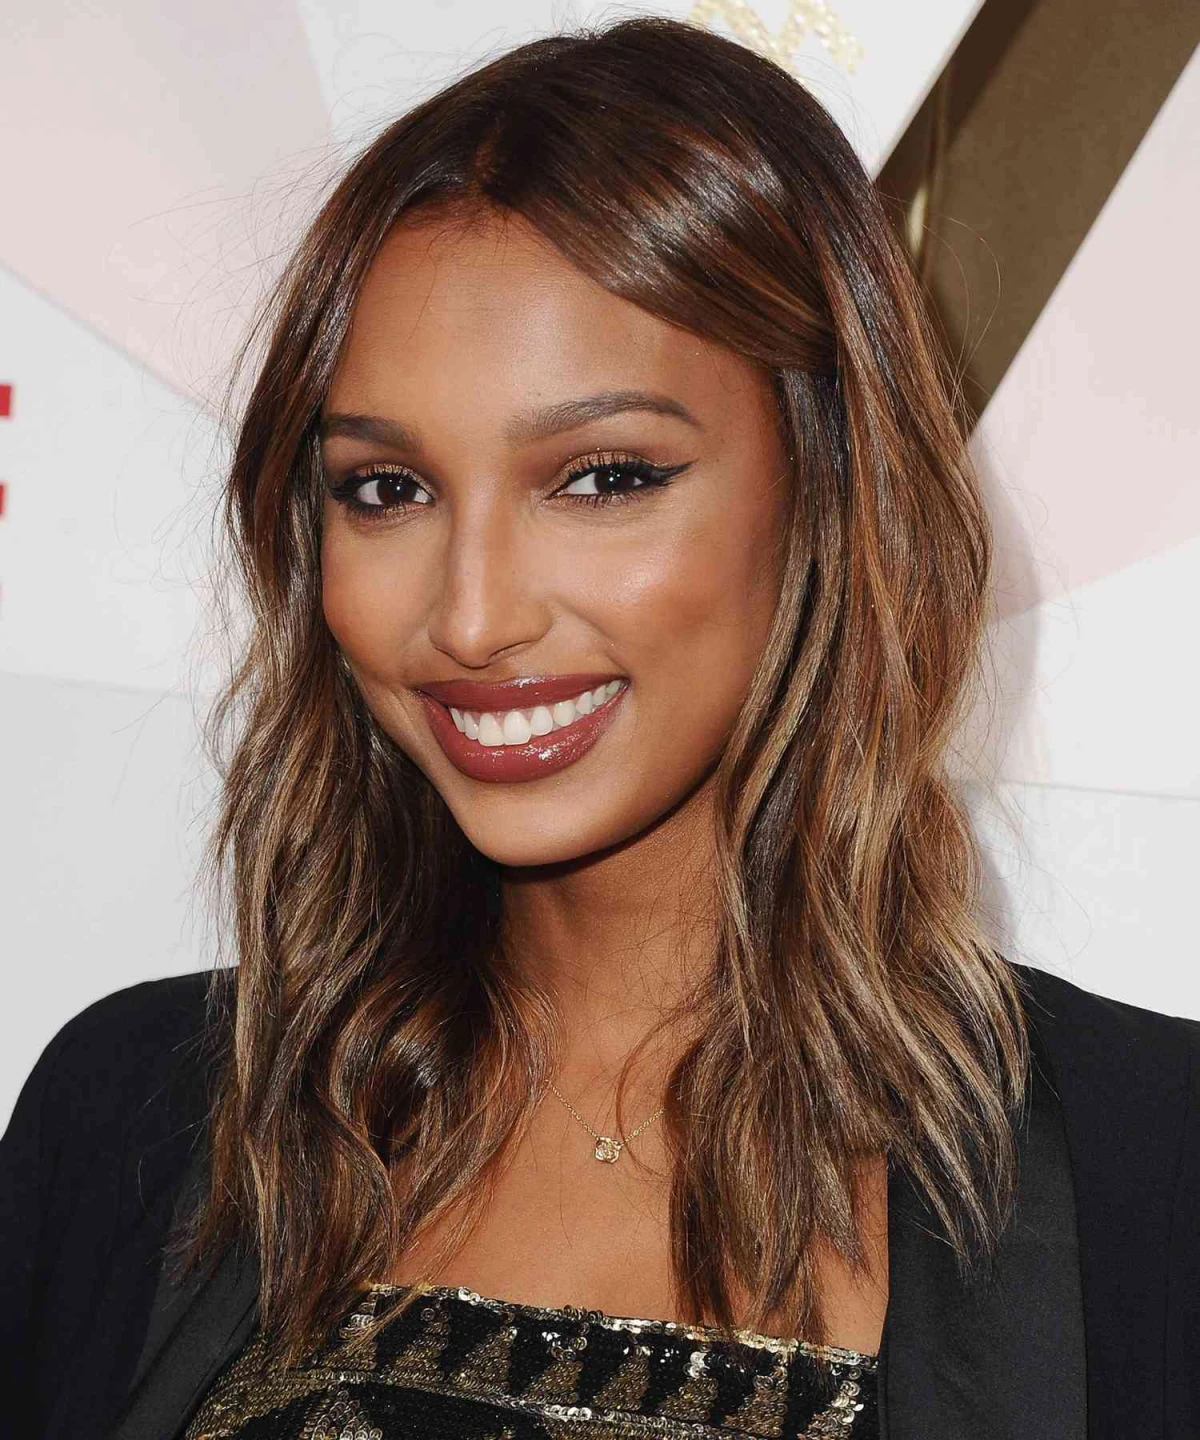
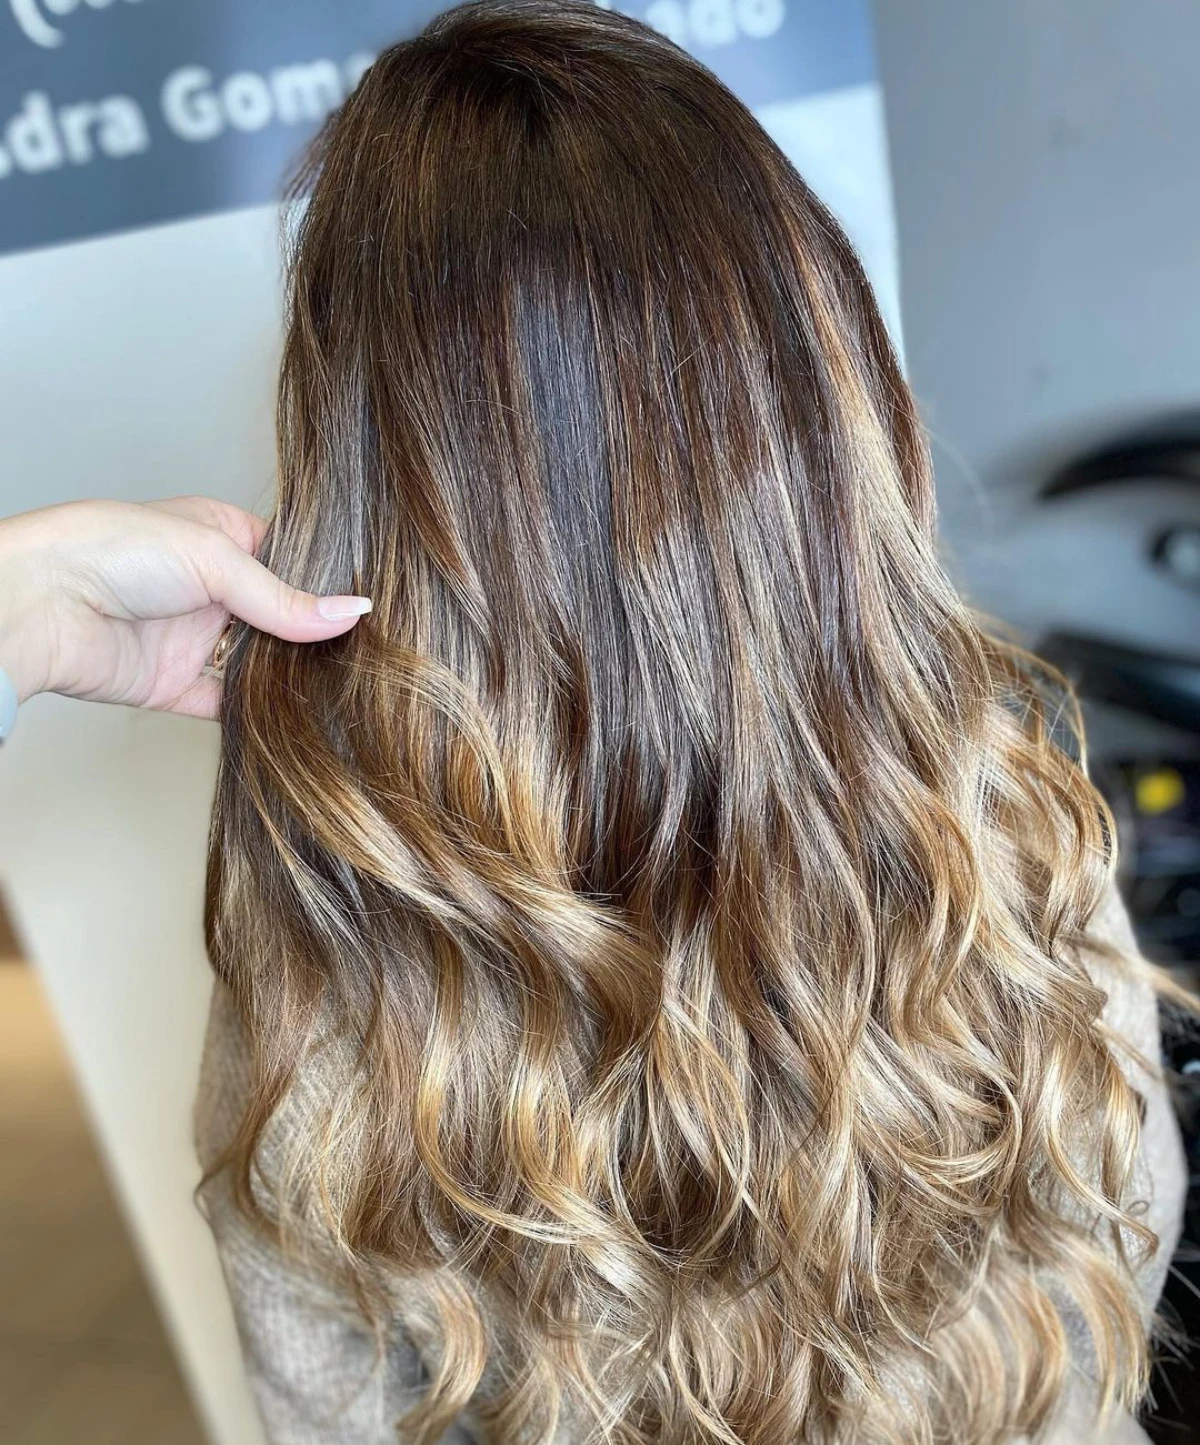
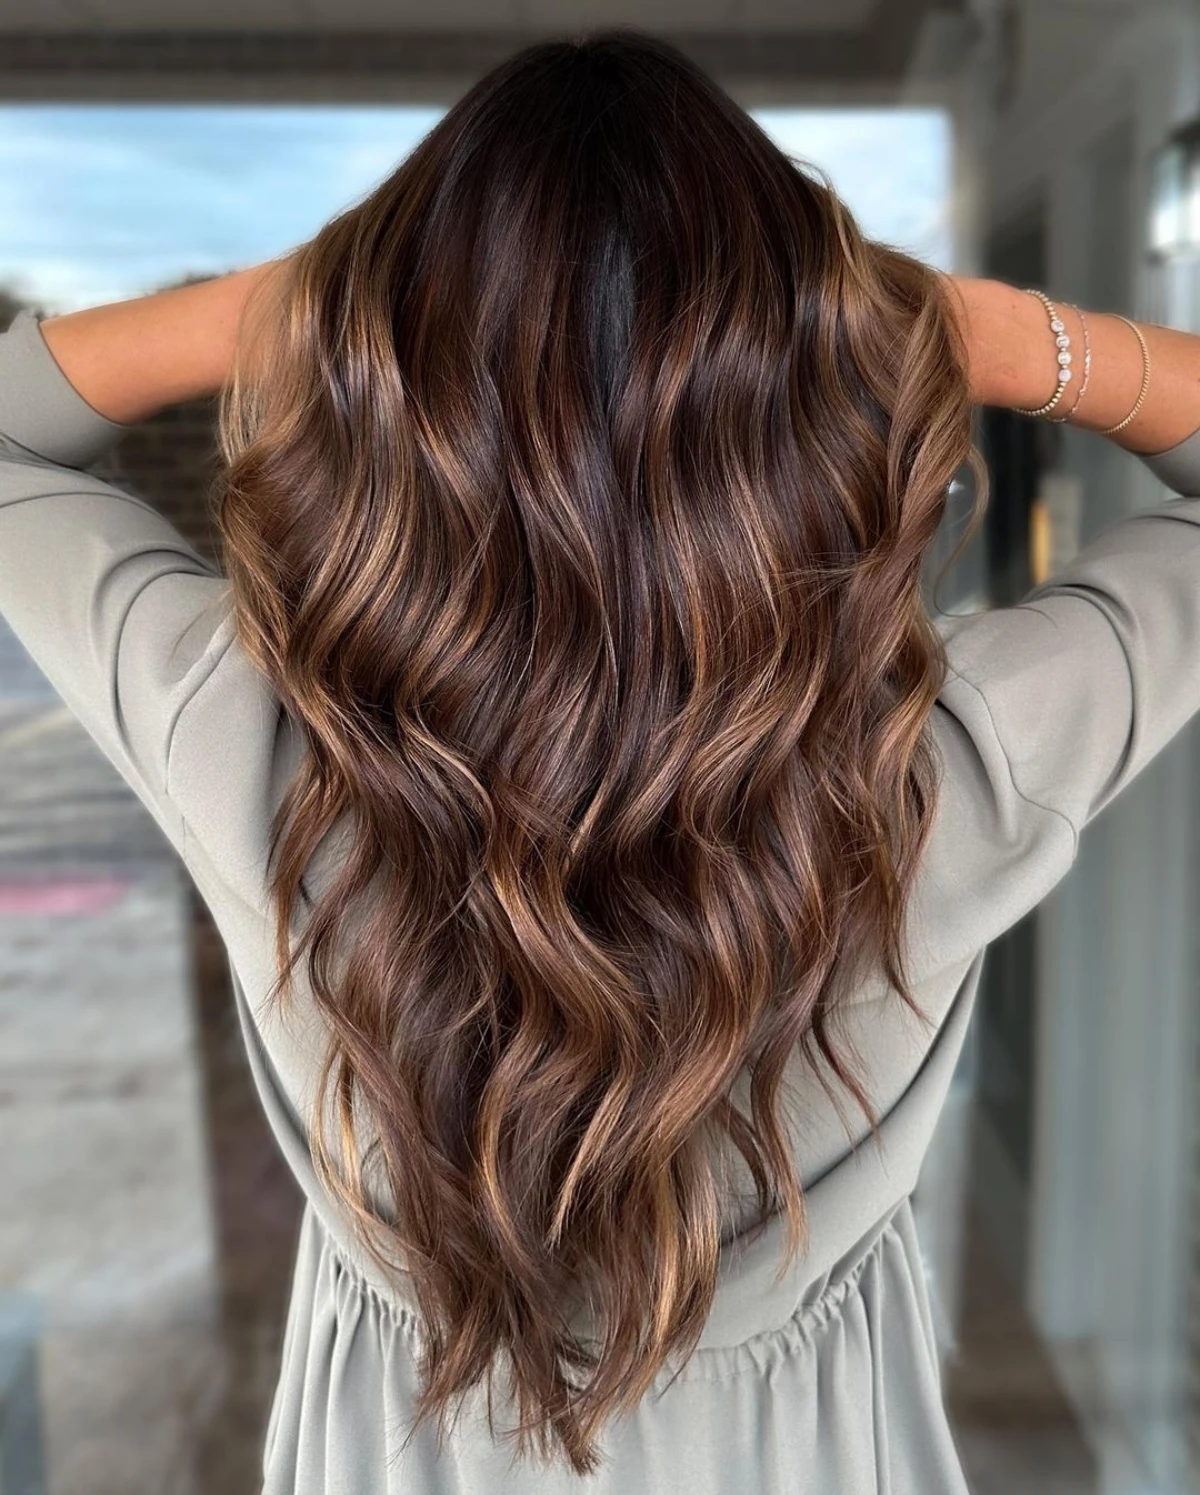
Honey Blonde: Warm, rich, and golden. This is a more forgiving shade for natural brunettes, as it works with the hair’s underlying warm pigments. It gives a beautiful, sun-drenched glow.
Your stylist will help you choose based on your skin tone and hair’s starting point.


