Spilling the Tea: What Your Hair Colorist Really Wishes You Knew
I’ve spent more years than I can count standing behind a salon chair, with the faint smell of developer in the air and a rainbow of colors under my fingernails. And let me tell you, I’ve seen it all. Trends pop up and fade away, but the real heart of amazing hair color? That never, ever changes.
In this article
It’s not about just pointing to a picture on your phone. Honestly, it’s a conversation. It’s about understanding the unique fabric of your hair, the actual science happening in that color bowl, and what your daily life realistically looks like. When someone sits down with me, my first job isn’t to start mixing; it’s to listen, look, and educate. This is the stuff I teach the new stylists, and it’s what I want to share with you. So, let’s skip the fluff and get into the real craft of hair color.
First Things First: Your Hair Is the Canvas
Before we even dream about shades and tones, we have to get real about your hair. Every single head of hair is a completely unique canvas. I could use the exact same formula on two different people and, I promise you, get two different results. It all comes down to three things: your hair’s history, its porosity, and the natural color hiding underneath.
Ignoring these is the number one reason hair color goes wrong, whether it’s a DIY disaster or a mix-up at the salon.
Let’s Talk About Porosity
In simple terms, porosity is just your hair’s ability to soak up and hold onto moisture. Think of it like a sponge. Hair with low porosity has a tightly sealed outer layer, like a brand-new sponge that water beads up on. High porosity hair, on the other hand, has little gaps and tears in that layer, like an old, well-used sponge that sucks up water instantly. This is usually caused by things like old color services, daily heat styling, or even just a lot of sun exposure.
So why does this matter? Well, highly porous hair grabs color super fast and can go much darker than you intended. It also tends to lose color just as quickly because those little ‘holes’ that let color rush in also let it wash right back out. I once had a client who wanted a beautiful, rich brown all over. The problem was, her ends were super porous from a balayage she’d had done ages ago. I had to mix two separate formulas: one for her healthy roots and a much lighter one for those thirsty ends. If I hadn’t, her ends would have turned almost black and then faded into a weird, muddy color within a couple of weeks.

Good to know: You can try a quick ‘kitchen science’ test. Drop a single, clean strand of your hair into a glass of water. If it floats for a while, you probably have low porosity. If it sinks like a stone, it’s likely high porosity. It’s not a perfect diagnostic tool, but it gives you a starting point for a chat with your stylist.
The Hidden Colors in Your Hair
Every hair color, from black to blonde, has a dominant underlying pigment. This is the warm tone that shows up when we lighten it. Pros use a level system from 1 (black) to 10 (lightest blonde). When you lift dark hair (levels 1-4), you expose red tones. Medium brown hair (levels 5-6) reveals orange. Lighter browns and dark blondes (levels 7-8) uncover yellow.
This is exactly why hair gets ‘brassy.’ It’s not a mistake; it’s just predictable science! A good colorist doesn’t try to fight this; we use it. We pull out the color wheel to neutralize those tones. For example, to cancel out that unwanted yellow in a blonde, we use a toner with a violet base. To knock out orange brassiness, we need a blue-based toner. This is why a box of ‘Ash Blonde’ dye can turn your brown hair a strange, swampy green—it simply doesn’t have the power to lift past the strong orange pigment that needs to be dealt with first.
The Magic in the Bowl: What We’re Actually Mixing
Those tubes of color and bottles of developer aren’t just goop; they’re a chemistry set. Knowing what to mix, and why, is what separates a professional service from a very expensive gamble.
- Permanent Color: This is the heavy lifter. It uses an alkaline agent like ammonia to swell the hair cuticle open, allowing the color to get deep inside, lighten your natural pigment, and deposit the new shade. It’s the only option if you want to cover gray significantly or lift your natural hair to a lighter level. It’s a permanent change.
- Demi-Permanent Color: Think of this as ‘color with less commitment.’ It’s usually ammonia-free and uses a very low-strength developer, so it just deposits color inside the cuticle layer without a major change. It can’t lighten your hair, but it’s amazing for toning highlights, enriching your natural color, or blending away a few grays. It fades out gracefully over about 24 shampoos, so you don’t get a harsh grow-out line. We often call this a ‘gloss’ or ‘toner’ service, which can run you about $50-$100 at the salon.
- Semi-Permanent Color: These are your fun, fantasy colors—the pinks, blues, and purples. They are direct dyes, meaning there’s no mixing or developer involved. The color just coats the outside of the hair. The good news? No damage. The bad news? They have the shortest lifespan and will wash out in just a handful of shampoos.
Heads up! You’ll see developers labeled with numbers like 10, 20, 30, or 40 volume. Just so you know, 10 volume is for depositing color only. 20 volume is the industry standard for gray coverage and gentle lift. 30 is for more significant lightening. And 40 volume? We call that ‘rocket fuel.’ It is incredibly strong and should only be handled by a seasoned pro with extreme caution. It’s the #1 culprit behind those at-home chemical haircut horror stories.
Oh yeah, and the single most important step before any color service is the patch test, 48 hours beforehand. An allergy to hair dye can pop up at any time, even if you’ve been coloring your hair for years. A reaction isn’t just a little rash; it can be severe. Trust me, no reputable salon will ever skip this. It’s non-negotiable.
Beyond Highlights: The Art of Dimension
‘Highlights’ is such a generic term. In reality, we use a bunch of different techniques to create specific effects. The method we choose depends entirely on your hair, the look you want, and how often you’re willing to come back to the salon.
Foils vs. Balayage: Which One is Right for You?
This is probably the most common question I get. They create very different looks and come with different commitments.
Traditional foils are the workhorse for a reason. When you want a significant, high-contrast lift, especially on dark hair, foils are the way to go. We weave precise sections, paint on the lightener, and seal them in foil. The foil traps heat, helping the lightener process more effectively for a cleaner, brighter blonde. It’s perfect for a uniform, root-to-tip highlighted look. The trade-off is the maintenance. You’ll get a very distinct grow-out line, which means you’ll be back in the chair for a touch-up every 6-8 weeks. Time-wise, plan for about 2-3 hours, and cost-wise, you’re typically looking at a range of $150 to over $300, depending on hair length and density.

Balayage, on the other hand, is all about that soft, sun-kissed vibe. It’s a freehand painting technique where we sweep lightener onto the hair’s surface. This creates a super-blended, gradual look with no harsh lines. The biggest win for balayage is the gorgeous, low-maintenance grow-out. Clients can often go 3, 4, even 6 months between appointments! But this artistry takes time and skill, so you should expect a longer appointment of 3-5 hours and a higher upfront investment, usually starting around $250 and going up to $500 or more. By the way, it’s not the best choice if you have very dark hair and want to be platinum blonde in one sitting; it provides a more gentle lift.
And yes, we mix and match! Techniques like foilyage (painting like balayage but putting the sections in foil for extra lift) give brunettes that blended look with more lightening power. Babylights are micro-fine foils that mimic the subtle, natural dimension of a child’s hair—beautiful, but just as high-maintenance as regular foils.
Let’s Talk Specifics: The Different Color Families
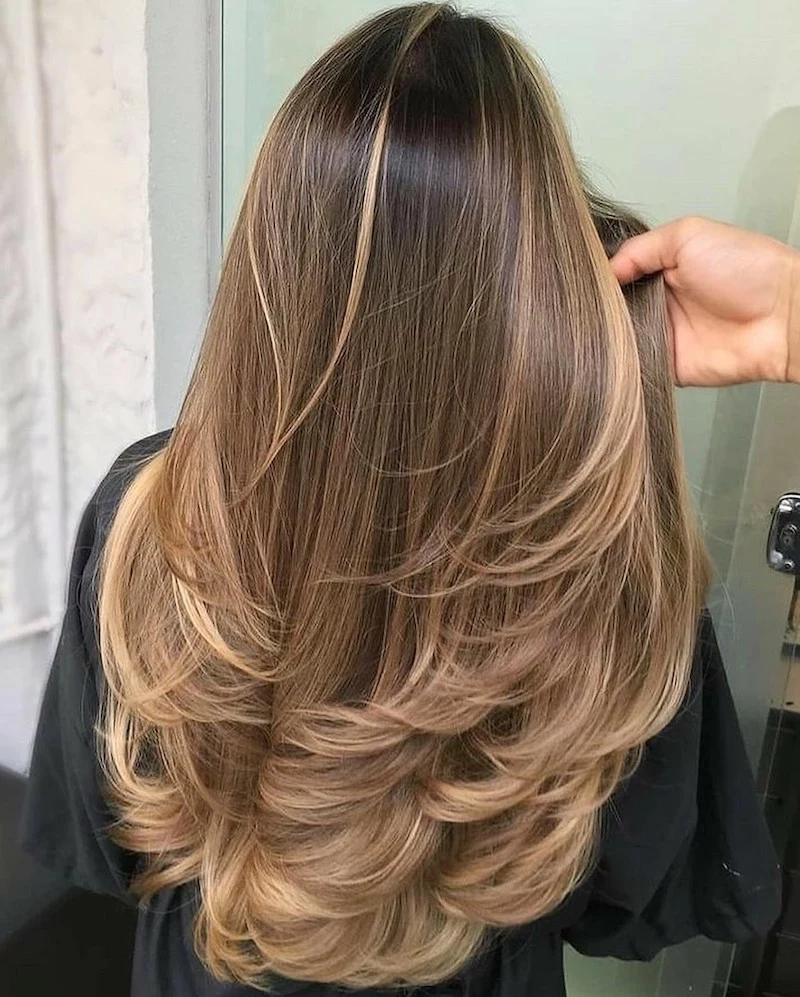
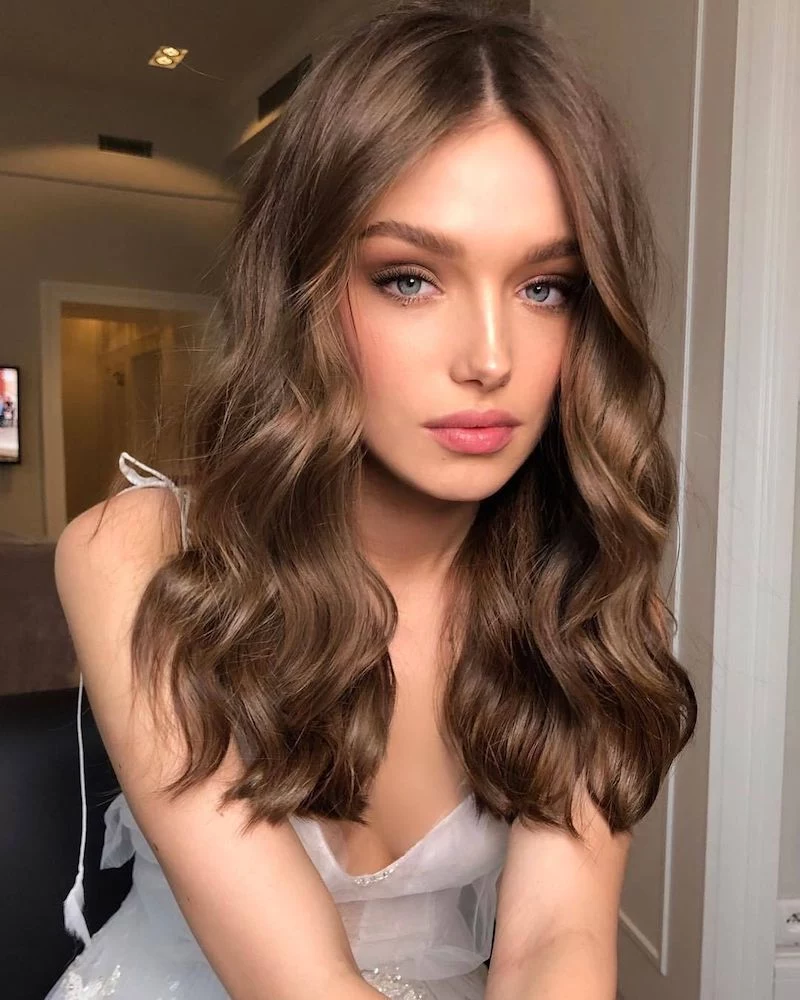
The ‘Expensive Brunette’: It’s All in the Details
This trendy look isn’t about one flat brown color. It’s about creating rich, healthy-looking hair using multiple tones for depth. To get that look, I might start with a neutral level 5 brown as a base. Then, I’ll go back in and strategically paint in some lowlights (a darker shade, like a 4) and some subtle midlights (a lighter shade, like a 6). The result is hair that has movement and reflects light beautifully, which is why it costs more than a simple single-process color.
A common mistake when going from blonde to brown is not ‘filling’ the hair first. If you just slap brown dye over pale blonde, you’ll get a muddy, greenish-gray mess. Here’s how a pro avoids that:
Step 1: We apply a red or copper demi-permanent color (like a level 7) to the blonde hair first. This puts back the missing warm pigments.
Step 2: After that processes and is rinsed, we apply the target brown shade over it. The result is a rich, true-to-tone brown that actually lasts.
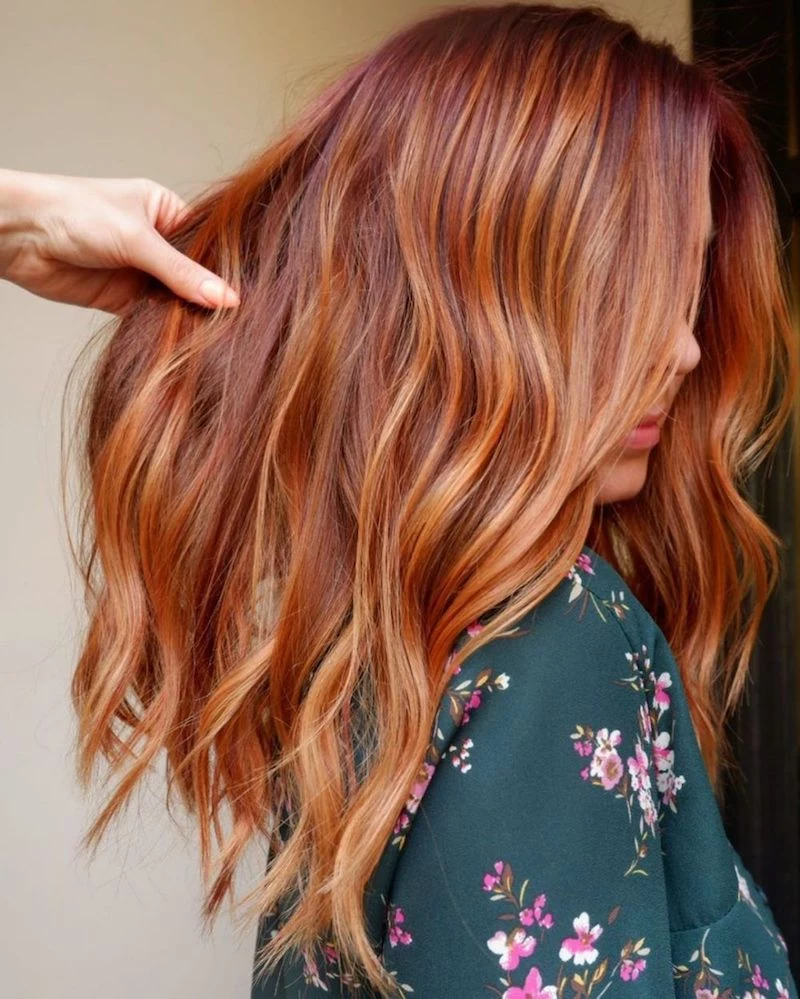
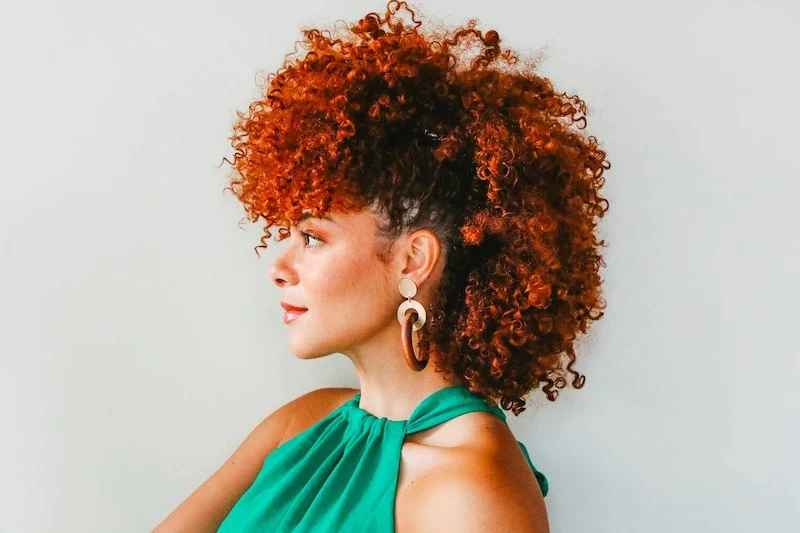
Reds and Coppers: Vibrant But Fickle
Here’s a fun science fact: the red color molecule is one of the largest. Because it’s so big, it can’t penetrate the hair shaft as deeply as other colors. This means it fades faster than any other color family. It’s not your fault, and it’s not the product’s fault—it’s just physics. To make it last, you need to be a partner in crime. Using a sulfate-free shampoo is a must. And quick tip: wash with cool water! Hot water opens the hair cuticle and lets that color right out. A color-depositing conditioner, like the Keracolor Clenditioner (about $22 at Ulta), used once a week is a total game-changer for keeping reds vibrant.
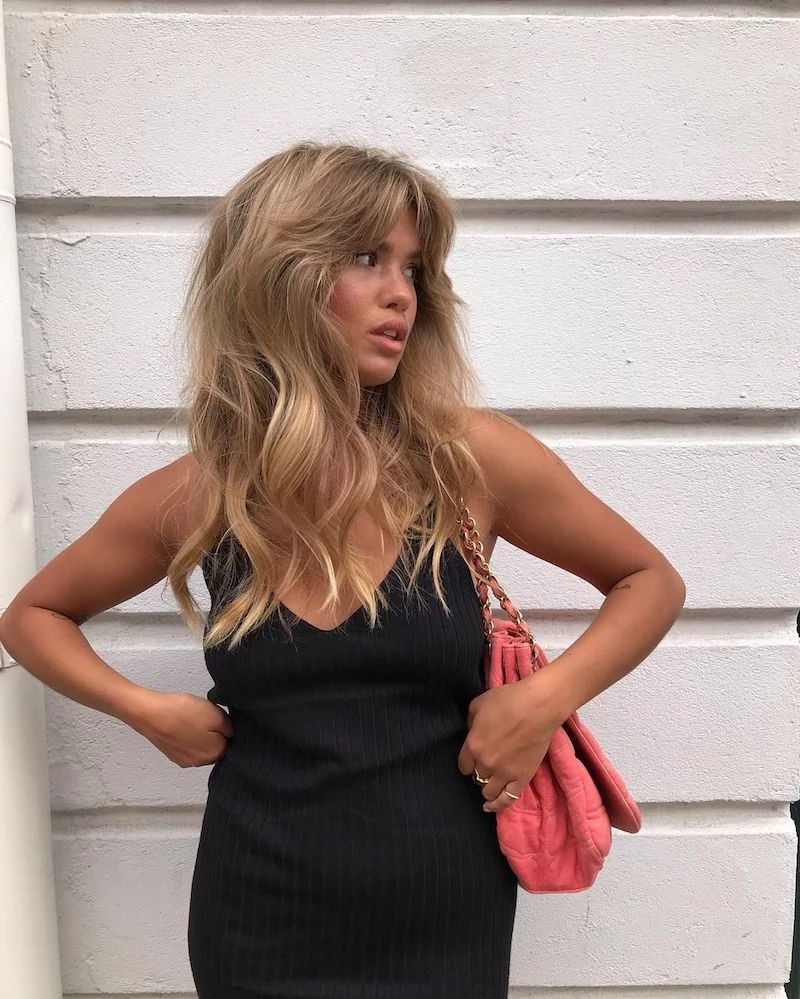
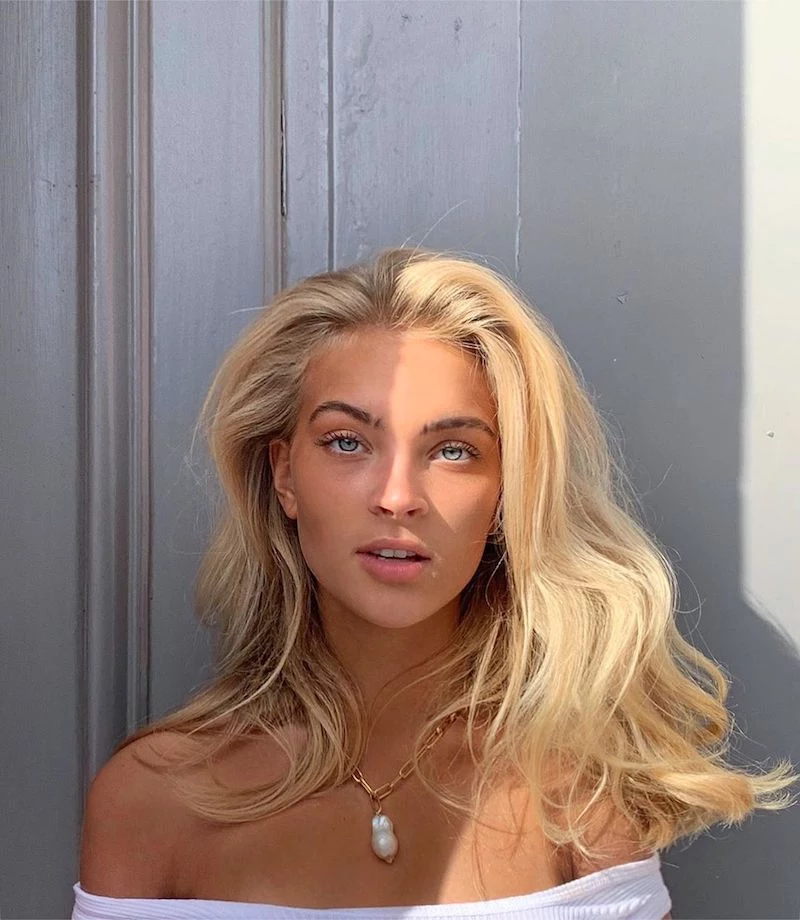
Clean Blondes: A Marathon, Not a Sprint
Getting a clean, clear blonde without destroying the hair is the most technical thing we do. It takes patience and an absolute focus on hair health. When you lighten hair, you’re literally breaking down its internal structure. Pushing it too far, too fast, results in a ‘chemical haircut’—and yes, that’s when the hair just melts off.
When we have to fix this, the first step isn’t color; it’s rehab. We use professional bond-building systems, like Olaplex or K18, to try and restore some stability. A serious blonding service is a premium one, often starting at $300-$600, because you are paying for the skill that keeps your hair on your head. We work slowly, never overlapping lightener on previously lightened hair during a touch-up. That’s the key to preventing breakage.
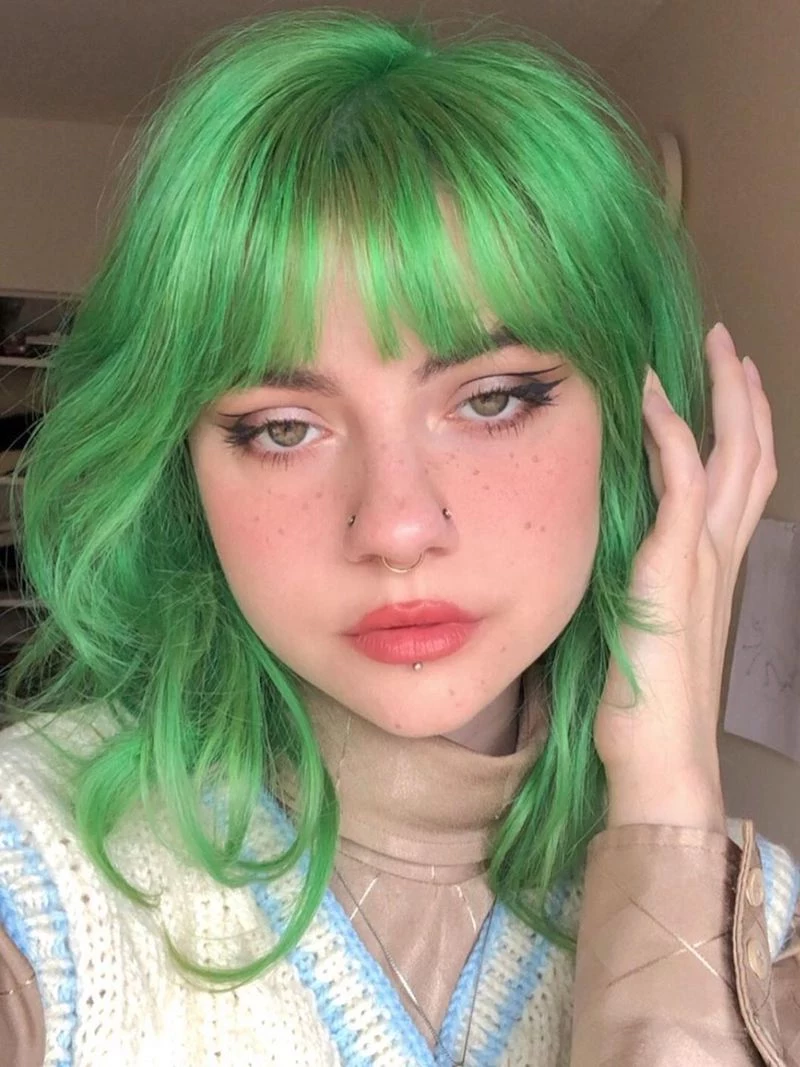
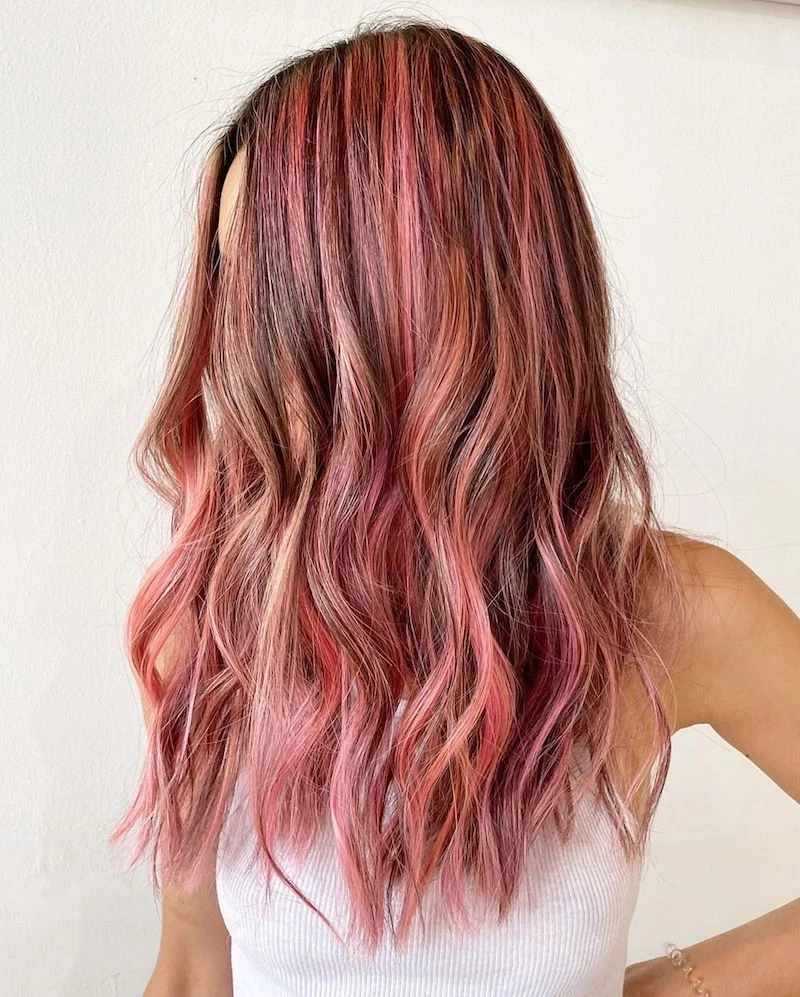
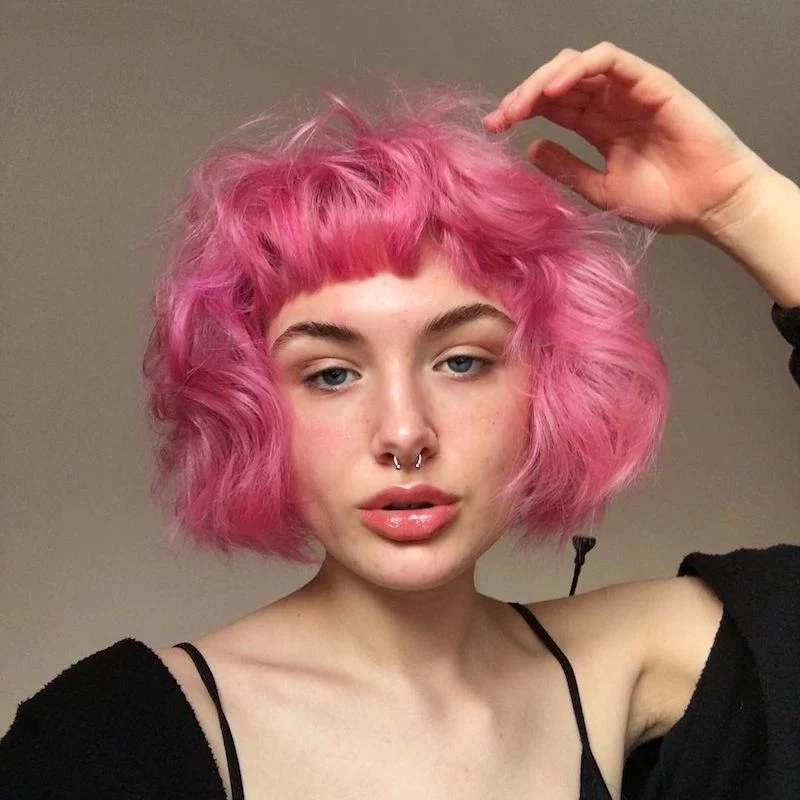
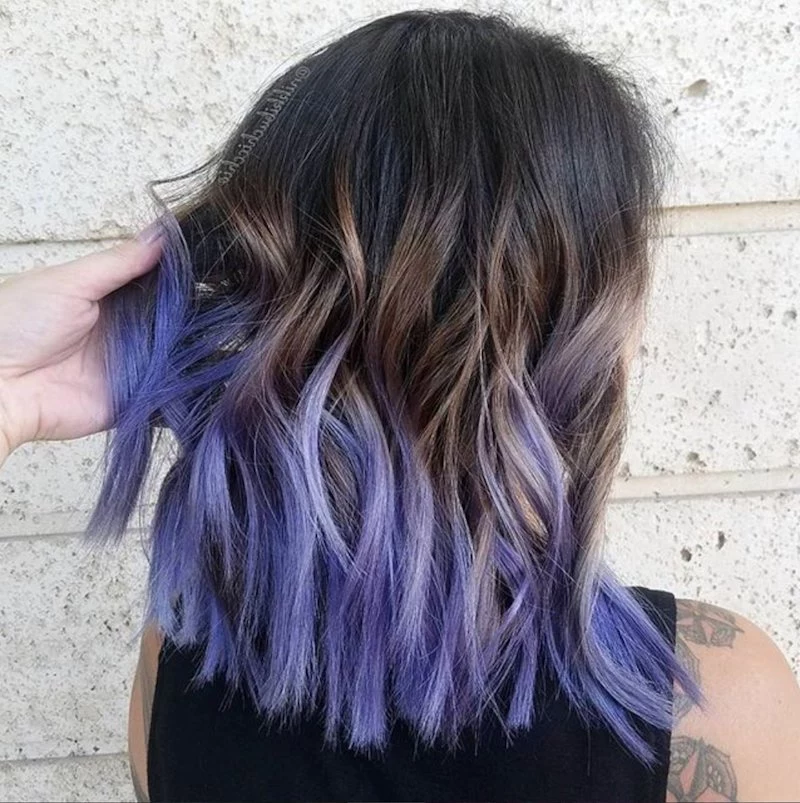
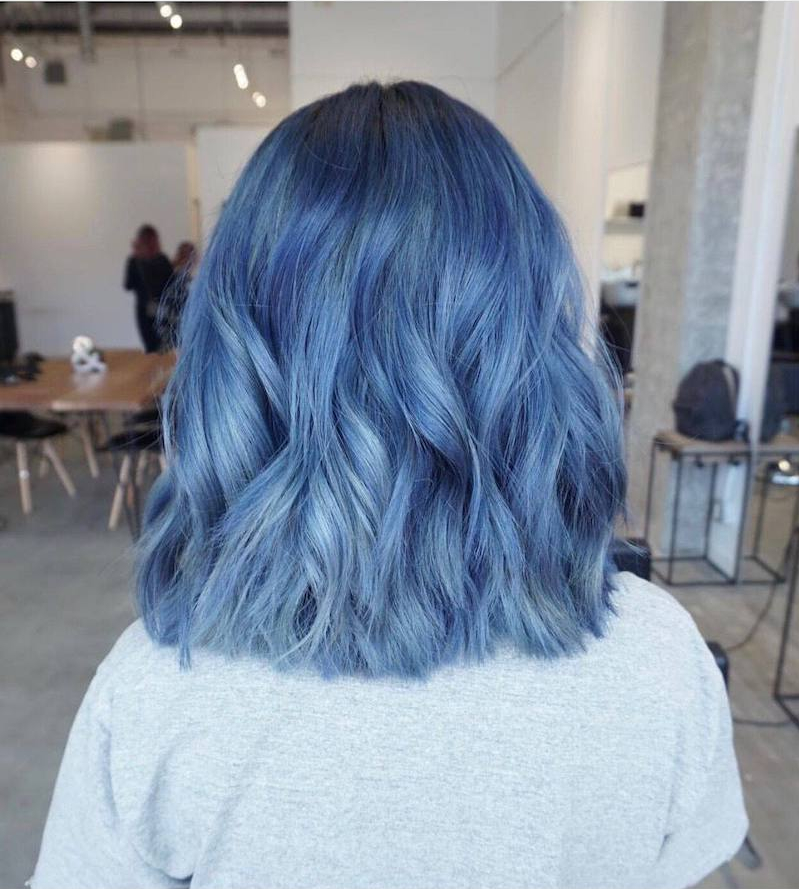
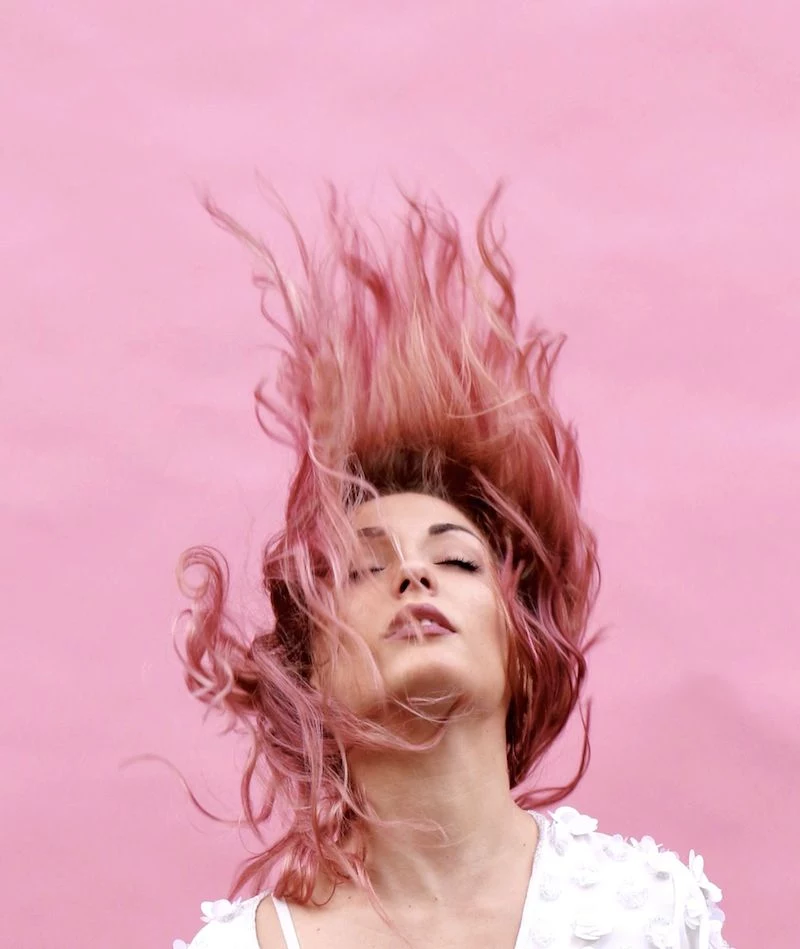
Vivids & Fantasy Colors: Fun, But High-Maintenance
For those electric blues, hot pinks, or emerald greens to look right, your hair has to be lifted to a pale yellow first—think the inside of a banana peel. This pre-lightening is the most crucial part. I’m always very direct with my vivids clients: these are the highest maintenance colors, period. Expect the color to last 4-10 shampoos, max. You’ll have to wash your hair infrequently in cold water, and your towels and pillowcases will probably get stained. It’s a fun ride, but you have to go in with realistic expectations and a budget for frequent refreshes (often $100+ every 4-6 weeks).
Okay, But What If I Have to Use a Box Dye?
Look, I get it. Sometimes a salon visit just isn’t in the cards. If you absolutely must use a box dye, please, do it as safely as possible to minimize the damage (and the future correction bill, which can be $300+).
1. Buy Two Boxes: If your hair is even shoulder-length, you’ll need more than you think. Running out midway is a disaster.
2. Do a Strand Test: This isn’t a suggestion. Snip a small piece from the back of your head, color it, and see what happens. This will show you the real final color and if your hair can handle it.
3. Roots Only: If you’re just touching up, apply the color ONLY to the new growth. Overlapping color on your ends is what makes them dark, damaged, and muddy.
4. Have a Pro on Speed Dial: Know that if it goes wrong, the fix is always more complex and expensive than getting it done right the first time.
Your End of the Bargain: Making Your Color Last
Beautiful hair color is a team sport. Your stylist brings the skill and science; you bring an honest hair history and a commitment to taking care of it at home. A good consultation is everything. To make sure you’ve found a stylist who knows their stuff, here are a few green-flag questions to ask:
- “Based on the photo I showed you and my hair type, what technique do you think is best?”
- “My ends are pretty porous from old color. How will you adjust the formula so they don’t go too dark?”
- “What’s a realistic goal for my hair in one session?”
- “What will the maintenance and cost look like for this style?”
Finally, your at-home care is your insurance policy. Your shopping list should include a Sulfate-Free Shampoo (you can find great ones from L’Oréal or OGX for $8-$15 at the drugstore, or salon brands like Redken for $25-$40), a Heat Protectant Spray (a non-negotiable, around $10-$30), and for blondes or damaged hair, a weekly Bond Repair Treatment like Olaplex No. 3 (about $30).
ACTIONABLE STEP: Go look at your shampoo bottle right now. Does it say “Sulfate-Free”? If not, swapping it out is the single easiest and most impactful thing you can do TODAY to save your color. The perfect hair color isn’t just one that looks good when you leave the salon; it’s one that fits your life and makes you feel like your best self, every single day.
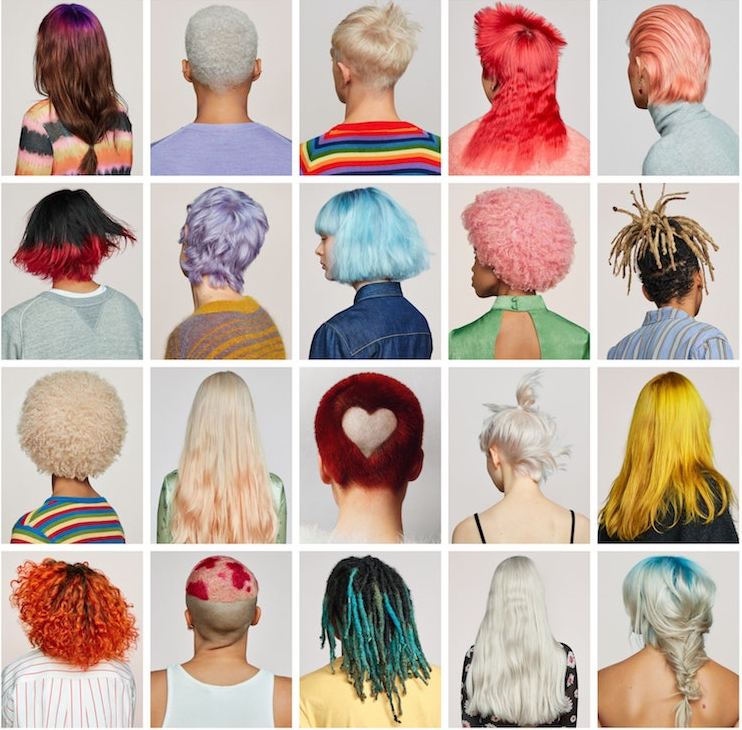
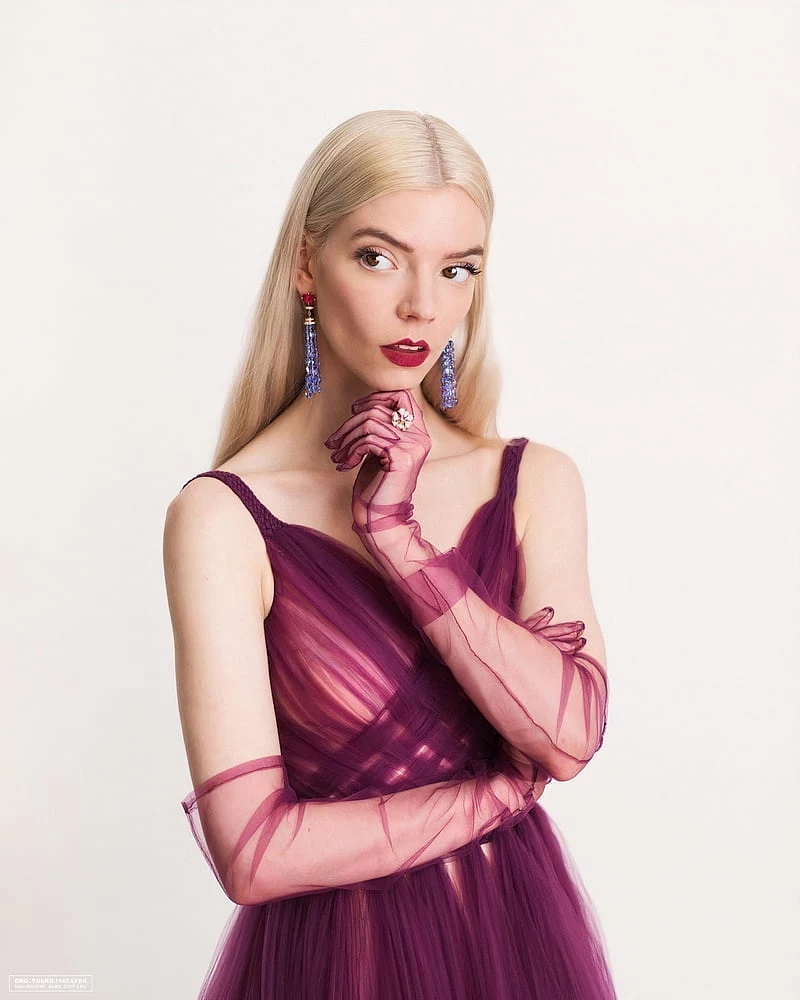
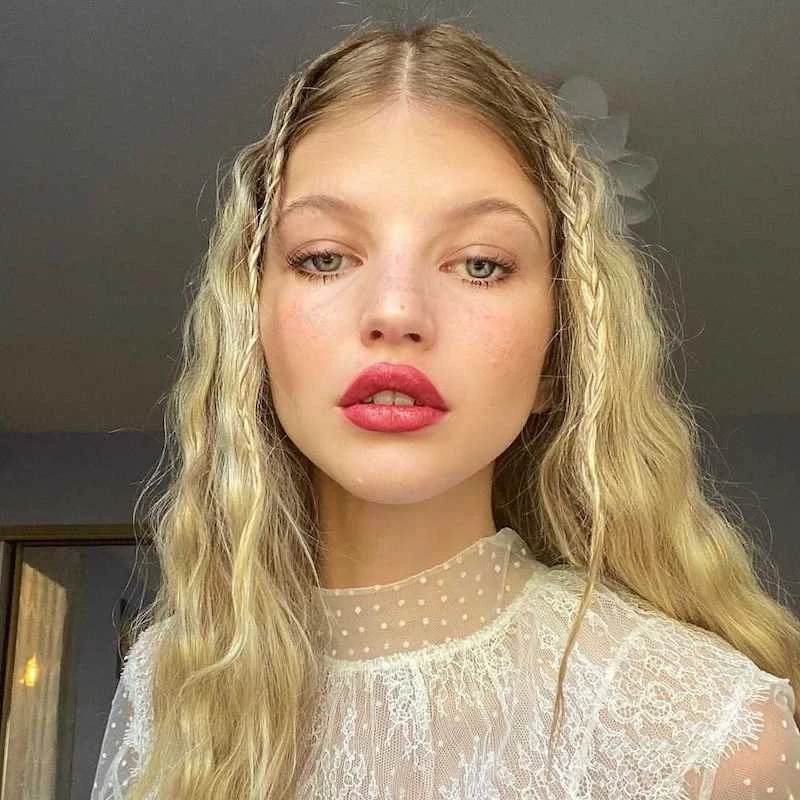
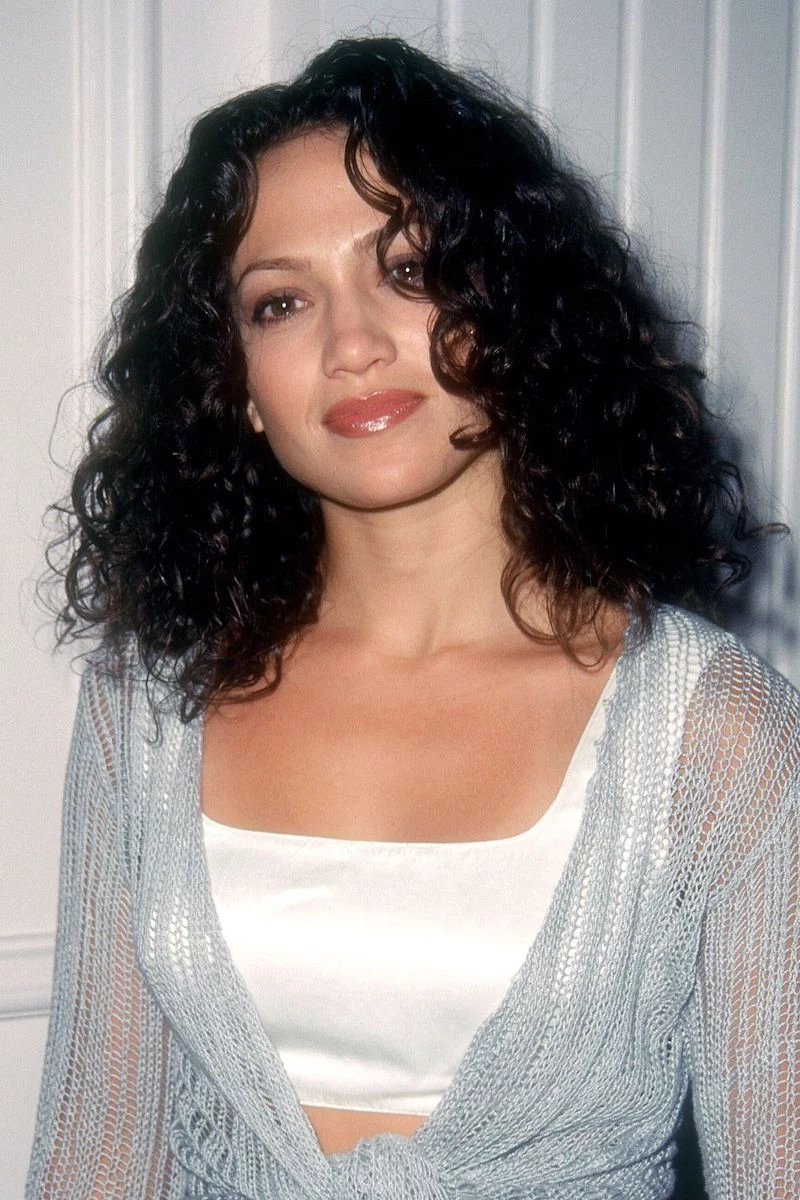
Inspirational Gallery
Gloss, glaze, or toner? What’s the real difference?
Think of it this way: a toner is corrective, typically used after lightening hair to neutralize unwanted brassy or yellow tones. A gloss or glaze, like the popular Redken Shades EQ line, is for enhancement. It adds immense shine, refreshes your existing color’s vibrancy, and can subtly shift the tone, all without the commitment or potential damage of permanent color.
- Your vibrant red or copper stays fiery longer.
- Your expensive brunette avoids turning brassy.
- Your scalp feels less dry and irritated.
The secret? Switching to a sulfate-free shampoo. Sulfates are harsh detergents that strip color and natural oils. Brands like Kérastase (Chroma Absolu) and Pureology (Hydrate) offer excellent sulfate-free options that gently cleanse without dulling your new hue.
Olaplex: This is your hair’s insurance policy *during* the coloring process. Its patented technology works deep within the hair to rebuild broken bonds, preventing chemical damage as it happens.
K18: Think of this as the intensive care unit *after* the service. This peptide-powered leave-in treatment works in 4 minutes to reverse existing damage on a molecular level, restoring strength and elasticity.
Many top stylists use both: Olaplex in their formulas and K18 as a finishing treatment.
Why do colorists have a universal dislike for box dye? It’s not snobbery; it’s chemistry. Box dyes contain metallic salts and unpredictable pigments designed to stain every hair type aggressively. This creates a solid, flat color that’s incredibly difficult for a professional to lift or correct, often resulting in a lengthy and expensive color correction service to fix unevenness and banding.
Important: Be honest about your hair history. That time you used a dark box dye three years ago? Or the sun-in you tried last summer? It all lives in your hair strands. Not disclosing this can lead to unexpected chemical reactions, uneven color, and even damage. Your colorist isn’t there to judge; they need the full story to create the perfect, safe formula for you.
Protecting your investment is as crucial as the color appointment itself. The two biggest culprits for fading color are hard water and UV rays.
- In the shower: Minerals in hard water can create a dulling film on the hair. A showerhead filter is a game-changer for maintaining color brilliance.
- In the sun: Your hair needs sunscreen too! Use a UV protectant spray, like Sun Bum’s Hair and Scalp Spray, or simply wear a hat on bright days.
A dramatic color change from dark brunette to platinum blonde can take 3 to 5 sessions, spaced 6-8 weeks apart.
Patience is a virtue in the color world. Pushing hair too far, too fast, is the number one cause of breakage and what we call a
Not sure if you should go for cool or warm tones? Check the veins on the inside of your wrist. If they look greenish, you likely have warm undertones and will suit golden blondes, coppers, and rich auburns. If they appear bluish, you’re cool-toned and will stun in ashy blondes, deep espresso browns, and true reds.
- Don’t wash your hair for 24-48 hours before your appointment. A little natural oil protects your scalp from the chemicals.
- Don’t wear a turtleneck or your favorite hoodie. Opt for something with a loose collar that you don’t mind getting stained.
- Don’t show up with heavy product or dry shampoo buildup. It can interfere with color application.

On a budget? Ask for a root smudge or melt. This technique involves applying a darker color at the root and blending it seamlessly into your highlights. It erases the harsh line of demarcation as your hair grows, allowing you to go much longer between full balayage or foil appointments while still looking fresh.
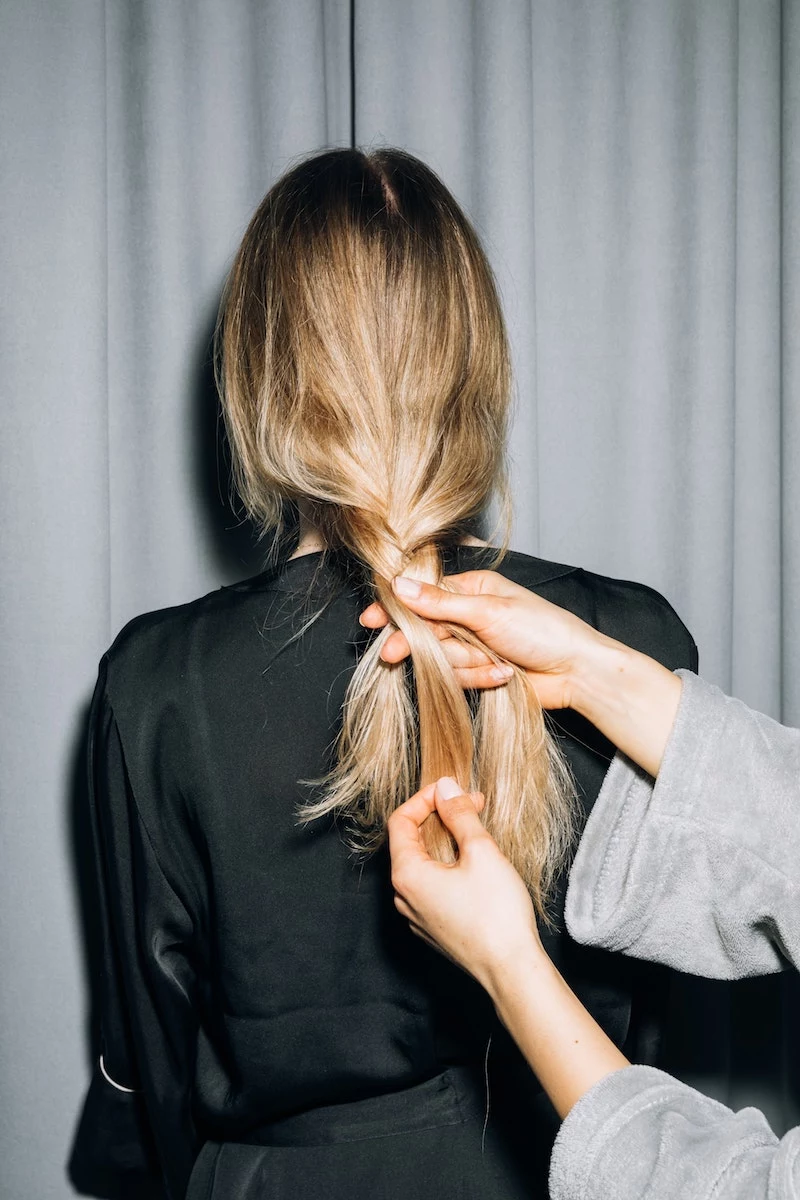
Why did my stylist use two different color bowls for my hair?
This is a sign of a true expert! Your roots (new, virgin hair) and your ends (previously colored, more porous hair) absorb color differently. A great colorist will often mix a specific formula for the roots and a separate, often gentler or lighter one for the mid-lengths and ends to ensure a perfectly even result from top to bottom.
Let’s talk about maintenance. High-contrast colors like platinum blonde or vibrant reds require touch-ups every 4-6 weeks. Softer, more natural looks like balayage or


