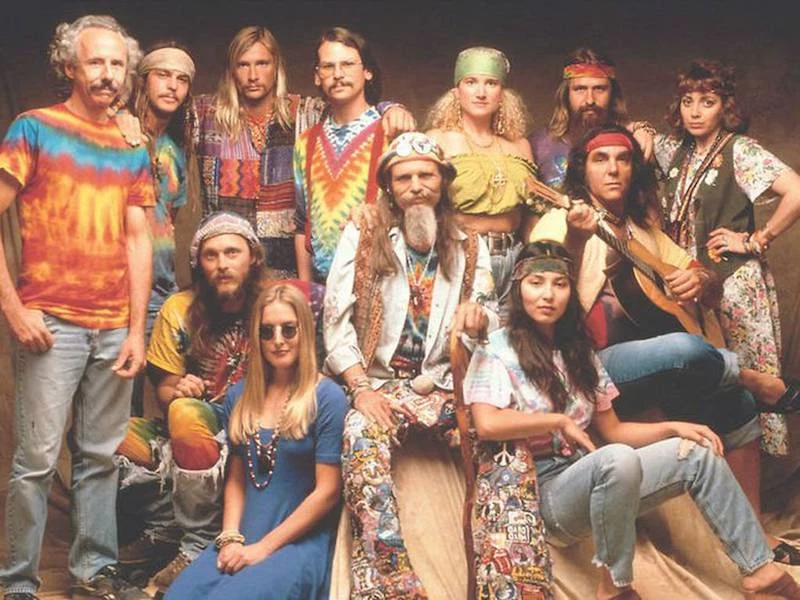
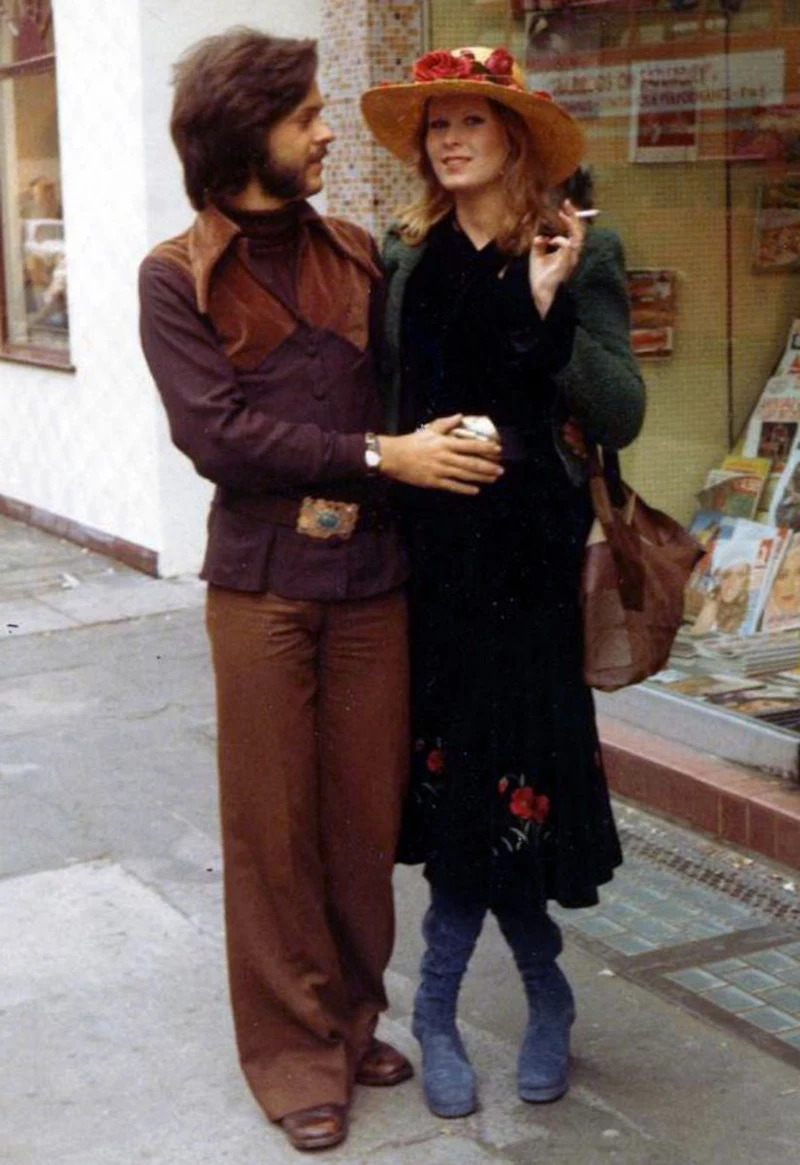
After years behind the chair as a hairstylist, you see trends come and go. But some looks? They never really fade away; they just take a little nap. The hairstyles from the counterculture era are a perfect example. Most people just label them “hippie hair” and picture long, flowing locks and flower crowns from music festivals. And sure, that’s part of it, but it’s not the whole story. These styles were a real statement, a pushback against the super rigid, helmet-like hair of the previous generation.
Early in my career, I learned from an old-school stylist who ran a salon back when this whole movement was kicking off. She taught me that this style of hairdressing wasn’t about being messy. It was about freedom. It was about actually looking at the hair in front of you and working with its natural flow, not wrestling it into submission with tons of heat and chemicals. This guide is all about that deeper understanding—the philosophy and the real techniques you need to create these authentically natural styles.
The Secret Behind That “Effortless” Look
So, the big idea was going natural. This meant saying goodbye to weekly salon sets and the cloud of hairspray that defined the past. To really get this, you have to know a little about your own hair. Every single person’s hair has a unique texture, density, and, most importantly, porosity.
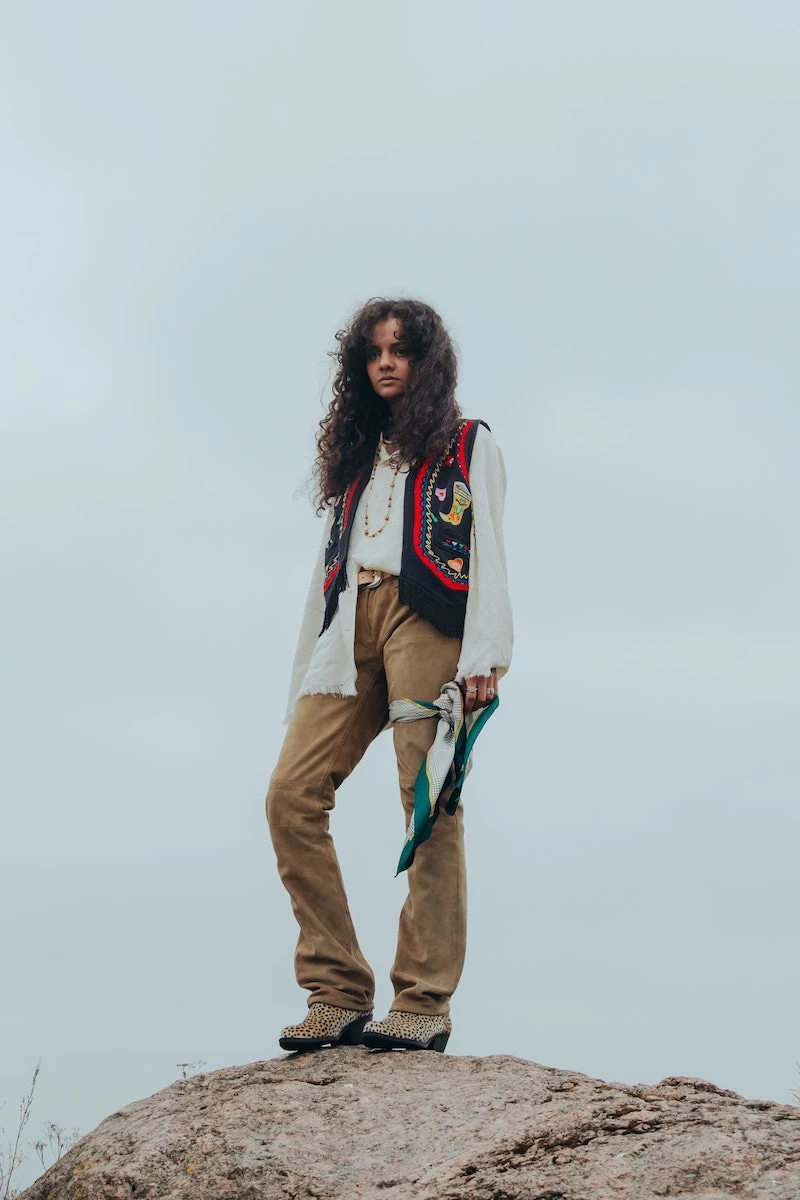
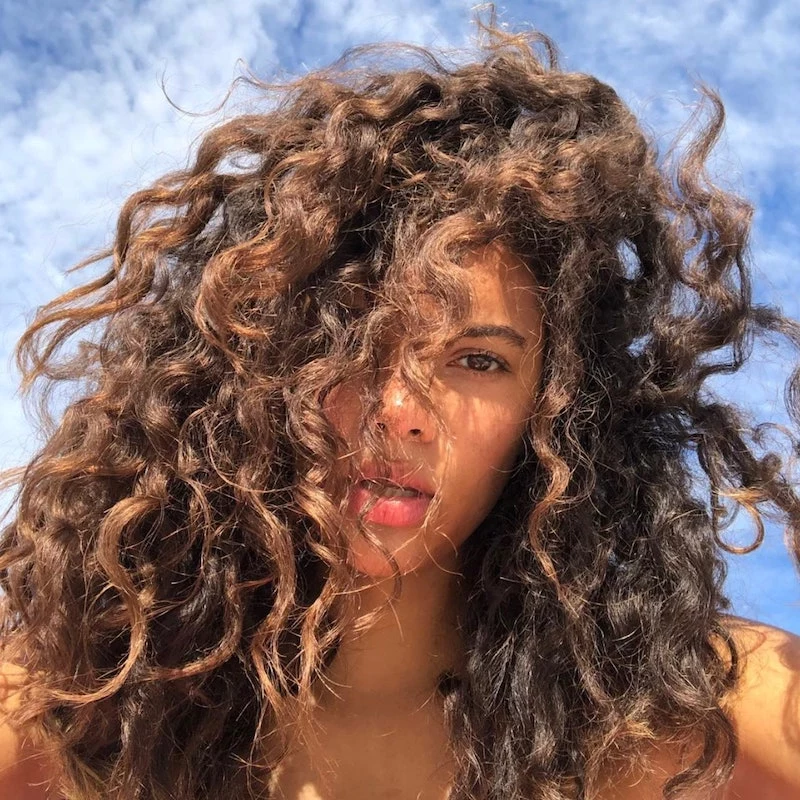
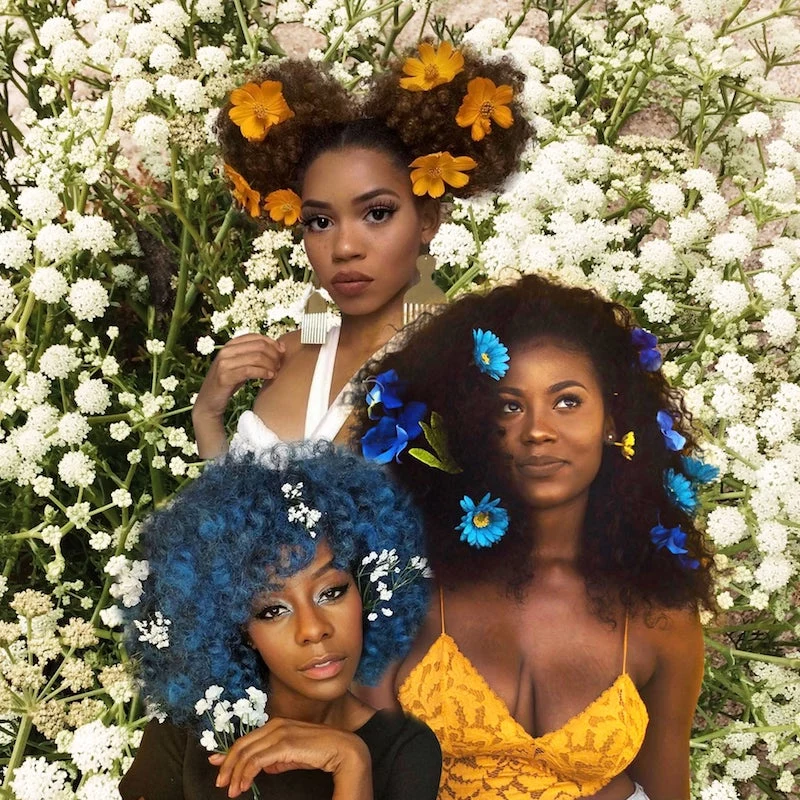
In the past, the goal was often to force all hair to look the same. But this new wave was all about embracing what you were born with. Got fine, straight hair? The goal was to let it hang long and show off how sleek it is. Blessed with thick, wavy hair? The style was all about celebrating that incredible volume and movement. And for folks with curly and coily hair, this period was a game-changer. It was the rise of the natural Afro, a powerful and gorgeous style that embraced texture in a way that was totally revolutionary.
Understanding your hair’s porosity is honestly the key to everything. Porosity is just a fancy word for your hair’s ability to soak up and hold on to moisture. Low-porosity hair has a very tight outer layer, so it’s tough for water to get in. High-porosity hair is the opposite—it absorbs water like a sponge but can lose it just as fast. The whole “air-dry” philosophy works very differently for each. If your hair is low-porosity, it might take forever to dry and get weighed down by heavy products. If it’s high-porosity, it might dry in a flash but turn into a frizzy mess without some kind of leave-in conditioner.
Good to know: Not sure what you have? Try this super simple test. Drop a clean, dry strand of your hair into a glass of water. If it floats for a long time, you likely have low-porosity hair. If it sinks pretty quickly, you’ve probably got high-porosity hair. If it hangs out in the middle for a bit before sinking, you’re looking at normal porosity. See? Easy!
Pro Techniques for That Authentic Vibe
Just to be clear, you can’t just stop brushing your hair and call it a day. That’s a fast track to a tangled, matted disaster, not an authentic look. As pros, we have a few tricks up our sleeves to get that natural appearance while keeping the hair healthy.
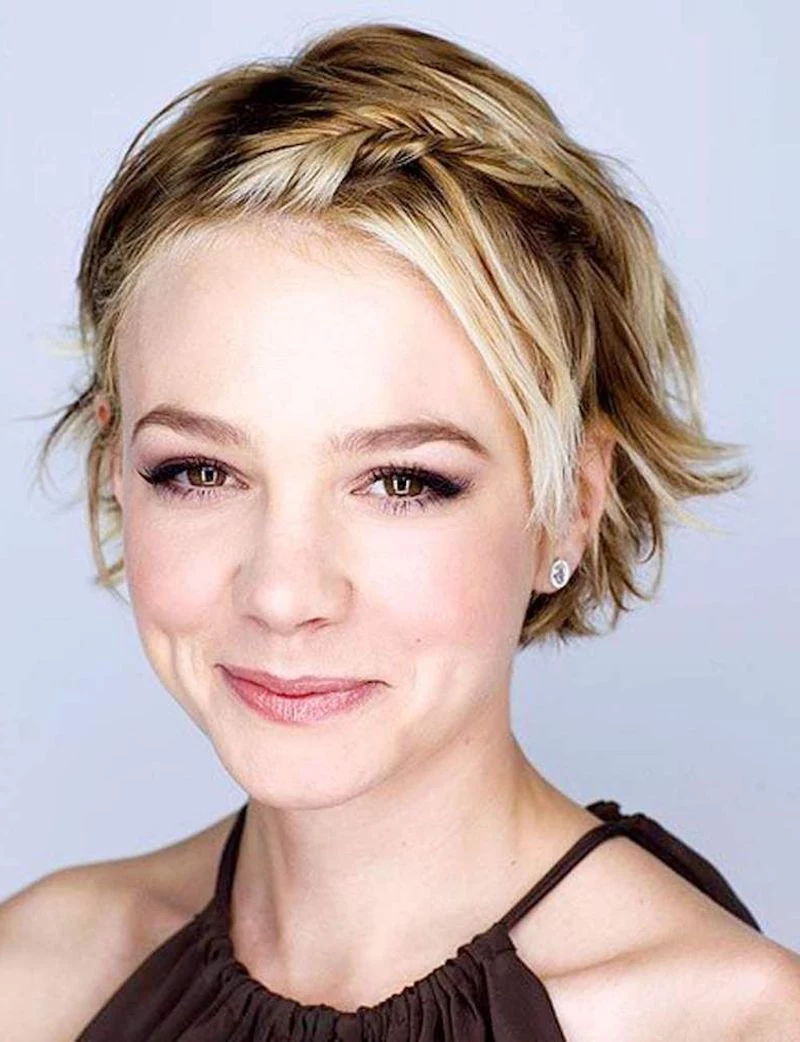
Cutting for Length and Movement
The classic image is that super long, center-parted hair. Growing hair that long takes patience and care. One of the biggest mistakes I see people make is skipping trims altogether because they’re afraid of losing length. In the salon, we do something called “dusting,” where we snip off the tiniest amount from the ends—maybe an eighth of an inch. It’s just enough to get rid of the very first signs of split ends before they can travel up the hair and force you into a much bigger chop later.
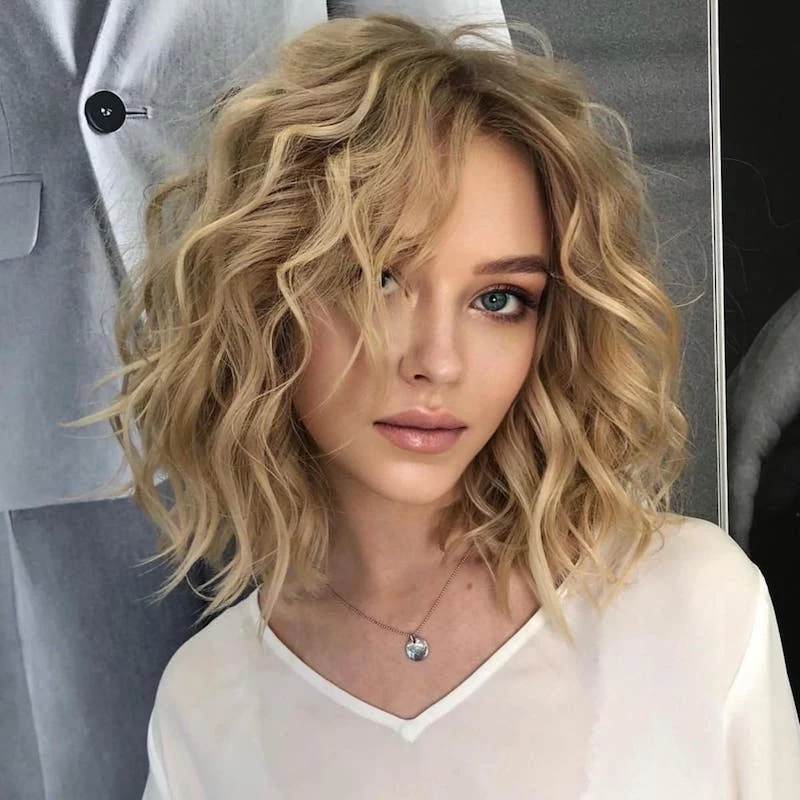
For these long styles, I always avoid hard, blunt lines, which can look a little too sharp and modern. Instead, I’ll often use a razor or point-cutting to soften the ends, giving them a more fluid, natural edge. I also use what we call “invisible layers.” These aren’t the choppy, obvious layers from other eras. They’re subtle, long layers cut on the inside of the haircut. They take out just enough weight to let the hair swing and move beautifully, so it doesn’t look like a heavy curtain.
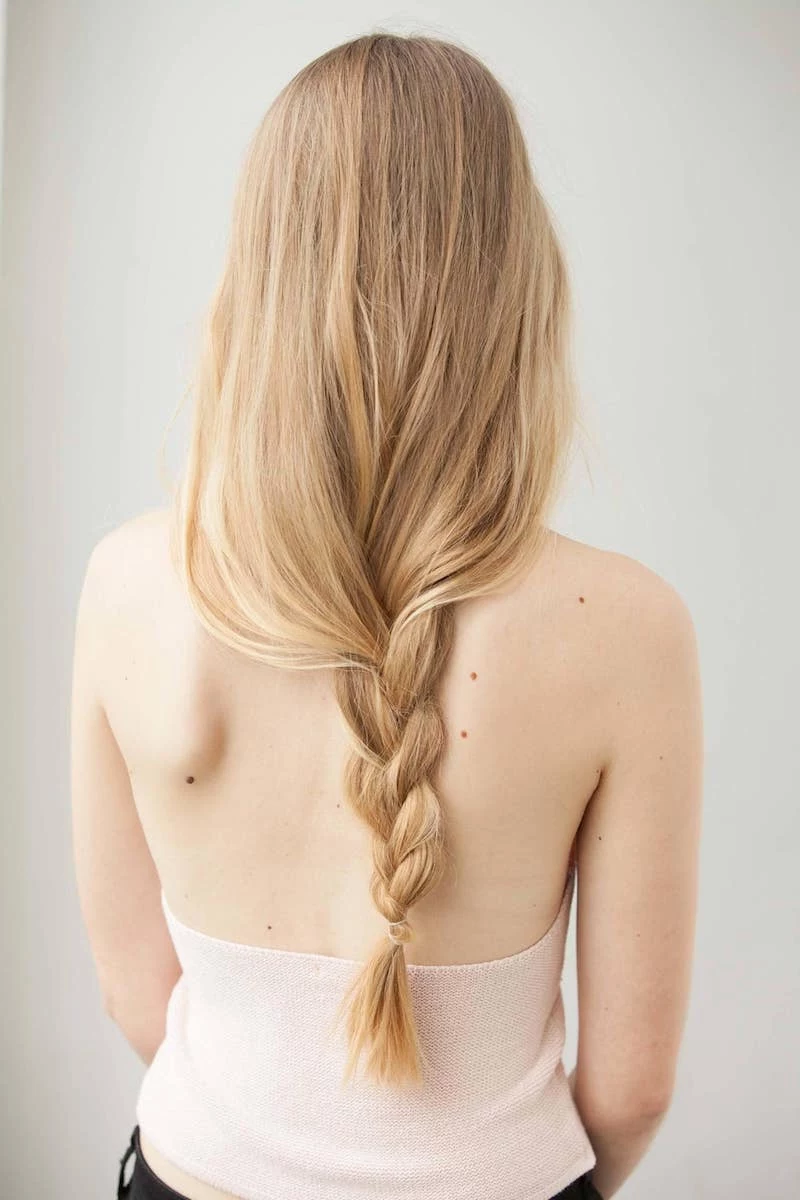
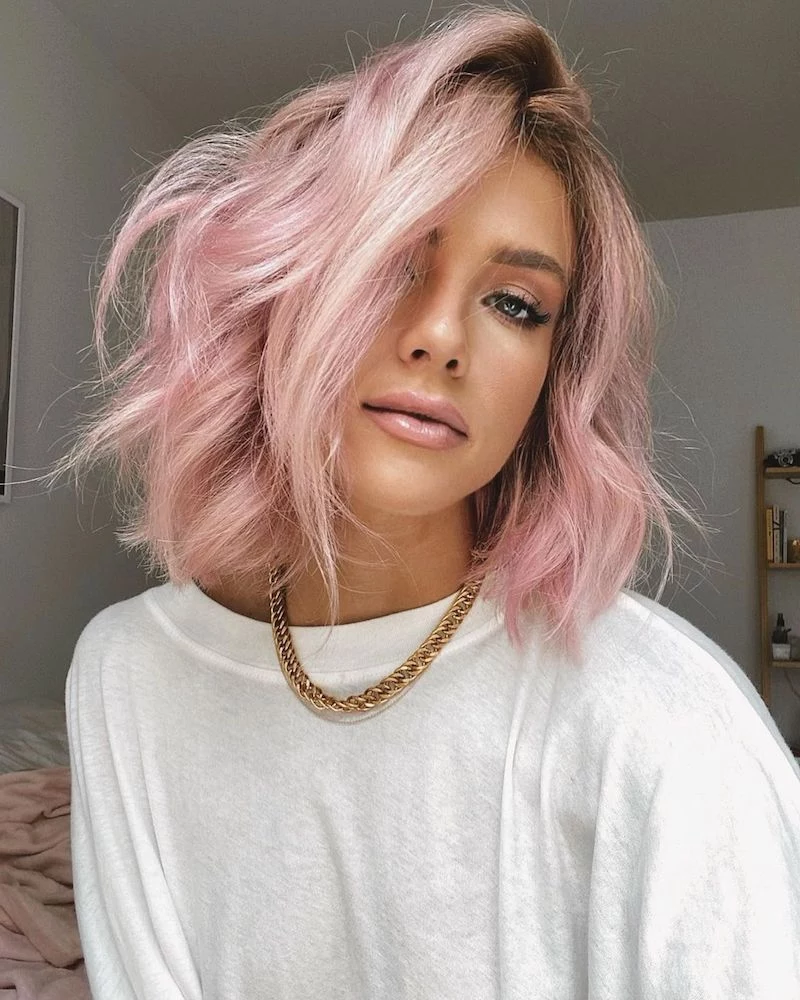
My Overnight Woodstock Waves Recipe
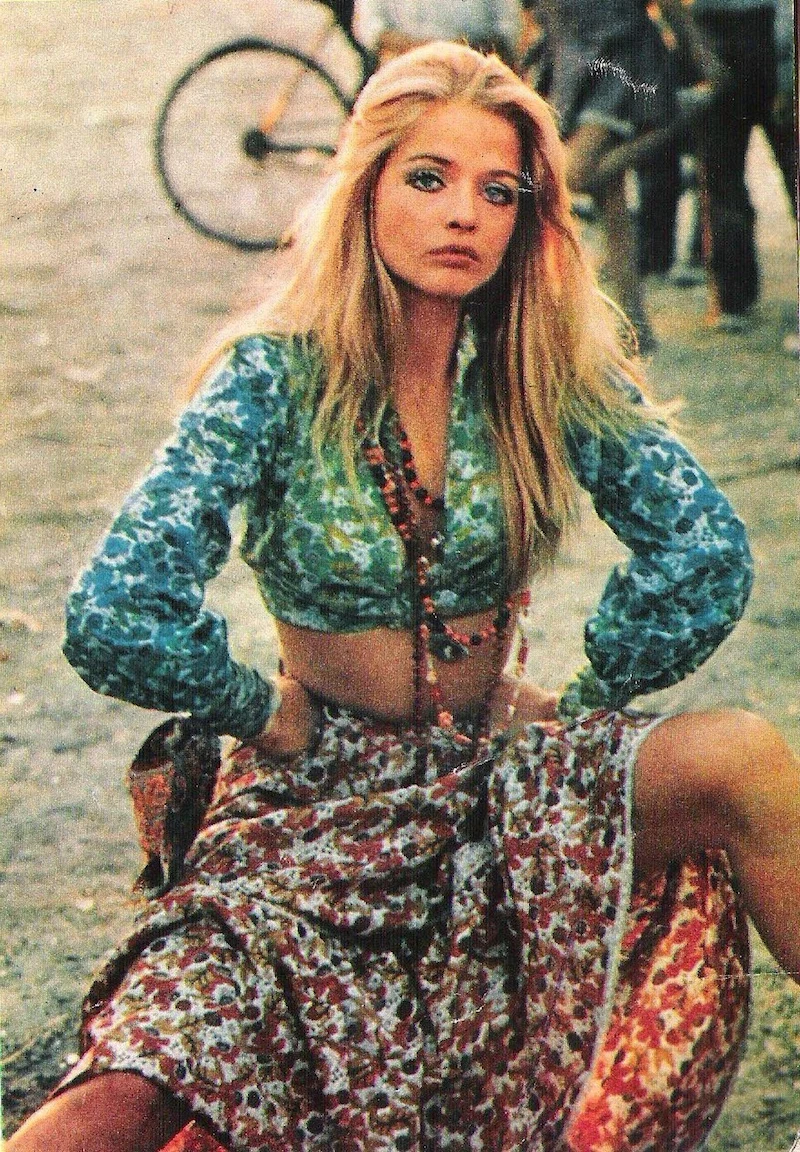
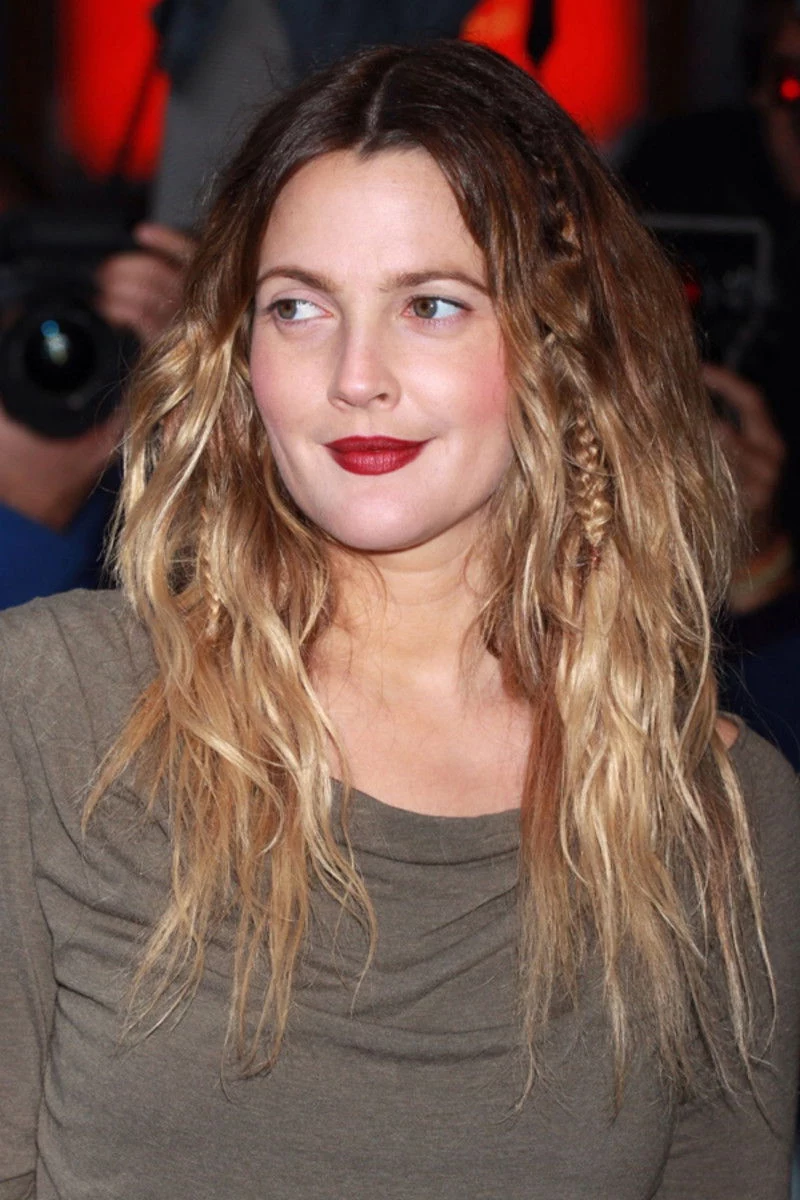
So many of the iconic photos from that time show these soft, lived-in waves. The best part? They were usually achieved without any heat at all. The most common method was simple braiding.
Start with hair that’s damp, not dripping wet. If it’s too wet, it’ll never fully dry in the braids, and the waves won’t set properly.
Work a small amount of a light leave-in conditioner through your hair to help tame frizz. For a great drugstore option, look for something like Giovanni. If you want a salon-quality product, Kinky-Curly Knot Today is amazing. The goal is to find something without heavy silicones.
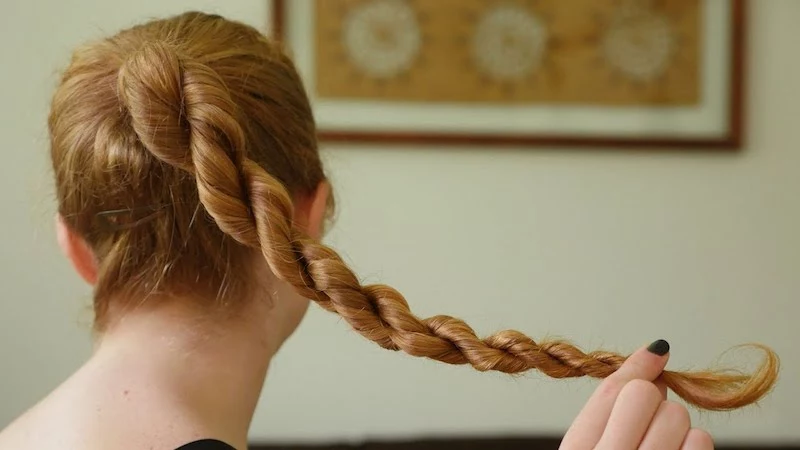
Create one or two simple, loose three-strand braids. The tighter the braid, the tighter the wave. For that classic, soft festival wave, keep the braid very loose.
Let it air-dry completely. This can take a few hours, so doing it overnight is usually your best bet. A quick tip: sleeping on a silk or satin pillowcase (around $20 online or at stores like Target) really helps cut down on frizz. A silk scarf wrapped around your hair works just as well and can be even cheaper.
Once it’s totally dry, gently undo the braids. Whatever you do, don’t attack it with a bristle brush! You’ll destroy the waves and create a cloud of frizz. Just use your fingers or a very wide-tooth comb to separate the sections.
For those with naturally curly or coily hair, the focus is all about enhancing what you already have. Moisture is your best friend. A simple routine of washing, conditioning, and then applying a natural oil while the hair is still wet can do wonders for locking in moisture and defining your curls as they air-dry. An Afro pick was an essential tool, used to create volume and shape by lifting at the roots without messing up the curl pattern.
The Art of Braids and Finding the Right Accessories
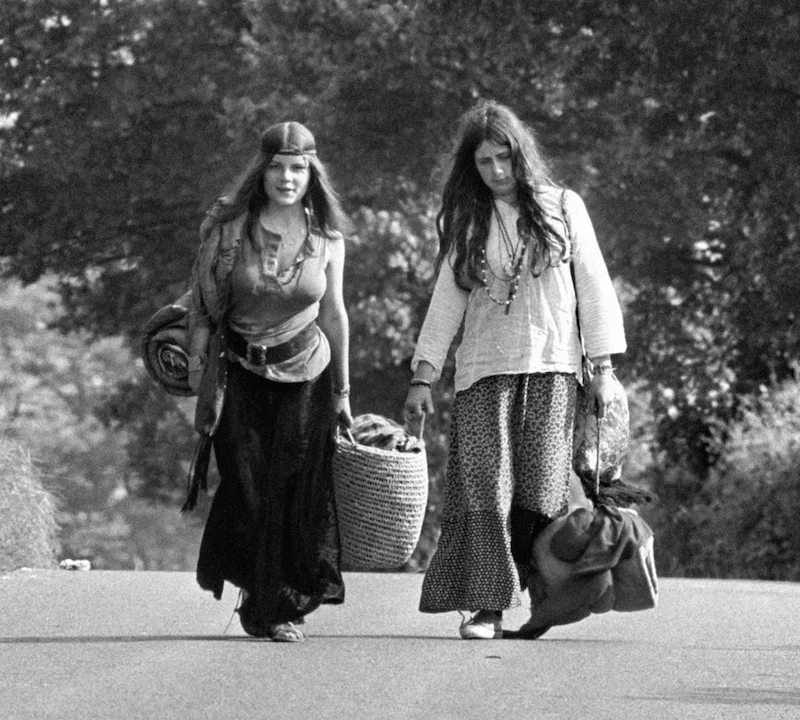
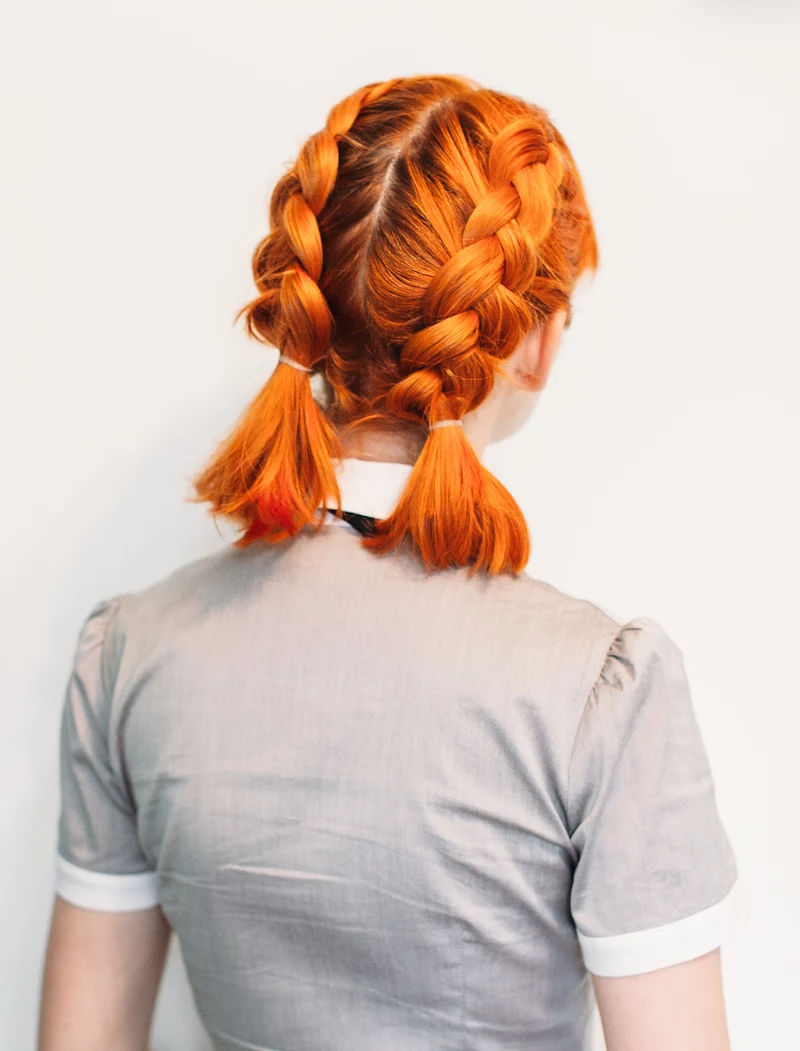
Braids were more than just a style; they were practical. The key to getting that retro feel is embracing a little bit of imperfection. They weren’t the super-tight, perfectly uniform braids we often see today.
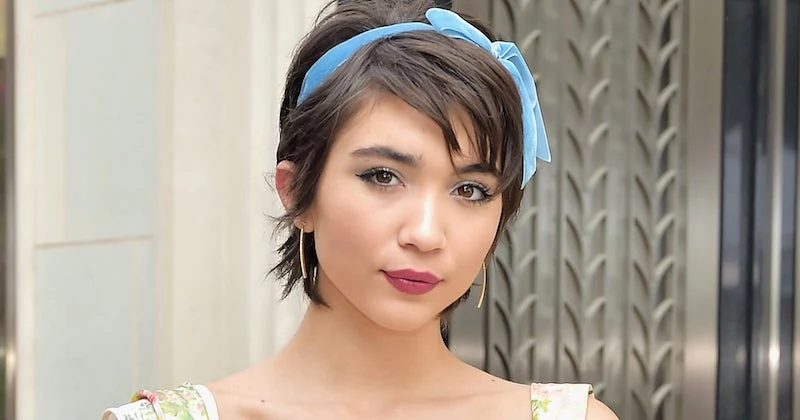
The Headband Braid: This is a timeless look. You just take a small section of hair from behind one ear, braid it, then pull it across your forehead like a headband and pin it behind the other ear. Pro Tip: Use two bobby pins crisscrossed in an “X” shape to secure the end. It holds so much better than a single pin. For an authentic look, let the braid be a little loose and even a bit fuzzy.
Scattered Micro-Braids: Another common style was a few tiny, thin braids placed randomly throughout loose hair. They’re a great way to add a little texture and detail. People would often thread a simple bead onto the end before securing it with a small, clear elastic (you can get a pack of 500 for a few bucks at any drugstore). Heads up, though: don’t leave these tiny braids in for more than a day or two, as they can cause some serious tangles at the root.
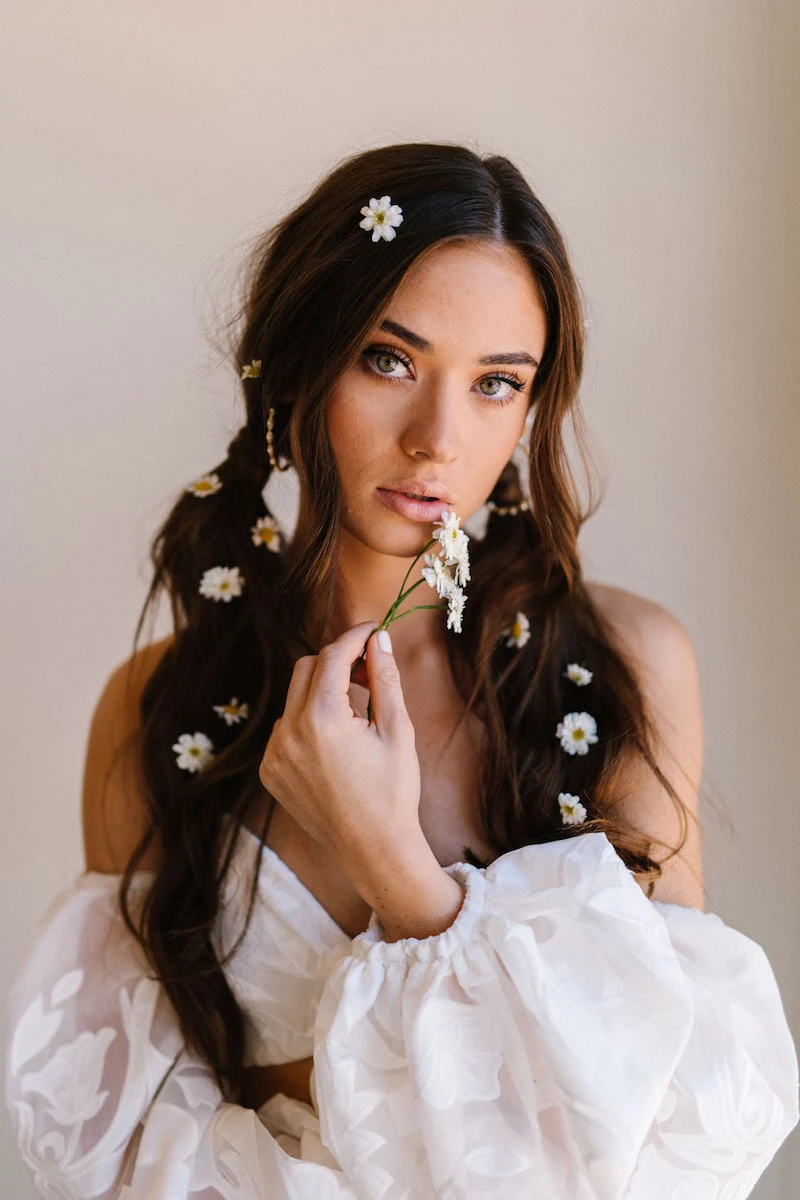
When it comes to accessories, think natural materials. The plastic flower crowns you see at festivals today are a very modern thing. Back then, it was about using what was around. A simple leather cord tied around the forehead. A colorful cotton bandana. Sometimes, people would just tuck fresh flowers from the garden behind an ear. If you want to try that, here’s a little florist trick: wrap the end of the stem in a tiny piece of green floral tape. It helps the flower last longer and gives you a sturdier base to pin into the hair.
Adapting the Look for Different Hair Types and Lengths
While long hair gets all the attention, it wasn’t the only option. The shag haircut was a huge part of the aesthetic. It’s a heavily layered cut, often done with a straight razor to get that feathered, wispy finish. The shag is fantastic because it works on so many lengths and is the ultimate wash-and-go style. It actually looks best when it’s a little bit messy and lived-in. If you have fine hair, ask your stylist for longer, more subtle layers to keep some fullness. If your hair is super curly, make sure your stylist knows how to dry-cut a shag to get the shape just right without creating frizz.
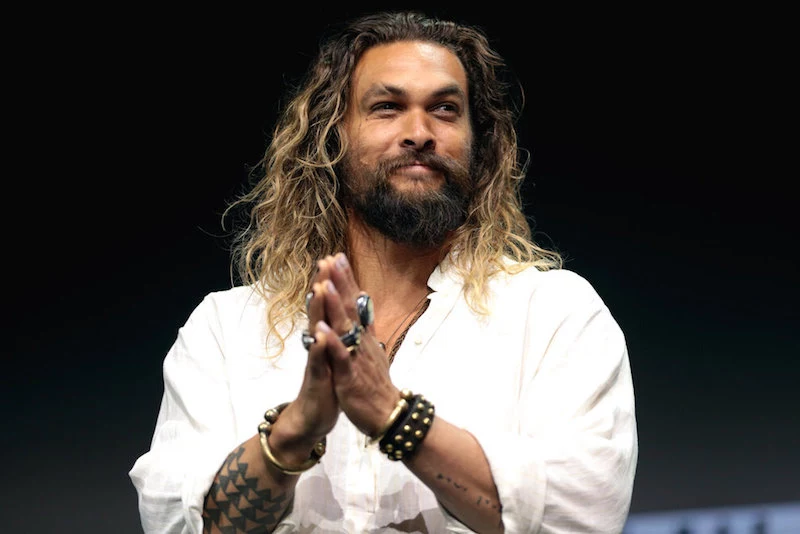
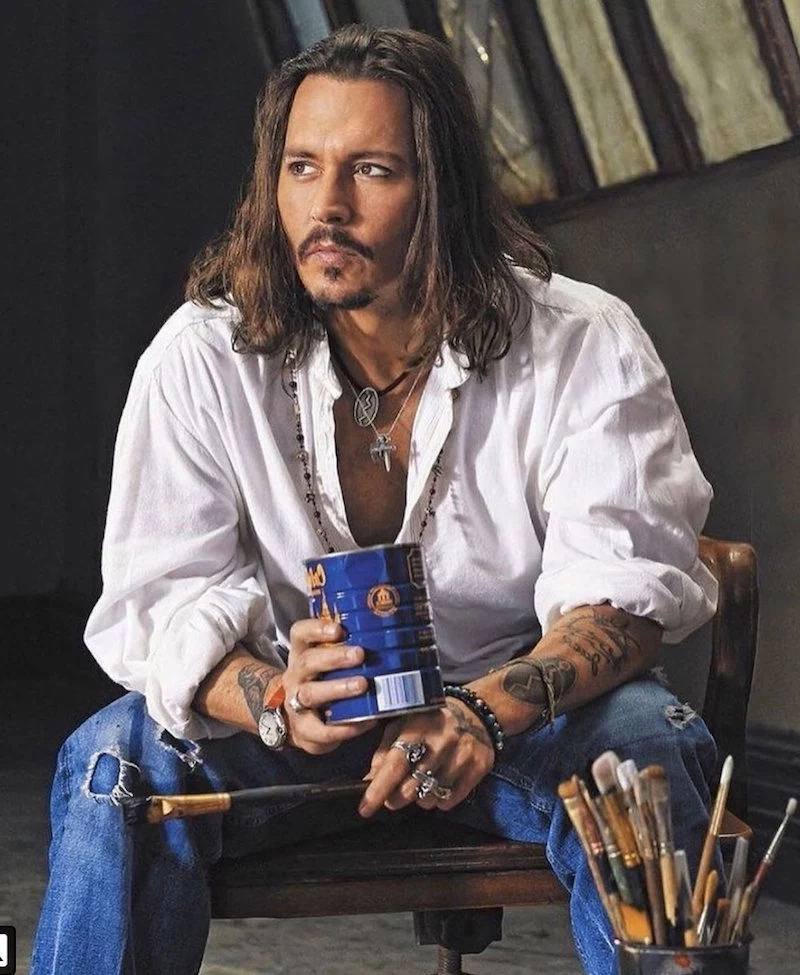
For men, growing hair long was a major statement against the buttoned-up conformity of the past. Famous rock stars made long, flowing hair a symbol of a new kind of masculinity. The styling was almost zero—just wash and air dry. Facial hair, from mustaches to full beards, was all part of the package.
Your Basic 70s Hair Toolkit
You don’t need a lot of fancy gear to pull this off. Here’s a simple shopping list:
A Wide-Tooth Comb: Preferably made of wood or seamless plastic to prevent static and snagging. You can find a great one for under $10 at most health food stores or online.
Gentle Hair Elastics: Small, clear elastics are perfect for those tiny braids.
Bobby Pins: For securing headband braids and loose updos.
A Natural Oil: For fine hair, go with a lighter oil like jojoba or argan. For thicker, drier, or coily hair, richer options like coconut oil or shea butter are fantastic. A bottle can run you anywhere from $10 to $30 depending on the type and brand.
A Bandana or Leather Cord: The ultimate simple accessory.
A Reality Check: Natural Doesn’t Mean No-Maintenance
Okay, let’s be real for a minute. As a professional, I have to give you the honest truth about the challenges. “Natural” isn’t the same as “neglected.”
First, a serious heads-up about matting. If you have long hair and don’t care for it properly, it can get severely matted. I’ve had to cut out huge knots from people’s hair because they thought they could just stop brushing it. You have to gently detangle it every day, starting from the ends and working your way up to the roots.
Scalp health is also huge. While washing less can be great for some hair types, never washing is a terrible idea. Your scalp produces oil and sheds skin cells, and that buildup can clog your follicles and cause major irritation. Find a gentle, sulfate-free shampoo and wash whenever your scalp feels oily or itchy.
Finally, be careful with constant tension. Wearing a tight headband across your forehead or tight braids in the same spot every single day can lead to hair loss over time, a condition called traction alopecia. It’s so important to switch up your styles and give your hairline a break.
These styles are beautiful because they’re about being in tune with your own nature. It’s about listening to what your hair needs—moisture, gentle handling, and freedom from harsh stuff. And that’s a lesson that never goes out of style.
Inspirational Gallery
The Shag vs. The Feathered Cut: The Shag, made iconic by Jane Fonda, is a heavily layered cut that creates a tousled, rock-and-roll volume at the crown and thins towards the ends. It’s edgy and unisex. The Farrah Fawcett Flip: This is all about soft, feathered layers that sweep back and away from the face, creating a glamorous, wind-blown effect. It’s softer and more traditionally feminine. The choice depended on whether your muse was more Joan Jett or a Charlie’s Angel.
The rise of the
How did they get that soft, piecey texture without modern texturizing sprays?
It was all about the right styling cream and the right drying technique. After washing, a small amount of a light, non-greasy cream—similar in spirit to today’s Bumble and bumble Styling Creme—was worked through damp hair. Then, instead of a blast from a hot dryer, hair was often left to air-dry about 80% of the way before being gently tousled with fingers or a wide-tooth comb to break up the strands and encourage natural separation.
Adds incredible shine and softness.
Prevents the dreaded
Beyond the flower crown, the humble bandana or silk scarf was the era’s most versatile accessory. Worn as a classic headband to keep hair off the face, folded into a thin band to tie off a ponytail, or wrapped around the base of a bun, it added a pop of pattern and effortless cool. Brands like Echo or Hermès were coveted, but any vintage square scarf would do the trick.
A 1972 study noted a significant increase in conditioner sales, while hairspray sales began to plateau.
This market shift reflects the core change in hair philosophy. Women were moving away from styles that needed to be frozen in place and were instead investing in the health and softness of their hair itself. Conditioner wasn’t just an afterthought; it was the essential tool for achieving the long, touchable locks that defined the decade.
A key to authenticity: Don’t aim for perfection. The beauty of these styles was their lived-in quality. A few flyaways, a slightly off-center part, or braids that weren’t perfectly uniform were signs of life, not sloppiness. This was a direct rebellion against the rigid, helmet-like perfection of the previous generation’s updos.
For natural-looking highlights without a trip to the salon, many embraced DIY methods that are still effective today. The two classics were:
The Chamomile Rinse: Strongly brewed and cooled chamomile tea, used as a final rinse after washing, was known to gradually bring out golden tones in blonde and light brown hair.
Lemon Juice & Sun: A spritz of diluted lemon juice before spending time outdoors was the go-to for creating sun-kissed streaks.
Men’s hair experienced its own revolution. It was no longer just about being long; it was about having a *style*. Think of the defined curls of Marc Bolan, the gentle waves of Cat Stevens, or the powerful Afros of musicians like Jimi Hendrix. This was the decade that truly liberated male hairstyling from the confines of the short-back-and-sides.
A high-quality boar bristle brush for distributing natural oils from scalp to ends, creating natural shine.
A wide-tooth comb for detangling wet hair without causing breakage—essential for long styles.
A set of no-crease hair clips for sectioning hair while it air-dries, encouraging root lift.
Were fringes part of the 70s look?
Absolutely, but not the heavy, blunt bangs of the 60s. The 70s were all about the
The earthy scent of patchouli or sandalwood oil was often subtly applied not just to the skin, but to the ends of the hair, creating an aura that was an integral part of the overall sensory experience.
Modern Mousse vs. Classic Setting Lotion: A dollop of modern volumizing mousse, like L’Oréal’s Tecni.ART Full Volume Extra, can replicate the body of a 70s style without the stickiness of old-school setting lotions. Classic Setting Lotion: When diluted, it provided a soft hold for waves, but could feel heavy. Today’s mousse is airier and gives a more touchable finish, making it the perfect contemporary update for achieving that retro volume.
The natural Afro, a powerful symbol of Black pride and identity, was a defining style of the era. Its maintenance wasn’t about changing the texture, but celebrating it. Key tools included a hair pick (or Afro pick) for lifting and shaping, and rich, natural moisturizers like shea butter to keep coils healthy and defined. This was a profound shift towards embracing, rather than chemically altering, natural hair texture.
Jessica has spent 14 years in the fashion industry, starting as a stylist assistant and working her way up to Fashion Editor. A graduate of Fashion Institute of Technology, she has styled celebrities, worked backstage at Fashion Week, and contributed to major fashion publications. Jessica believes fashion should be fun, accessible, and expressive.
To provide the best experiences, we use technologies like cookies to store and/or access device information. Consenting to these technologies will allow us to process data such as browsing behavior or unique IDs on this site. Not consenting or withdrawing consent, may adversely affect certain features and functions.
Functional
Always active
The technical storage or access is strictly necessary for the legitimate purpose of enabling the use of a specific service explicitly requested by the subscriber or user, or for the sole purpose of carrying out the transmission of a communication over an electronic communications network.
Preferences
The technical storage or access is necessary for the legitimate purpose of storing preferences that are not requested by the subscriber or user.
Statistics
The technical storage or access that is used exclusively for statistical purposes.The technical storage or access that is used exclusively for anonymous statistical purposes. Without a subpoena, voluntary compliance on the part of your Internet Service Provider, or additional records from a third party, information stored or retrieved for this purpose alone cannot usually be used to identify you.
Marketing
The technical storage or access is required to create user profiles to send advertising, or to track the user on a website or across several websites for similar marketing purposes.