Y2K Hair Is Back—A Stylist’s Guide to Doing It Right This Time
I can still smell it. The unmistakable scent of high-hold hairspray and the sizzle of hot metal plates on hair that filled the salon when I first started my career. Clients would show up with magazine pages, pointing to a pop star with spiky hair or another with perfectly defined, stripey highlights. It was a wild, experimental time. And honestly? We were making it up as we went along, figuring out these new tools and trends right alongside our clients.
In this article
It’s funny, because now, all these years later, I see those same pictures on phones. But the request has changed. People want the vibe of that era, not a carbon copy. They want the fun and the attitude, but filtered through the lens of everything we know now about keeping hair healthy. So, how do we bring these looks into the present without wrecking our hair? Let’s get into it.
First Things First: Healthy Hair and Modern Tools
Before you even think about trying one of these styles, we need to have a little chat about your foundation. Healthy, hydrated hair is non-negotiable. It styles better, holds up to heat better, and just looks better, period. Back in the day, we often put the look ahead of hair integrity. We’ve learned a lot since then.
A solid routine is your best friend: a quality shampoo, a hydrating conditioner, and a weekly deep-conditioning mask. Think of it as your hair’s core workout. And speaking of tools, they’ve gotten a major upgrade. Today’s flat irons and crimpers with ceramic or tourmaline plates are worlds better than the old metal ones. They heat up evenly, which means fewer damaging hot spots. Plus, with digital temperature controls, you can use the lowest heat necessary to get the job done—a feature that was a luxury back then. Oh, and a heat protectant spray isn’t a suggestion, it’s a rule. It’s like oven mitts for your hair. You wouldn’t grab a hot pan without them, right?
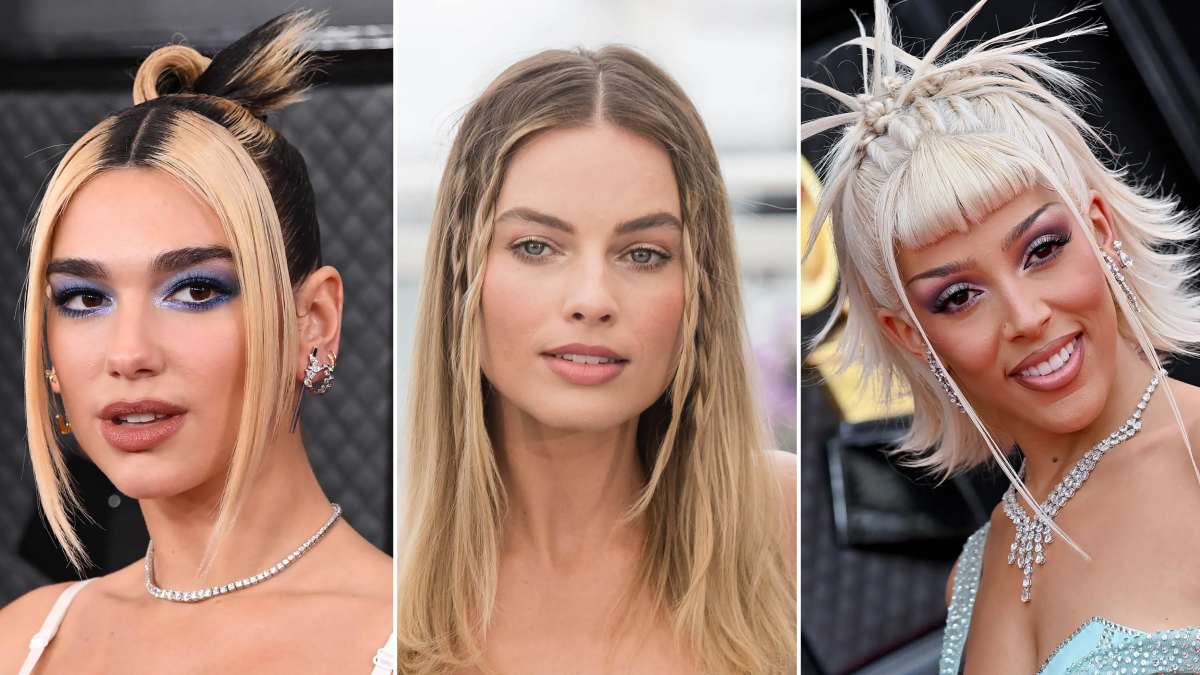
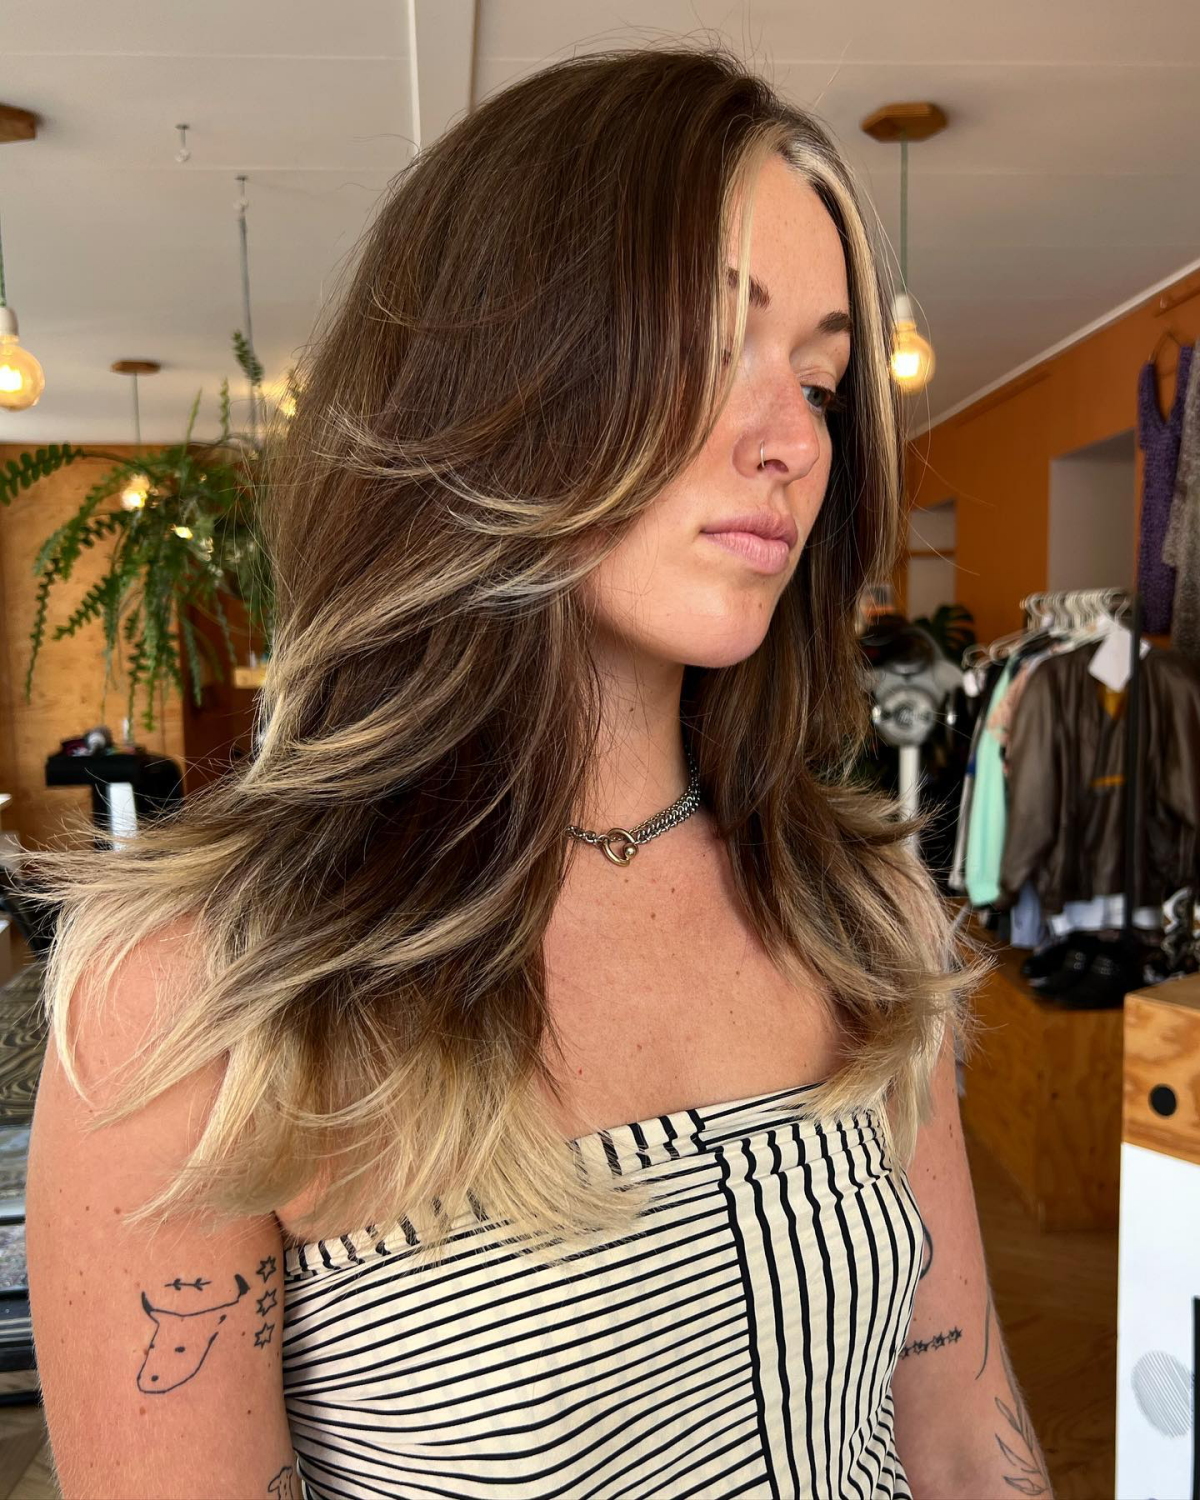
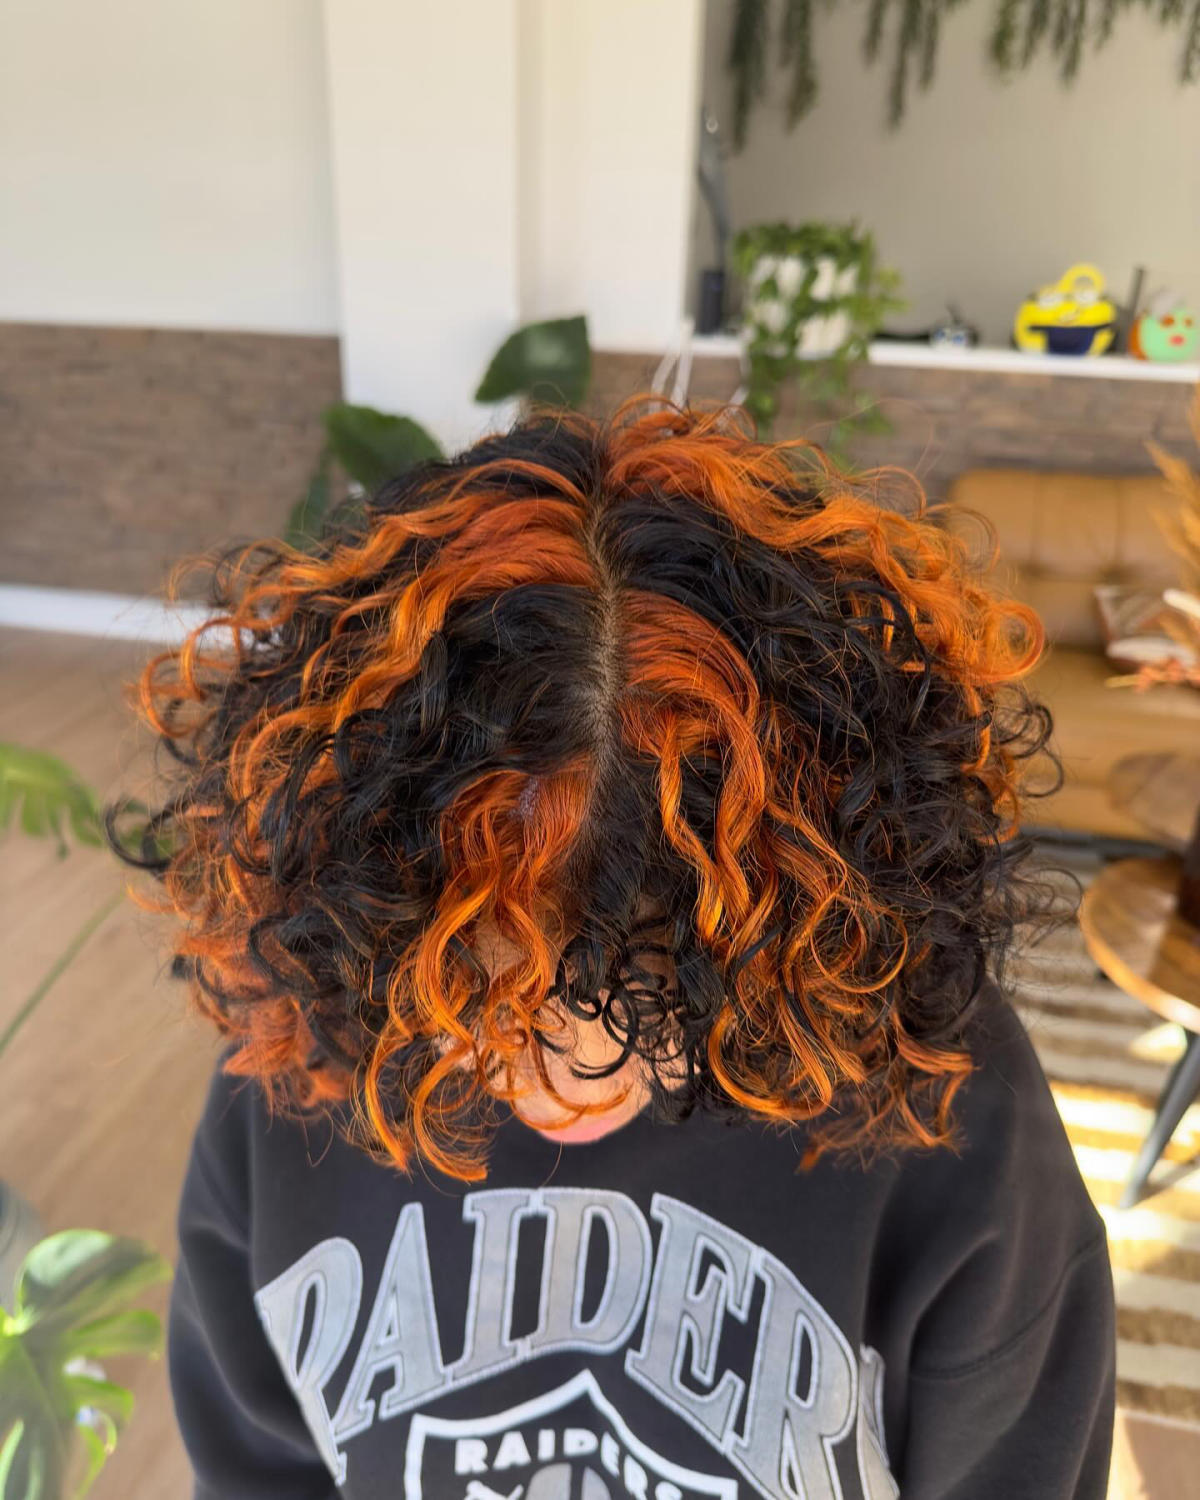
1. From ‘Zebra Stripes’ to the Modern ‘Money Piece’
The original chunky highlight was all about shocking contrast. Bold, thick stripes of blonde on dark hair. It was a statement, and a loud one at that. The placement was often geometric and right from the root.
The Modern Take: Today, it’s much softer. We still love a high-contrast panel, but the placement is way more strategic. The most popular version is the ‘money piece’—those two bold, face-framing sections that brighten up your whole look. It gives you that pop of color without committing to a full head of stripes. We also have much better toners now to create sophisticated, creamy blondes instead of the raw, brassy yellows of the past.
The Pro-Only Zone: I cannot stress this enough: this is a job for a professional. Lightener is a powerful chemical that opens up your hair’s cuticle to remove pigment. A stylist knows how to choose the right strength and how to apply it to avoid damage. A quick horror story: I once had a new client come in after a DIY bleach job. She spent over five hours in my chair and more than $600 to correct the splotchy orange patches and hair that had the gummy texture of overcooked spaghetti. It’s just not worth the risk.
Good to know: When you go to the salon, expect the initial service for a money piece to run anywhere from $100 to $250, depending on where you live and the salon’s pricing. To keep it looking fresh, you’ll need to pop in for a toner refresh every 6-8 weeks. That’s a much quicker and cheaper appointment, usually around $50 to $80, that keeps the blonde looking perfect and not brassy.
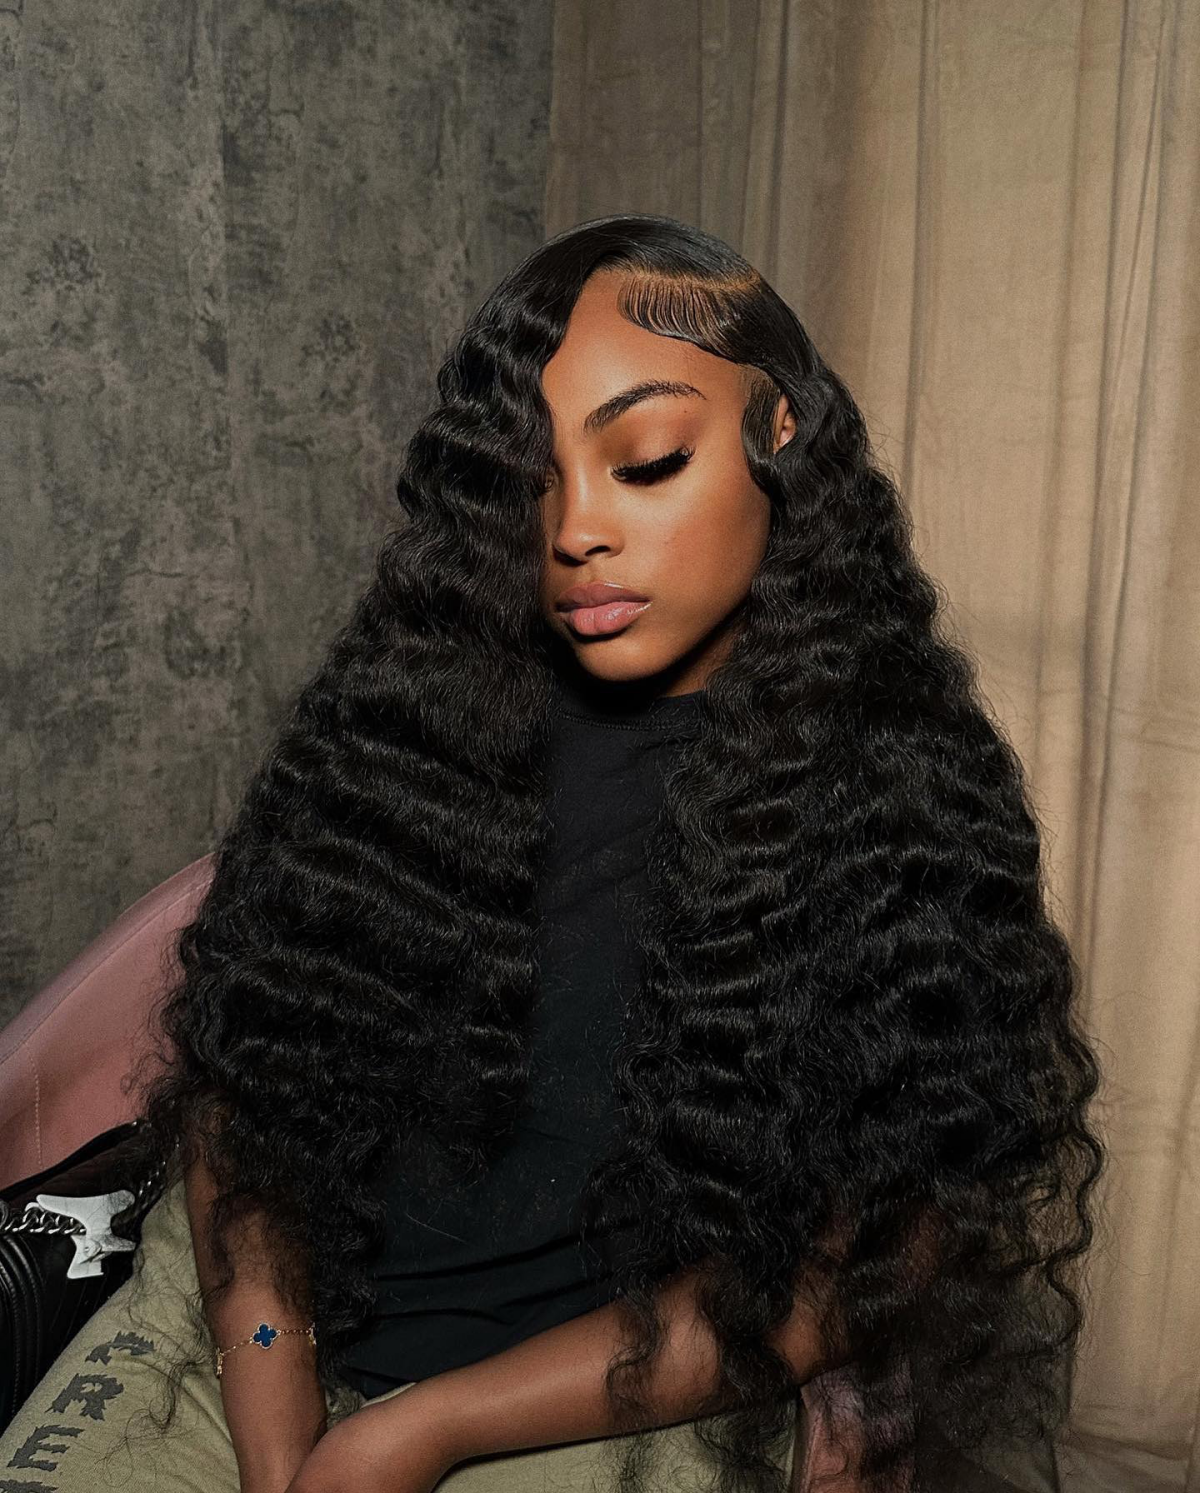
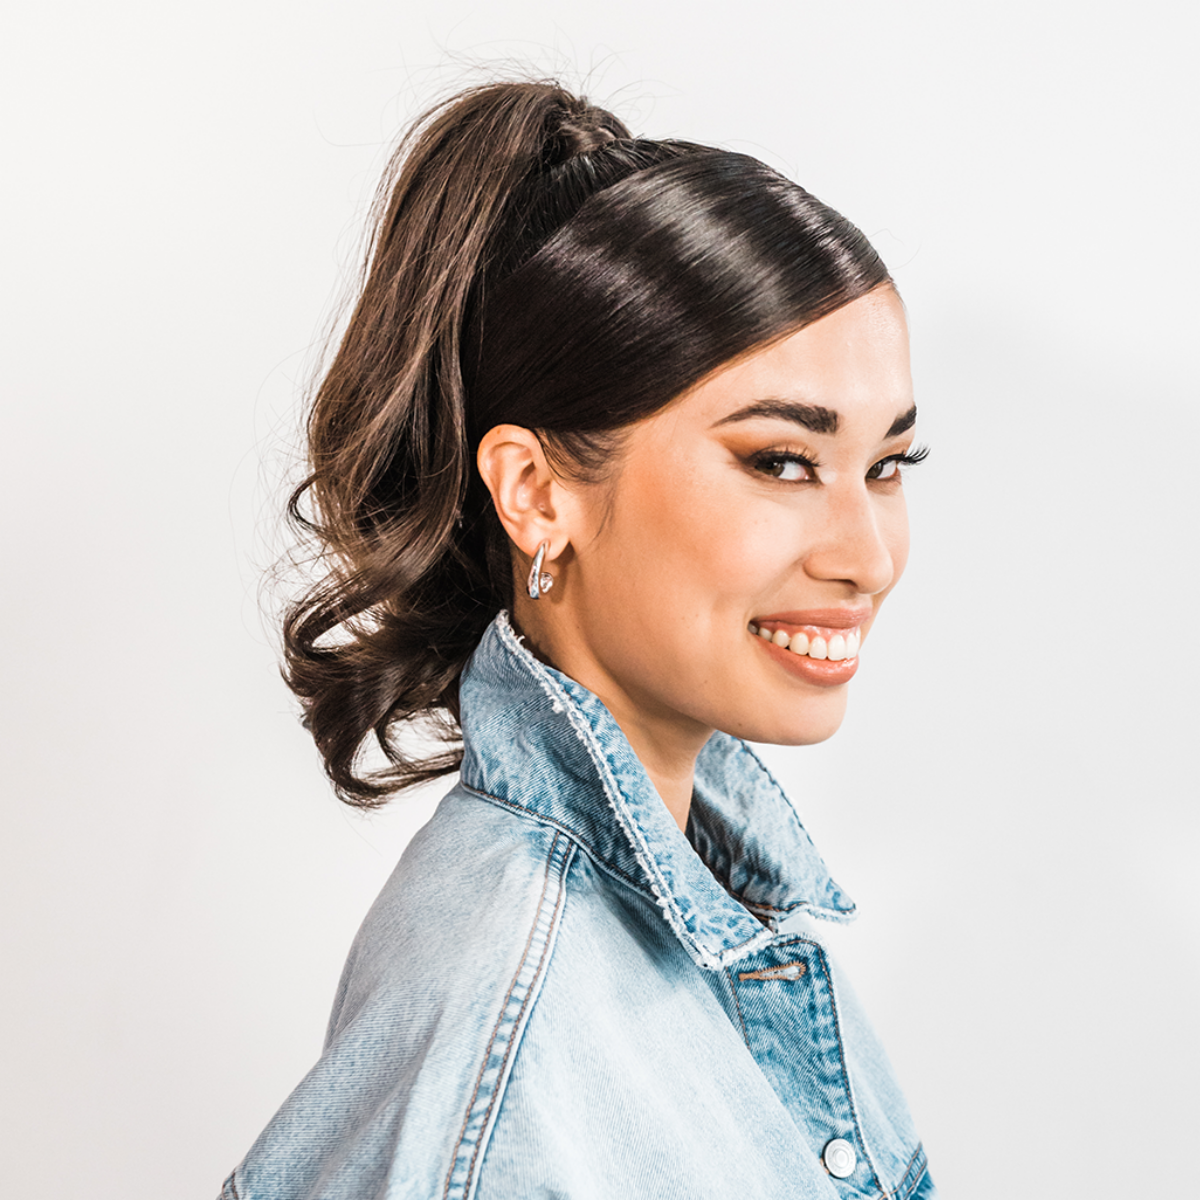
2. Crimped Hair: Texture as an Accent
Remember the full head of tight, zigzag crimps? It was a look, for sure. We used irons that basically had one setting: SCALDING. The result was a massive cloud of texture that was often super frizzy and left the hair feeling like straw.
The Modern Take: Now, crimping is more of a secret weapon. We use it for accents. Maybe you crimp a few hidden panels under a straight top layer to get a boost of volume, or you crimp just the length of a ponytail for a cool, unexpected texture. The crimp itself is often a bit wider and softer, too.
Toolkit for At-Home Crimping:
- A Crimping Iron: Look for one with ceramic plates and, most importantly, adjustable heat.
- Heat Protectant Spray: Again, this is not optional!
- Sectioning Clips: To keep your work neat and tidy.
- Flexible-Hold Hairspray: To lock it in without that crunchy feeling.
Quick Tip: For fine or color-treated hair, try to stay in the 250-325°F (120-160°C) range. If your hair is thicker or more coarse, you might need to go up to 375°F (190°C), but always start low! Take thin, one-inch sections and press for 3-5 seconds. For a more modern vibe, leave the first inch at the root and the last inch at the ends straight. And let the sections cool completely before you touch them—that’s what makes the style last.
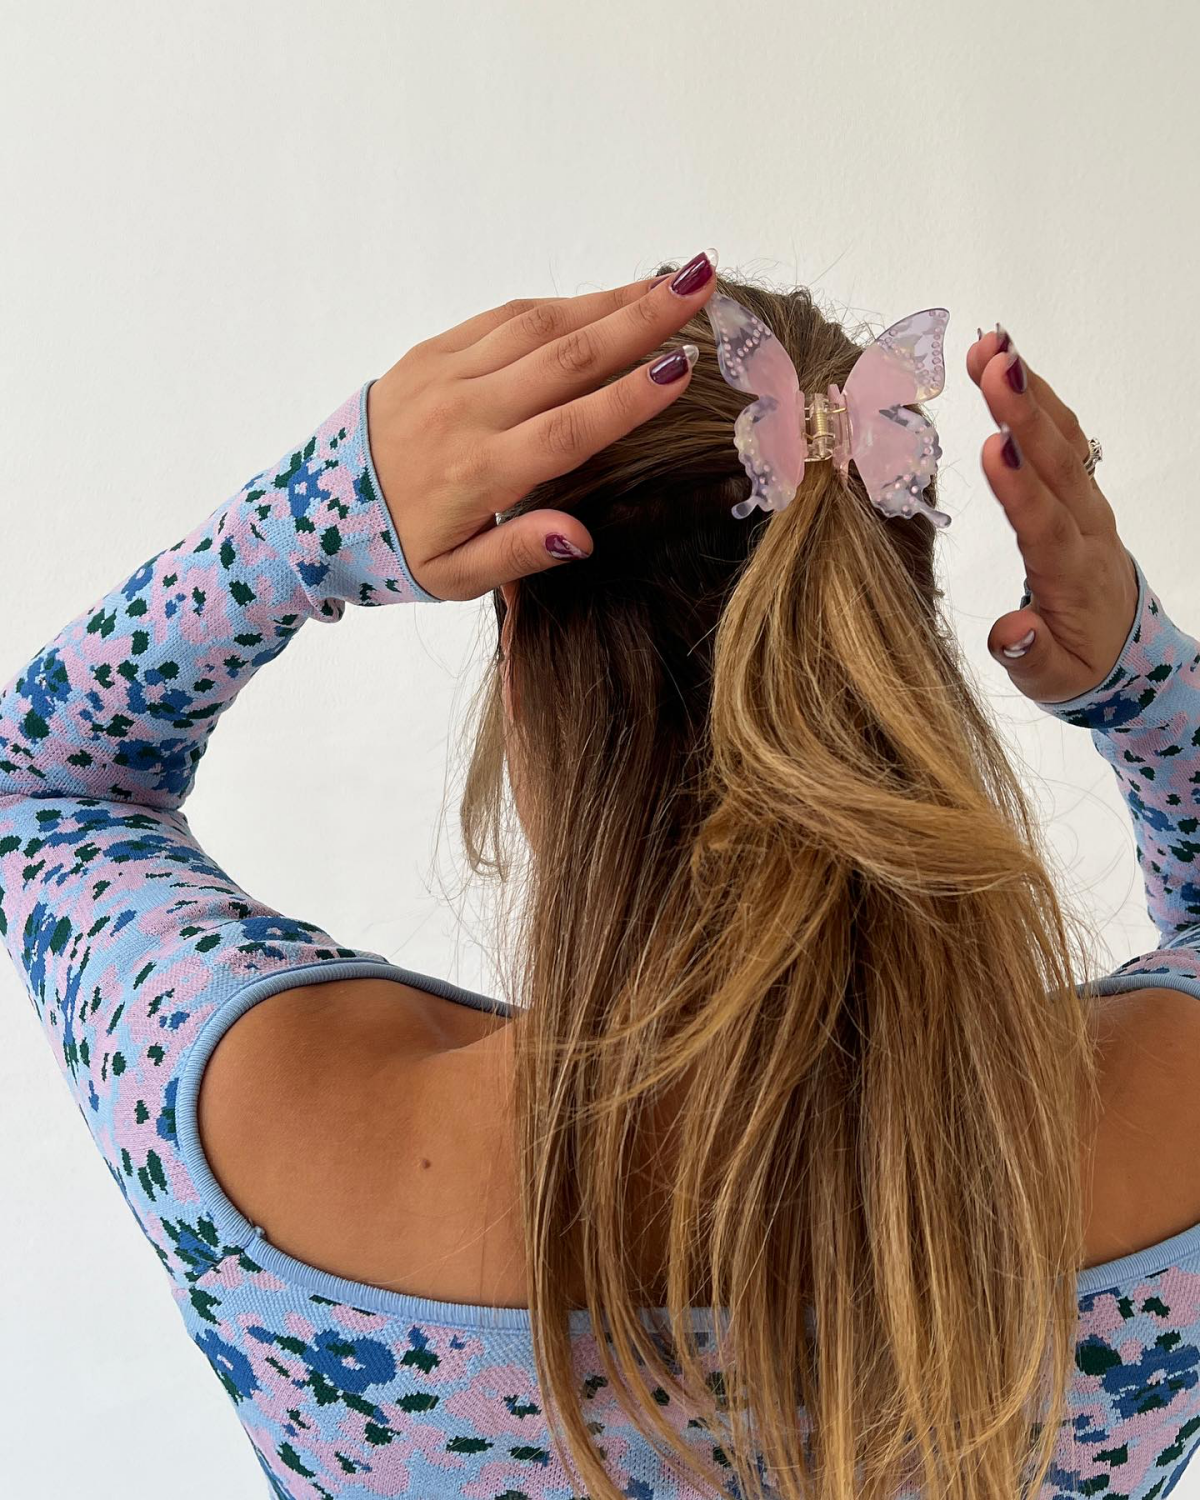
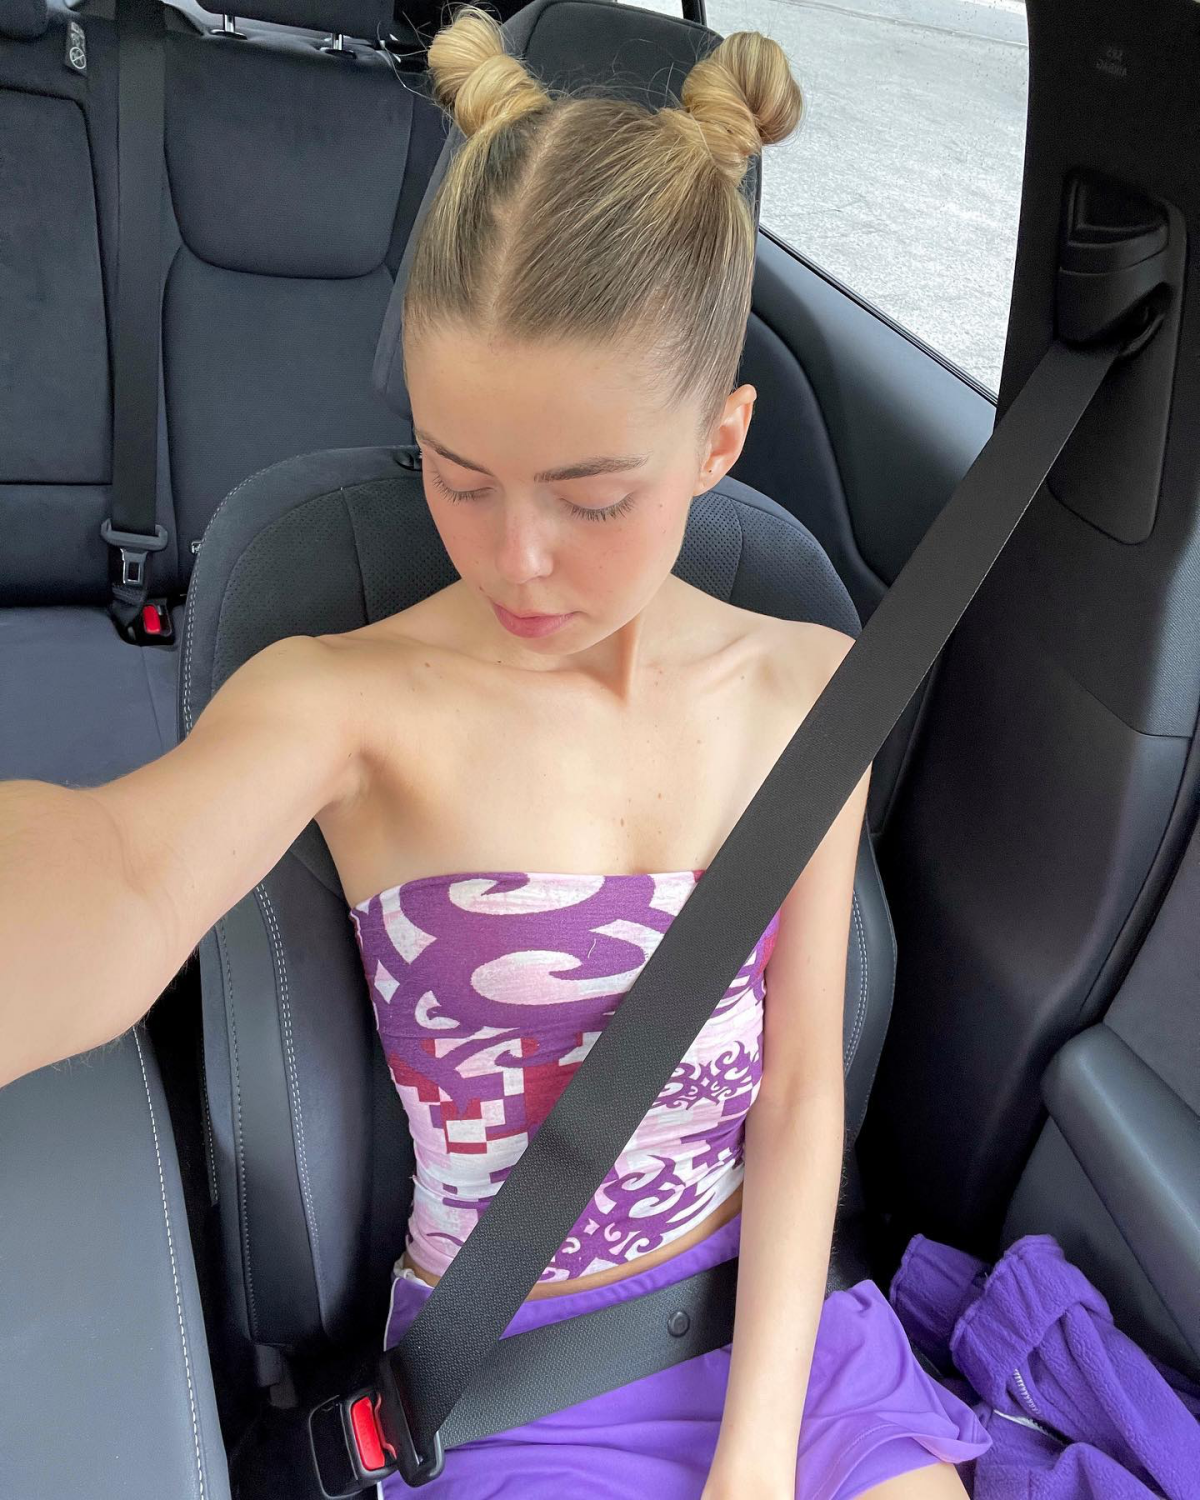
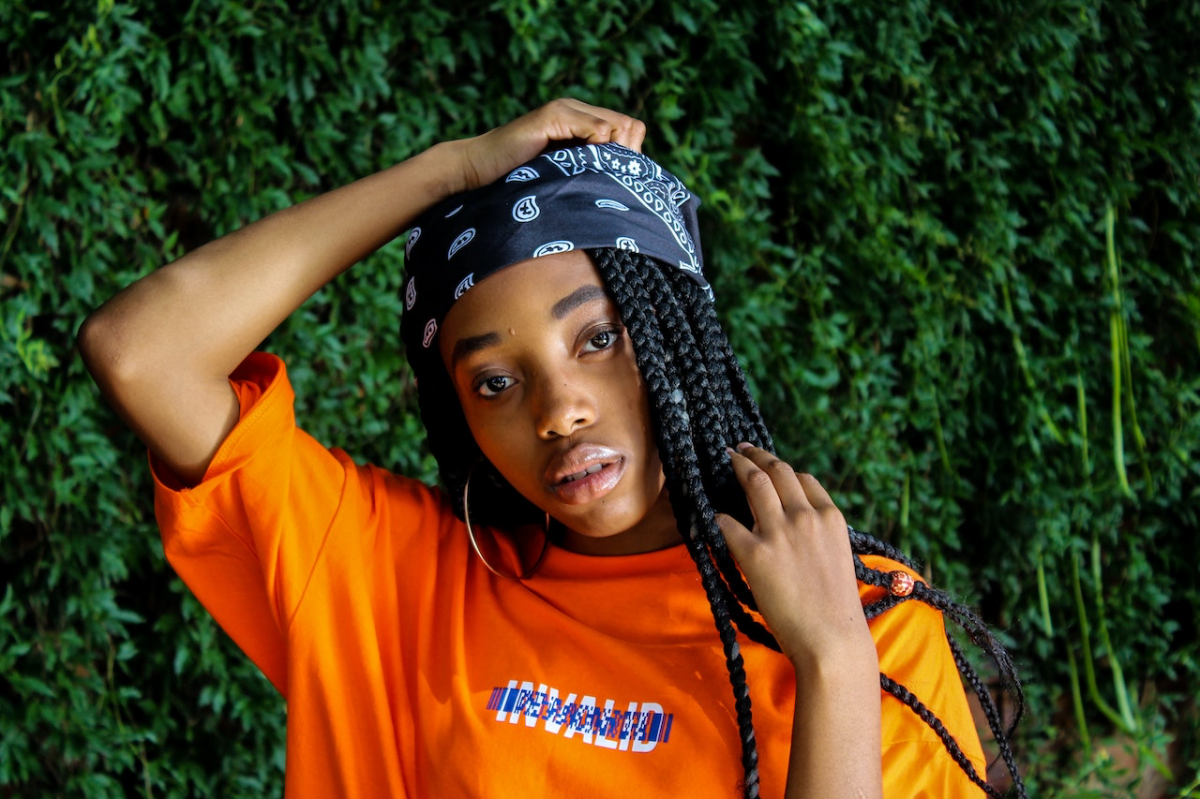
3. The 5-Minute Y2K Vibe: It’s All in the Accessories
By the way, you don’t need a chemical service or a hot tool to get in on this trend. The easiest, lowest-commitment way to get the look is with accessories. It’s the perfect entry point!
Think tiny butterfly clips scattered through your hair or used to pin back a small twist. Or, my personal favorite for a quick fix: mini claw clips. Just create a sharp center or side part, pull back the two front tendrils of your hair, and secure each one with a little clip. It’s an instant throwback that takes literally two minutes. A simple bandana tied as a headband also gives off that perfect, effortless retro vibe.
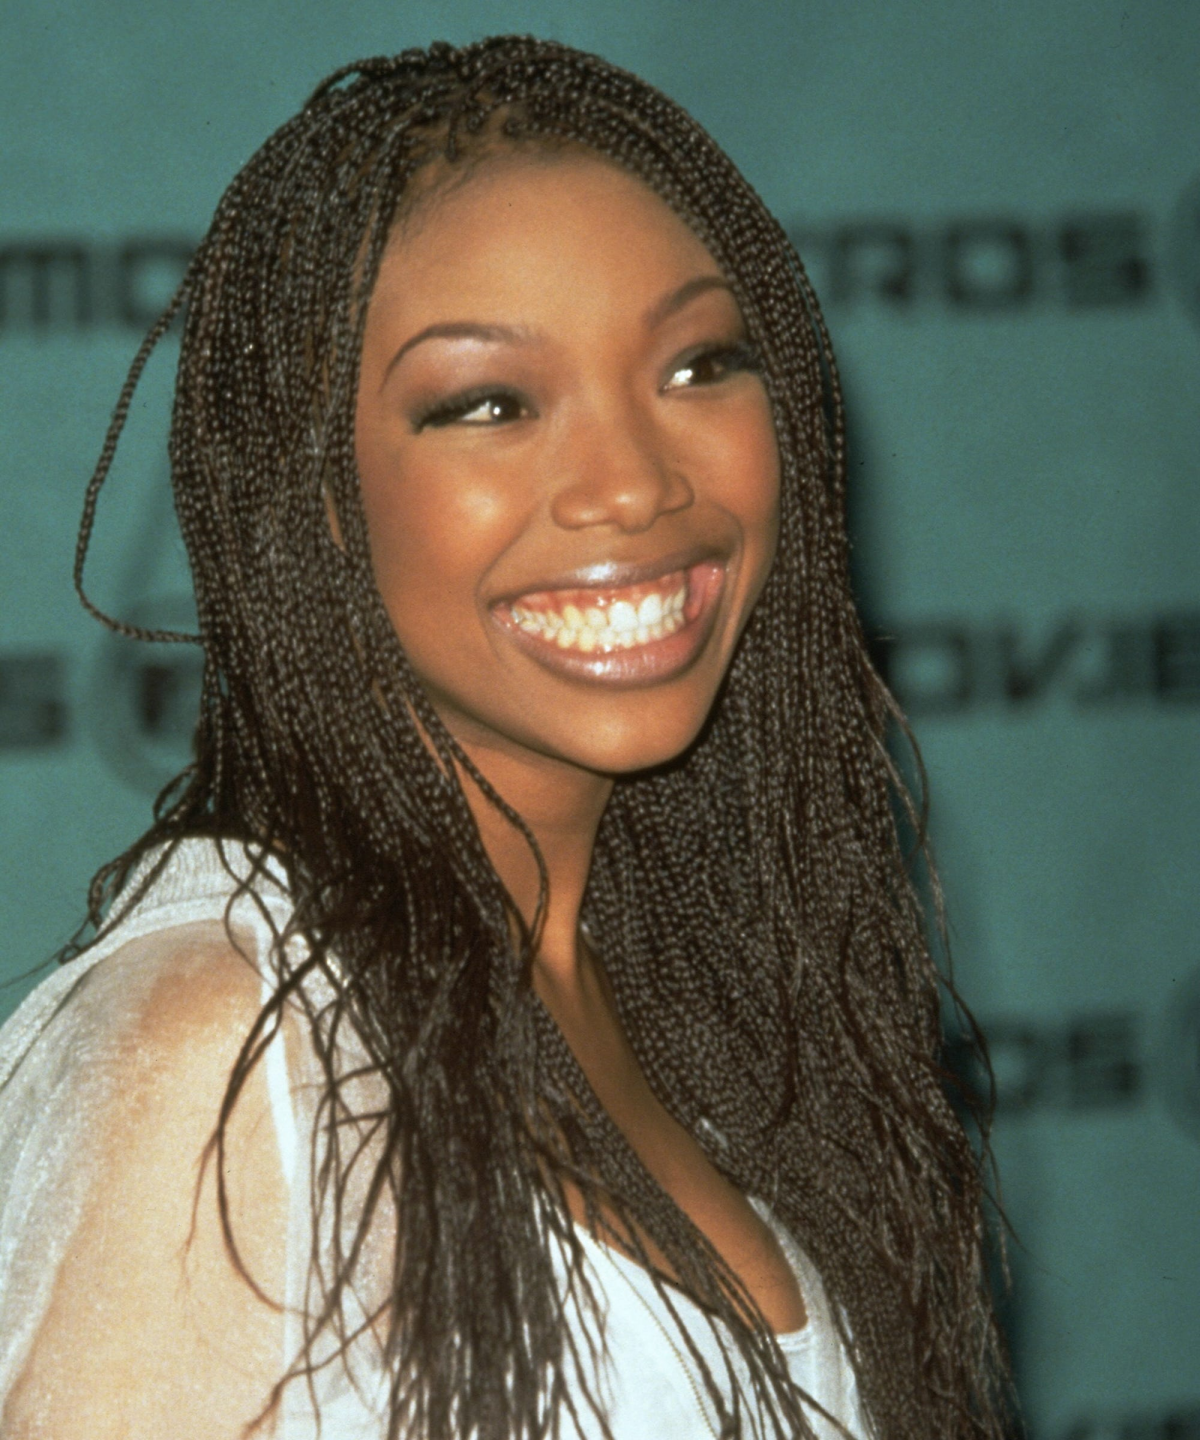
4. Micro Braids: An Art Form Demanding a Specialist
Micro braids are a timeless and beautiful protective style that had a huge moment in the spotlight. These tiny, intricate braids are a true art form. The main difference today is the intense focus on hair health during installation and maintenance.
The Modern Take: Today’s braiding specialists are masters of tension. They know how to secure the braid without pulling on the scalp, which can lead to a serious type of hair loss called traction alopecia. If you ever feel pain, bumps, or intense tightness, especially at your hairline, you need to speak up immediately. That’s a major red flag.
Finding Your Braider: This is not a job for just any stylist; you need a dedicated braiding artist. I always refer my clients out for this. A great place to find them is on Instagram or StyleSeat. Don’t just look at the finished style—a good braider will showcase their work with clear photos of their partings and close-ups of the scalp. You want to see neat parts and a scalp that looks calm, not red and stressed.
Heads up! This isn’t a ‘set it and forget it’ style. Plan to gently cleanse your scalp every week or two and keep your hair moisturized with a light leave-in spray to prevent it from getting brittle inside the braids. Expect to have them in for about 6-8 weeks before a safe and patient takedown.
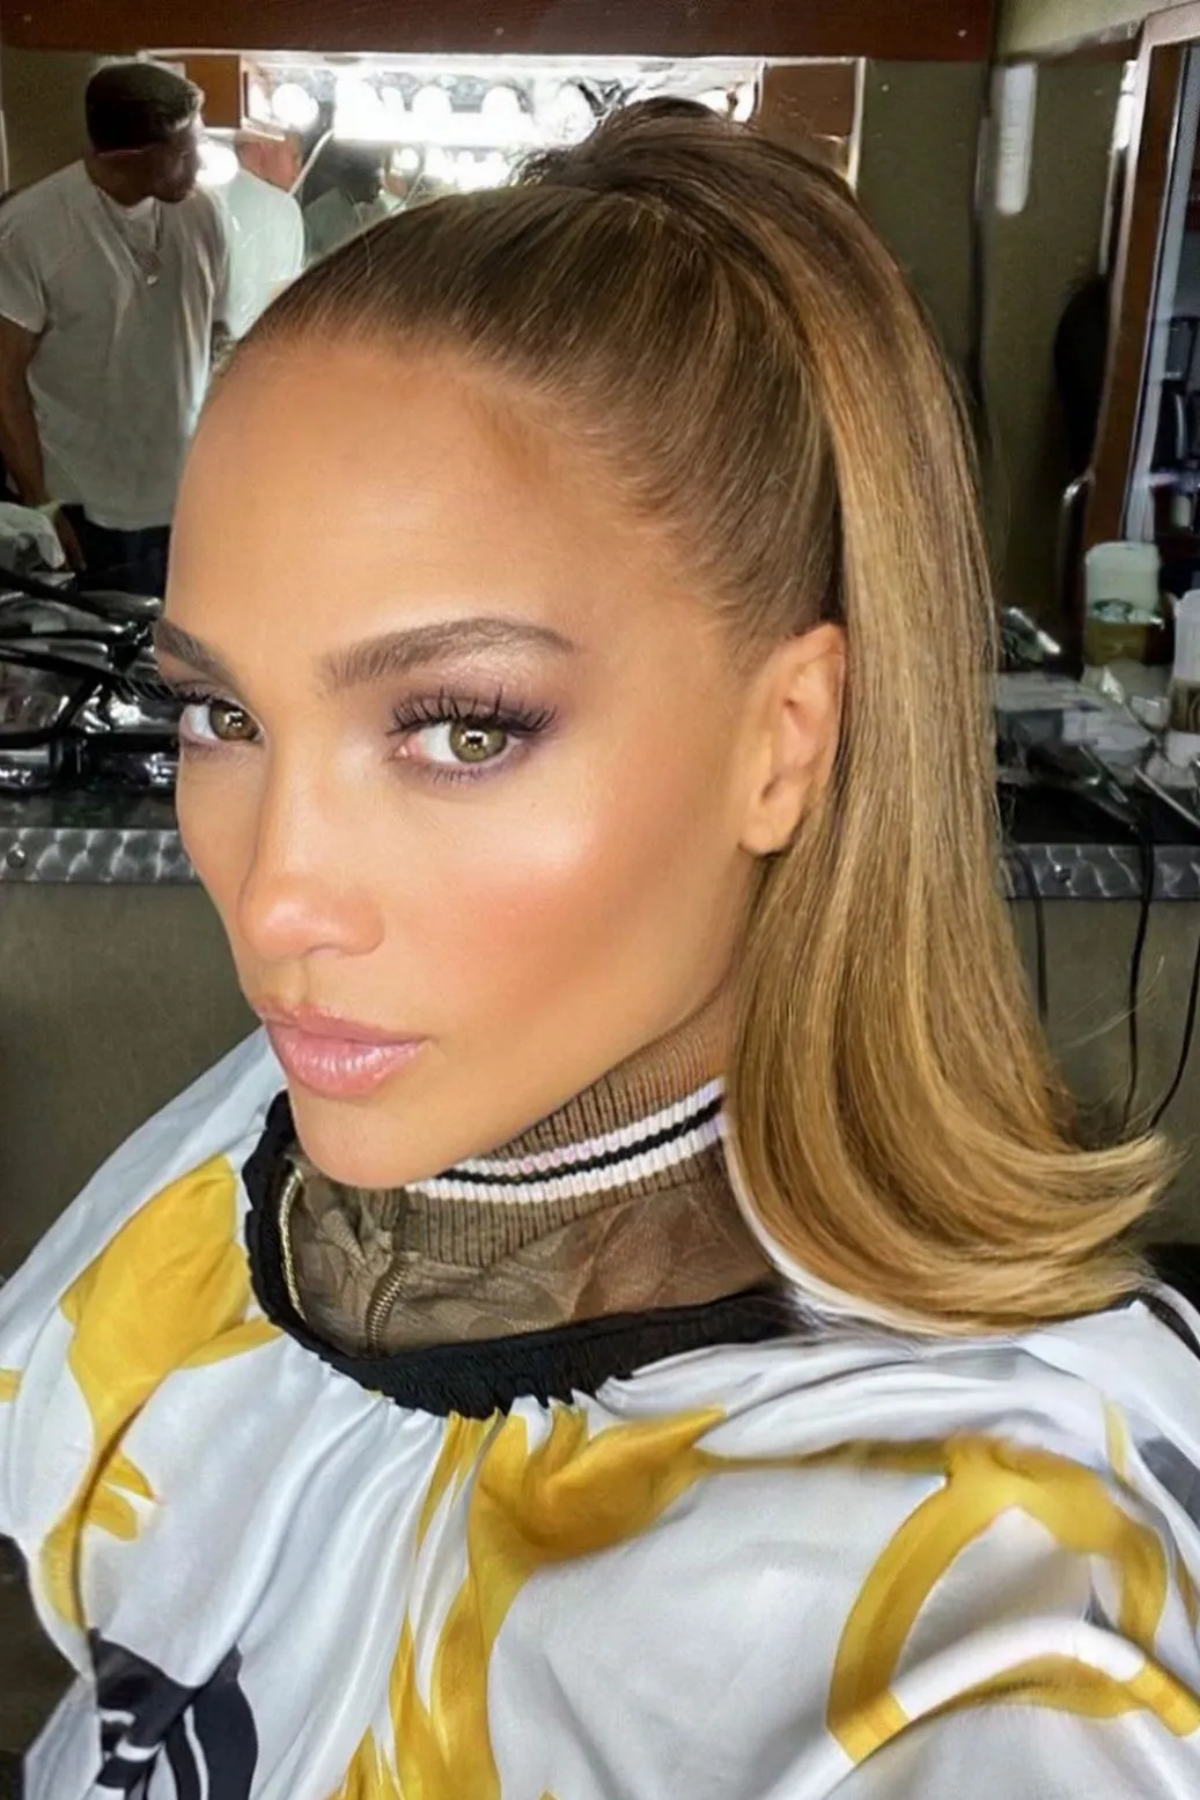
5. The ‘Flick’ or ‘Flipped-Out’ Ends
That perky, preppy flip at the ends of the hair was everywhere. It was usually paired with super-sleek, flat-ironed hair, and the flip itself was a sharp, distinct angle.
The Modern Take: Today’s version is much softer—more of a ‘bend’ or a ‘kick’ than a sharp flip. It looks more like you got an amazing blowout than spent an hour with an iron. It’s about creating bounce and movement, and it works best on shoulder-length cuts with some light layers to help the shape hold.
Toolkit for Flipped Ends:
- A Flat Iron: A 1-inch model with ceramic plates is perfect.
- Heat Protectant: I love the Kenra Platinum Blow-Dry Spray, but for a budget-friendly option, the Tresemmé Thermal Creations spray is a classic for a reason.
- A Clip: For sectioning.
The Technique: The secret is all in the wrist. On a dry, protected section of hair, clamp your iron at the mid-shaft and glide down. As you get to the last two inches, start rotating your wrist outward, away from your face, in a smooth C-shape motion. Keep the iron moving! If you pause, you’ll get a weird clamp mark. Practice a few times with the iron off to get the feel of it.
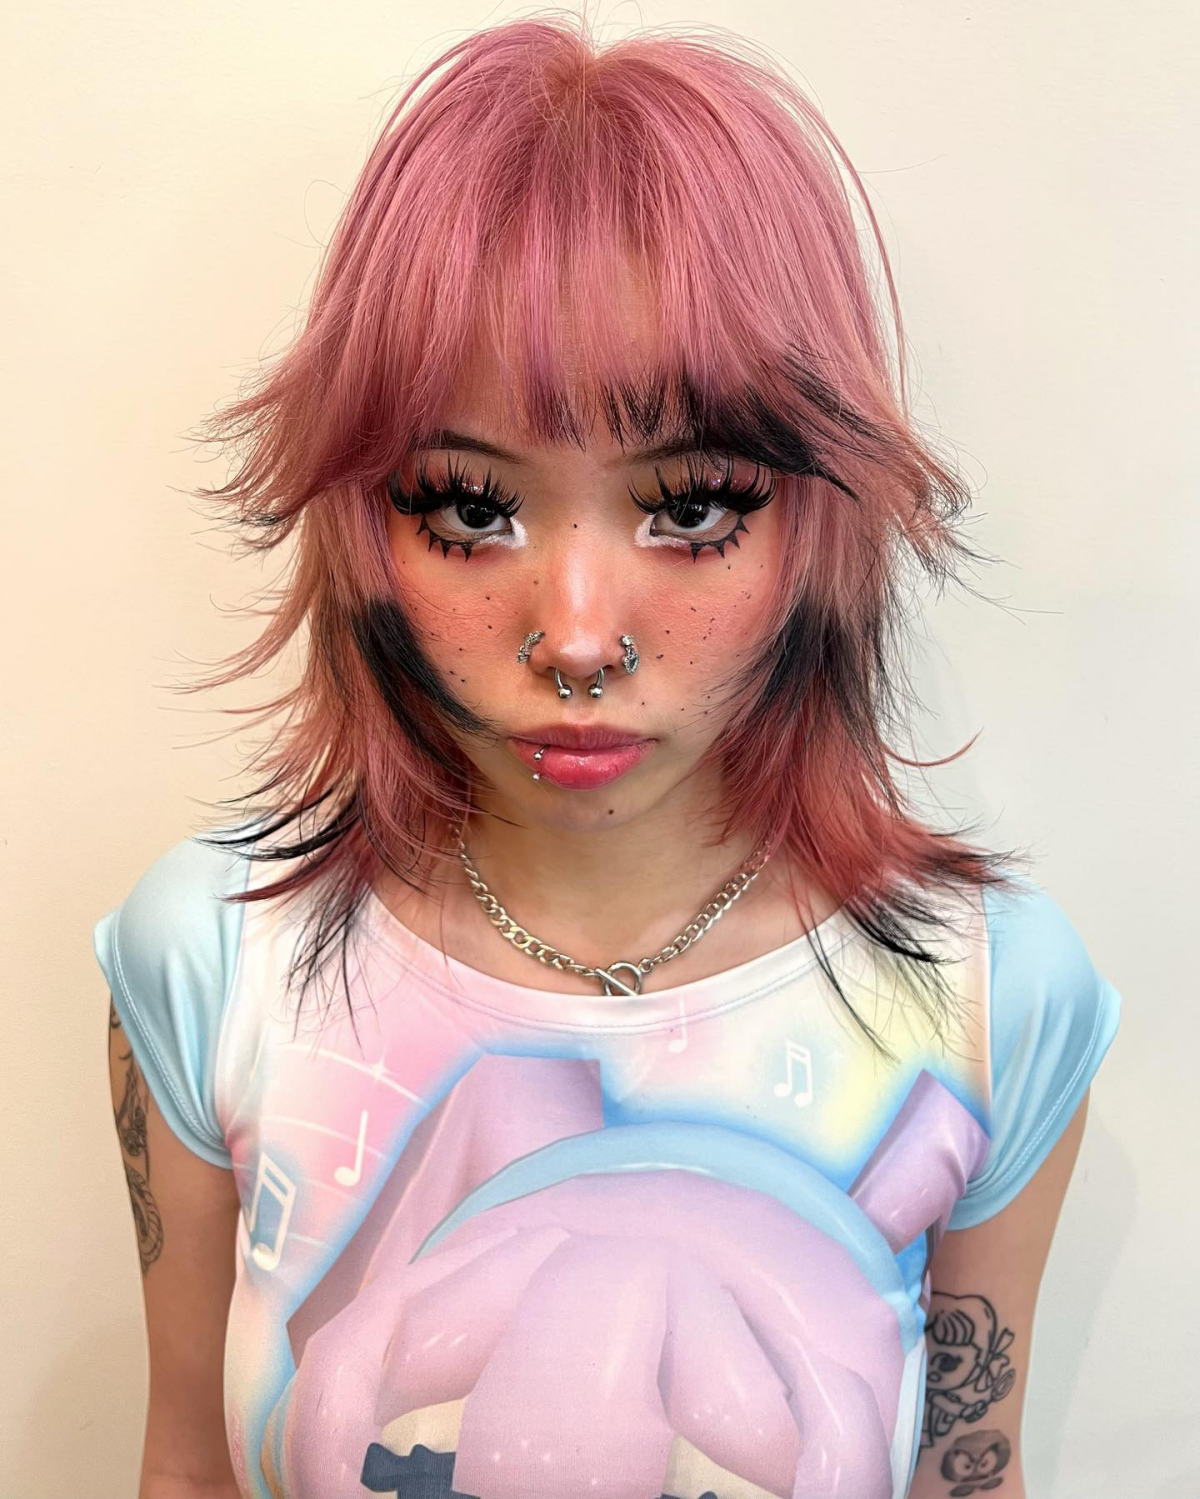
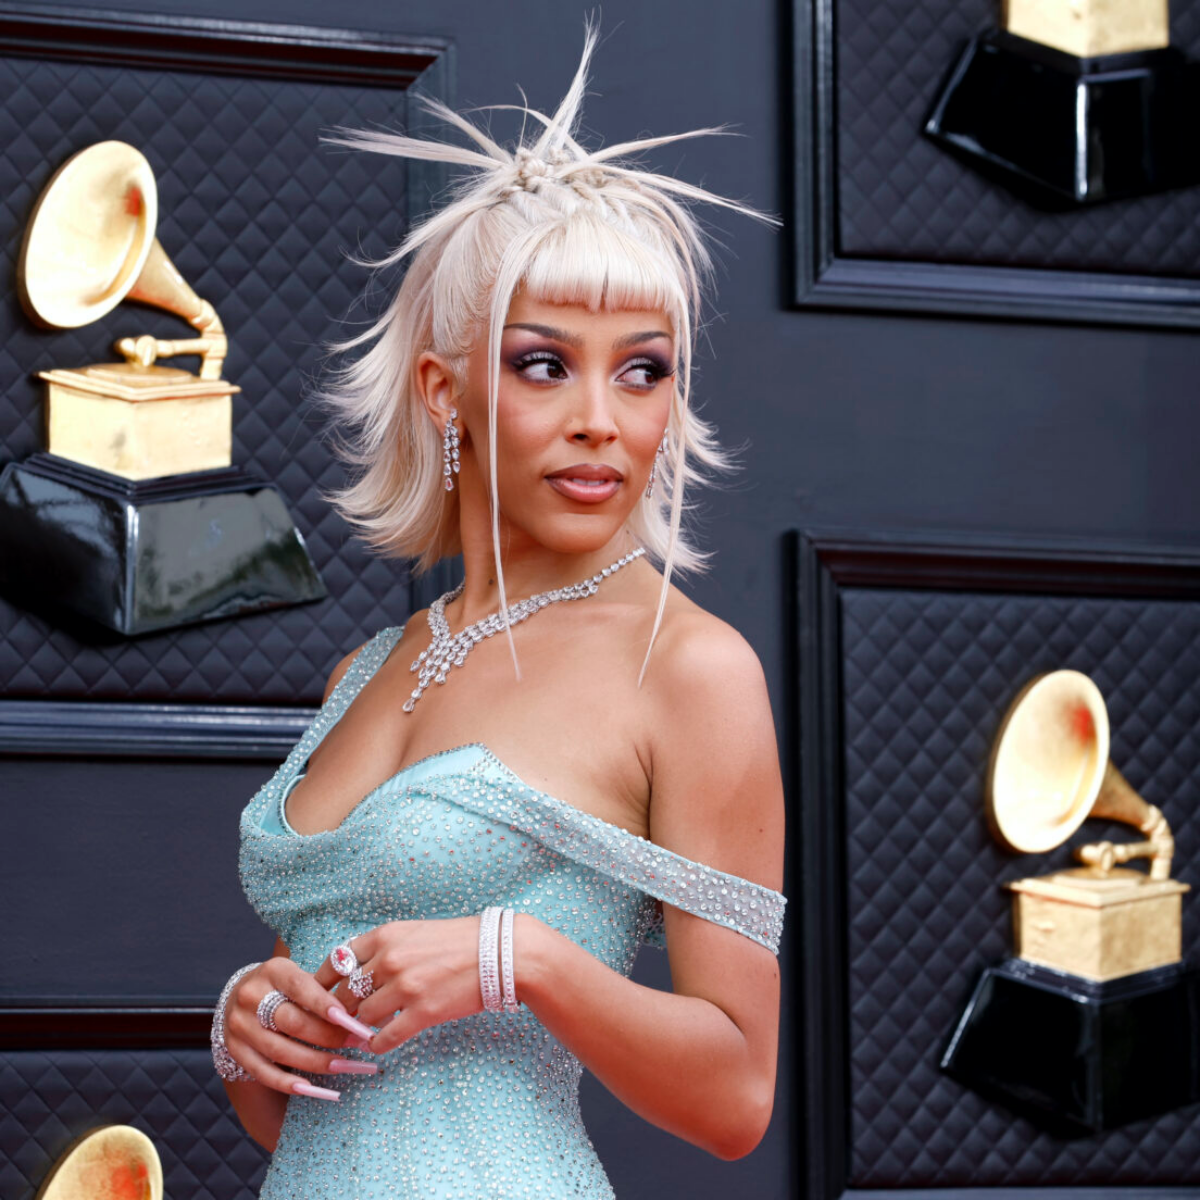
6. Spiky Hair, Reimagined as Piecey Texture
The original spiky hair was defined by its crunch factor. It was all about stiff, sharp points held in place by alcohol-heavy gels that flaked when you touched them.
The Modern Take: It’s less about sharp spikes and more about pliable, piecey texture. The hair still has lift and direction, but the finish is soft and touchable with a matte or satin look. We’ve traded in the old-school gel for better products.
Choosing Your Product: The product aisle can be confusing, so here’s a quick breakdown of what to look for: – Styling Paste: This is your best all-around choice for that piecey, textured look on most short cuts. It offers a medium, flexible hold with a natural, low-shine finish. – Texturizing Clay: Got fine hair that tends to fall flat? Clay is your hero. It contains ingredients that absorb oil and add grit, giving you amazing volume and a strong, matte hold. – Flexible Wax: If you’re going for a more separated, controlled look with a bit of shine, wax is the answer. It has less of a cement-like hold and more pliable control.
A common mistake is using way too much product. Start with a pea-sized amount, warm it up by rubbing your palms together until it’s almost invisible, and then work it through your hair from the roots to the ends. Applying it just on the tips will weigh them down.
Final Thoughts
Seeing these styles come back is genuinely fun, and it’s a cool reminder of how much the hair industry has evolved. We can take the spirit of these bold looks and customize them in a way that’s safer and smarter for our hair. So go ahead, stick some butterfly clips in your hair or talk to your stylist about a money piece. Just remember to always put the health of your hair first. Invest in good products, find a pro you trust, and have fun with it.
Galerie d’inspiration
The Old Way: Those chunky, single-plate metal crimpers that left a harsh, uniform zig-zag pattern and a faint smell of burnt hair.
The New Wave: Look for multi-barrel wavers, like the popular Bed Head Wave Artist, which create softer, more mermaid-like waves. For a true Y2K texture, use a micro-crimper on just a few hidden panels of hair underneath the top layer. It adds instant volume and a surprise element when your hair moves.
According to the Lyst Index, butterfly clips were one of the hottest accessory trends, with searches spiking over 90% in recent seasons.
This isn’t about loading your hair with a swarm of plastic clips like you did for the school disco. Today’s take is more curated. Use three or four metallic or acetate clips to secure a twisted tendril or to accent the crown of a half-updo. It’s a nod to nostalgia, not a full recreation.

Can I get that iconic spiky updo without my hair feeling like a helmet?
Absolutely. The secret is to ditch the gloopy, wet-look gels and high-hold hairsprays of the past. Modern texture products are your new best friend. To get those piecey, defined ends on a bun or ponytail, use a tiny amount of a fibrous pomade or wax, like R+Co’s BADLANDS Paste, warming it between your fingertips before twisting the ends. This gives you definition and hold that’s still touchable and flexible, not crunchy.
Remember those perfectly straight, face-framing tendrils? The key to getting them sleek without frying them is all in the technique.
- Use a mini flat iron for precision, ideally one with ceramic plates like BaBylissPRO’s Nano Titanium Mini.
- Work on the lowest effective heat setting for your hair type.
- Instead of clamping down and pulling, make one single, fluid pass from root to tip.
- Finish with a single drop of anti-frizz serum on the ends to keep them from looking dry.


